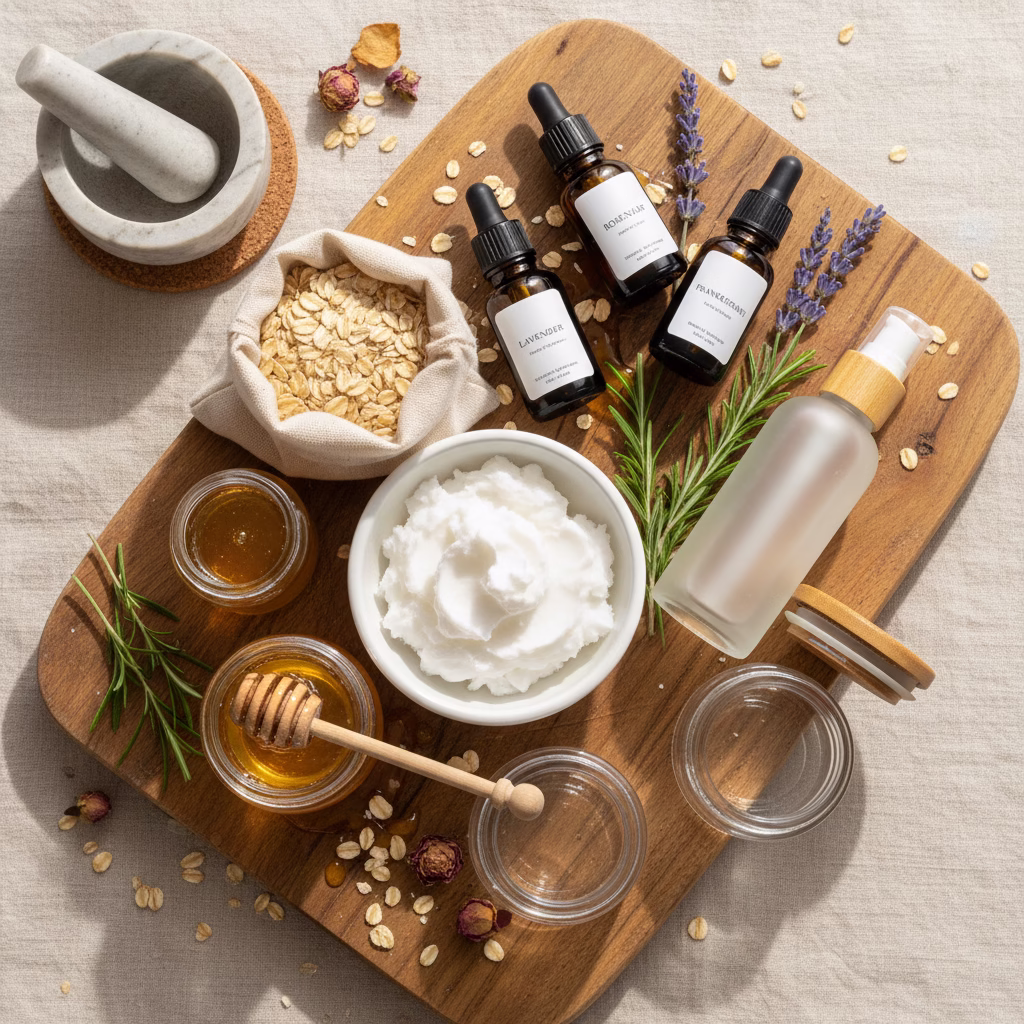
Making batch homemade muesli is one of the simplest ways to elevate your kitchen game while saving money. This versatile base works for sweet and savoury dishes alike, making it a meal prepping essential. The beauty of this muesli recipe lies in its flexibility—customise it to your taste and dietary needs. Whether you’re new to batch cooking or looking to reduce food waste, homemade muesli is the perfect place to start.
Welcome to Your New Kitchen Staple
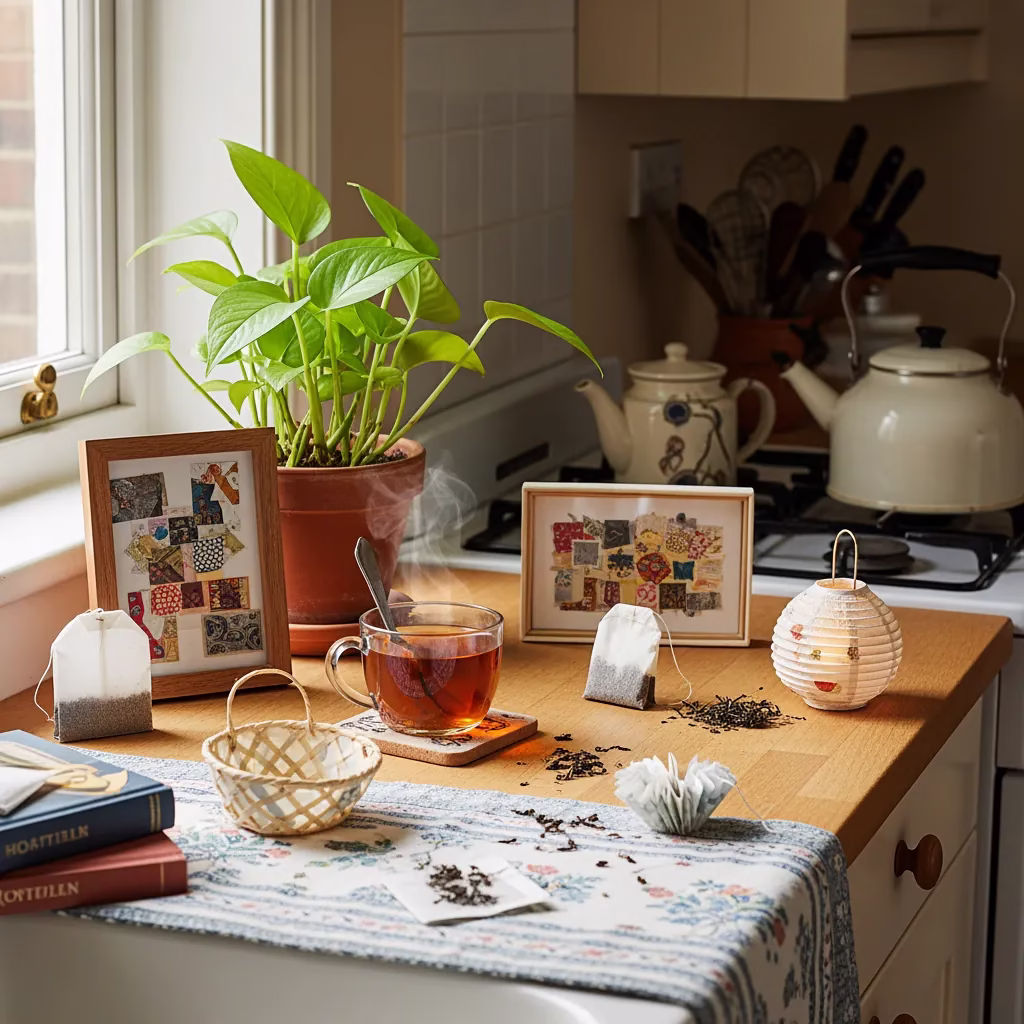
There’s something deeply satisfying about opening your pantry and seeing rows of homemade goodness waiting for you. Batch homemade muesli is exactly that kind of kitchen win. It’s simple to make, costs a fraction of shop-bought versions, and opens the door to endless recipe possibilities.
If you’ve ever stared at those fancy muesli boxes in the supermarket and winced at the price tag, you’re not alone. The good news? Making your own is surprisingly easy. Even better, when you make it in batches, you’re setting yourself up for weeks of quick meals and creative cooking adventures.
This guide will walk you through creating a beautiful base muesli recipe. Then, we’ll explore ten different ways to use it—from hearty breakfasts to unexpected savoury dishes. By the end, you’ll see your humble oats in a whole new light.
Why Batch Homemade Muesli Deserves a Spot in Your Kitchen
Before we dive into the how-to, let’s talk about why batch cooking muesli is worth your time.
First, there’s the money-saving factor. Shop-bought muesli can cost anywhere from £3 to £8 for a small box. Making your own? You’re looking at roughly 50p to £1 per serving, depending on your ingredient choices. Over a year, those savings really add up.
Then there’s the zero waste angle. When you buy in bulk and make your own muesli, you cut down on packaging significantly. Bring your own containers to bulk food shops, and you’ve got yourself an eco-friendly breakfast solution. No more throwing away cardboard boxes and plastic bags every week.
Meal prepping becomes so much easier when you have a versatile base ingredient ready to go. Batch homemade muesli sits happily in your pantry for weeks. It’s there when you need a quick breakfast, a baking ingredient, or even a savoury dinner component.
Finally, you control exactly what goes into your food. No hidden sugars, no mystery ingredients, no preservatives you can’t pronounce. Just wholesome, real food that tastes incredible.
The Master Batch Homemade Muesli Recipe
This base recipe makes approximately 1.5 kilograms of muesli—enough to last a household several weeks and fuel all ten recipes we’ll explore later.
Ingredients
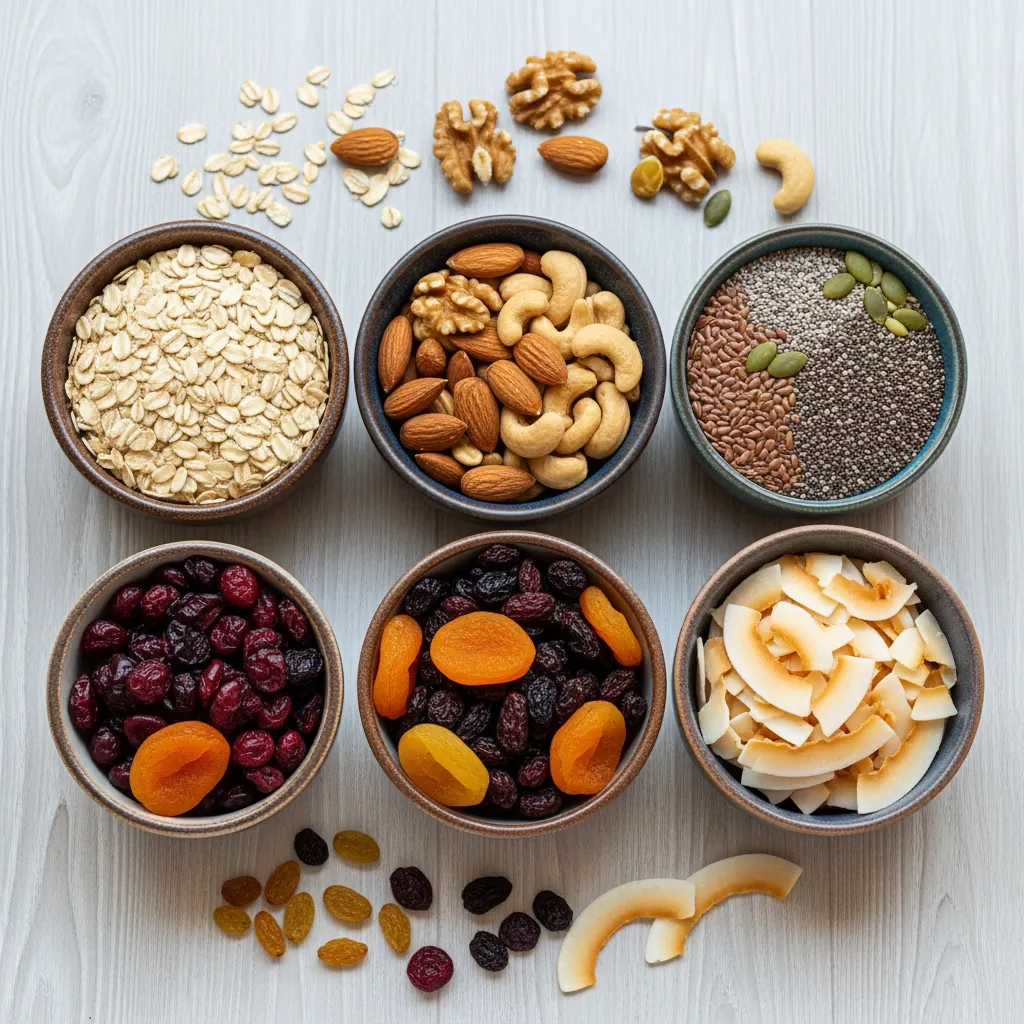
The Oat Base (1kg total)
- 800g rolled oats (not instant)
- 200g barley flakes or spelt flakes (optional, for variety)
Nuts and Seeds (300g total)
- 100g almonds, roughly chopped
- 100g walnuts or pecans, roughly chopped
- 50g pumpkin seeds
- 50g sunflower seeds
Dried Fruits (200g total)
- 100g raisins or sultanas
- 50g dried apricots, chopped
- 50g dried cranberries or cherries
Extras
- 50g desiccated coconut
- 2 tablespoons ground cinnamon (optional)
- 1 tablespoon ground ginger (optional)
Instructions
Step 1: Prepare Your Workspace
Clear a large surface and gather all your ingredients. You’ll need a very large mixing bowl or clean roasting tin. Having everything measured out beforehand makes the process smooth and enjoyable.
Step 2: Toast the Oats (Optional but Recommended)
Spread your oats across two large baking trays. Toast in a preheated oven at 160°C for 10-12 minutes, stirring halfway through. This step adds a lovely nutty depth to your muesli. Let the oats cool completely before mixing.
Step 3: Toast the Nuts and Seeds
In the same oven, spread your nuts and seeds on a separate tray. Toast for 6-8 minutes until fragrant and lightly golden. Watch them carefully—they can burn quickly. Cool completely.
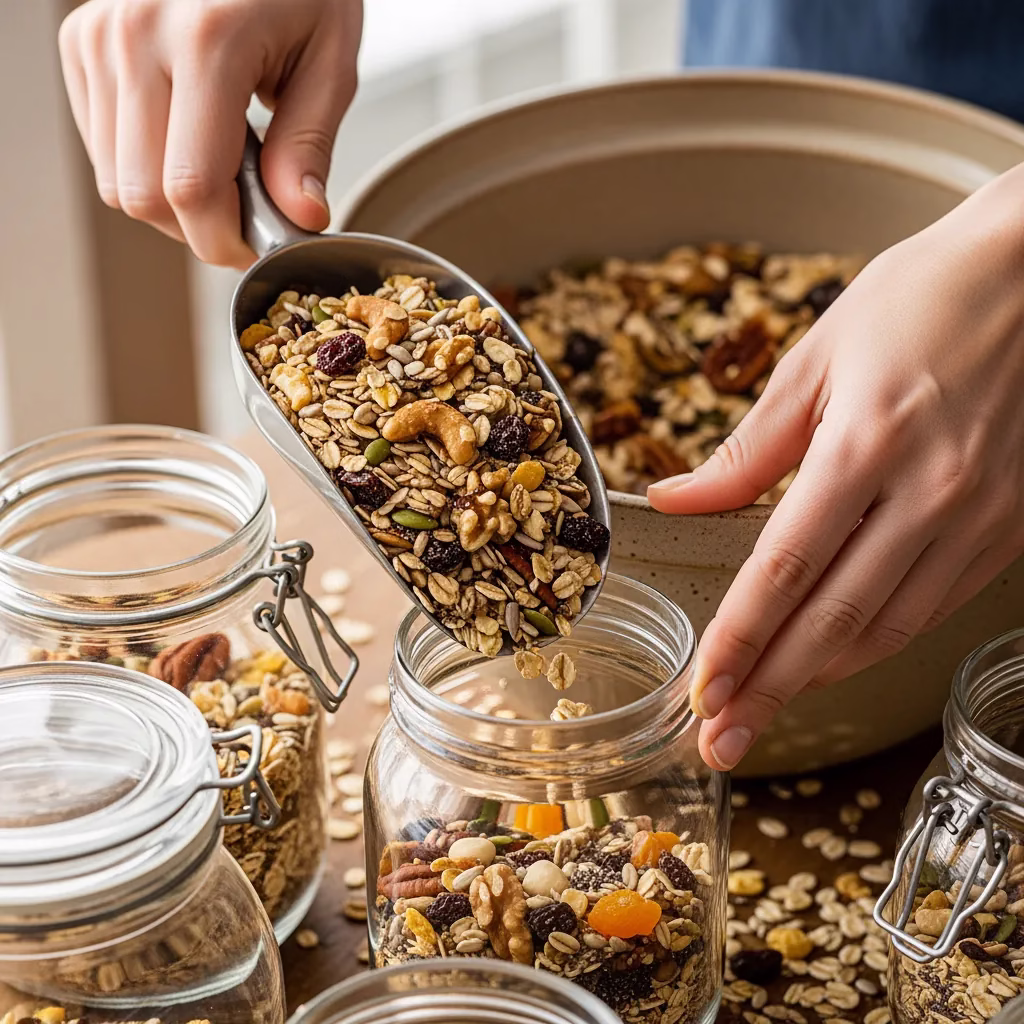
Step 4: Combine Everything
Pour your cooled oats into your large bowl. Add the toasted nuts and seeds. Gently fold in the dried fruits, coconut, and any spices you’re using. Mix thoroughly but gently—you don’t want to crush the oats.
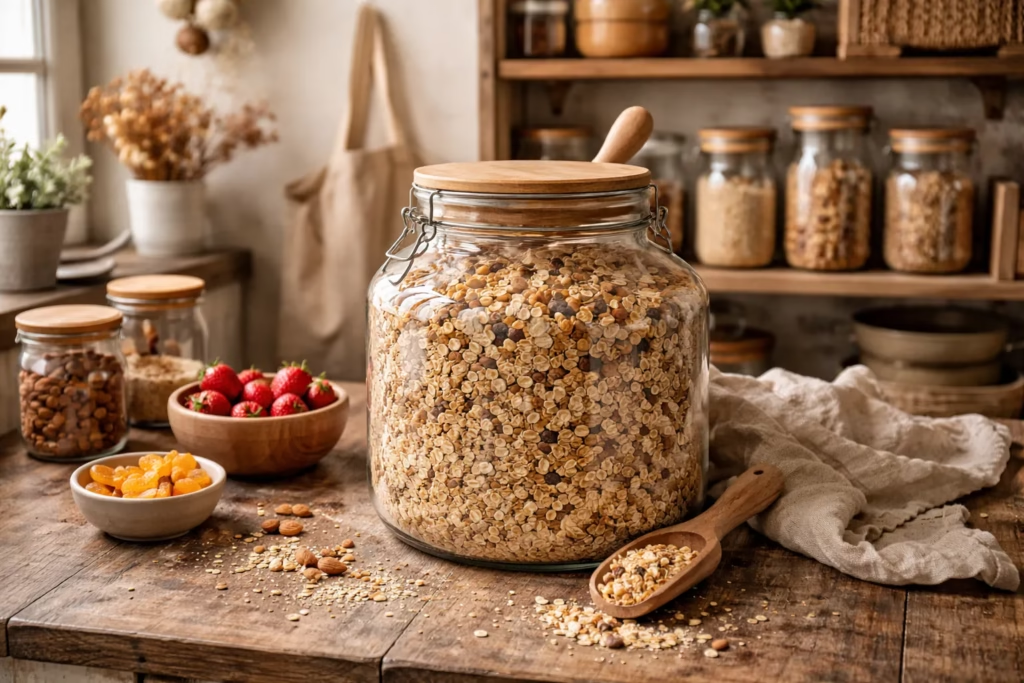
Step 5: Store Properly
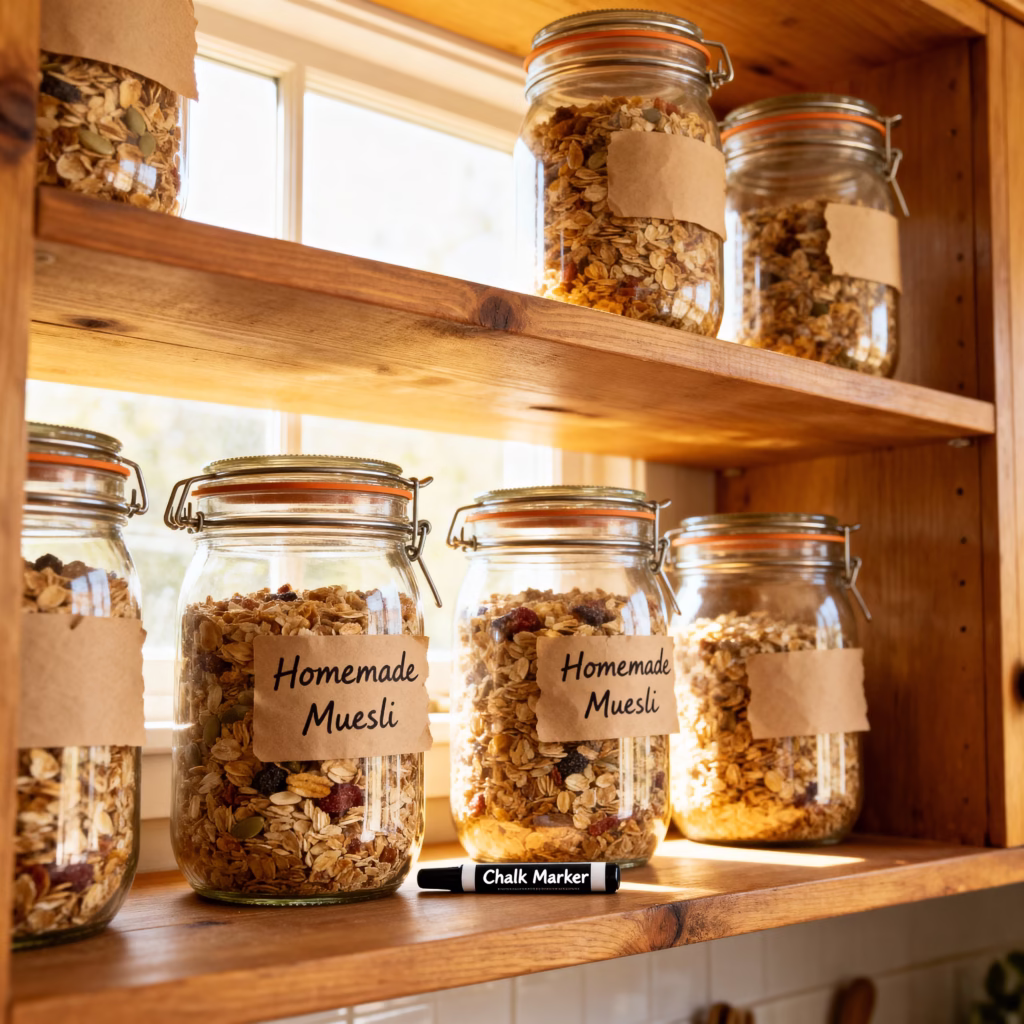
Transfer your batch homemade muesli to airtight containers. Glass jars work brilliantly and look beautiful on your counter. Store in a cool, dry place away from direct sunlight. Your muesli will keep for 6-8 weeks.
Savoury Options: Muesli Beyond Breakfast

Here’s where things get exciting. Your batch homemade muesli isn’t just for morning bowls with milk. It transforms beautifully into savoury dishes that will surprise and delight everyone at your table.
1. Crispy Breading
Use a food processor to blend muesli into a coarse crumb. This creates a wonderfully crunchy coating for chicken tenders, fish fillets, or roasted vegetables. The nuts add protein while the oats create that satisfying crunch. Simply dip your protein in beaten egg, then press into the muesli crumbs. Bake or air-fry until golden and crispy.
2. Savoury Topper
Toast muesli with olive oil, salt, and herbs like thyme or rosemary. This creates a gorgeous savoury garnish for salads, soups, or grain bowls. Spread a cup of muesli on a baking tray, drizzle with olive oil, and season generously. Bake at 170°C for 8-10 minutes. Store in an airtight container and sprinkle over dishes for instant texture and flavour.
3. Veggie Burger Binder
Mix muesli into veggie burger patties to add texture and help bind ingredients like beans or grated vegetables. The oats absorb moisture while the nuts add substance. For every 400g of mashed beans, add about 60g of muesli. Your patties will hold together better and have a more interesting texture.
4. Stuffed Vegetables
Combine muesli with grated cheese and fresh herbs to create a crunchy stuffing for bell peppers or courgettes. Mix equal parts muesli and cheese with a handful of chopped parsley. Stuff into halved vegetables and bake until golden and bubbling. It’s comfort food with a wholesome twist.
Baking and Desserts: Sweet Treats Made Simple

Your muesli recipe truly shines in baking. The combination of oats, nuts, and dried fruits adds nutrition and flavour to everything from rustic breads to elegant desserts.
5. Hearty Breads
Incorporate muesli directly into yeasted bread dough or quick breads for a dense, nutritious loaf. Add about 100g of muesli per 500g of flour. The dried fruits caramelise slightly during baking, creating pockets of sweetness throughout. This bread toasts beautifully and makes exceptional sandwiches.
6. Cookies and Biscuits
Swap standard oats for muesli in your favourite cookie recipes. You’ll get extra flavour from the included nuts and fruit without any additional effort. Muesli cookies are perfect for lunchboxes and afternoon tea. They’re chewy, satisfying, and packed with goodness.
7. Muesli Slices
Mix muesli with melted butter, honey, and a little flour to bake chewy lunchbox slices. Combine 300g muesli, 100g melted butter, 3 tablespoons honey, and 2 tablespoons flour. Press into a lined tin and bake at 180°C for 20-25 minutes. Cut into bars once cooled. These keep well for up to a week.
8. Pie Crust
Pulse muesli in a blender to make a wholesome base for tarts or no-bake cheesecakes. Blend until fine, then mix with melted butter. Press into your tin and chill until firm. This crust adds wonderful nutty notes to creamy desserts. It’s especially lovely with chocolate or fruit fillings.
9. Muesli-Infused Pancakes and Waffles
Integrating your Batch Homemade Muesli into morning batters is one of the simplest ways to add nutritional value and a gourmet texture to a standard breakfast. Instead of a uniform, soft texture, the addition of the muesli creates “textured” pancakes with a satisfying chew and nutty undertones.
How to Prepare the Batter
To achieve the best results, follow these simple steps:
- The Ratio: For every 150g to 200g of flour in your standard recipe, stir in approximately 60g to 80g of your muesli mix.
- Hydration is Key: After stirring the muesli into your wet and dry ingredients, let the batter rest for about five minutes.
- Softening the Mix: This brief resting period allows the rolled oats and dried fruits to hydrate slightly, ensuring they are tender rather than tough once cooked.
Why It Works
Natural Sweetness: The dried fruits within the muesli, such as raisins or apricots, caramelize slightly on the griddle, providing bursts of sweetness that reduce the need for extra syrup.
Enhanced Texture: The toasted nuts and seeds provide a rustic crunch that contrasts beautifully with the fluffy pancake interior.
Nutritional Boost: By adding the muesli, you are incorporating whole grains and healthy fats directly into your meal, which can help provide more sustained energy throughout the morning.
Serving Suggestion
Cook these as you would normal pancakes or waffles until golden brown. They pair exceptionally well with a dollop of Greek yogurt or a few fresh berries to complement the toasted grain flavors.
10. Overnight “Bircher-Style” Muesli Cups
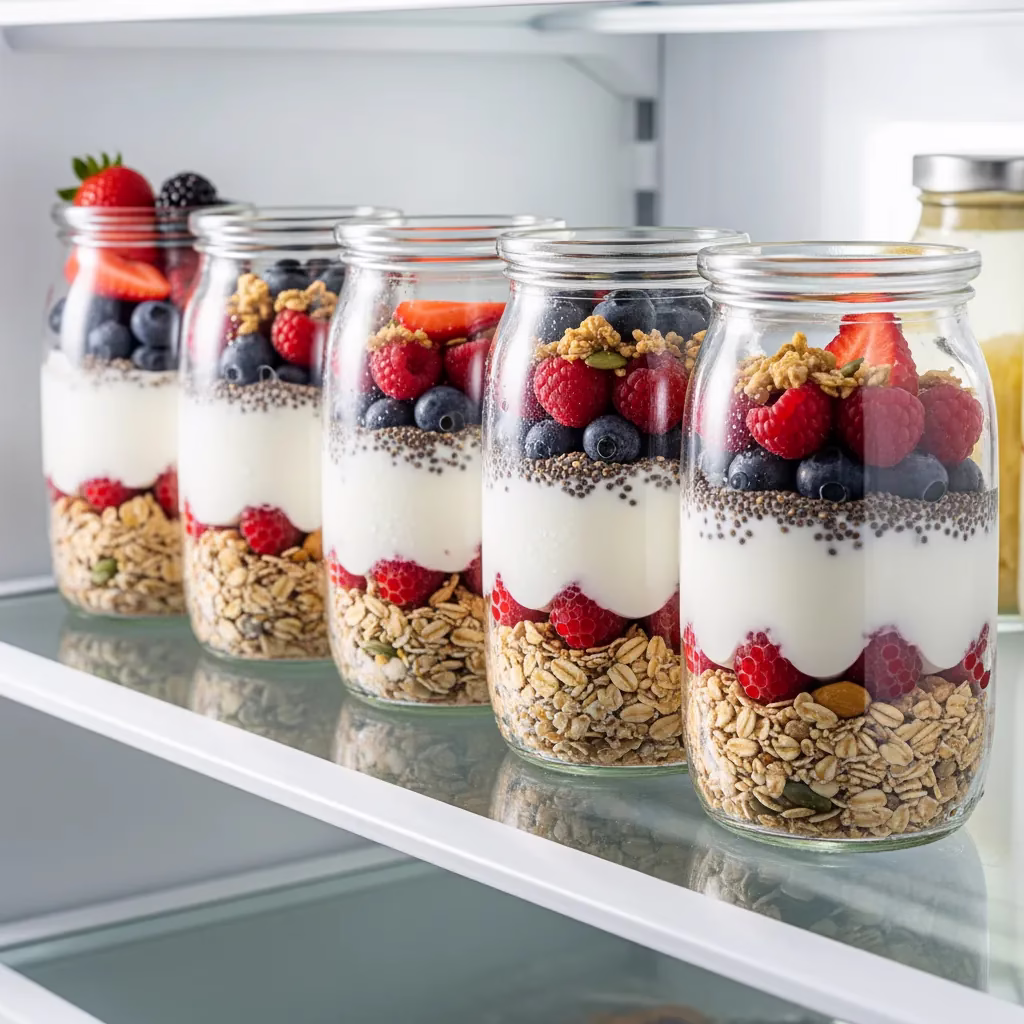
What You’ll Need (Makes 4 jars)
- 2 cups Batch Homemade Muesli
- 2 cups milk (dairy or plant-based)
- 1 cup plain yogurt (or dairy-free yogurt)
- 1 tablespoon chia seeds (optional, for thickness)
- 1–2 tablespoons honey or maple syrup (optional)
- 1 teaspoon cinnamon (optional)
- 2 apples, grated (optional but very “Bircher”)
- Fruit for topping (berries, banana, or citrus segments)
- Pinch of salt (tiny, but it makes flavours pop)
Instructions
- Mix the base: In a bowl, stir together muesli, milk, yogurt, chia (if using), sweetener (if using), cinnamon, and a pinch of salt.
- Add apple (optional): Fold in grated apple for extra freshness and a naturally sweet taste.
- Portion it out: Spoon the mixture into 4 jars or containers with lids.
- Chill overnight: Refrigerate for at least 6 hours, ideally overnight, so the oats soften and thicken.
- Finish and serve: In the morning, stir, then top with fruit (and a small extra sprinkle of muesli for crunch if you like).
Storage Tips
- Keeps well in the fridge for up to 4 days, making it ideal for Meal prepping.
- For Zero Waste: use reusable jars and buy yogurt/milk in larger containers where possible.
Easy Variations
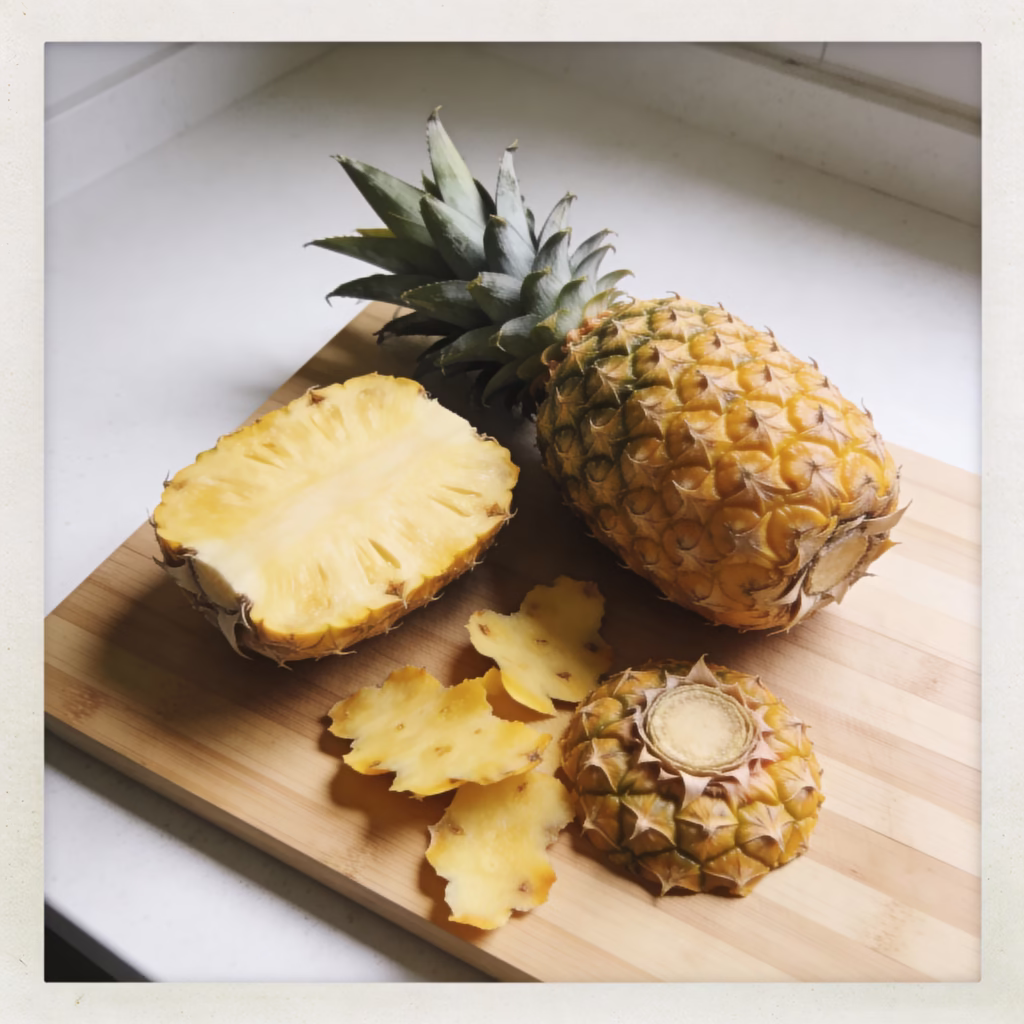
- Tropical: add shredded coconut + diced dried mango + pineapple on top.
- Chocolate: mix in 1 teaspoon cocoa powder and top with banana.
- Protein boost: stir in a spoon of nut butter or a scoop of protein yogurt.
If you paste this into the article as its own numbered section (for example, right after “Pancake/Waffle Batter”), the count will be unambiguous and the title will match cleanly.
References
- Harvard T.H. Chan : Whole Grains
- NIH: The Cholesterol-Lowering Effect of Oats and Oat Beta Glucan
- FAO: Understanding Food Loss and Waste
- UNEP: Protect Our Planet from Plastic Pollution
Recent Posts