We all have them. Empty glass jars. They collect in the recycling bin. They once held pasta sauce, jam, pickles, or candles. For a long time, I just threw them away without a second thought. But then, I started to see their hidden potential. Each jar was a blank canvas. Now, I see chances for creativity and organization. They add a touch of charm to my home. I no longer just see waste.
If you’ve ever felt bad throwing away a good jar, or just wanted a greener way to organize, you’re in the right place. Come with me. We will explore ten fantastic ways to give those simple glass jars a creative new life. We will turn them into useful and beautiful items for your home.
Why Upcycle Glass Jars?
Before we start our projects, let’s quickly look at why upcycling glass jars is such a smart idea:
- Good for the Earth: It means less trash. It saves energy (making new glass uses a lot of power). It also means we need fewer new raw materials.
- Saves Money: Most of these projects need very few new items, if any. You are using what you already have!
- Make it Your Own: You can change each project to fit your personal style. Match it to your home decor.
- Boosts Creativity: It is a great way to use your hands and mind. You turn something plain into something special.
Are you ready to begin? Gather your clean, label-free glass jars. Let’s get creative!
1. Smart Pantry & Spice Storage
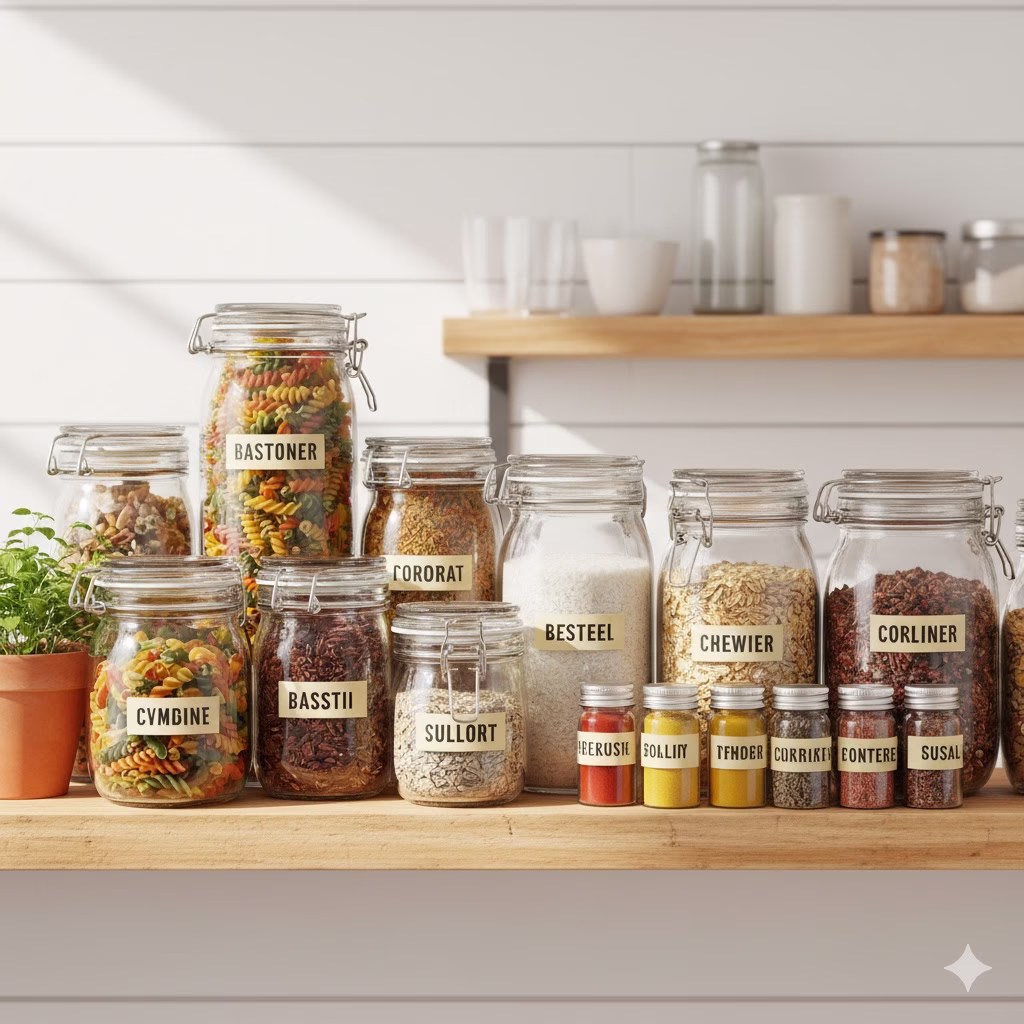
Using glass jars to organize your pantry is one of the best and most useful ideas. Jars that all look the same make things appear very tidy. You can easily see what you have. This helps reduce food waste. It also makes cooking faster.
How to do it:
- Wash and Dry: Make sure your glass jars are very clean and completely dry. Take off all labels. Soaking in warm, soapy water often helps. For sticky bits, scrub with baking soda.
- Fill Them Up: Put dry foods into jars of different sizes. Think pasta, rice, lentils, oats, flour, sugar, coffee beans, nuts, and spices.
- Add Labels: Labels are super important for good order. You can use:
- Chalkboard Labels: Stick on chalkboard labels or paint a spot with chalkboard paint. Write on it with chalk markers.
- Printed Labels: Design and print your own labels. Then stick them on.
- Handwritten Tags: Tie small paper tags with string for a rustic look.
- Arrange Them: Put your organized jars on shelves, in drawers, or on a counter. This will make your pantry look good and work better.
Example: Imagine a row of clear glass jars. They are filled with bright spices like paprika, turmeric, and cumin. All are neatly labeled. Or bigger jars holding different kinds of pasta, sealed tight and easy to reach.
2. Lovely Vases & Planters
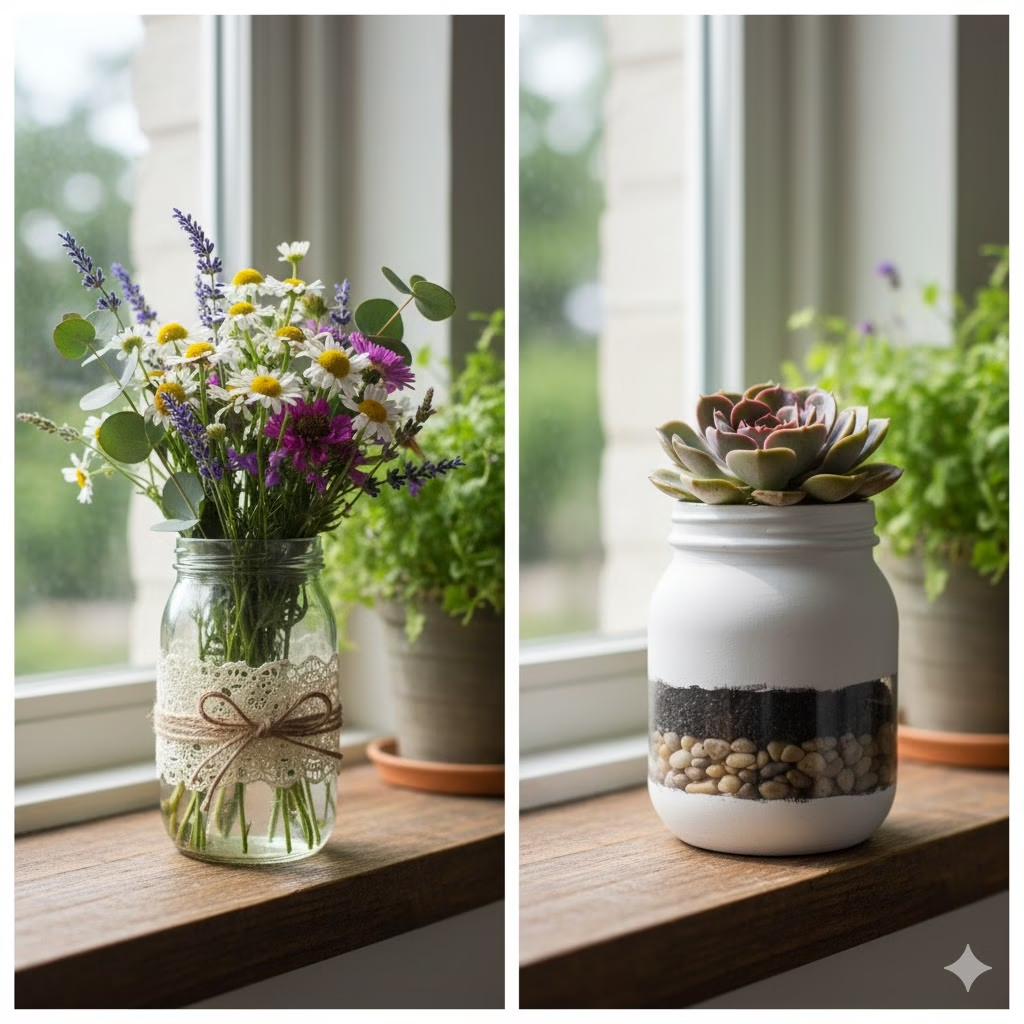
Glass jars, especially ones with unique shapes or colors, make wonderful vases. Small jars are perfect for a single flower or a small bunch. Bigger ones can hold larger flower displays. You can also turn them into cute small planters for succulents or herbs.
How to do it:
- Clean Very Well: Remove any dirt that might harm plants or make the water cloudy.
- For Vases: Just fill with water and put your flowers in. For a special touch, you can:
- Paint: Spray paint the outside (or inside for a shiny look) with opaque or frosted glass paint.
- Wrap: Wind string, ribbon, or lace around the top or middle of the jar.
- Decorate: Glue on beads, buttons, or small shells to add texture.
- For Planters:
- Drainage is Key: Glass jars do not have holes for water to drain. This is very important. Put a layer of small stones or charcoal at the bottom first. This stops roots from rotting. Then add potting soil.
- Plants: Small plants like succulents, herbs (like basil or mint), or plant cuttings grow well in jar planters.
- Water Gently: Since there are no drainage holes, be careful not to water too much.
Example: A group of small baby food jars, painted white. Each holds a single green leaf on a windowsill. Or a big pickle jar filled with a green fern. It adds a touch of nature to your living room.
3. Homemade Candle Holders & Lanterns

Turning glass jars into pretty candle holders or lanterns makes any room feel warm and cozy. They are great for quiet evenings, outdoor parties, or even as backup lights.
How to do it:
- Be Safe: Make sure your jar is stable. It should not tip over easily. Keep anything that can burn far from the flame.
- Simple Holders: Just put a small tea light or votive candle inside a clean jar.
- Decorated Holders:
- Frosted Look: Use frosted glass spray paint for a soft light.
- Lace & Burlap: Wrap jars with lace, burlap, or patterned cloth. Stick it down with glue. The light will shine through beautifully.
- Glitter: Put Mod Podge glue on the outside of the jar. Then roll it in glitter for a festive feel.
- Painted Designs: Use glass paint to draw patterns or simple shapes.
- Hanging Lanterns:
- Wire Handle: Securely attach a wire handle around the top of the jar. You can use craft wire or even old coat hangers. Make sure it is strong enough to hold the jar’s weight.
- Fairy Lights: For a safer, battery-powered choice, fill jars with LED fairy lights instead of candles.
Example: A line of decorated Mason jars. Tea lights flicker inside them along a garden path. This creates a magical feel for an evening get-together. Or a beautifully frosted jar filled with fairy lights. It sits on a bedside table.
4. Bathroom & Craft Room Organization
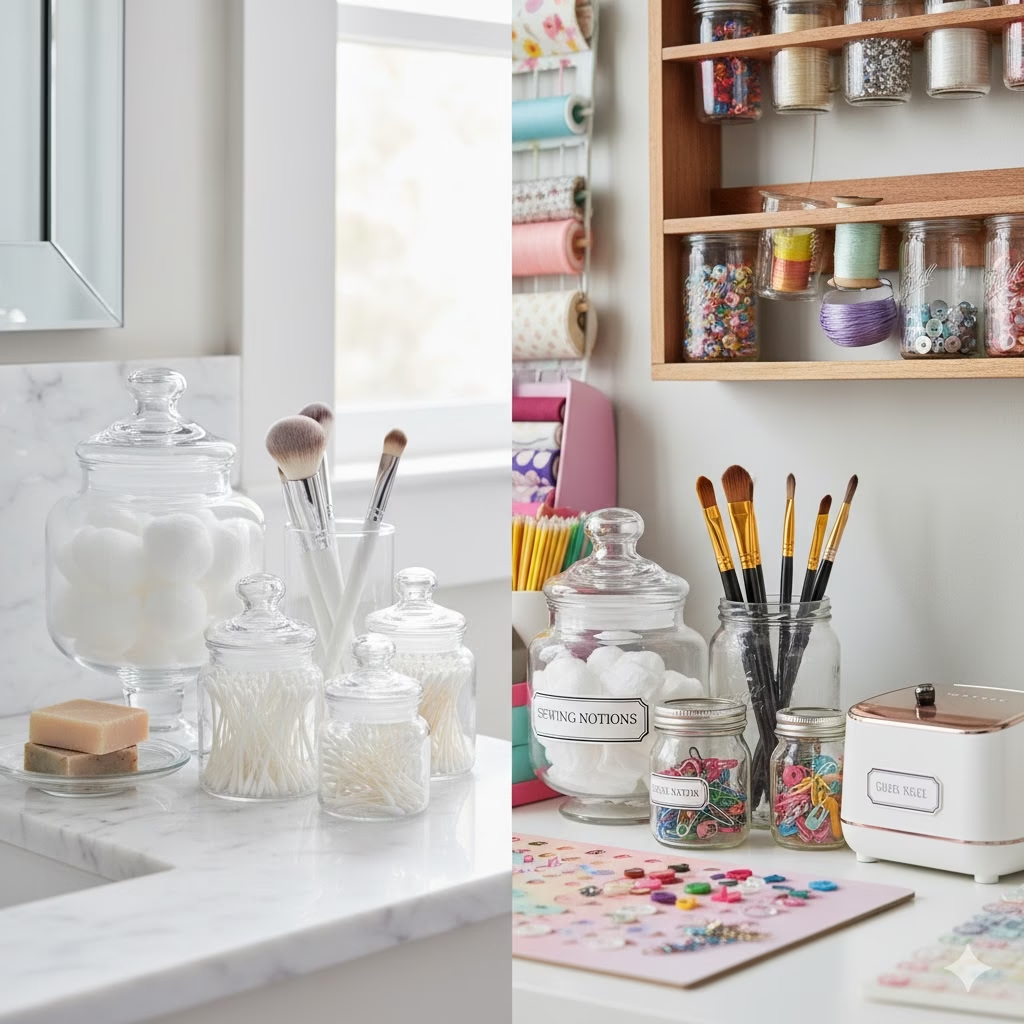
Mess makes us feel stressed. Glass jars are great helpers in making things tidy, especially in bathrooms and craft rooms. These rooms often have many small items.
How to do it:
- See What You Have: Decide what you need to put in order. Cotton swabs, cotton balls, hair ties, makeup brushes, bath salts, paintbrushes, beads, buttons, paper clips, rubber bands – there are so many things!
- Match Sizes: Pick the right size glass jars for different items. Tall jars for brushes, wider jars for cotton balls.
- Label (Good Idea): Clear glass lets you see inside. But a label makes it look even better.
- Put Like Things Together: Keep similar items in their own jars.
- Place Them: Arrange them on shelves, on your counter, or inside drawers.
Example: Three nice glass jars sit on a bathroom counter. They hold cotton pads, Q-tips, and small soaps. In a craft room, a wooden shelf holds many jars. These jars neatly contain embroidery thread, beads, and sewing tools.
5. Unique Drinking Glasses & Mugs

Glass jars, especially Mason jars, make excellent drinking glasses. They have a simple, rustic charm. They are strong, easy to hold, and give a fun, casual vibe to your drinks.
How to do it:
- Clean and Sterilize: Make sure jars are very clean. They should have no chemical traces. Washing them in a hot dishwasher is a good idea.
- Straw Holes: For some canning jars, you can make a hole in the lid with a drill for a straw. Make sure the edges are smooth.
- Add Handles: You can buy wire handles that fit Mason jars. These turn them into mugs.
- Decorate (If You Want): Clear is classic. But you can etch designs onto the glass. Or paint safe designs on the outside. Don’t paint near the rim where you drink.
Example: Iced tea served in charming Mason jars. They have lemon slices and mint. Perfect for a summer barbecue. Or a tasty smoothie enjoyed from a reused jam jar. It has a colorful straw.
6. Glass Jars for Creative Gift Packaging
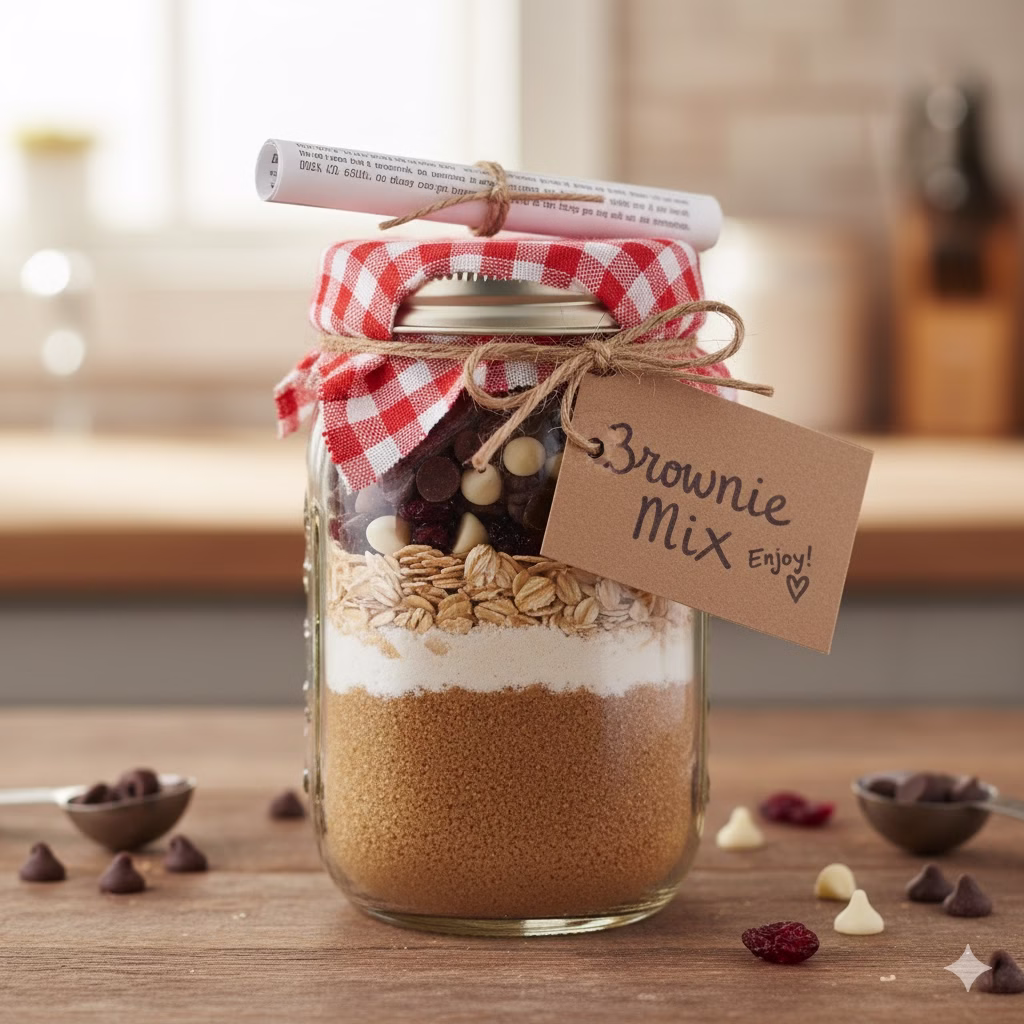
Forget the usual gift bag! Putting small gifts in decorated glass jars adds a personal, handmade touch. This makes the present feel even more special.
How to do it:
- Think About Contents: What could fit inside a jar?
- DIY Baking Mixes: Layer dry ingredients for cookies, brownies, or soups.
- Spa-in-a-Jar: Fill with bath bombs, small soaps, a face mask, and a loofah.
- Emergency Kit: Put in small basics like pain relievers, bandages, lip balm, and hand sanitizer.
- Craft Kit: Small sewing items, buttons, beads, or tiny art supplies.
- Decorate the Jar:
- Lid: Cover the lid with fabric, ribbon, or fancy paper.
- Label: Attach a special gift tag or label.
- Fillers: Use crinkled paper, tissue paper, or shredded newspaper. This adds cushioning and looks nice.
- Outside Decorations: Tie string, lace, or add small ornaments to the jar.
Example: A pint-sized glass jar. It is filled with layers of brownie mix ingredients. Chocolate chips top it off. A recipe tag is tied with a festive ribbon. It’s an instant homemade gift. Or a set of small garden tools and seed packets nestled in a larger jar. A perfect gift for a friend who loves plants.
7. Terrariums & Fairy Gardens
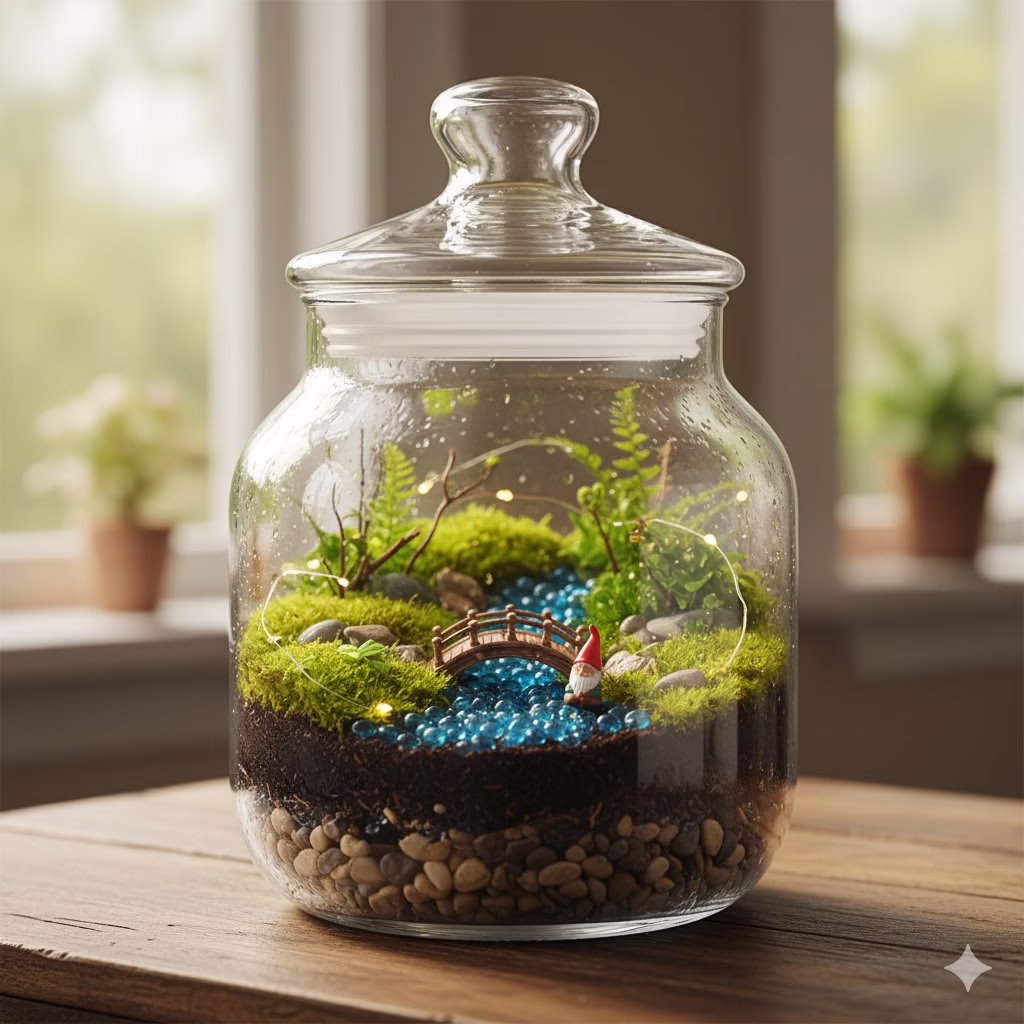
Glass jars are like tiny worlds waiting to be made! Making a terrarium or a small fairy garden inside a jar is a lovely way to bring nature inside. It’s also surprisingly easy.
How to do it:
- Pick Your Jar: Jars with wide openings are easier to work with.
- Layering:
- Drainage: Start with a thin layer of small stones or gravel at the bottom.
- Charcoal: Add a thin layer of activated charcoal. This helps stop bad smells and filters water.
- Mesh (Optional): A thin layer of mesh or cloth can go over the charcoal. This stops soil from mixing.
- Soil: Add a layer of the right potting mix. Use succulent mix for dry plants. Use general potting mix for humid terrariums.
- Plants: Choose small, slow-growing plants. They should thrive in small spaces. Succulents and air plants are good for open jars. Mosses and ferns are good for closed terrariums.
- Decorate: Add small stones, twigs, tiny figures (for fairy gardens), or shells.
- Care: Water very little. Closed terrariums make their own moisture. They need very little watering.
Example: A large cookie jar turned into a green, self-sustaining terrarium. It has tiny ferns and moss. A small world under glass. Or a small jam jar. It holds a charming fairy garden with a tiny gnome and colorful stones.
8. Desk Organizers
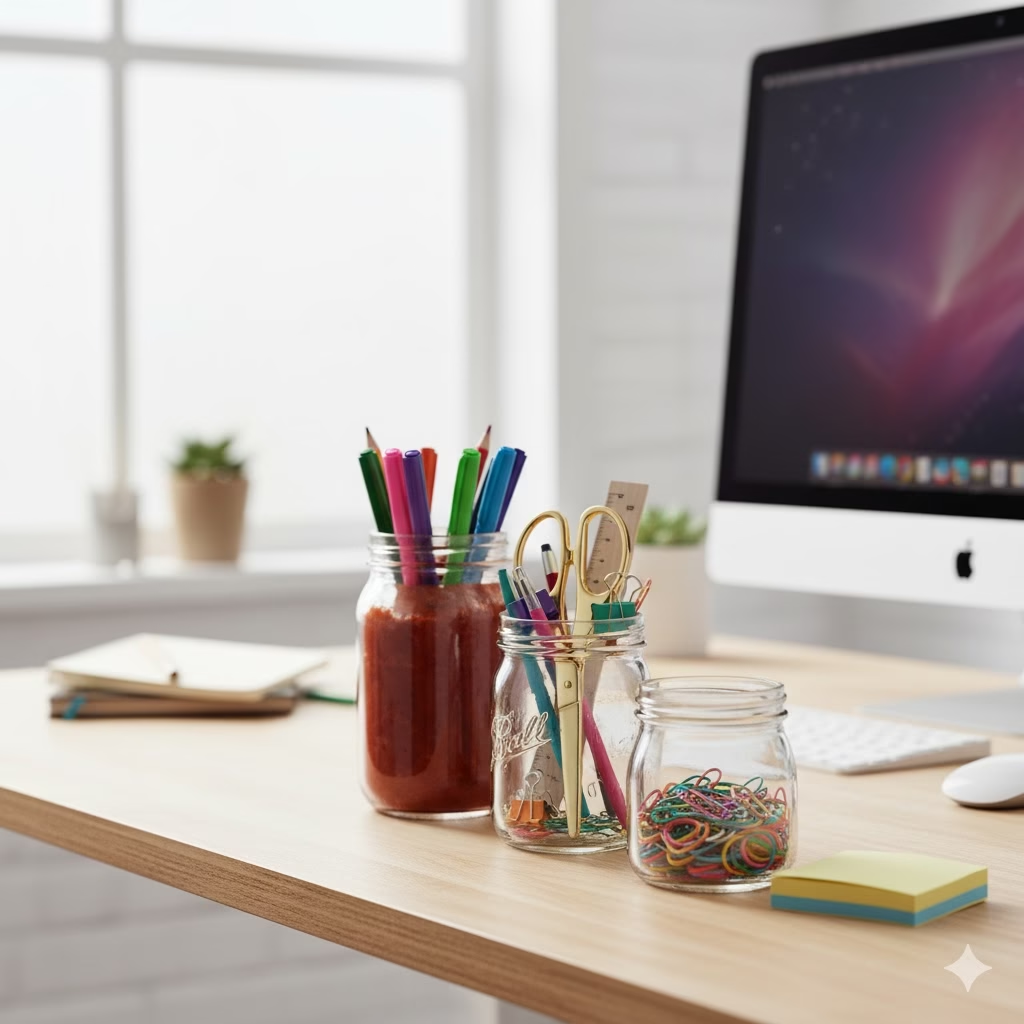
Get rid of desk clutter with the simple beauty of glass jars. They are perfect for keeping office supplies visible and neat.
How to do it:
- Collect Your Supplies: Pens, pencils, markers, paper clips, binder clips, staples, pushpins, rubber bands, scissors, rulers – almost any small item.
- Sort Them: Give different glass jars to different kinds of items.
- Place Them: Arrange the jars neatly on your desk, inside a drawer, or on a shelf.
- Make it Personal (Optional): You can paint the jars. Wrap them in pretty paper. Or add nice labels to match your office look.
Example: Three glass jars of different sizes, neatly on a desk. The tallest holds pens and pencils. A middle-sized one contains scissors and markers. A short, wide jar keeps paper clips and binder clips organized.
9. Piggy Banks & Coin Glass Jars
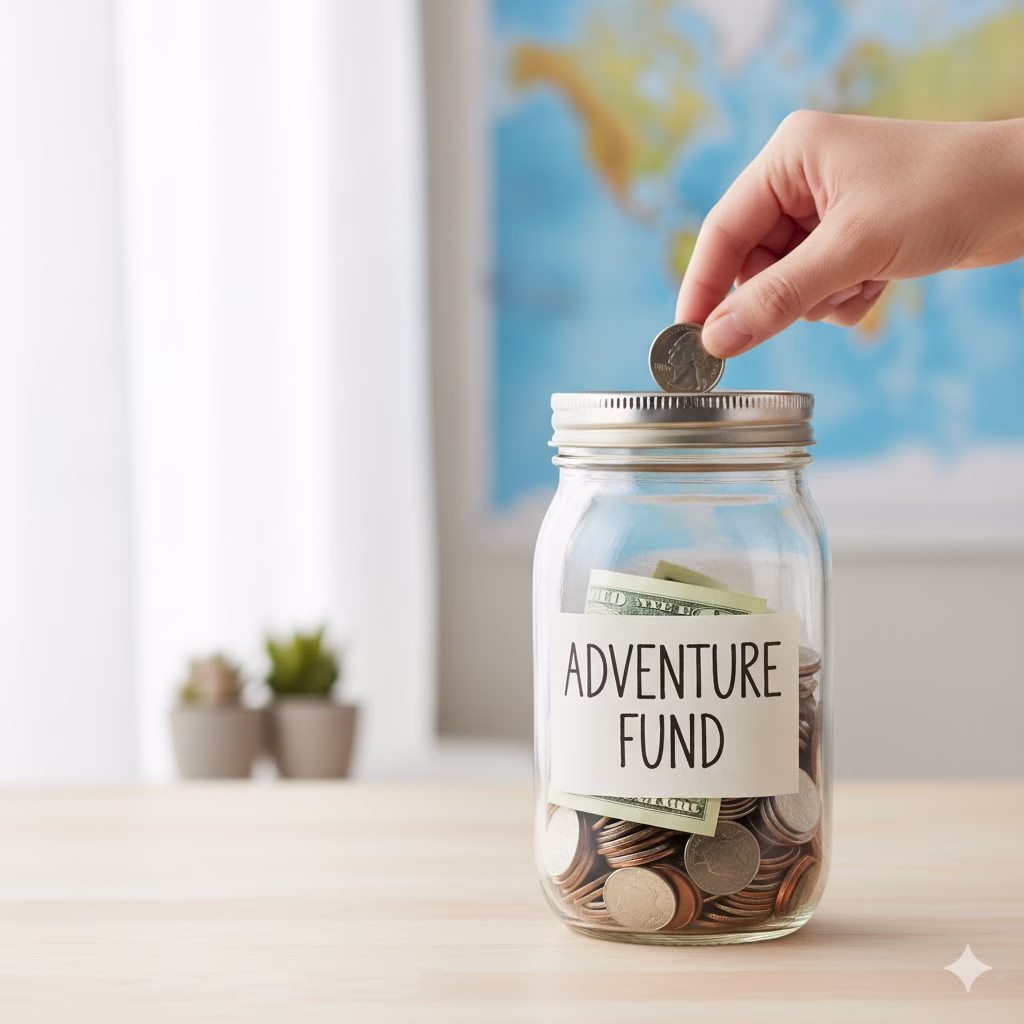
Start saving spare coins or even small bills. Turn a simple glass jar into a clear piggy bank. It’s nice to watch your savings grow!
How to do it:
- Choose a Strong Jar: A wider opening makes it easier to get money out when you need it.
- Change the Lid:
- Slotted Lid: Carefully cut a slot in the middle of a metal lid. Use tin snips or a Dremel. Smooth any sharp edges with sandpaper or a file.
- No Lid: Just use the open jar to drop money in quickly.
- Decorate:
- Savings Goal: Write your savings goal on the jar. For example, “Vacation Fund,” or “New Gadget.”
- Paint/Decoupage: Decorate the outside to make it more attractive.
- Start Saving!
Example: A medium-sized Mason jar. It has a brightly painted lid and a slot. It is clearly marked “Adventure Fund.” It slowly fills with coins and small bills. A constant visual reminder of a future trip.
10. Memory Glass Jars & Time Capsules

This is a very special and meaningful way to use glass jars. Make a memory jar to collect good moments all year. Or create a time capsule to capture a picture of today.
How to do it:
- Memory Jar (Ongoing):
- Decorate: Label the jar “Memory Jar” or “Gratitude Jar.”
- Collect: All year, when something good happens, or you have a memorable time, write it on a small piece of paper. Drop it into the jar.
- Look Back: On New Year’s Eve, open the jar. Read all the wonderful moments you collected. It gives a beautiful summary of your year.
- Time Capsule (Sealed):
- Pick a Date: Decide when you will open it. For example, in 5 years, or 10 years.
- Gather Items: Put in things that show the current time. Photos, newspaper clippings, a list of popular trends, movie tickets, a handwritten letter to your future self, small toys, notes from family members.
- Seal It: Close the lid very tightly. You can even use wax to seal it completely.
- Hide/Bury It: Keep it in a safe, dry place. Or bury it. Make sure the jar is well-sealed and safe from water.
Example: A beautiful, simply decorated glass jar on a living room shelf. It slowly fills with folded notes. These notes tell about family events, funny sayings, and small wins through the year. Or a sealed, strong jar buried in the garden. It holds letters and small items from childhood. It waits to be dug up years later.
Conclusion for Glass Jars
From simple storage to touching time capsules, glass jars are truly amazing. By trying these upcycling ideas, you do more than just add unique touches to your home. You also actively help reduce waste and live greener. So, next time you finish that jar of pickles or jam, don’t just throw it away. See what it can become. Clean it up. Give it one of these 10 creative new lives. Your home, your wallet, and the planet will all thank you. Happy upcycling!
FAQ about Recycling Glass Jars
Q1: How do I get rid of stuck labels and glue from glass jars?
A: Soak jars in hot, soapy water for 30 minutes to an hour. Many labels will then peel off easily. For very sticky glue, mix baking soda with a little oil. Make a paste. Put it on the glue. Let it sit for 15-30 minutes. Then scrub with a pad. Rubbing alcohol or nail polish remover can also work. Always test them in a hidden spot first.
Q2: Can I paint glass jars? What paint should I use?
A: Yes, you can! For decoration, use acrylic paint made for glass. Spray paint (especially frosted or matte colors) or enamel paints work well. For jars you will wash, look for paints that say “dishwasher safe.” Some need baking to set the paint for a long-lasting finish. Always follow the paint maker’s directions.
Q3: Are all glass jars safe for storing food or drinking?
A: Yes, generally, if they are very clean. But be careful with jars that held things like candles or chemicals. Only use them for food if you are sure they can be cleaned to be completely food-safe. For long-term canning, always use special canning jars (like Mason jars). These are made to handle high heat and pressure.
Q4: How can I make a handle for a glass jar to hang it up as a lantern?
A: You can use thick craft wire, flexible aluminum wire, or even an old metal coat hanger. Wrap the wire tightly around the neck of the jar. Twist the ends together. Then, make a loop at the top for hanging. Make sure the handle is strong enough to hold the jar’s full weight, especially if it has candles or other heavy things inside.
Q5: What are some tips for making terrariums in glass jars?
A: Pick plants that grow slowly. They should like humidity (for closed terrariums) or dry weather (for open ones). The right layers of drainage stones, charcoal, and soil are very important. Water very little, especially in closed terrariums. They create their own moisture. If your jar has a narrow opening, use long tweezers or chopsticks to arrange items.
References
- The Spruce Crafts – 7 Ways to Repurpose Empty Glass Jars
- DIY Network – How to Make a Terrarium : 7 Steps (with Pictures)
- Recyclenow – Glass bottles and jars
Recent Posts