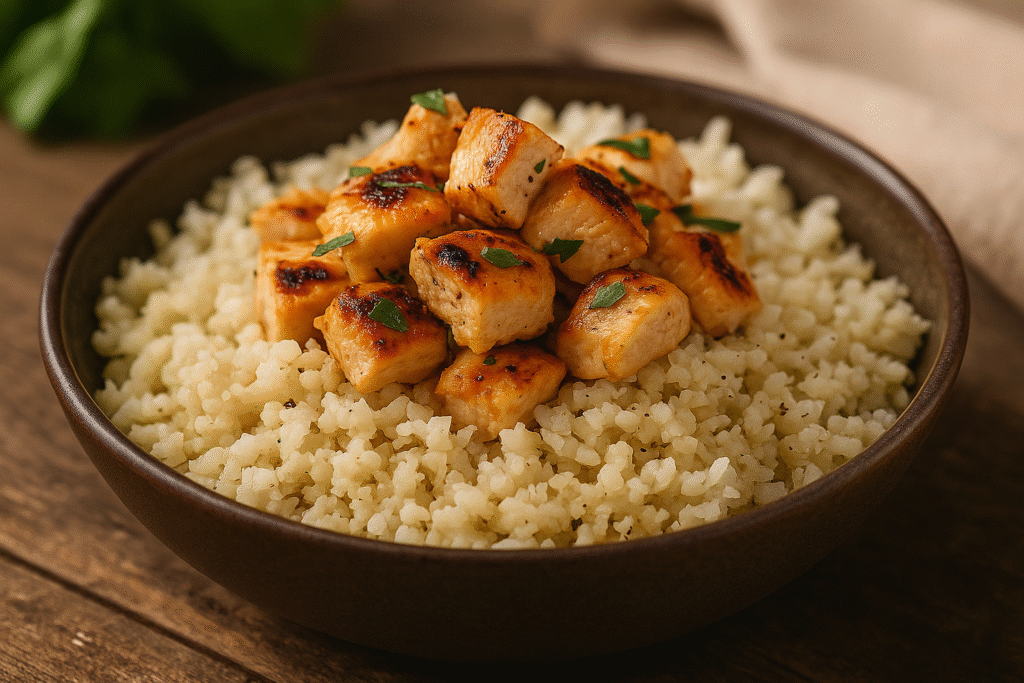
These golden bean bombs are a fun and nutritious way to enjoy rice, beans, and vegetables in one crispy bite. The recipe is simple to follow, family-friendly, and perfect for both meal prep and casual dinners. With bean bombs, you’ll enjoy a crunchy outside and a flavorful, wholesome filling every time.

Introduction to Rice With Vegetable And Bean Bombs
There’s something deeply satisfying about biting into a crisp, golden snack that bursts with flavor and texture. That’s exactly what you get with these bean bombs — a wholesome and creative twist on fritters. They’re crunchy on the outside, colorful on the inside, and packed with protein, fiber, and goodness from vegetables and beans.
Unlike heavy fried snacks, bean bombs strike a balance between indulgence and nutrition. Thanks to the rice, beans, and vegetables, they’re filling enough for lunch or dinner, while still working beautifully as appetizers or party bites. They’re also versatile — you can bake or fry them, switch up the spices, or even prep them ahead of time for busy weekdays.
What makes them stand out is the texture. The rice gives structure, the beans provide protein and heartiness, and the vegetables add a sweet pop of flavor. A simple breadcrumb coating ensures they fry up golden and crunchy, making them not just delicious but also visually stunning — they look every bit as inviting as they taste.
If you’re looking for a recipe that can serve as a snack, a main dish, or a lunchbox filler, bean bombs are a fantastic choice. They’re also customizable for vegan, vegetarian, or gluten-free diets, which makes them perfect for feeding a mixed crowd.
Let’s dive into this step-by-step recipe and see how you can make your very own bean bombs that look just as good as the ones in the feature image.

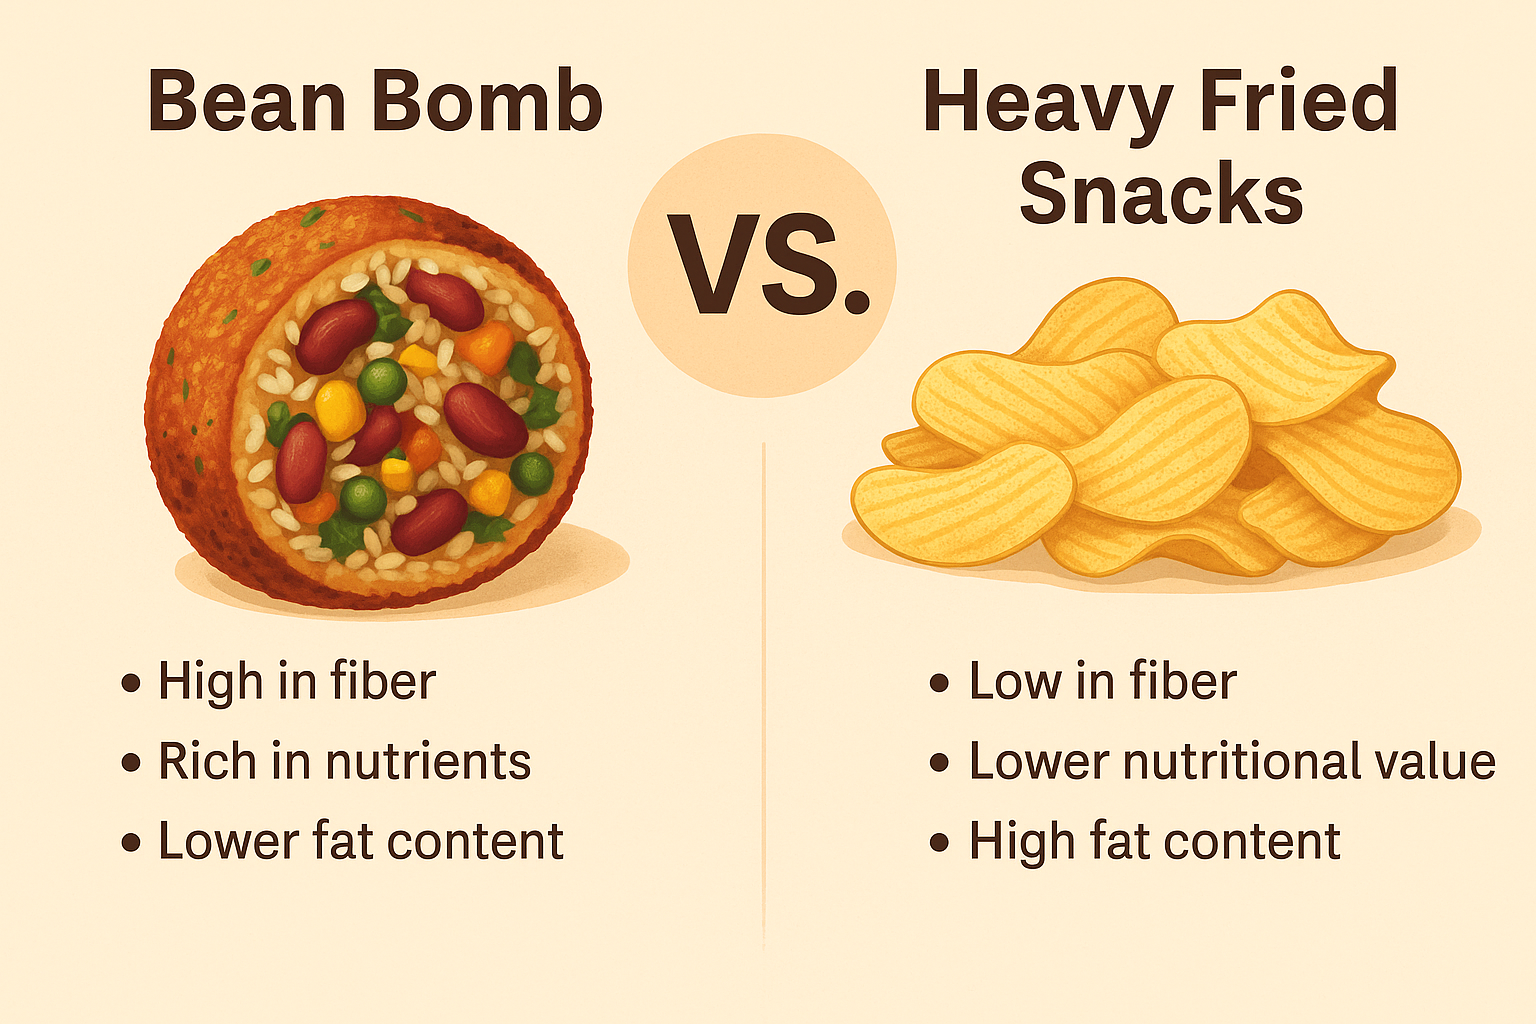
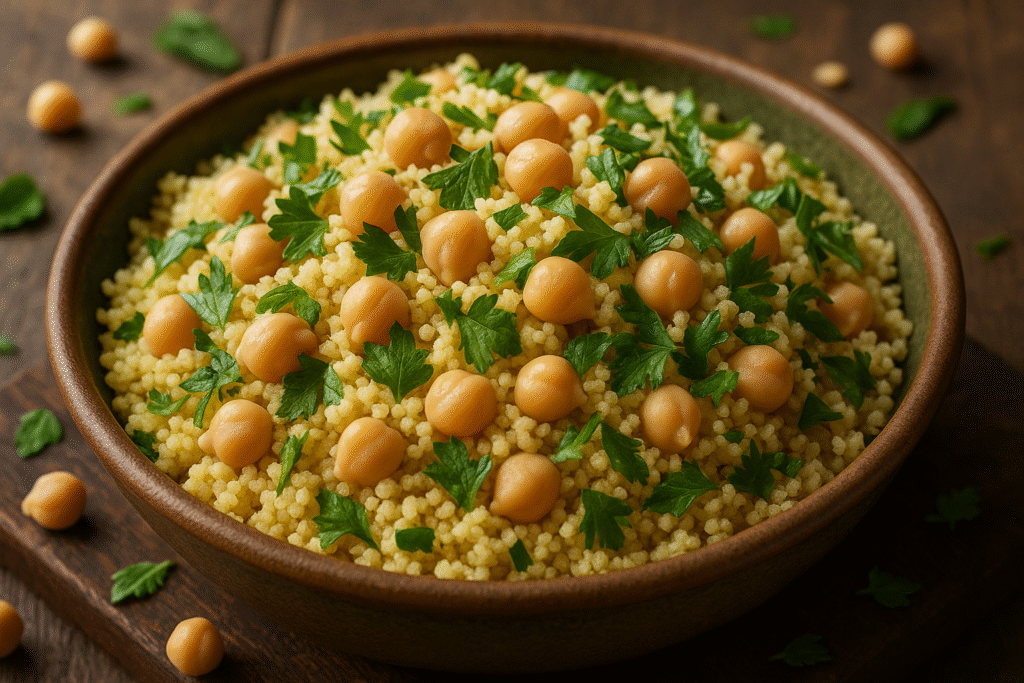
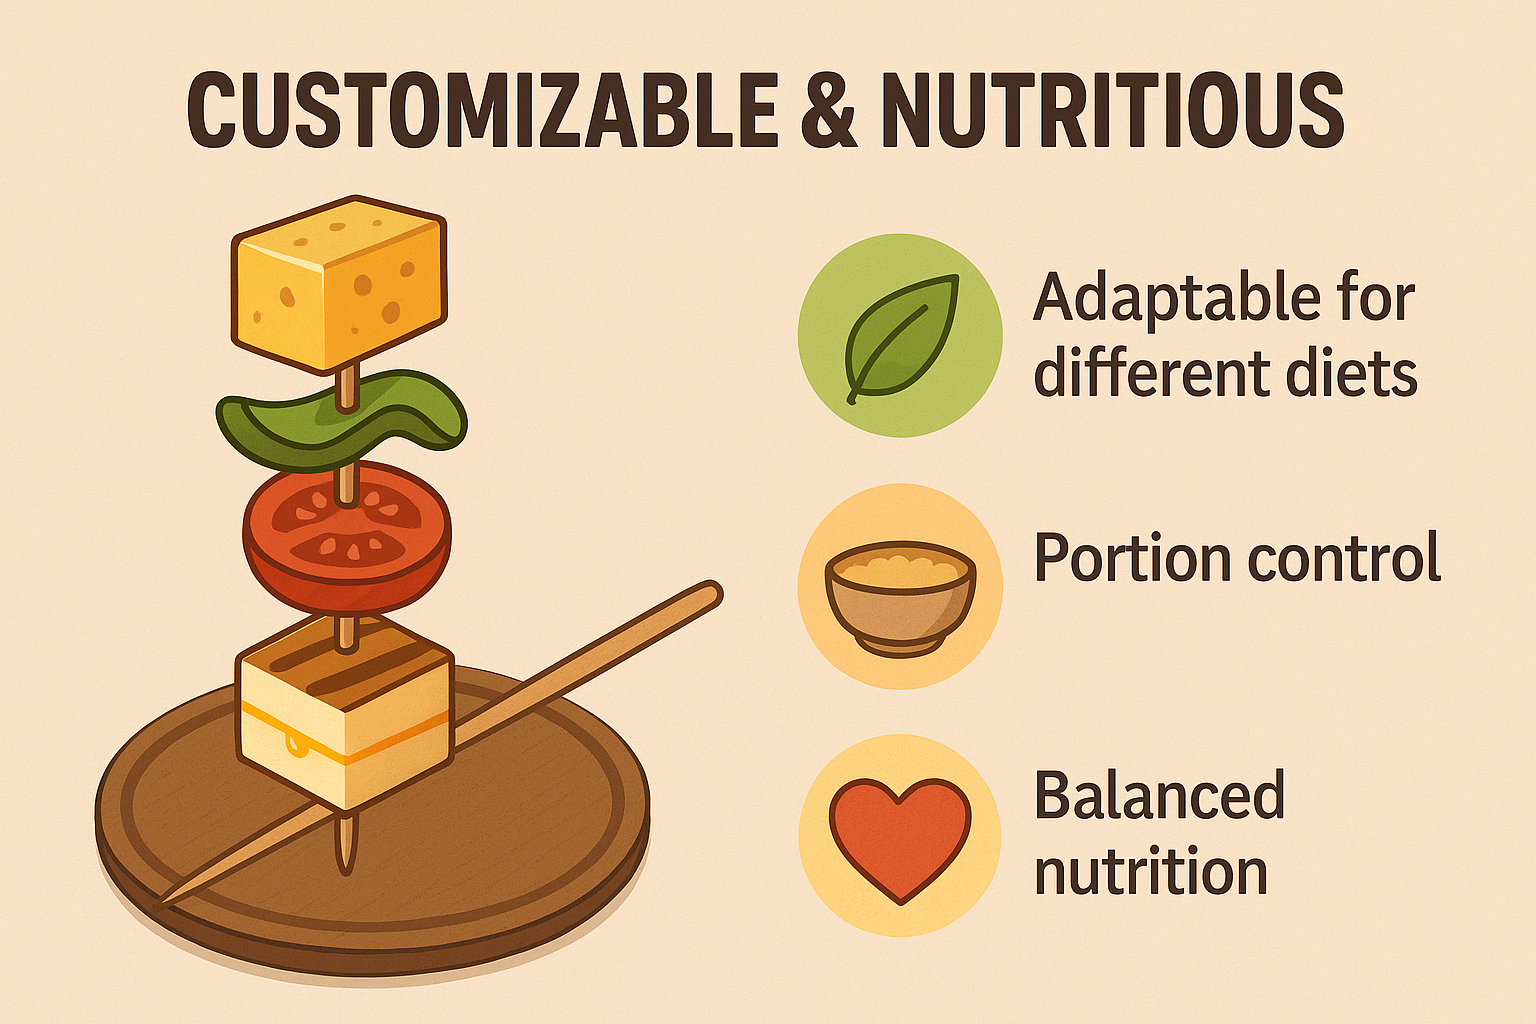
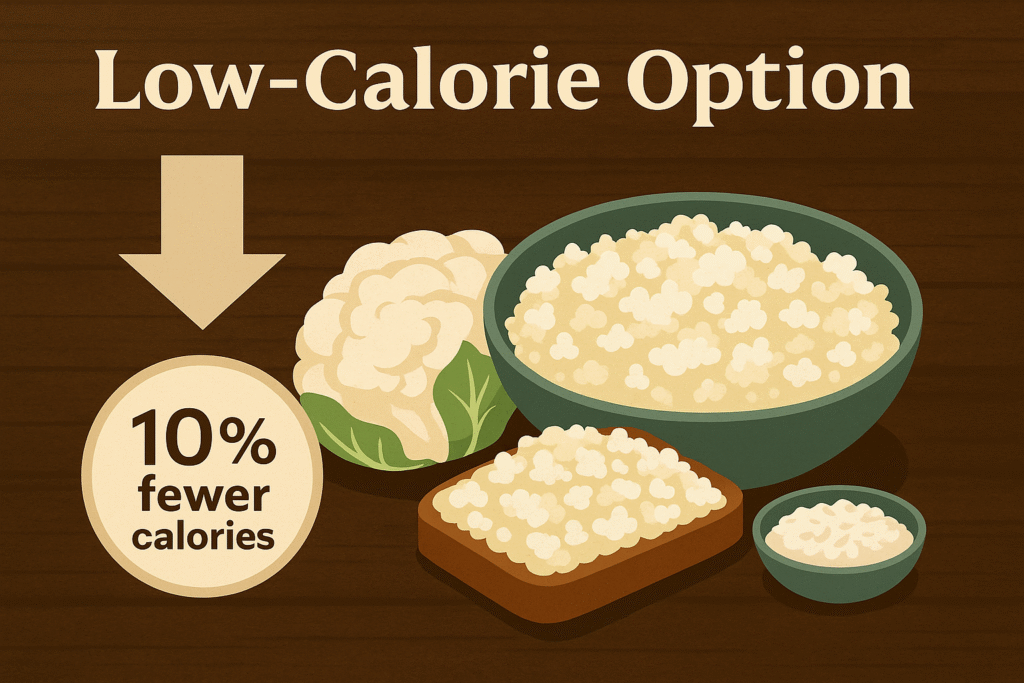
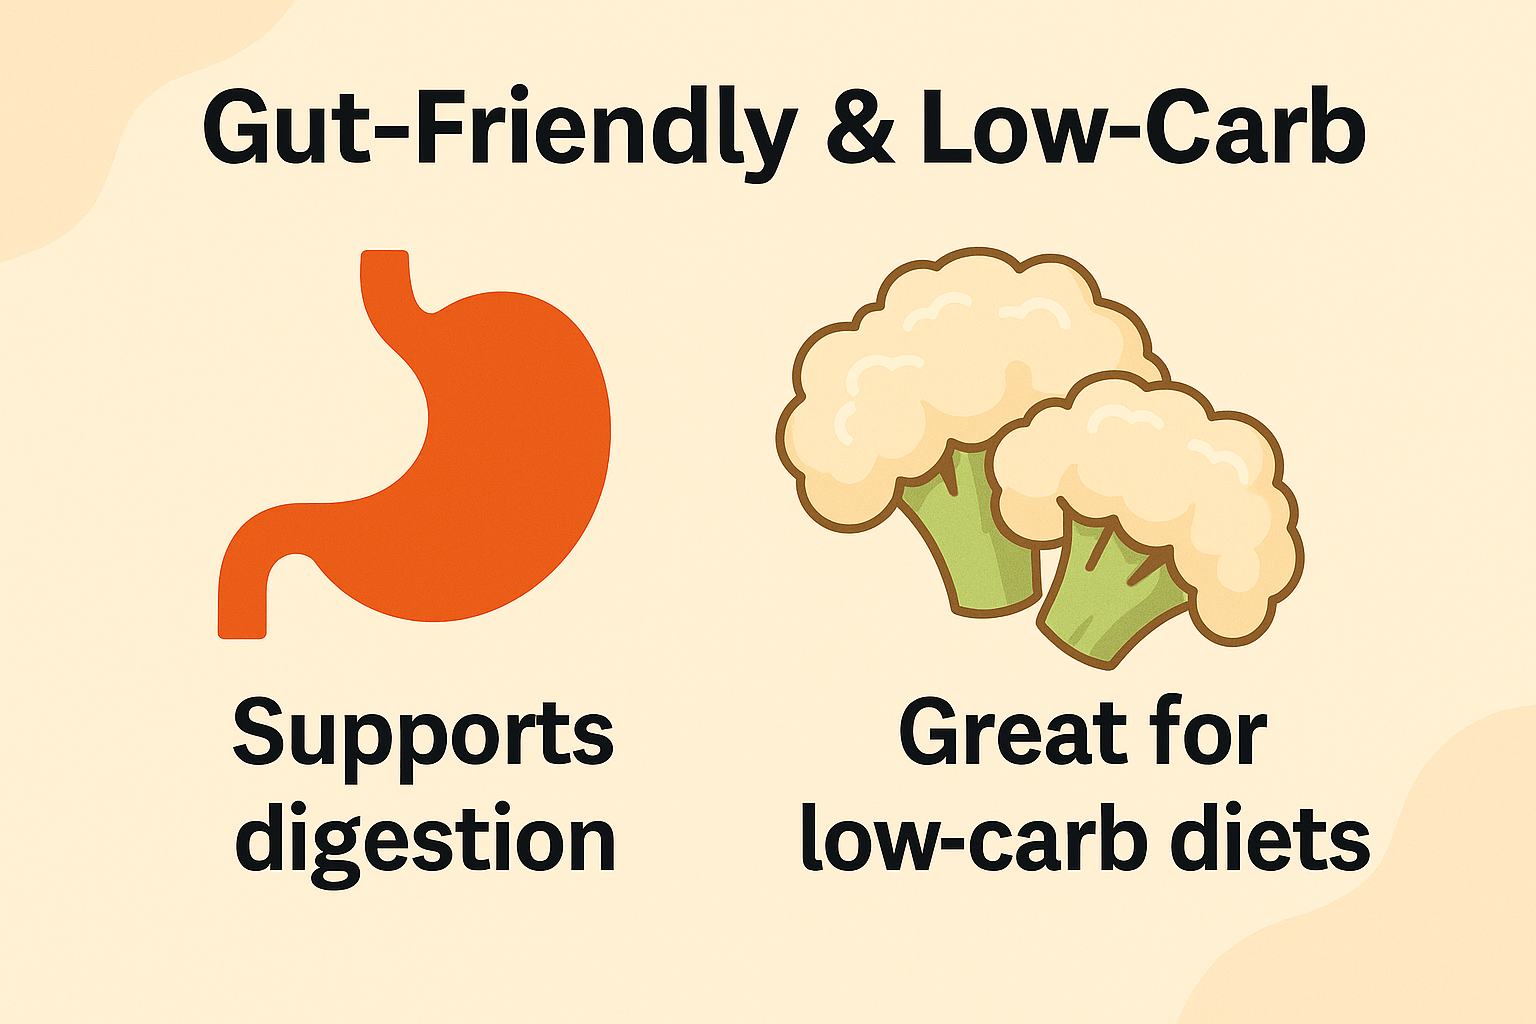
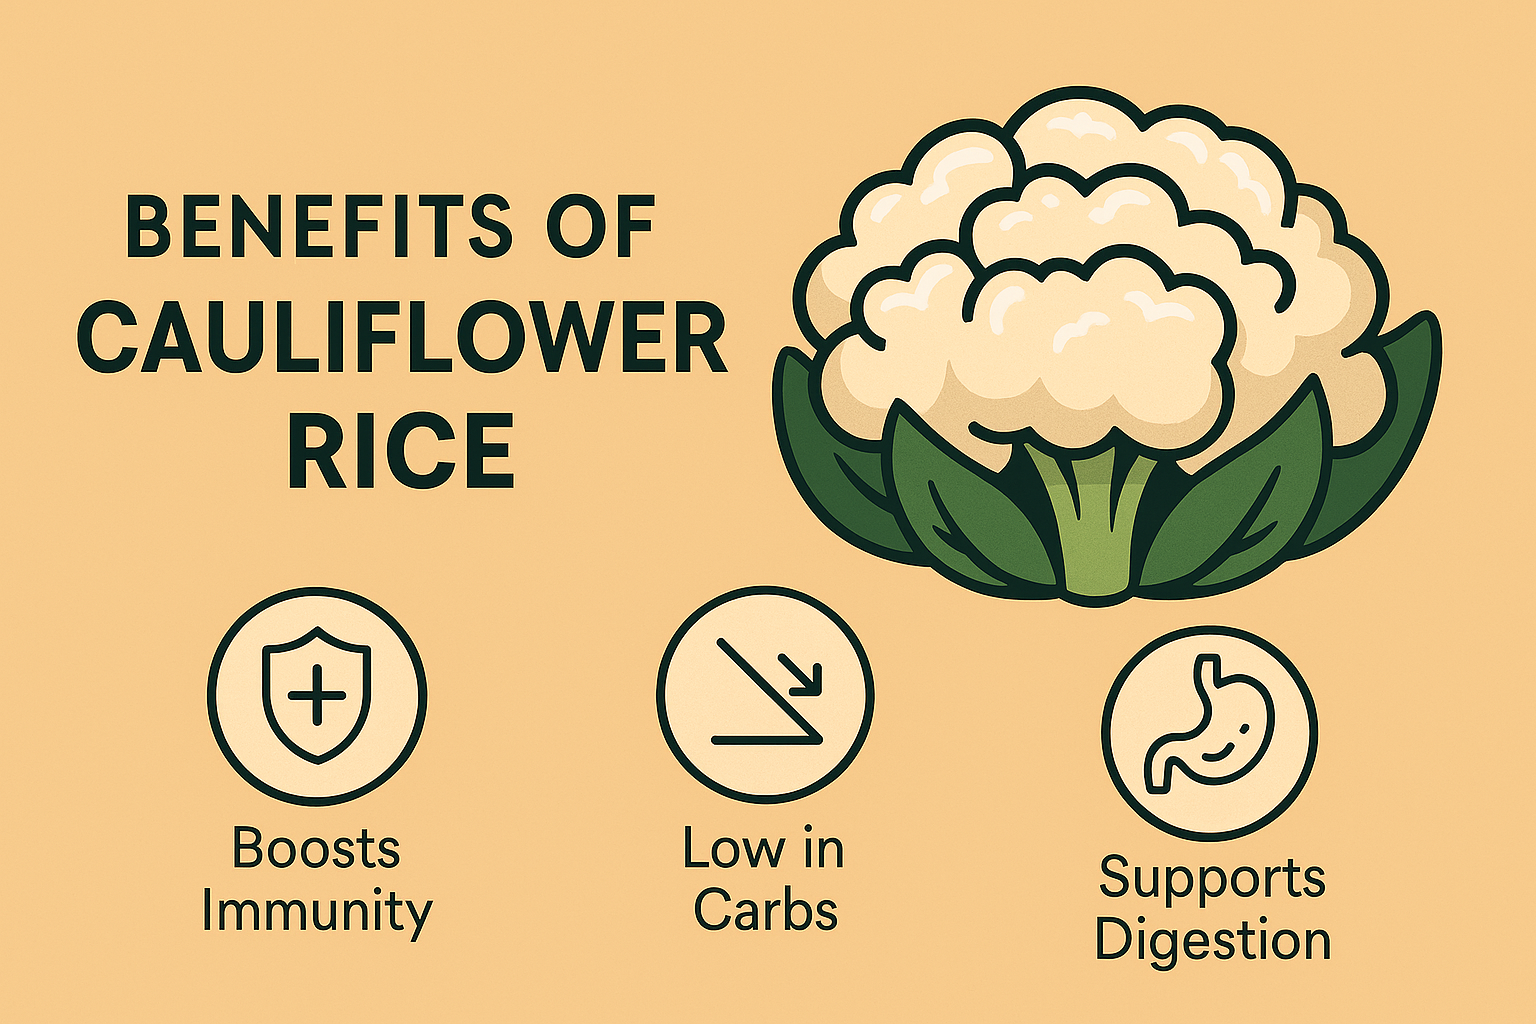
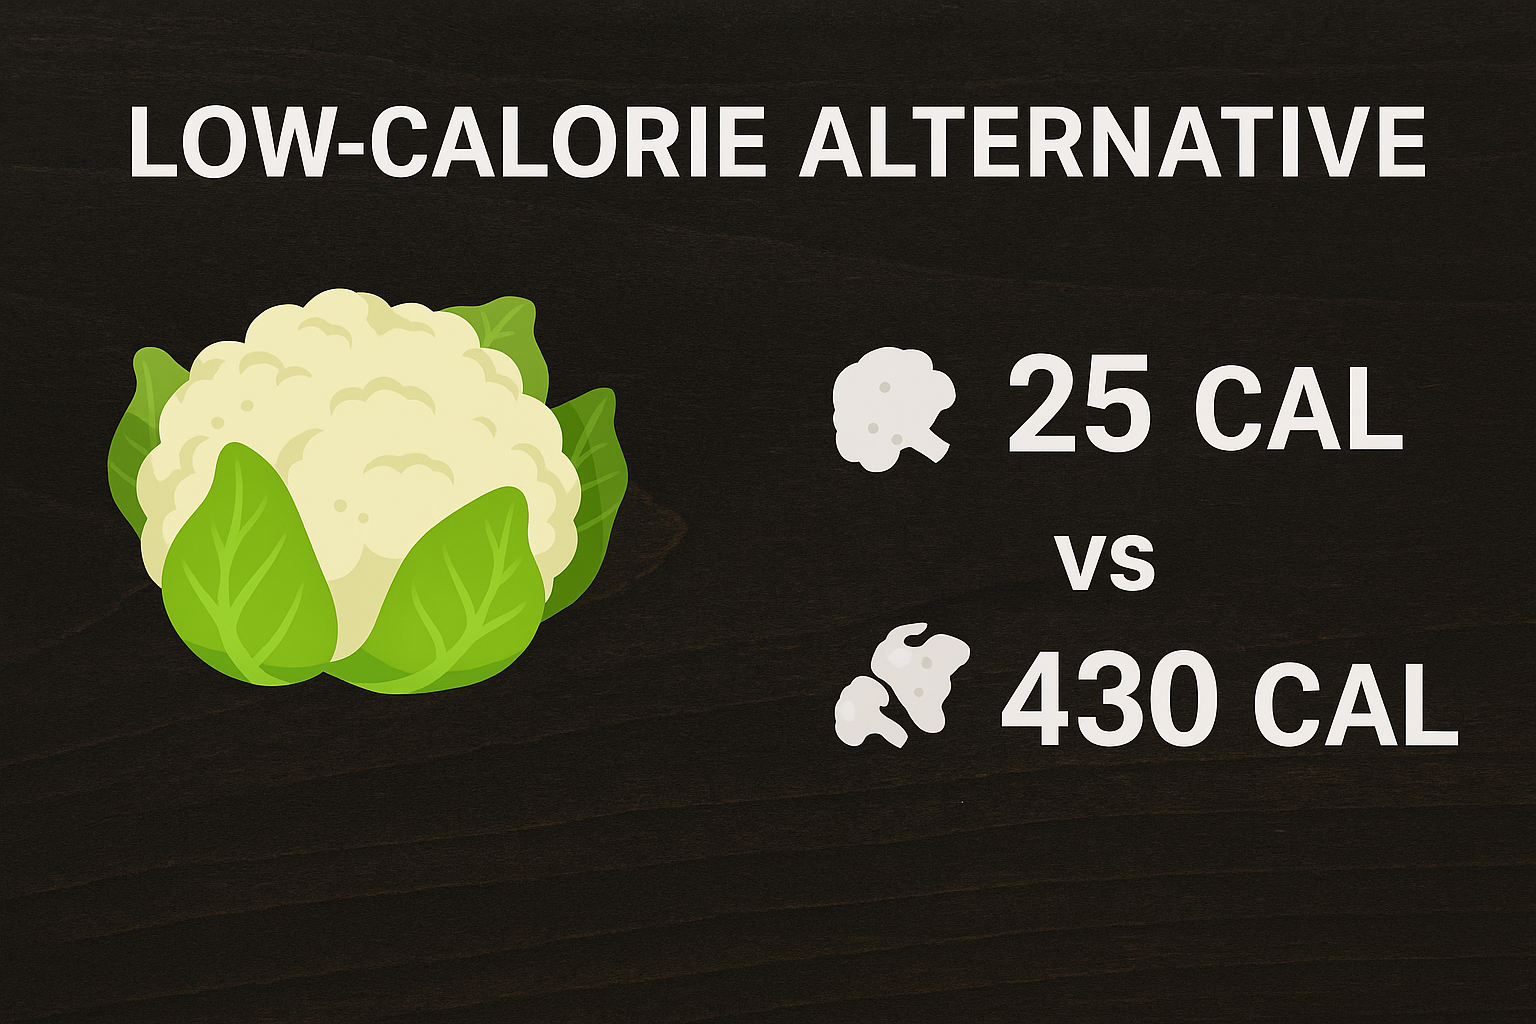
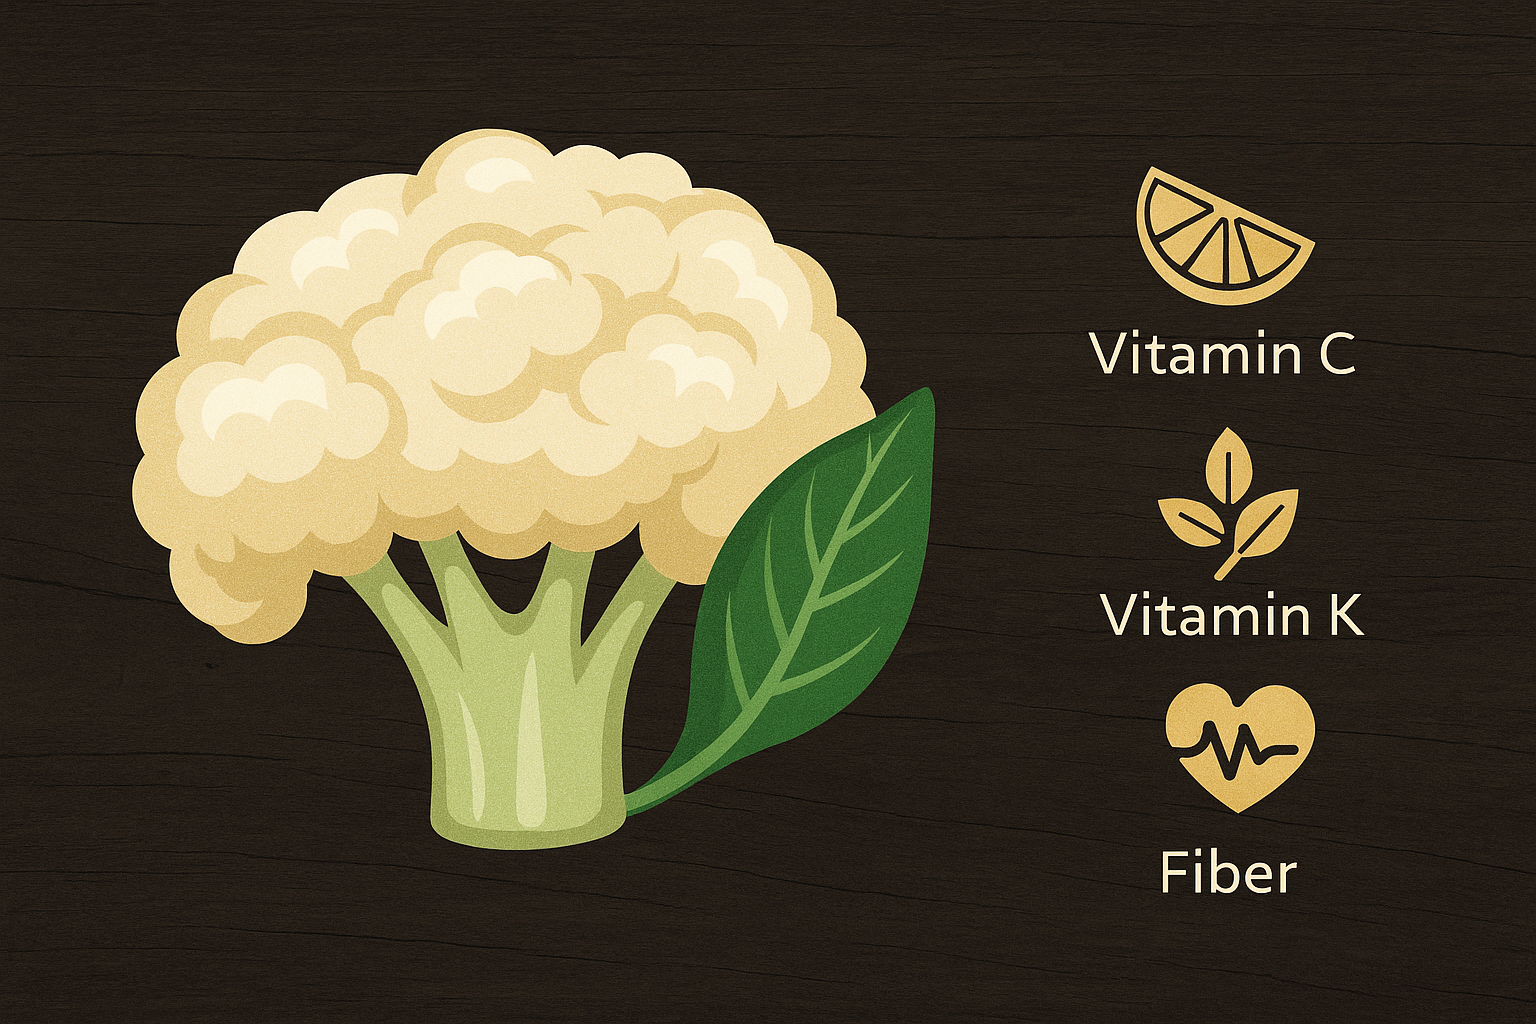
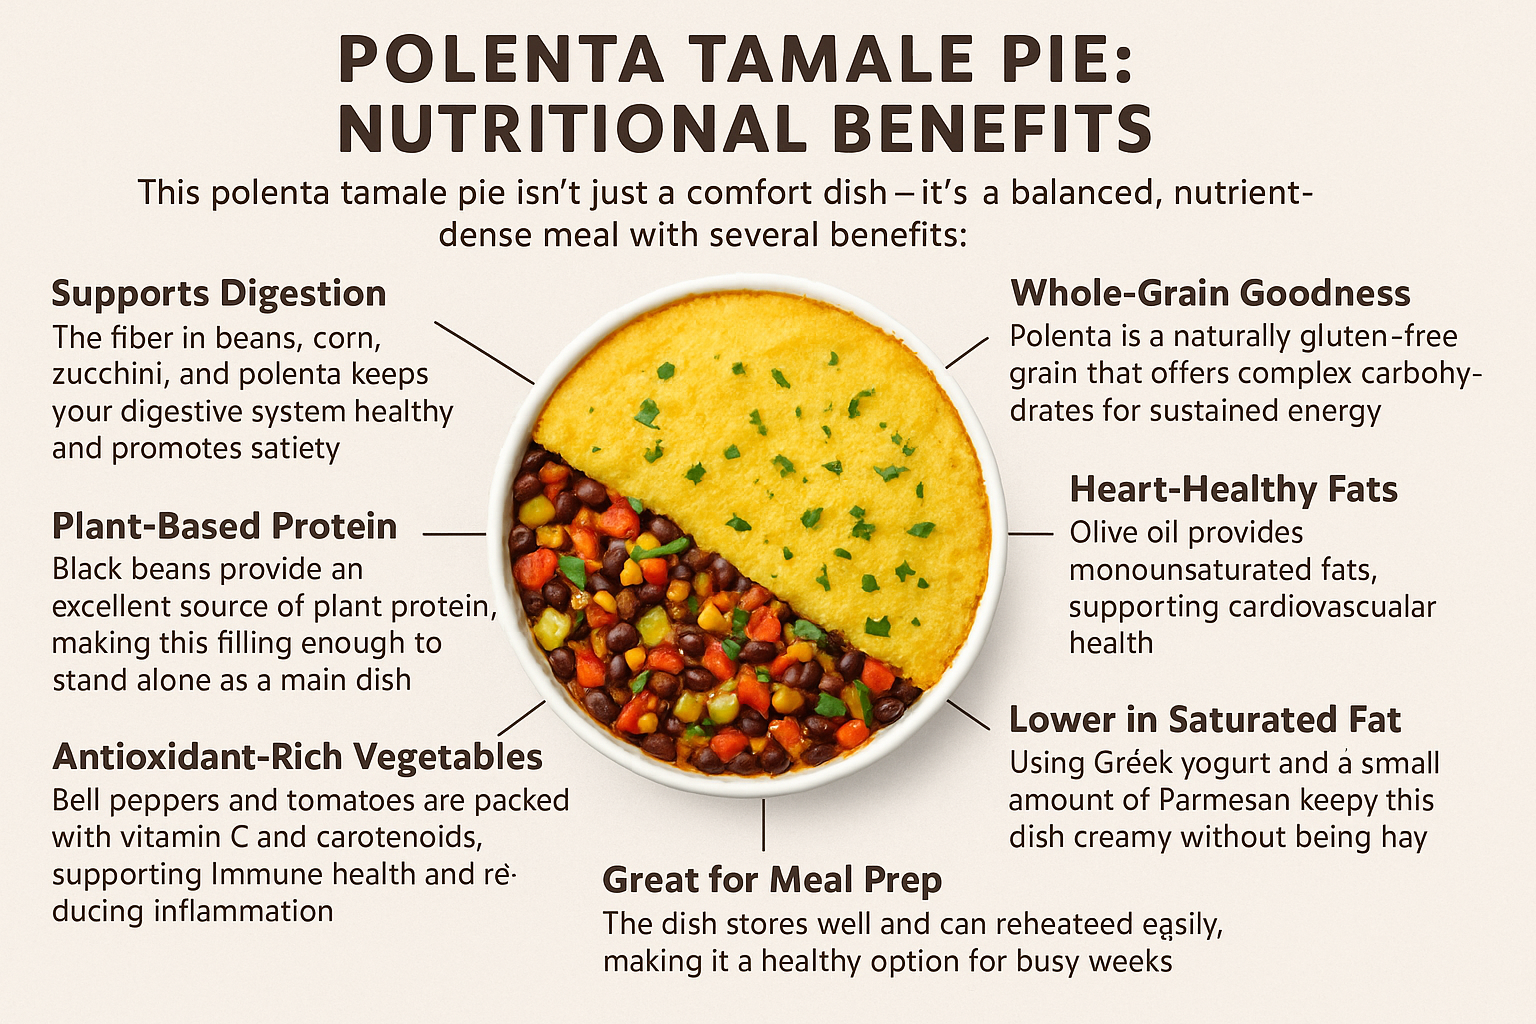
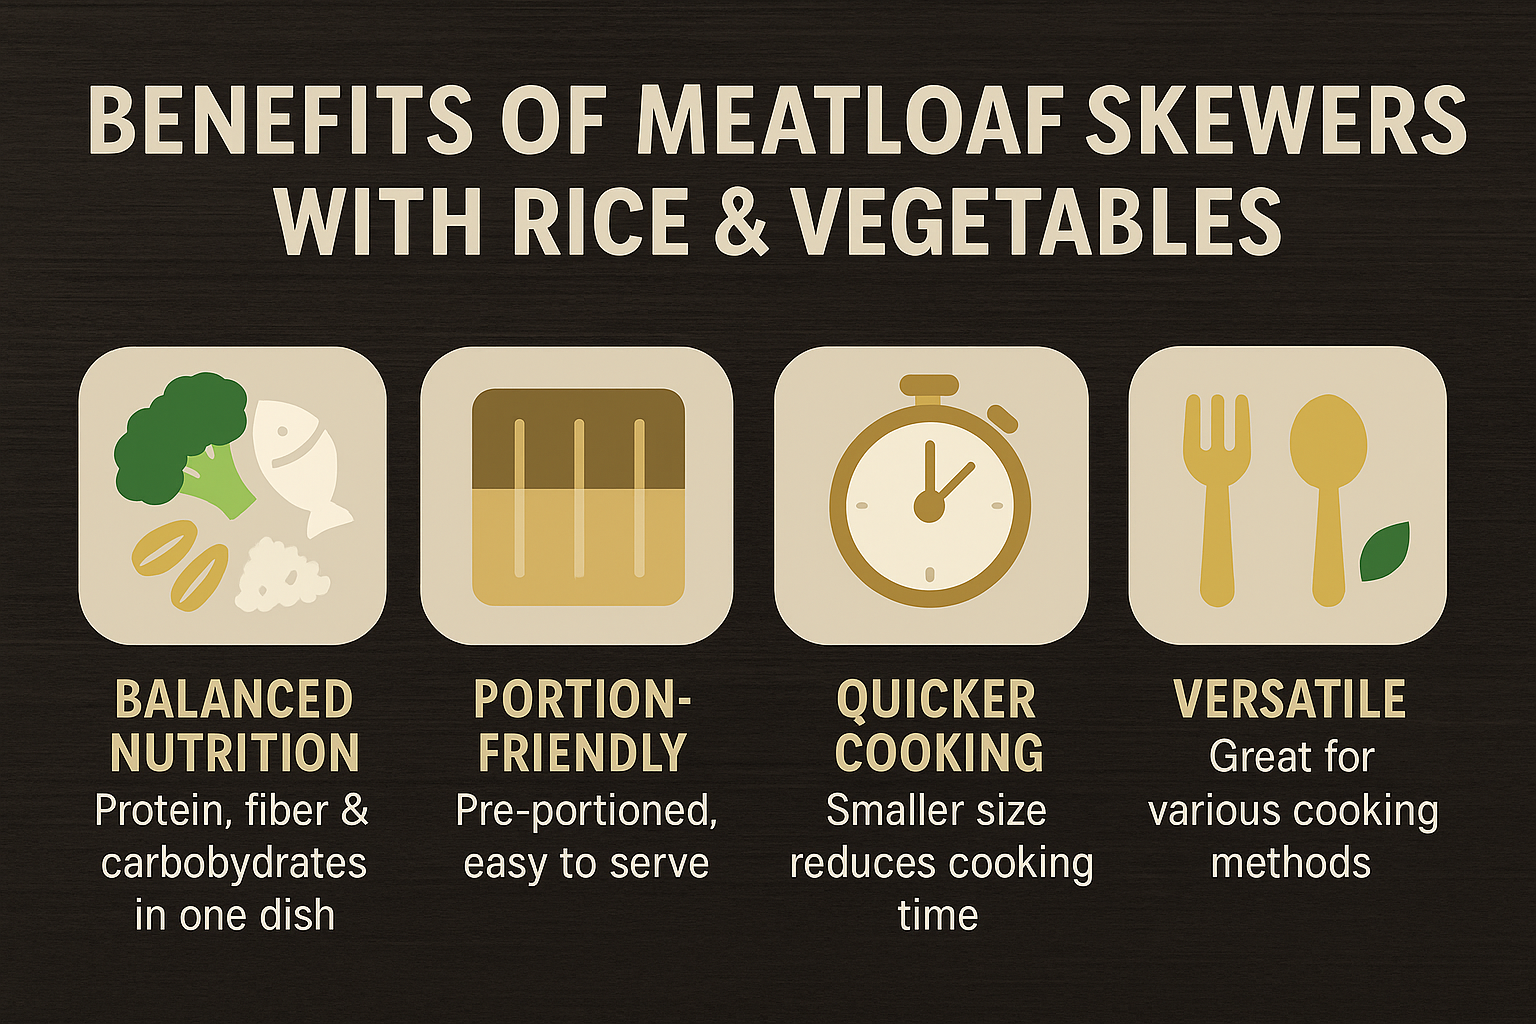
The infographics shown the benefits of the Rice With Vegetable And Bean Bombs and how other fried snacks are not so healthy.
Time to Prepare
10–15 minutes
Time to Cook
20 minutes
Servings
Makes 12–14 bean bombs
Nutritional Information (per serving, approx. 2 bean bombs)
- Calories: 140
- Protein: 6g
- Carbohydrates: 22g
- Fiber: 5g
- Fat: 4g
- Saturated Fat: 0.5g
- Sodium: 180mg
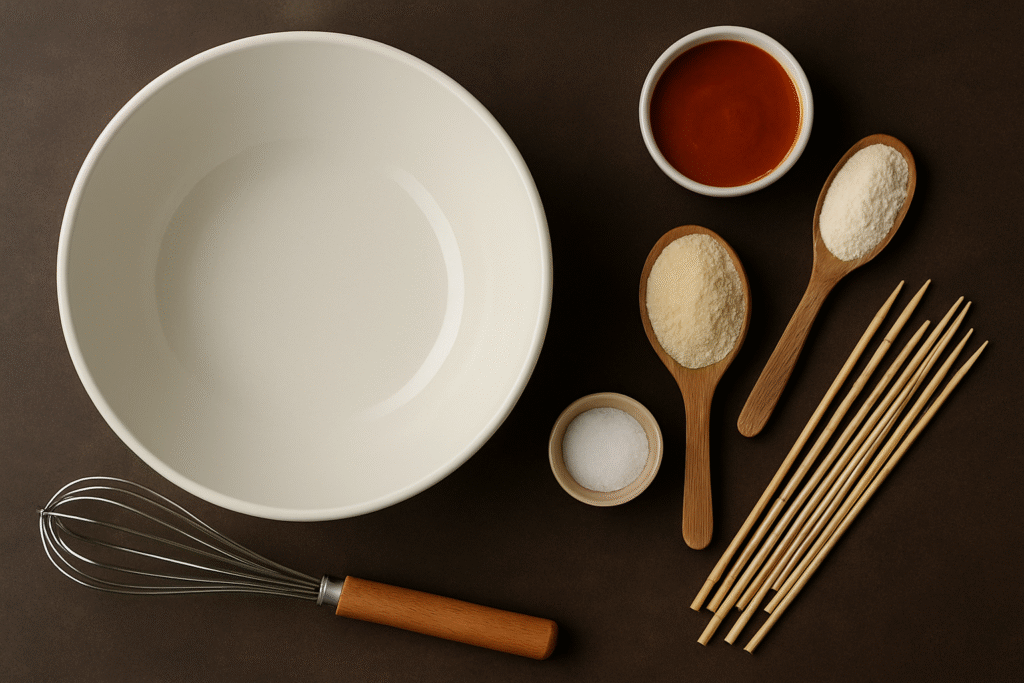
Equipment You’ll Need
- Large mixing bowl – for combining the beans, rice, and vegetables.
- Knife and cutting board – for chopping vegetables and herbs.
- Measuring cups and spoons – to ensure accurate quantities.
- Wooden spoon or spatula – for mixing the ingredients together.
- Tray or plate – to rest shaped bombs before cooking.
- Non-stick frying pan or skillet – if pan-frying.
- Oven and baking sheet – if baking.
- Air fryer basket – optional, for the air fryer version.
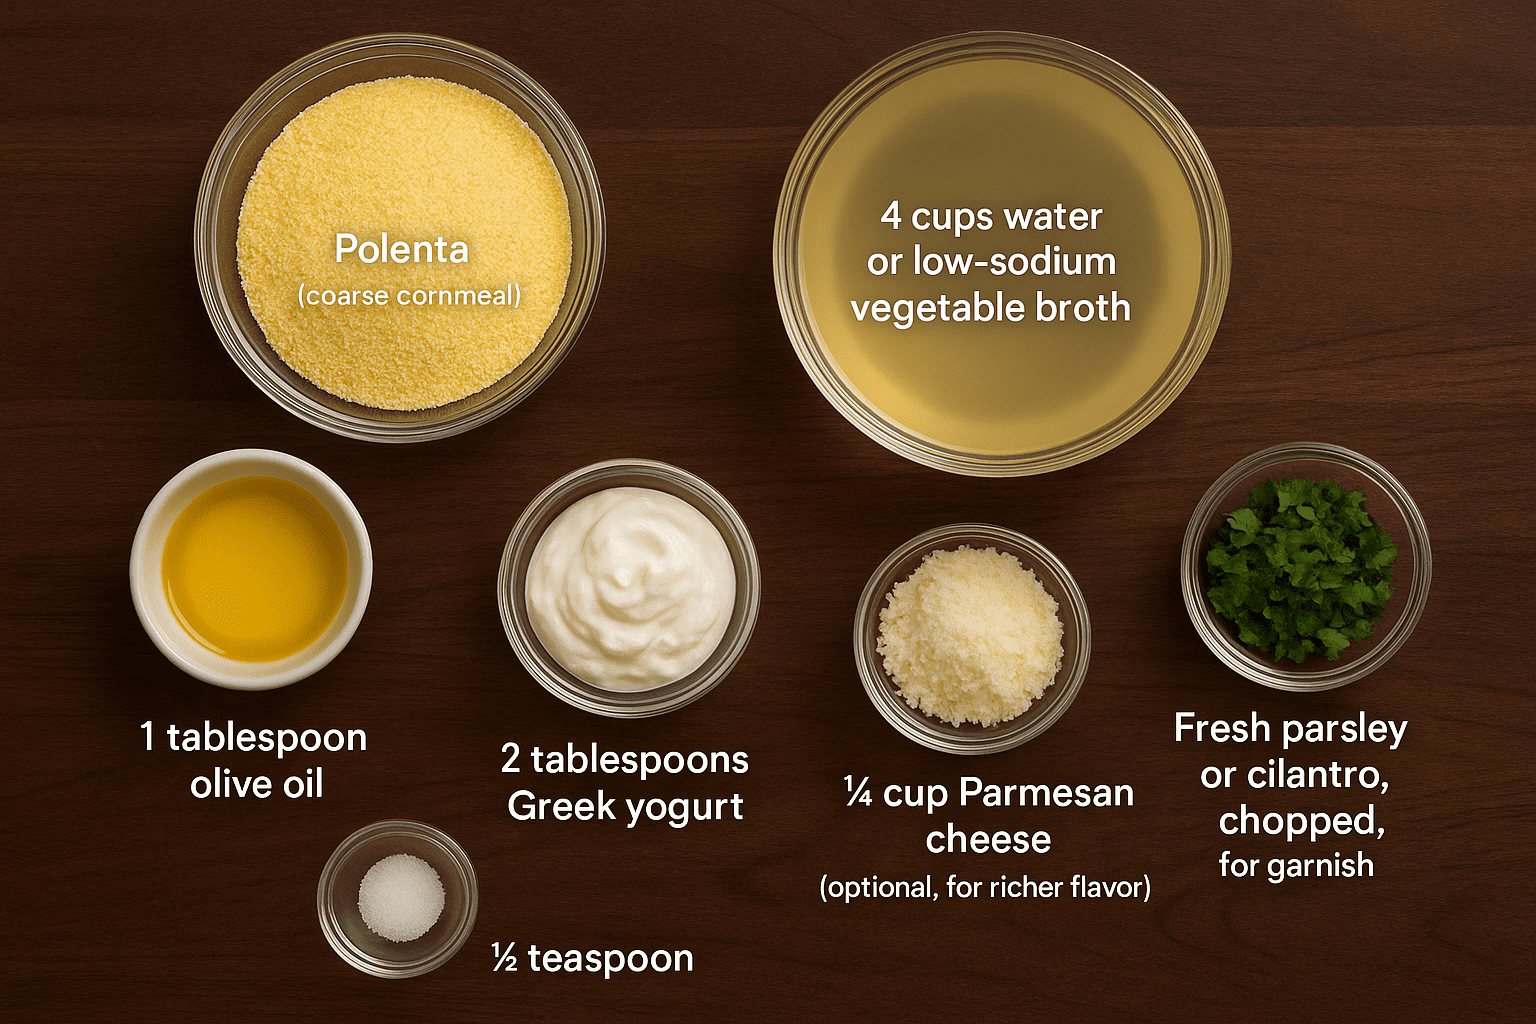
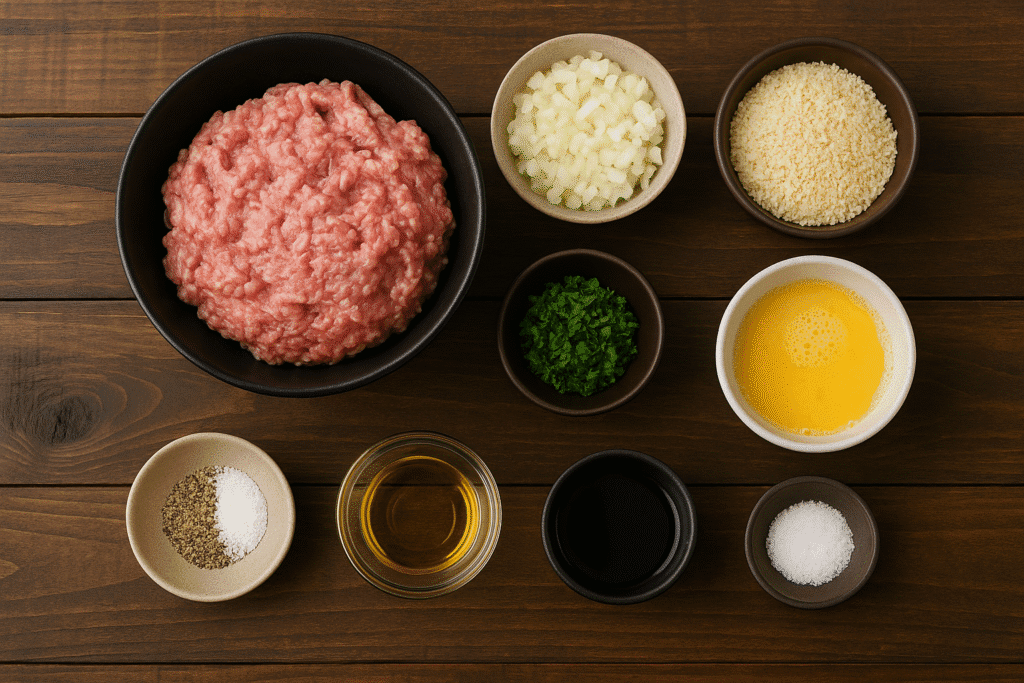
Ingredients
- 1 can (15 oz) black beans, rinsed and drained
- 1 cup cooked rice (white or brown)
- 1 small carrot, grated
- ½ cup bell pepper, finely diced
- ¼ cup corn kernels (fresh or frozen)
- 2 tablespoons chopped fresh parsley or cilantro
- 2 cloves garlic, minced
- 1 teaspoon ground cumin
- ½ teaspoon smoked paprika
- Salt and pepper, to taste
- ½ cup breadcrumbs (plus more if needed)
- 1 large egg (or flax egg for vegan option)
- 2 tablespoons olive oil (for pan-frying)
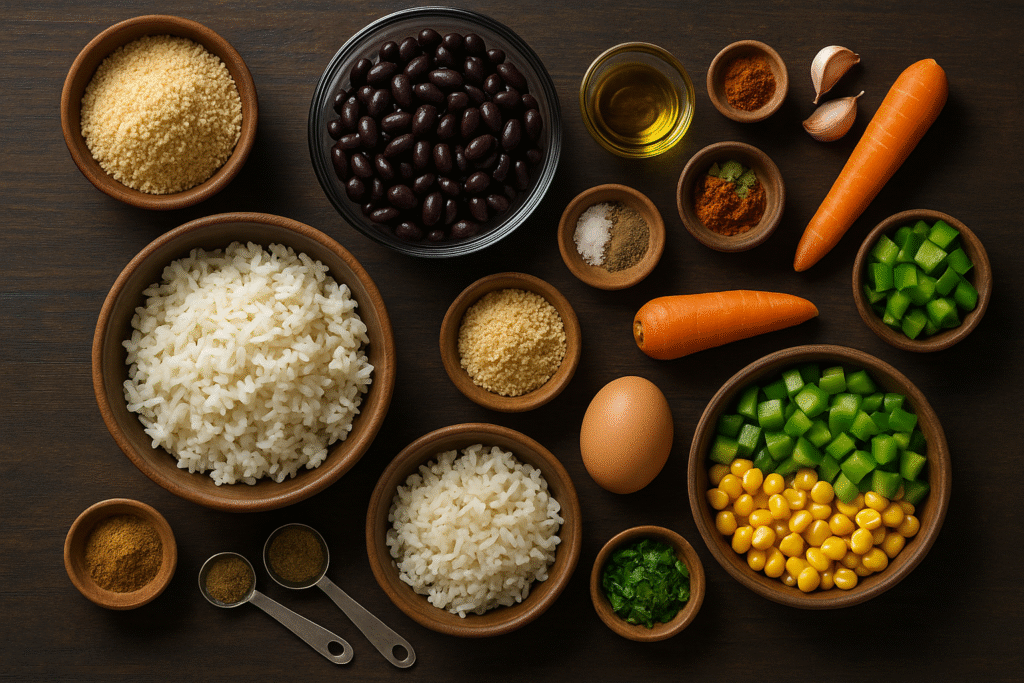
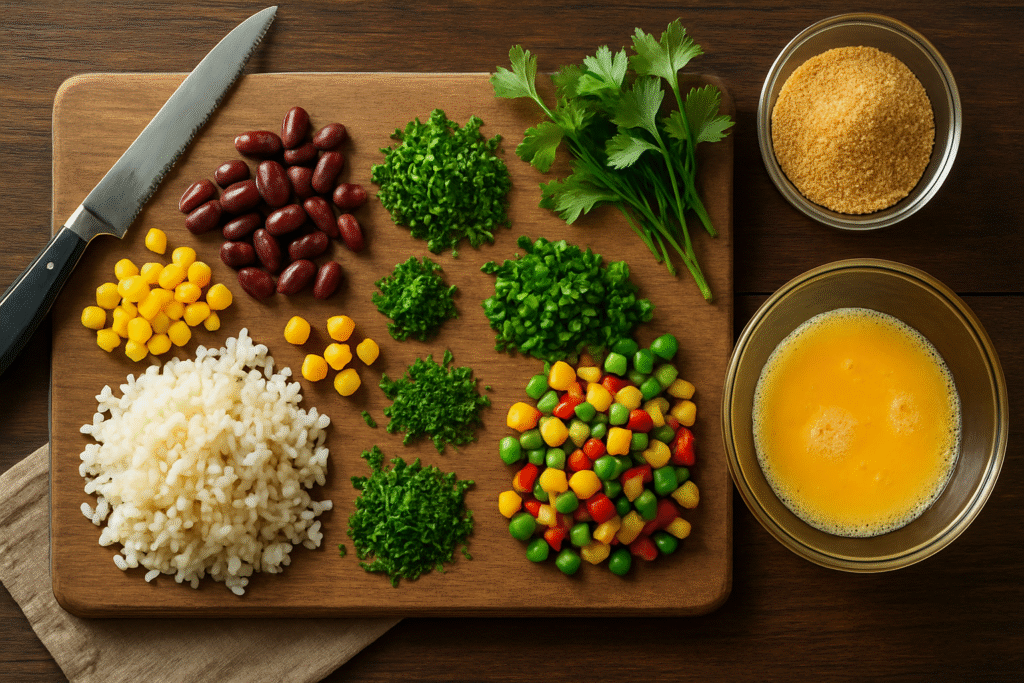
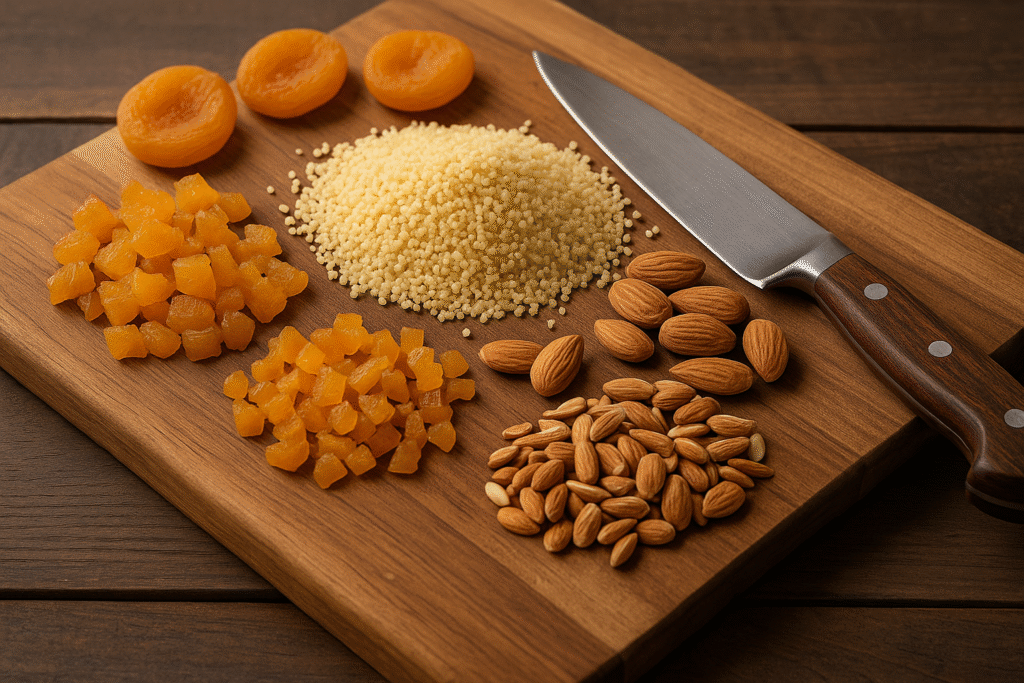
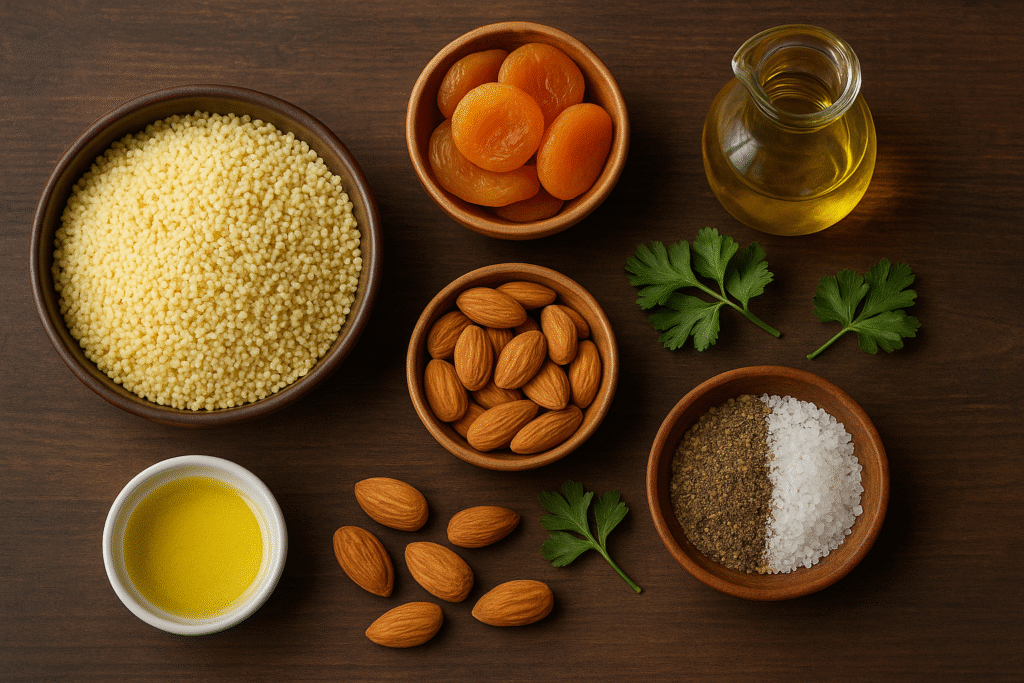
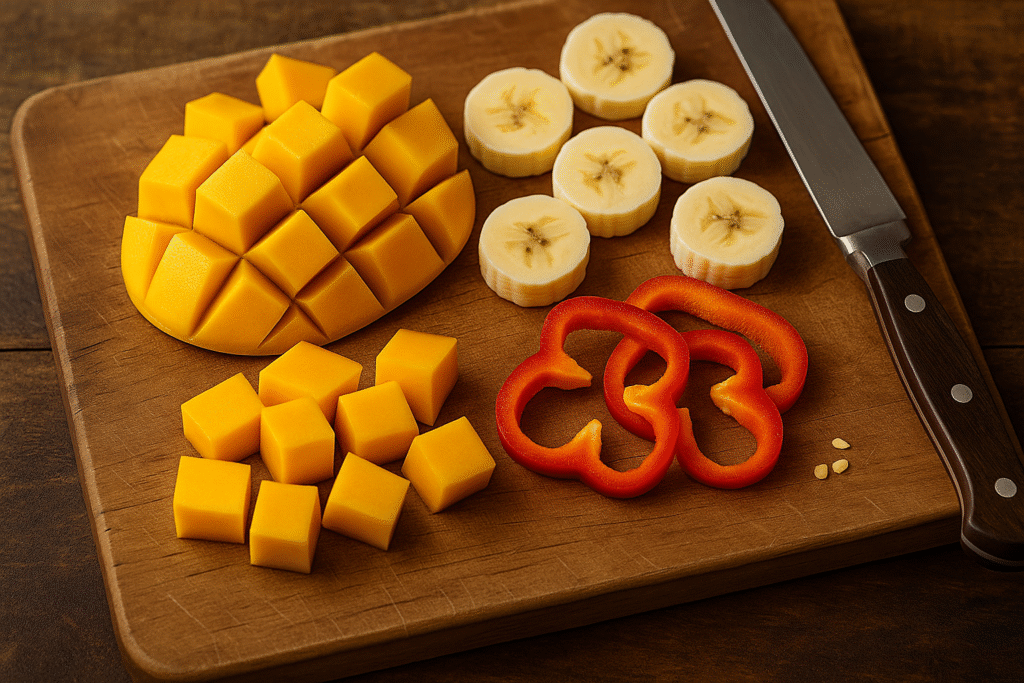
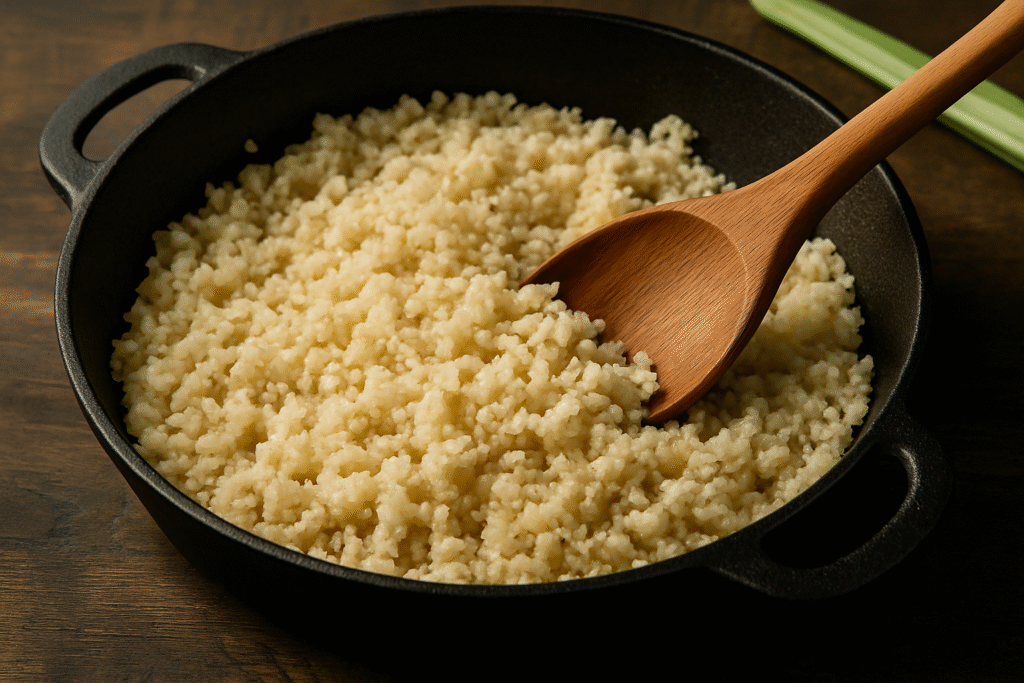
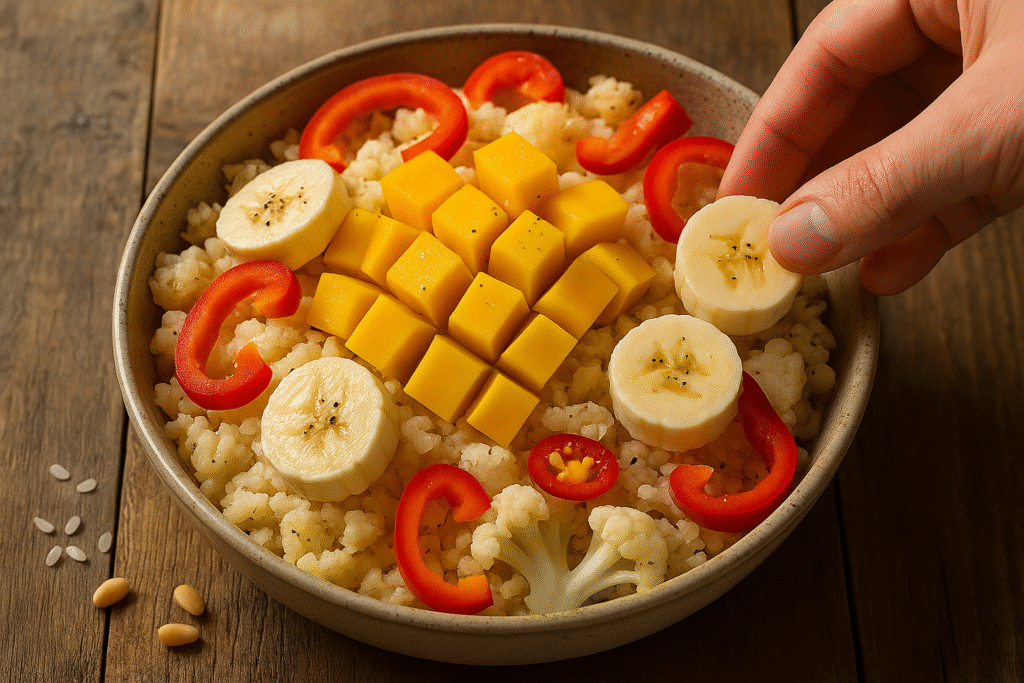
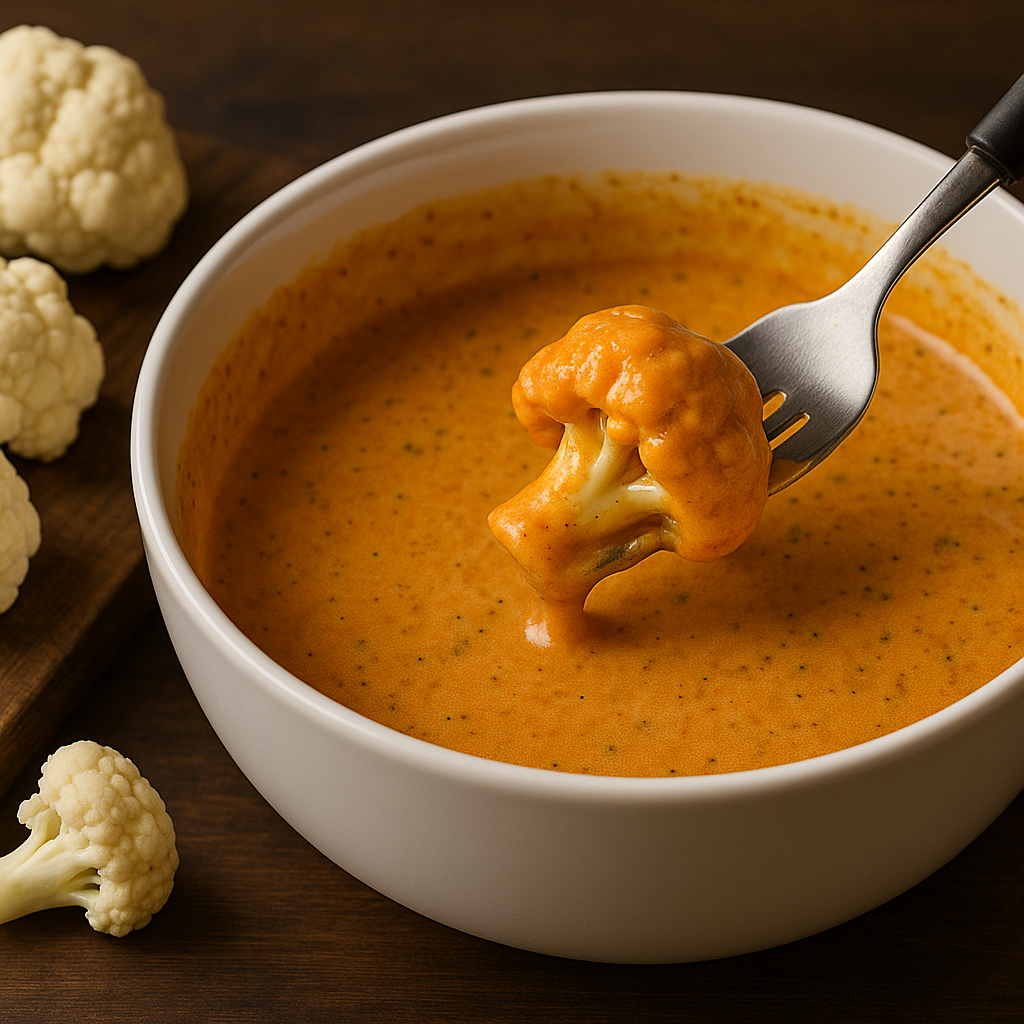
The images show the raw ingredients for this Rice With Vegetable And Bean Bombs.
Step-by-Step Instructions
1. Cook the Rice
- Measure 1 cup of uncooked rice. Rinse it under cold water in a sieve until the water runs mostly clear. This removes excess starch and helps the rice cook evenly.
- Place the rinsed rice in a medium saucepan with 2 cups of water and a pinch of salt.
- Bring to a boil over medium-high heat. Once boiling, reduce the heat to low, cover with a lid, and let it simmer for about 15 minutes, or until the water has been absorbed.
- Remove from the heat and let the rice sit (covered) for 5 minutes. This resting step allows the rice to finish cooking.
- Fluff the rice gently with a fork. Spread it out on a plate or tray to cool slightly before mixing — warm rice works best for binding but should not be hot.
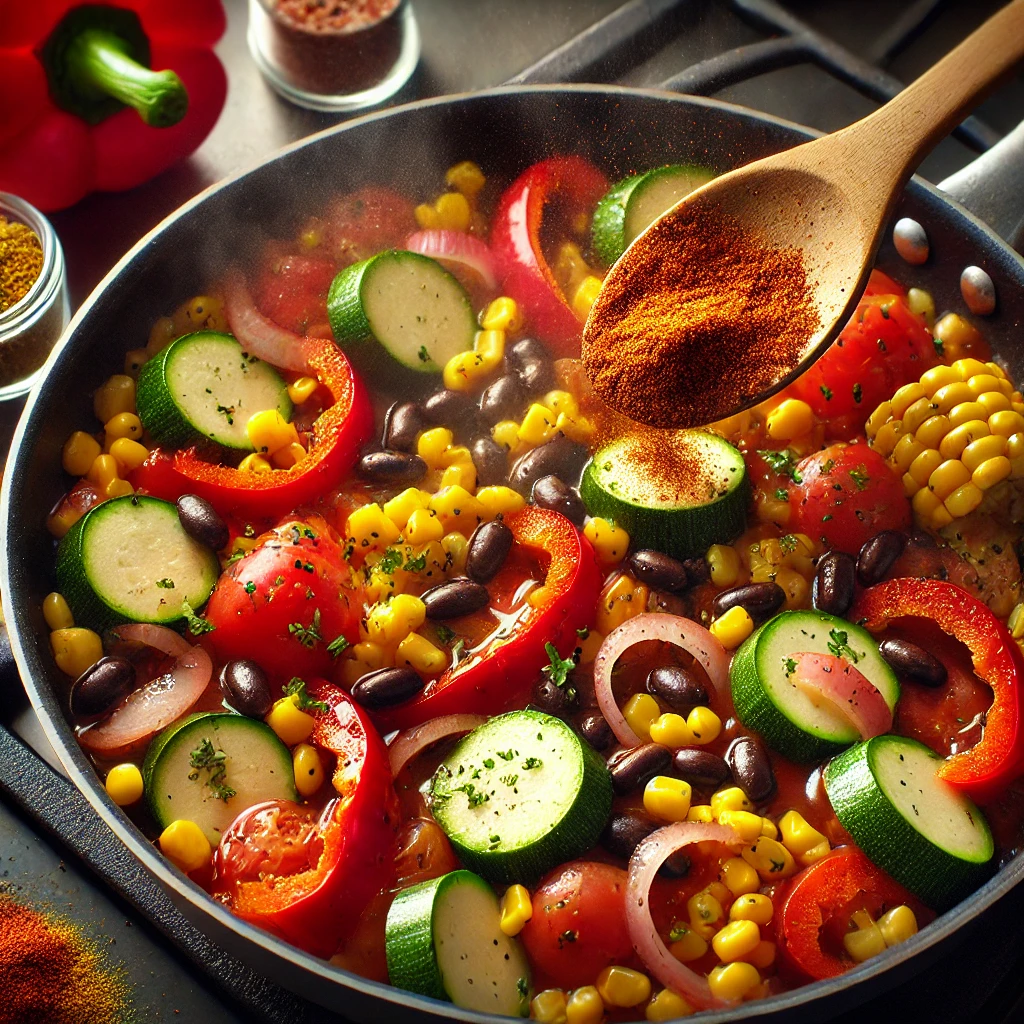
2. Prepare the Vegetables and Beans
- Drain and rinse 1 can (about 15 oz) of kidney beans (or black beans if preferred). Place them in a bowl and gently pat them dry with a paper towel so excess moisture doesn’t make the mixture too wet. Do not mash the beans — they should stay whole to give texture and the look you see in the finished bombs.
- Finely chop 1 small onion and 1 small carrot. Grate the carrot if you prefer it to blend in more easily.
- Prepare about ½ cup of peas (fresh or frozen) and ½ cup of corn. If frozen, thaw them first by rinsing under warm water and draining well.
- Mince 2 cloves of garlic and chop a small handful of fresh herbs like parsley or cilantro for flavor.
3. Make the Mixture
- In a large mixing bowl, add the cooked rice, drained beans, chopped onion, carrot, peas, corn, garlic, and herbs.
- Crack in 1 egg (or use a flax egg: 1 tablespoon ground flaxseed + 3 tablespoons water, mixed and left to thicken for 5 minutes, for a vegan option).
- Add ½ cup of breadcrumbs to help bind the mixture. Start with this amount and add more later if the mixture feels too loose.
- Season generously with 1 teaspoon salt, ½ teaspoon black pepper, and 1 teaspoon ground cumin or paprika for flavor.
- Use a spoon or your clean hands to gently mix everything together until evenly combined. Be careful not to crush the beans — they should remain whole inside the bombs. The mixture should hold together when squeezed. If it crumbles, add an extra spoonful of breadcrumbs or a small splash of water until it binds.
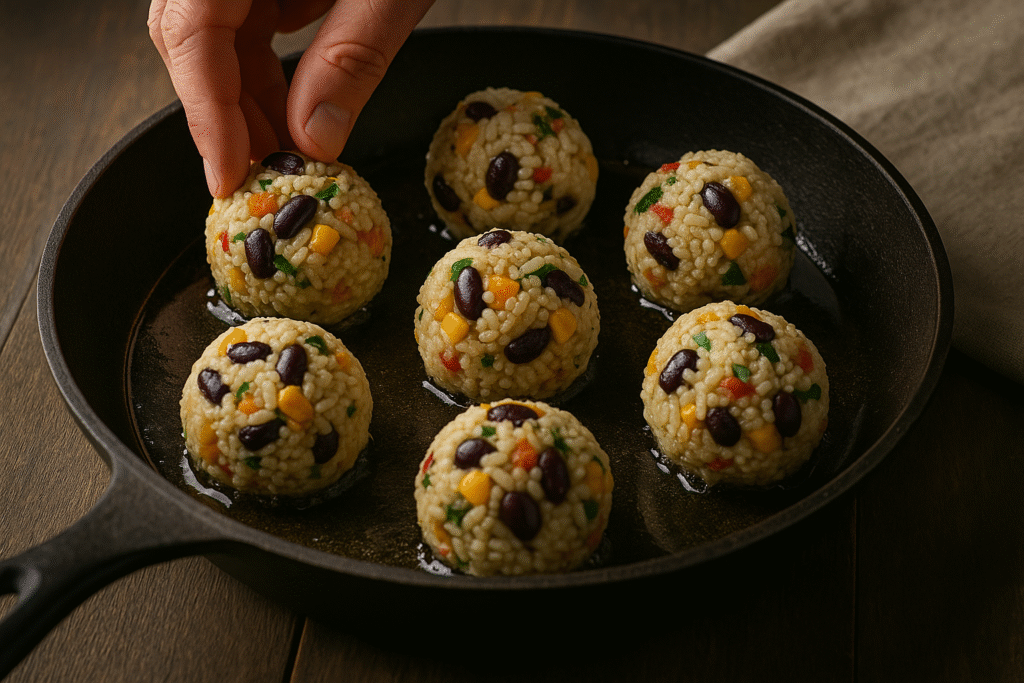
4. Shape the Bean Bombs
- Line a tray or plate with parchment paper.
- Take a heaping tablespoon of the mixture and roll it between your palms to form a ball about the size of a golf ball. If it feels sticky, wet your hands slightly with water.
- Place each shaped bomb on the tray. Continue until all the mixture is used. You should get about 12–14 bombs.
- For extra crispiness, roll each bomb lightly in flour or additional breadcrumbs before cooking. This step also helps them keep their round shape.
5. Cook the Bean Bombs
Option 1: Shallow Frying (crispy and golden,)
- Heat 2–3 tablespoons of cooking oil (such as olive oil or vegetable oil) in a large frying pan over medium heat. The oil should shimmer but not smoke.
- Place the bombs gently into the pan, leaving space between them. Do not overcrowd.
- Cook for 3–4 minutes on one side until golden brown, then carefully turn with a spatula or tongs. Cook the other side for another 3–4 minutes until crisp and heated through.
- Remove to a plate lined with paper towels to drain excess oil.
Option 2: Baking (lighter version)
- Preheat the oven to 400°F (200°C).
- Line a baking tray with parchment paper and lightly brush or spray it with oil.
- Arrange the bombs evenly on the tray, leaving space between them.
- Brush the tops lightly with oil for color and crispness.
- Bake for 20–25 minutes, turning halfway through, until golden brown and firm.
Option 3 – Air Frying (crispy & oil-saving):
- Preheat the air fryer to 375°F (190°C).
- Place the bombs in a single layer in the basket (work in batches if needed).
- Lightly spray or brush with oil.
- Cook for 12–15 minutes, flipping halfway, until golden brown and firm.
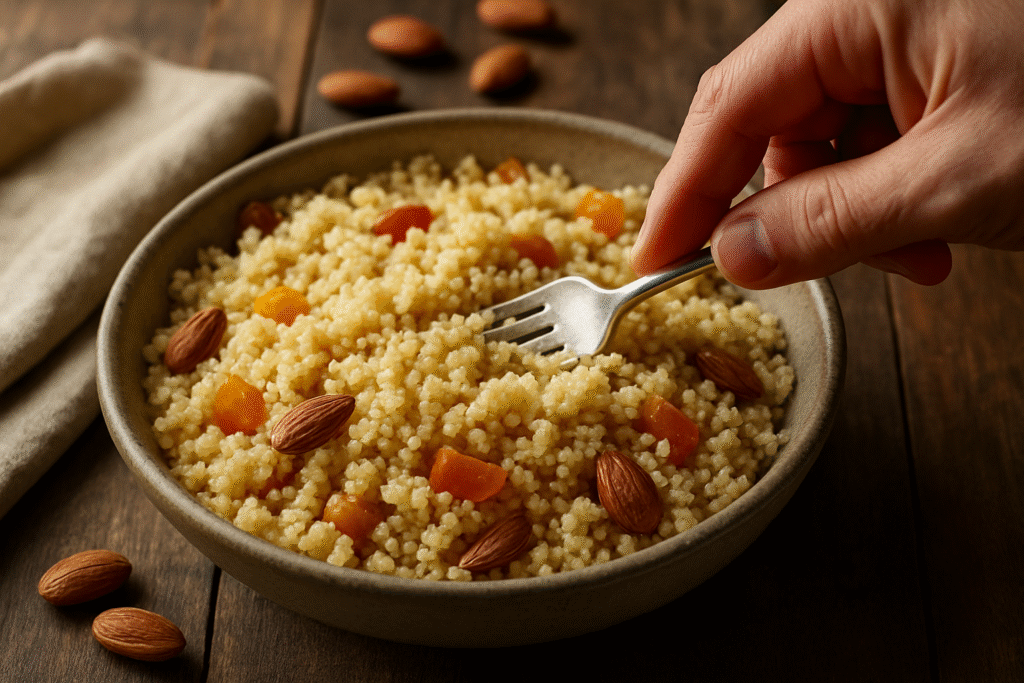
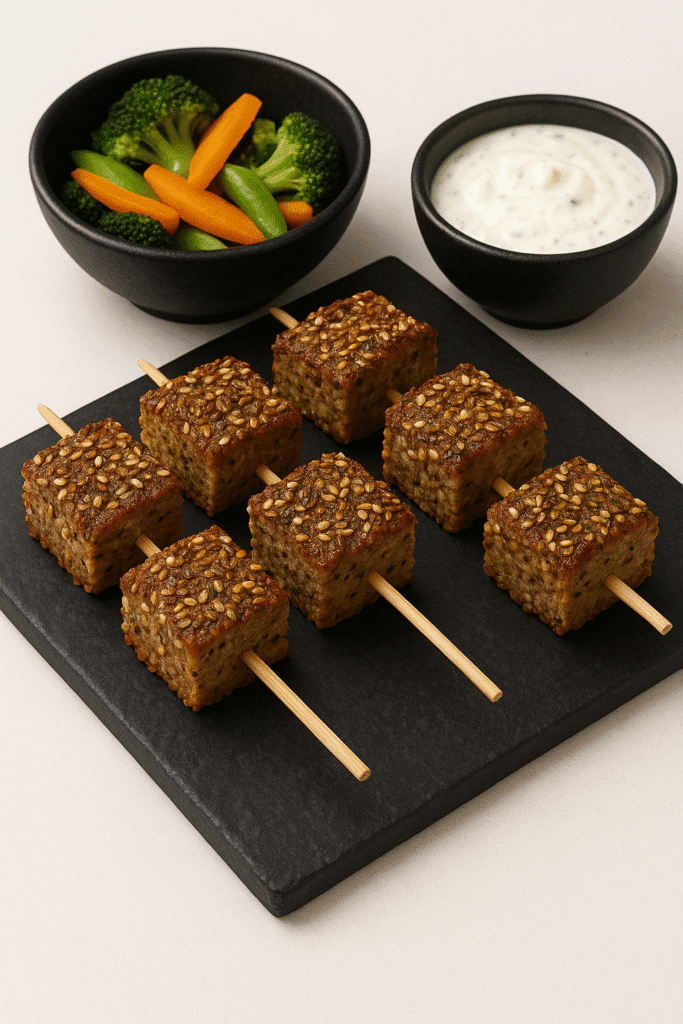
6. Serve
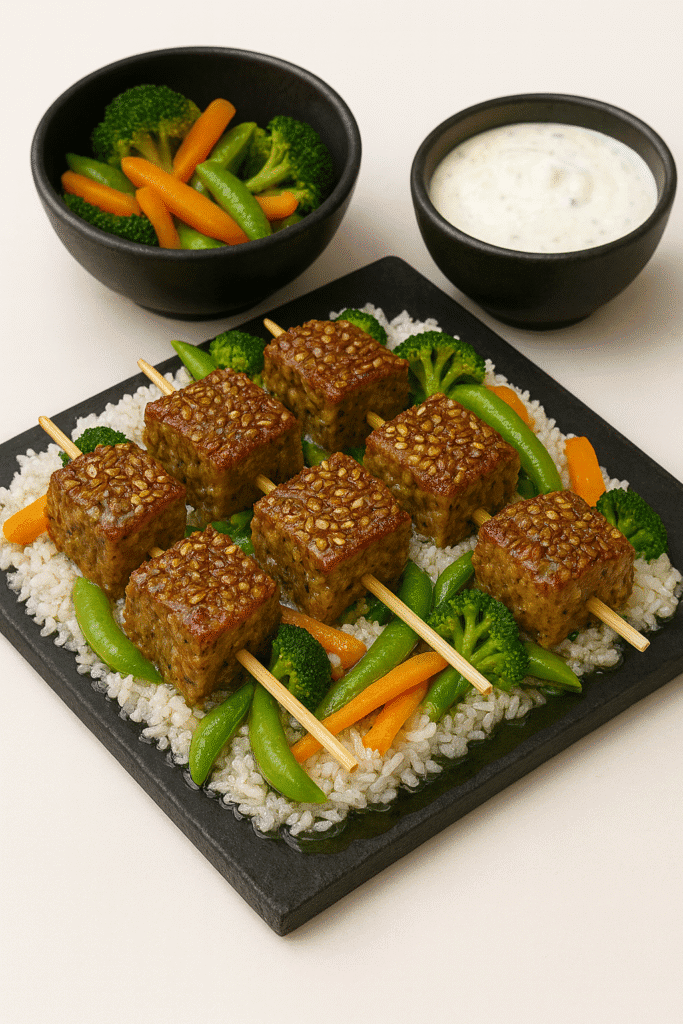
Serve warm with your favorite dips — yogurt sauce, salsa, or even a creamy tahini dip. These also pair beautifully with a side salad or roasted vegetables for a balanced meal.


The Images show the diferent cooking methods for Rice With Vegetable And Bean Bombs. These can be fried in a pan, baked in an oven and air fried.
Benefits of Bean Bombs
Bean bombs aren’t just delicious — they pack a range of health perks:
- Protein-Rich and Filling
Thanks to the beans, these bombs provide plant-based protein that helps build and repair muscles while keeping you full for longer. - High in Fiber
Both beans and vegetables bring fiber, which supports digestion and helps regulate blood sugar levels. Fiber also contributes to satiety, making bean bombs a great option for weight management. - Nutrient-Dense
Carrots, bell peppers, and herbs provide vitamins A and C, while beans contribute iron, magnesium, and potassium — essential nutrients for overall health. - Heart-Healthy
The use of olive oil and plant-based ingredients helps reduce saturated fat intake. Beans are also known to support heart health by lowering cholesterol levels. - Versatile and Meal-Prep Friendly
Bean bombs can be made ahead, stored in the fridge, or frozen for later. They’re also adaptable, so you can change the seasonings and vegetables to suit your taste. - Family-Friendly
Their small, fun shape makes them appealing to kids while still being healthy. They can easily be added to lunchboxes or enjoyed as after-school snacks.
Variations of Bean Bombs
| Variation | Ingredients to Try | Cooking Tip |
|---|---|---|
| Spicy Kick | Add chili flakes, jalapeños, or hot sauce | Balance heat with a cooling dip like yogurt |
| Mediterranean Style | Add feta, olives, and oregano | Bake instead of fry for a lighter finish |
| Asian-Inspired | Add soy sauce, ginger, and scallions | Serve with a sesame dipping sauce |
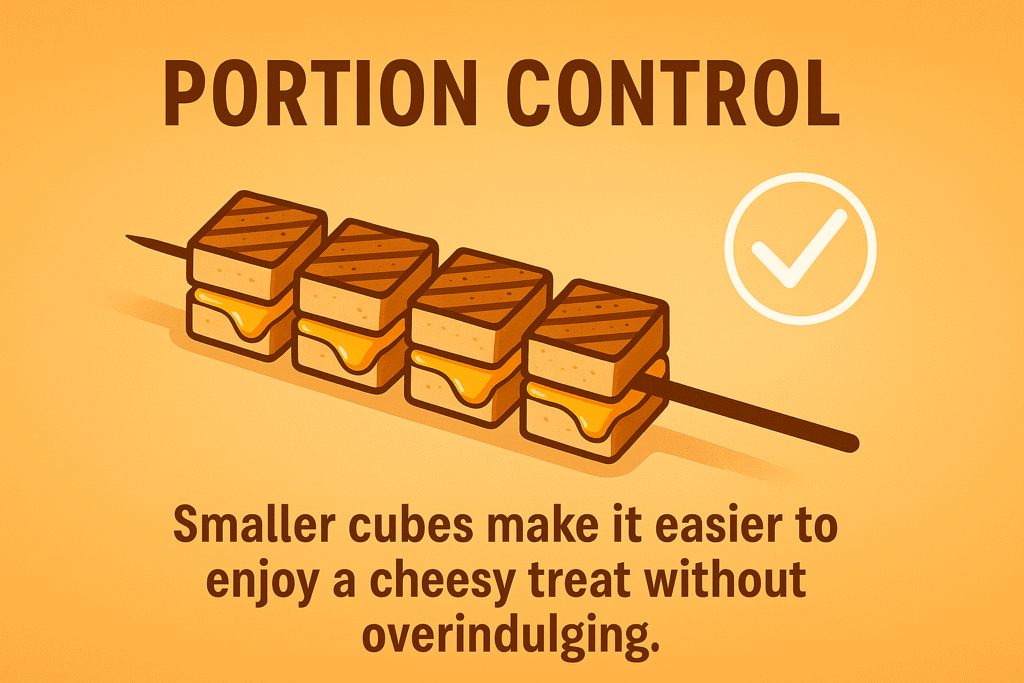
| Kid-Friendly | Use mild spices, add corn and grated zucchini | Shape into smaller bite-size bombs |
| Vegan Option | Replace egg with flax egg | Cook in air fryer or oven for crispness |


The images show the different variations. The first is Spicy Kick, the second is Asian inspired and the final one is a Kid-Friendly option.
Final Thoughts for Bean Bombs
Bean bombs are proof that healthy eating doesn’t need to be complicated. With just a few pantry staples and some fresh vegetables, you can create a dish that’s satisfying, versatile, and nutrient-packed. They’re perfect for busy weeknights, meal prep, or even as a fun appetizer for gatherings.
One of the best things about bean bombs is how adaptable they are. You can make them spicy, cheesy, or packed with Mediterranean flavors depending on your mood. They’re a recipe that grows with you — a base you can return to again and again while keeping it fresh with different variations.
So the next time you’re craving something hearty yet wholesome, skip the store-bought snacks and whip up a batch of bean bombs. They’re crispy on the outside, soft on the inside, and guaranteed to become a new favorite.
Frequently Asked Questions (FAQs)
Can I freeze bean bombs?
Yes! Once cooked and cooled, place them in an airtight container and freeze for up to 2 months. Reheat in the oven or air fryer to restore crispiness.
What beans work best for this recipe?
Black beans hold their texture well, but you can also use kidney beans, chickpeas, or pinto beans. Each brings a slightly different flavor.
Are bean bombs vegan?
They can be! Just replace the egg with a flax egg (1 tablespoon ground flaxseed + 3 tablespoons water) and they’ll still hold together beautifully.
Can I bake them instead of frying?
Absolutely. Baking makes them lighter and just as tasty. The texture will be a little softer than pan-frying, but still delicious.
References
- Harvard T.H. Chan – The Nutrition Source: Beans and Legumes
- American Heart Association – The Benefits of Beans and Legumes
- USDA FoodData Central – Beans, Dry, Black
Recent Posts