Discover the art of making delicious stuffed eggplant rolls that are as healthy as they are flavorful. This guide provides a comprehensive, easy-to-follow recipe, ensuring your culinary success with stuffed eggplant rolls. Learn how to create these impressive and nutritious stuffed eggplant rolls for any occasion.

Savor the Flavor: Crafting Perfect Stuffed Eggplant Rolls
Welcome to the world of culinary delight, where simple ingredients transform into extraordinary dishes! Today, we’re diving into the wonderful realm of stuffed eggplant rolls, a dish that beautifully combines wholesome goodness with incredible flavor. Whether you’re a seasoned home cook or just starting your journey in the kitchen, this comprehensive guide will walk you through every step, ensuring you create a meal that’s both impressive and deeply satisfying.
Eggplant, with its rich texture and ability to absorb flavors, serves as the perfect canvas for a variety of fillings. When gently cooked and rolled around a creamy, herb-infused stuffing, it creates a harmonious balance of textures and tastes. These rolls are not just a treat for your palate; they’re also packed with nutrients, making them an excellent choice for health-conscious individuals seeking delicious yet wholesome meal options.

Why Stuffed Eggplant Rolls Are a Culinary Canvas
What makes stuffed eggplant rolls truly special is their versatility. They can be served as a delightful appetizer, a light lunch, or a sophisticated side dish. The combination of tender eggplant, a flavorful filling, and a sprinkle of crunchy nuts and seeds creates an experience that’s both comforting and gourmet. Imagine a dish that looks as good as it tastes, offering a burst of freshness and a satisfying finish in every bite.
Beyond their culinary appeal, stuffed eggplant rolls offer numerous health benefits. Eggplant itself is a fantastic source of fiber, vitamins, and minerals, while the fresh herbs and cheese in the filling add even more nutritional value. The nuts and seeds that beautifully coat our rolls provide healthy fats, protein, and an irresistible crunch, elevating the dish from simple to sensational.
So, gather your ingredients, put on your apron, and prepare to embark on a culinary adventure. We’re about to transform humble eggplants into a dish that will undoubtedly become a favorite in your recipe repertoire. Get ready to impress your family and friends with these exquisite stuffed eggplant rolls – a testament to healthy and flavorful eating!
Essential Information for Crafting Your Stuffed Eggplant Rolls

Servings: 4-6
Time to Prepare: 25 minutes
Time to Cook/Blend: 30-40 minutes
Nutritional Information (per serving, estimated)
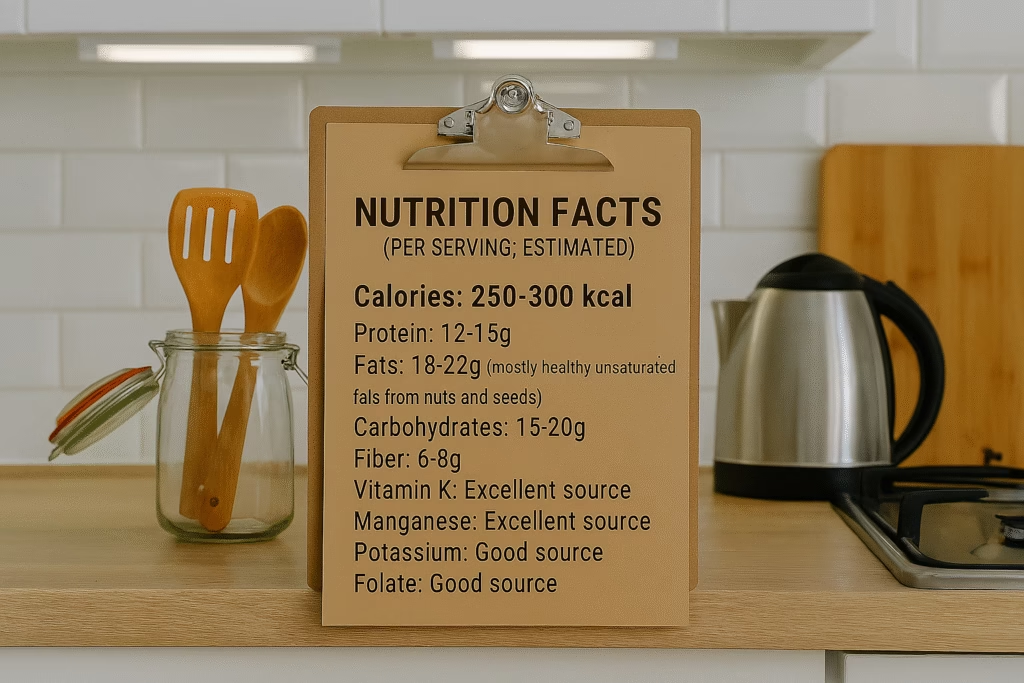
- Calories: 250-300 kcal
- Protein: 12-15g
- Fats: 18-22g (mostly healthy unsaturated fats from nuts and seeds)
- Carbohydrates: 15-20g
- Fiber: 6-8g
- Vitamin K: Excellent source
- Manganese: Excellent source
- Potassium: Good source
- Folate: Good source
Ingredients for Your Delicious Stuffed Eggplant Rolls
For the Eggplant:
- 2 large eggplants (about 1.5 lbs total), firm and glossy
- 3 tablespoons olive oil, plus extra for brushing
- 1 teaspoon sea salt
- ½ teaspoon black pepper
For the Filling:
- 1 cup ricotta cheese (full-fat or part-skim, your preference)
- ½ cup crumbled feta cheese
- ¼ cup grated Parmesan cheese
- ¼ cup fresh basil, finely chopped
- 2 tablespoons fresh parsley, finely chopped
- 1 clove garlic, minced (or ½ teaspoon garlic powder)
- ½ teaspoon onion powder
- ¼ teaspoon red pepper flakes (optional, for a little kick)
- Salt and freshly ground black pepper to taste
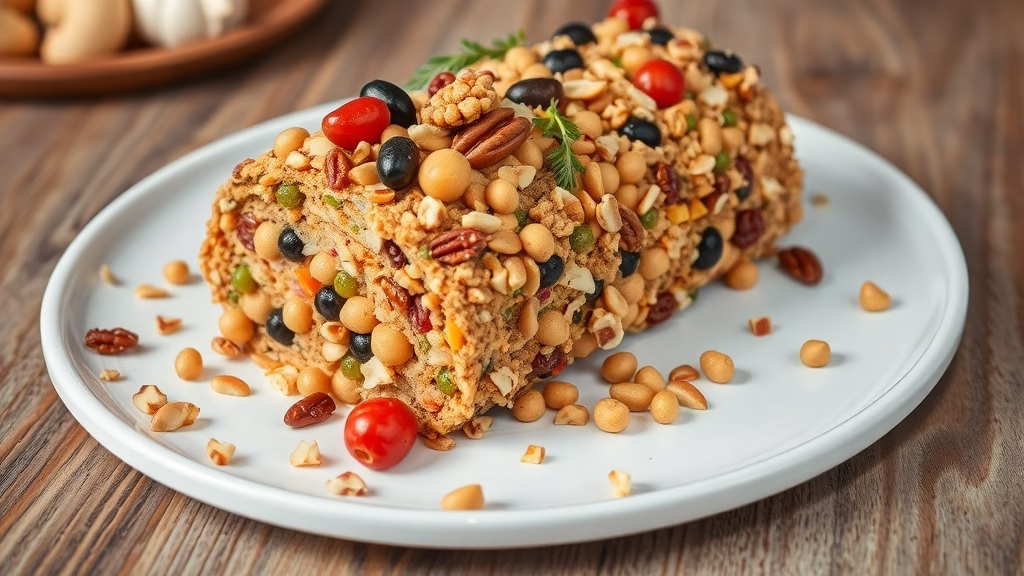
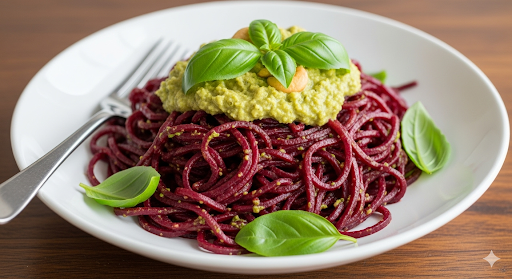
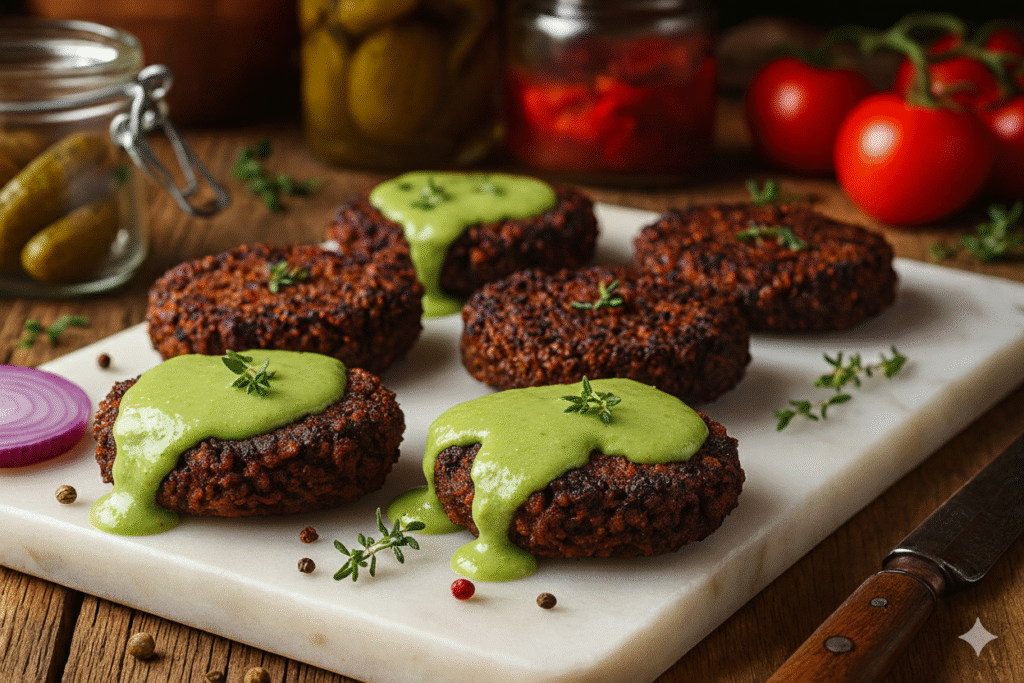
For the Coating and Garnish (to match the hero image!):
- ¼ cup shelled pistachios, finely chopped
- 2 tablespoons pine nuts
- 1 tablespoon chia seeds
- 1 tablespoon poppy seeds
- Fresh basil leaves, for garnish
- Balsamic glaze, for drizzling (optional, but highly recommended)
- Wooden skewers (about 6-8 inches long), for serving
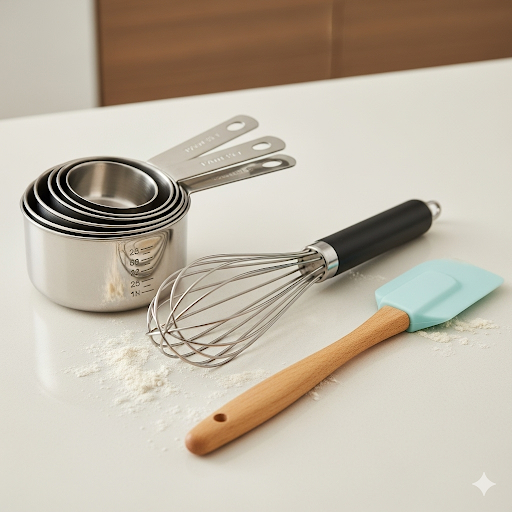
Equipment You’ll Need
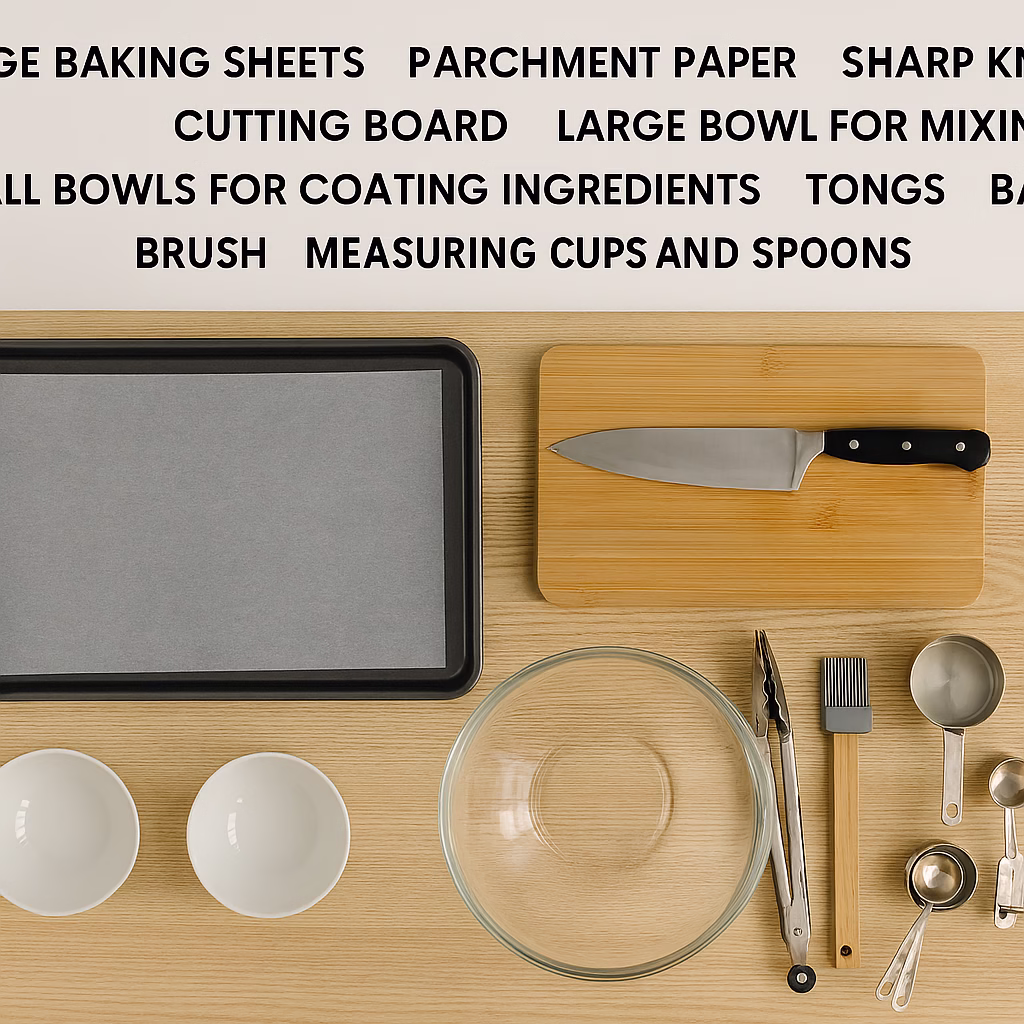
- Large baking sheets
- Parchment paper
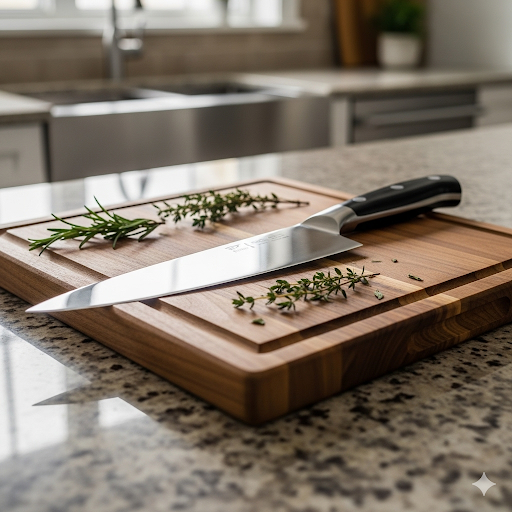
- Sharp knife
- Cutting board
- Large bowl for mixing filling
- Small bowls for coating ingredients
- Tongs
- Basting brush
- Measuring cups and spoons
Step-by-Step Instructions: Mastering Stuffed Eggplant Rolls
These detailed steps will guide you through creating perfect stuffed eggplant rolls that look and taste just like our hero image!
Preparation is Key: Slicing and Salting the Eggplant
Preheat and Prep:
Begin by preheating your oven to 400°F (200°C). This ensures it’s hot and ready when your eggplant slices are prepared. Line two large baking sheets with parchment paper. This will prevent the eggplant from sticking and make cleanup a breeze.
Slice the Eggplant with Precision:
Wash the eggplants thoroughly. Trim off the stem and the very end of each eggplant. Using a sharp knife, carefully slice the eggplants lengthwise into ¼-inch thick strips. The goal is to have consistent thickness, so they cook evenly. If your slices are too thin, they might tear; if too thick, they won’t be as pliable for rolling. You should get about 12-16 slices per eggplant, depending on its size.
The Salting Process:
Arrange the eggplant slices in a single layer on the prepared baking sheets. Sprinkle both sides generously with sea salt. The salt isn’t just for seasoning; it helps draw out excess moisture from the eggplant, which prevents them from becoming soggy and bitter. Let the slices sit for 15-20 minutes. You’ll notice small beads of moisture appearing on the surface – this is exactly what you want!
Rinse and Pat Dry
After the salting period, gently rinse each eggplant slice under cold running water to remove the salt and any expelled moisture. This step is crucial to prevent your rolls from being too salty. Thoroughly pat each slice dry with paper towels. Removing as much moisture as possible is essential for achieving nicely browned and tender eggplant, ready for rolling.
Cooking the Eggplant: Achieving Tender Perfection
There are a few excellent ways to cook your eggplant slices to prepare them for stuffing. Each method yields slightly different results, so choose the one that best suits your preference and available equipment.
Method 1: Oven Roasting (Recommended for ease and even cooking)
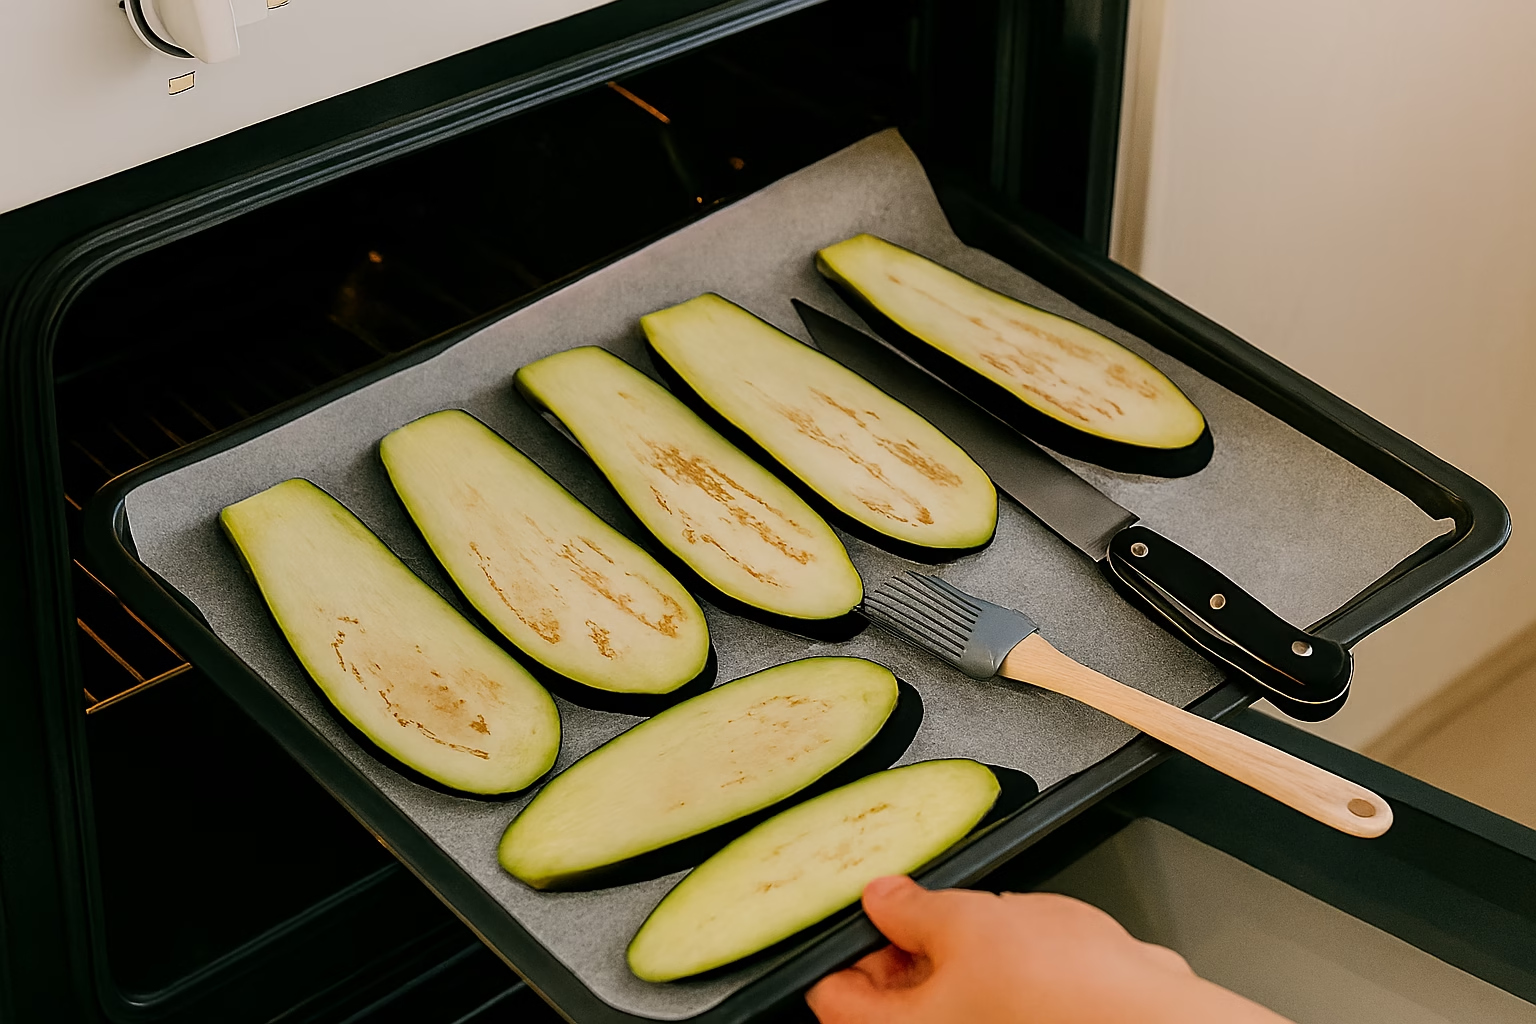
- Brush with Olive Oil: Once the eggplant slices are thoroughly dried, arrange them again in a single layer on the parchment-lined baking sheets. Brush both sides of each slice with olive oil, then sprinkle lightly with black pepper. The olive oil helps them become tender and gives them a lovely golden color.
- Roast Until Tender: Place the baking sheets in the preheated oven. Roast for 15-20 minutes, flipping the slices halfway through, until they are golden brown, tender, and pliable. They should be soft enough to bend without breaking. Cooking times can vary based on your oven and eggplant thickness, so keep an eye on them. Once cooked, remove from the oven and let cool slightly while you prepare the filling.
Method 2: Pan-Frying (For a slightly crispier exterior)
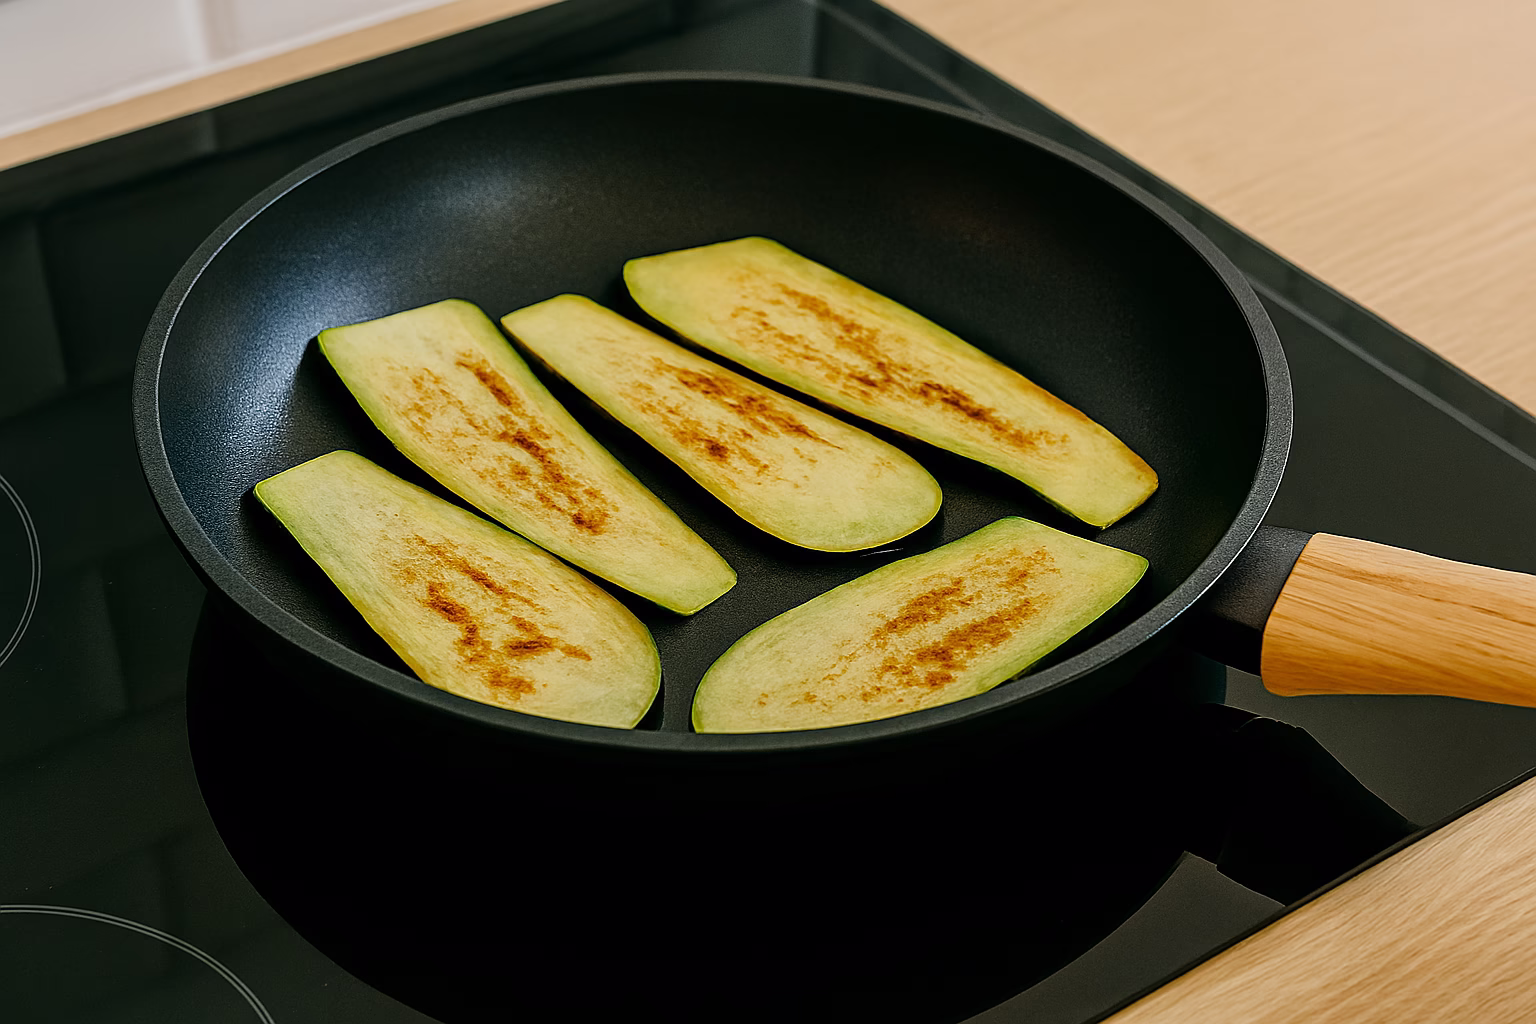
- Heat the Pan: Heat 1-2 tablespoons of olive oil in a large non-stick skillet over medium heat. You may need to work in batches.
- Fry until Golden: Place eggplant slices in a single layer in the hot pan, being careful not to overcrowd. Cook for 3-5 minutes per side, until golden brown and tender. Add more olive oil between batches if needed.
- Drain Excess Oil: Once cooked, transfer the slices to a plate lined with paper towels to absorb any excess oil.
Method 3: Grilling (For a smoky flavor)
- Prepare the Grill: Preheat an outdoor grill or indoor grill pan to medium-high heat. Lightly brush the grill grates or pan with olive oil to prevent sticking.
- Grill the Eggplant: Brush both sides of the dried eggplant slices with olive oil and season with pepper. Place them on the hot grill. Grill for 3-4 minutes per side, until they have distinct grill marks and are tender and pliable.
- Cool Slightly: Remove from the grill and let them cool a bit.
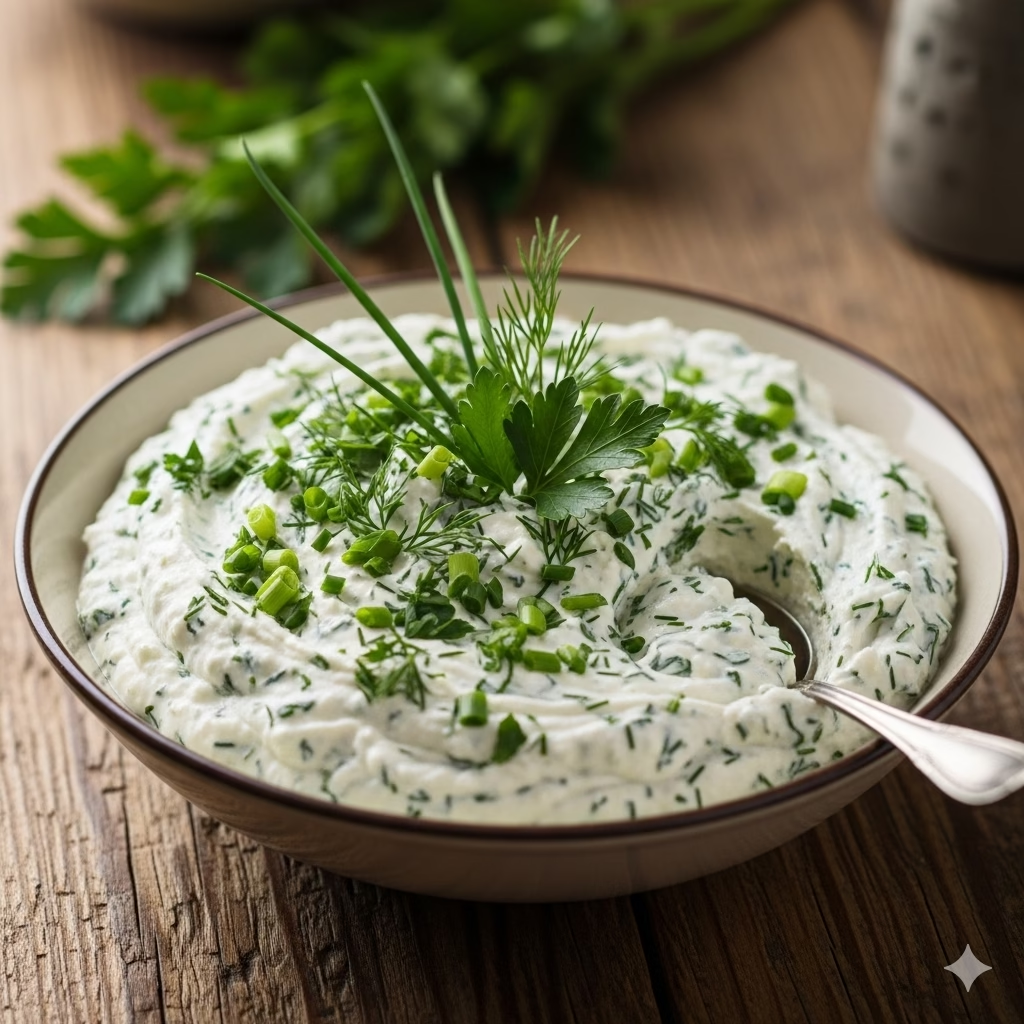
Crafting the Creamy, Flavorful Filling
- Combine Cheeses: In a medium-sized bowl, combine the ricotta cheese, crumbled feta cheese, and grated Parmesan cheese. Using a fork or spatula, mix them together until well combined.
- Add Herbs and Seasonings: Add the finely chopped fresh basil, fresh parsley, minced garlic (or garlic powder), and onion powder to the cheese mixture. If you like a touch of heat, now is the time to add the red pepper flakes.
- Season to Perfection: Mix all the ingredients thoroughly. Taste the filling and adjust the seasoning with salt and freshly ground black pepper as needed. Remember, the feta and Parmesan are already salty, so add additional salt cautiously.
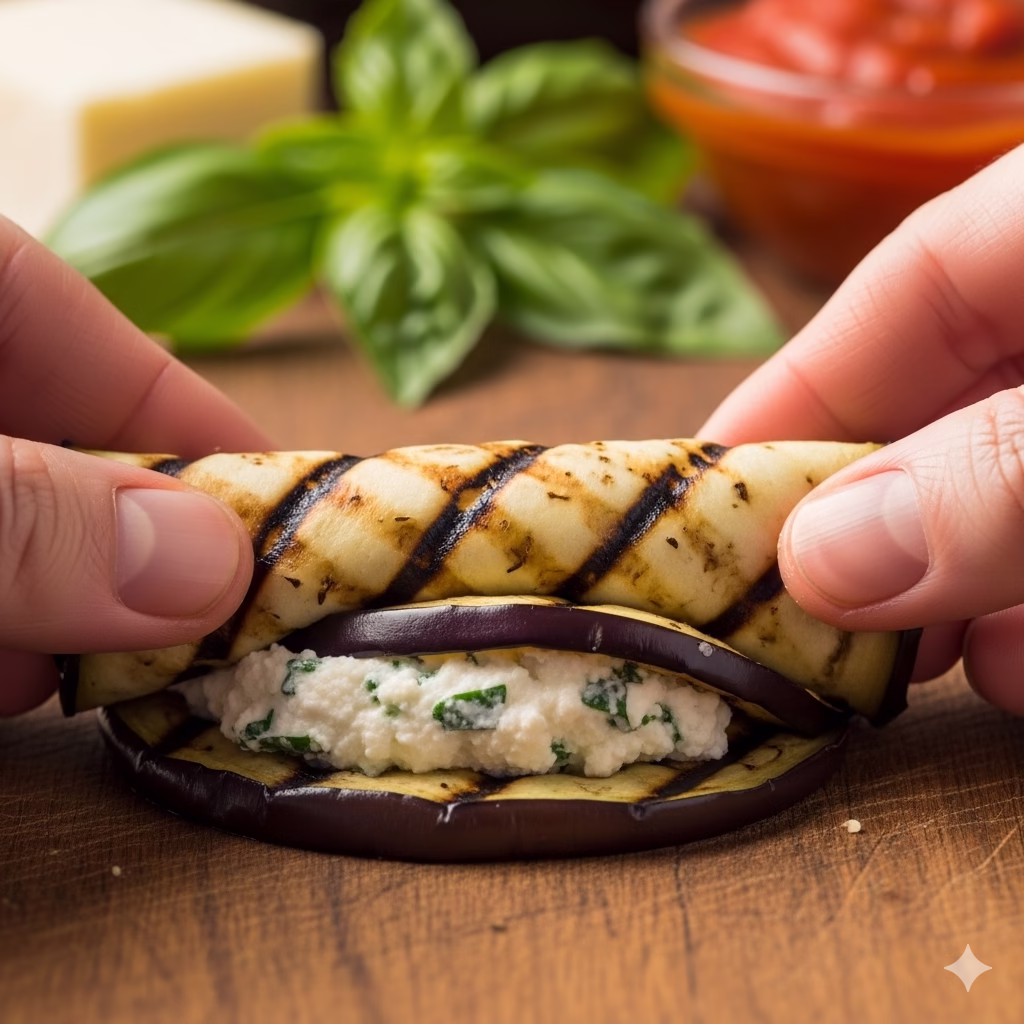
Assembling Your Stuffed Eggplant Rolls
- Prepare the Workstation: Lay a cooked eggplant slice flat on your cutting board or a clean surface.
- Add the Filling: Place about 1-2 tablespoons of the cheese filling (depending on the size of your eggplant slice) at one end of the slice. Don’t overfill, or it will be difficult to roll.
- Roll with Care: Starting from the end with the filling, carefully and gently roll up the eggplant slice to form a neat cylindrical roll. If the eggplant is properly cooked, it should be very pliable.
- Secure with Skewers: To mimic our hero image and make them easy to serve, gently thread a wooden skewer through the center of each eggplant roll. If you’re making several, you can put two or three rolls on a single skewer. This also helps them hold their shape.
The Finishing Touches: Coating and Garnish
- Prepare the Coating Mix: In a small, shallow bowl, combine the finely chopped pistachios, pine nuts, chia seeds, and poppy seeds. Stir them together until well mixed.
- Coat the Rolls: Gently roll each stuffed eggplant roll (or the rolls on a skewer) in the nut and seed mixture, ensuring all sides are beautifully coated. Press lightly to help the nuts and seeds adhere. This step adds incredible texture, flavor, and visual appeal, making them just like the image!
- Arrange for Serving: Arrange the finished stuffed eggplant rolls on your desired serving platter.
- Garnish and Serve: Drizzle lightly with balsamic glaze, if using. The balsamic glaze adds a wonderful tangy-sweet contrast. Garnish with a few fresh basil leaves for a pop of color and freshness. Serve immediately and enjoy!

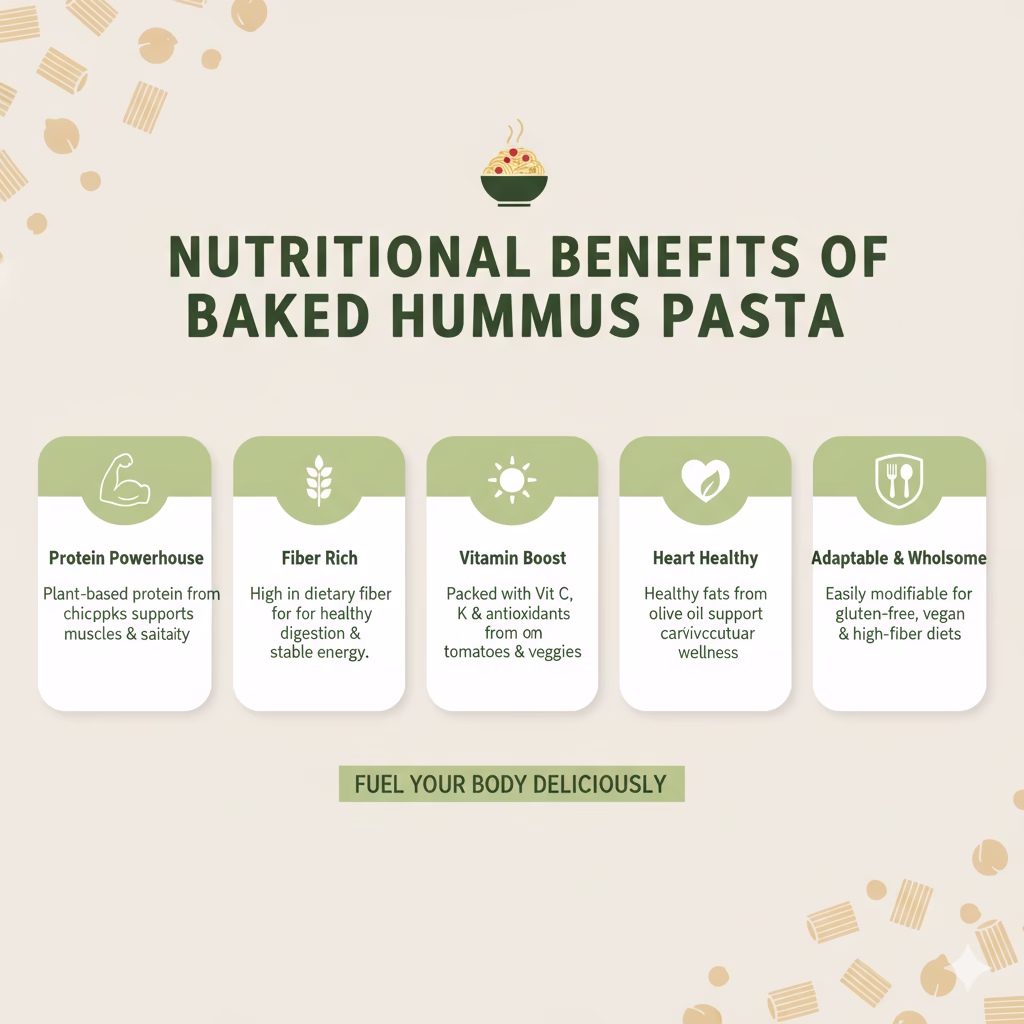
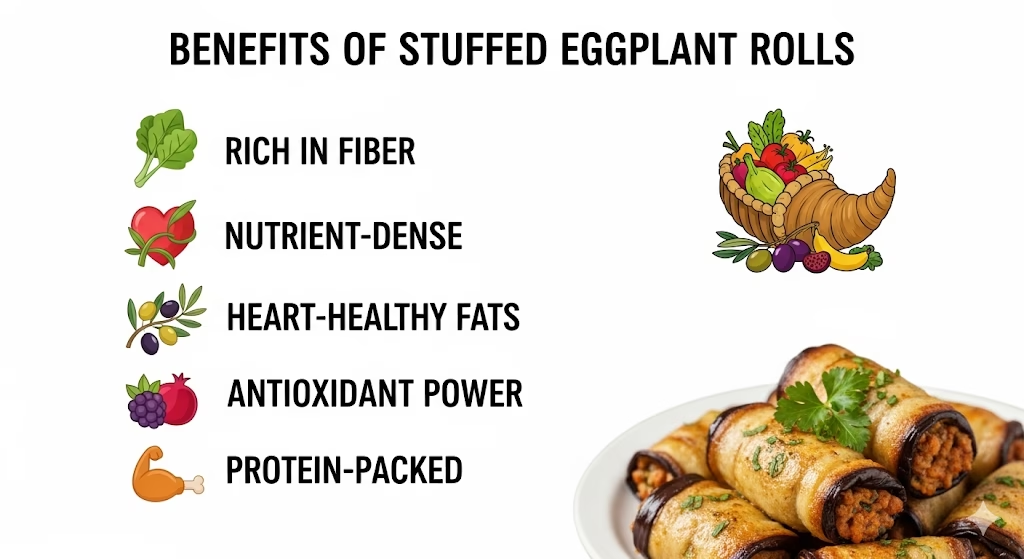
Benefits of Enjoying Stuffed Eggplant Rolls
These stuffed eggplant rolls are more than just a delicious dish; they come packed with numerous health benefits that make them an excellent addition to your diet:
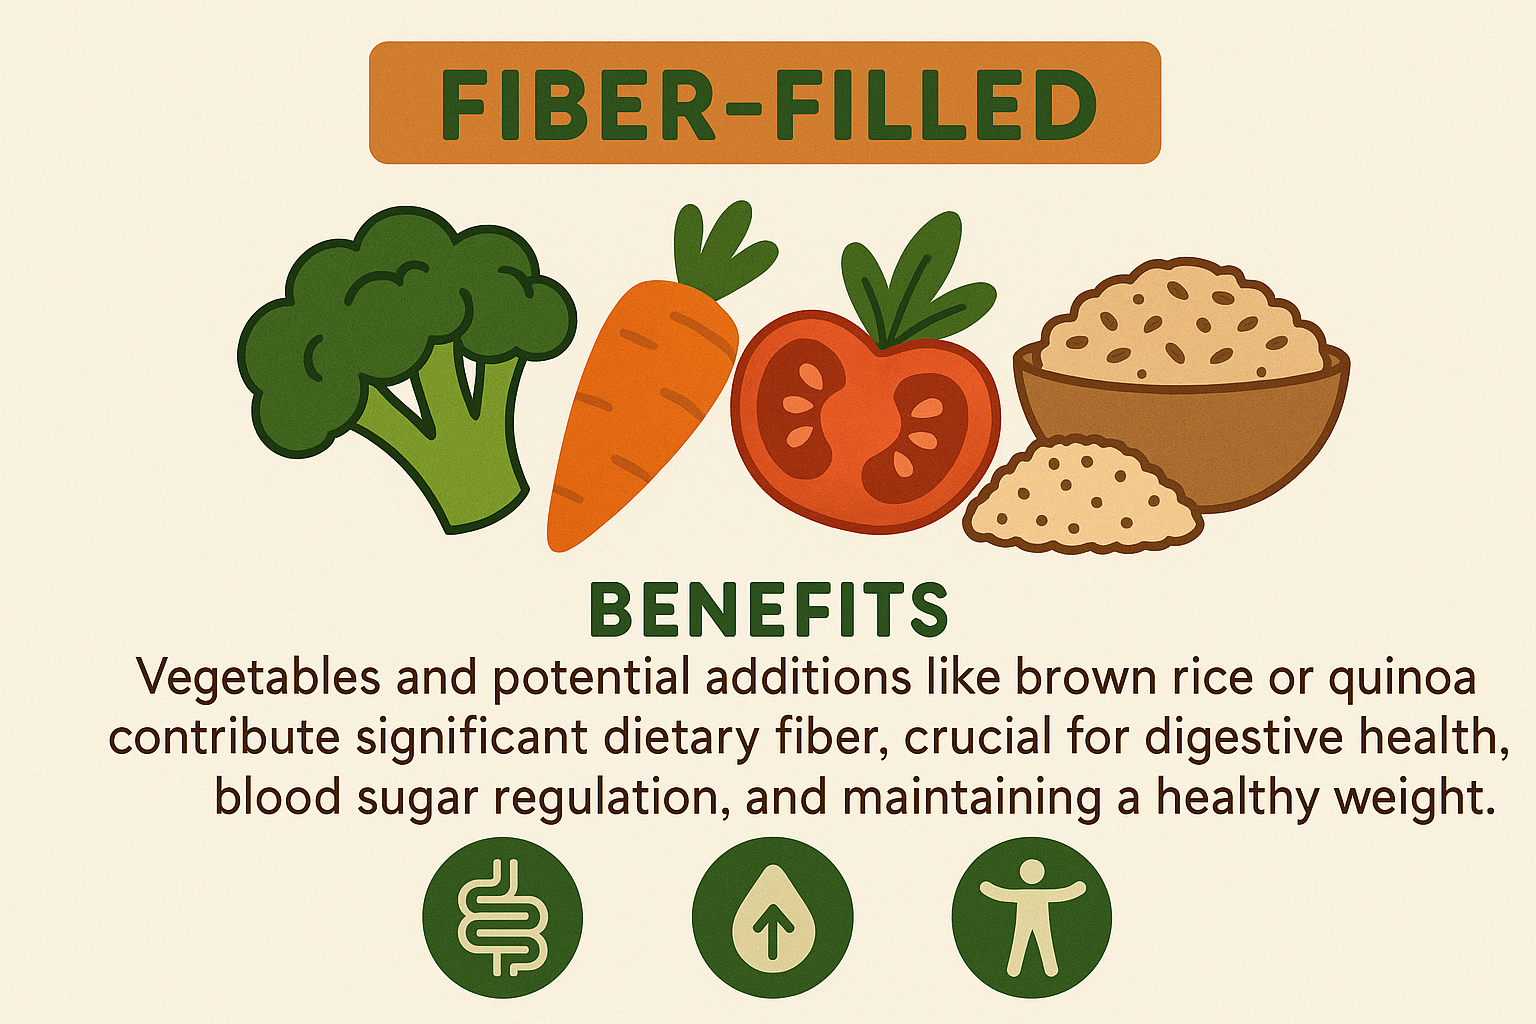
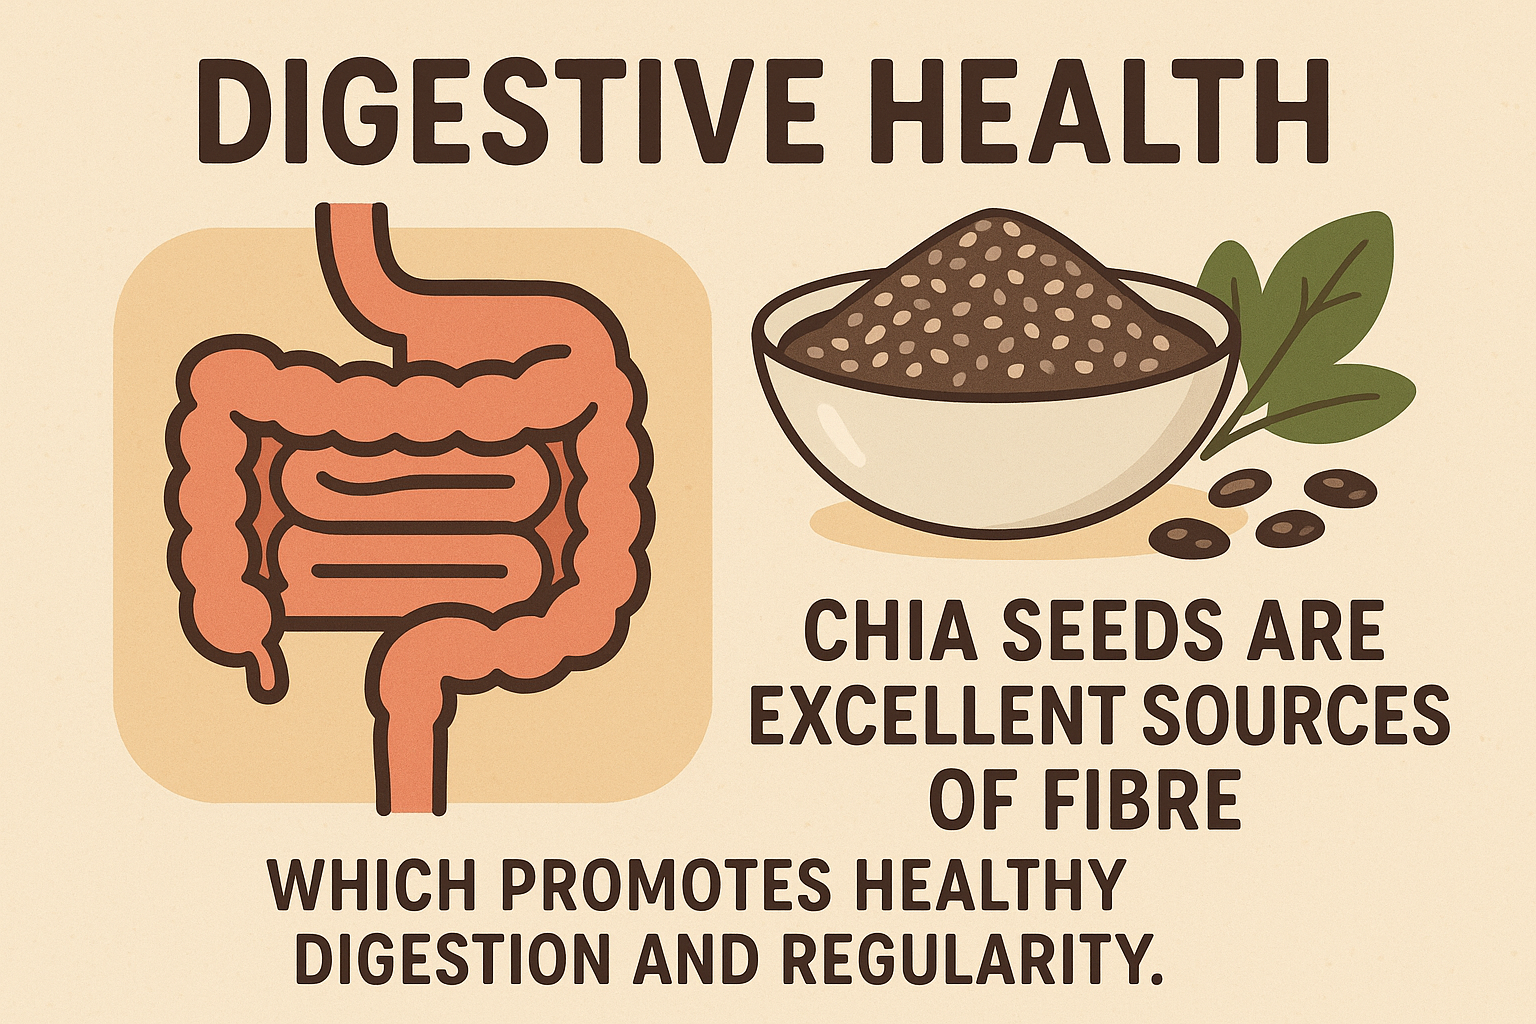
- Rich in Fiber: Eggplant is a great source of dietary fiber, which aids in digestion, helps maintain bowel health, and can contribute to a feeling of fullness, assisting with weight management.
- Nutrient-Dense: Eggplants provide a good amount of vitamins and minerals, including Vitamin K, manganese, copper, and B vitamins. The herbs and cheeses add further vitamins and calcium.
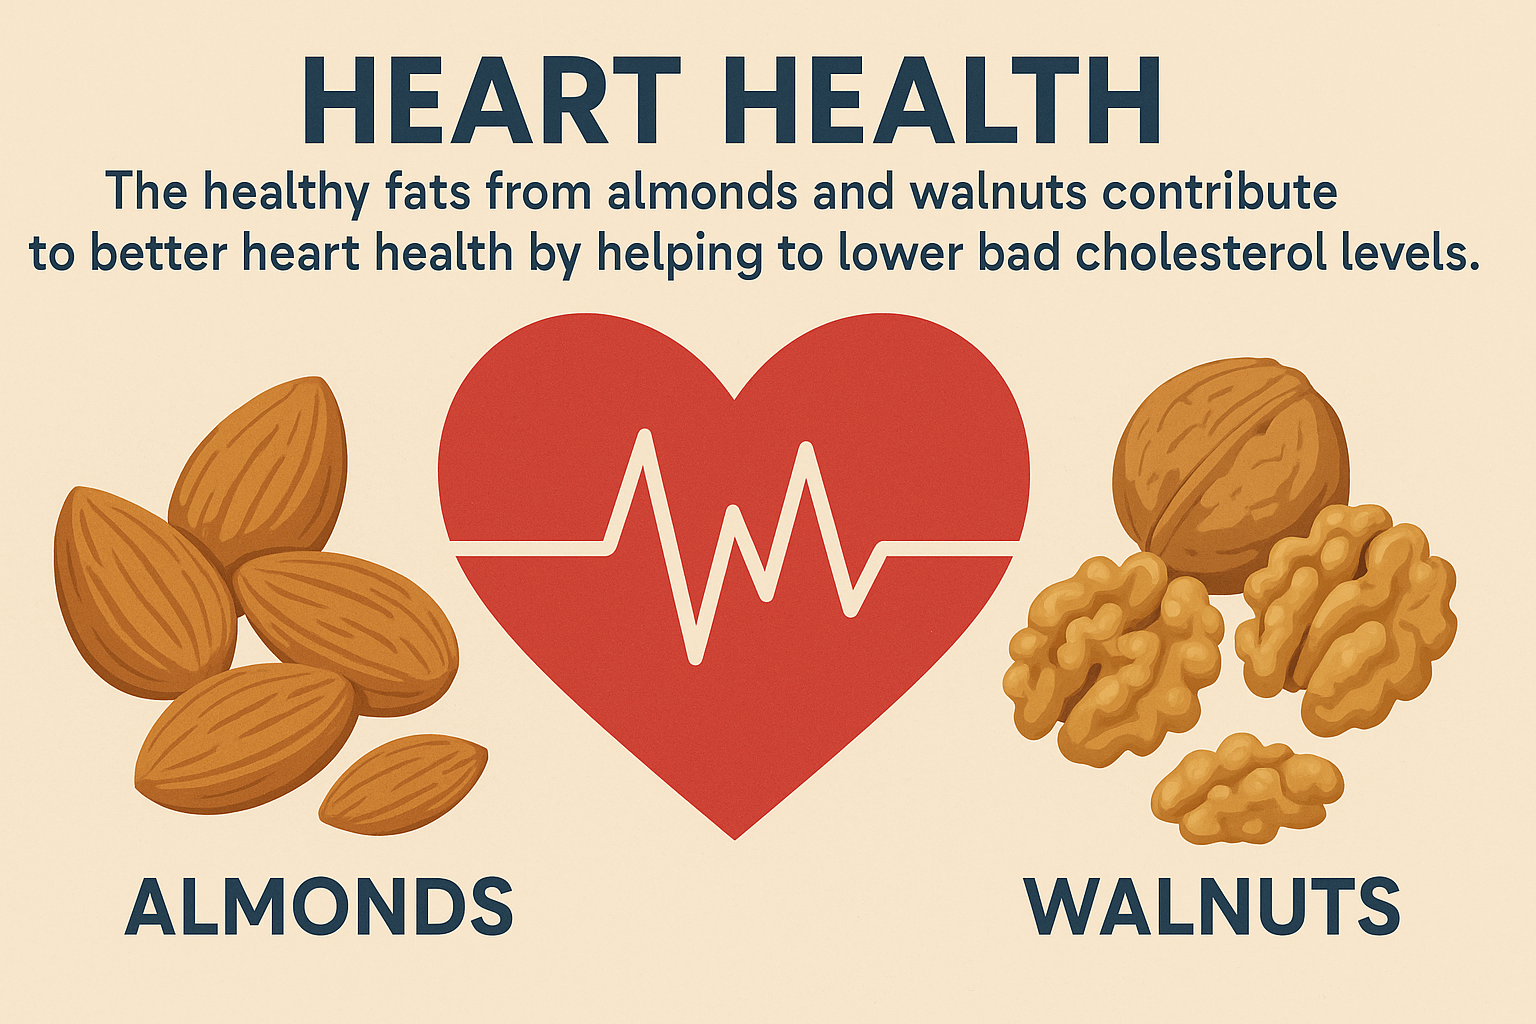
- Heart-Healthy Fats: The nuts and seeds used for coating are powerhouses of healthy unsaturated fats, including omega-3 and omega-6 fatty acids, which are beneficial for heart health and can help reduce bad cholesterol levels.
- Antioxidant Power: Eggplant contains nasunin, a potent antioxidant found in its skin, which helps protect cells from damage. Herbs like basil and parsley also contribute a wealth of antioxidants.
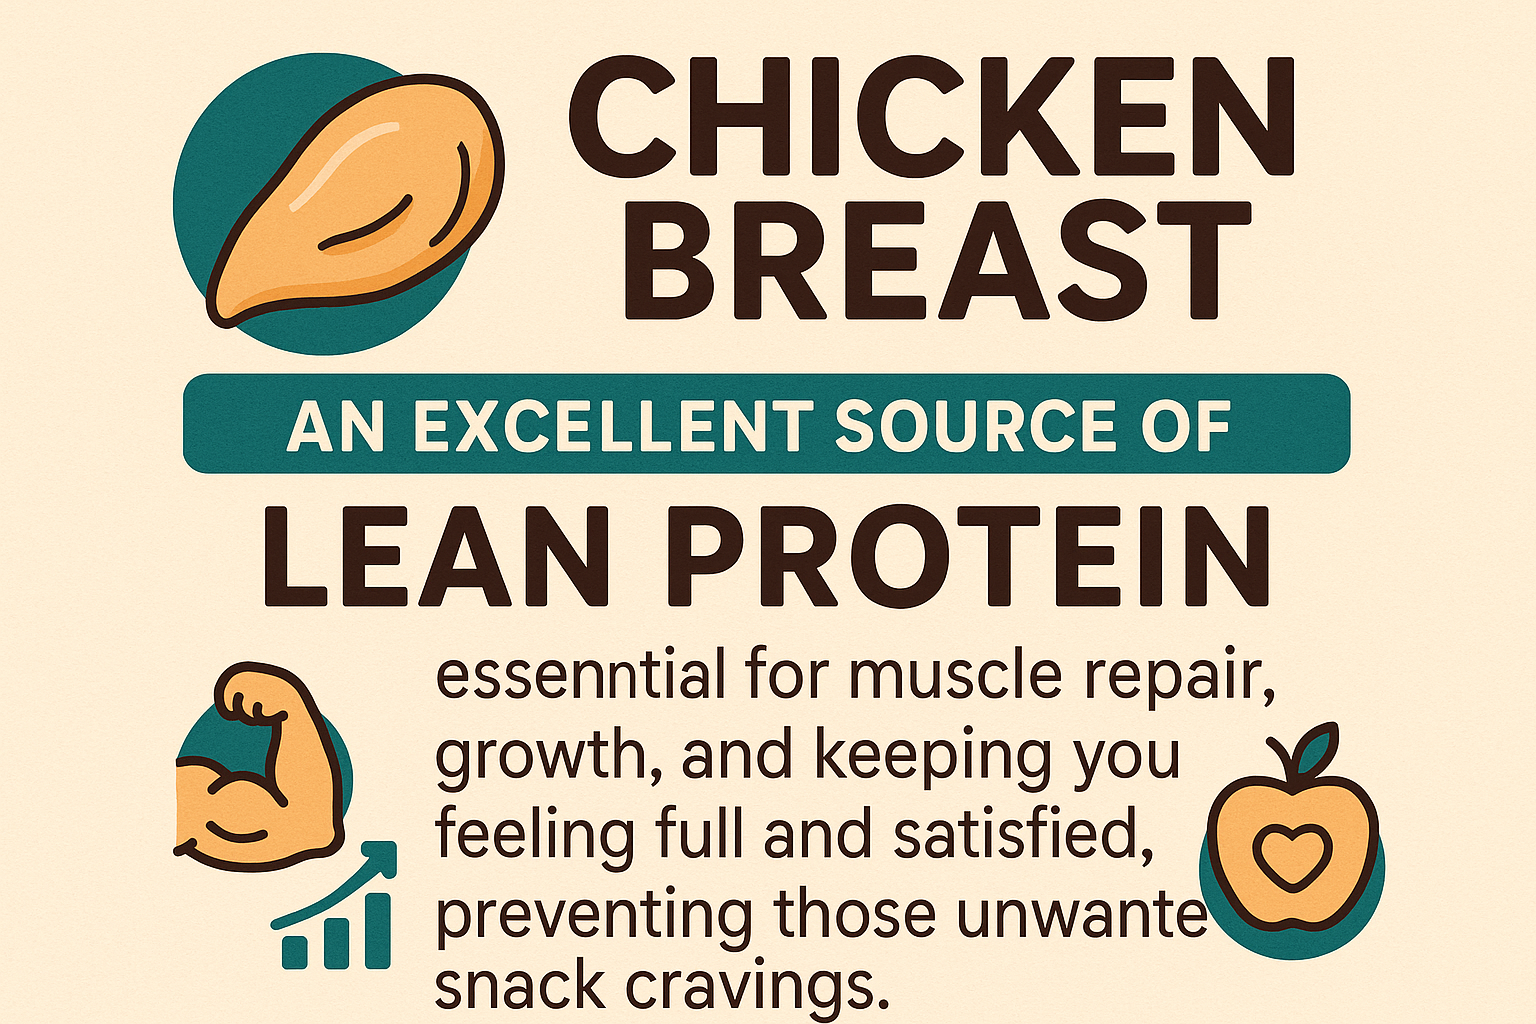
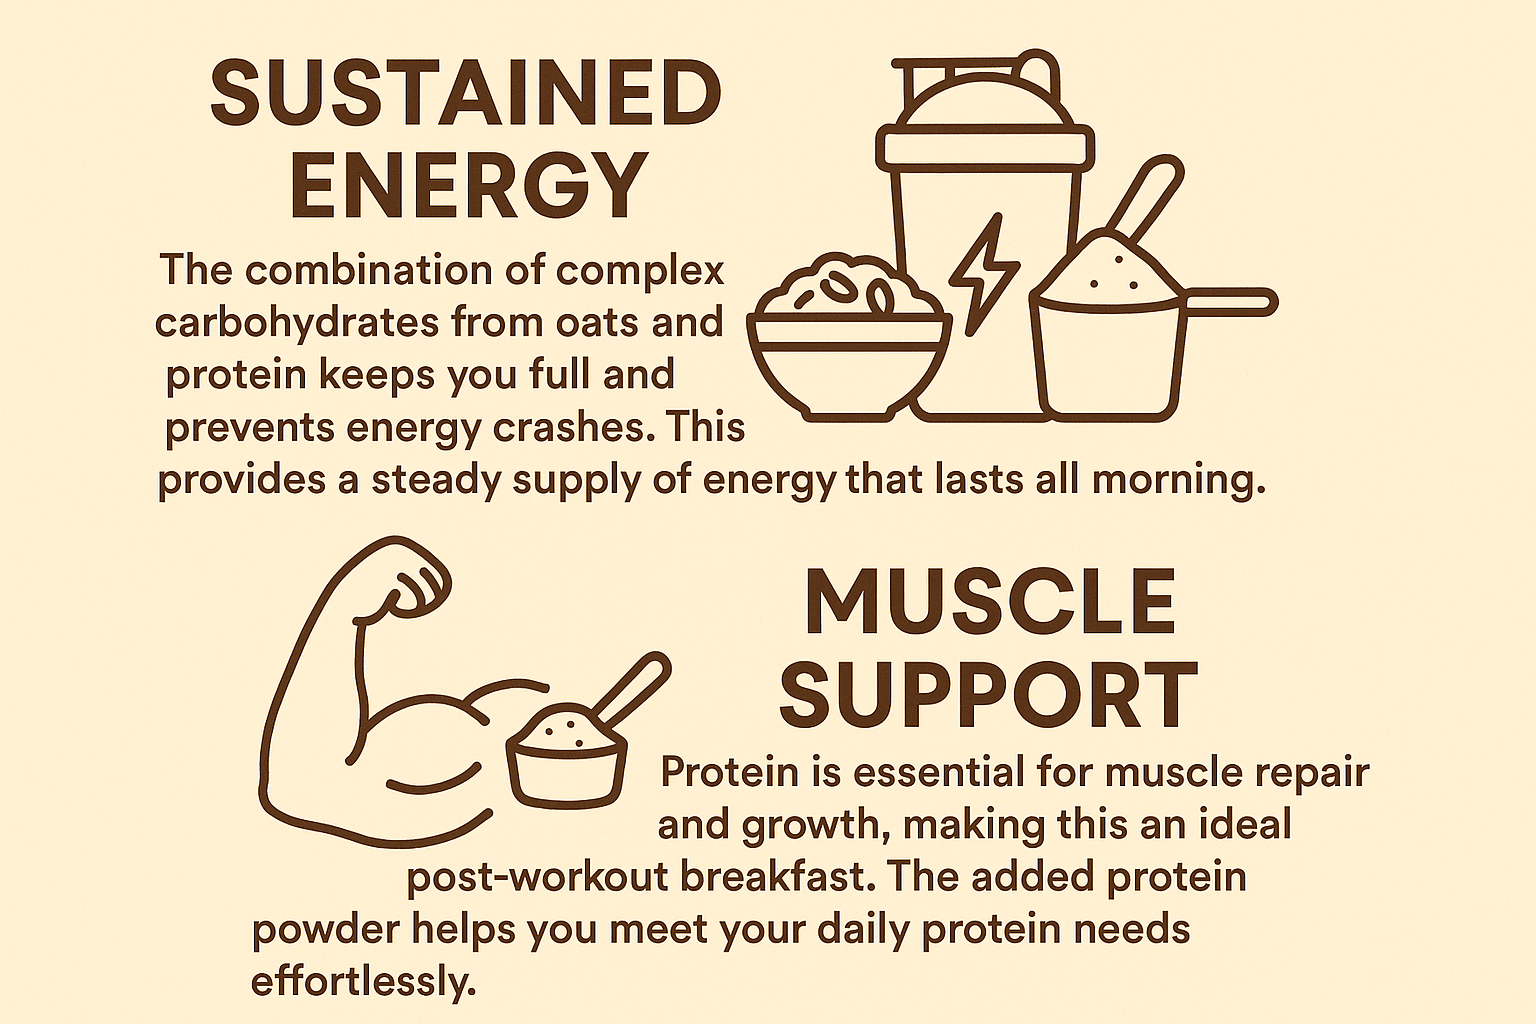
- Protein-Packed: The cheese filling, especially ricotta and feta, provides a good source of protein, essential for muscle repair, growth, and overall body function.
- Low in Calories (relatively): Compared to many indulgent dishes, these rolls are relatively low in calories while still being incredibly satisfying, making them ideal for those watching their calorie intake.
Variations to Customize Your Stuffed Eggplant Rolls
Customize your stuffed eggplant rolls to fit different dietary needs or flavor preferences with these creative variations:
| Variation Type | Description |
| Vegan/Dairy-Free | Substitute ricotta with a plant-based ricotta alternative (e.g., made from almonds or cashews). Use nutritional yeast for a cheesy flavor and omit feta/Parmesan, or use vegan versions. |
| Extra Protein | Add finely chopped cooked chicken, turkey, or lentils to the cheese filling. This makes for a more substantial meal and boosts the protein content. |
| Spice It Up | Increase the red pepper flakes in the filling, or add a pinch of cayenne pepper. For a smoky heat, include a dash of smoked paprika. |
| Mediterranean Twist | Incorporate finely diced sun-dried tomatoes, Kalamata olives, or a touch of oregano into the filling. Garnish with a squeeze of fresh lemon juice instead of balsamic glaze. |
| Nut-Free Option | If you have nut allergies, omit the pistachios and pine nuts from the coating. Instead, use toasted breadcrumbs, sesame seeds, or a mixture of sunflower and pumpkin seeds for crunch. |
| Sweet Potato Infusion | For a slightly sweeter and heartier filling, mash and incorporate a small amount of roasted sweet potato into the ricotta mixture. This adds a lovely creaminess and nutritional boost. |
| Herb Garden Fresh | Experiment with different fresh herbs! Try incorporating fresh dill, mint, or chives into the filling to create unique flavor profiles. Adjust quantities based on herb strength and personal preference. |
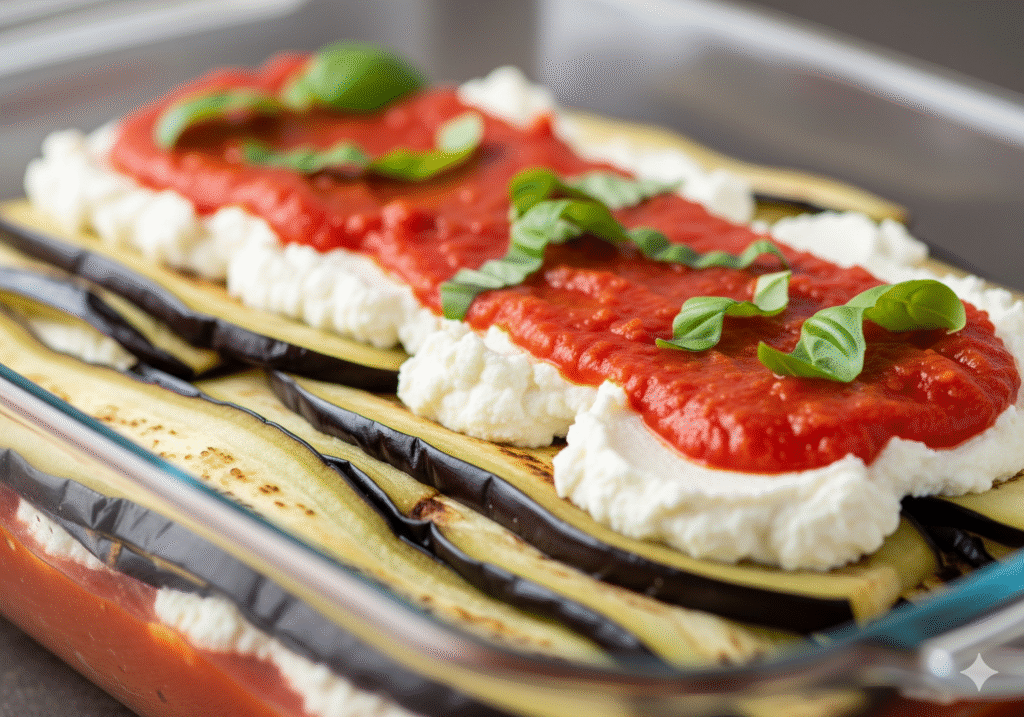
| Baked instead of Rolled | If short on time, layer the cooked eggplant slices and filling in a baking dish, then top with extra cheese and bake until bubbly for a deconstructed eggplant lasagna feel. |
Final Thoughts: A Culinary Journey with Stuffed Eggplant Rolls
Crafting these stuffed eggplant rolls is truly a rewarding experience, transforming simple vegetables into an elegant and incredibly flavorful dish. From the careful slicing and salting of the eggplant to the assembly of the creamy, herb-infused filling and the final flourish of nutty coating, every step contributes to a culinary masterpiece that is both nourishing and utterly delicious.
This recipe not only provides a fantastic meal option but also encourages creativity in the kitchen. Remember, cooking is an art, and while we’ve given you a precise guide to replicate our hero image, feel free to experiment with the variations. Don’t be afraid to adjust the seasonings to your palate or try different herbs and spices. These rolls are a testament to how healthy eating can be vibrant, exciting, and deeply satisfying.
We encourage you to try this recipe, share it with loved ones, and savor every bite. Let these stuffed eggplant rolls inspire you to explore more healthy and flavorful dishes. Happy cooking, and may your culinary adventures always be delicious!

Frequently Asked Questions (FAQs) about Stuffed Eggplant Rolls
Q1: Can I make Stuffed Eggplant Rolls ahead of time?
A1: Yes, you can! You can prepare the eggplant slices (roast, pan-fry, or grill) and make the cheese filling a day in advance. Store them separately in airtight containers in the refrigerator. When you’re ready to serve, simply assemble the rolls, coat them, and add the garnishes. This is a great time-saver for entertaining or busy weeknights. For best results, it’s ideal to add the nut and seed coating and the balsamic glaze just before serving to maintain their texture and freshness.
Q2: What are some good side dishes to serve with Stuffed Eggplant Rolls?
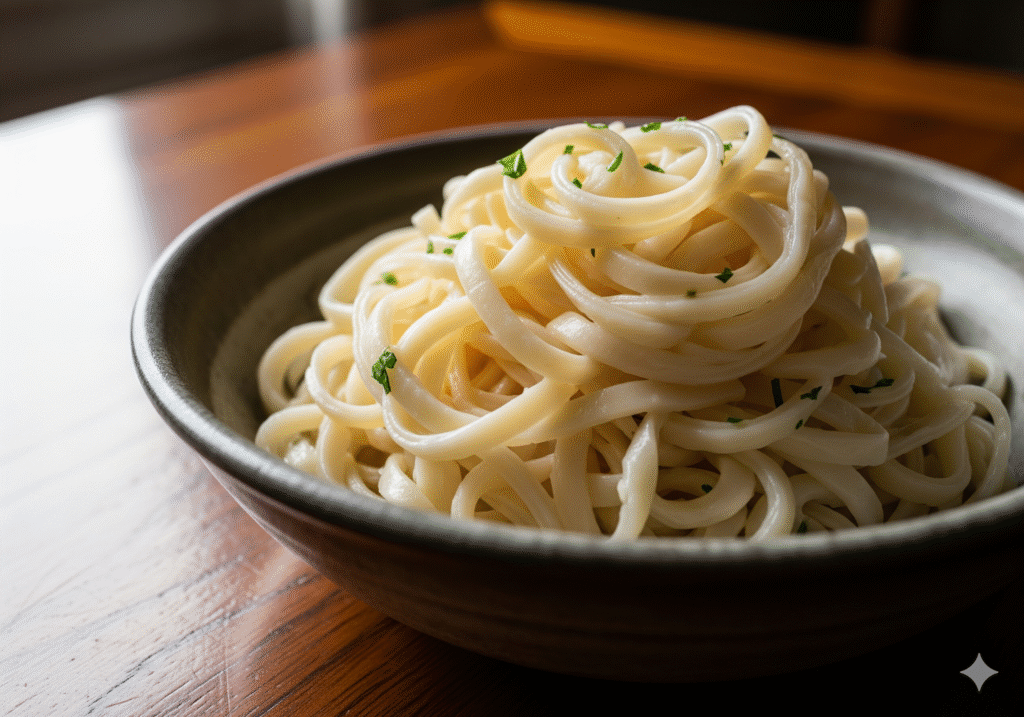
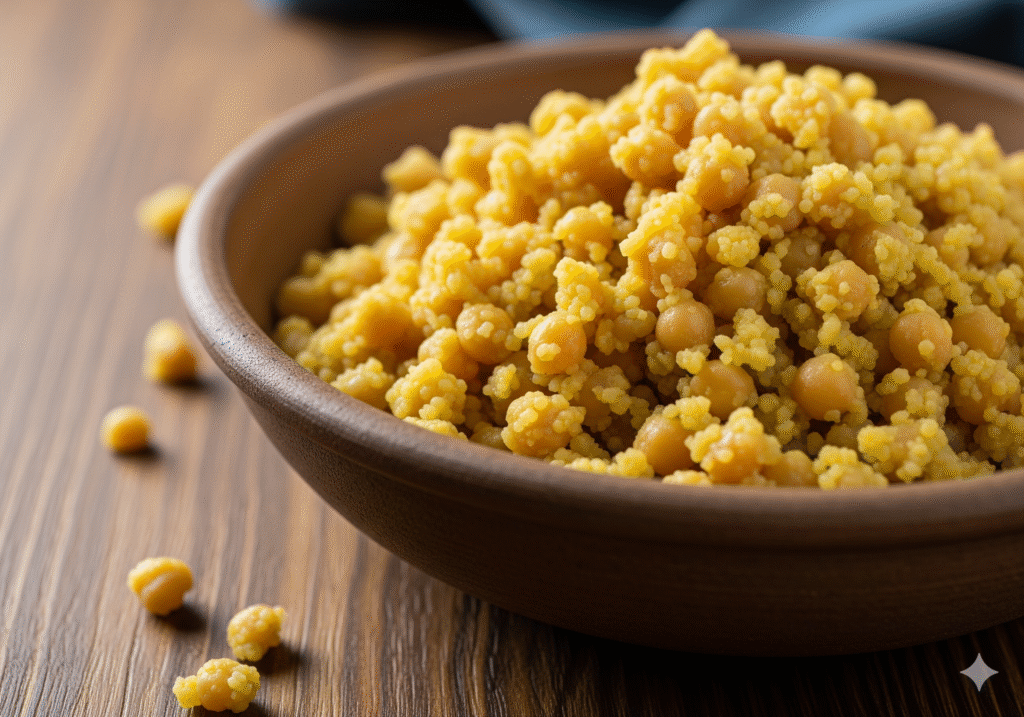
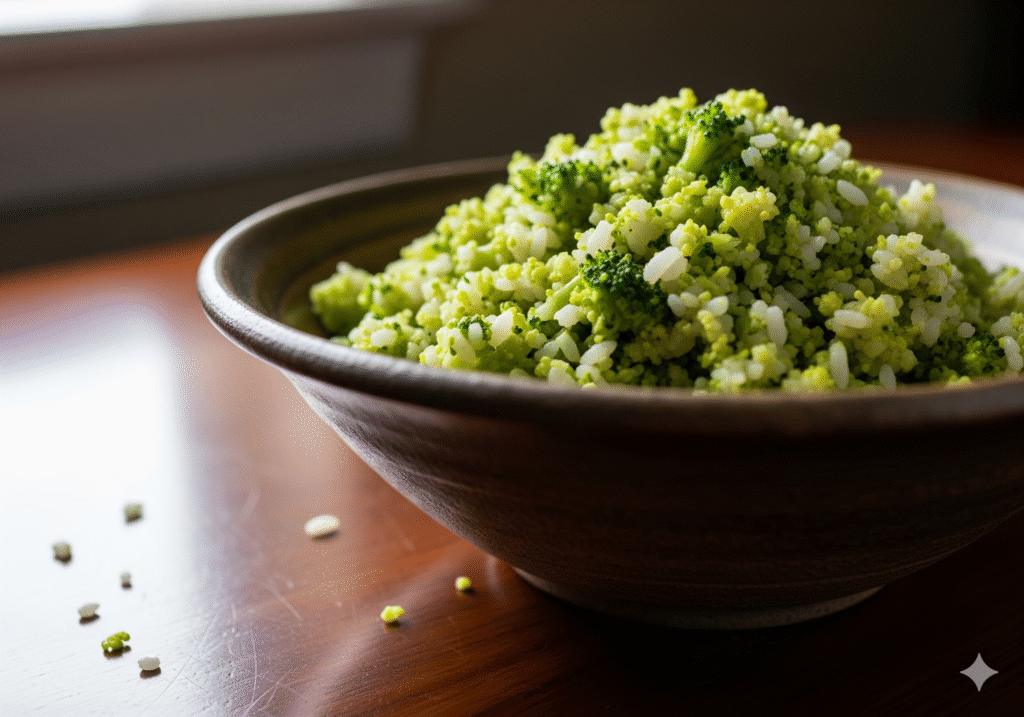
A2: Stuffed eggplant rolls are versatile and pair well with a variety of sides. For a light meal, consider a fresh mixed green salad with a vinaigrette dressing, or a simple tomato and cucumber salad. If you’re looking for something more substantial, they go wonderfully with a side of quinoa or couscous, a light pasta salad, or even a hearty lentil soup. Roasted cherry tomatoes or steamed green beans also make excellent, healthy accompaniments that complement the flavors of the rolls.
References
- WebMD – Health Benefits of Eggplant
- Harvard T.H. Chan – Nuts
- Healthline – The 9 Healthiest Types of Cheese
Recent Posts