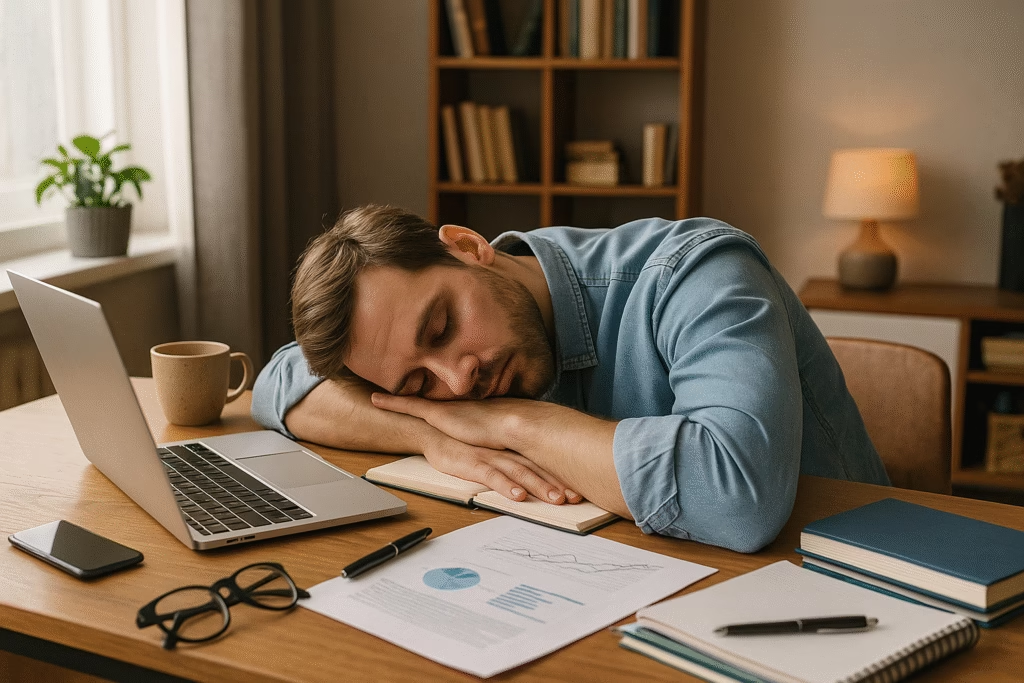
Are you constantly running on fumes? You may feel busy but are getting nowhere. When asked how you are, you often answer, “I’m fine.” You say this even if your mind races. Your body hurts from tiredness. You are not alone in this feeling. Our world is hyper-connected and always-on. The pressure to do more has worn us out. What if the secret to a happier, better life was not speeding up? Perhaps it was slowing down. This guide will help you step off the treadmill. Reclaim your precious Time and Sanity!
The Problem with “Busy”: Why We Say “Fine” When We’re Not
For many, being “busy” is a badge of honor. It’s a quick answer and a way to feel important. We fill our calendars and juggle many tasks. We believe this non-stop speed leads to success. But often, the truth is the opposite. This constant busyness makes us feel overwhelmed and anxious. It cuts us off from what truly matters. We say “fine” because admitting the truth feels weak. Or, we just don’t have the energy to talk about our exhaustion.
This constant rush creates a bad cycle. We are so busy that we can’t rest or think. Without rest, our thinking gets worse. This leads to bad choices and more stress. The stress then makes us even busier. We try to catch up or fix things. This wears away at our valuable time and sanity. We lose touch with our own needs. Our friendships suffer. Our creativity stops. This is not a life; it is just survival.

What “Slowing Down” Really Means
Slowing down is not about doing nothing. It does not mean being less focused on goals. It is not about leaving your job or moving far away. The slow living lifestyle is about intentionality. This means you choose quality over volume. You choose presence over distraction. You choose well-being over endless chasing. It is about:
- Being Present: Truly focusing on what you are doing. This is true for work, eating, or spending time with others.
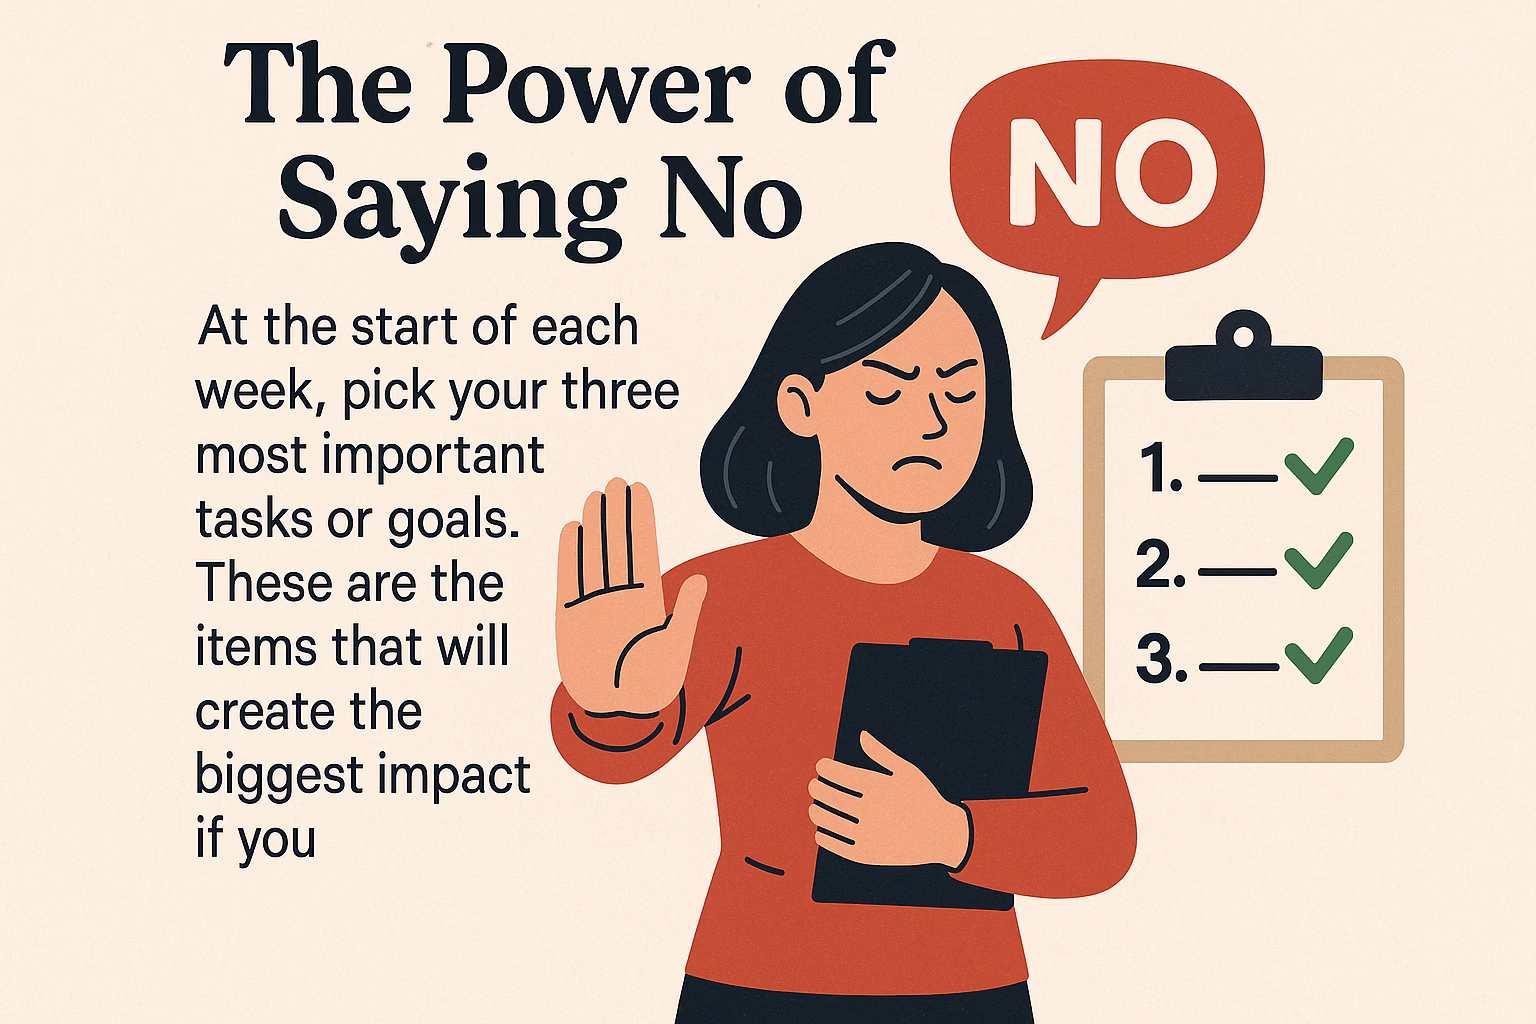
- Setting Priorities: Knowing what matters most. Use your energy on those things, instead of reacting to every demand.
- Rest and Thought: Seeing pauses as necessary, not as a waste of time. Pauses are vital for new ideas and solving problems.
- Checking in with Yourself: Listening to your needs, desires, and limits.
Think of it as changing from a mad dash to an enjoyable, steady pace. You can actually see the world around you. You can make mindful choices about where you are going.
The Great Benefits of Slowing Down

Choosing a slower pace brings many great benefits. These directly improve your time and sanity:
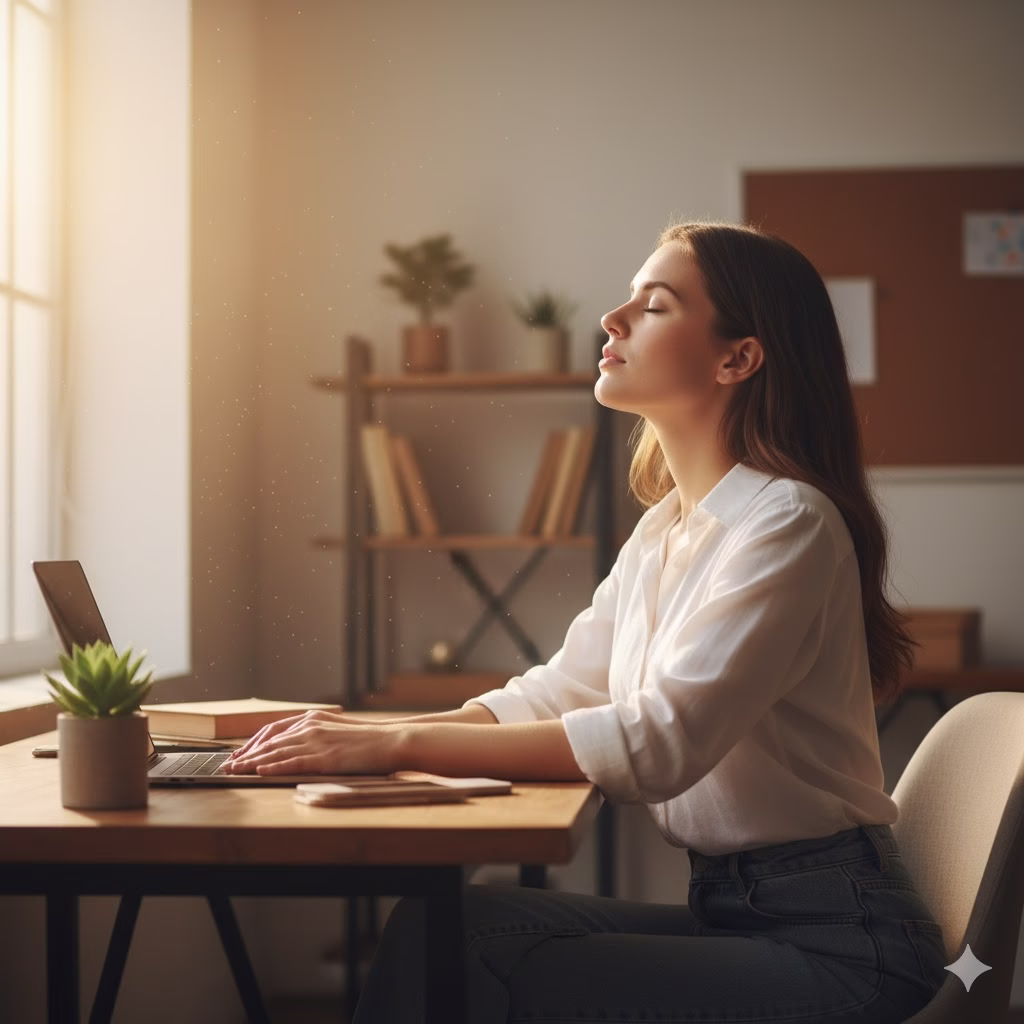
- Clearer Thinking and Better Focus: Your mind stops racing. You can think clearly. And make better choices. You focus on key tasks. This means you do better work in less time.
- Less Stress and Worry: Stepping back from the rush lowers stress hormones. This calms your nerves. It leads to a better mood. It greatly cuts down on feeling overwhelmed.
- Better Physical Health: Constant stress harms your body. Slowing down helps you sleep better. It lowers blood pressure. And aids digestion. It strengthens your body’s defenses.
- Deeper Connections: When you are present, you are not distracted. You connect better with family and friends. This builds real, stronger bonds.
- More Creativity and Better Problem Solving: A rested mind is a creative mind. Giving yourself space to breathe lets new ideas surface. It helps you see big problems clearly.
- More Joy and Thanks: You start to notice life’s small joys. You see the taste of your coffee. And hear the sound of birds. You feel the sun’s warmth. Life becomes richer.
- More Time (A Strange Truth): You become more purposeful and less reactive. You cut out activities that waste time. You become more efficient. This gives you more room for what you truly value. These are the powerful benefits of slowing down.
How to Slow Down in a Busy World: Simple Steps to Take Control

Moving to a slower pace is a journey. It requires many mindful, steady choices. Here are practical intentional living tips to bring more slowness into your daily life. This is how to slow down in a busy world.
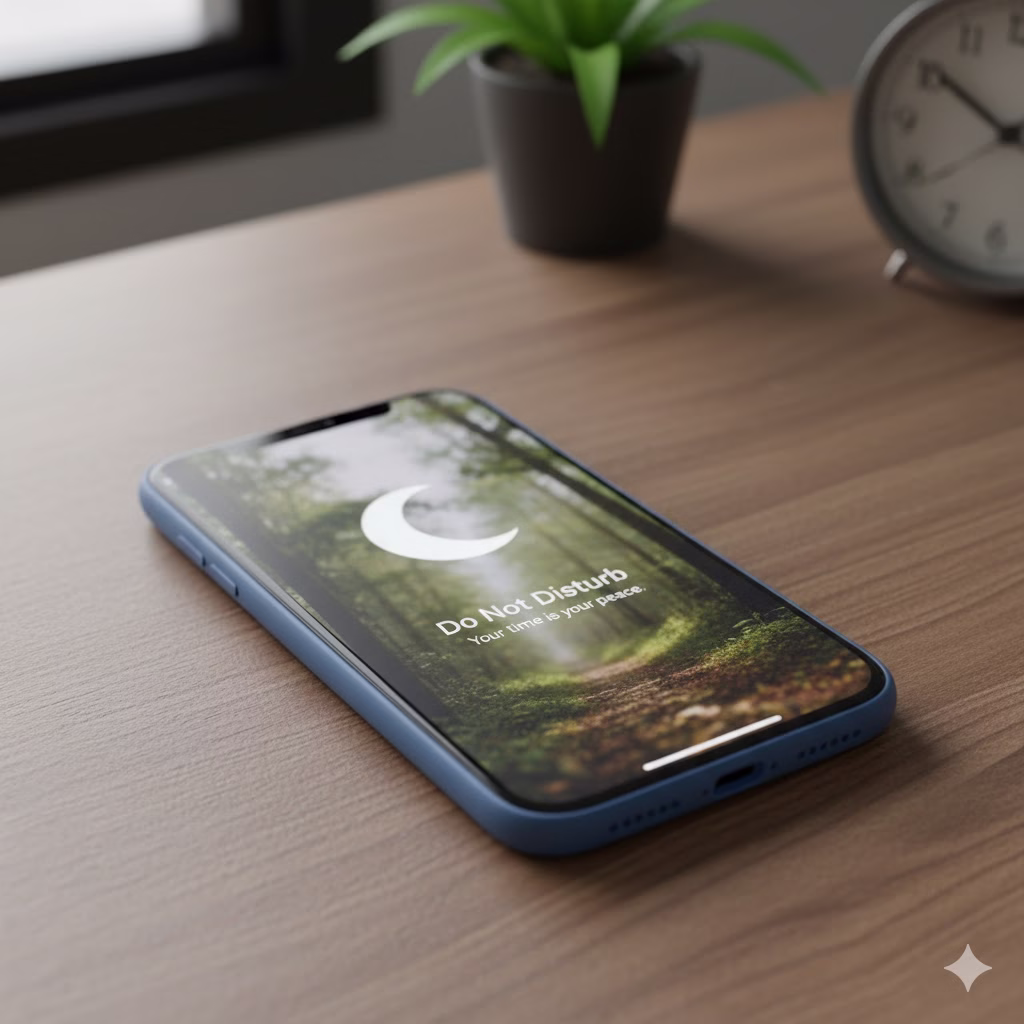
1. Go Digital Detox & Use Tech Mindfully
This is often the hardest part. It is also the most effective change.
- Start Small: Set clear “no-phone zones.” Use them at the dinner table or in the bedroom. Set “no-phone hours.” This could be the first or last hour of your day.
- Turn Off Alerts: Most phone alerts interrupt you. They pull you from the present. Keep only vital alerts on.
- Schedule Tech Time: Don’t check constantly. Choose specific times to read emails and check social media.
- Gray-scale Your Phone: Change your screen to black and white. This makes it less addictive and exciting.
- Check Your Apps: Delete apps that cause stress or do not help you.
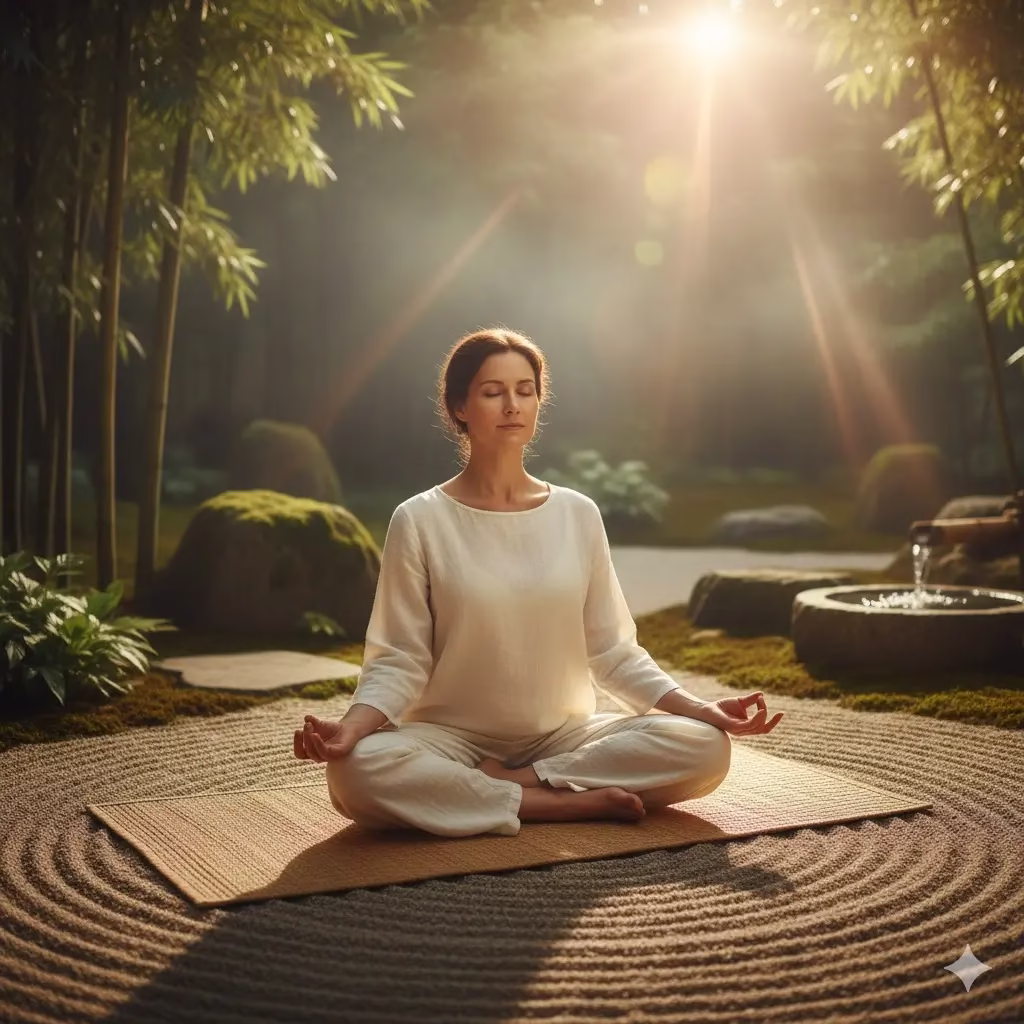
2. Master the Simple Pause
Add short breaks and moments of thought to your day.
- The 5-Minute Break: Set a timer for 5 minutes. Close your eyes. Take slow, deep breaths. Just watch your thoughts. Do this many times each day.
- Mindful Change: You are moving from one task to the next. Take a minute to finish the first task. Then, get ready for the new one.
- Walk Away: Feel stressed? Step away from your desk. Take a short walk. Even if you just walk to another room or outside.
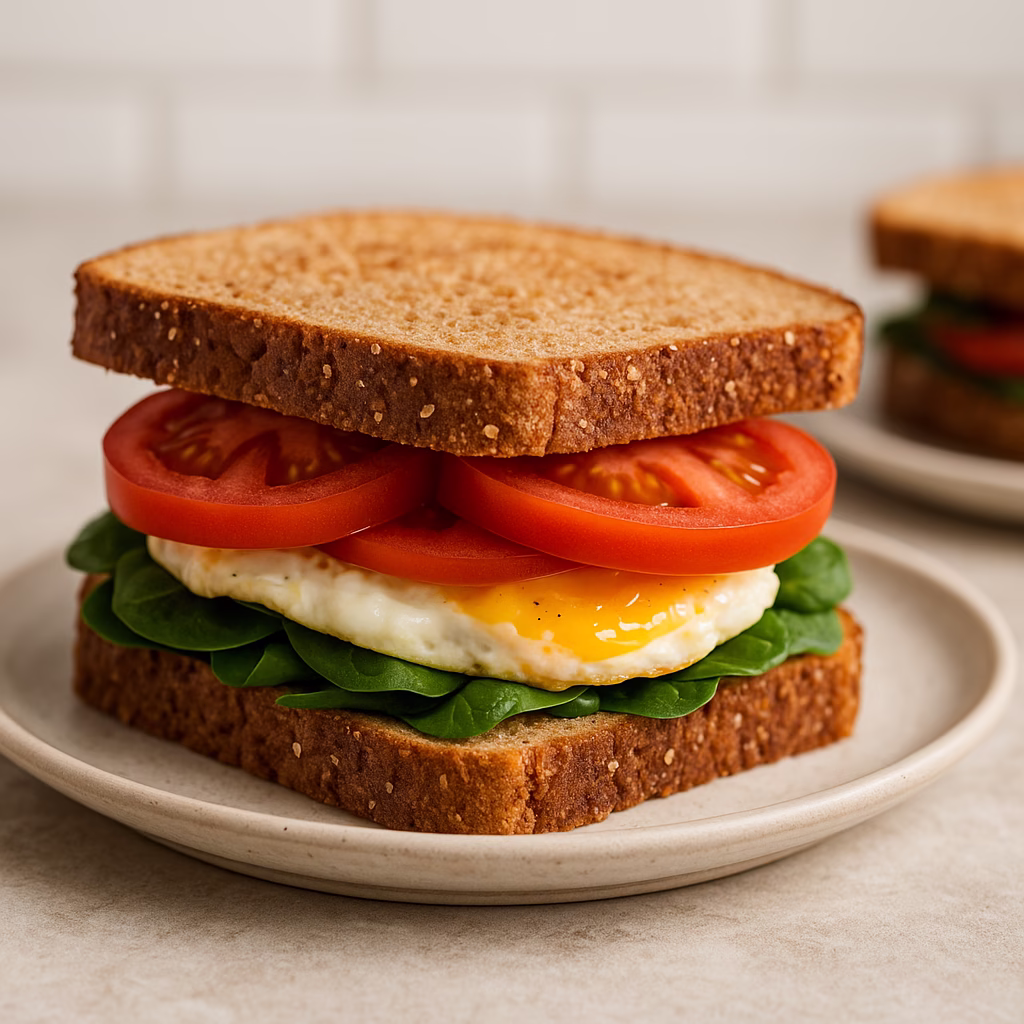
3. Eat With Awareness
Change your meals from a rush to a fun event.
- Eat Slowly: Put your fork down between each bite. Chew your food well.
- Use Your Senses: Notice the food’s color, texture, smell, and taste.
- Remove Distractions: Turn off the TV. Put away your phone. Focus only on your meal.
- Eat Quality Food: Focus on healthy foods. Listen to your body when it says it is full.

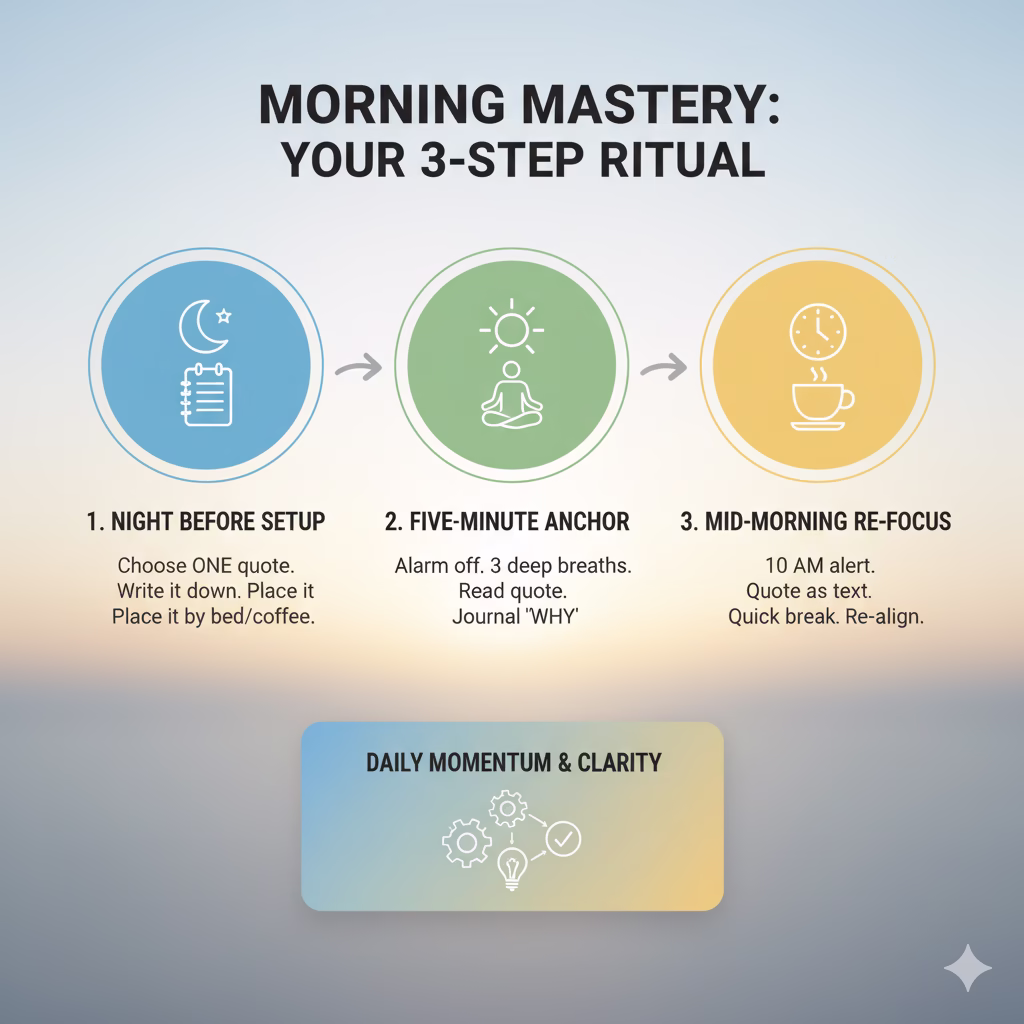
4. Take Back Your Mornings and Evenings
The start and end of your day set your whole mood.
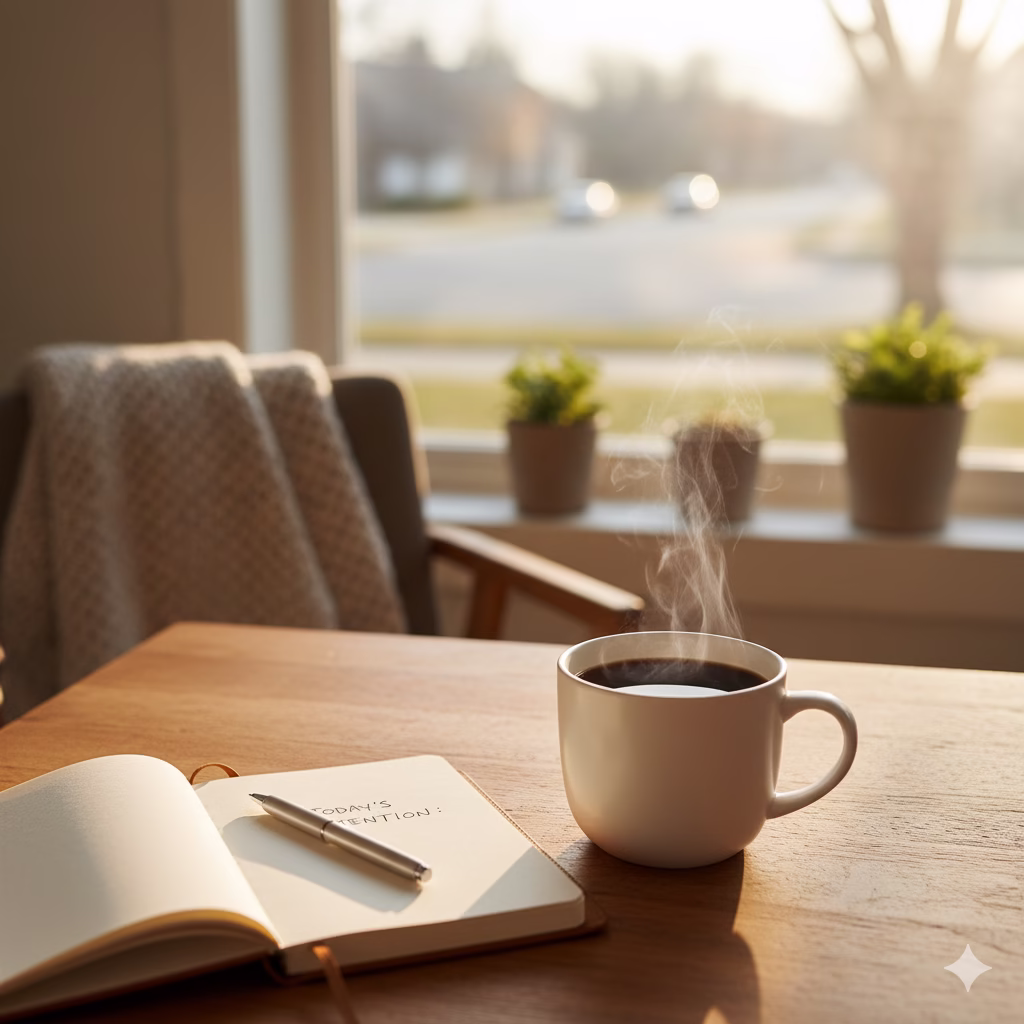
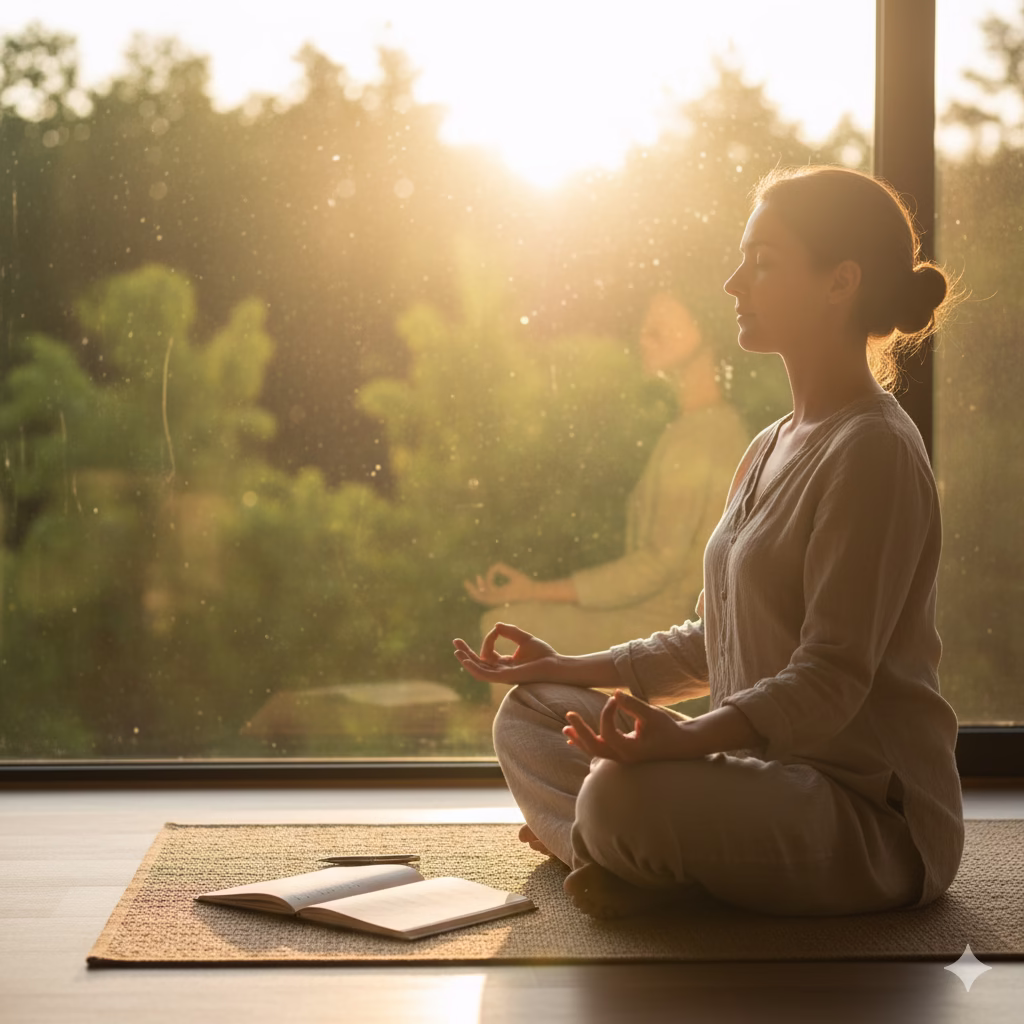
- Slow Morning Start: Do not check your phone right away. Spend the first 30-60 minutes quietly. Try reading, writing, meditating, or gentle stretching.
- Evening Wind-Down: Turn down the lights. Do not look at screens. Do relaxing things. Read a real book. Take a warm bath. Listen to quiet music.
- Focus on Sleep: Good, regular sleep is key for your mind and body.
5. Clear Out Your Space
A messy space often leads to a messy mind.
- One Area at a Time: Start with a small area. Keep only what “sparks joy.”
- Digital Clean-up: Clean your computer files. Clear your email inbox. Stop getting newsletters you do not need.
- Own Less: Think about how many items you truly need. Fewer items mean less to clean and worry about.
6. Do One Task, Not Many
We often think multitasking works. It does not. It causes more errors and stress.
- Focus on One Thing: Give all your attention to one task. Work on it until it is done or you take a planned break.
- Group Similar Tasks: Do all emails, calls, or paperwork together. Do them at a certain time.
- Try the Pomodoro Method: Work intensely for 25 minutes. Then, take a 5-minute break. This helps train your mind to focus better.
7. Schedule Open Time (And Guard It)
Purposefully put empty spots in your calendar.
- Extra Time: Add extra minutes between appointments. This stops you from having to rush.
- “No Plans” Time: Schedule time each week with no set plan. Use it to rest or do something fun on the spot.
- Learn to Refuse: Protect your personal limits. Say no to commitments that do not match your goals.
8. Connect with the Outdoors
Being in nature has a deep calming effect.
- Daily Time Outside: Try to spend 15-30 minutes outside each day. Even in your yard or a park.
- Mindful Walking: Notice the sounds, sights, and smells of nature. Leave your phone behind.
- Feel the Ground: Take off your shoes and feel the earth under your feet.
9. Find Hobbies and Creative Fun
Do things just for fun. Do not worry about being productive. This feeds your soul.
- What Did You Love as a Kid? Think about what you enjoyed before you had adult duties.
- Try New Things: Try painting, gardening, or writing stories.
- Enjoy the Process: Focus on the joy of the activity itself. Don’t worry about the final result.
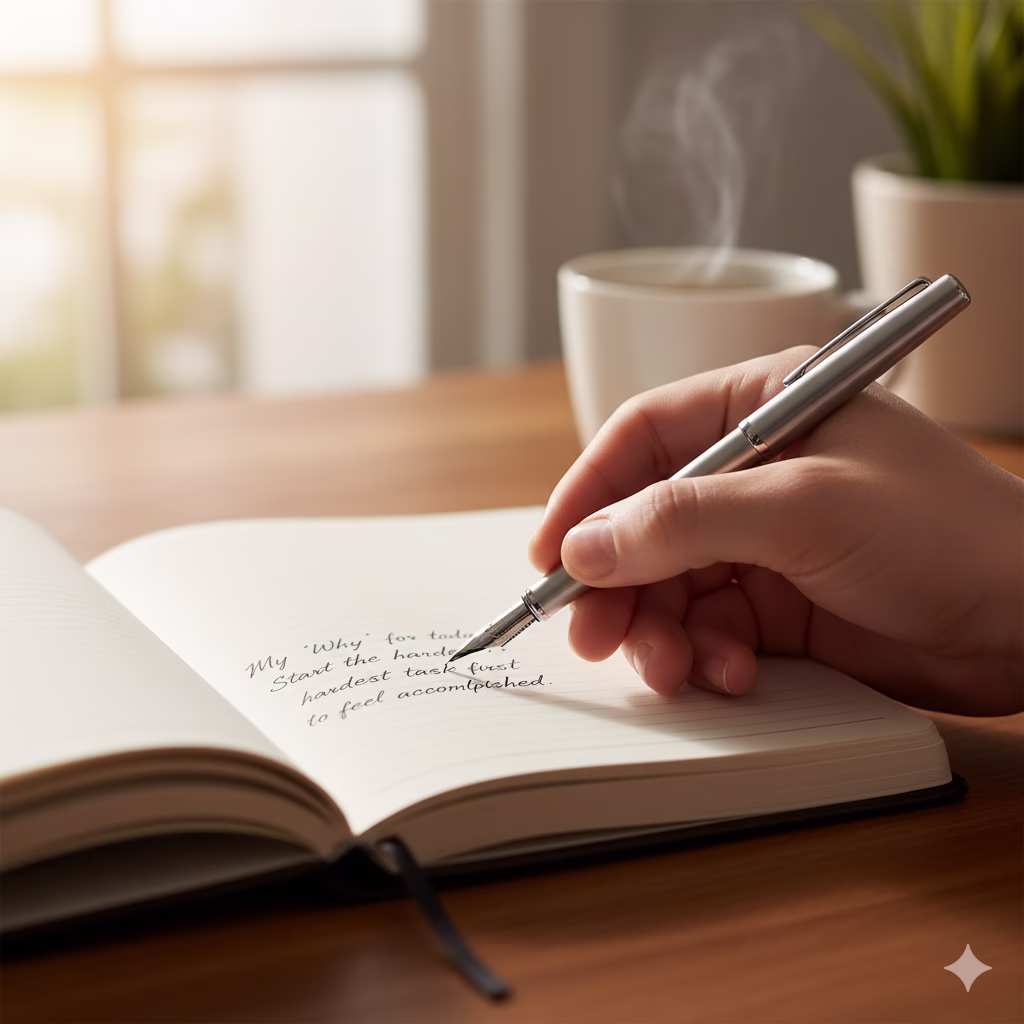
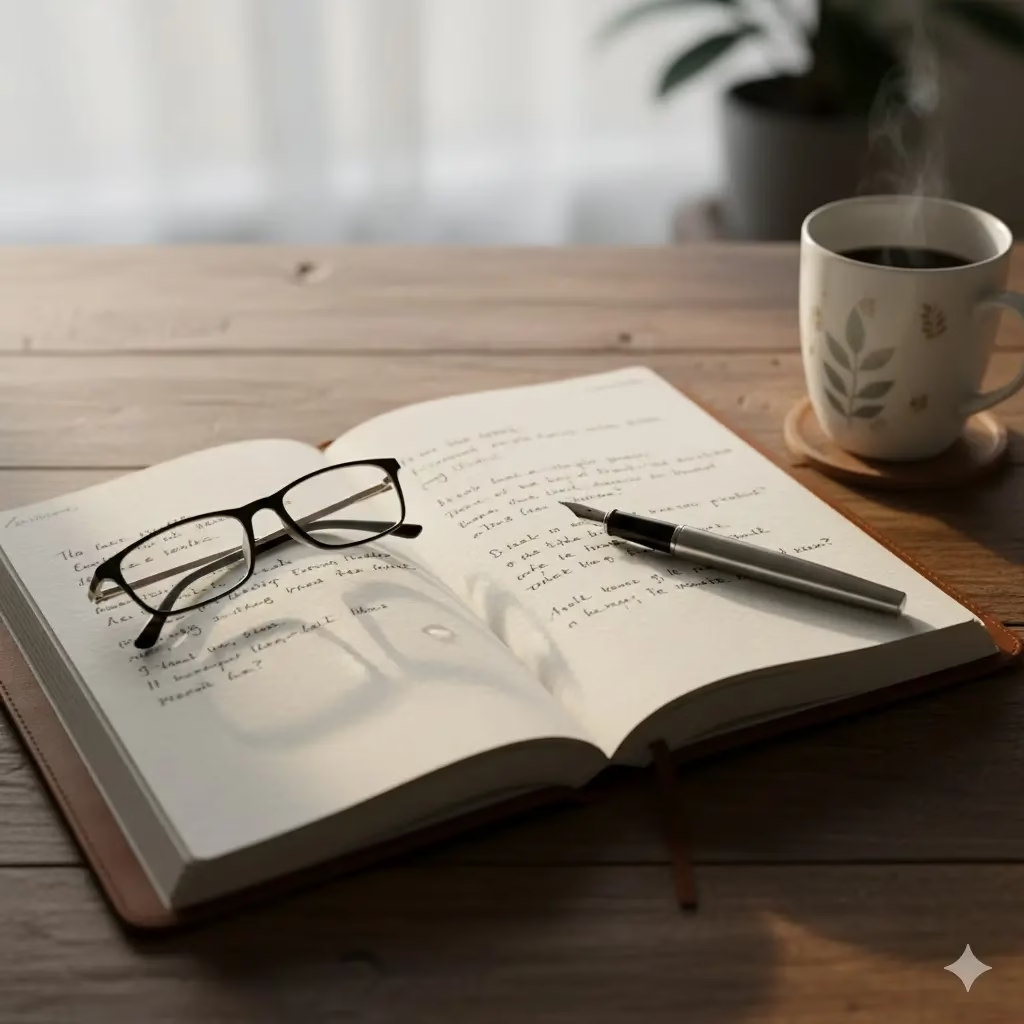
10. Think and Write
Checking in with yourself helps you see your patterns. It helps you make clear changes.
- Daily Review: Spend 5-10 minutes thinking about your day. What was good? What was hard? How did you feel?
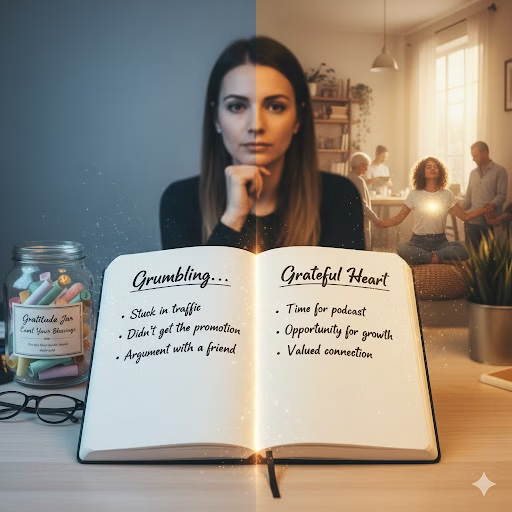
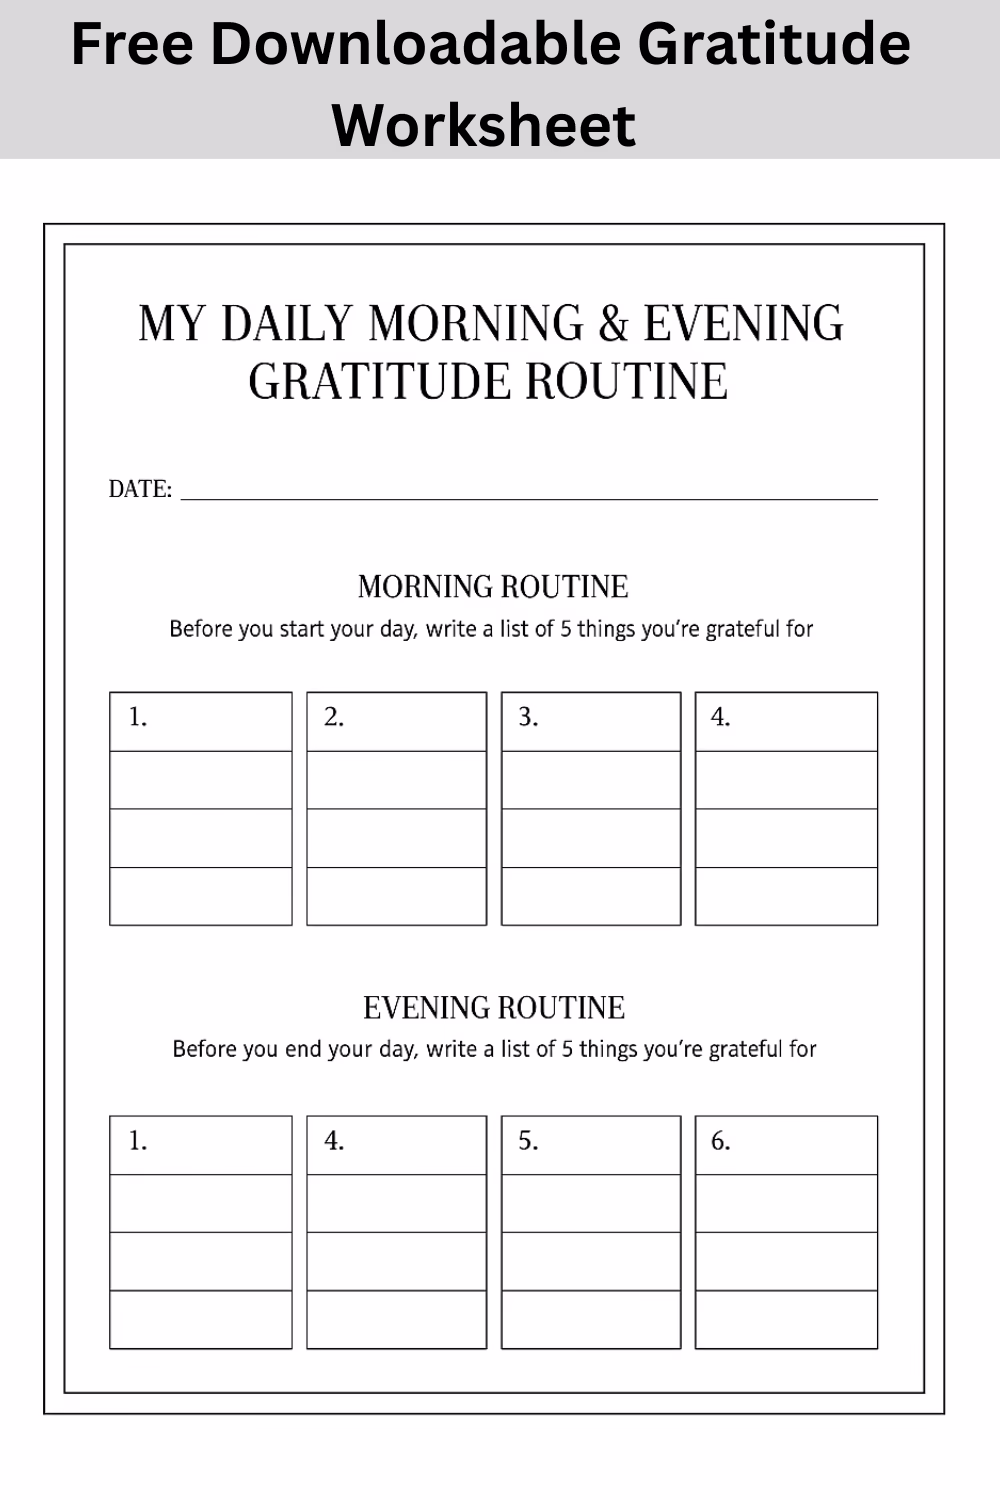
- Give Thanks: Write a list of things you are thankful for. This helps you focus on the good in your life.
- Plan Your Future: Write about what a “slowed down” life looks and feels like for you. These are good ways to live more intentionally.
11. Be Kind to Yourself
Changing old habits takes time. There will be days when you rush again.
- Be Gentle: Do not scold yourself for not being perfect. See the effort you are making.
- Learn from Mistakes: Use setbacks to see what causes your rushing.
- Small Wins Count: Celebrate small successes and progress.
What Happens When You Slow Down Life?

You choose to slow down. Then, a wonderful change starts. You move past just feeling “fine.” You enter a state of true well-being. This is what happens when you slow down life.
- Your view of time changes. Time doesn’t feel like it is running out. You live moments more fully. This makes them feel bigger and richer.
- Your bonds get stronger. Your mind has space and energy to truly listen. This builds better friendships.
- Your work is better. You have more focus and less stress. And become more effective and creative. You achieve more with less frantic effort.
- Your health greatly improves. Stress-related sickness often lessens. You feel more energetic and alive.
- And feel in control. You stop feeling ruled by outside demands. And become the active planner of your life. You make clear choices about how to spend your time and sanity.
You begin to see that life is not a race. But a journey to be truly enjoyed. It’s about feeling happy in the present. It means enjoying small wonders. It means living in line with your most important values. You have found the way to slow down your mind and body naturally.
The Journey Beyond “Fine”

Taking back your time and sanity by slowing down is a constant process. You will always be learning and making changes. It takes patience. It takes effort. You must be willing to challenge the idea that speed is everything. But the rewards—a life lived with more presence, purpose, and deep joy—are truly priceless.
So, the next time someone asks how you are, think of a future. In that future, “fine” is not a tired answer. It is a real sign of a life lived at a pace that is right for you. Start today. Choose one small thing to slow down. See the positive change it makes. Your time and sanity are worth it.
FAQ: Your Questions About Slowing Down Answered
Q1: Is slowing down just a way to be lazy or unproductive? A: Not at all! In fact, the reverse is often true. When done on purpose, slowing down leads to increased productivity. You work with better focus and less stress. It means you work smarter, not faster. The benefits of slowing down include better choices and better work quality.
Q2: I have a busy job and family. How can I slow down? A: You don’t need to quit your job to slow down. Start with small, simple changes. Focus on things like: mindful use of tech, planning empty time, or having a calmer morning routine. Even 5-10 minutes of intentional pause helps a lot. It is about finding small ways to gain back your time and sanity.
Q3: What is the hardest part of trying to slow down? A: The biggest challenge is breaking the habit of valuing busyness. We are taught that constant activity is good. The quiet or unplanned time may feel strange at first. Our minds are used to constant noise. Be kind and patient with yourself during this new period.
Q4: How soon will I see results from slowing down? A: You may feel less stress right away. But, deeper changes take time. Think of it as a new skill or way of thinking. Small, steady efforts will build up. They will lead to lasting improvements in your slow living lifestyle and your overall well-being.
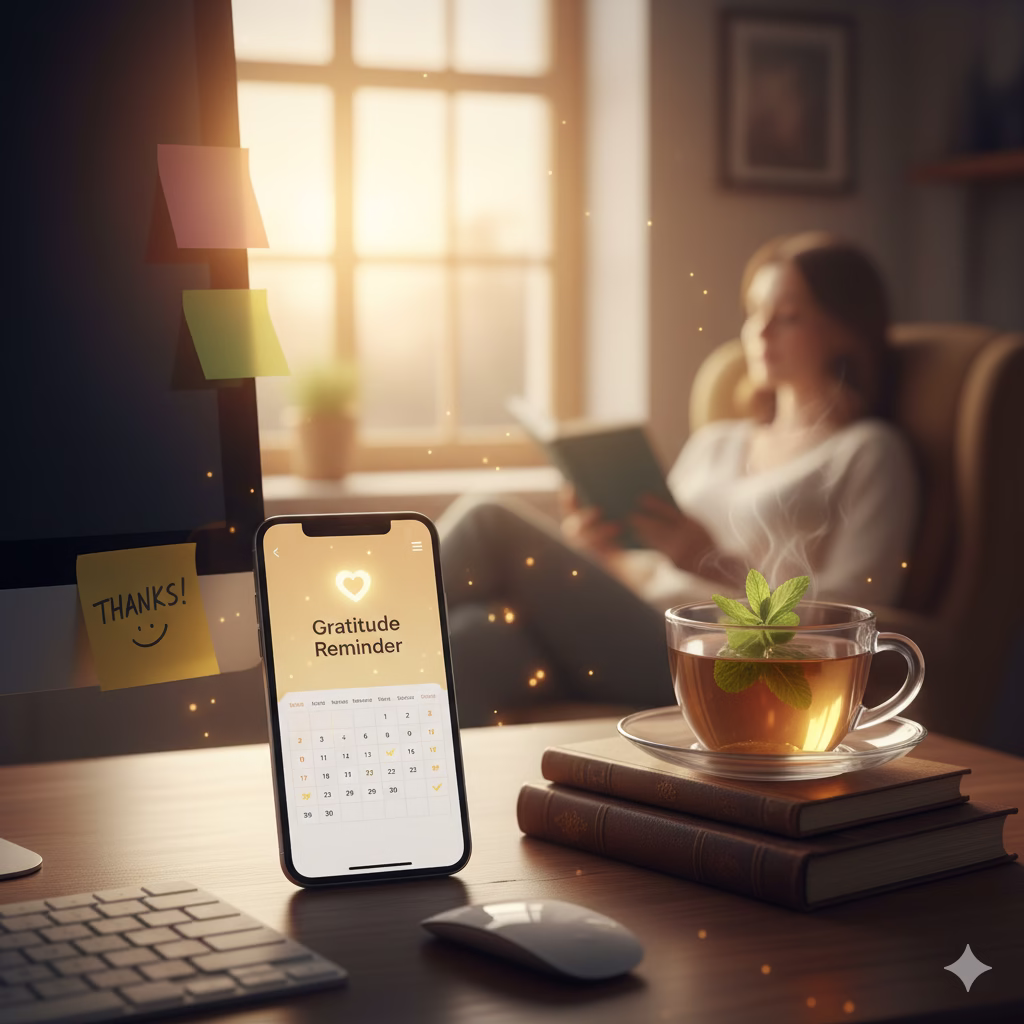
Q5: Are there apps or tools to help me slow down? A: We want less screen time. But some apps can help. Try meditation apps (like Calm). Use focus apps (like a Pomodoro timer). Digital detox apps that block distracting websites can also help. Just remember that the real goal is inside you, not on your phone.
Q6: What if my friends or family don’t support my change? A: Talk openly with them. Explain why you are changing—for your health, to be more present, and to have better relationships. Your calm choices might inspire them. Set clear limits, but be polite. Lead by example.
References
- Psychologytoday – The Benefits of Living More Slowly
- Helpguide – Benefits of Mindfulness
Recent Posts