Using Dehydrator Recipes is a smart way to live a zero waste life. It helps you save money on food every single week. A home Dehydrator lets you keep fresh food for much longer. These Dehydrator Recipes are very simple for any beginner to try. You can turn extra produce into great snacks that cost very little.
The Easy Way to Save Money and Stop Food Waste
Food prices are going up fast today. Many people want to save money and help the earth at the same time. A small food dehydrator is a great tool for this job. It is a simple machine for the modern kitchen. Most food drying does not need much power. It fits well with a zero waste plan for your home. Drying food takes out the water. This stops germs from growing. It keeps your fresh food safe to eat for a long time.
You will save a lot of cash with these snacks. Store-bought dried fruit and meat cost a lot of money. Often, stores charge three times what the food is worth. When you use Dehydrator Recipes at home, you do not pay for fancy bags or ads. You can buy food in bulk when it is cheap. You can also save “ugly” fruit that looks bad but tastes great. This turns waste into good food for your pantry.
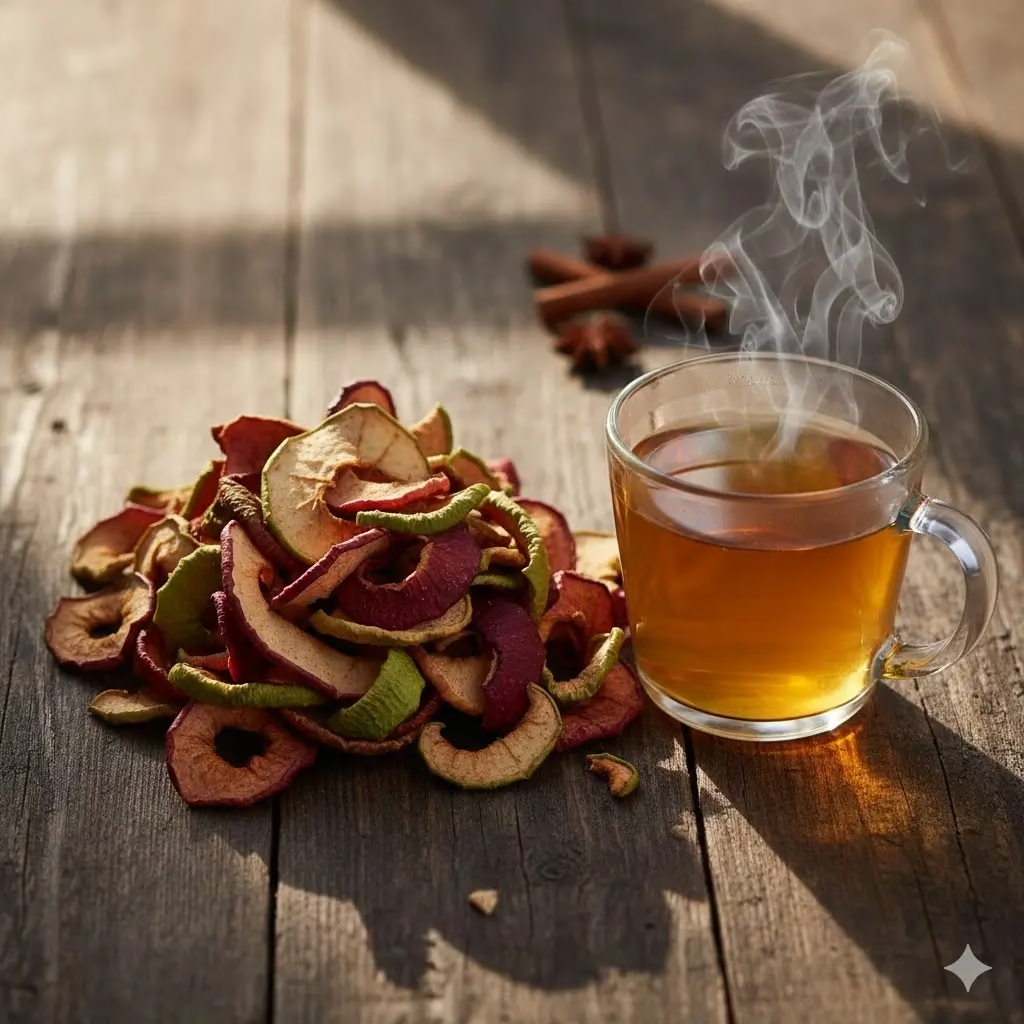
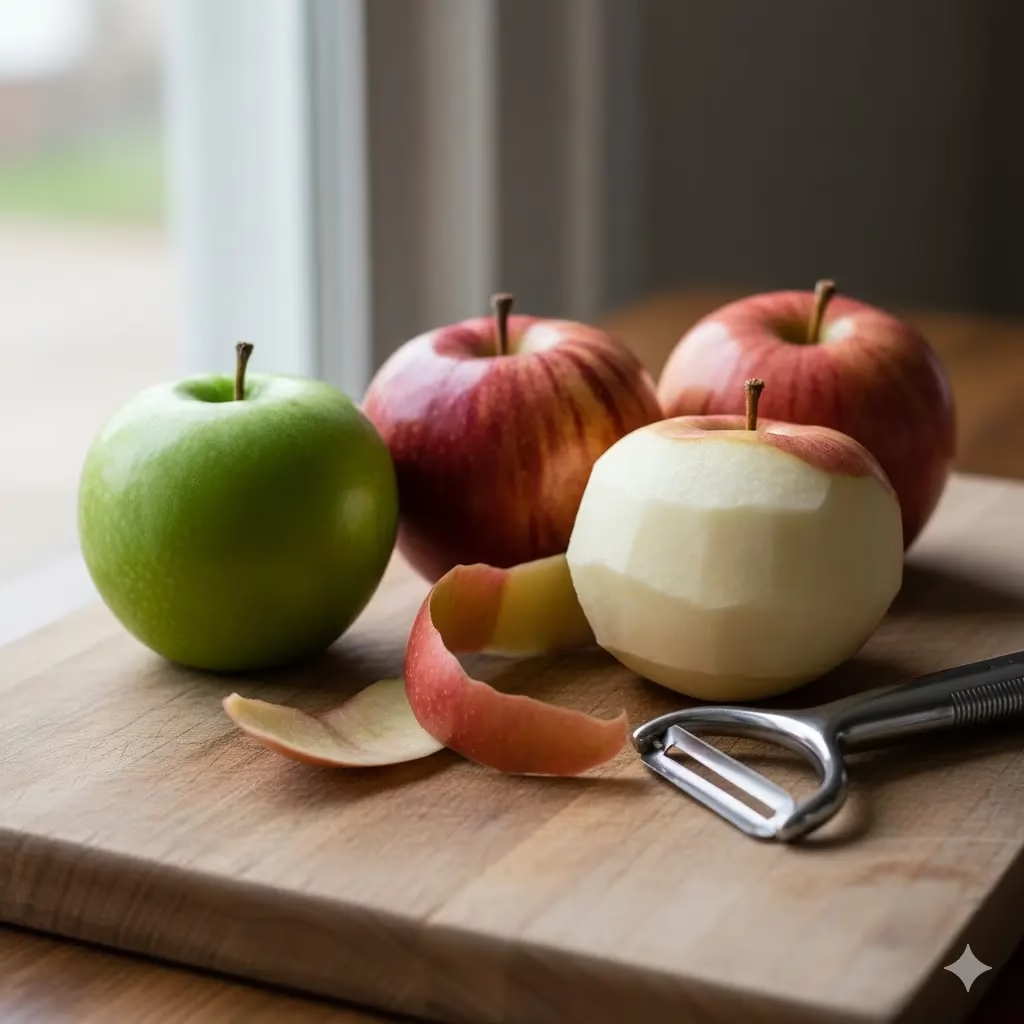
1. Simple Apple Cinnamon Chips
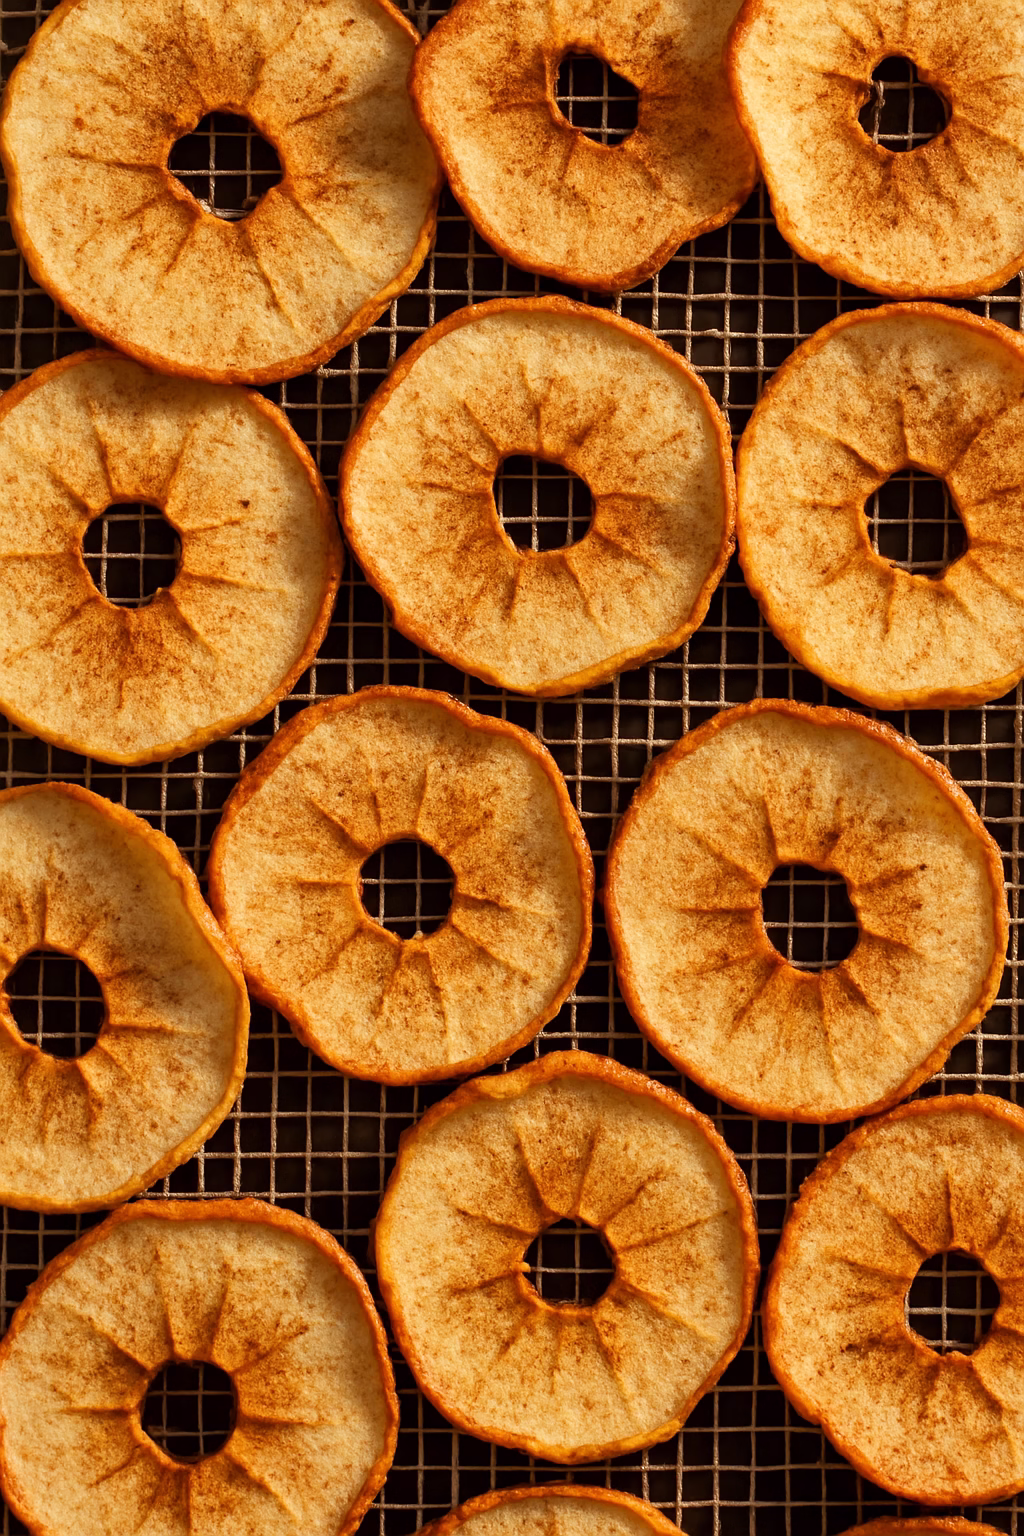
Apple chips are a top choice for Dehydrator Recipes. They are very hard to mess up. They cost much less than the bags you find in stores. These chips give you a good crunch without any oily mess.
Instructions:
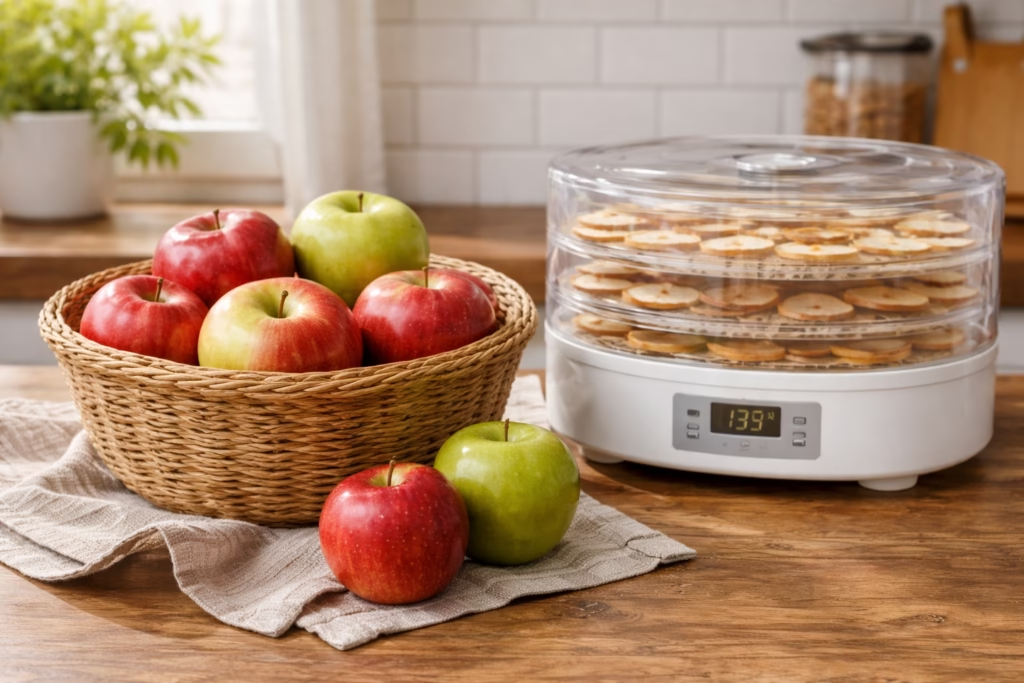
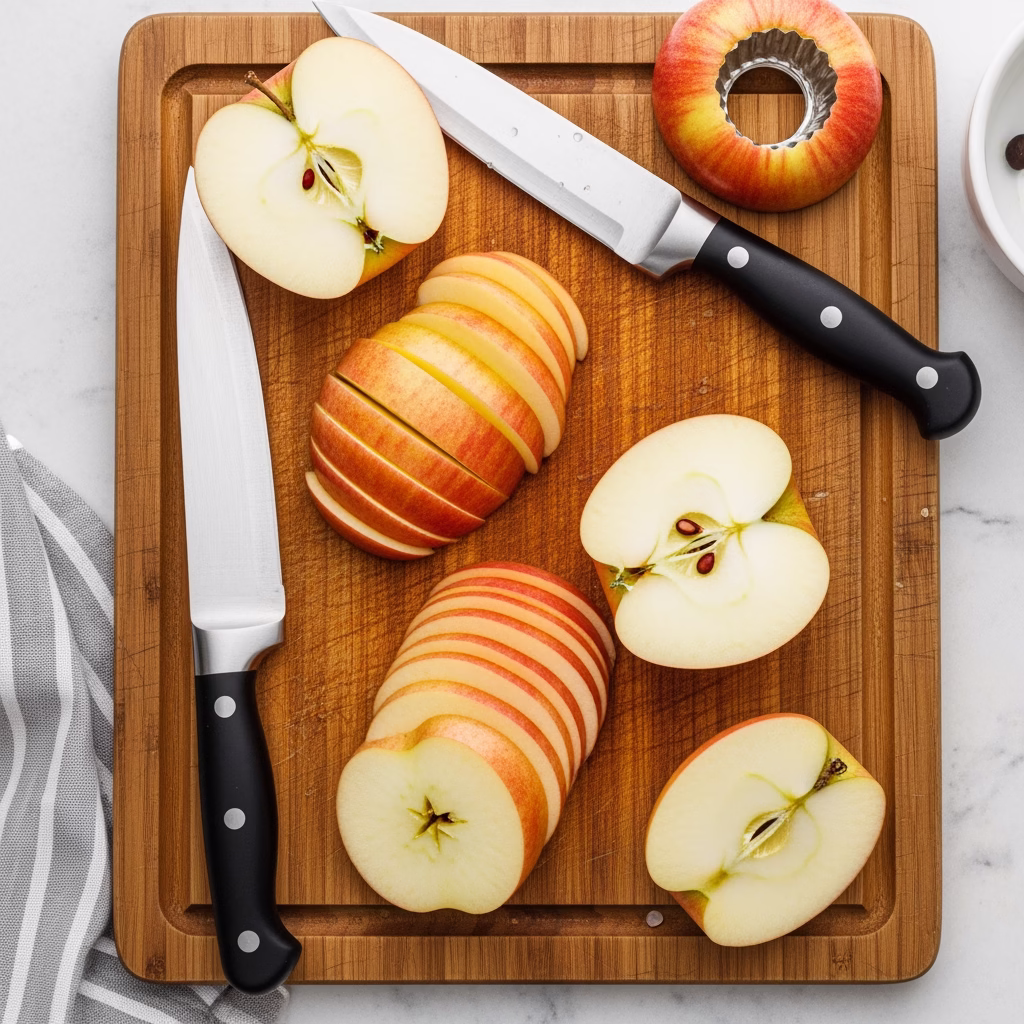
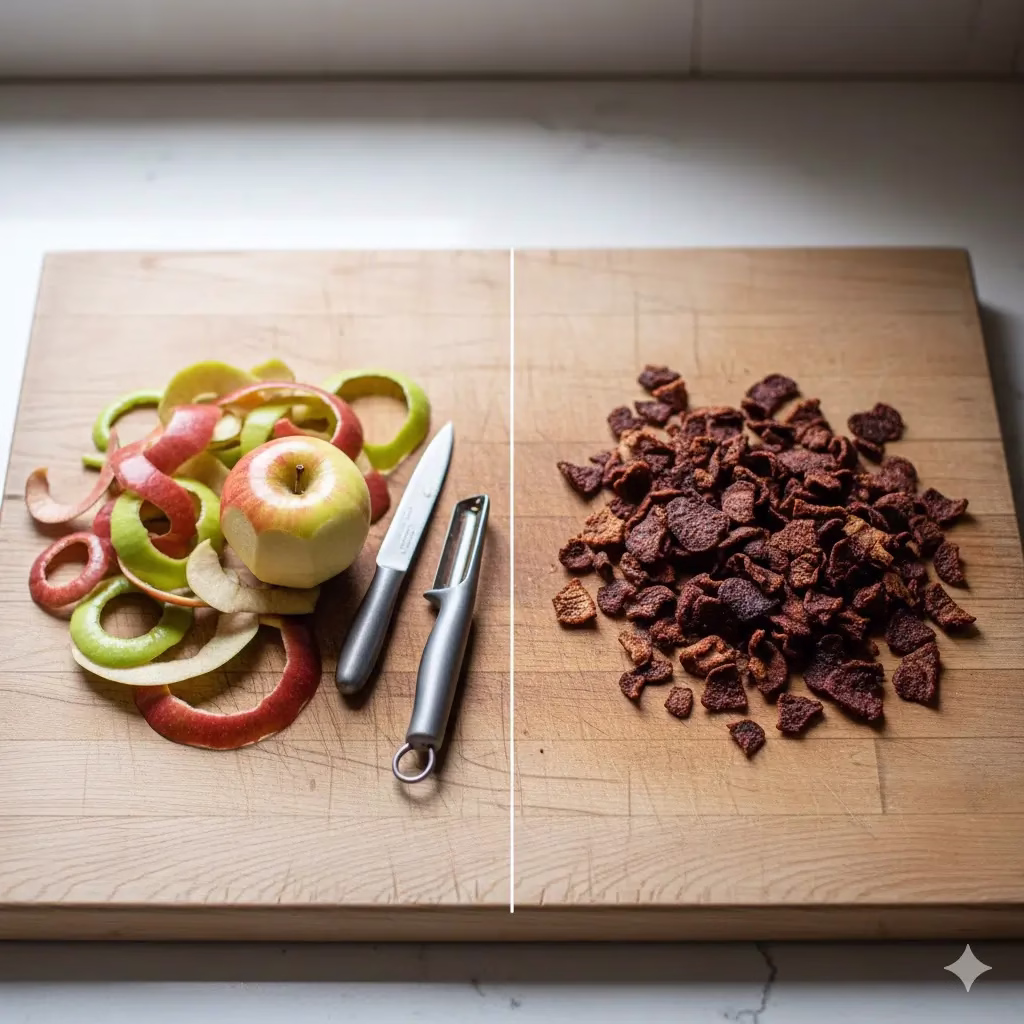
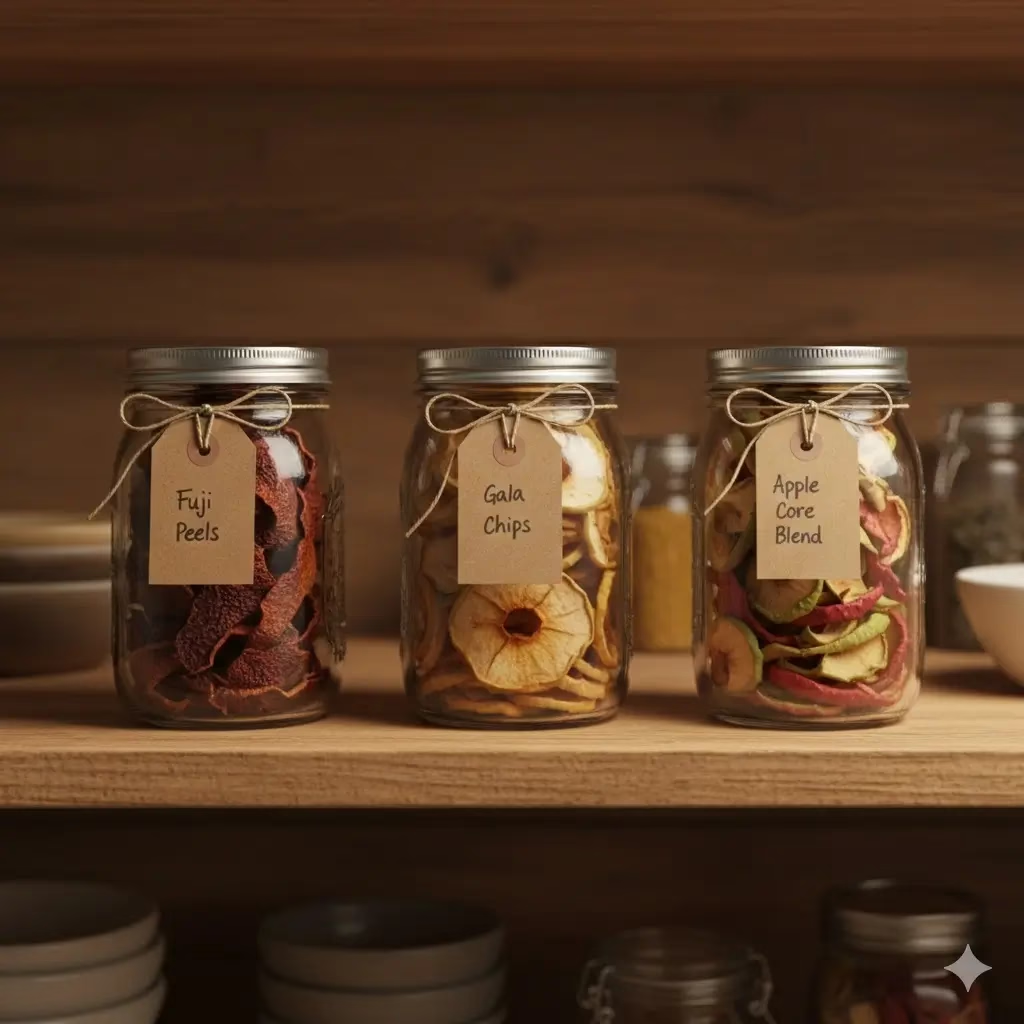
- Pick: Choose sweet, firm apples like Gala or Fuji.
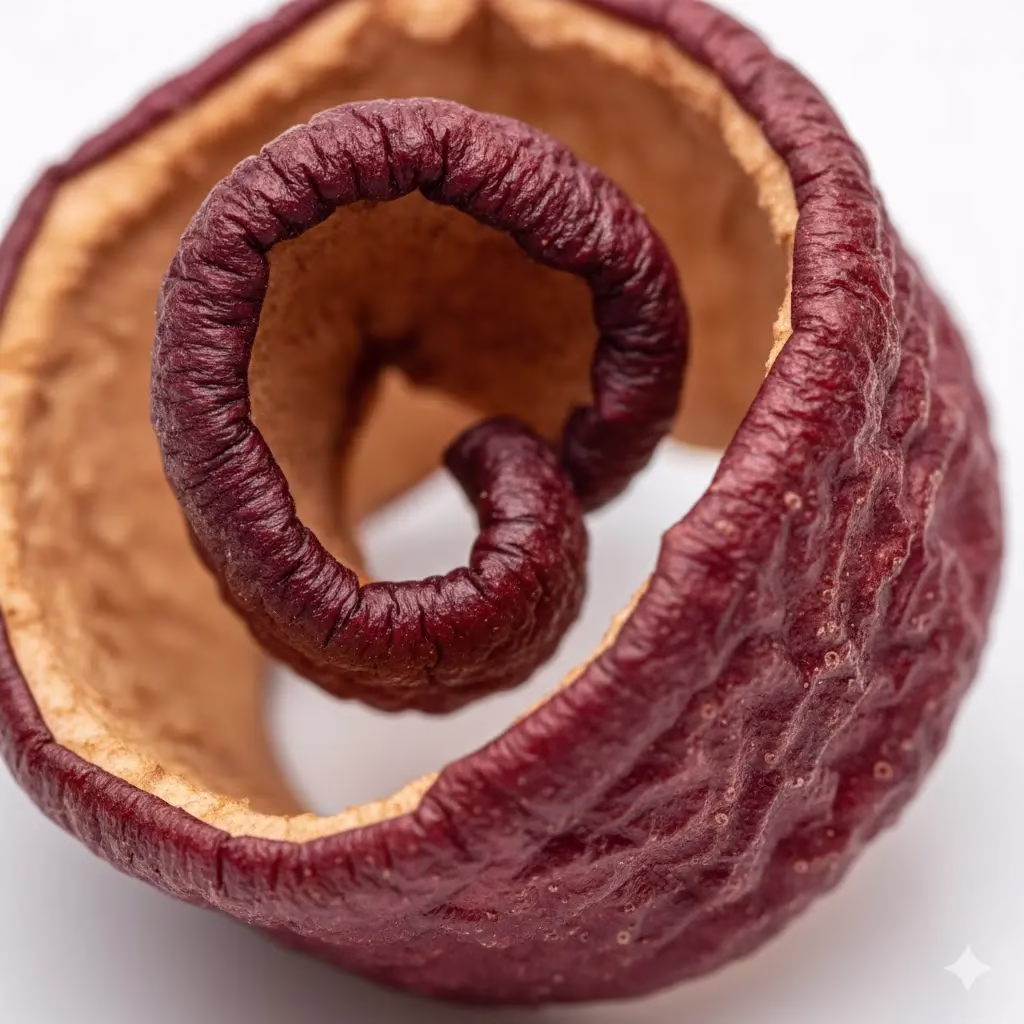
- Prep: Wash the fruit and take out the core. You can leave the skin on for more fiber.
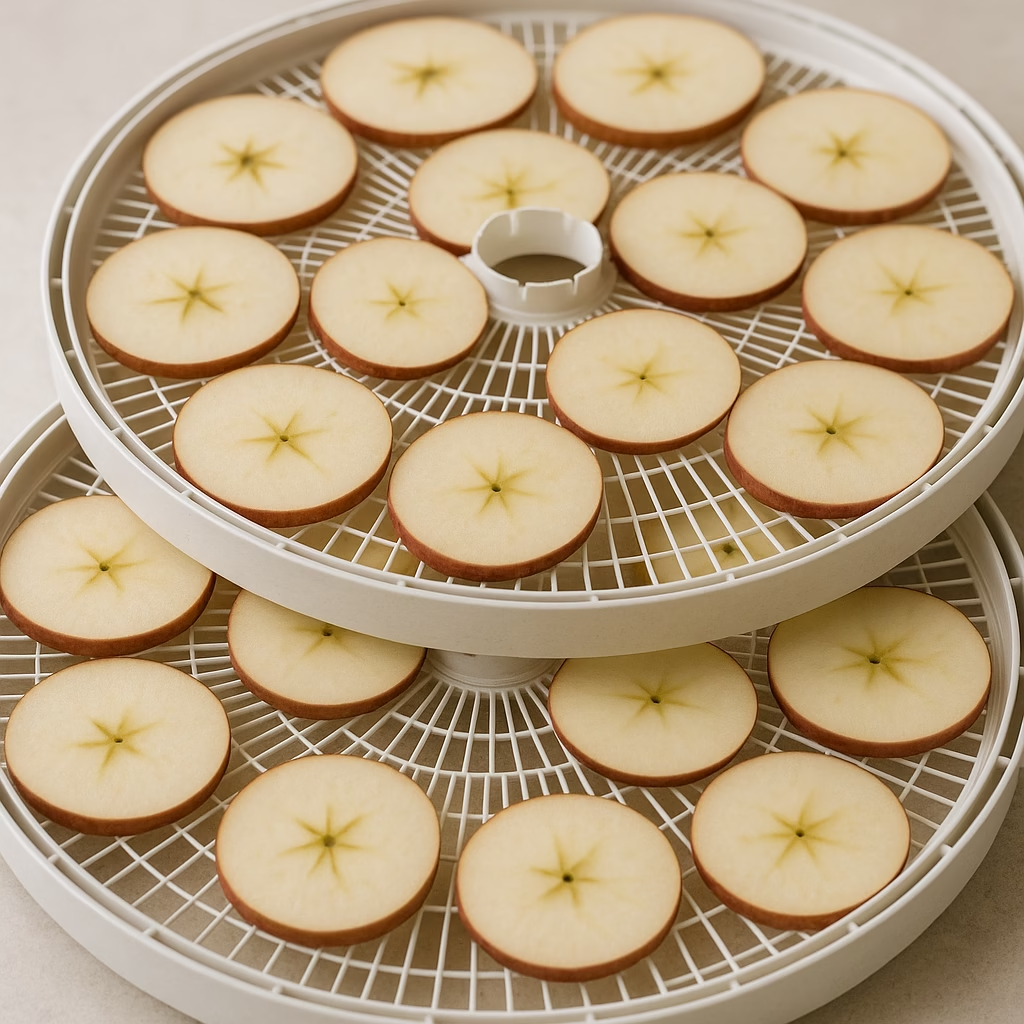
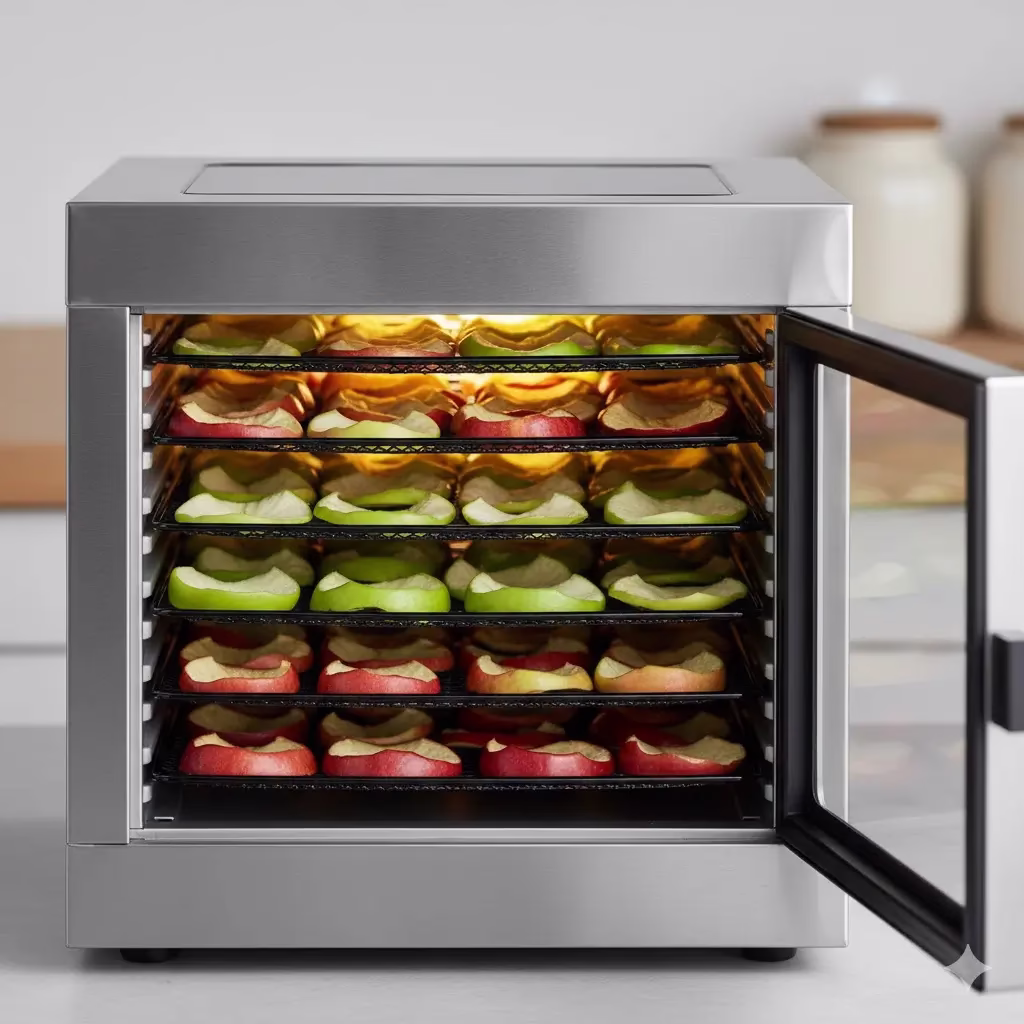
- Cut: Slice the apples thin. Try to make them all the same size so they dry well.
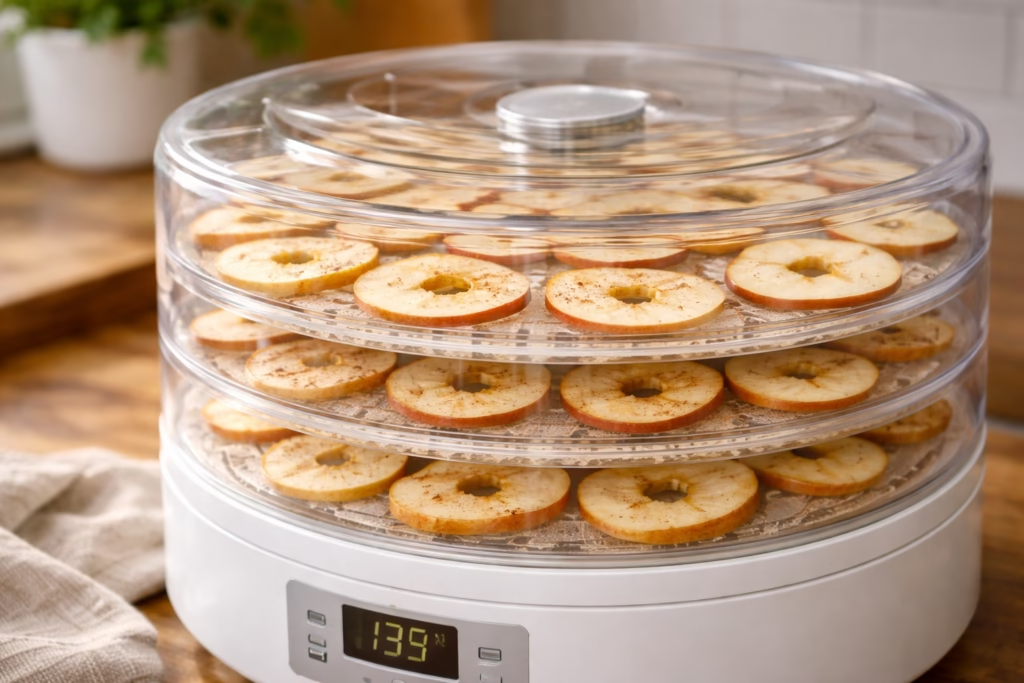
- Flavor: Toss the slices with a bit of lemon juice and cinnamon.
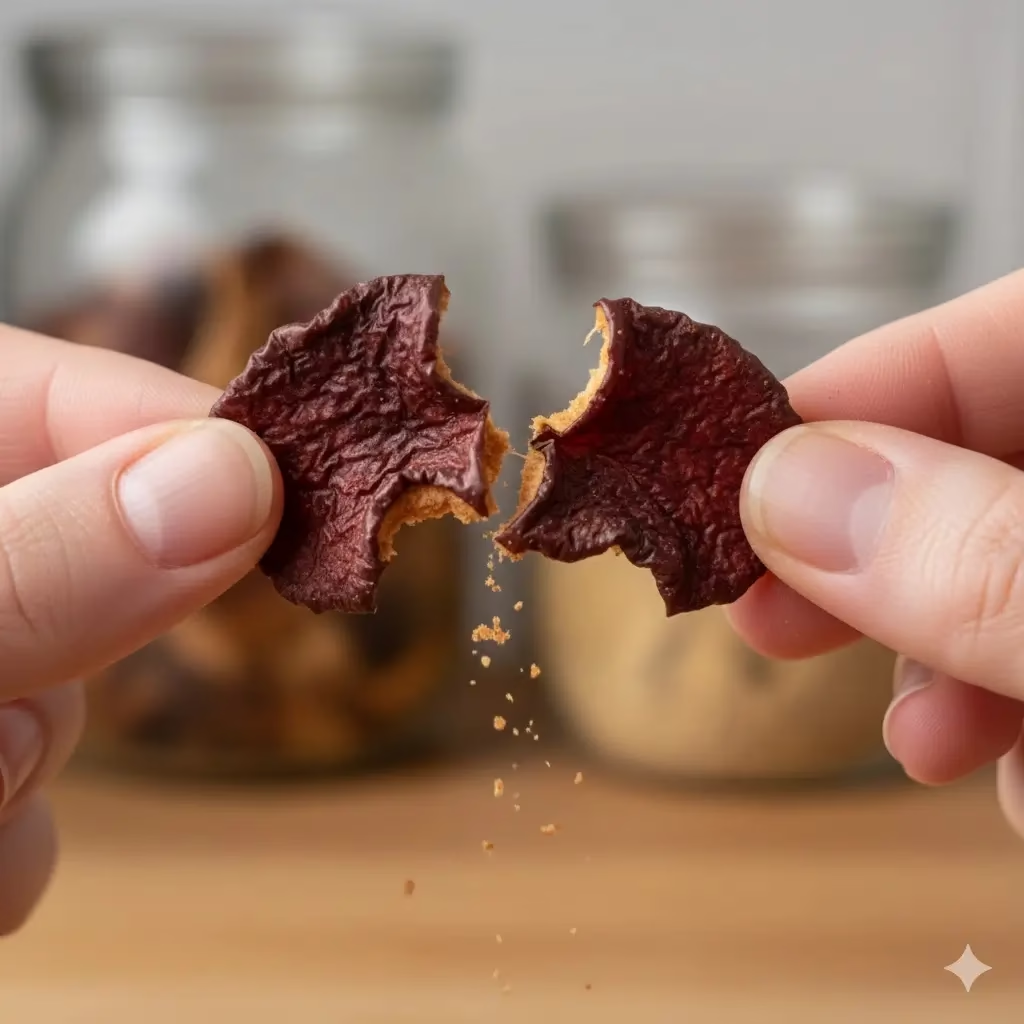
- Dry: Put them on the trays in a flat line. Set the heat to 135°F. Dry for 8 to 12 hours until they snap.
2. Garlic and Salt Kale Chips

Store-bought kale chips cost too much. They also break easily in the bag. Making them at home is a key part of zero waste cooking. You can use kale that is starting to wilt to make a fresh snack.
Instructions:
- Prep: Wash the kale. Tear the leaves into small pieces. Throw away the hard stems.
- Oil: Put the kale in a bowl. Use just a little olive oil to coat the leaves.
- Salt: Add sea salt and garlic powder. You can add nutritional yeast for a cheese taste.
- Dry: Spread the leaves out so they do not touch. Set the heat to 125°F. Dry for 3 to 6 hours until they are light and crisp.
3. Smoked Paprika Beef Jerky
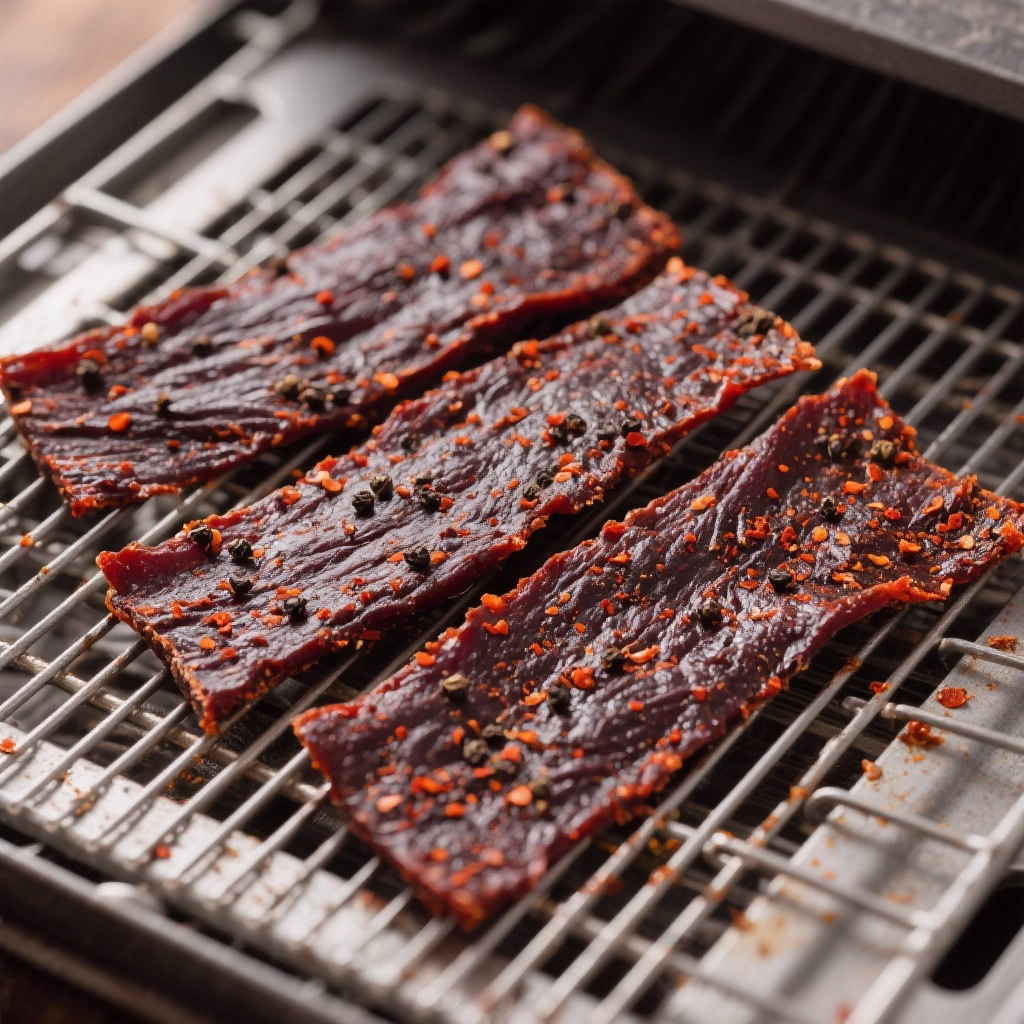
Beef jerky is a famous Dehydrator Recipe. It saves you the most money. If you buy lean meat on sale, you can make high-protein snacks for very little.
Instructions:
- Meat: Use lean beef like top round. Fat can go bad, so trim it off.
- Cut: Put the meat in the freezer for one hour to make it firm. Slice it into thin strips.
- Soak: Mix soy sauce, spice, and liquid smoke in a bowl. Let the meat soak for 6 hours in the fridge.
- Dry: Pat the strips dry with a paper towel. Put them on trays at 160°F. Dry for 6 to 10 hours. It is done when it bends but does not break.
4. Tasty Sun-Dried Tomatoes
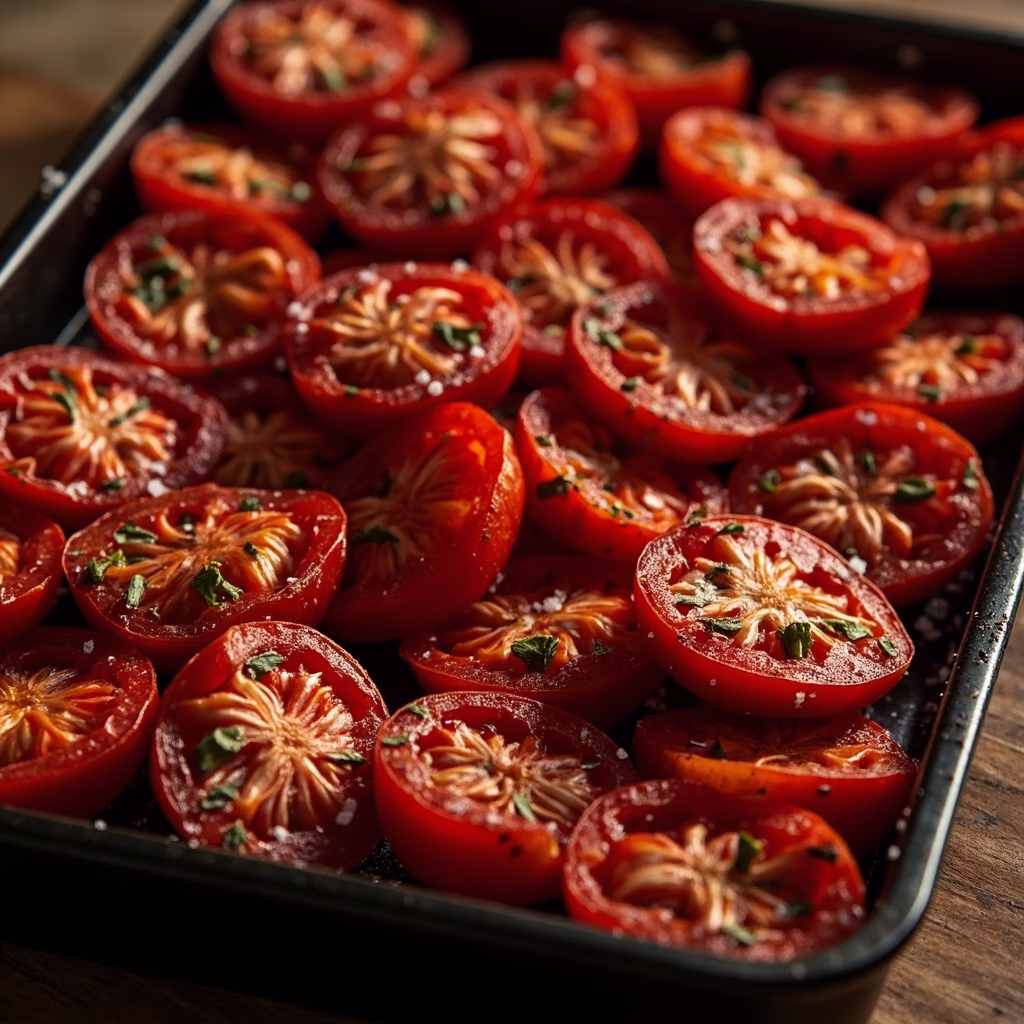
Jars of oil-packed tomatoes are very pricey. Use your Dehydrator when tomatoes are in season. This gives you a big supply for pasta and salad all year long.
Instructions:
- Prep: Cut small tomatoes in half. Cut larger ones into four parts.
- Trays: Place them on the trays with the skin side down. Add a little salt and herbs.
- Dry: Set the heat to 135°F. This can take 8 to 18 hours.
- Store: The tomatoes should feel like leather. Put them in clean jars. You can add oil to the jars to keep them soft.
5. Zero Waste Veggie Broth Powder
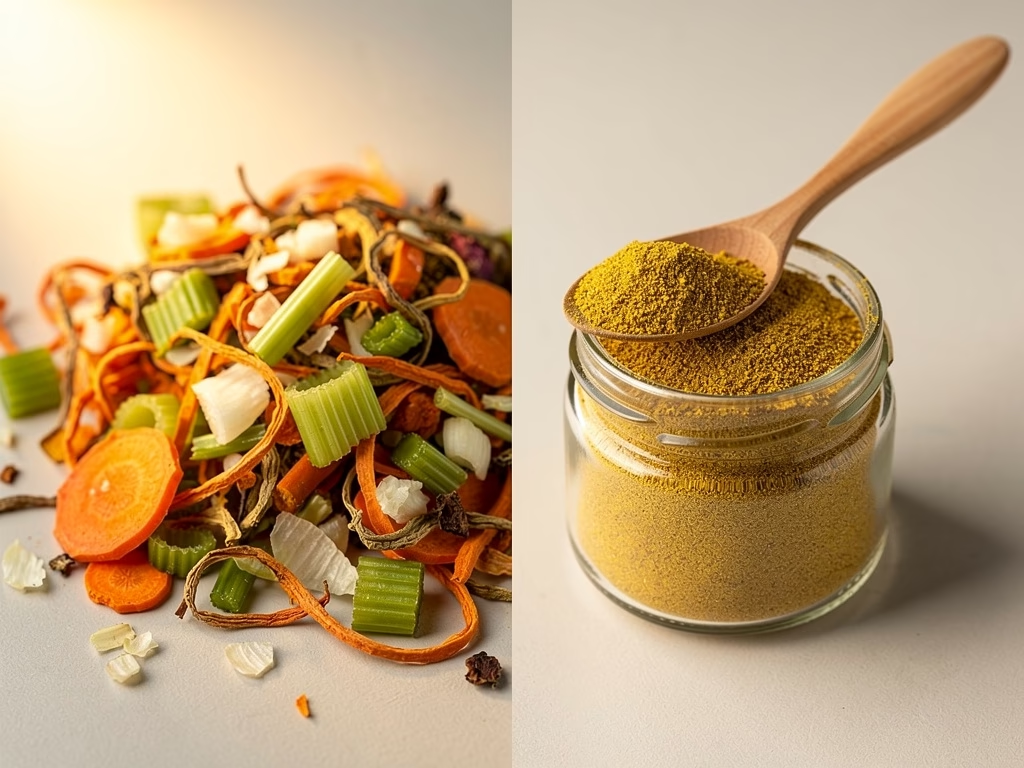
This is the best Dehydrator Recipe to stop waste. Do not throw away onion ends or carrot peels. You can turn these scraps into a great broth powder.
Instructions:
- Save: Keep your clean vegetable scraps in a bag in the freezer.
- Chop: When the bag is full, chop the scraps very small or use a blender.
- Dry: Spread the pulp thin on a tray sheet. Set the heat to 125°F. Dry for 8 to 12 hours until it is very dry.
- Grind: Put the dry bits in a blender. Turn them into a fine powder. Add a little salt. Use one spoon of powder in hot water for broth.
6. Sweet Mango Fruit Leather
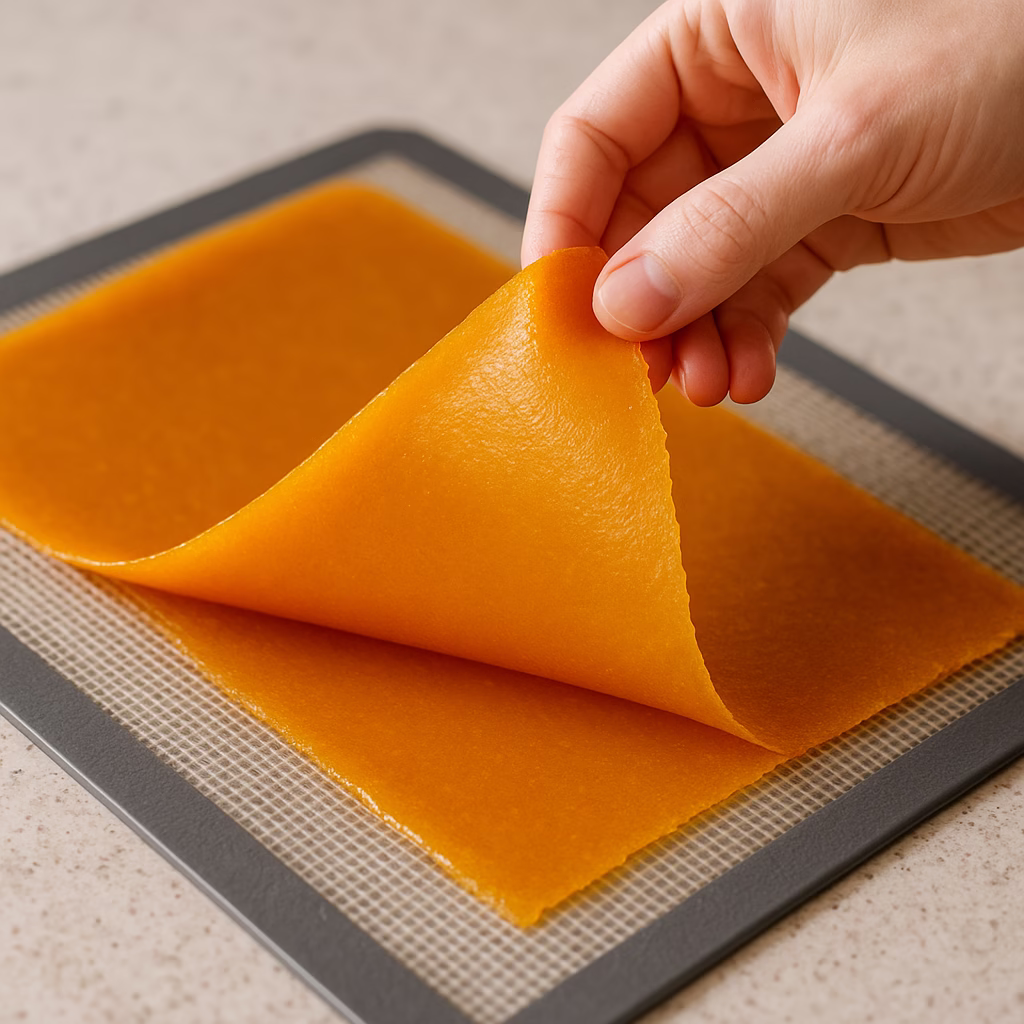
Many fruit snacks in stores have too much sugar. With a Dehydrator, you can make fruit rolls from just fruit. Use ripe mangoes that are on sale for the best taste.
Instructions:
- Blend: Take the skin and pit off the mango. Blend the fruit until it is smooth.
- Spread: Pour the fruit onto a flat tray sheet. Make it about as thick as a coin.
- Dry: Set the heat to 135°F. Dry for 6 to 10 hours.
- Finish: It is done when the top is not sticky. Peel it off and roll it up in paper. Cut it into small strips.
7. Dried Home Herbs
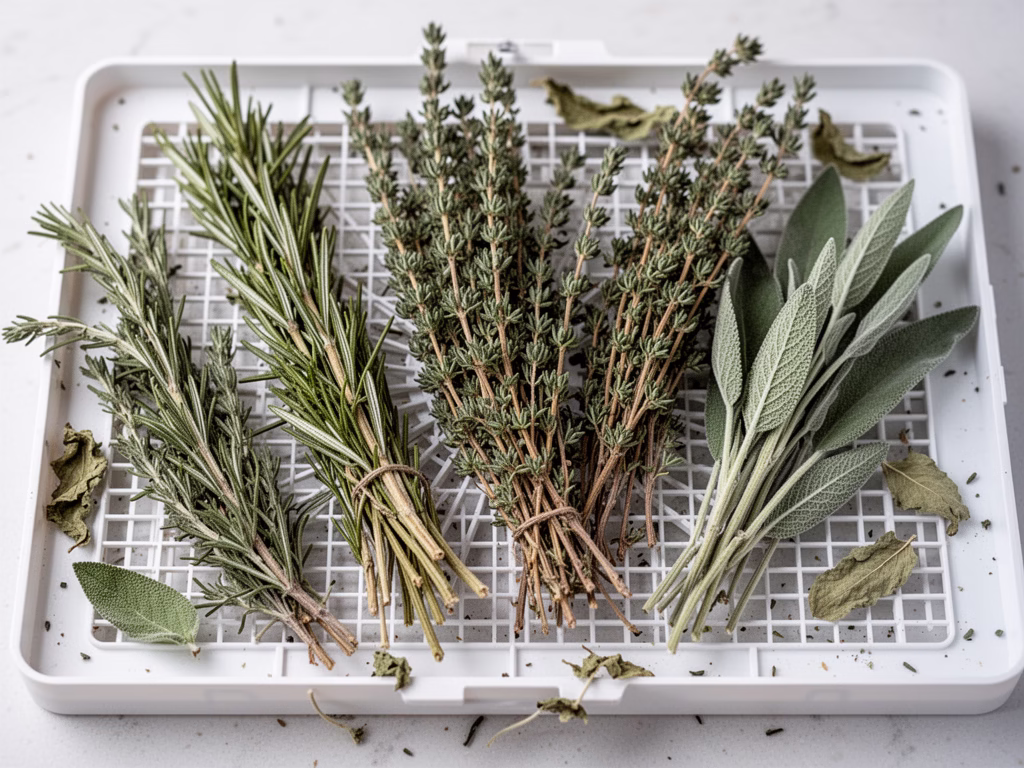
Small jars of herbs can cost five dollars or more. Growing your own is cheap. Using a Dehydrator keeps the flavor strong for a long time.
Instructions:
- Pick: Use herbs like sage, oregano, or rosemary.
- Prep: Wash them and pat them dry with a towel. Leave them on the stems for now.
- Dry: Use low heat, around 95°F. High heat can take away the good smell.
- Store: Dry for 2 to 4 hours. They are done when they crumble in your hand. Put them in jars and keep them in a dark place.
8. Crispy Banana Coins
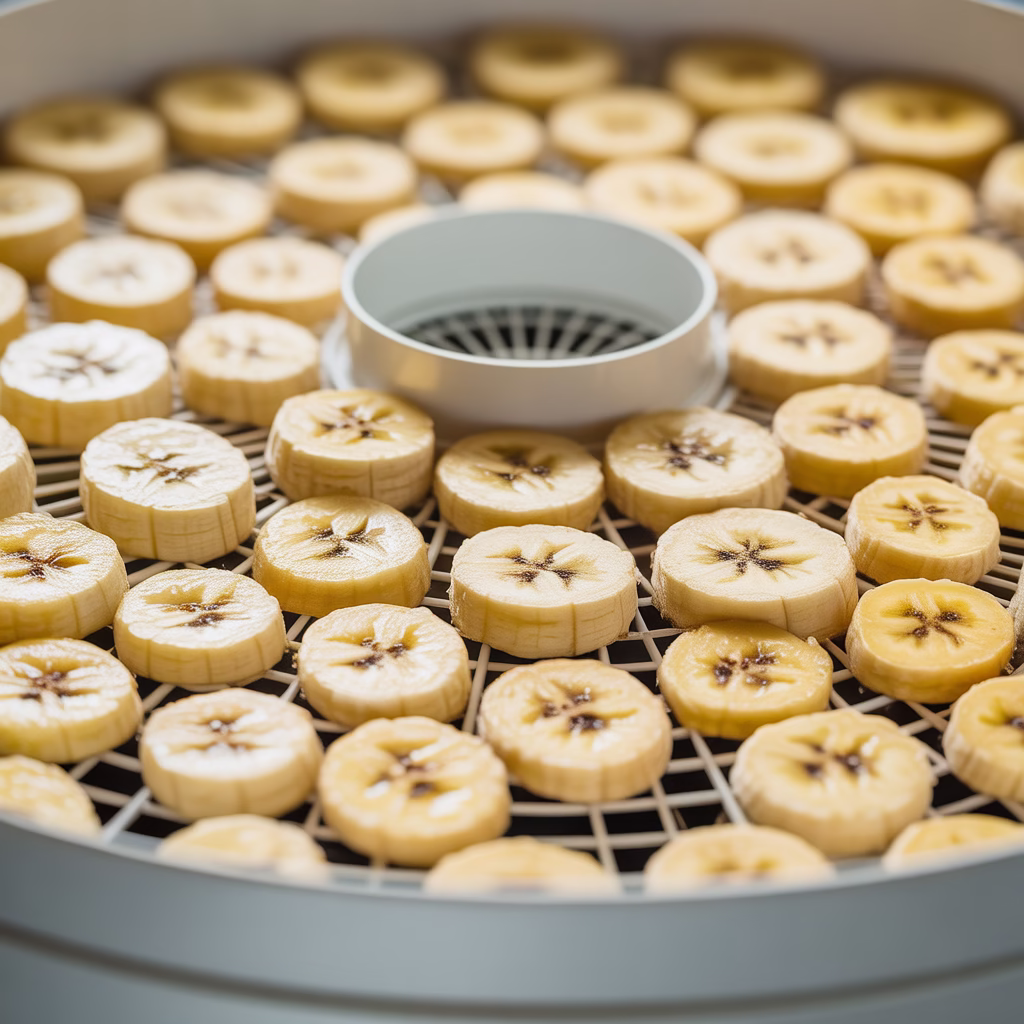
Bananas go bad fast. Do not throw them out. Slice them up for a snack that stays good for months. These are much better for you than fried chips.
Instructions:
- Cut: Use yellow bananas. Slice them into small rounds.
- Dip: Put the slices in a little lemon juice. This keeps them from turning brown.
- Dry: Spread them out on the trays. Set the heat to 135°F.
- Time: Dry for 8 to 12 hours. If you want them crunchy, leave them in longer.
9. Crunchy Spiced Chickpeas
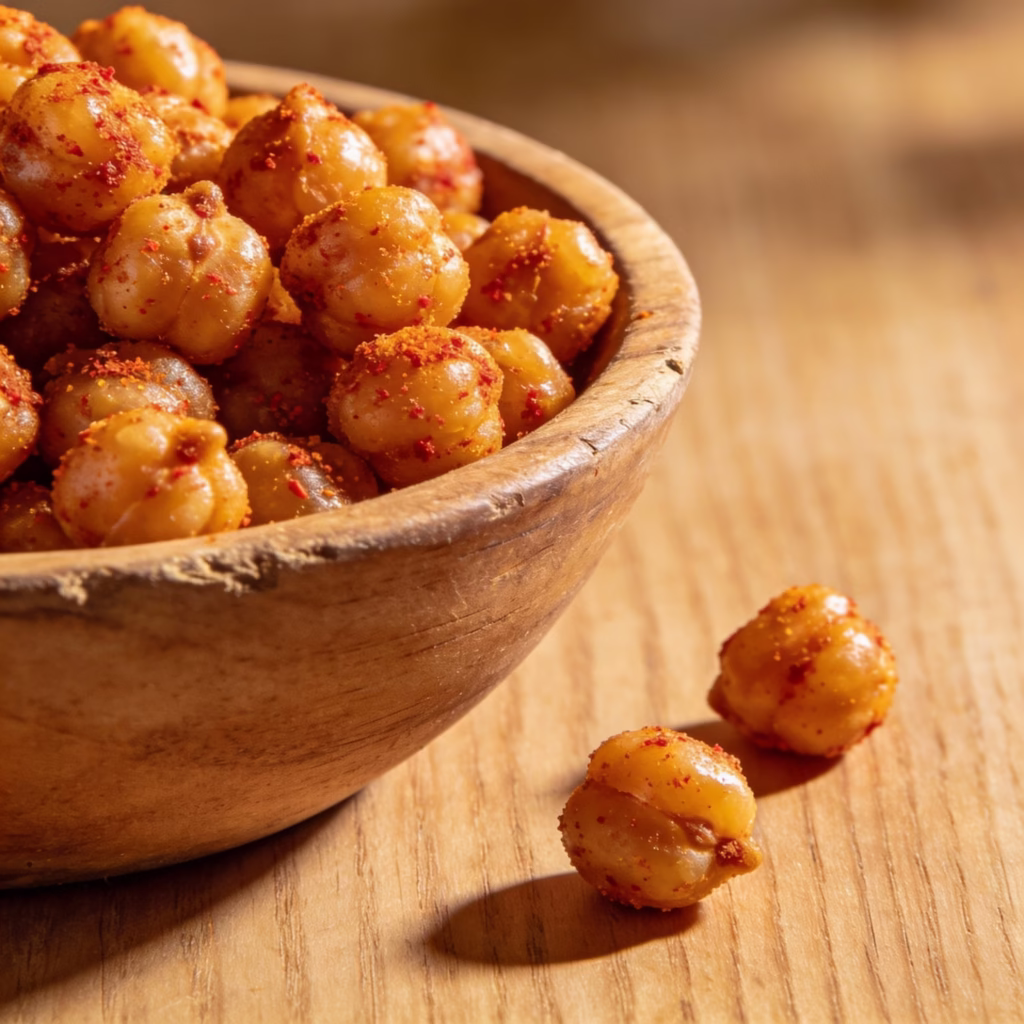
Do you need a snack with lots of protein? Chickpeas are very cheap to buy. When you dry them, they become a crunchy snack that is great for trips.
Instructions:
- Prep: Use a can of peas. Rinse them and dry them well with a cloth.
- Spice: Toss them with a tiny bit of oil, salt, and chili powder.
- Dry: Spread them in one layer on the tray. Set the heat to 145°F.
- End: Dry for 12 to 15 hours. They should be very crunchy all the way through.
10. Instant Hash Browns
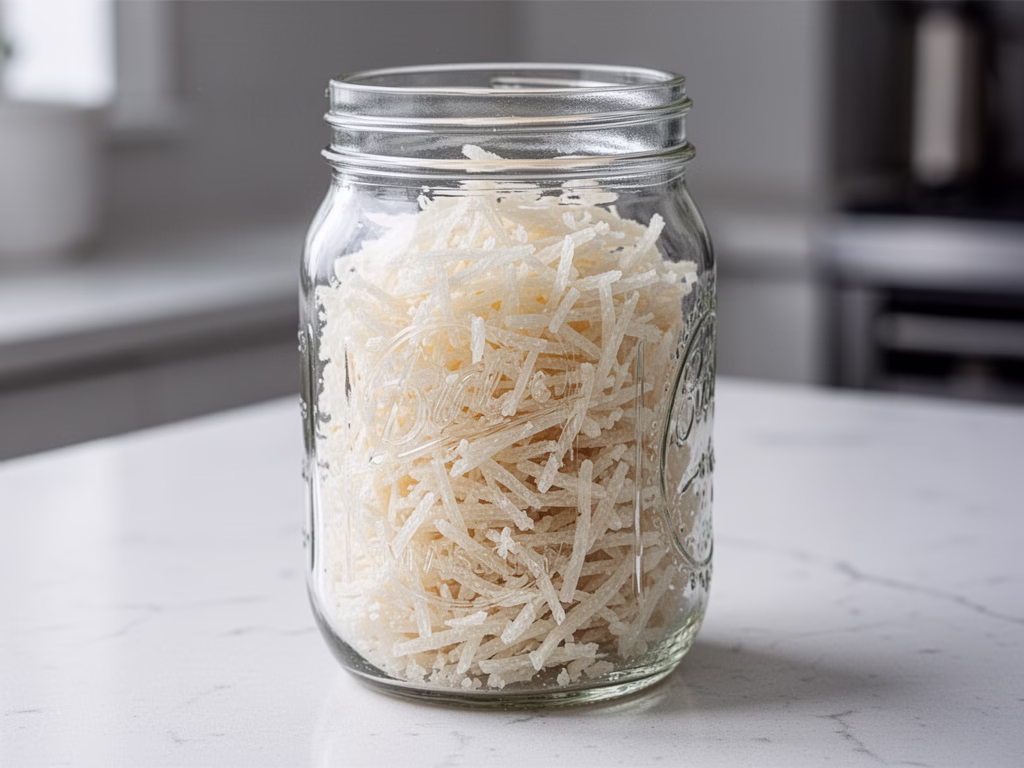
Potatoes are cheap, but they do not last forever. You can shred and dry them. This makes a “just add water” breakfast. It is great for camping or long-term storage.
Instructions:
- Boil: Shred your potatoes. Put them in boiling water for 3 minutes. This keeps them white.
- Cool: Put them in cold water right away. Pat them very dry.
- Dry: Spread the shreds thin on the trays. Set the heat to 125°F.
- Check: Dry for 6 to 8 hours until they feel hard. To eat, soak them in hot water for 15 minutes and then fry them.
Conclusion
Making these Dehydrator Recipes is a great way to save money. It helps you take care of the earth by using all your food. You can turn extra fruit and meat into snacks that last a long time. This puts you in charge of what you eat. As you learn more, your Dehydrator will become a top tool in your zero waste kitchen. You will enjoy great food and a lower grocery bill every month.
References
- NCHFP: Drying
- USDA Food Safety: Making Safe Beef Jerky
- University of Missouri: Tips for Drying Vegetables
Recent Posts