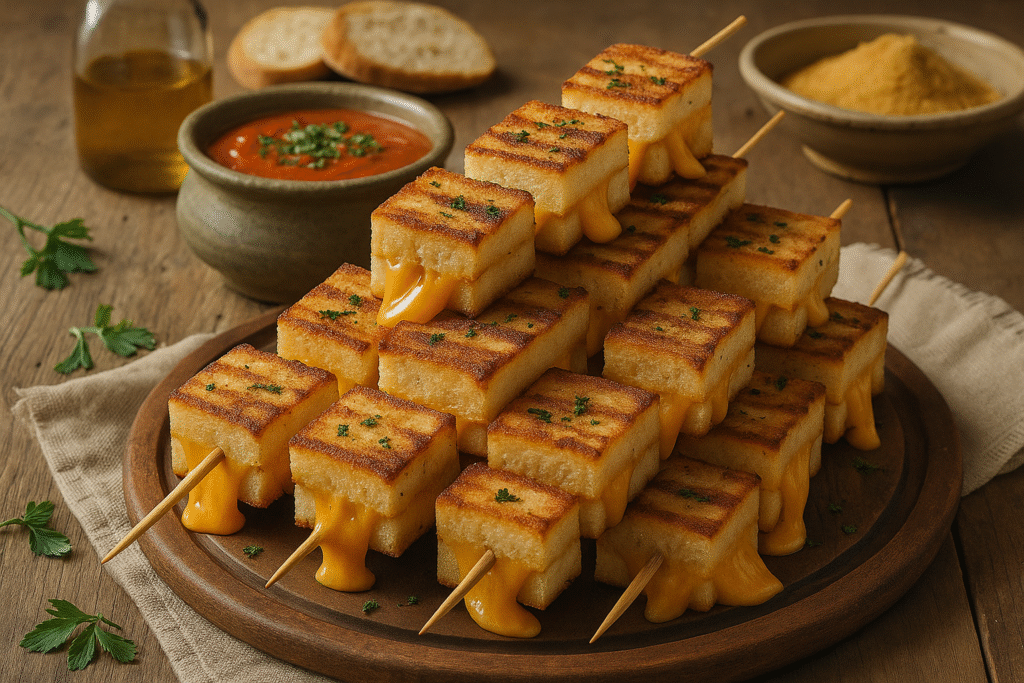
Sandwich kebabs bring a playful twist to classic grilled cheese. Easy to prepare, endlessly customizable, and always golden and gooey, these skewers turn a childhood favorite into a dish for every occasion.
A Fun Twist on a Classic
There’s something irresistible about grilled cheese—the crispy, golden bread, the gooey melted cheese, and the comforting bite that takes us right back to childhood. But what if you could take this classic favorite and make it even more exciting? That’s where sandwich kebabs come in.
Grilled cheese sandwich kebabs are exactly what they sound like: crispy grilled cheese cubes stacked on skewers, ready to dip into sauces and enjoy. They look amazing, taste incredible, and are perfect for serving at gatherings, family dinners, or even as a fun weekend treat.
The best part? You don’t need any fancy ingredients or skills. Just a few slices of bread, some cheese, and a little creativity, and you’ll have a dish that looks like it came straight out of a trendy café.
Not only are sandwich kebabs delicious, but they’re also customizable. Want to keep it simple with cheddar? Go ahead. Looking for something fancier? Try mozzarella, Swiss, or even a vegan cheese alternative. You can also pair them with tomato soup, marinara sauce, or fresh herbs for dipping.
And here’s the real secret: with just a bit of care while grilling—using the right amount of butter, keeping the heat at medium, and pressing gently with a spatula—you’ll get that beautiful golden finish just like the Hero image. It’s the kind of crisp crust and molten cheese combo that elevates these kebabs from a simple snack to a true showstopper.
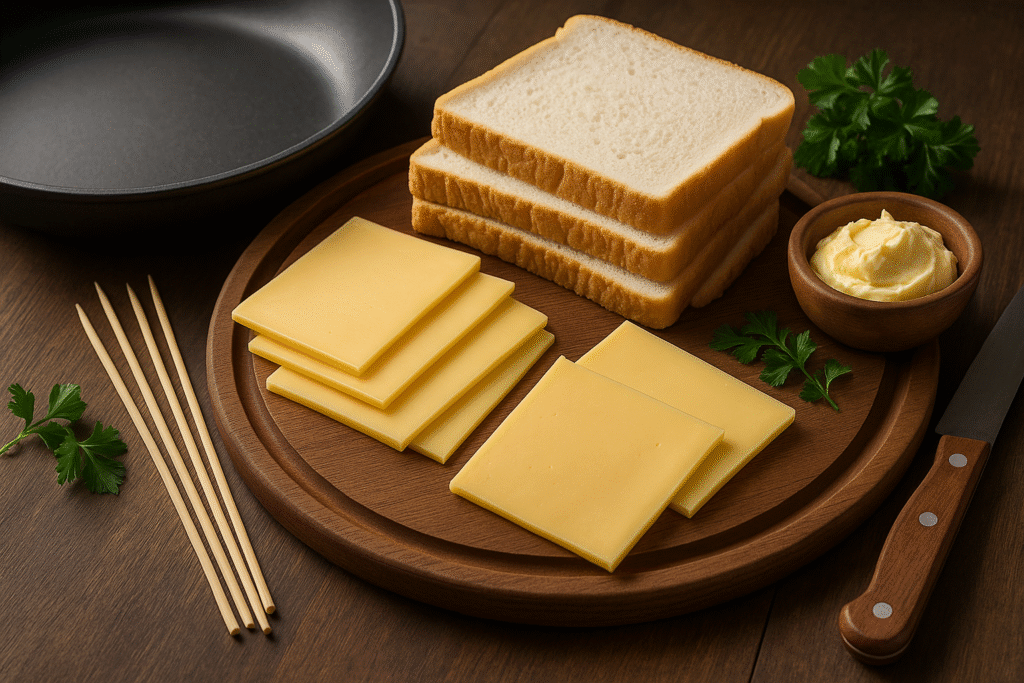
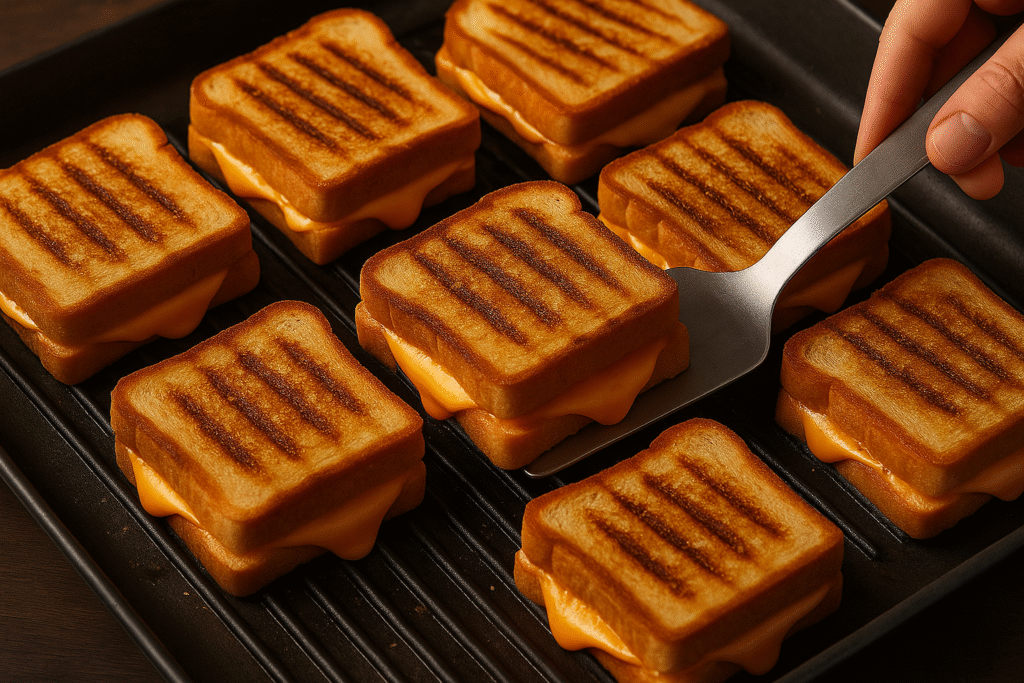
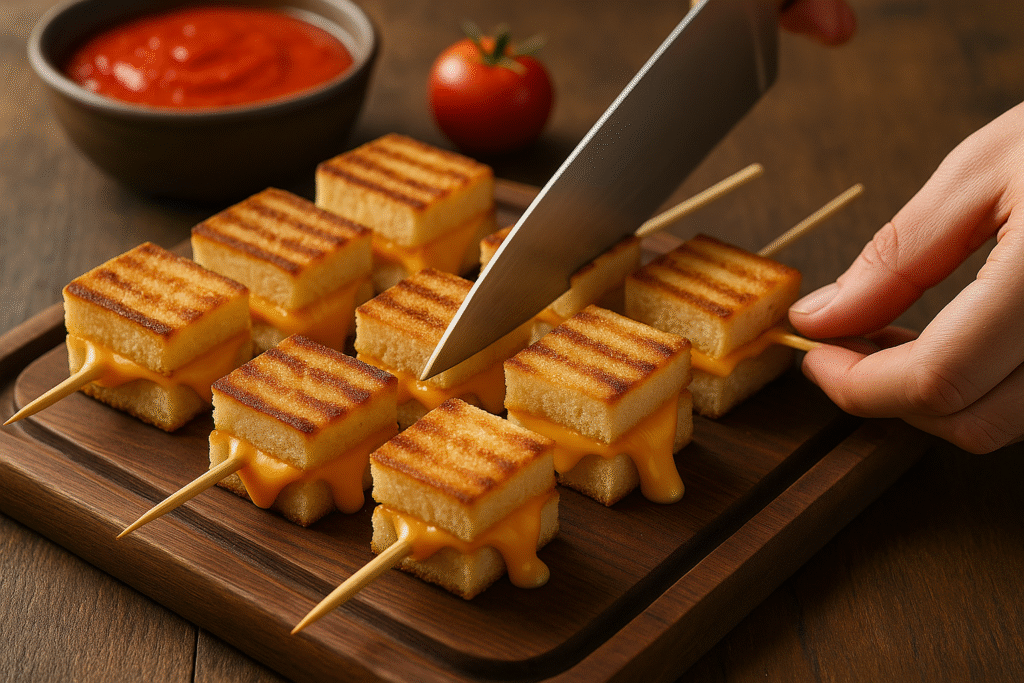
This step-by-step gallery takes you through the making of grilled cheese sandwich kebabs — from prepping the fresh ingredients, to grilling the bread until golden and crispy, and finally slicing the sandwiches into perfect cubes ready for skewering. Each stage highlights the simple process behind turning a classic grilled cheese into a fun, bite-sized kebab.
Time to Prepare & Cook
- Servings: 4 (about 2 skewers each)
- Time to Prepare: 10 minutes
- Time to Cook: 15 minutes
Nutritional Value (Per Serving)
- Calories: ~320
- Protein: 12g
- Carbohydrates: 30g
- Fat: 15g
- Fiber: 2g
- Calcium: High, thanks to the cheese
Equipment Needed
- Non-stick skillet or grill pan
- Wooden or metal skewers
- Cutting board and sharp knife
- Spatula
- Butter knife
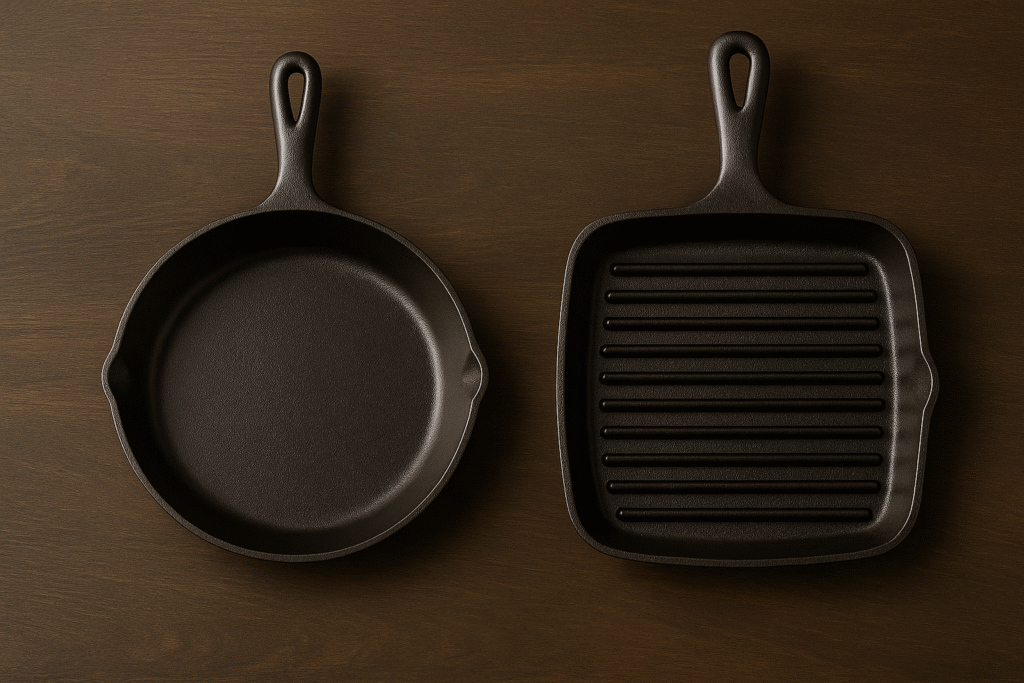
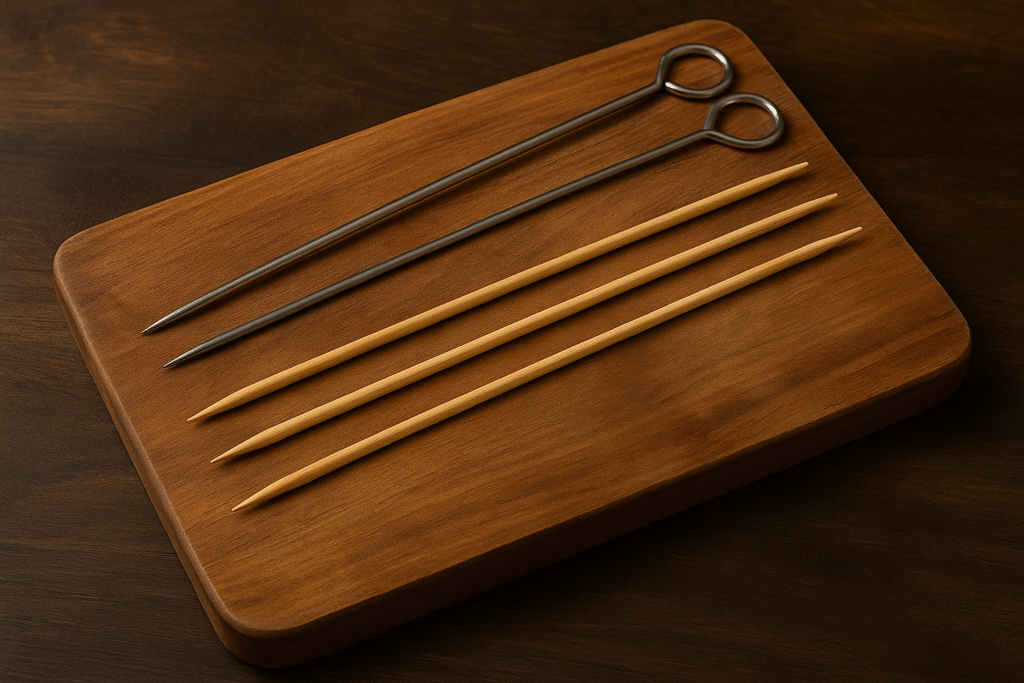
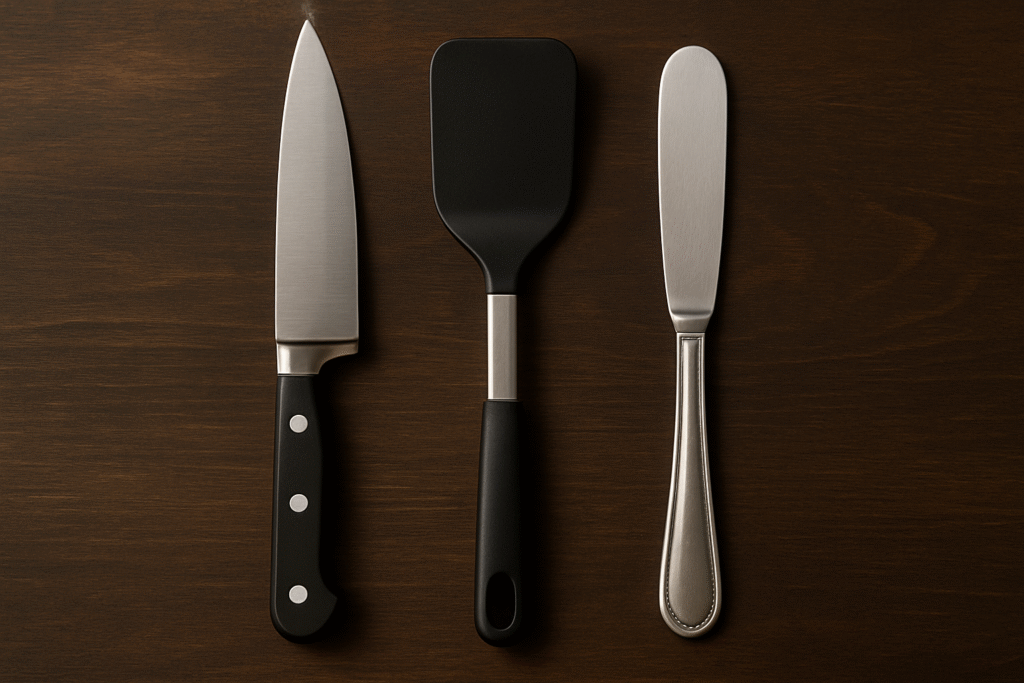
This gallery showcases the essential equipment used for making sandwich kebabs — a skillet and grill pan for perfect toasting, wooden and metal skewers with a sturdy cutting board for assembly, and a set of sharp knives and spatulas for smooth prep and serving. These simple kitchen essentials make the process easy and enjoyable from start to finish.
Ingredients In Sandwich Kebabs
- 8 slices of thick sandwich bread (white, sourdough, or whole grain)
- 8 slices of cheese (cheddar, mozzarella, or your favorite)
- 2 tablespoons softened butter (or olive oil for brushing)
- 1 tablespoon fresh parsley or chives, chopped (for garnish)
- Marinara sauce, tomato soup, or ranch (for dipping)
- 4–6 skewers
Step-by-Step Instructions For Sandwich Kebabs
Step 1: Prepare the Bread
Lay out your bread slices on a cutting board. Spread a thin, even layer of softened butter on one side of each slice. This is what helps you get that golden finish. If you prefer a lighter version, use olive oil—but butter gives the richest crust.
Step 2: Add the Cheese Filling
Place cheese slices between two slices of bread, buttered sides facing out. Press gently so the sandwich holds together. For extra gooeyness, use two thin slices of cheese instead of one.
Step 3: Grill the Sandwiches
Heat a non-stick skillet or grill pan over medium heat. Place the sandwiches in the pan and cook for 3–4 minutes on each side, pressing lightly with a spatula. To achieve the same golden look as the Hero image, resist the urge to turn up the heat—medium allows the cheese to melt fully while the bread crisps evenly.
Step 4: Cool and Slice into Cubes
Remove the sandwiches from the pan and let them cool for 2–3 minutes. This keeps the cheese inside while slicing. Using a sharp knife, cut each sandwich into 4–6 equal cubes, wiping the knife between cuts if needed.
Step 5: Assemble the Sandwich Kebabs
Thread the sandwich cubes onto skewers. Stack them snugly but leave a little space so the cheese edges remain crispy. Garnish with parsley or chives.
Step 6: Serve with Dips
Arrange the sandwich kebabs on a serving plate. Serve with warm marinara sauce, tomato soup, or ranch. Eat immediately while hot and gooey.


Benefits of Sandwich Kebabs
- Portion Control: Smaller cubes make it easier to enjoy a cheesy treat without overindulging.
- Fun for All Ages: Kids love the novelty of eating off a skewer, while adults enjoy the creativity.
- Customizable: Swap cheeses, breads, and dips to suit any diet or taste.
- Perfect for Entertaining: They double as a stylish appetizer that looks impressive but is easy to prepare.
- Comfort Meets Creativity: It’s the comfort of grilled cheese, elevated into something fun and new.
- Balanced Option: Add whole grain bread and a side salad or soup to turn it into a satisfying, balanced meal.
- Versatile: Serve them as a snack, party food, or even a light dinner with minimal fuss.
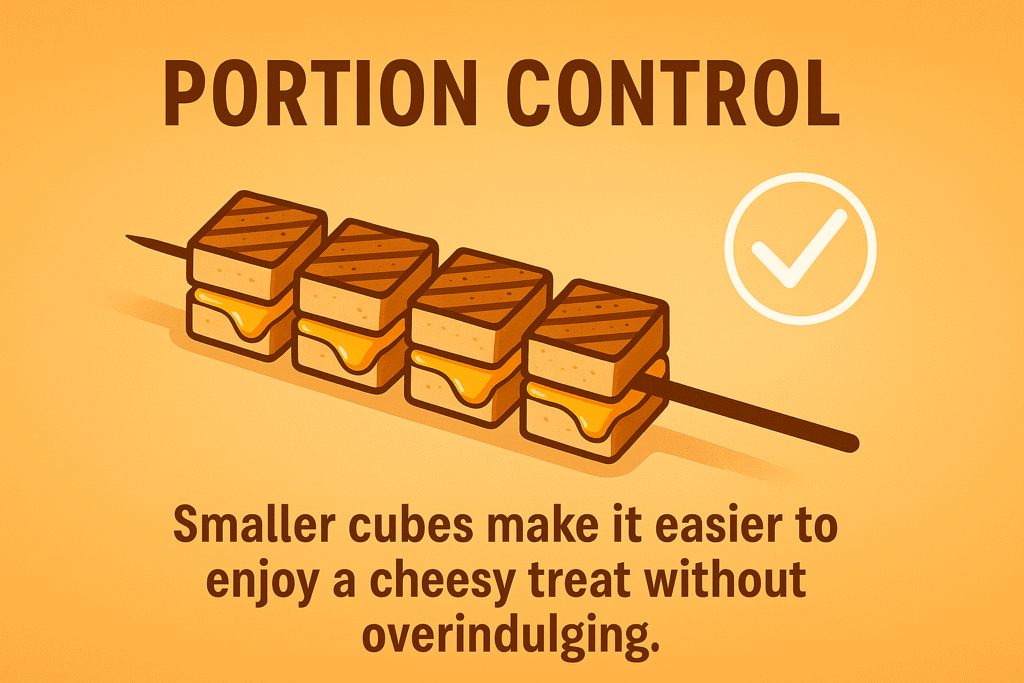
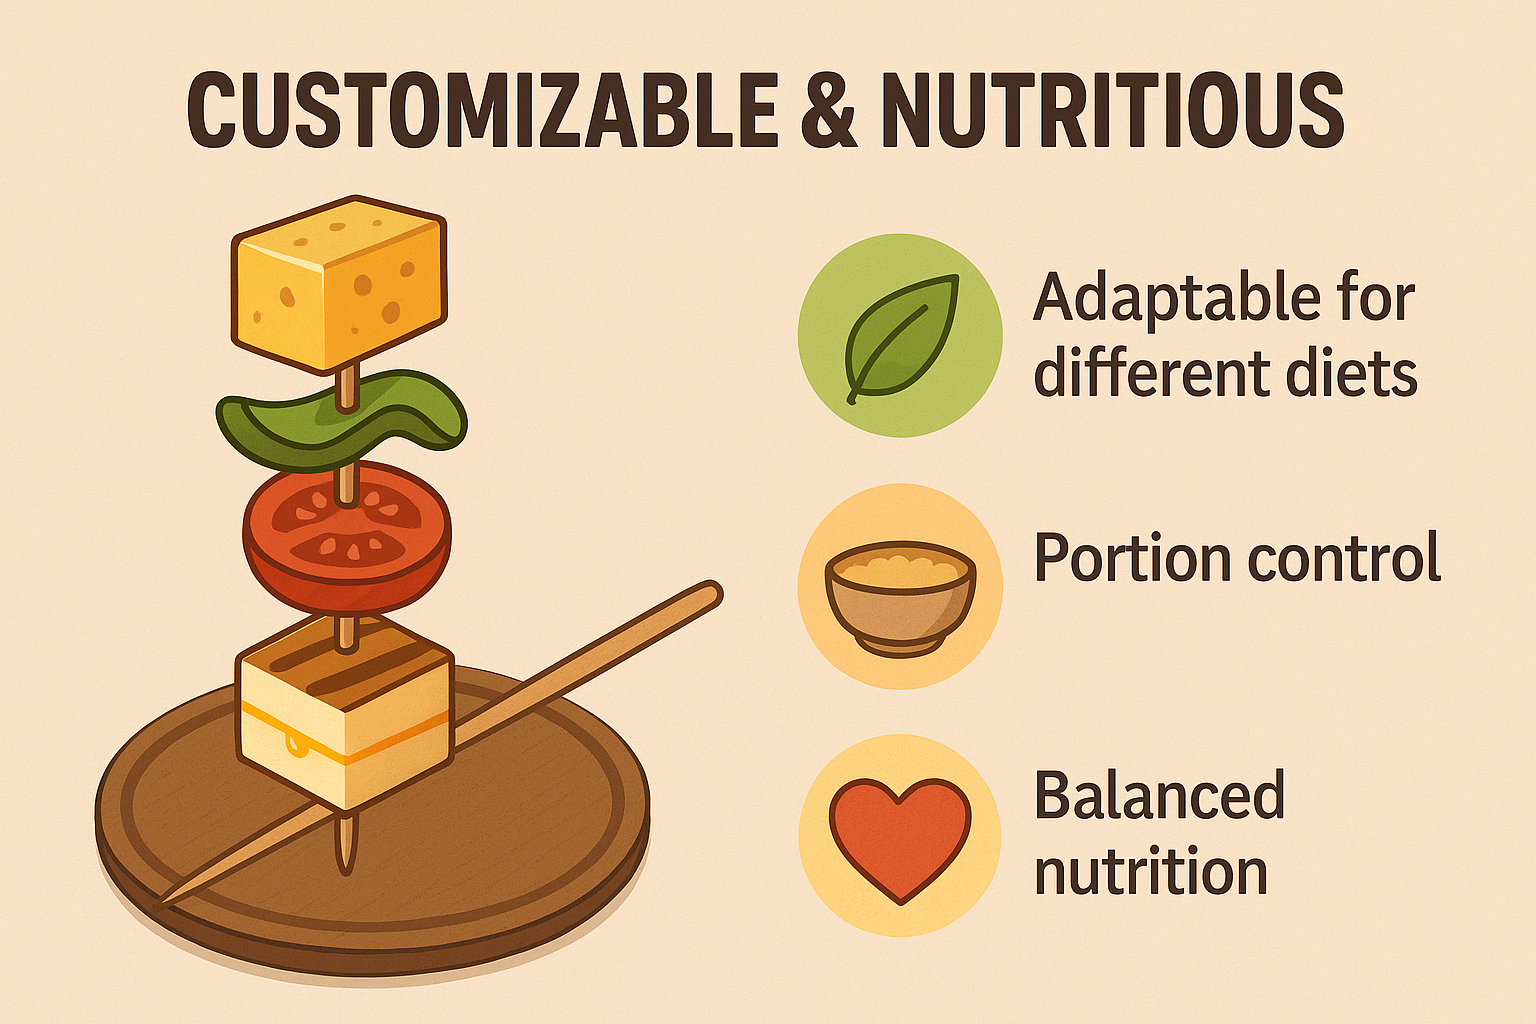
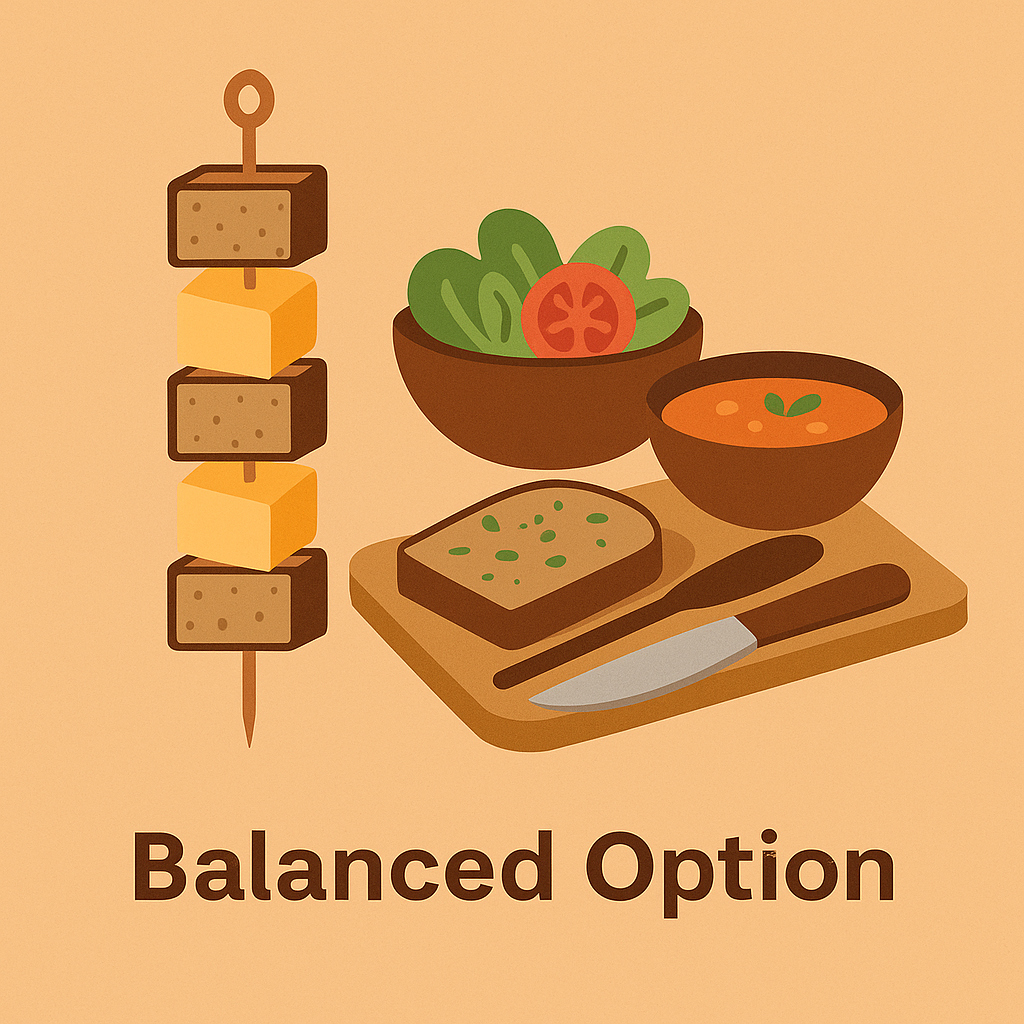
This infographic gallery highlights the key benefits of sandwich kebabs — portion control with smaller cubes, customizable nutrition with endless variations, and balance when paired with whole grain bread, salad, or soup. Together, these visuals show how sandwich kebabs can be fun, flexible, and a healthier choice.
Variations of Sandwich Kebabs
| Variation | What to Change | Suggested Dip |
|---|---|---|
| Classic Cheddar | Use sharp cheddar cheese and white bread | Tomato soup |
| Italian Style | Mozzarella + basil leaf between cubes | Marinara sauce |
| Spicy Kick | Pepper jack cheese + jalapeños | Ranch dip |
| Healthy Twist | Whole grain bread + low-fat cheese | Greek yogurt dip |
| Vegan Option | Plant-based bread + dairy-free cheese | Cashew cream dip |
| Breakfast Style | Add scrambled egg or bacon bits inside | Salsa |
| French Onion Inspired | Use Gruyère cheese, sprinkle caramelized onions | Au jus dip |
| Tex-Mex | Use cheddar + salsa inside sandwich | Guacamole |
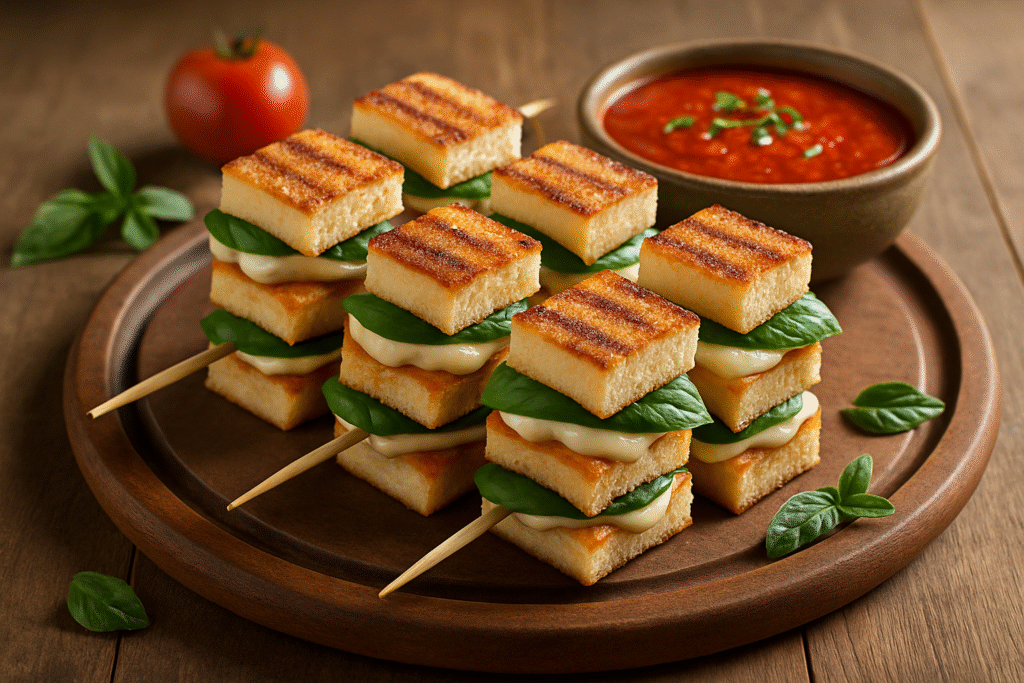
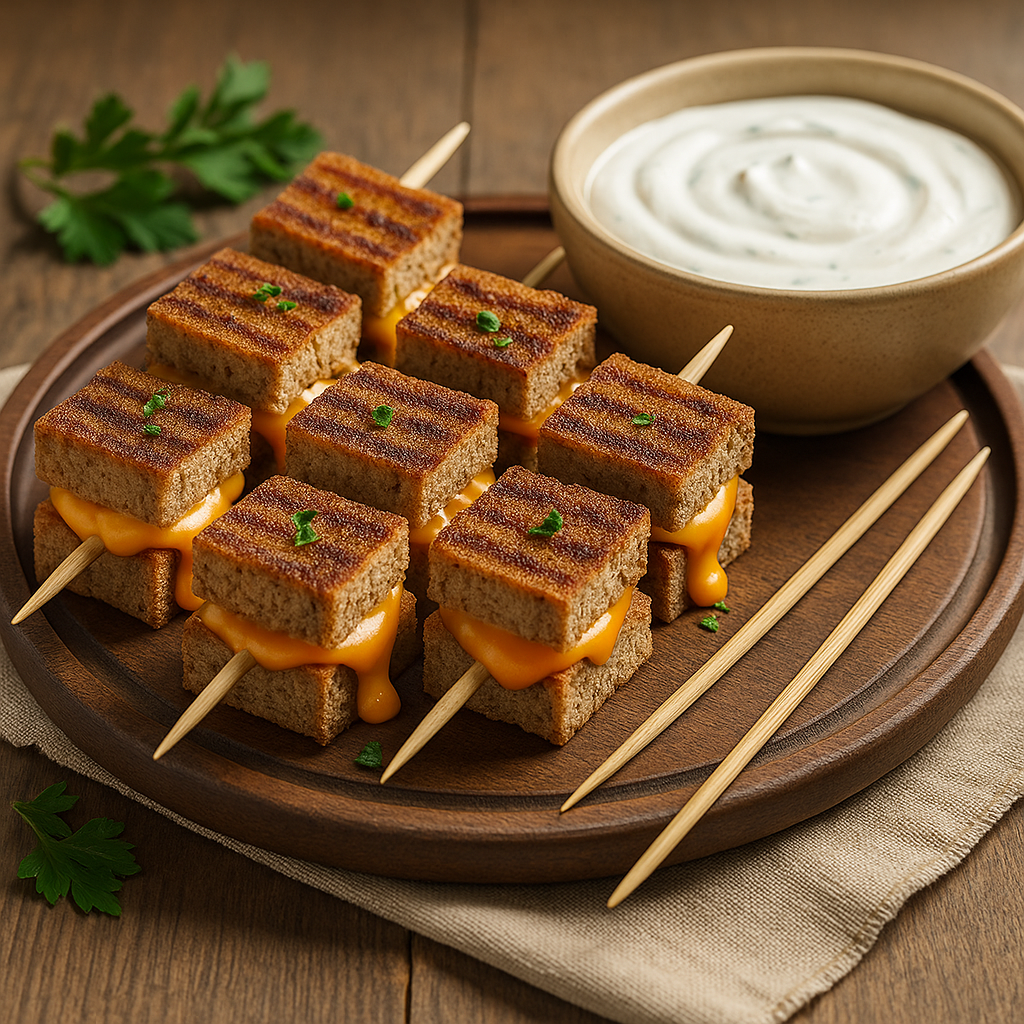
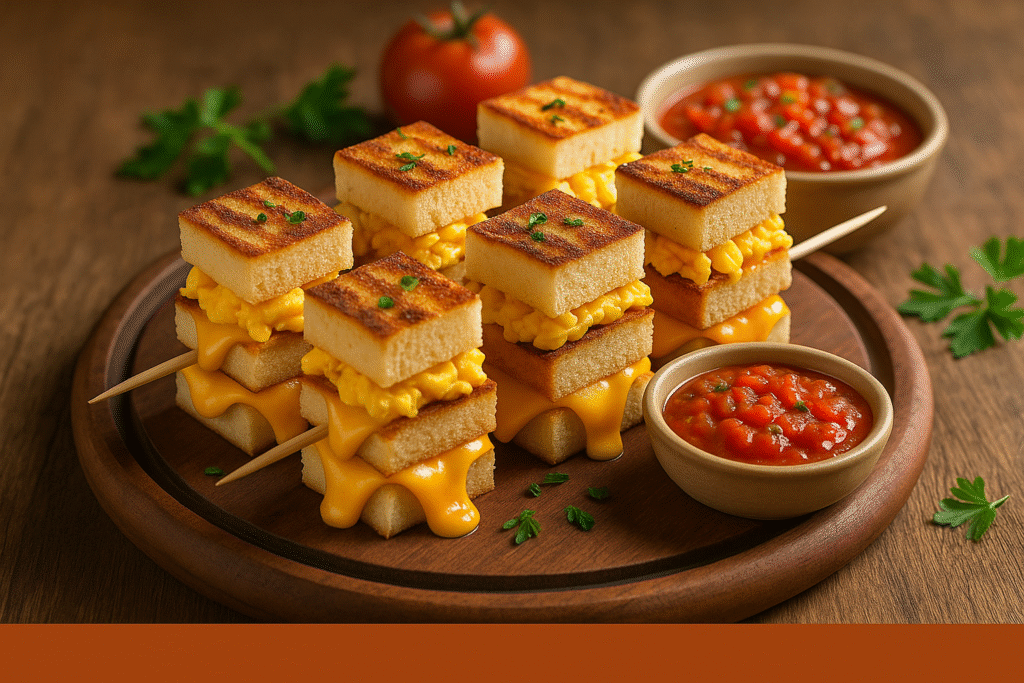
This gallery showcases three delicious variations of sandwich kebabs: Italian Style with mozzarella, basil, and marinara dip; a Healthy Twist using whole grain bread, low-fat cheese, and Greek yogurt dip; and a Breakfast Style loaded with scrambled eggs, bacon bits, and served with salsa. Each variation offers a unique way to enjoy sandwich kebabs while catering to different tastes and occasions.
Final Thoughts On Sandwich Kebabs
Sandwich kebabs prove that even the simplest comfort foods can be reinvented into something eye-catching and fun. By turning grilled cheese into skewered cubes, you not only make them easier to serve but also more exciting to eat.
They’re a conversation starter at parties, a clever snack for kids, and a cozy treat for nights in. With endless variations, you’ll never get bored—whether you keep them classic with cheddar or get creative with international flavors.
And best of all, they’re achievable for everyone. With a little patience at the skillet, the right balance of butter and heat, and a good sharp knife, you’ll create sandwich kebabs that look just as golden and irresistible as the Hero image.
So grab your skewers, heat your pan, and get ready to transform grilled cheese into a dish that’s every bit as fun as it is delicious.
Frequently Asked Questions (FAQs)
Q1: Can I make sandwich kebabs ahead of time?
Yes! Grill the sandwiches, slice into cubes, and refrigerate for up to 24 hours. Reheat in a skillet or oven before skewering.
Q2: What type of skewers should I use?
Both wooden and metal work. If using wooden, soak them in water for 10 minutes first to prevent burning.
Q3: Can I freeze sandwich kebabs?
It’s best to freeze the grilled cheese cubes before skewering. Reheat them in the oven, then assemble before serving.
Q4: How do I get them golden like the photo?
Use butter, keep the heat at medium, and press gently with a spatula. This ensures crisp, golden bread and gooey cheese inside.
References
- Everyday Health – 10 Ways to Make a Healthier Grilled Cheese Sandwich
- ClevelandClinic – Is Your Sandwich Healthy?
- Healthline – 9 Healthiest Types of Cheese and Their Benefits
Recent Posts

