Hi there, fellow nature lover and home decor enthusiast! I’m Sarah, and like many of you, I’ve always loved the simple beauty of nature. My journey into botanical art started in my grandmother’s garden. I learned to turn fleeting blossoms into lasting treasures and create stunning Botanical Prints. Join me as we explore how to bring that same magic into your home with stunning pressed flower art.
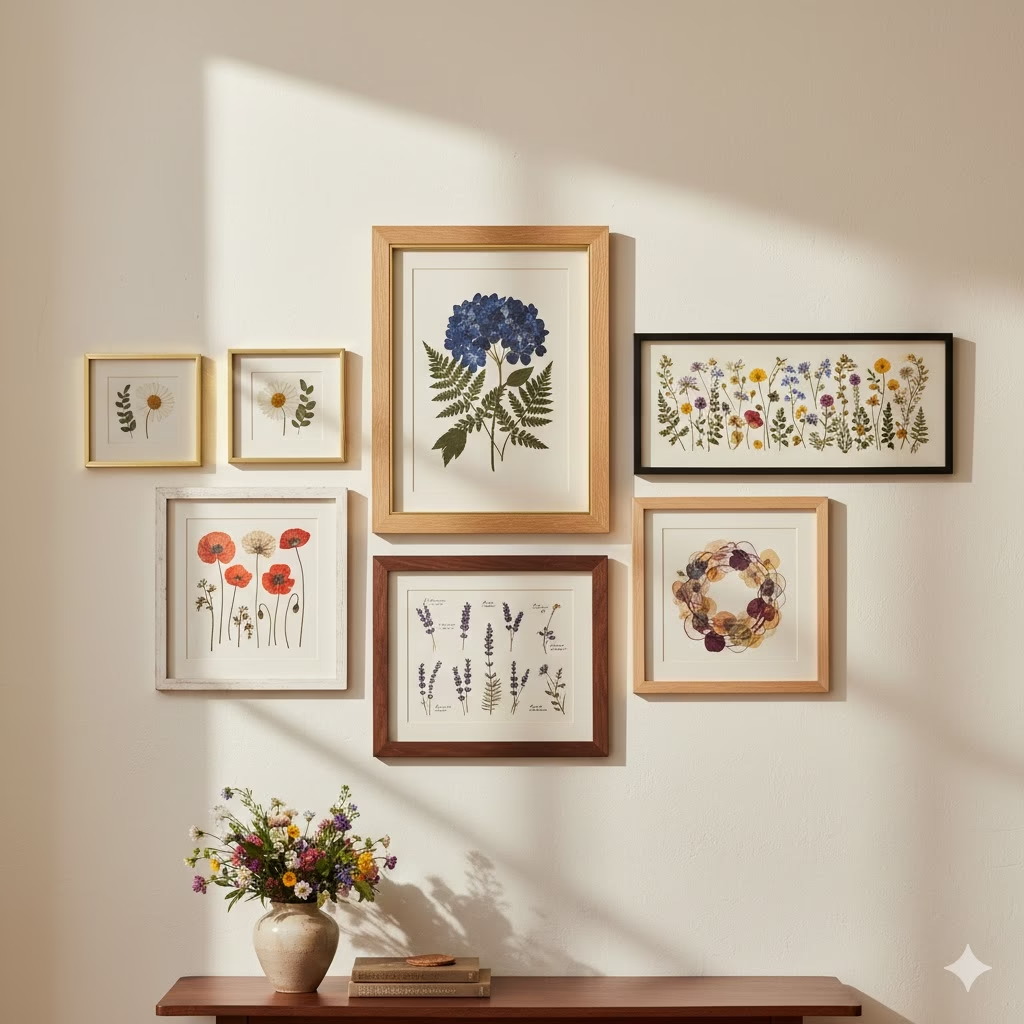
Botanical prints are popular right now. They bring a calming, natural feel to any space, from a tiny apartment to a large country home. This trend is not new, but it is strong. People want to connect with nature inside their homes. Old botanical prints were often like science diagrams. Today’s prints are fresh, bright, and very adaptable. They range from delicate pressed flowers to bold digital art. The world of botanical prints has something for everyone.
But which styles are truly trending now? Which ones are captivating home decorators? This guide will show you the top seven trends in botanical design. We include clear examples. We also give you a detailed “how-to” guide. You can create your own beautiful wall art. Get ready to update your home with the lasting beauty of nature!
Why We Love Botanical Prints
First, let’s talk about the appeal. Why do these prints feel so good to look at? In a modern world full of screens, botanical art keeps us grounded. It reminds us of growth, life, and the wonder of the natural world. These prints create a feeling of peace. They can boost your mood. They lead to a more mindful living space. Whether you see a tiny pressed fern or a bright floral picture, these prints connect you to something essential and beautiful.
The Top 7 Botanical Prints Trending Right Now
Here are the styles of botanical prints that designers and homeowners favor today:
1. The Classic Pressed Wildflower Medley
Everyone loves the simple beauty of a wildflower collection. It’s like a captured memory. These flowers are carefully pressed and arranged. They hold a moment in time. This trend uses the organic, rustic look of nature. Often, you see many types of wildflowers in one frame. Think of tiny blue forget-me-nots. Picture delicate Queen Anne’s Lace. See the red of crimson clover. All are composed into art. Their beauty comes from their natural, unique shapes. The pressing process adds subtle color changes.
Why it’s trending: It feels nostalgic. It connects us to the outdoors. It celebrates quiet, simple beauty. It’s perfect for creating a gallery wall that looks truly handmade.
How to do it yourself:
- Collection: Pick small, flat wildflowers. Find them in your garden. Forage responsibly. Don’t pick thick, wet flowers. They may grow mold easily.
- Pressing: Use a flower press if you have one. You can also use heavy books. Place the flowers between blotting paper, newspaper, or coffee filters. Press them firmly. Wait for two to four weeks. Change the paper every few days if it feels wet.
- Arrangement: Make sure the flowers are totally dry. Arrange them on archival paper. Try different looks. You can cluster them. And scatter them. You can line them up.
- Framing: Use a tiny amount of clear glue to stick them down. Use clear adhesive dots if you prefer. Frame the art under glass. UV protection is best to stop colors from fading.
2. Bold, Single-Stem Statement Pieces
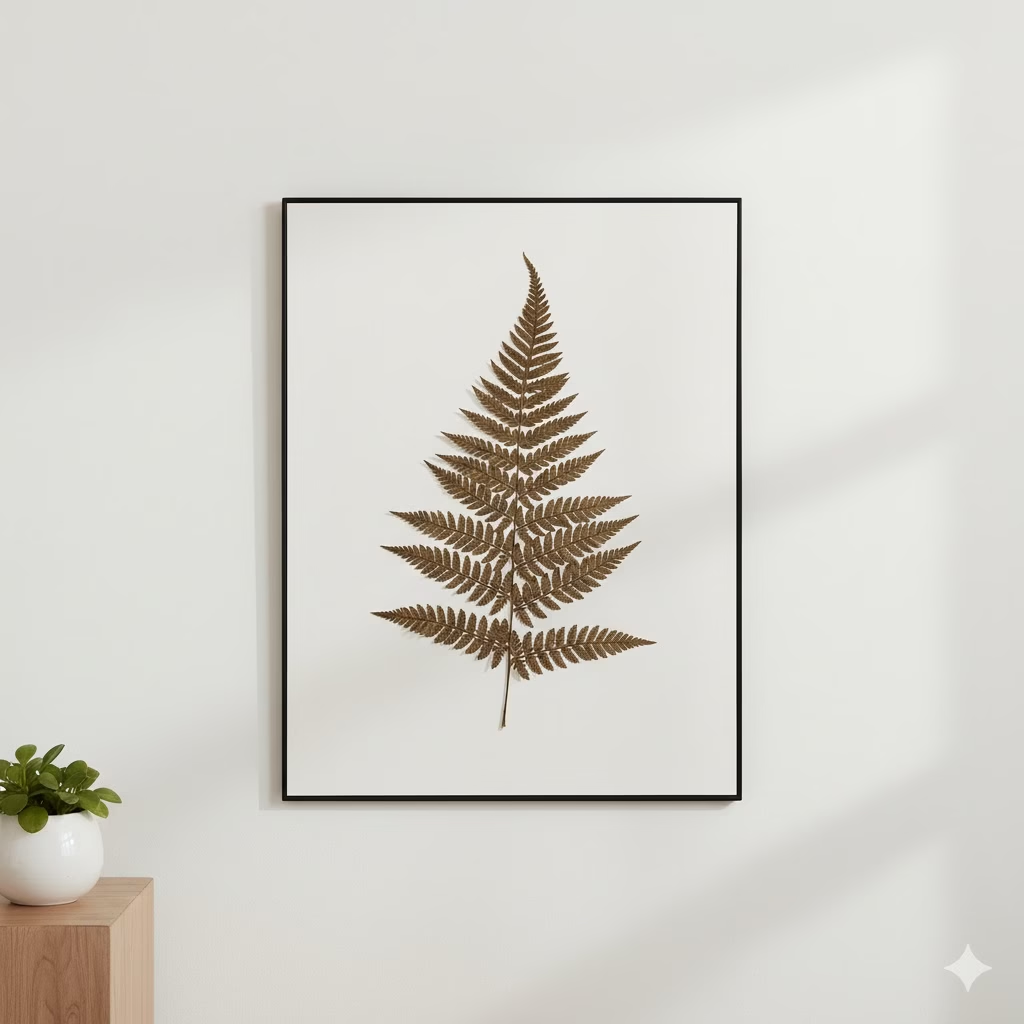
This trend is the opposite of the medley. It focuses on just one stunning plant. It makes a big impact. Imagine a large, perfectly pressed fern. Picture a vibrant, flat tropical leaf. Think of one beautiful rose bloom. Put it in a large frame. This style highlights the plant’s shape, texture, and color.
Why it’s trending: It gives a modern, clean look. The small details of the plant stand out. It becomes a strong focal point. It won’t make the room feel too busy.
How to do it yourself:
- Selection: Pick a flat, strong specimen. Good choices are big fern fronds (like Maidenhair). A single, young, flat Monstera leaf works too. You could also use a pressed Dahlia petal design.
- Pressing: Use a big press or large books for bigger items. Flatten thick stems or leaves gently before you press them. Be patient; big specimens need more time.
- Presentation: Place the dried plant exactly in the center of a plain white or cream background. The empty space around the plant is important. It adds to the drama.
- Framing: Choose a simple, elegant frame. Thin black metal, natural wood, or a clear acrylic frame all look great.
3. Herbarium Style: Scientific & Elegant
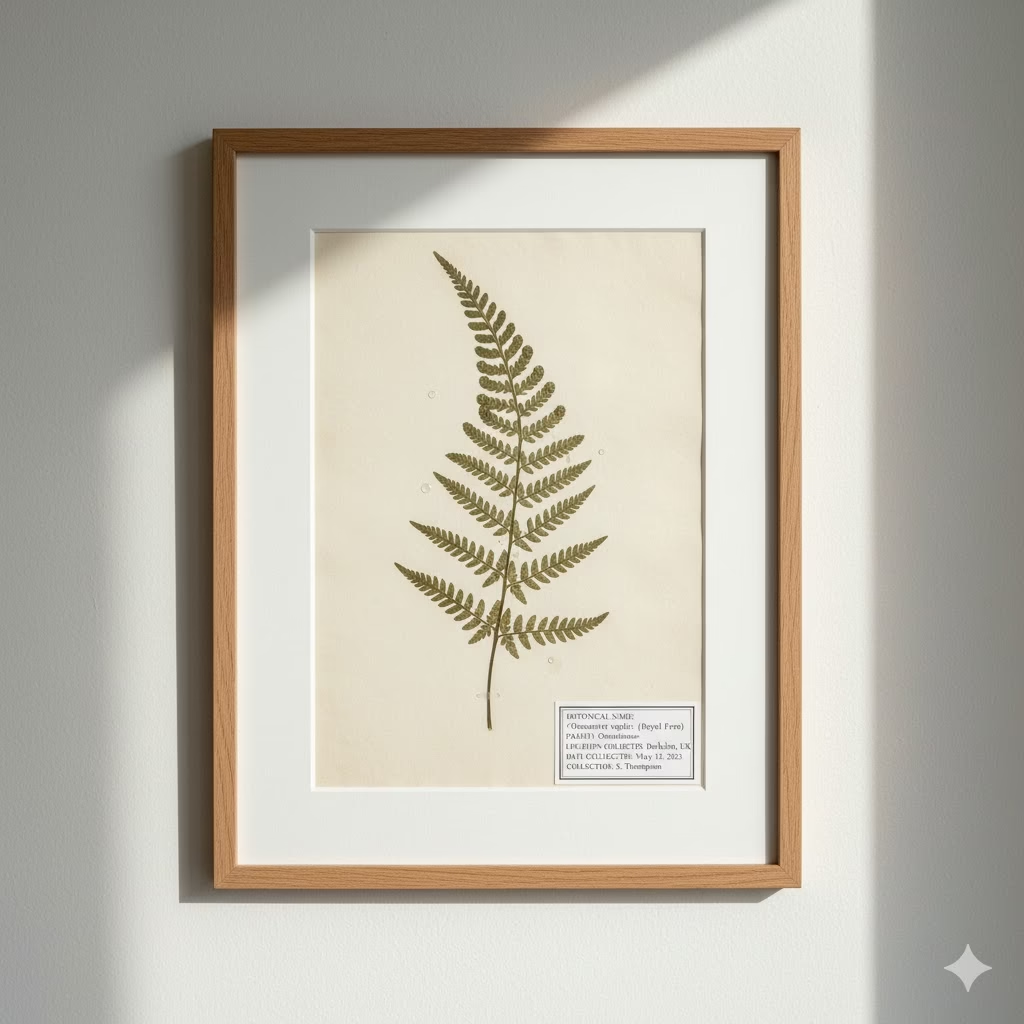
This trend is based on old plant collections. The herbarium style uses pressed plants. Each one is carefully labeled. The label shows the scientific name. It shows the common name. It gives the date and place it was collected. This style mixes science with art. It often uses stylish fonts. The paper sometimes looks old. It is organized beauty. It tells the plant’s story.
Why it’s trending: People who love history and science like this style. It adds a smart, refined feel to any room.
How to do it yourself:
- Preparation: Press a whole plant specimen. Include the stem, leaves, and flowers. If the roots are small and clean, include those too. Keep the plant as complete as possible.
- Mounting: Carefully glue the entire specimen onto a strong, archival paper.
- Labeling: Create a label. You can write it by hand with a fine pen. You can print it. Include the Botanical Name (in italics). Add the Common Name. List the Date Collected and Location. Put the collector’s name too. Place the label neatly in one corner.
- Framing: A classic wood frame looks best. Choose dark or natural wood. Add a mat for extra elegance.
4. Minimalist Geometry with Botanical Accents
This trend is a mix of natural shapes and clean lines. It takes the soft look of botanicals and puts them with sharp, geometric designs. You might see pressed leaves inside a clean circle. Maybe delicate flowers are placed near an abstract line drawing. The print might use modern frames with geometric patterns. The soft, living elements contrast beautifully with the straight, hard lines.
Why it’s trending: It works well for both natural and modern design. It’s perfect for homes that like neat lines but still want a touch of nature.
How to do it yourself:
- Design: Draw your shape first. This helps plan the layout. You could make a circle. The flowers could fan out from the center. Or, pressed stems could form simple, abstract lines.
- Elements: Pick small, thin pressed flowers or leaves. They should be easy to bend into shapes. Good choices are small fern pieces, lavender stems, or single petals.
- Mounting: Glue your pressed pieces onto the background paper. The paper should highlight your geometric shape. You can draw the shape lightly first as a guide.
- Framing: Use a thin, modern frame. Black metal or clear acrylic sandwich frames work well. They make the modern look stronger.
5. Vibrant & Abstract Petal Art
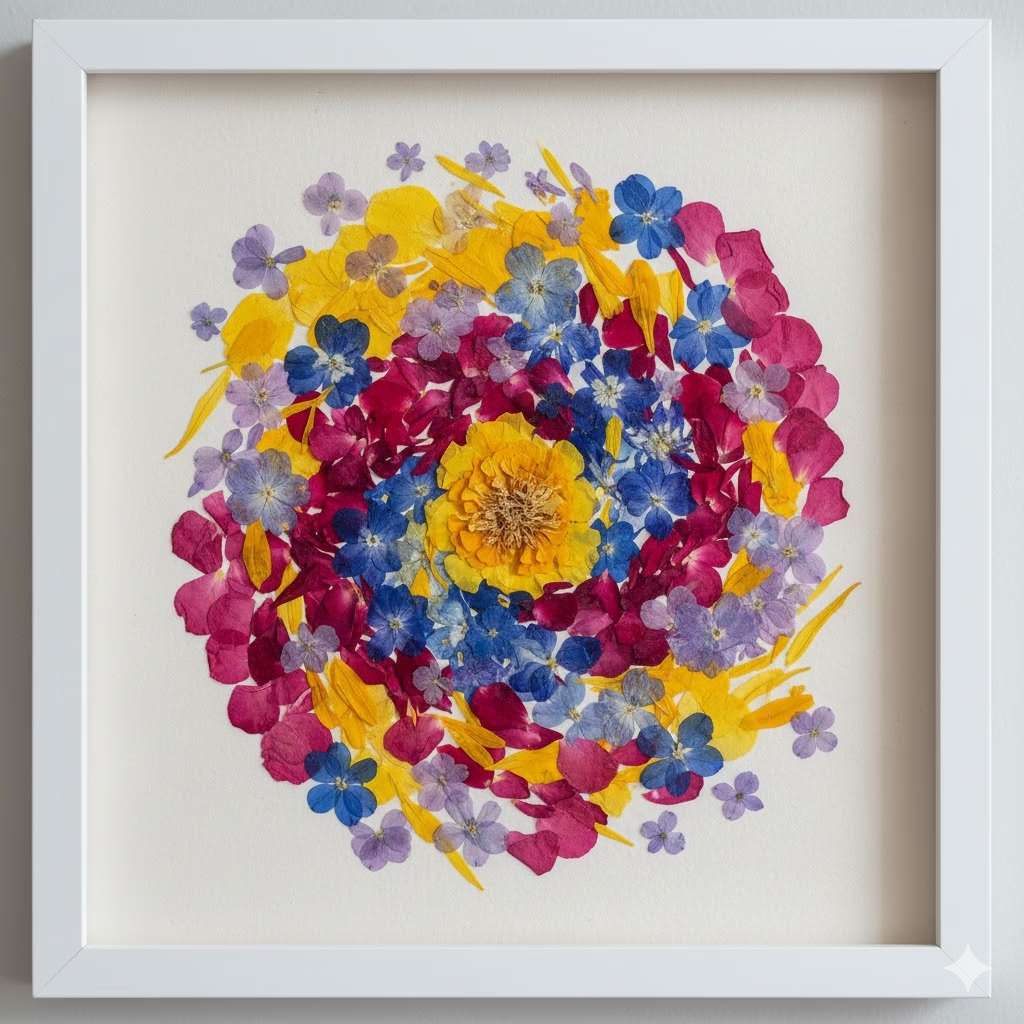
Many pressed flower pieces look very real. This trend is different. It uses petals for abstract designs. It means arranging petals into bright, non-realistic pictures. Think of patterns that look like mosaics. Imagine swirling colors or smooth color changes. All the colors come from natural flowers. Roses, hydrangeas, and delphiniums are good for this. They have rich colors and unique petal shapes.
Why it’s trending: It is a fresh, artistic style. It brings a lot of color and texture. And it is a great match for modern or bohemian homes. It lets you be very creative.
How to do it yourself:
- Preparation: Press a lot of petals from different, colorful flowers. Sort the petals by color and size.
- Composition: Play with the arrangement on paper first. Make swirls, color fades, or abstract shapes. You can even try to make tiny landscapes of color. Overlapping petals adds depth.
- Adhesion: Use just a tiny bit of clear-drying glue. Take your time. You will build up the shapes and layers slowly.
- Framing: A simple frame with a wide mat helps the art pop. It keeps the focus on the vibrant colors.
6. Pressed Foliage and Greenery Studies
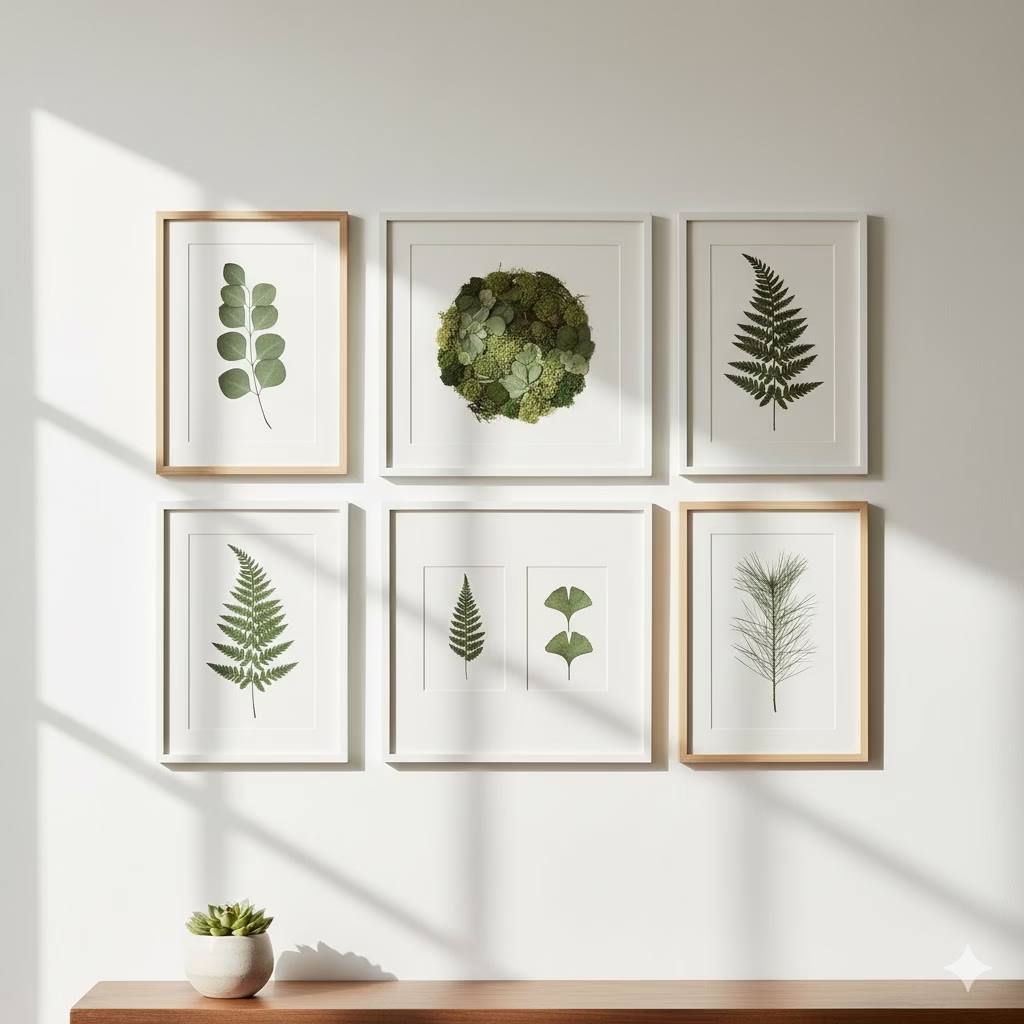
This trend puts the spotlight on greenery and leaves. It skips the flowers altogether. It celebrates the different shades of green, the texture, and the unique structure of leaves. You see ferns, moss, eucalyptus, and small sprigs of pine. The prints often have a monochromatic, calming effect. They give a subtle hint of the forest. The arrangements are simple and often large-scale.
Why it’s trending: It is gender-neutral and versatile. It works with any interior style, from industrial to ultra-modern. It’s the perfect way to add quiet color and texture.
How to do it yourself:
- Selection: Pick a variety of leaves. Find different shapes and colors of green. Thin leaves press best. Try ferns, eucalyptus, or small ivy leaves.
- Pressing: Press them flat, just like flowers. They may take longer to dry than petals. Make sure they are totally dry before framing. Wet leaves will mold easily.
- Arrangement: Create a layered look. Place the larger leaves down first. Then, add smaller ferns and sprigs on top. This adds depth and shadow.
- Framing: A light-colored wood or a white frame looks fresh. A dark background paper, like navy or black, will make the green stand out strongly.
7. The Layered Transparency Look
This trend uses clear glass or acrylic frames. There is no paper background. The pressed flower is visible on both sides. This creates a floating effect. The wall color becomes the background. When light hits the frame, the pressed flower casts a beautiful, soft shadow. It’s a delicate, ethereal, and very modern way to display plants.
Why it’s trending: It is modern and airy. It creates visual lightness. The flower seems to float. It adds an interactive element because the shadows change with the light.
How to do it yourself:
- Materials: You need a special frame. Look for a floating frame. It uses two pieces of glass or acrylic.
- Preparation: This method demands perfect flowers. Any smudge or excess glue will be very visible. Use only very thin, flat pieces.
- Mounting: Clean the glass well. Place the flower on the bottom piece of glass. Use a tiny amount of clear epoxy or clear-drying glue on the back of the flower. Use tweezers for careful placement. Gently put the top glass over the flower and secure the frame.
- Placement: Hang this art in a place where it can catch natural light. This is how you get those beautiful shadows.
Mastering the Art of Pressing: Your Detailed How-To
Creating your own botanical prints is simple. It only needs patience. The process is easy. The payoff is huge. Here is a simple, easy-to-follow guide to pressing and framing your flowers.
Step 1: Gathering and Selection
- When to Pick: Pick flowers in the middle of the day. They should be dry. Wait for the dew to dry. Flowers with less moisture press better. They will not mold.
- Which Flowers are Best: Choose flowers with flat petals and thin centers. Pansies, violas, single-petal roses, cosmos, and ferns are great. Avoid thick flowers like tulips or dense buds. They are too bulky.
- Pre-Press Prep: Remove any leaves that you don’t want. Trim stems to the length you need. Gently flatten the flower with your fingers.
Step 2: The Pressing Method
- Use a Book: This is the easiest, cheapest way. Open a heavy book. Place the flower between two sheets of absorbent paper. Blotting paper is best. You can also use plain newsprint or coffee filters. The absorbent paper draws out moisture.
- Positioning: Place the flowers face down. Keep space between them. If they touch, they can stick together. Spread out the petals and leaves as you want them to look. Be careful.
- Pressure: Close the book. Place more heavy books on top. Use bricks or other heavy items for more weight. The pressure must be even.
- Waiting: This is the hard part. Wait for two to four weeks. Do not check too soon. The flowers must be totally dry. They will feel like paper. If they bend, they need more time.
Step 3: Arranging and Gluing
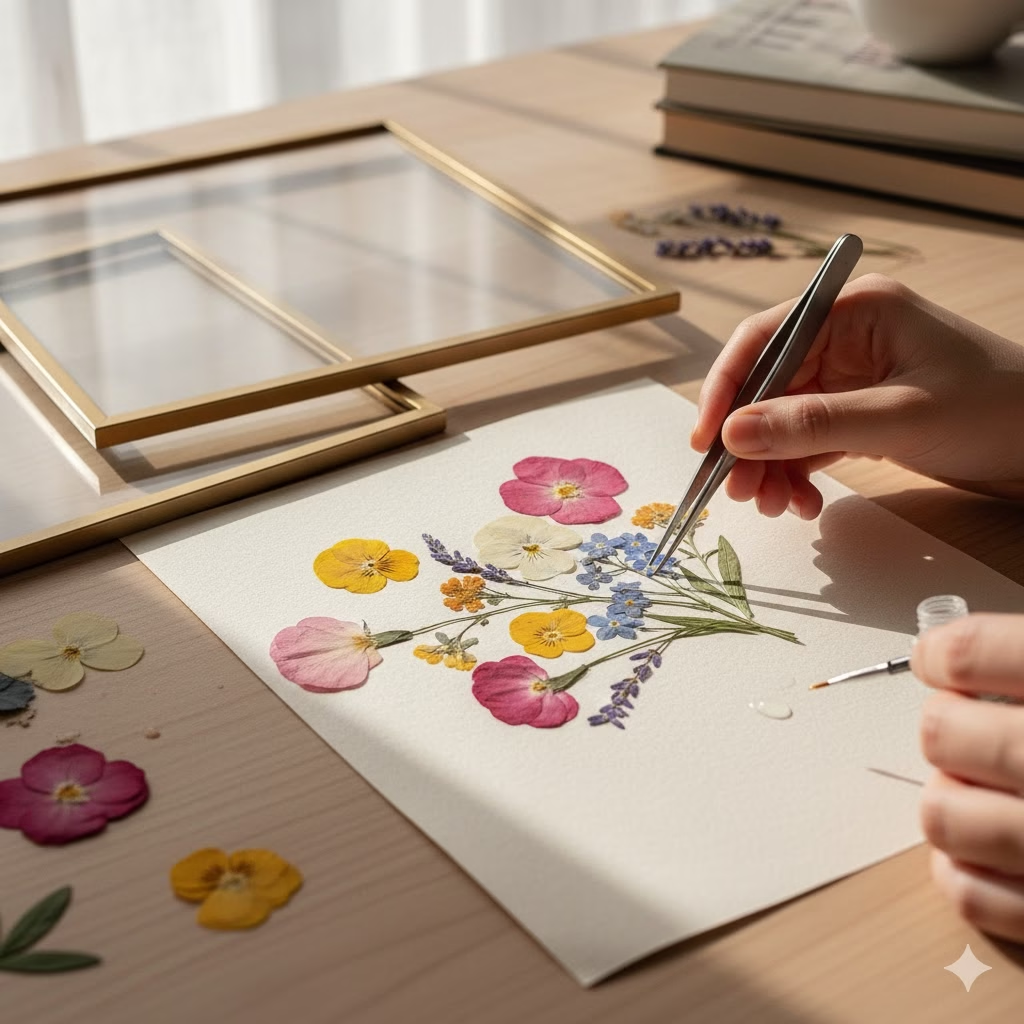
- Materials: Get tweezers, archival paper, and clear-drying craft glue. A small brush or a glue pen helps control the glue.
- Arrangement: Use tweezers to move the delicate, dried flowers. Arrange them on your paper. Try different positions. Once you are happy, take a picture with your phone. This helps you remember the layout.
- Gluing: Put a very tiny amount of glue on the back of the flower. Use the brush or glue pen. Place the flower on the paper. Press it gently for a moment. Work slowly. If a petal breaks, just glue it back together.
- Drying: Let the entire piece dry completely. Give it at least 30 minutes.
Step 4: Framing Your Botanical Prints
- Protect Your Art: Pressed flowers can fade in direct sunlight. Use a frame with UV-protective glass. This keeps the colors brighter for longer.
- Choosing a Mat: A mat is the cardboard border around the art. It adds a professional look. It also keeps the flower from touching the glass. This protects the delicate petals.
- Display: Hang your botanical prints where you can see them often. Group a few together for a gallery wall. This makes a great design statement.
Frequently Asked Questions (FAQ)
Q: What is the formal name for pressed flower art?
A: The art of pressing and arranging dried flowers is often called Oshibana. This is a Japanese art form. It has been practiced for many centuries.
Q: How long will my pressed flower art last?
A: If you prepare and frame them well, pressed flowers can last for many years. The key is to keep them out of direct sunlight. This slows color fading. You must also make sure they are completely dry before you frame them. This prevents mold.
Q: Which flowers are the absolute easiest to press for beginners?
A: For beginners, choose flowers that are already flat and thin. Pansies and Violas are perfect. Ferns, Queen Anne’s Lace, and small single-petal Daisies are also very easy to work with.
Q: Can I use a microwave to press flowers faster?
A: Yes, you can use a microwave press. This method is much faster than the book method. It can dry flowers in minutes. You must be very careful with it. You need a special microwave press or thick paper and ceramic tiles. This prevents burning. The traditional, slow method often gives the best color retention.
Q: What is the best type of paper for the background?
A: Use archival-quality paper or cardstock. This paper is acid-free. It will not yellow over time. You can choose white or cream. Darker colors, like navy, can make bright flowers pop strongly.
Q: Where should I display my finished botanical prints?
A: Display your prints indoors. Avoid spots with high humidity, like a very steamy bathroom. The biggest rule is to avoid direct, strong sunlight. Sunlight will cause the natural colors to fade over time.
Reference Section
- NTBG – The Science of Art – Why Botanical Illustration Matters
- TikTok – How to Preserve Flowers Pressing
- Jamjaredit – Jam Jar Edit
Recent Posts
