We all have those little moments—a special bouquet from a loved one, a perfect specimen found on a walk, or a memory tied to a specific bloom. While fresh flowers fade, the desire to hold onto their beauty and meaning doesn’t stop. This guide helps the casual crafter. It gives you an easy, meaningful way to turn those beautiful blossoms into charming, everyday keepsakes, such as Decoupage Flower Coasters, for your home or to give as gifts. Let’s start crafting and keep those memories alive!
The Timeless Charm of Decoupage Flower Coasters
Decoupage is an easy and rewarding craft. It lets you change ordinary objects into personalized art. Simply put, it’s the process of decorating something with paper cutouts and then covering it with clear sealant. This makes a smooth, finished surface.
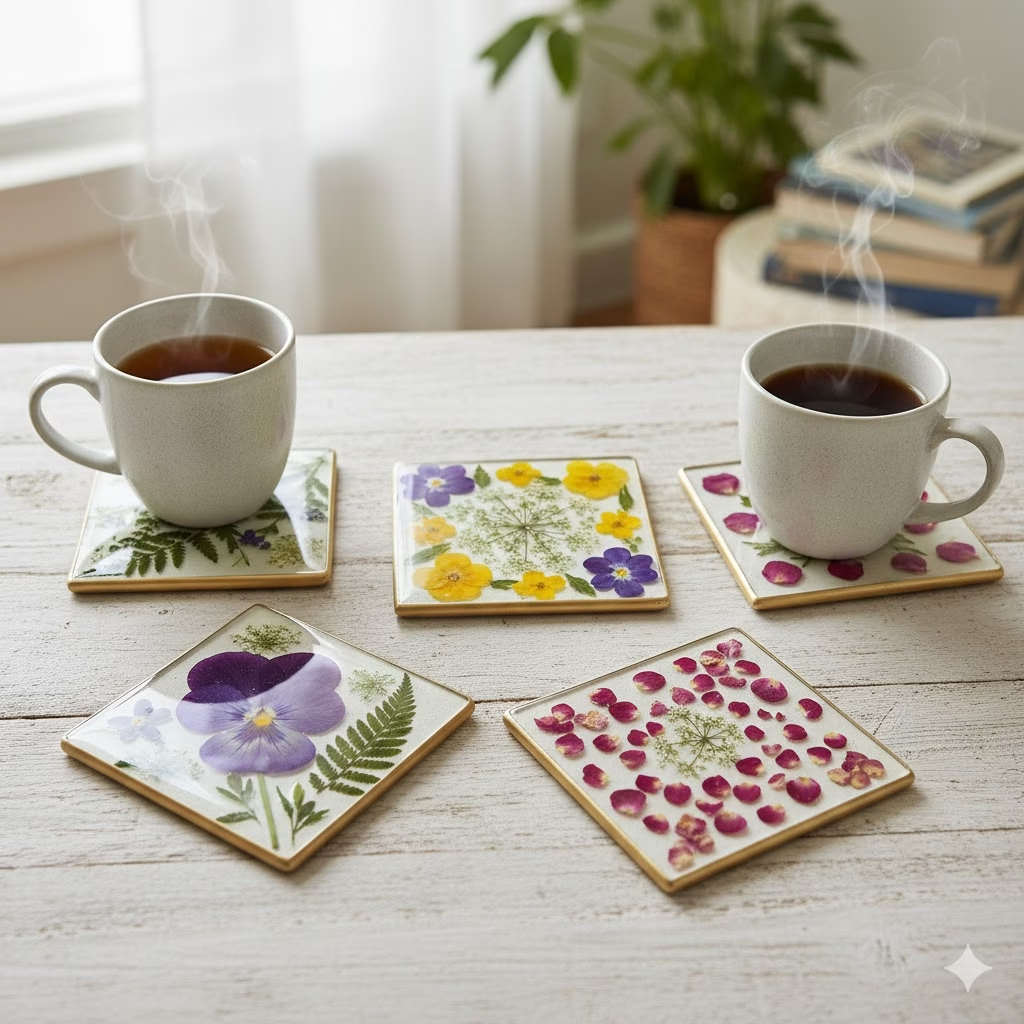
When you use this method to preserve delicate pressed flowers on a coaster, the result is beautiful. You get a glossy, very useful piece of home décor. This guide will walk you through every step. You will soon be creating your own stunning, unique Decoupage Flower Coasters.
Why Pick Decoupage Over Resin?
Resin is popular for preserving flowers. But decoupage is often simpler, cleaner, and more accessible for most crafters.
- Simplicity: Decoupage needs few special tools and materials. You do not have to measure exactly, mix chemicals, or worry about air bubbles.
- Cost: The main items—decoupage medium (like Mod Podge), a brush, and a tile—are cheap. You can find them easily at any craft store.
- Safety: There are fewer fumes and safety worries compared to working with chemical resins. This makes it a comfortable project to do inside.
- Speed (The Start): The first steps of the project are quick. It does not take long to set up or start gluing.
Decoupage is a great way to start crafting with flowers. It gives you a strong, waterproof, and heat-safe finish. This makes it perfect for a good, lasting coaster.
Section 1: Getting Ready – A Great Start
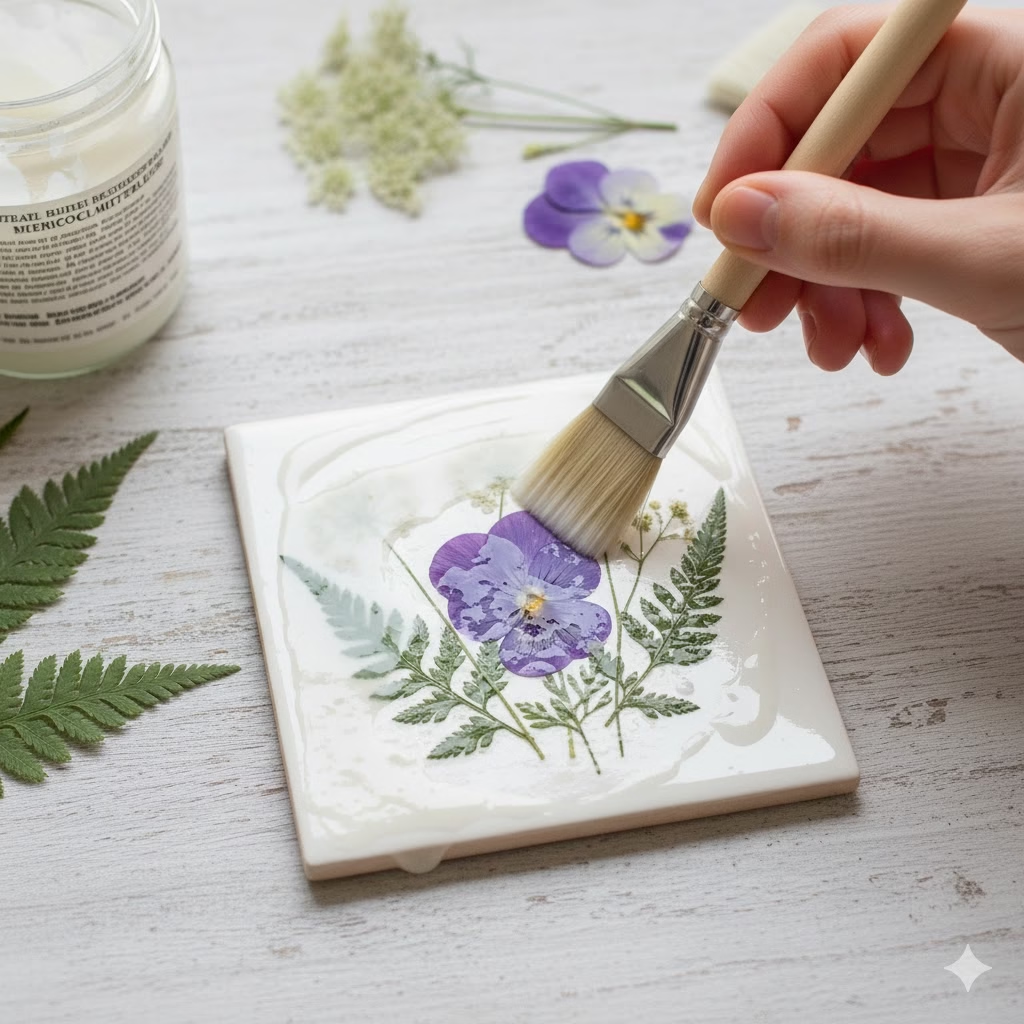
A successful decoupage project depends on good preparation. This is especially true when working with fragile natural materials.
Picking Your Base Material
The coaster material, or base, is the bottom of your project. The best materials are smooth and flat. They should also hold up well against water.
- Ceramic Tiles (Matte or Plain): These are the most common choice. They cost little and you can find them at any hardware store. They also give a classic look. A four-inch by four-inch size works well. If the tile surface is glossy, lightly sand it first. This helps the glue stick better.
- Wood Blanks or Slices: These give your coasters a natural, rustic feel. Make sure they are sanded smooth. If the wood is too soft or rough, you may need a clear wood sealant first. But often, a base coat of the decoupage medium works fine as a primer.
- Cork: Cork coasters are light and soak up moisture naturally. You might need to use a thicker coat of the decoupage medium here. This helps make the finished surface smooth over the cork’s texture.
Getting Your Flowers Ready
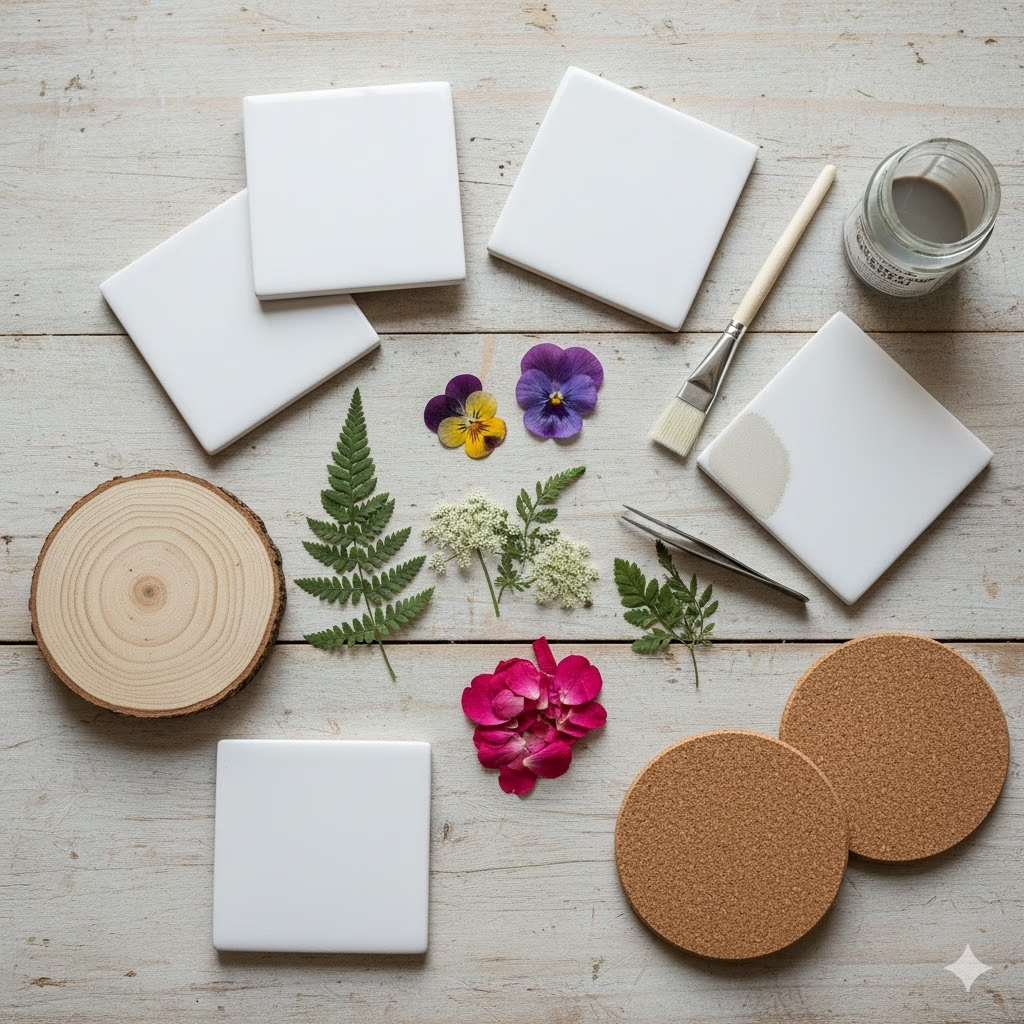
The quality of your dried flowers matters a lot for your finished coasters. They must be totally dry and flat.
- How to Press: Use a flower press. Or, you can just put the flowers between sheets of absorbent paper (like blotting paper) and stack heavy books on top. It may take one to four weeks to dry the flowers. The time depends on how thick the flower is and how wet the air is.
- Good Flowers to Use: Flowers that are thin and naturally flat work best. Some great examples are:
- Small pansies and violas
- Flat fern fronds
- Thin, small-leafed herbs
- Single petals from cosmos
- Delicate Queen Anne’s Lace
- Single petals from a rose (do not use the whole bulky bud)
- Check for Wetness: Before you use them, gently feel the pressed flowers. If they feel cool or slightly bendy, they are not ready. They still have water in them and might go moldy under the sealant. They must be very dry and brittle.
What You Will Need
- Coasters: Four to six ceramic tiles, wood blanks, or cork rounds.
- Decoupage Medium: This is a glue and sealant that is water-based and dries clear. Choose a glossy or satin finish. Pick one that says it works for indoor and outdoor use if you want the coaster to be extra strong.
- Brushes: Get a few soft-bristled brushes in different sizes. You need one for applying the glue and one for the smooth topcoat.
- Pressed Botanicals: Your dried and prepared flowers.
- Tweezers: You need these to handle the very delicate flowers without tearing them.
- Scissors: Small, sharp scissors for trimming stems or shaping your plants.
- Clear Spray Sealer (Optional but Good): This gives you a final, very tough protective layer.
- Felt Pads or Cork Backing (Optional): These go on the bottom to protect your furniture.
Section 2: Step-by-Step – Making the Coasters
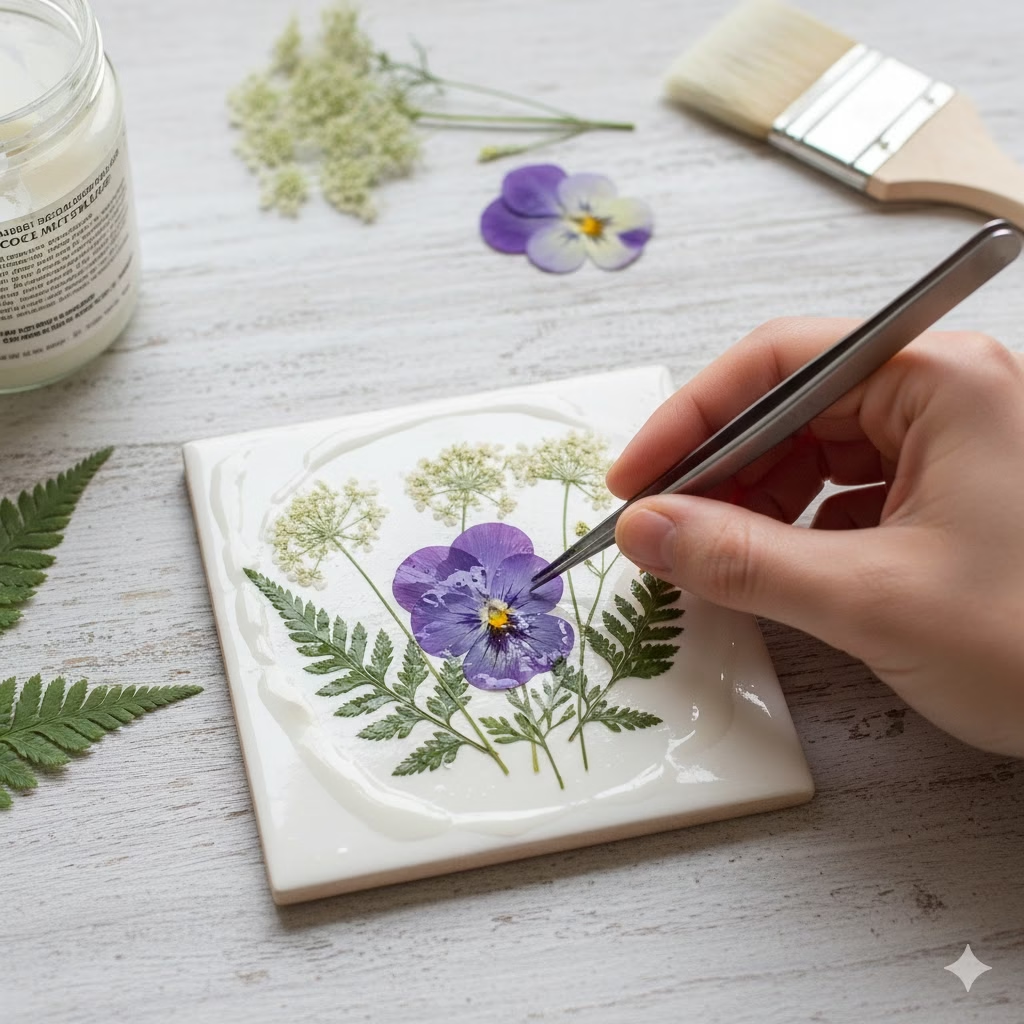
This process has three simple parts: gluing the flowers down, adding protective layers, and the final details.
Part 1: Planning the Layout
Before you put on any glue, plan your design. This is your chance to try out different flower arrangements.
- Clean Up: Wipe your coaster base clean. Use a dry cloth or a little alcohol to remove any dust or oils. Dirt will stop the glue from sticking.
- Test the Look: Place your pressed flowers right on the coaster surface. Play with different groupings and angles. You could try a full, thick coverage. Or, you could make a simple, artistic design. Decide if you want the flowers to go right to the edge or stay in the center.
- Take a Photo: Once you find a layout you like, snap a quick photo. This picture will help you remember the design when you start gluing. Moving the flowers once the glue is on can be hard.
Part 2: Gluing and Sealing
The decoupage medium works in two ways here: first as glue, then as a sealant.
- The Base Glue Coat: Take a clean, soft brush. Spread a thin, smooth layer of the decoupage medium on the coaster surface. Apply it where the flowers will go. The layer should be a little sticky, not soaking wet.
- Placing the Flowers: Use the tweezers. Gently pick up the pressed flowers and put them onto the wet glue. Follow your photo for the design.
- Pressing Gently: Carefully and lightly press the flowers into the glue. Use your fingertip, a clean piece of wax paper, or the back of a spoon. You need to make sure the whole flower, especially all the edges, touches the glue. This is key: If any air or unsealed edges are left, water could get in later. This will cause mold or make the flower peel up.
- First Sealing Coat: Let the glue and flowers dry fully. This takes at least 20 to 30 minutes. Once dry, apply a very gentle, thin top coat of the medium. Start at the center of the flowers and brush outward. Be very light with your brush. The flowers are fragile when they soak up the liquid.
Part 3: Building a Strong Protective Layer
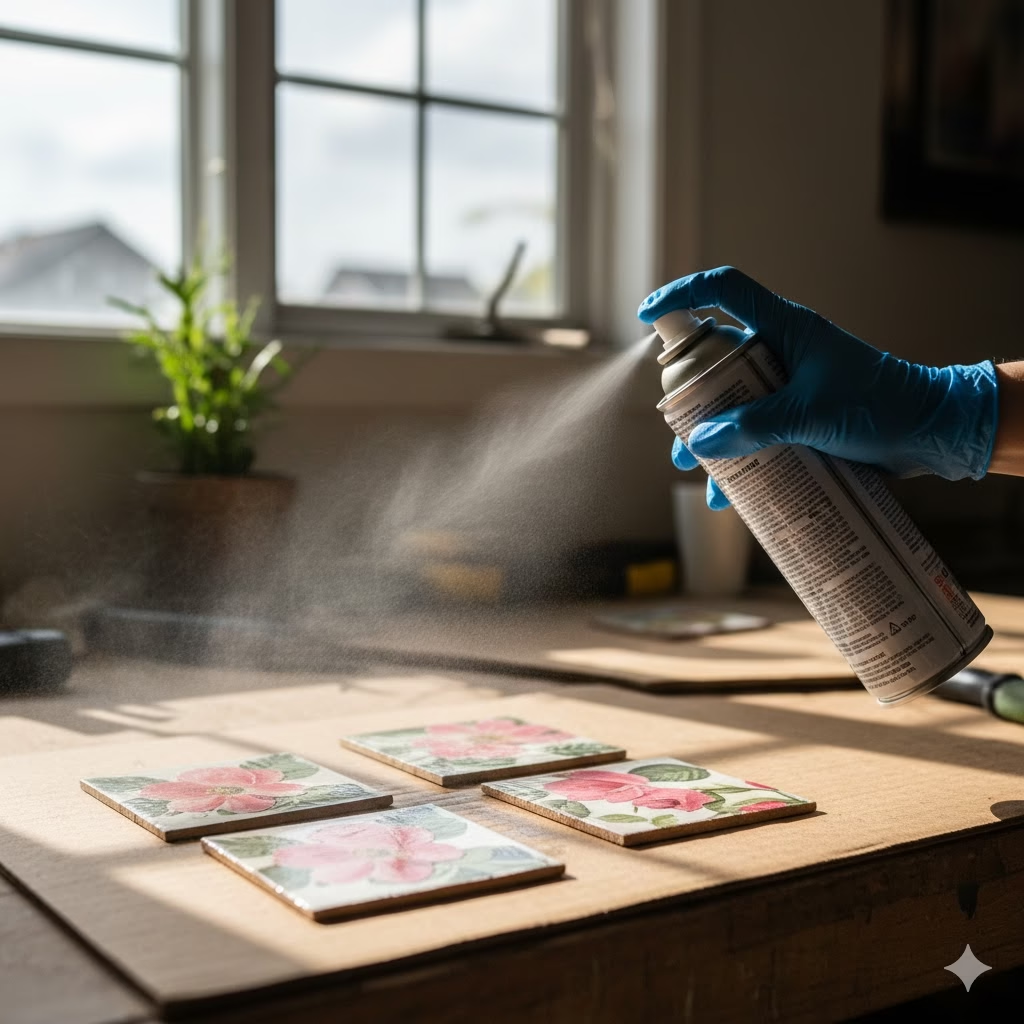
How long and how good your Decoupage Flower Coasters last depends on this step. You need to create a barrier that keeps out both water and heat.
- Adding Layers: Let the first sealing coat dry for at least one hour. Then, put on a second coat. Make this one a little thicker than the first. You will do this step many times.
- The Smooth Goal: You want the top layer of the decoupage medium to be totally flat. It should be level with the tallest part of the pressed flowers. When you touch the surface, you should not feel the texture of the flower anymore. For thicker flowers, you might need five or more coats to get this smooth finish.
- Sanding (Optional but Good): After three or four coats, and only when the layer is fully dry (best to wait overnight), you can very lightly sand the surface. Use very fine sandpaper (like 400 grit or higher). This removes any brush lines and makes the next coats smoother. Be careful! Do not sand so hard that you hit the flowers. Wipe off the dust with a damp cloth before you apply the next coat.
- Final Coats: Keep putting on coats until you get a deep, glass-like shine and a smooth surface. Most projects need at least 4 to 6 coats for the best protection.
Section 3: Extra Tips and Final Touches
Once you finish the main decoupaging, there are a few things you can do to make your finished coasters look even better.
The Final Seal: Making It Tough
The decoupage medium protects well. But a final sealant layer is vital for items that get a lot of use, like coasters.
- Acrylic Spray: After your last decoupage coat has set (wait 24-48 hours), move your coasters to a place with good airflow. Apply 2-3 light coats of a clear, glossy spray sealant. Look for one that is oil-based or a high-quality acrylic. This creates a very strong barrier. It handles water and heat well. This lowers the chance of water rings or damage from a hot mug.
Adding the Edges and Backing
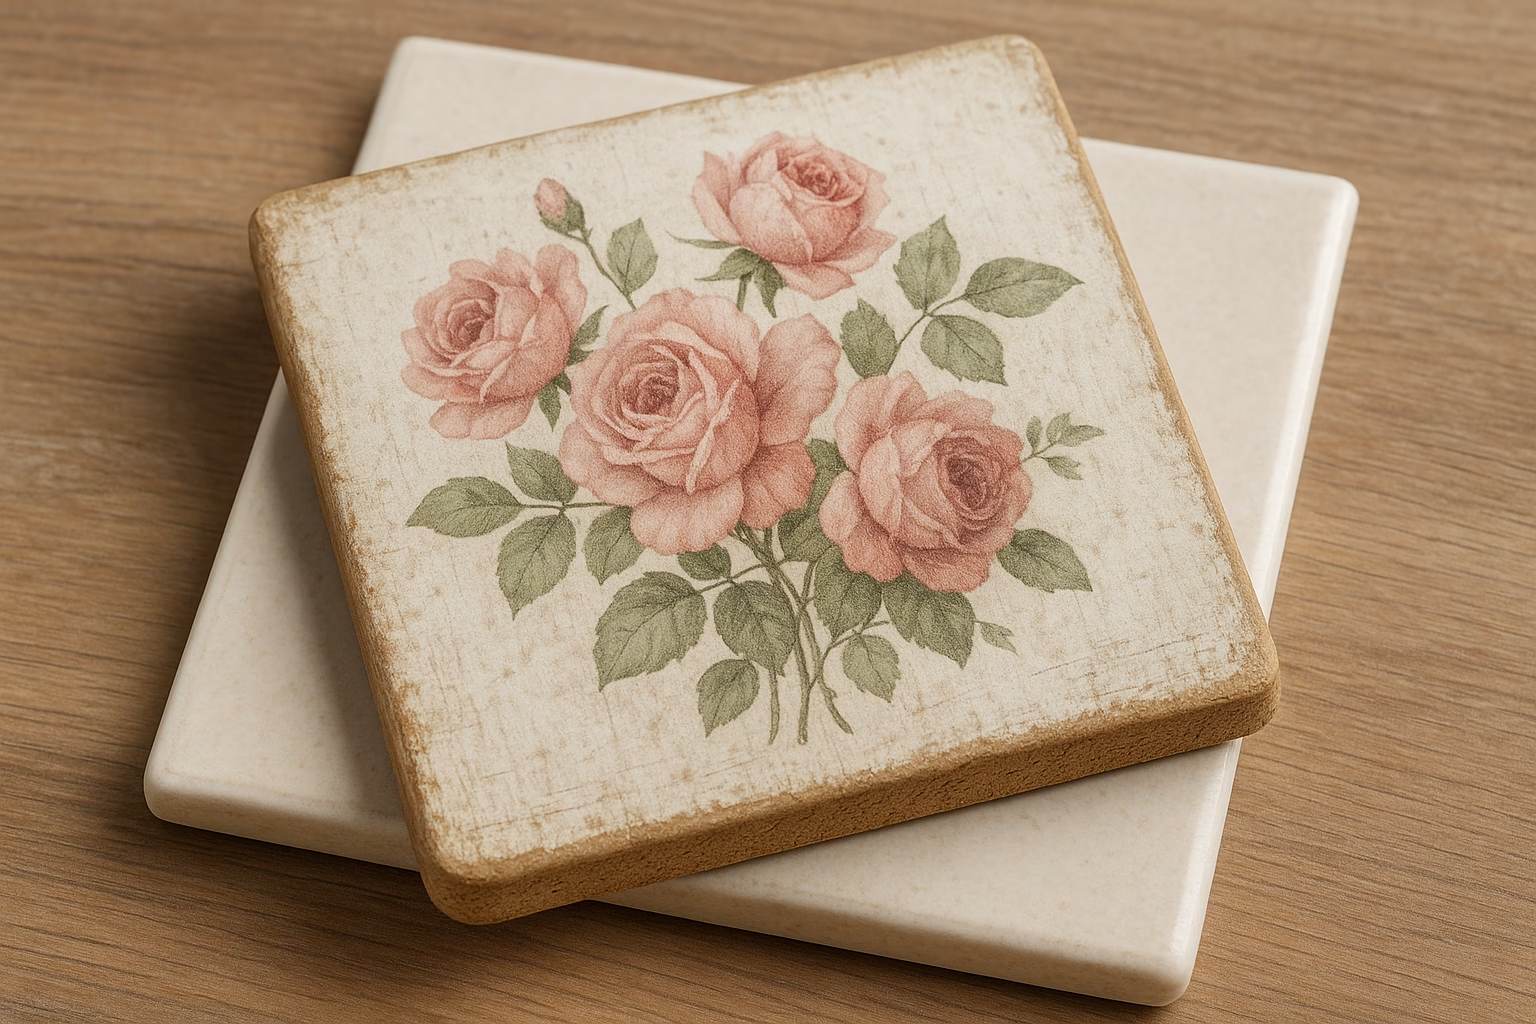
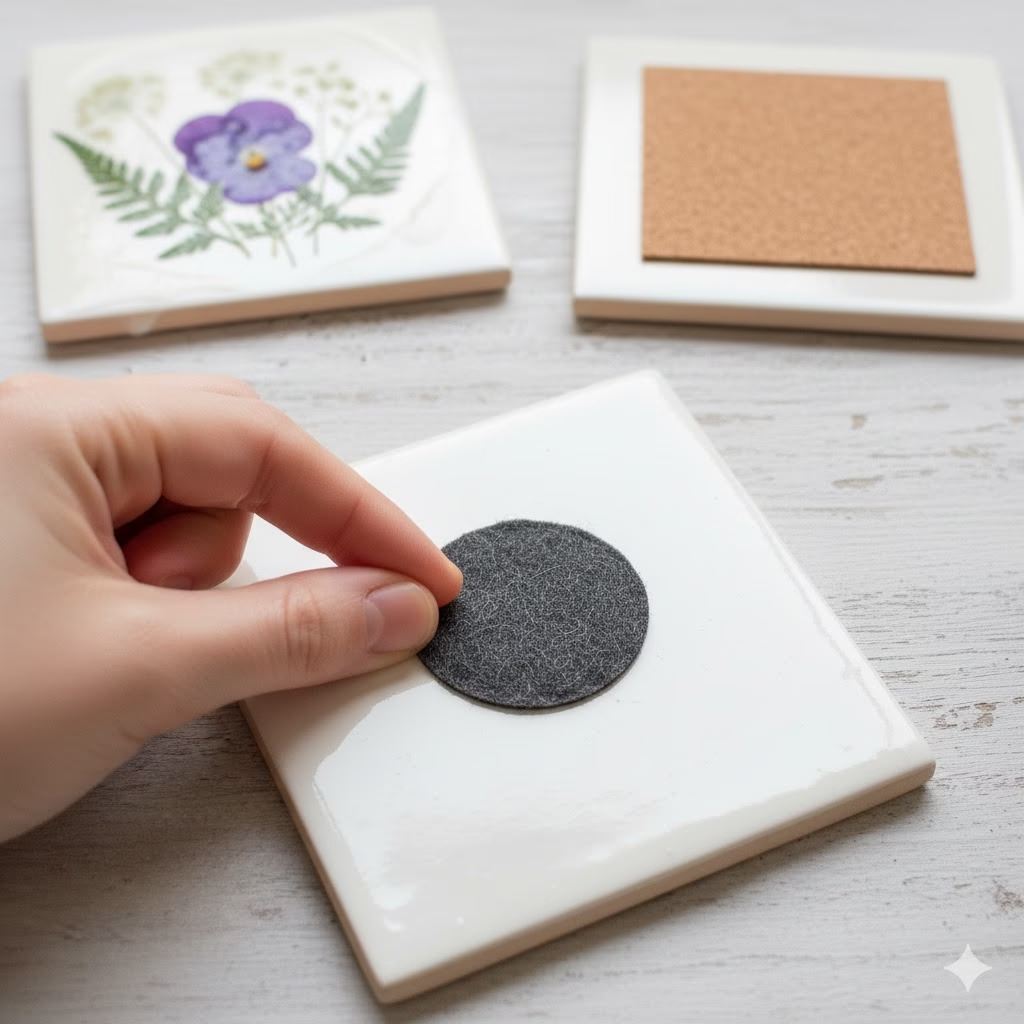
The sides of your coasters need some care, too, especially if you used ceramic tiles.
- Coloring the Sides: You can paint the edges of your ceramic tiles. Use acrylic paint that matches the flowers. Or, use a metallic paint (gold or silver) for a fancy look. Make sure the paint is dry before you add the backing.
- Felt or Cork Backing: Put a soft backing on the bottom to keep your furniture from getting scratched. This also stops the coasters from sliding. You can buy sticky felt dots. Or, cut thin cork sheets into squares and glue them on. This small step makes the coaster look finished and professional.
Design Ideas to Copy
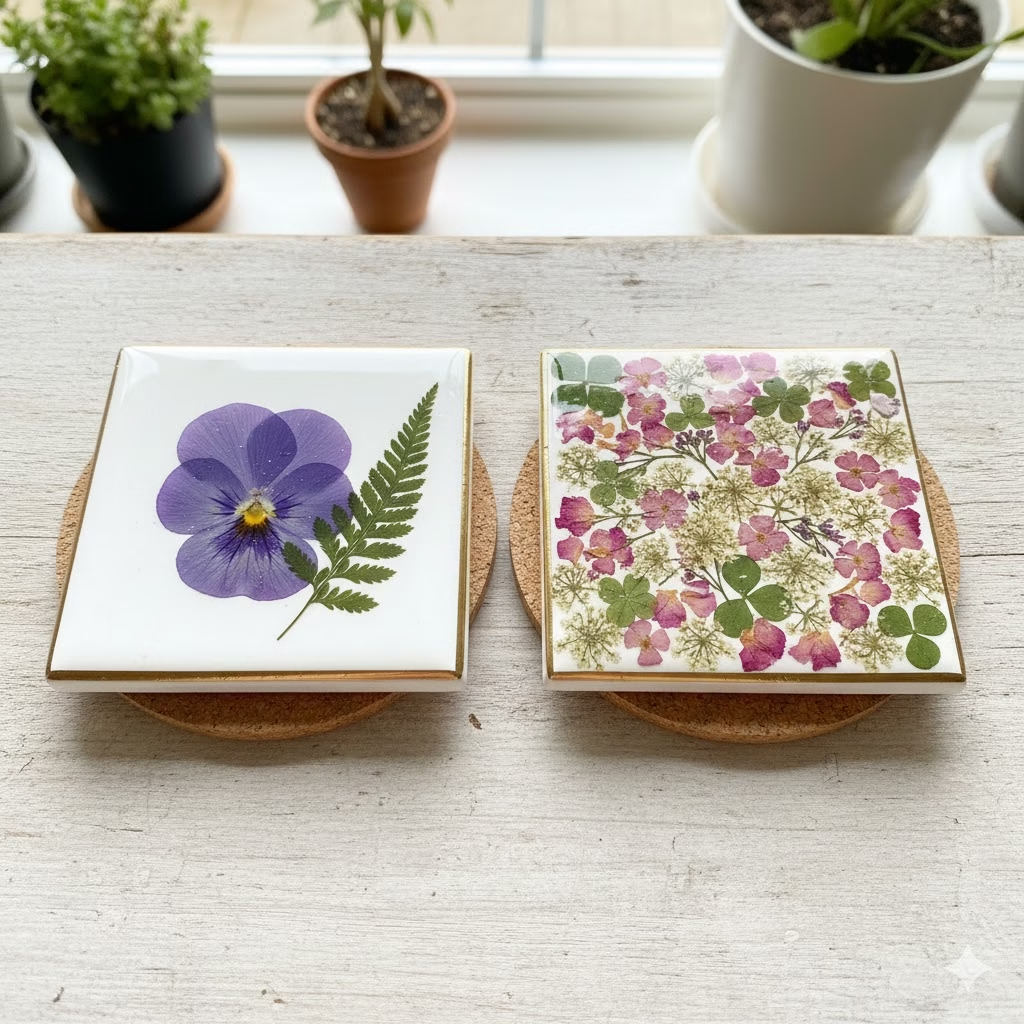
Here are a few design ideas using different flowers and layouts. Use them for inspiration!
| Design Idea | Flower Type | How to Arrange | The Look |
| Simple Focus | One single, large pansy or poppy petal. | Place one perfect flower right in the middle. | Clean, Simple, Modern, Elegant |
| Wild Garden Mix | A mix of small flowers (violas, small ferns, Queen Anne’s Lace). | Overlap the flowers to make a thick, natural look like a field. | Natural, Rustic, Full of Detail |
| Straight Lines | Straight stems, fern fronds, or clover leaves. | Arrange four same-sized pieces growing out from the middle or across the corners. | Modern, Structured, Balanced |
| A Few Petals | Just a few individual petals (rose or hydrangea). | Scatter three to five petals across the tile. Make it look random. | Soft, Delicate, Light, Airy |
Section 4: Care and Long Life
If you take care of your handmade Decoupage Flower Coasters the right way, they can last for many years. They will become treasured items.
Allowing It to Cure
The decoupage medium and any spray sealants need time to fully harden, or “cure.” This happens even after they feel dry to the touch.
- Wait Time: Do not use the coasters with hot mugs or let them sit in water for at least three to four weeks. This step is vital. It makes sure the medium becomes as strong as possible. Using them too soon can leave marks on the surface or make the coating cloudy.
How to Clean Them

- Wiping: Clean your coasters with a soft, slightly wet cloth. Do not use strong cleaners or rough sponges. They can scratch the glossy surface.
- Water Safety: The layers are waterproof. But do not soak the coasters in water or wash them in a dish machine.
Frequently Asked Questions (FAQ)
1. Why did my pressed flowers turn brown or clear after I glued them?
This problem is common. It usually means one of two things:
- Water Was Trapped: The flower was not fully dry when you sealed it. The trapped water reacts with the glue and starts to rot or change color. Be sure your flowers are very brittle and dry before you start.
- Too Much Glue: Putting the decoupage medium on too thick or too fast can make the petals absorb too much liquid. This makes them look bruised or see-through. Use light, gentle strokes and build up thin layers slowly.
2. Can I use flowers that are still fresh?
No, you cannot. Fresh flowers have a lot of water inside. They will quickly rot and mold once you seal them with the decoupage medium. They must be completely dry and flat (pressed) before you use them.
3. I see little bubbles in my finished coating. How can I stop them?
Bubbles can come from two places:
- Air Under the Flower: Use your tweezers or a small tool to press the flower down firmly but softly. Make sure all the air is pushed out when you apply the first coat of glue.
- Mixing the Medium: Stir the decoupage medium gently. Do not shake the container. Shaking adds air bubbles. When brushing, stroke in one direction. Do not over-brush. If a bubble appears, quickly pop it with a pin or lightly brush over it before the glue dries.
4. What is the best decoupage glue for this project?
For coasters, you need glue that dries clear, is waterproof, and is very strong. Look for a product labeled for “hard surfaces” or a high-gloss finish. Many brands work well. A classic glossy decoupage glue is a great choice for new crafters.
5. My coasters feel sticky even after a long time. Why are they tacky?
Tackiness can happen if the room is too humid while they are drying. It can also happen if the glue you used is not meant for the high heat/water resistance needed for a coaster. Applying a final coat of a clear acrylic spray sealant will usually solve the problem. The spray dries harder than the decoupage medium.
References
- Flowerpressing – 5 Benefits of Flower Pressing
- Designeyegallery – How Decoupage Boosts Creativity and Calm
Recent Posts
