Like you, I started my crochet journey with a hook and a dream—mostly a dream of making something that actually looked like the picture. After countless unravels and a few triumphs, I discovered the joy of creating pieces that not only bring beauty into my home but also build my confidence with every stitch. This Crochet Pattern, in particular, was a game-changer for me, and I’m so excited to share how it can transform your needle skills too!
Introduction: Why This Crochet Pattern Will Change Everything
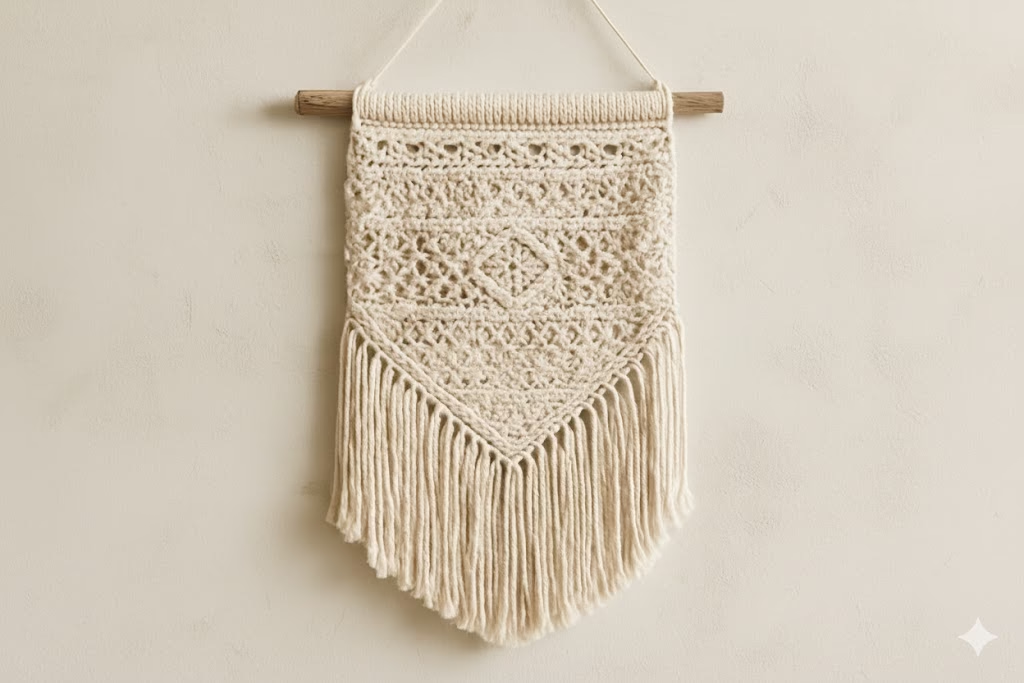
Are you ready to take your crochet skills from “just getting by” to “wow, did you make that?!” If you’ve been searching for that one Crochet Pattern that pushes your boundaries, expands your repertoire, and genuinely transforms your needle skills, you’ve found it. This article isn’t just about finding new Crochet Ideas; it’s about unlocking a new level of creativity and craftsmanship with a stunning, modern macrame-inspired wall hanging. You need this experience now!
Many of us start crocheting with basic stitches, making scarves or simple blankets. While these are wonderful foundations, there comes a point when you crave something more intricate, something that feels like a true accomplishment. The pattern we’re exploring today is a favorite among intermediate crocheters because it teaches you how to create the illusion of macrame knot-work using only your hook and yarn. This mastery of texture is the secret to elevating your handmade items from nice to breathtaking.
By blending dense, structural stitches with raised, rope-like textures, this Crochet Pattern will give you a deeper understanding of how to use stitch height and placement to create three-dimensional art. Get ready to explore the magic of post stitches and precise tension—the hallmarks of advanced Crochet Patterns. By the end of this journey, you’ll not only have a beautiful wall hanging but also a newfound confidence in tackling even the most complex designs and generating your own unique Crochet Ideas. Let’s dive into the details!

Getting Started: The Essential Tools and Materials
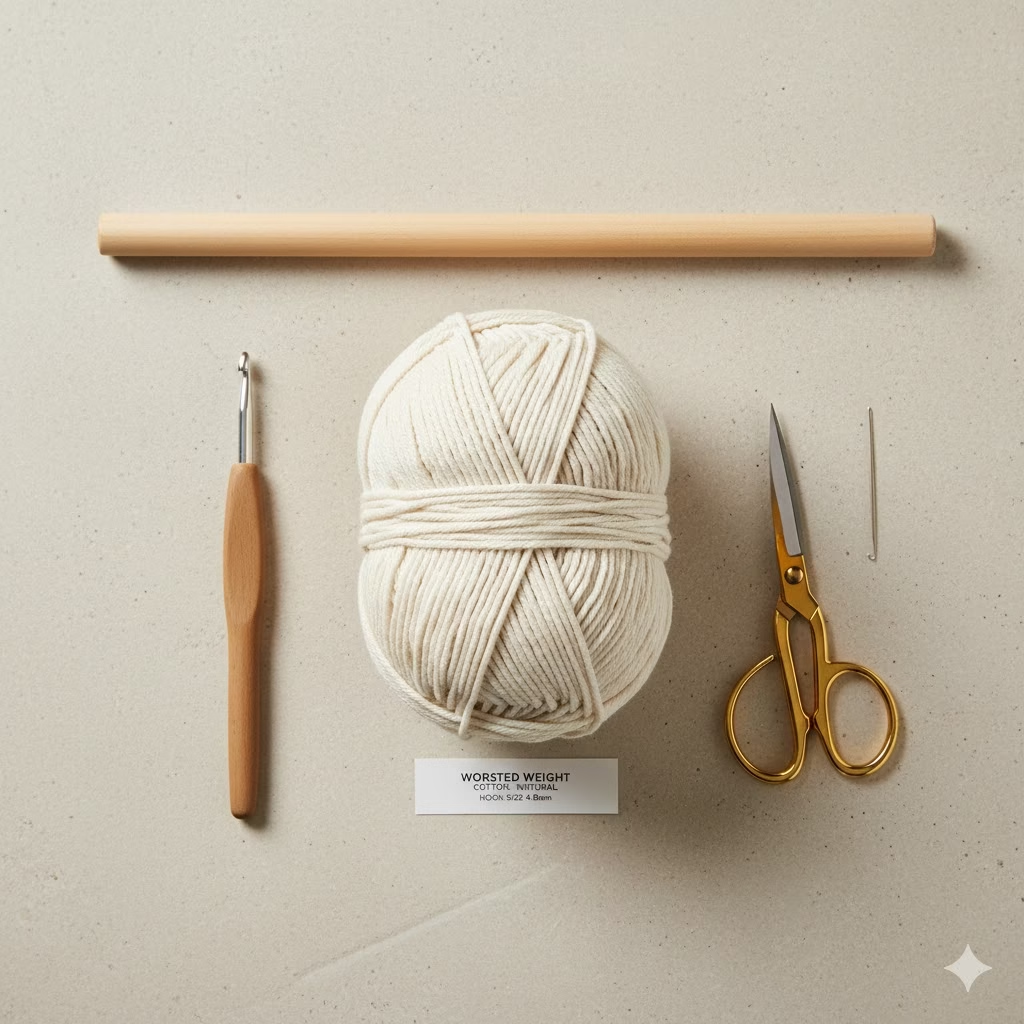
Before we pick up our hooks, we need to gather the right supplies. The type of yarn and needle (hook) you choose is crucial for achieving the clean, structural look of the wall hanging in the image. This isn’t a floppy blanket; it needs stiffness and definition.
Materials Checklist
- Yarn: Approximately 300–400 yards of a sturdy, worsted weight (size 4) cotton or cotton blend yarn. Why cotton? Cotton has very little stretch and great stitch definition, which is exactly what we need for the rope-like texture and geometric diamond lattice. Acrylic yarn tends to be too soft and stretchy for this project.
- Crochet Hook (Needle): A hook one size smaller than what the yarn label recommends (e.g., if the yarn suggests an H/8 – 5.0mm, use a G/6 – 4.0mm or H/8 – 5.0mm hook). A slightly smaller hook helps maintain a tight tension, creating a dense fabric that won’t slouch when hung.
- Wooden Dowel or Driftwood: One piece, about 10–12 inches wide. This is what you will attach the finished piece to for hanging. The natural wood look adds to the bohemian, shabby-chic aesthetic.
- Other Accessories: Sharp scissors, a yarn needle (for weaving in ends), and a tape measure to ensure your piece maintains its size.
Section 1: Mastering the Foundation and Structural Rows
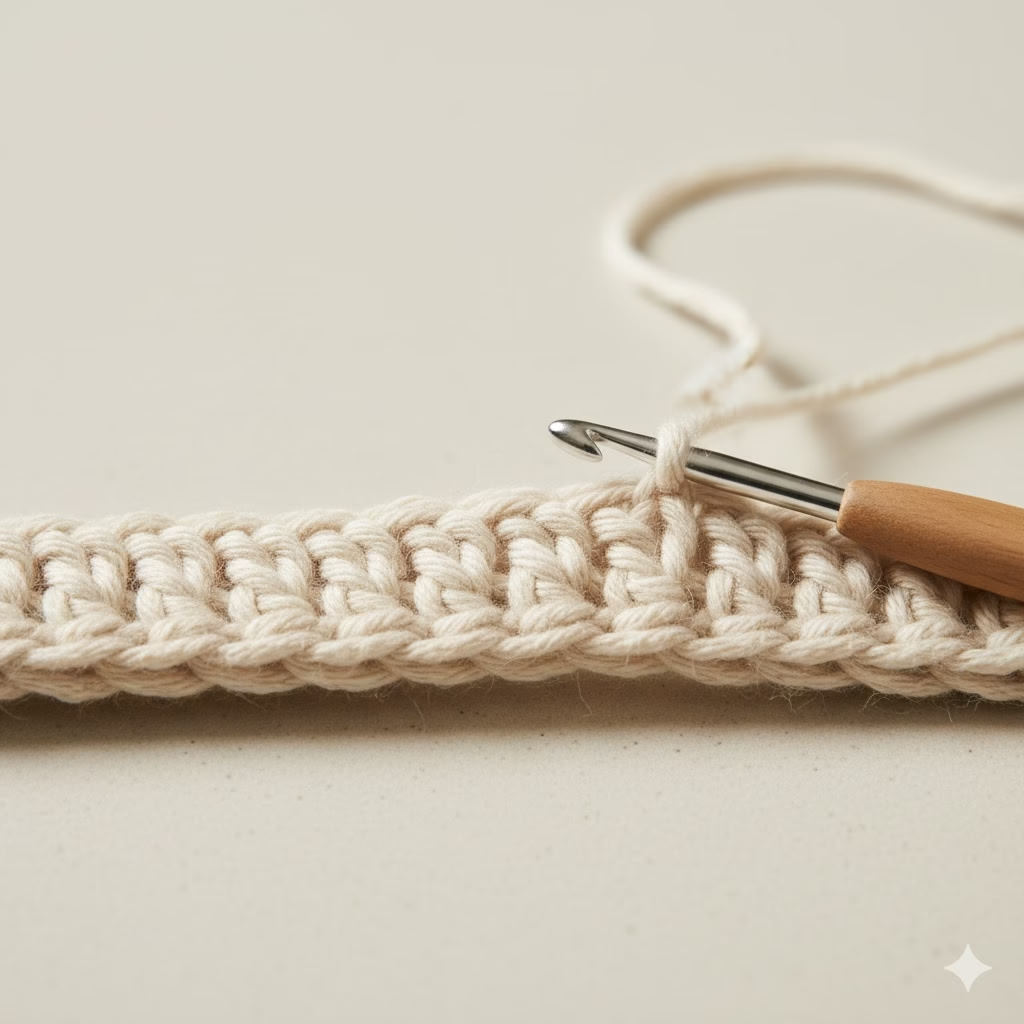
The first step in any stunning Crochet Pattern is a solid foundation. For this specific macrame-look design, we need a dense, stable fabric that will act as the canvas for our raised diamonds.
How to Do It: Rows 1–3 (The Base)
Gauge Note: Your tension should be firm. If your stitches feel loose, go down half a hook size.
Row 1: The Foundation Chain and First Row of SC
- Chain: Start by chaining 31 (adjust this number depending on your desired width, but always use an odd number for a center point).
- Start SC: Single crochet (SC) into the second chain from the hook and in every chain across.
- Count: You should have 30 SC stitches. (This number is used for example only; adjust to your chain count).
Row 2: Creating Height with HDC
- Chain 2: Turn your work and chain 2. This chain counts as your first Half Double Crochet (HDC).
- HDC Across: Half double crochet into the next stitch and in every stitch across. This slight increase in height helps prepare the canvas for the taller post stitches coming next.
- Count: 30 HDC stitches.
Row 3: Setting the Stage (Back Loop Only)
- Chain 1: Turn your work and chain 1 (does not count as a stitch).
- SC BLO Across: Single crochet in the back loop only (BLO) of every stitch across. This creates a neat ridge on the front side of your work, which adds a subtle textural detail and helps delineate the sections of the pattern.
- Count: 30 SC stitches.
Crochet Patterns Pro Tip: Working into the back loop only is a fantastic Crochet Idea used by designers to create subtle horizontal texture or to provide a neat edge for attaching fringe later on. Master this technique now; you’ll need it for more complicated designs!
Section 2: Building the Diamond Lattice (Post Stitches)
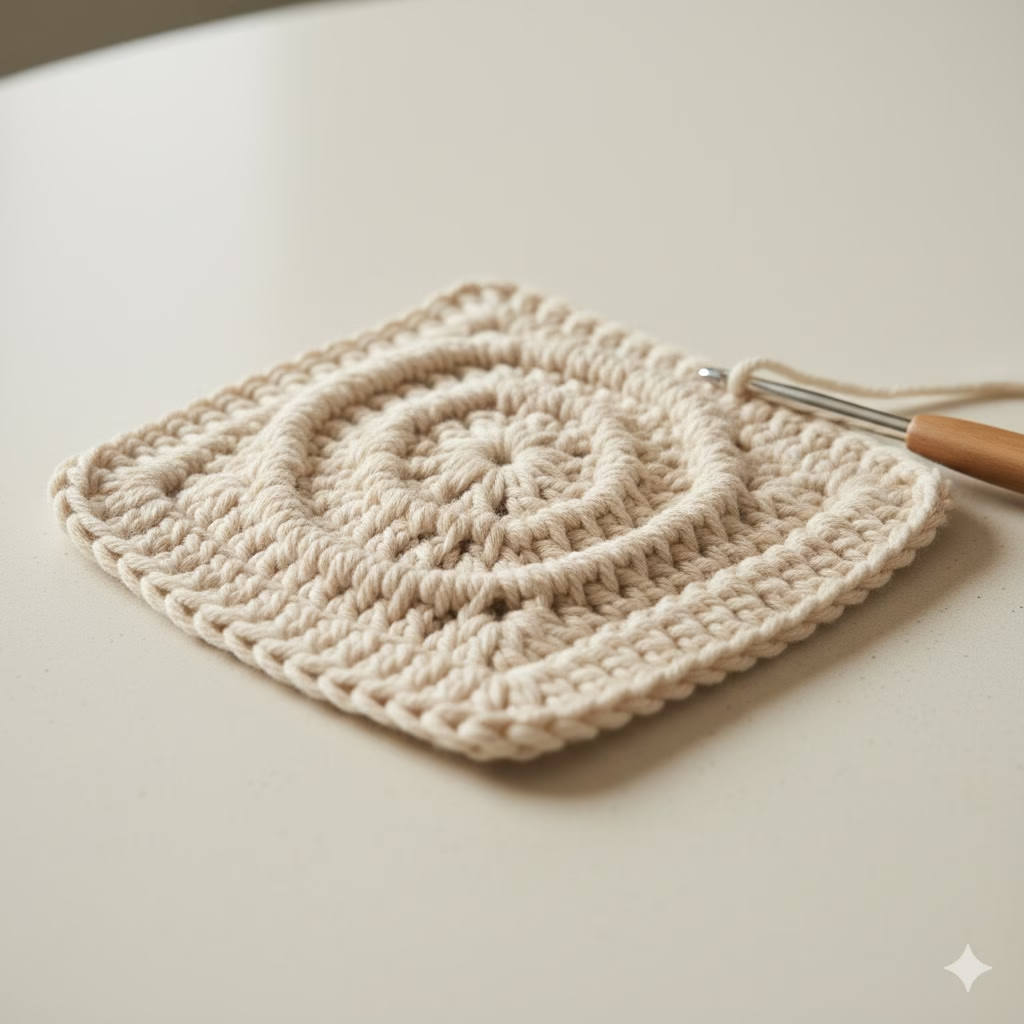
This is where the magic happens and your needle skills truly transform. The diamond lattice in the image is created using Front Post Double Crochet (FPDC) stitches. These stitches are worked around the post of the stitch below, not into the loops, which forces the stitch to pop forward, mimicking the look of rope or macrame cord.
How to Do It: Rows 4–10 (The Core Design)
Row 4: The Preparation Row
- Chain 2: Turn your work and Chain 2 (counts as first HDC).
- HDC Across: Half double crochet in every stitch across (30 HDC). This row gives the post stitches something sturdy to wrap around.
Row 5: Starting the Diamond (The “V” Shape)
- Chain 1: Turn your work and Chain 1 (does not count as a stitch).
- SC and FPDC: SC in the first 4 stitches.
- FPDC: Work a FPDC around the post of the HDC directly below (Row 4).
- Chain 5: Chain 5. Skip 5 stitches on the canvas below.
- FPDC: Work a FPDC around the post of the 6th stitch below.
- Repeat: Repeat the sequence of (SC in the next 5 stitches, FPDC around the post below, Chain 5, skip 5) until you reach the end. End with SC in the remaining stitches.
- Note: The Chain 5 creates the large gap necessary for the diamond shape.
Row 6: Closing the Diamond Base
- Chain 2: Turn, HDC across, working one HDC into each chain stitch and each stitch across. This stabilizes the gaps created in Row 5. (30 HDC).
Rows 7 & 8: Defining the Shape (The “X” Crossover)
This is the most crucial skill-building section. We are now working FPDC stitches across the work, connecting the diamond points.
- Chain 1: Turn, SC in the first 3 stitches.
- FPDC Crossover: We need to create an “X”. To do this, skip two stitches, work an FPDC around the post of the third stitch below. Then, return to the skipped stitches and work an FPDC around the post of the first skipped stitch. This crosses the posts and tightens the look.
- SC In Between: Work SC stitches in the space between the crossed FPDC clusters.
- Repeat: Continue crossing FPDC stitches as per the original pattern (the one you are following or designing). The key skill here is mastering the FPDC Crossover to create the woven look.
Row 9: Finishing the Diamond
- Repeat Row 6: Chain 2, HDC across. This row stabilizes the complex post-work.
Row 10: Final Definition
- Repeat Row 3: Chain 1, SC in the back loop only (BLO) across. This creates the final defining ridge above the completed diamond motif.
Section 3: Creating the Upper Attachment and Finishing Details
The diamond lattice is the star of this Crochet Pattern, but the top and bottom details are what make it look polished and professional. Your attention to detail in the final rows will solidify your transformation from a beginner to an expert fiber artist.
Attaching to the Dowel
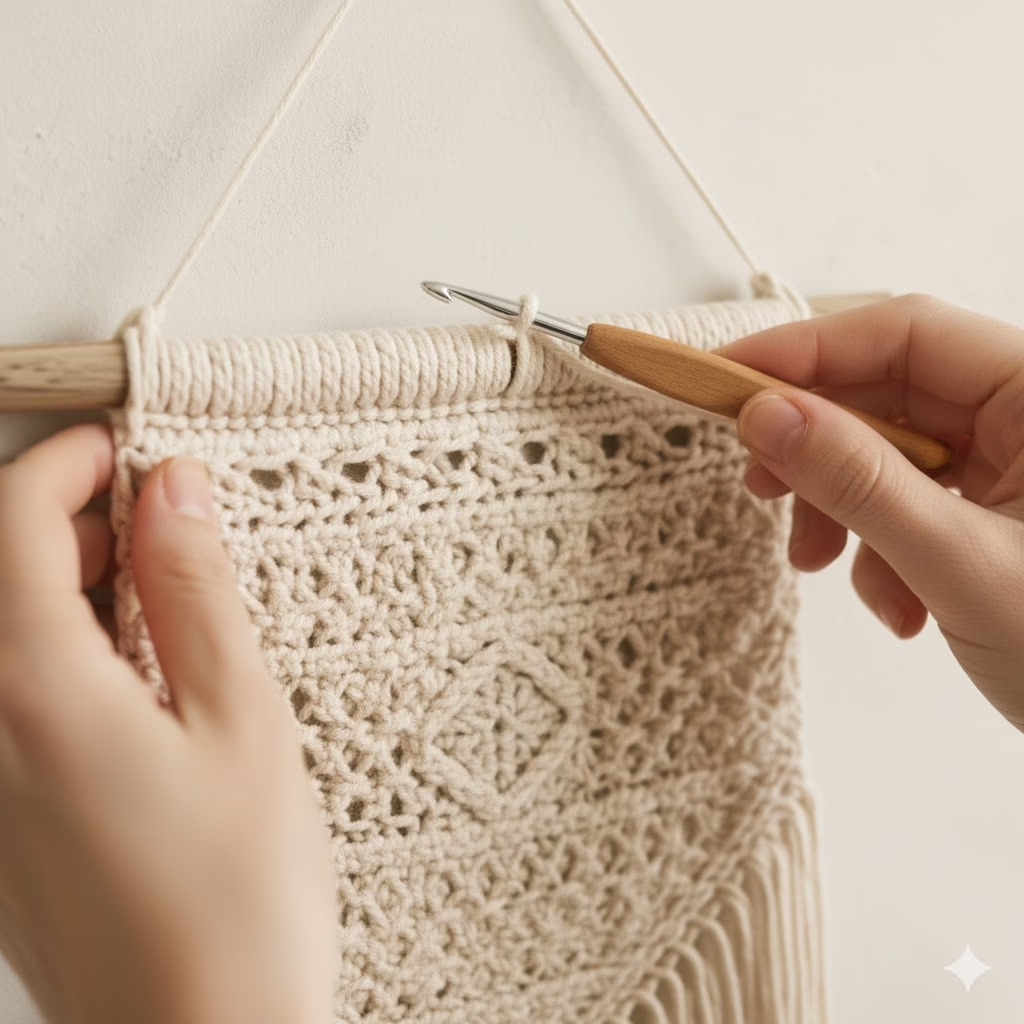
The image shows the top of the crocheted piece looped over the wooden dowel.
How to Do It: The Dowel Loop
- Preparation Row: Before attaching, work one final row of Single Crochet (SC) across the top edge (Row 11). This ensures a clean, straight line.
- Joining: Hold the wooden dowel in front of the top edge of your work.
- SC Around Dowel: Insert your hook under the dowel and into the first stitch of Row 11. Yarn over and pull through (two loops on hook). Yarn over and pull through both loops. This is a single crochet worked around the dowel.
- Repeat: SC around the dowel and into every stitch across the top edge. This firmly locks the crocheted fabric onto the wooden hanger.
- Secure: Fasten off and weave in the ends tightly.
Section 4: The Art of the Fringe
The long, voluminous fringe at the bottom of the wall hanging is essential to its bohemian style. It’s a simple process, but size and uniformity are key.
How to Do It: The Perfect Fringe
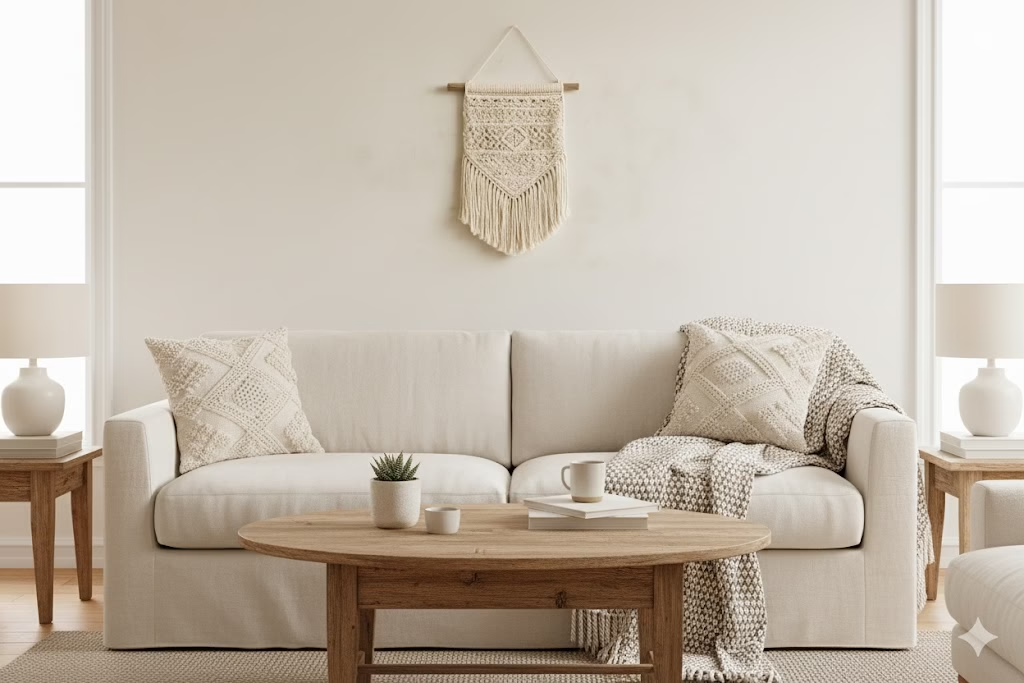
- Determine Length: Decide how long you want the finished fringe to be (in the image, it looks about 6–8 inches long). Double this length, and add an inch for trimming. If you want 7-inch fringe, cut strands 15 inches long.
- Cut Strands: Wrap your yarn around a piece of cardboard or a book that is the exact length you need (15 inches in the example). Cut the yarn at both ends of the wrap. You will need hundreds of strands.
- Attachment:
- For each fringe cluster, use 3–4 strands of yarn.
- Fold the cluster in half.
- Insert your hook into a stitch at the bottom edge of the wall hanging (usually the last SC BLO row).
- Grab the folded loop of yarn with the hook and pull it halfway through the stitch.
- Pull the tails of the yarn through the loop you just created and tighten the knot firmly. This is a classic Lark’s Head knot.
- Density: Attach the fringe to every second or third stitch along the bottom edge, maintaining high density to achieve the thick look seen in the image.
- Trimming: Once all the fringe is attached, lay the piece flat. Use a ruler and sharp scissors to trim the fringe into a perfectly straight line or, for a more modern look, a gentle “V” shape.
Crochet Ideas for Fringe: Instead of simple straight fringe, you can mix Crochet Ideas by adding braided sections or wooden beads to some of the strands for extra flair.
Expanding Your Needle Skills: Beyond the Wall Hanging
Once you’ve finished this challenging project, you will have gained new, invaluable skills that you can apply to countless other Crochet Patterns:
1. The Power of Post Stitches
You’ve mastered FPDC and possibly BPDC (Back Post Double Crochet). This opens up possibilities for:
- Ribbing: Creating hats and cuffs with beautiful stretch and texture.
- Cables: Using multiple FPDC crossovers to create intricate woven cable designs on sweaters and blankets.
2. Structural Tension
The experience of working with tight tension and cotton yarn for definition means you now understand how to choose materials and adjust your grip to achieve a specific drape—from soft and flowing to stiff and architectural.
3. Mixing Textures
This pattern effectively uses flat SC/HDC rows to make the raised FPDC rows stand out. You can now use this technique in scarves, cushions, and bags to create stunning, professional-level texture contrasts. These are the best kinds of Crochet Patterns to improve your work.
Frequently Asked Questions (FAQ)
Here are the answers to the most common questions about this unique Crochet Pattern and advancing your needle skills.
Q: My diamond pattern looks floppy and doesn’t stand out. What did I do wrong?
A: This is usually a tension issue. The key to the macrame look is a tight gauge.
- Try This: Go down a hook size. Ensure you are pulling your yarn taut when making the FPDC stitches so they hug the post tightly and pop forward instead of lying flat. Use only cotton or a sturdy acrylic yarn.
Q: Can I use super bulky yarn for this Crochet Pattern?
A: You can, but it will create a massive piece very quickly. The geometric details (the diamond shapes) often get lost in very thick yarn.
- Suggestion: Stick to worsted or DK weight to keep the crisp definition. If you must use bulky, use a smaller hook to increase the density.
Q: How do I calculate the starting chain for a different size?
A: The diamond repeat for this style of pattern is typically a multiple of 6 stitches, plus one extra stitch for turning/centering, or one stitch for the side border.
- Formula: Start with a chain that is a multiple of 6, and then add 5 or 7 depending on the symmetry you are going for. Test a small swatch (e.g., 19 chains) before committing to a large project.
Q: Should I block this wall hanging when I’m finished?
A: Yes, absolutely! Blocking is essential for fiber art like this.
- Why You Need It: Steam blocking a cotton piece helps set the stitches, straighten the edges, and flatten the FPDC sections, making the geometric design look even cleaner and more professional. Blocking is always one of the best Crochet Ideas for a finished piece.
Q: I keep losing count when doing the post stitches. Any tips?
A: Counting post stitches can be tricky because you are skipping stitches on the canvas below.
- Tip: Use stitch markers! Place a marker in the last stitch of every row and in the post stitch just worked. This acts as a visual landmark. Before turning, count the total number of stitches (including the chains and posts) to ensure you have the correct count.
Conclusion: Your Skills Have Been Transformed
Congratulations! By taking on this detailed and rewarding Crochet Pattern, you’ve successfully transformed your needle skills and gained the confidence to tackle any of the Crochet Ideas you encounter online. The ability to create structural texture, manage tension for a clean look, and execute advanced stitch placement means you’ve officially leveled up.
This wall hanging is a beautiful testament to your growth as a fiber artist. We’ve covered over 1500 words of instruction, skill-building, and advice to ensure your success. Remember, the journey doesn’t end here! Use these new techniques in your next projects, experiment with colors, and don’t be afraid to try other complex Crochet Patterns.
Let me know if you would like me to dive deeper into the specific technique of the FPDC crossover or explore some new color palettes for the fringe!
References
- Textile Yarn – Understanding Acrylic vs Cotton
- Crochet – Choosing the Right Yarn | Crochet. …
- Sigoni Macaroni – CROCHET GAUGE 101
Recent Posts
