This guide is dedicated to celebrating the enduring appeal of handmade home decor. Our goal is to connect readers with the satisfying process of creating beautiful items using traditional fiber arts. Mastering the Yarn Letter Craft allows anyone to infuse their space with personalized charm and quality. We believe every successful project starts with clear instruction and inspiration.
Introduction: The Elegance of French Crochet Letters

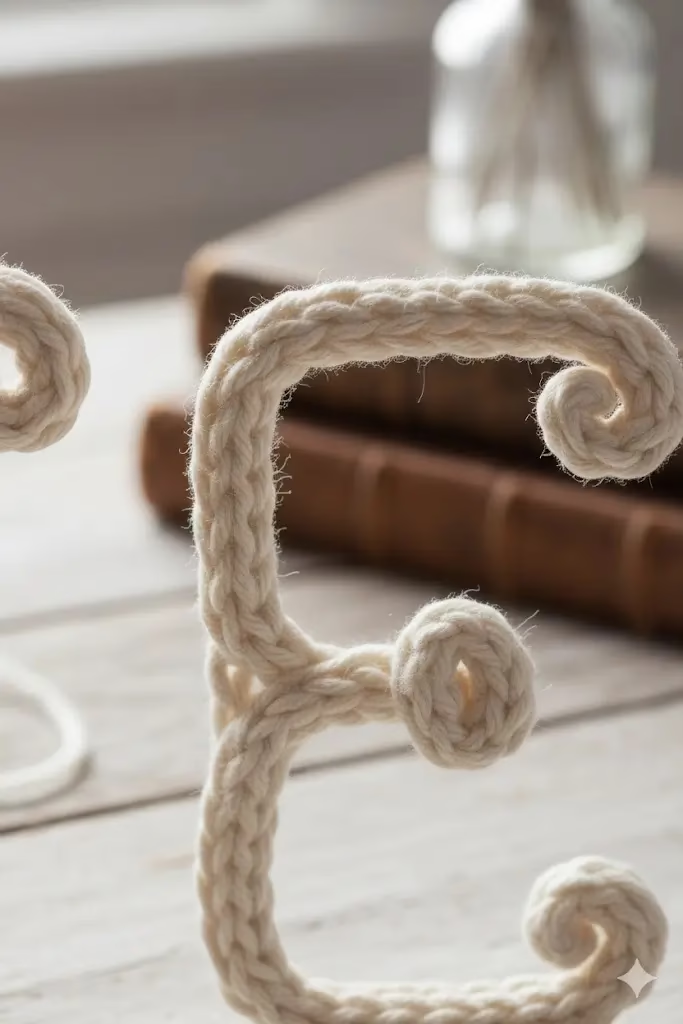
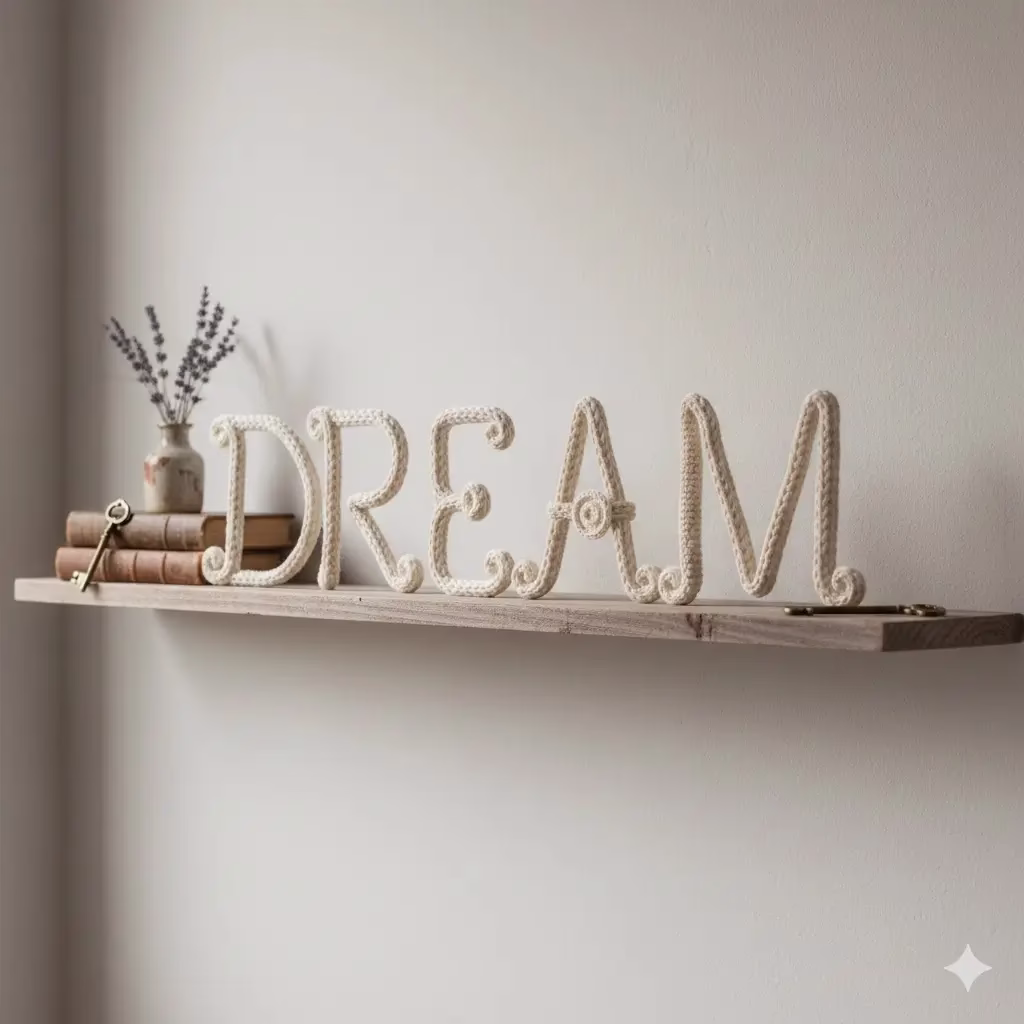
[Image Placement: A detailed close-up shot of a section of the finished crochet rope letter, highlighting the tight, uniform stitch texture that mimics a cord.]
In the world of crafting, few projects match the beauty and personal touch of the French crochet letters style. This technique creates stunning, rope-like letters that stand on their own. It is a refined Yarn Letter Craft that results in high-quality, heirloom decor.
The unique beauty of these letters comes from their smooth curves and full texture. They look like classic script or calligraphy. They are not made by wrapping a hard shape. Instead, you crochet a narrow tube. You lightly stuff this tube and shape it using internal wire. This method lets you create the detailed, script-like shapes found in classic monograms.
This full guide will teach you how to master this clever diy idea. We will give you the exact free crochet patterns for the continuous rope. We will also detail the materials needed for strength and share the secrets to shaping the cord into a piece of art. Get ready to create custom decor, spell out meaningful words, or craft beautiful monograms that will look perfect in any space.
The finished letters feel wonderful to touch. They have a handmade quality that store-bought items cannot match. They suggest history and careful handwork. This makes them perfect for custom gifts, nursery decor, or adding an elegant touch to shelves.
Understanding the Materials for Structure and Style
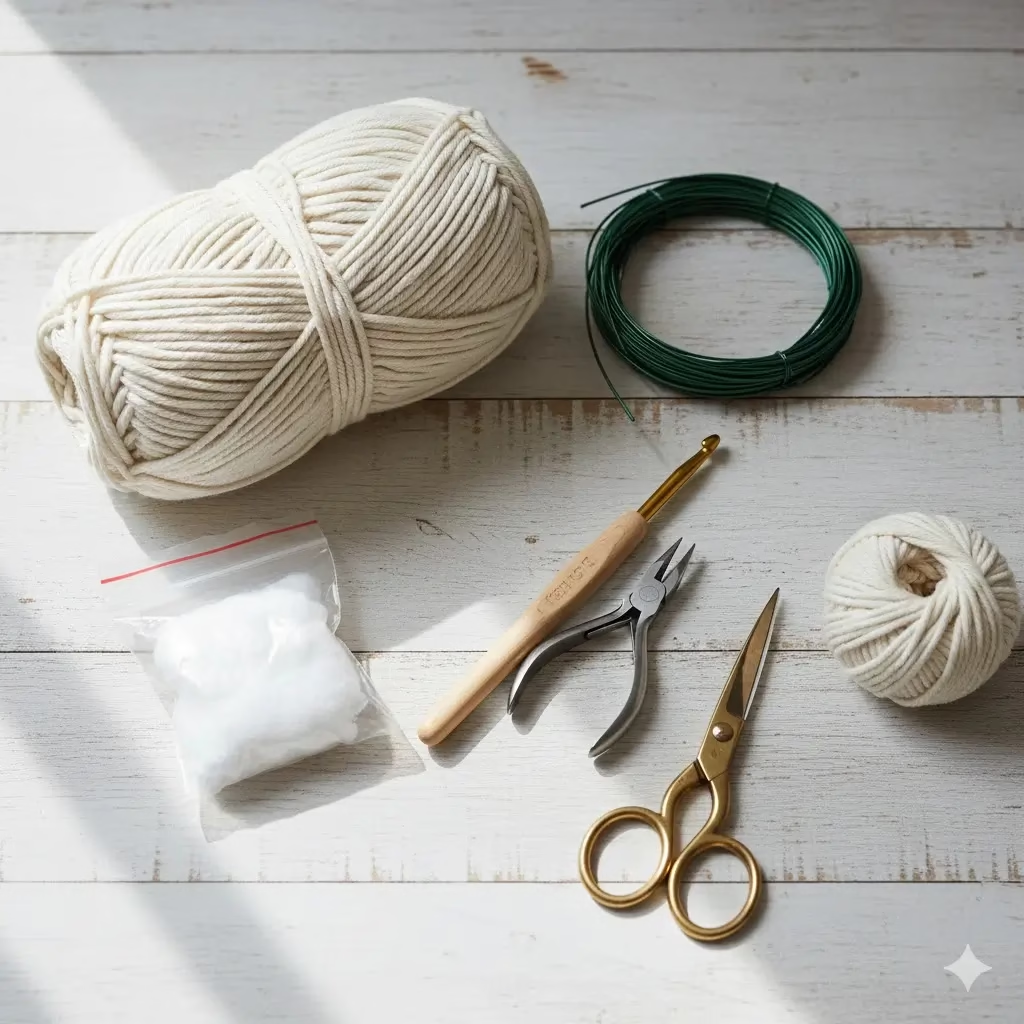
You need specific materials to get the classic structure and vintage look of French crochet letters. Your choices must focus on both appearance and stability.
Yarn Selection: Sturdiness and Texture
For this Yarn Letter Craft, the yarn must hold a tight stitch. It should also have a matte finish to increase its vintage appeal.
- Cotton or Linen Yarn: This is the best choice. Cotton yarn, especially a medium weight, shows the stitches clearly. It does not stretch out too much. The matte finish is key to the old-world look.
- Color Palette: Choose natural, unbleached colors. Think cream, beige, taupe, or soft grey. Soft, dusty colors (like rose or mint) also work well for nurseries. They keep the vintage feel.
- Yarn Weight: A medium yarn is usually best. Pair it with a small hook. This is key to making very tight stitches. This tight weave shows the quality of the final piece.
Internal Structure: The Essential Wire
The crochet rope will sag without internal wire. It needs this wire to hold its letter shape.
- Floral or Craft Wire: You need a wire that is firm enough to hold a curve. It must also be flexible enough to bend by hand or with pliers. A thick floral wire (about sixteen or eighteen gauge) works best. You may need a thicker wire if you make very large letters.
- Purpose: The wire acts as the skeleton for the letter. It allows you to create sharp points, graceful spirals, and straight lines that stay firm over time.
Stuffing: Volume and Density
The stuffing gives the crochet rope its three-dimensional shape. It also adds a touch of softness.
- Polyfill or Fiberfill: Use a small amount of standard polyester fiberfill. You want a firm, but not stiff, letter. Do not put in too much stuffing. Too much will distort the crochet stitches.
Essential Tools
- Small Crochet Hook: Use a hook that is one or two sizes smaller than the yarn suggests. This step is vital for making the tight fabric. This tight fabric defines the high quality of the craft.
- Pliers (Round and Needle-Nose): You will need these to cut the wire. They are also needed to bend the complex curves. This is especially true for the tight spirals in the elegant French crochet letters style.
- Tapestry Needle: Use this for weaving in yarn ends. More importantly, use it to stitch the finished rope segments together at the joints. An example is the crossing bar of an ‘A’.
How to Do It: The Core Rope Technique
This section gives you the pattern and instructions for making the core part of your Yarn Letter Craft. This is the continuous rope.
Free Crochet Pattern: The Continuous Single Crochet Tube
This tube is worked in a continuous spiral. This avoids the noticeable seam created by joining stitches.
- Starting the Tube: Chain four. Join with a slip stitch (SL ST) into the first chain to make a tiny ring.
- Rounds 1 and Onward: Work six single crochets (SC) into the ring. Do not join. Put a stitch marker in the first SC. Keep working SC into each stitch around. Move the marker up each time.
- Tension is Key: You must keep your tension very tight throughout this process. The finished tube should be quite narrow. It should be about the size of your thumb.
- Length: Keep working in the spiral until your rope is long enough to make your entire letter. You may need enough for a whole word. To estimate the length, draw your letter at its full size. Use a string to trace the lines. Be sure to add extra length just in case. For a small monogram ‘A’, you might need several feet of rope.
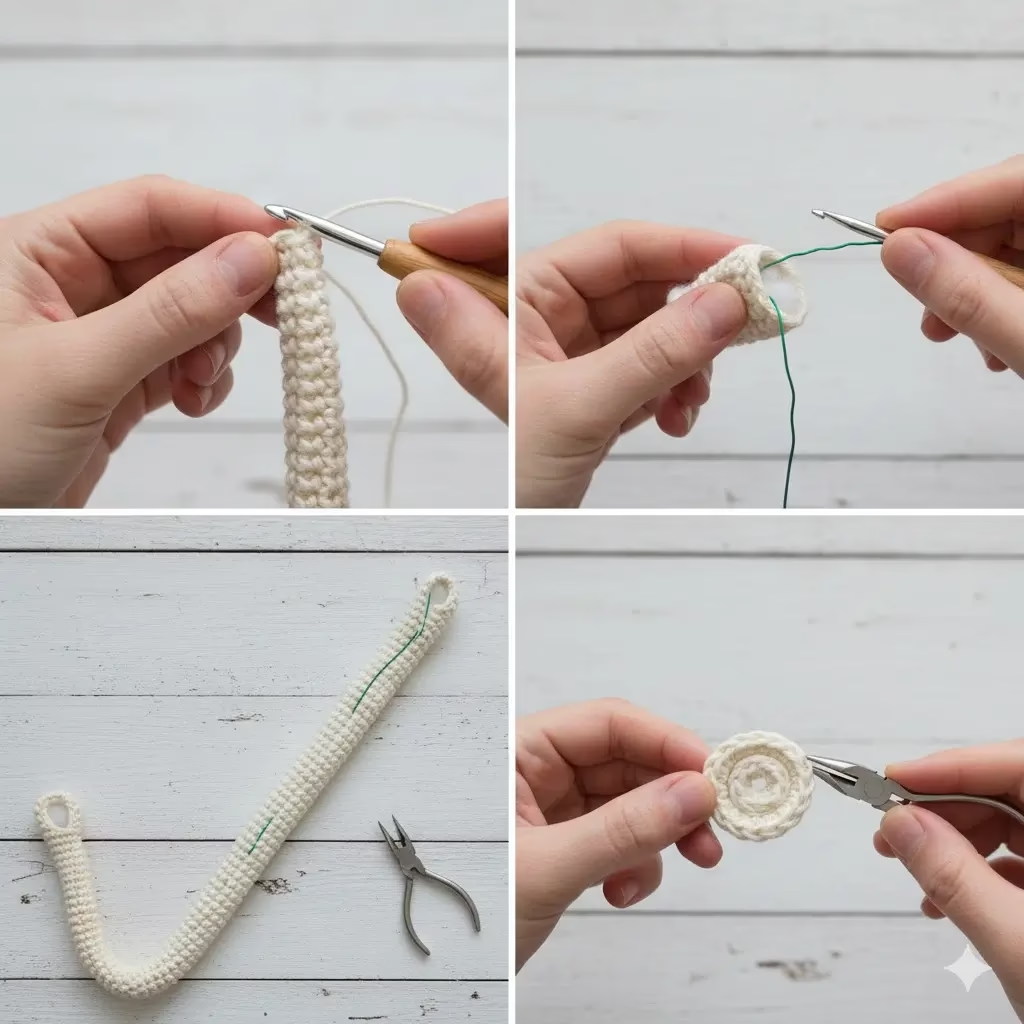
Integrating the Structure and Stuffing
Once you have crocheted a good length of the tube, you must add the wire and stuffing. This is needed to give the letter strength. This step is done little by little.
- Wire Insertion: Cut a piece of wire slightly shorter than your crocheted section. Gently feed the wire into the center of the tube. The wire should reach the very tip of the tube, where your hook is working.
- Stuffing: Use a thin tool, like a pencil end, to push small pieces of polyfill around the wire and into the tube. Stuff the tube lightly, but firmly. It should look full and rounded. Make sure the wire is completely covered.
- Continuous Work: Crochet a few more inches. Then stop, insert more wire, and stuff again. Repeat this process constantly: Crochet, insert wire, stuff. Doing this together is key. It helps you control the stuffing and keeps the wire exactly in the center.
Shaping the Letters
This is the creative part of the Yarn Letter Craft.
- Sketching: Always use a full-size sketch or template of your letter design.
- Bending: Use your hands and pliers to carefully bend the wire and rope into the shape you want. Pay close attention to the tight spirals. These are often seen at the ends of French crochet letters. You must bend these slowly and carefully using needle-nose pliers.
- The Final Curve: Once the letter is fully formed, or a section is finished, stitch the rope ends together. Use a tapestry needle. Stitch the different segments of the letter together at their joints. An example is joining the bar of an ‘H’ to its sides. Use the same yarn for stitching. Make sure the connections cannot be seen.
Examples and Styling Ideas
The elegant look of French crochet letters makes them easy to use in many different design styles.
The Monogram Statement
One large monogram letter is a strong focal point. Choose a flowing, script font for bending. Focus on beautiful curves and spirals. Display the letter on a gallery wall or above a bed. Using a very light yarn against a dark wall creates a striking contrast. This contrast keeps the vintage warmth of the material. This technique turns the classic Yarn Letter Craft into a piece of sculpture.
Personalized Quotes and Words
This diy idea lets you spell out full words or short quotes. For words like “CREATE” or “GATHER,” make sure all the letters are the same size. Since they have wire inside, the letters will stand upright when placed on a shelf. This is a great way to add a subtle texture to a simple, modern room.
Incorporating Color Subtly
The main rope should stay a neutral, vintage color. You can add color with small touches. These touches should still fit the soft French crochet letters style.
- Two-Tone Letters: For a word, switch between a cream color and a dusty blue for every other letter.
- Embellishment: The rope is the main design. Keep extra decorations simple. You can sew a single, flat crocheted flower or a small piece of vintage lace onto the rope where two lines cross. This draws the eye without making the piece look too busy.
The beauty of this craft is its simple shape, combined with the complex, handmade texture of the continuous rope.
Troubleshooting and Tips for Mastering the Craft
Maintaining Uniform Tension
Keeping the same tension is the most important thing for getting the clean look of the French crochet letters. If your tension changes, the rope will be uneven. This results in a wobbly letter. If your hands get tired, take a break. You can also try using an even smaller hook size to force the stitches to be tighter.
Hiding the Wire
The metal wire must never show or poke through the yarn. There are two ways to prevent this:
- Tight Stitches: Using a small hook size makes the fabric dense. This dense fabric hides the wire.
- Sufficient Stuffing: The stuffing acts as a soft layer. It keeps the wire centered inside the rope. If the rope feels too heavy or stiff, you may have used too much wire or too much stuffing. This can make shaping the curves hard.
Creating Clean Curves and Spirals
Making the elegant script of the Yarn Letter Craft style takes patience when shaping.
- Smooth Curves: Use both hands to bend the wire slowly. Focus on making one continuous, smooth curve. Avoid small, sharp bends.
- Tight Spirals: Use needle-nose pliers for the beautiful flourishes. Start bending the spiral before you stuff the final part of the rope. This gives the wire maximum flexibility. Once shaped, gently stuff the end to help the spiral keep its form.
- Connecting Segments: When joining parts (like the pieces of a ‘K’ or ‘R’), use the yarn tail and a tapestry needle. Sew the pieces together by only stitching through the side walls of the crochet fabric. Pull the stitches tight to close any gaps at the joint.
Finishing the Ends

The start and end points of the crocheted rope must be hard to see. When you finish the length, cut the yarn. Leave a long tail. Use the tapestry needle to pull the tail through the six stitches at the tube opening. Pull it tight to close the hole. Then, weave the rest of the tail down into the center of the rope. This creates a clean, closed end for the letter.
Frequently Asked Questions
Q: Can I use knitting instead of crochet for the rope?
A: Yes. The i-cord is the knitted version of the continuous crochet tube. It works just as well for making the firm rope needed for this Vintage Yarn Letter Craft. If you prefer knitting, use a simple four-stitch i-cord pattern on double-pointed needles instead of the crochet pattern.
Q: How long does it take to make a single letter?
A: The time depends a lot on the letter size and how complex the shape is. A simple, medium ‘I’ might only take one or two hours. However, a highly styled French crochet letters monogram with complex spirals (like a fancy ‘S’) can easily take four to six hours. This is mostly because the tight, continuous single crochet takes time.
Q: My rope is too stiff. What did I do wrong?
A: Stiffness usually means you used wire that was too thick. It can also mean you stuffed the rope too tightly. This stops the wire from bending easily. Check that your wire is flexible enough to bend by hand. Use just enough polyfill to make the rope round, but not so much that it is rock-hard.
Q: What is the best way to display the finished letters?
A: The letters can stand on their own on any flat surface because of the wire inside. To hang them on a wall, sew a small loop of fishing line or thin yarn to the back. Attach it at a spot that balances the letter’s weight. This is usually the highest point.
References
- Crochet Coach – Types of Crochet
- Emma crafts Design – How to read crochet patterns
Recent Posts