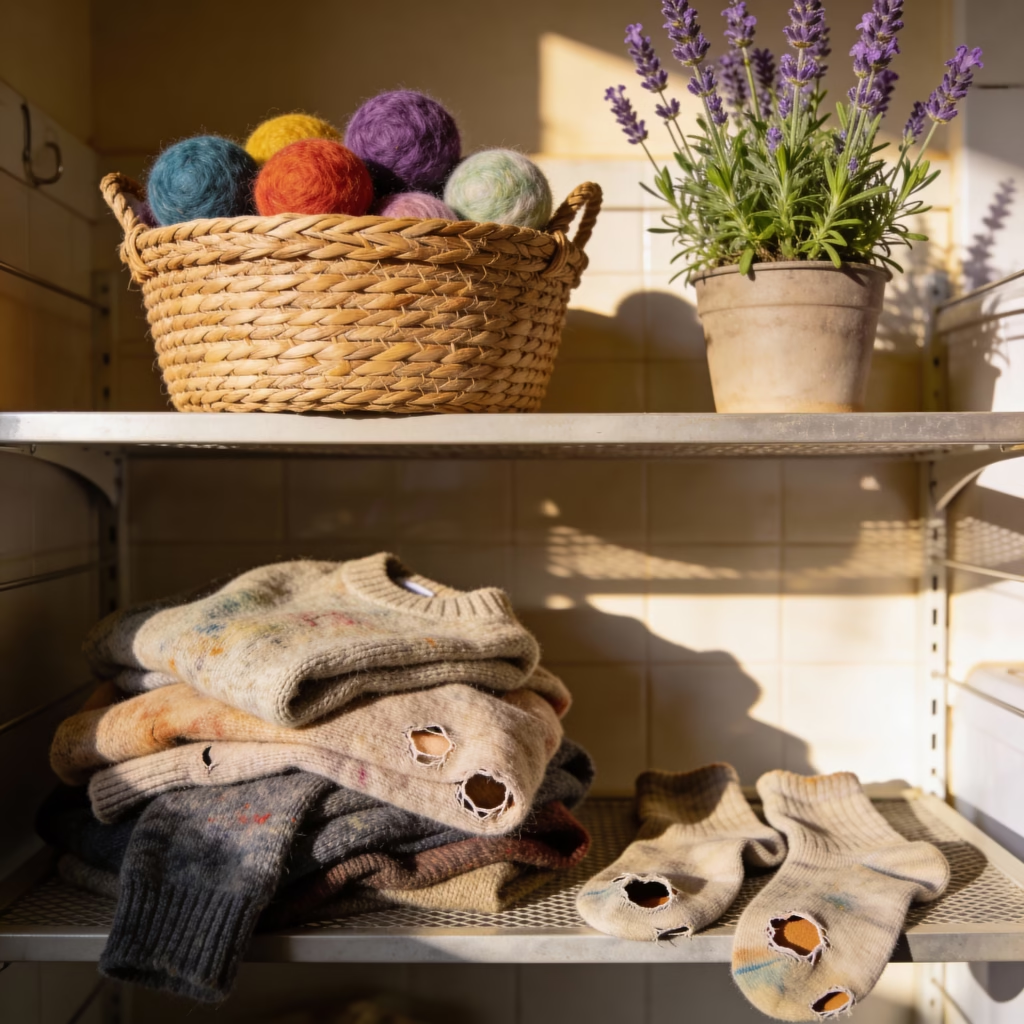
I had never used dryer balls before. Honestly, I could have gone my whole life without ever trying them. Everything changed when I discovered I could create these laundry wonders at home. I used items I already owned, so there was no extra expense. It felt like uncovering a hidden secret in my own cupboard.
Through this process, I discovered their incredible impact on drying clothes. They speed up the routine and make life much easier. Learning to naturally scent these balls was a total game-changer. I finally said goodbye to store-bought fabric conditioners and synthetic fragrances. This shift toward a simpler, resourceful lifestyle has been so rewarding. I am excited to share this journey with you. Read on to find out how dryer balls can transform your laundry day, too.
Why Upcycling Old Woollens into Dryer Balls Is the Ultimate Zero Waste Win
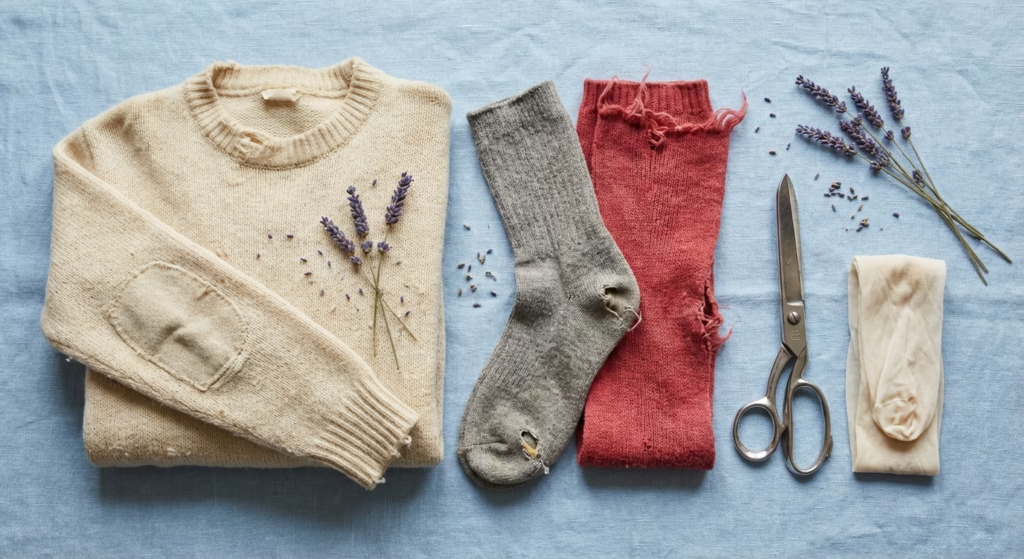
We’ve all been there. We have a corner of the closet or a bin stuffed with old woollens. Maybe it is a faded cream jumper that is now too small. It could be a pair of holey grey wool socks or a frayed red scarf. Most of us toss these items or donate them. However, many donated woollens end up in landfills if they are too worn to resell.
That is where upcycling comes in. You can turn those forgotten old woollens into something useful. Making zero waste felted dryer balls is a win for your wallet. It also helps your laundry routine and the planet.
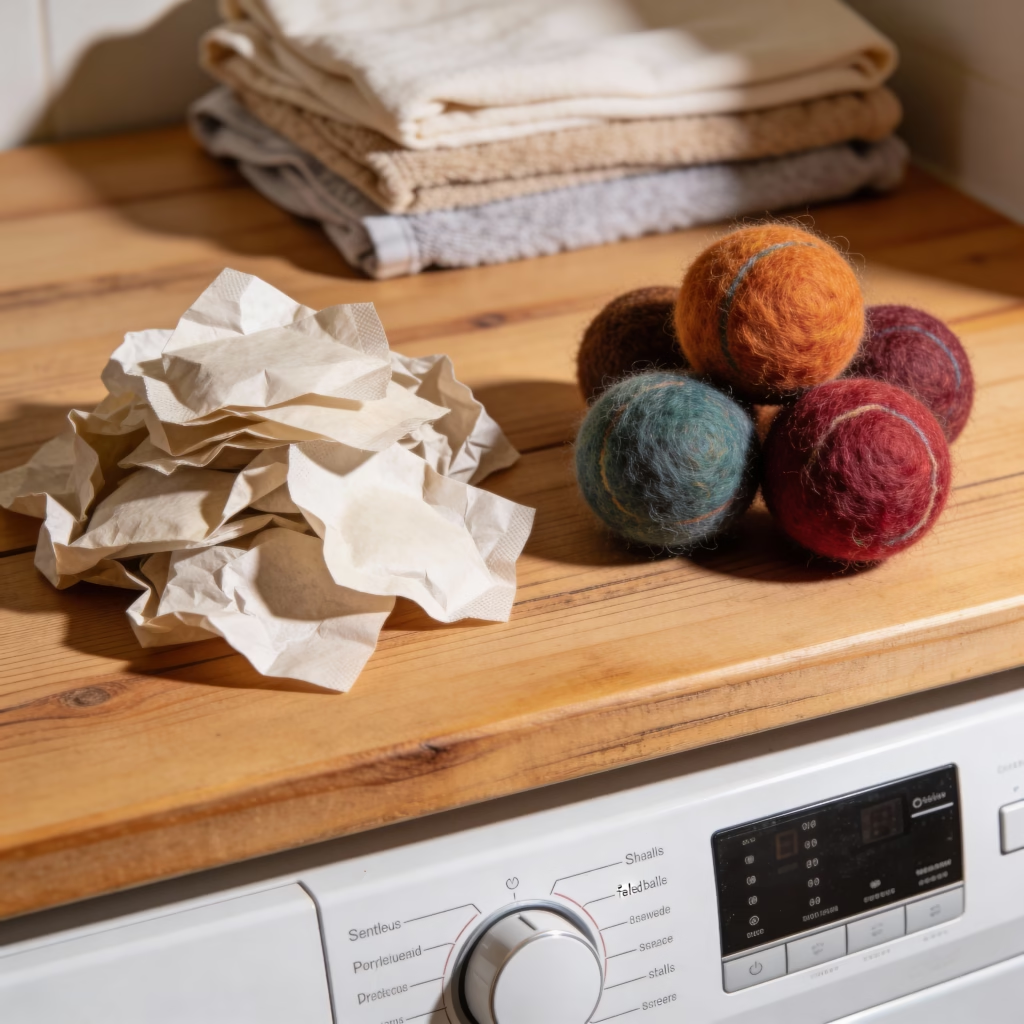
Felted dryer balls are a fantastic alternative to single-use dryer sheets. They cut drying time by 25-30%. And they do this by creating space between clothes so hot air circulates better. They also reduce static cling without using harsh chemicals. This makes them perfect for sensitive skin. They are also great for anyone avoiding household toxins. Best of all, they are completely free if you use old woollens you already have. There is no need to buy expensive store-bought versions. You can simply make your own with items you would otherwise discard.
What You Need to Get Started (All From Old Woollens!)
The best part about this project is that you don’t need to buy anything new. Every material you use comes from items you probably already have lying around. Let’s break down what you’ll need:
First and foremost, you’ll need 100% wool old woollens. This includes old jumpers, old socks, scarves, hats, or even wool blankets. Just make sure they’re pure wool (no polyester or acrylic blends). Why 100% wool? Wool fibres have tiny, overlapping scales that interlock when exposed to heat, moisture, and agitation. This process, called felting, turns loose wool into a firm, durable ball. Synthetic blends won’t felt because they don’t have these natural scales, so stick to pure wool for best results.
Next, you’ll need a pair of sharp scissors to cut your old woollens into manageable pieces. You might also want an old nylon stocking (optional but helpful) to contain the wool balls during the felting process. This prevents loose wool from clogging your washing machine and helps keep the balls round. Finally, you’ll use your washing machine and dryer—tools you already have in your home, so no extra costs here.
Step-by-Step Guide to Making Felted Dryer Balls from Old Woollens
Now that you have your materials ready, let’s walk through the process step by step. It’s straightforward, and you can do it while you’re doing your regular laundry to save time.
3.1 Prep Your Old Woollens for Felting
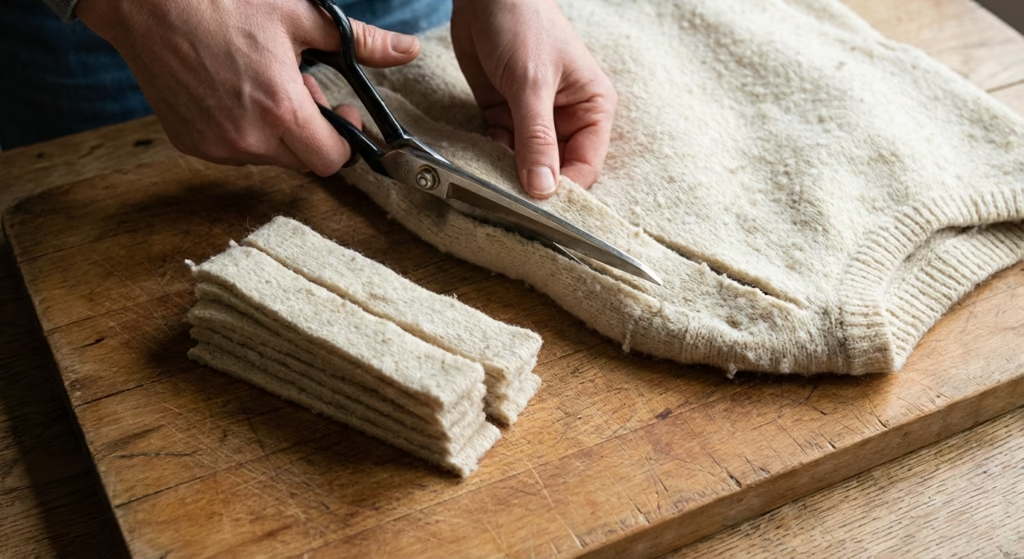
First, you’ll need to turn your old woollens into usable strips or yarn. For old jumpers: start by cutting off any seams, buttons, or zippers (these can damage your washing machine or prevent felting). Lay the jumper flat and cut it into 1-inch wide strips from the bottom hem to the collar. If you’re using old socks: cut off the cuffs, then cut the sock in a spiral from the toe to the top to create a continuous piece of wool yarn. For scarves or blankets: cut them into 1-inch strips, just like the jumper.
Pro tip: If your old woollens have small holes or stains, don’t worry—those parts will be hidden inside the ball, so you can still use them. Just avoid any areas with synthetic threads or heavily damaged sections that might fall apart during the felting process.
3.2 Form Your Wool Balls
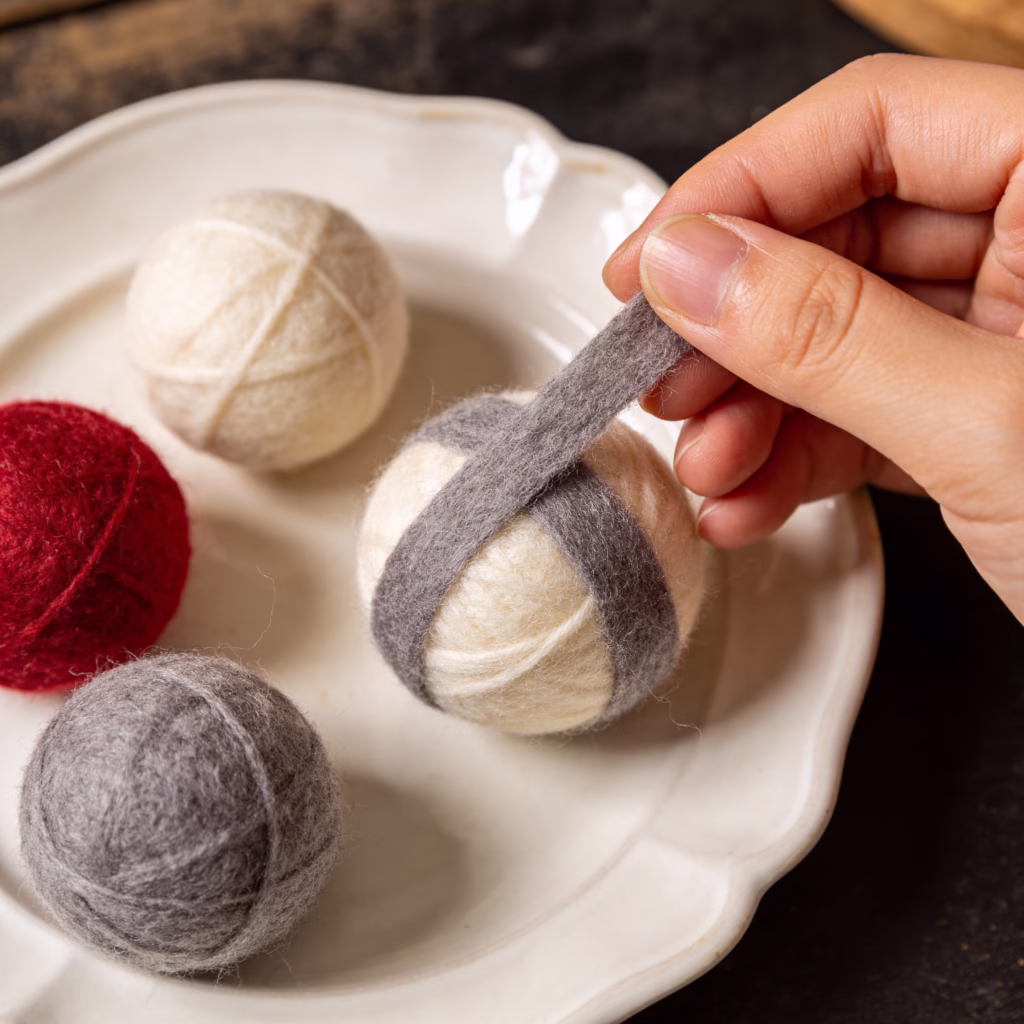
Now it’s time to shape your wool into balls. Take a handful of your wool strips or yarn and start wrapping it tightly into a small ball (about the size of a golf ball). Keep wrapping, adding more wool as you go, until the ball is the size of a tennis ball. The key here is to wrap tightly—if the ball is too loose, it will fall apart during felting.
Once you have your tennis-sized ball, give it a good squeeze to make sure it’s firm but not rock hard. If you’re using a nylon stocking, slip each ball into a separate toe of the stocking and tie a knot between each ball to keep them from unraveling during the washing cycle. This step is optional, but it helps keep the balls round and prevents loose wool from getting stuck in your washing machine.
3.3 Felt the Balls in Your Washing Machine
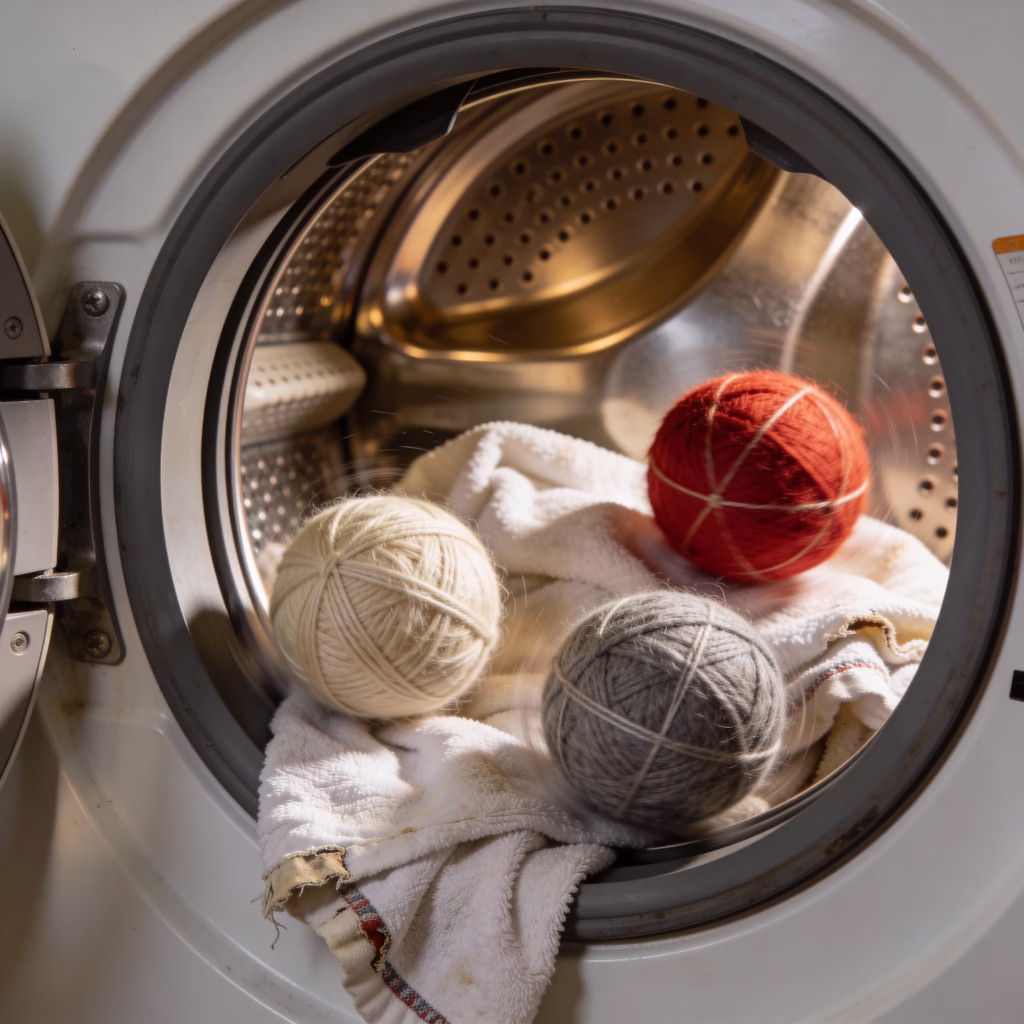
Now for the felting process! Load your washing machine with a few old towels (these add extra agitation to help the wool felt) and your nylon-wrapped wool balls. Set the machine to a hot water cycle with a heavy-duty or normal agitation setting. Avoid using detergent—you don’t need it for felting, and it can leave a residue on your dryer balls.
Run the full cycle, then check your balls. They should be a bit firmer than when you started, but they might still be a little loose. For best results, run a second hot water cycle to ensure the wool fibres are fully interlocked. This double cycle will turn your loose wool balls into firm, felted spheres that won’t unravel.
3.4 Dry and Finalize Your Felted Dryer Balls
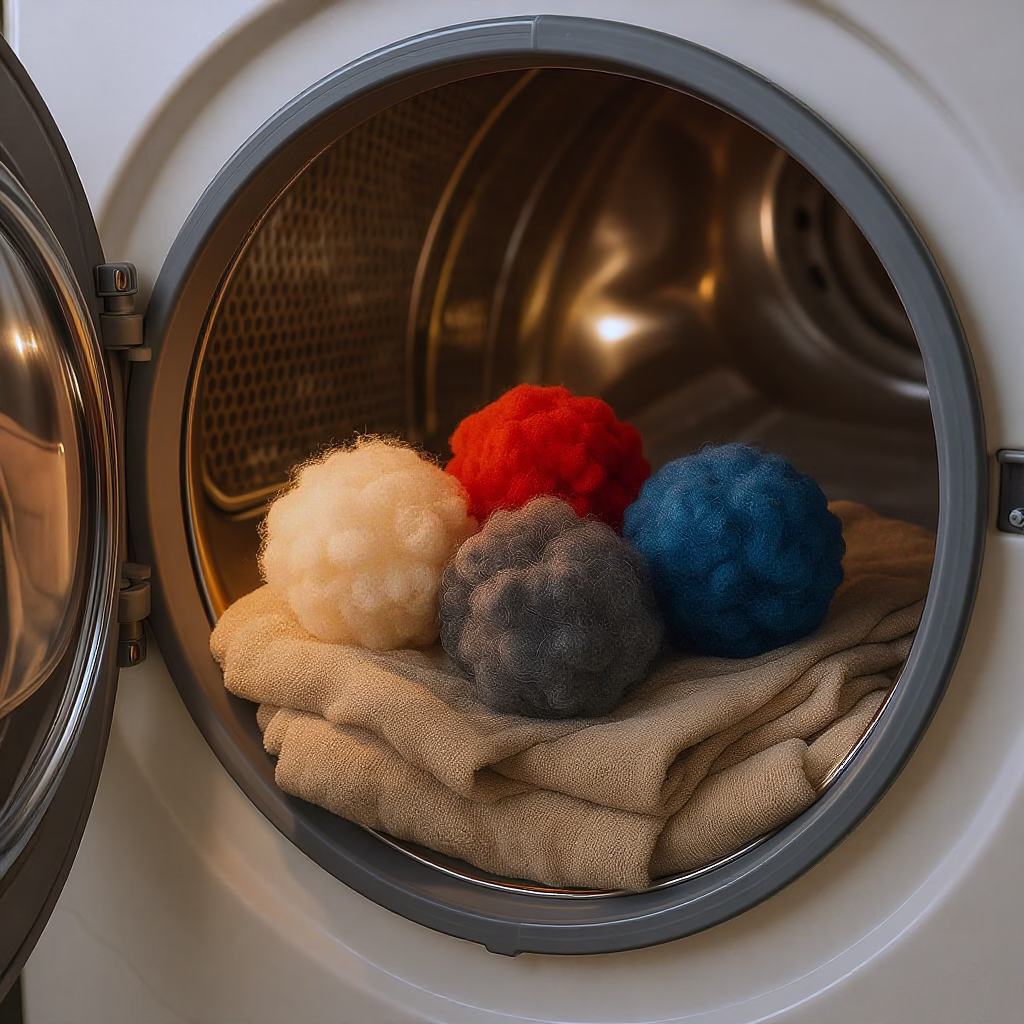
Once the washing cycles are done, take the balls out of the nylon stocking (if you used one) and put them into your dryer. Add a few old towels again to add extra agitation. Set the dryer to high heat and run it for 1-2 full cycles. The heat will help the felting process finish, and the tumbling will make the balls even firmer.
After the first cycle, take a ball out and squeeze it. If it feels firm and doesn’t squish much, it’s done. If it’s still a bit soft, run another cycle. Once your balls are fully felted, trim any loose wool threads with scissors to give them a clean, polished look.
Customisation
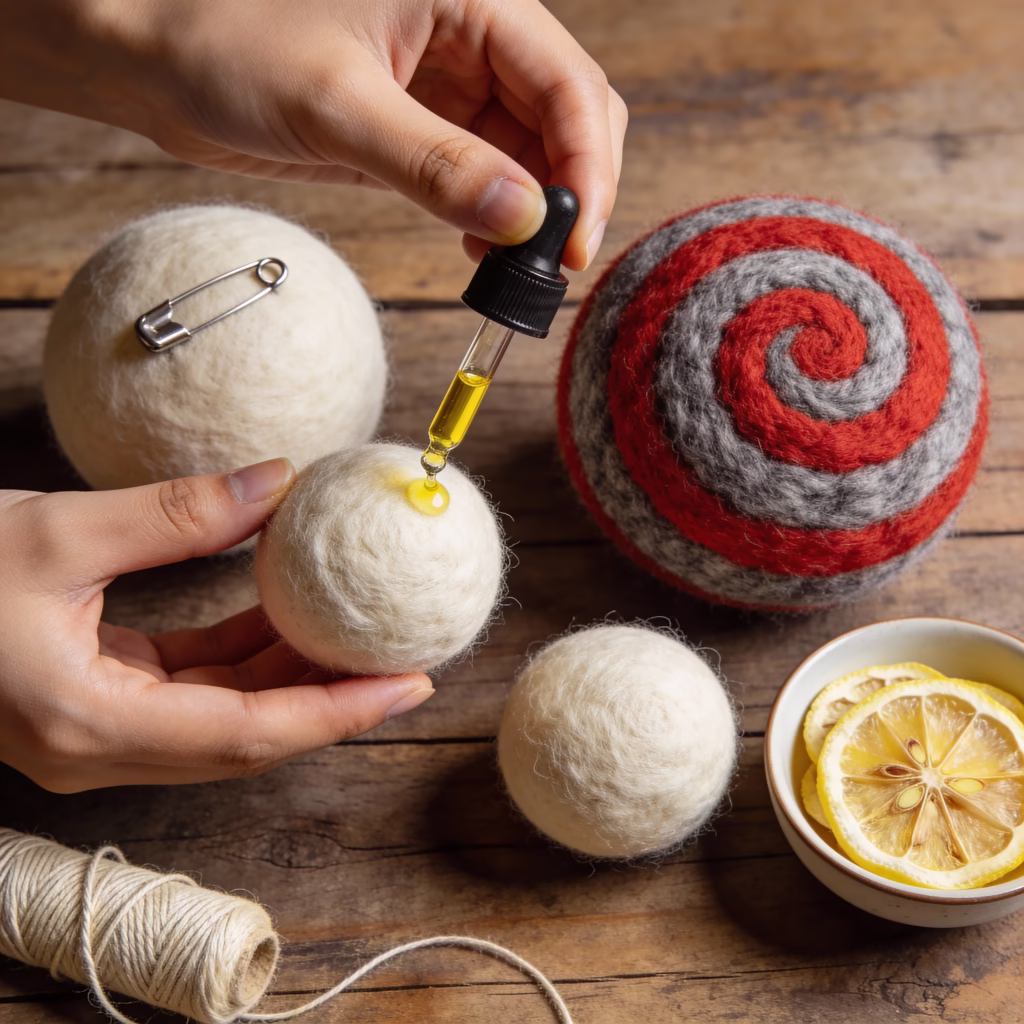
One major reason people prefer wool specifically is that you can add a few drops of essential oils (like lavender or lemon) directly to the balls to give your laundry a natural scent without synthetic fragrances.
Note on Noise: While plastic or rubber dryer balls also separate laundry, they are much louder than wool balls, which tumble more quietly against the dryer drum. These guides compare wool and plastic dryer balls, highlighting their effectiveness, durability, and impact on the environment.
To further personalise your project, you can experiment with the aesthetics and functionality of your balls. For instance, using different coloured wool strips from various old woollens allows you to create high-contrast patterns or stripes, making them easier to spot among white linens.
You can also vary the size; creating slightly larger balls for heavy denim or towels and smaller ones for delicate items ensures maximum efficiency for every load. For those dealing with high static in dry climates, you might even consider sewing a small piece of conductive thread or attaching a metal safety pin to one of the balls to help further dissipate electrical charges.
Pro Tips to Perfect Your Zero Waste Felted Dryer Balls
Now that you have your dryer balls, here are a few pro tips to make them last longer and work even better:
- Add a Scent (Optional): If you like your laundry to smell fresh, add a drop or two of your favourite essential oil (like lavender, lemon, or peppermint) to each dryer ball before using them. The oil will transfer to your clothes during the drying cycle, giving them a subtle, natural scent without the chemicals in dryer sheets. Just be sure to let the oil absorb into the ball for 10 minutes before putting it in the dryer.
- Use the Right Number of Balls: For a small load of laundry (like a load of underwear or t-shirts), use 2-3 balls. For a large load (like a load of jeans or towels), use 4-6 balls. This ensures enough space between clothes for efficient drying and static reduction.
- Refresh Your Balls Over Time: If your dryer balls start to flatten or lose their shape after a few months, you can re-felt them by running them through a hot wash and dry cycle again. This will tighten the wool fibres and restore their original shape.
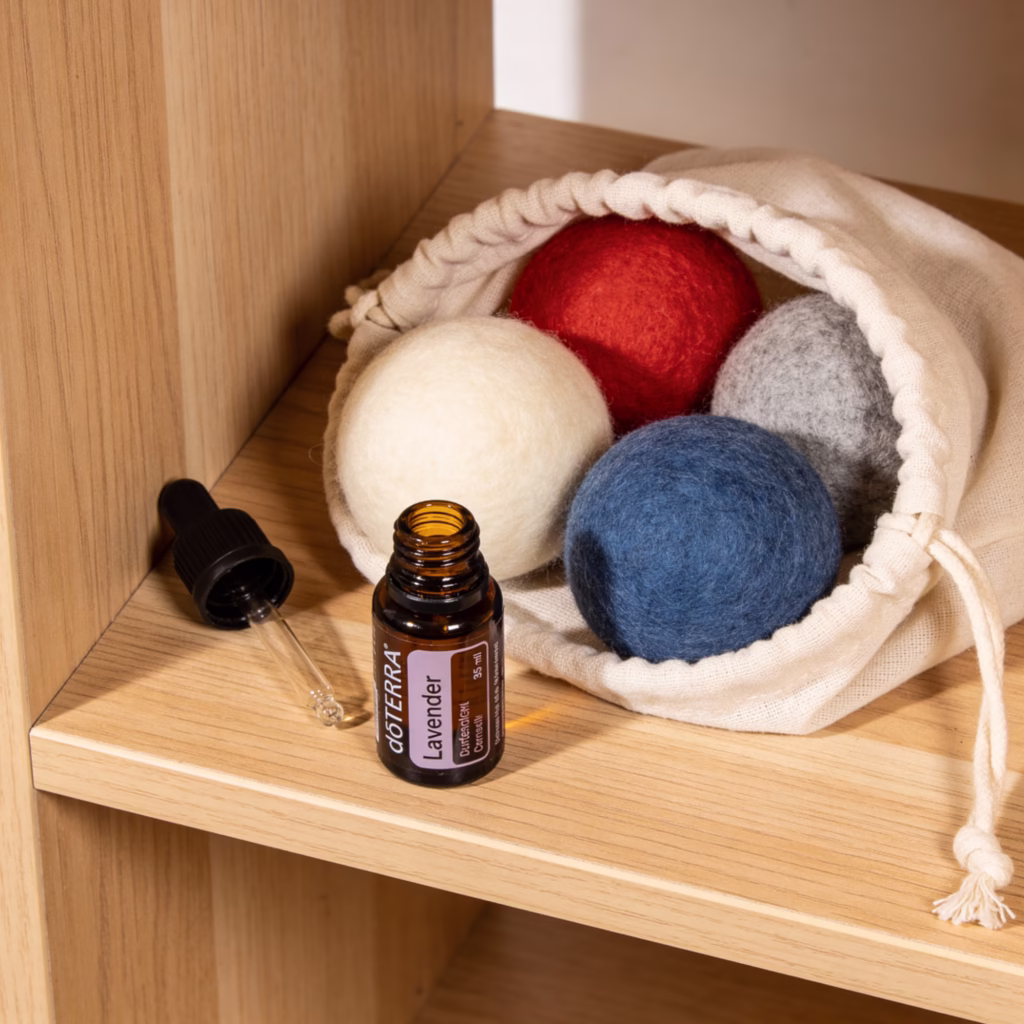
- Store Them Properly: When not in use, store your dryer balls in a cotton drawstring bag to keep them clean and dust-free. You can keep the bag on your laundry shelf or in your dryer for easy access.
Beyond Dryer Balls: More Ways to Reuse Old Woollens
Once you’ve mastered making dryer balls, you might want to explore other ways to reuse old woollens. Here are a few ideas to get you started:
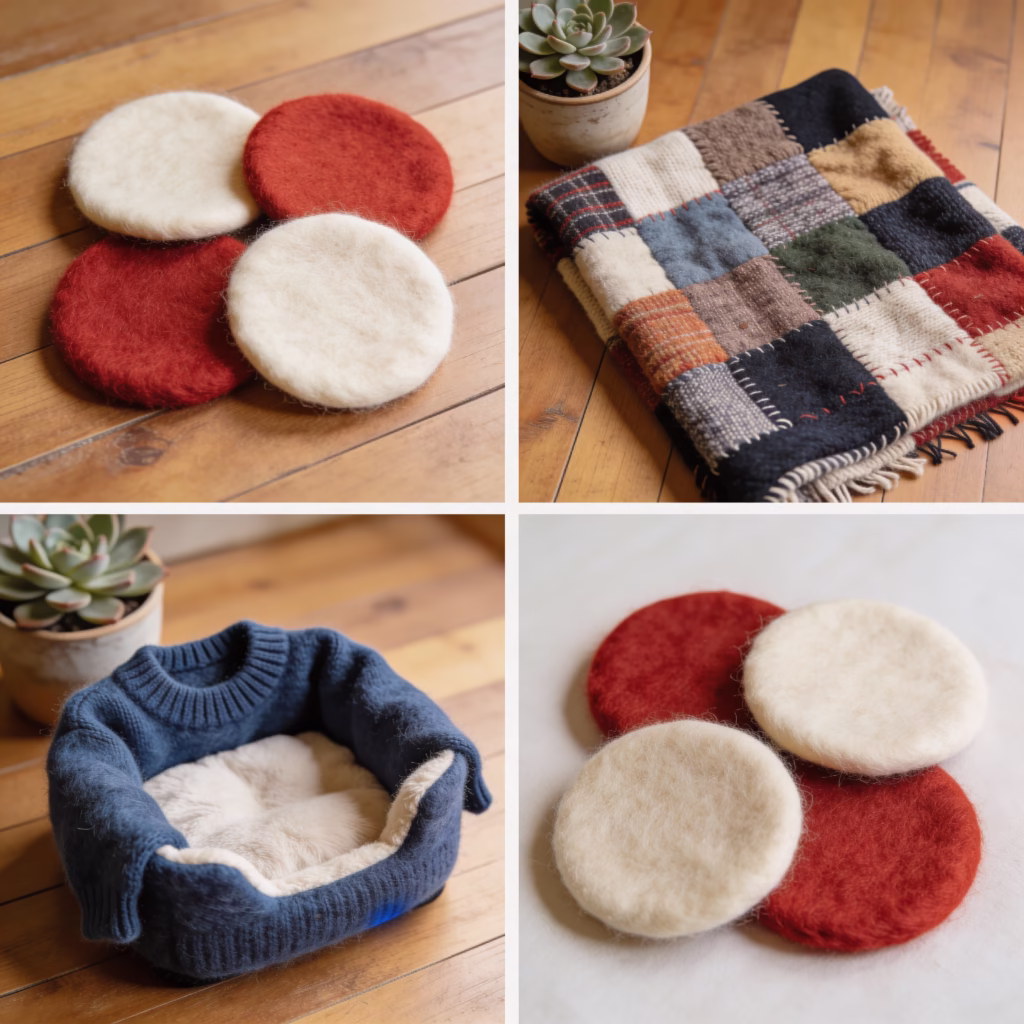
- Felted Coasters: Cut old woollens into small squares, felt them in the washing machine, and use them as coasters for your mugs. They’re absorbent and add a cozy touch to your kitchen or living room.
- Pet Beds: Felt large pieces of old wool blankets or jumpers, then sew them together to make a soft, warm bed for your cat or dog. Your pet will love the cozy wool, and you’ll keep old woollens out of landfills.
- Wool Insulation: Cut old woollens into small pieces and stuff them into drafty window frames or door gaps to keep your home warm in the winter. Wool is a natural insulator, so it’s perfect for this job and is better for the environment than synthetic insulation.
- Patchwork Blankets: Sew together pieces of felted old woollens to make a cozy, unique blanket for your couch or bed. Each piece will have its own story, making the blanket extra special and meaningful.
Conclusion
Reusing old woollens to make zero waste felted dryer balls is a simple, affordable, and eco-friendly project that anyone can do. It turns a pile of forgotten old jumpers and old socks into a functional tool that saves you money, cuts down on single-use waste, and helps the planet.
By choosing to upcycle old woollens instead of throwing them away, you’re reducing textile waste—one of the fastest-growing waste streams in the world. According to the U.S. Environmental Protection Agency, 11.3 million tons of textiles were thrown away in the U.S. in 2021, with only 14.5% being recycled or donated. Every old wool item you reuse is one less item in a landfill, and one less resource extracted from the earth to make new products.
We hope this guide has inspired you to dig into that pile of old woollens and give this project a try. It’s a small step, but it adds up to big changes for the planet. And once you’ve made your dryer balls, don’t forget to share the project with your friends and family—together, we can all do our part to reduce waste and embrace a more sustainable lifestyle.
External References
Below are educational resources to help you learn more about textile waste, wool felting, and zero waste practices:
- Woolmark Company: The Science of Wool Felting
- ZWIA: Principles of Zero Waste
- Textile Exchange: Circular Economy for Textiles
Recent Posts