I believe that caring for the planet and your skin go hand in hand, especially when seeking effective Anti Aging solutions. This guide explores the magic of creating a zero waste Shea Butter and Rosehip anti aging balm right in your own kitchen. Join us as we journey towards a greener, more radiant future together.
Embracing Natural Beauty
We all want to feel comfortable and confident in our own skin. As the years go by, our skin tells the story of our lives—the laughter, the sunny days, and the wisdom we have gained. However, looking after our skin to keep it healthy and vibrant is a goal many of us share. The beauty industry is flooded with products promising the fountain of youth, but often, these come packaged in plastic and filled with ingredients we can barely pronounce.
There is a beautiful alternative. By turning to nature and embracing a zero waste lifestyle, we can care for our skin without harming the planet. This article is all about slowing down and returning to basics. We are going to explore a simple, effective method for creating a potent anti aging treatment. We will look at how to make zero waste Shea Butter from the source, and then blend it into a luxurious Shea butter & rosehip anti aging balm. It is time to treat yourself to skincare that feels good in every way.
Why Choose Zero Waste Skincare?
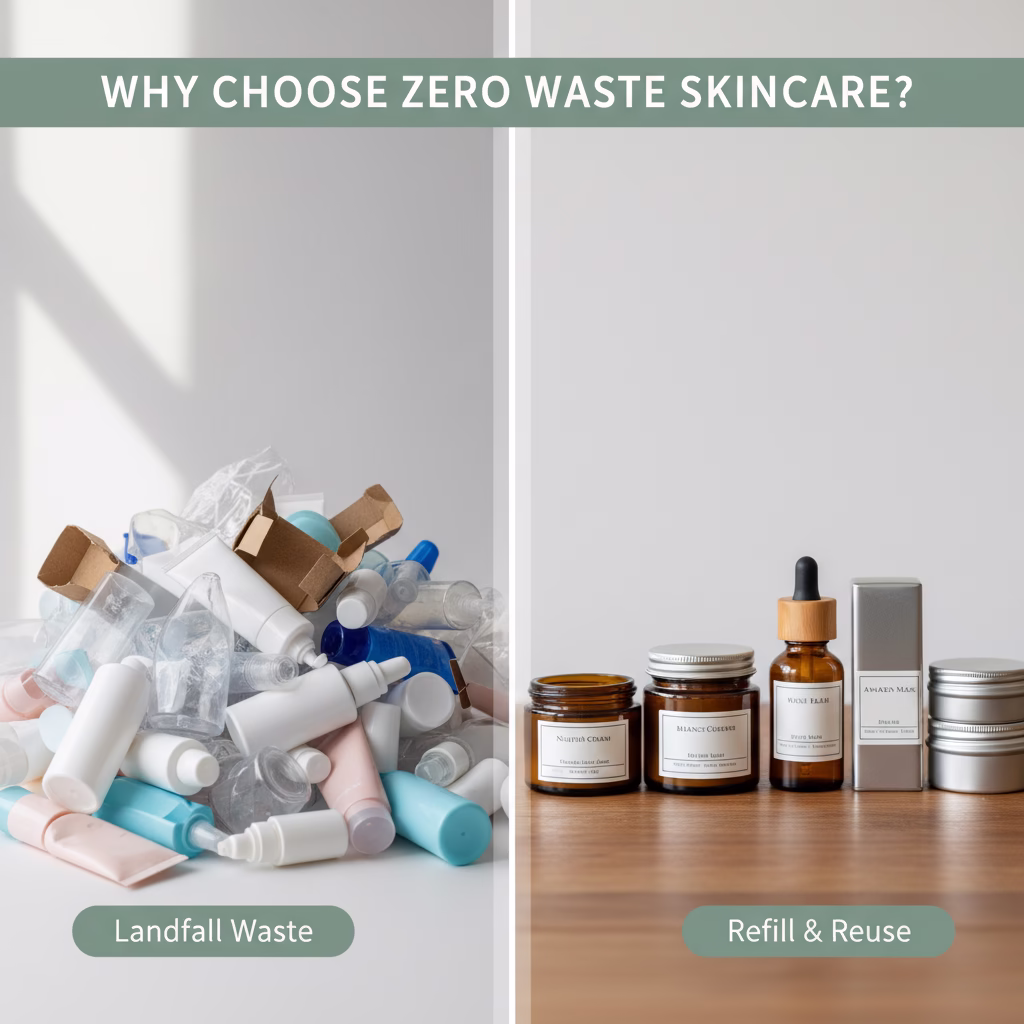
Choosing Zero Waste skincare is about more than just reducing trash; it is about intention. When you buy standard anti aging creams, you are often paying for water, preservatives, and plastic packaging. When you make your own, you control exactly what goes onto your body.
Plastic waste is a major issue for our oceans and landfills. By using ingredients that can be bought in bulk, or making them from raw materials, we bypass the need for single-use containers. Furthermore, natural ingredients like raw nuts and seeds are biodegradable.
Beyond the environmental impact, zero waste skincare is often more potent. You aren’t diluting your anti aging balm with fillers. You are using concentrated, active ingredients that feed your skin. It is a win for the earth and a win for your complexion.
The Power Players: Shea and Rosehip
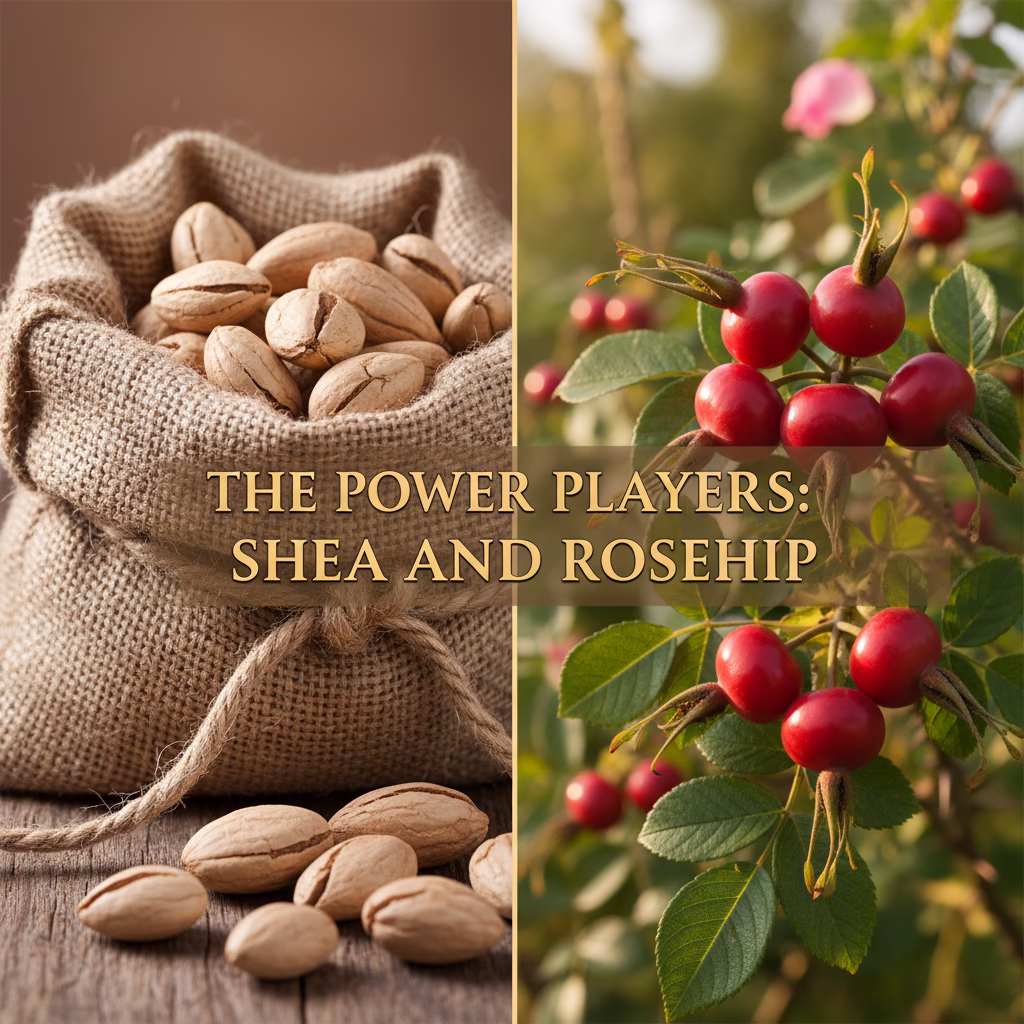
Before we get our hands working, let’s talk about why we chose these specific ingredients. They are nature’s answer to fine lines and dry skin.
The Magic of Shea Butter
Shea butter has been used for centuries in Africa to protect skin from the harsh sun and wind. It is rich in fatty acids and vitamins. It creates a soft barrier that seals in moisture. For anti aging, this is crucial because dry skin tends to show lines more clearly than hydrated skin. It also aids in collagen production, which helps keep the skin firm.
The Radiance of Rosehip
Rosehip seed oil is often called a miracle oil. It is harvested from the seeds of rose bushes. It is packed with Vitamin A and Vitamin C. Vitamin A helps with cell turnover, which can smooth out the texture of the skin. Vitamin C is famous for brightening dark spots and giving you a glow. When you combine the protective nature of shea with the repairing power of rosehip, you get a perfect anti aging balm.
How to Make Zero Waste Shea Butter from Scratch

Most people buy shea butter pre-made in a jar. However, to truly understand zero waste Shea Butter, it is wonderful to know how it is made from the nut. If you can source raw dried shea nuts (often available in bulk from fair-trade suppliers), you can make the butter yourself. This is a labor of love, but the result is the freshest butter you will ever use.
Here is the traditional method, adapted for a home kitchen.
What You Need:
- 5 cups of dried raw Shea Nuts
- A heavy mortar and pestle (or a very strong food processor)
- A large pot for boiling
- A large bowl for mixing
- Clean water
- Cheesecloth or a fine strainer
Step 1: Cracking and Shelling
First, you need to get the kernel out of the shell. If your nuts are still in the shell, crack them open using a stone or a hammer. Remove the outer shell and keep the inner kernel. Composting the shells is a great way to keep this Zero Waste.
Step 2: Washing and Drying
Wash the kernels thoroughly in clean water. Lay them out in the sun to dry completely, or place them in an oven on the lowest setting for a few hours. They need to be dry to roast properly.
Step 3: Roasting
This is where the smoky scent comes from. Place the kernels in a pot over medium heat. Stir them constantly so they do not burn. You want them to turn a dark brown color. This usually takes about 20 to 30 minutes. You will smell a rich, nutty aroma.
Step 4: Grinding
Once the nuts are roasted and cooled, they need to be crushed. In traditional settings, this is done with a large mortar and pestle. At home, you can crush them into a coarse powder. If you have a high-power blender, you can pulse them, but be careful not to overheat the motor. You want a fine, dark brown paste.
Step 5: The Kneading (The Most Important Step)
Place your paste into a large bowl. Add a small amount of cool water. Now, use your hands to knead the paste. You are mixing and pulling the fats away from the fiber. Keep adding small splashes of water and mix vigorously. The color will start to change from dark brown to a lighter, creamy tan. This mimics the churning of butter. This step can take 30 minutes or more. You know you are done when white curds of fat start to float on top of the water mixture.
Step 6: Boiling and Skimming
Take those white curds and put them into a clean pot of water. Bring it to a gentle simmer. The heat will melt the fat, and any remaining dirt or fiber will sink to the bottom. The clean oil will float to the top. Use a spoon to gently skim the clear oil off the top.
Step 7: Cooling
Pour the clear oil through a cheesecloth into a clean glass jar or mold. Leave it in a cool place. As it cools, it will solidify into the creamy, off-white substance we know as shea butter. You have just made your own base for your anti aging balm!
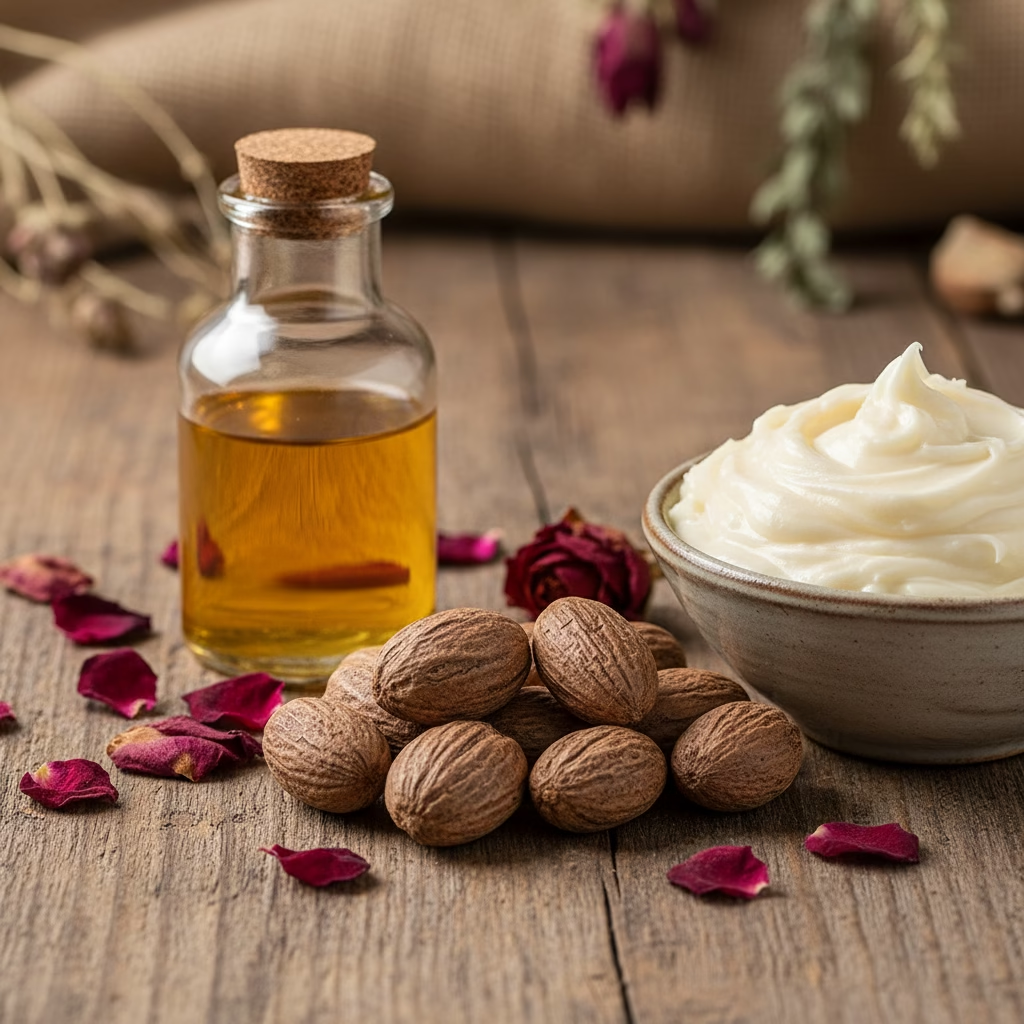
Recipe: Shea Butter & Rosehip Anti Aging Balm
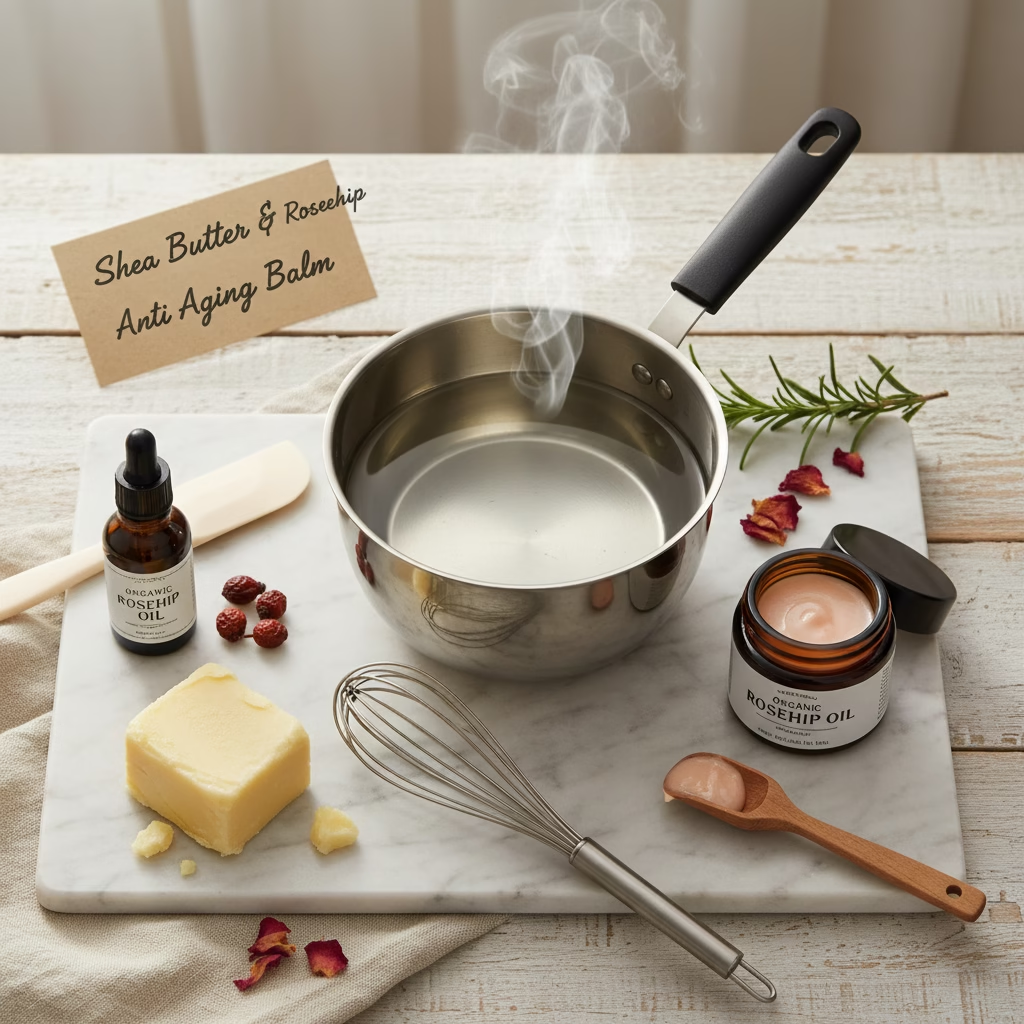
[Image: A neatly arranged flat-lay photo of a glass bowl on a double boiler, a bottle of rosehip oil, and the finished balm in a small amber glass jar.]
Now that you have your shea butter (whether you made it or bought it in bulk to save plastic), it is time to make the balm. This recipe is simple, water-free, and self-preserving. It is a potent concentration of nutrients for your skin.
Prep Time: 15 Minutes
Cooling Time: 2 Hours
Skill Level: Easy
Ingredients:
- 1/2 cup Raw Shea Butter (The one you made or bought in bulk)
- 2 tablespoons Rosehip Seed Oil (Cold-pressed is best)
- 1 teaspoon Vitamin E Oil (Optional: acts as a natural preservative and adds moisture)
- 5 drops of Frankincense Essential Oil (Optional: known for Anti Aging properties)
- 5 drops of Lavender Essential Oil (Optional: for a soothing scent)
Equipment:
- A double boiler (or a glass bowl placed over a pot of simmering water)
- A wooden spoon or silicone spatula
- Small glass jars for storage (reuse old cosmetic jars to keep it Zero Waste)
Instructions:
- Melt the Butter:
Place your shea butter in the top part of your double boiler. Keep the heat on low. We want to gently melt the butter, not cook it. High heat can destroy some of the vitamins. Stir it gently until it is completely liquid. - Cool Slightly:
Once melted, take the bowl off the heat. Let it sit on the counter for about 5 to 10 minutes. You want it to be warm, but not scalding hot. This protects the delicate Rosehip oil we are about to add. - Add the Oils:
Pour in the Rosehip seed oil. If you are using Vitamin E or essential oils, add them now. Rosehip oil is sensitive to heat, which is why we waited for the shea butter to cool down a bit. - Whip or Pour:
You have two choices here.- Option A (The Salve): Stir everything together and pour the golden liquid directly into your glass jars. Let it cool in the fridge. This creates a firm balm that melts on contact with skin.
- Option B (The Soufflé): Place the bowl in the fridge for 20 minutes until it starts to turn opaque but is still soft. Then, use a hand mixer to whip it for 5 minutes. It will become fluffy and white like whipped cream. Spoon this into your jars.
- Set and Store:
Cap your jars tightly. Store them in a cool, dark place. Because there is no water in this recipe, it does not need strong chemical preservatives. It should last for 6 to 12 months.
How to Use Your Anti Aging Balm

This anti aging balm is very rich. A little bit goes a long way. Because it is oil-based, it works best when your skin is slightly damp.
The Evening Ritual:
- Wash your face with a gentle cleanser.
- Leave your skin slightly damp, or spray a little rose water on your face.
- Scoop out a pea-sized amount of the balm.
- Rub it between your palms to melt it.
- Gently press it into your face, neck, and chest.
- Massage in upward circular motions. This helps circulation and absorption.
You can also use this balm on dry hands, elbows, or even as a hair mask for dry ends. It is a versatile player in your Zero Waste bathroom.
Tips for a Sustainable Routine
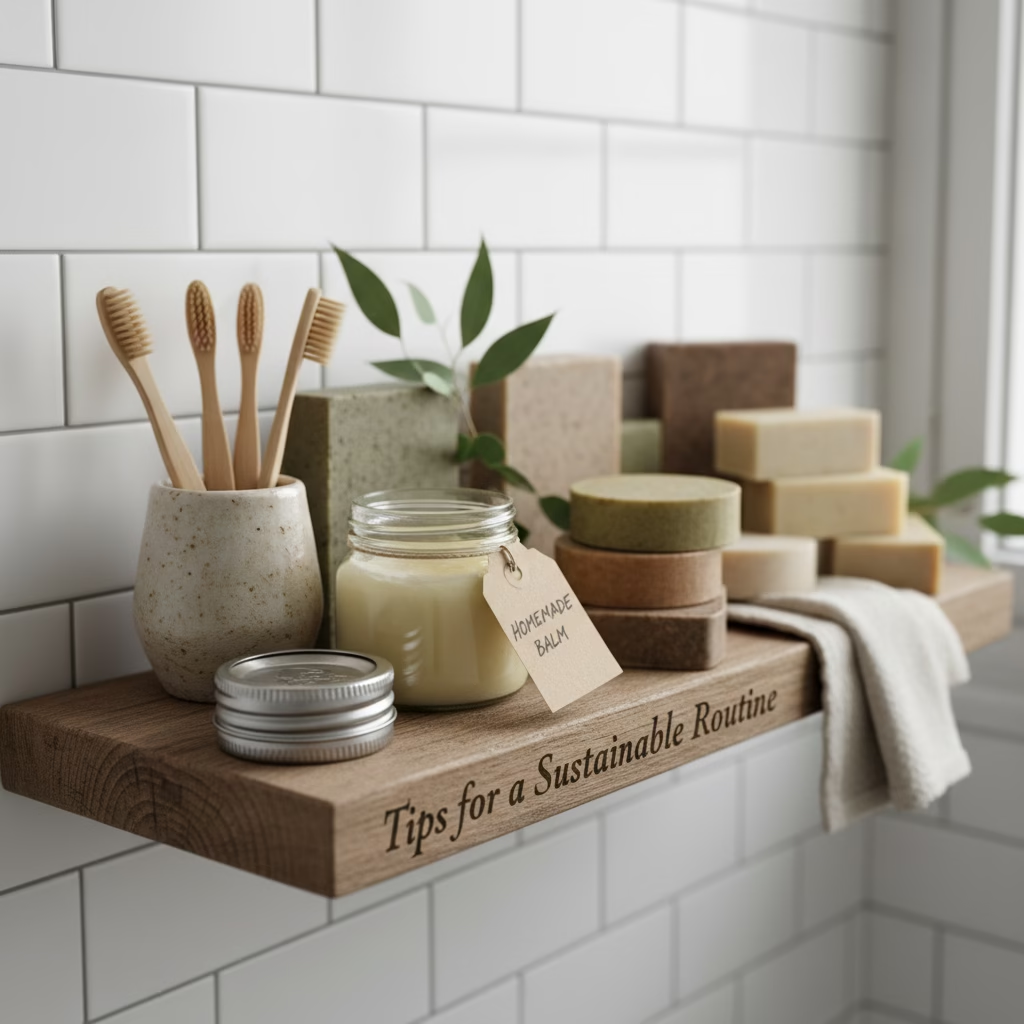
Adopting a zero waste lifestyle is a journey. Here are a few extra tips to make sure your beauty routine stays green:
- Upcycle Jars: Never throw away a glass jar. Boil them in hot water to remove labels and sanitize them. They make the perfect home for your new balm.
- Buy in Bulk: Try to find local co-ops or online stores that sell shea butter and oils in large quantities or plastic-free packaging. This reduces the carbon footprint of shipping multiple small packages.
- Compost: Remember, if you made the shea butter from scratch, the shells are organic matter. Return them to the earth.
Conclusion
Taking care of your skin does not have to be complicated or expensive. By making this Simple Zero Waste Recipe for Anti Aging, you are taking a stand against plastic pollution and chemical additives. You are nourishing your body with the pure goodness of zero waste Shea Butter and Rosehip.
Whether you go the extra mile to process the nuts yourself or simply blend high-quality bulk ingredients, the result is the same: a product made with love and intention. We hope this guide inspires you to try your hand at DIY skincare. It is a rewarding process that leaves you glowing inside and out. Enjoy your journey to a more natural, sustainable you.
External References
- Healthline – What Are the Benefits of Rosehip Oil?:
- WebMD – Dos and Don’ts of Essential Oils
Recent Posts


