We all dream of a perfectly curated, cozy home, but the price tags on designer furnishings can quickly shatter those dreams. I’ve been there, staring at a blank wall wishing I had the budget for that perfect rustic piece. But what I discovered is that the most satisfying and soulful pieces are the ones you create yourself. This guide is dedicated to everyone who loves that satisfying feeling of crafting something beautiful and unique, proving that amazing home style through DIY Room Décor is completely achievable through simple, heartfelt effort.
The Charm of Rustic Wall Décor
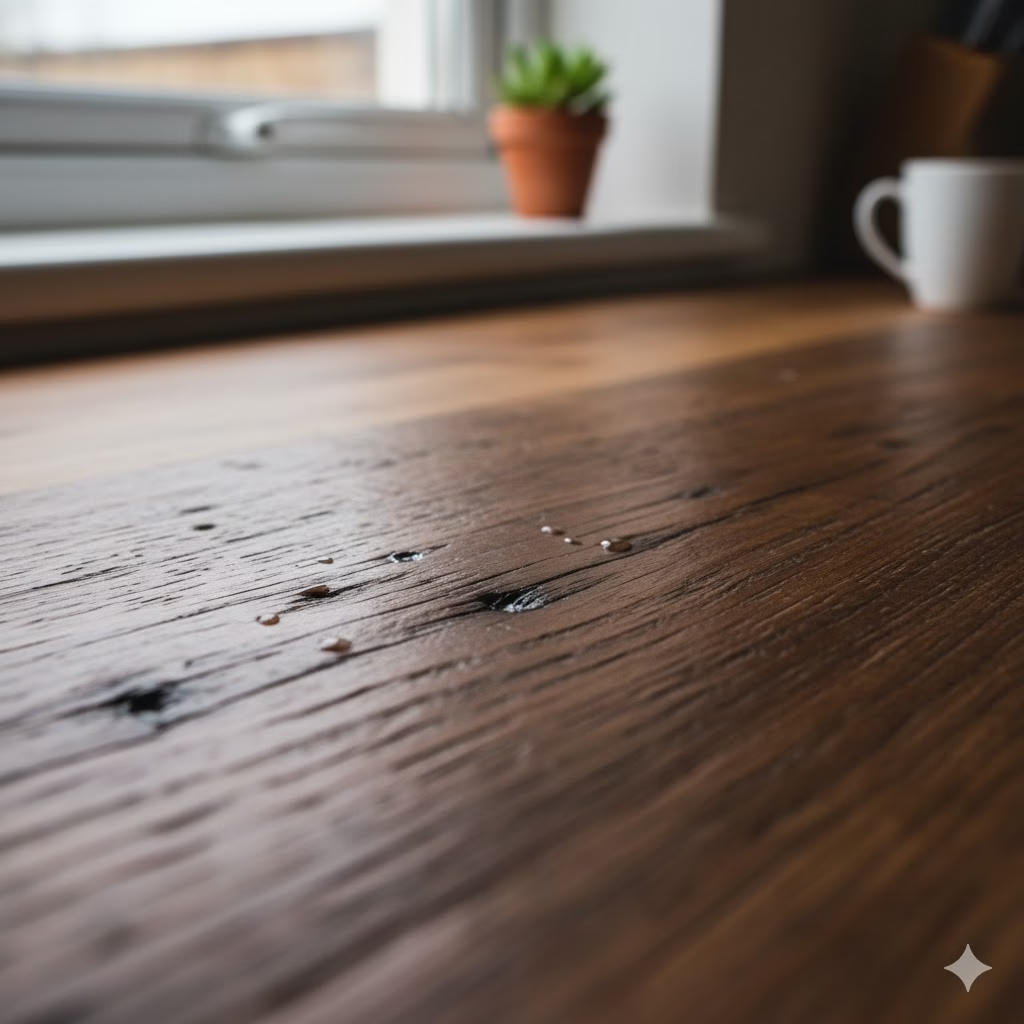
In an age dominated by fast fashion and fleeting trends, there is a deep, enduring appeal in the rustic aesthetic. It speaks of simplicity, durability, and a connection to the natural world. Specifically, rustic wall signs offer a unique opportunity to infuse character, personality, and warmth into any living space. These pieces are not just decorative; they are storytellers.
Choosing to make these signs yourself is where the magic of DIY Room Décor truly begins. It transforms your home from a collection of purchased items into a gallery of personal achievements. This article is your comprehensive guide to blending simple DIY Ideas with stylish design, proving that creating captivating Wall Décor doesn’t require a master’s degree in carpentry or an unlimited budget. We will explore 10 distinct, achievable rustic sign concepts, complete with detailed instructions and tips for flawless execution.
Why DIY is the Best Way to Elevate Your Space
The beauty of approaching design through DIY Ideas is twofold: cost and customization. The materials for rustic signs are inherently affordable—reclaimed wood, basic paints, and inexpensive hardware—making this a truly budget-friendly form of DIY Room Décor. More importantly, you gain complete control. You select the size, the specific distressed finish, the font, and the phrase, ensuring the final piece perfectly reflects your style and fits your designated space, unlike store-bought signs which often require compromise.
This guide focuses on 10 Rustic Wall Signage Ideas, ranging from simple stenciling to complex layering, suitable for every corner of your home, from the kitchen to the entryway.
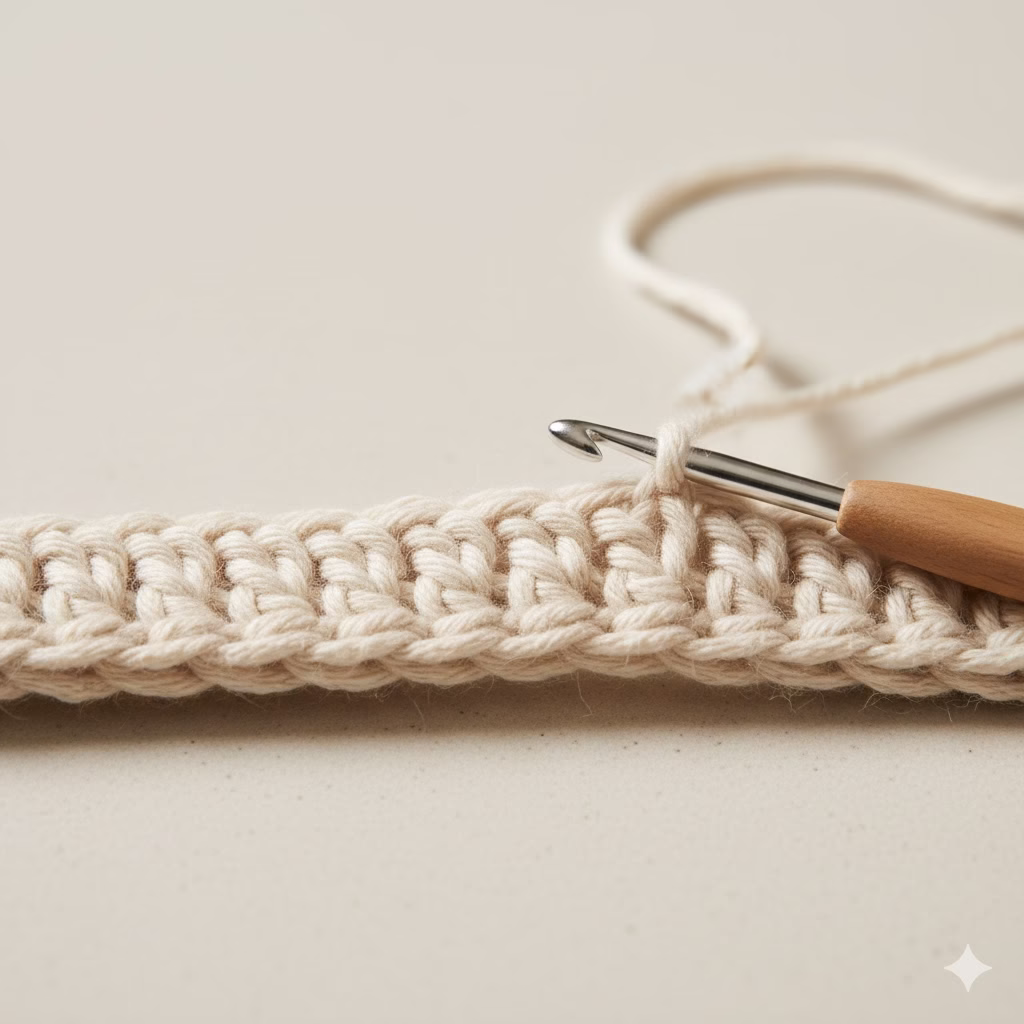
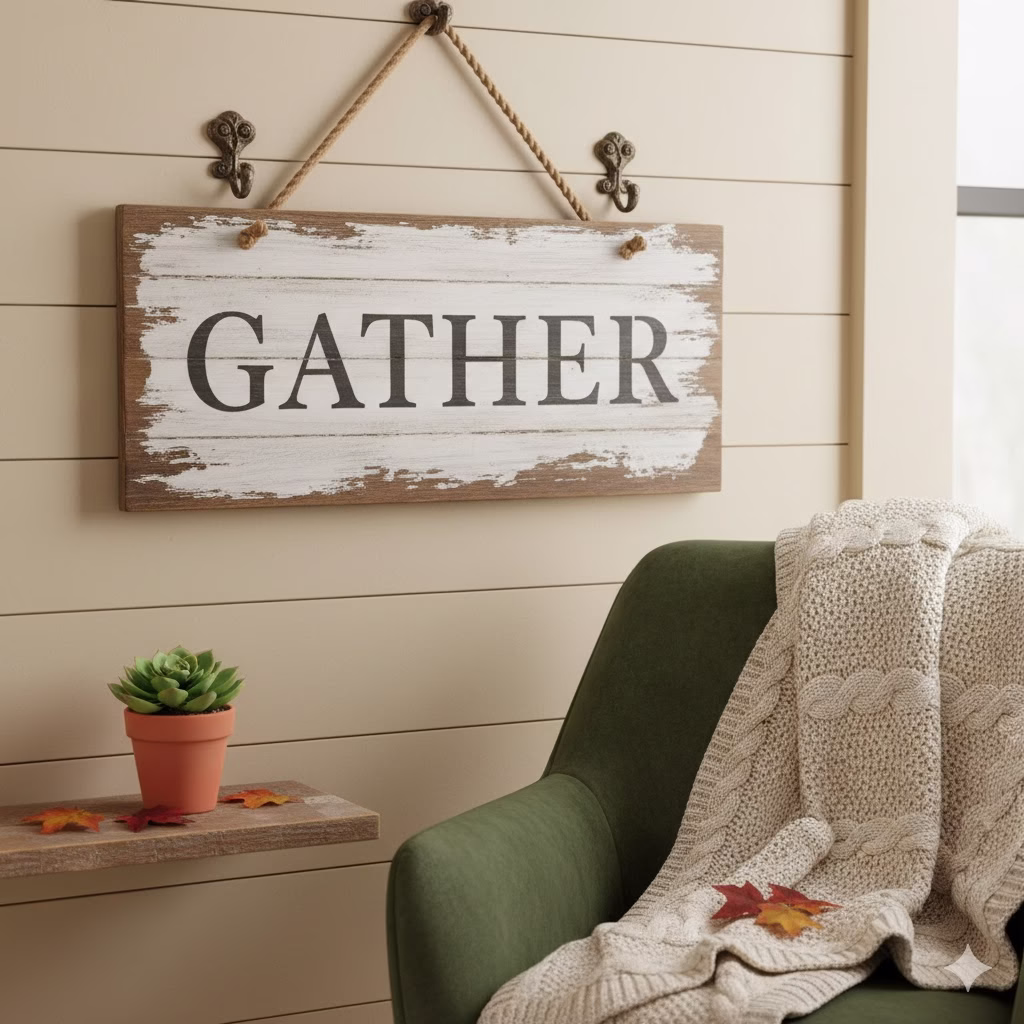
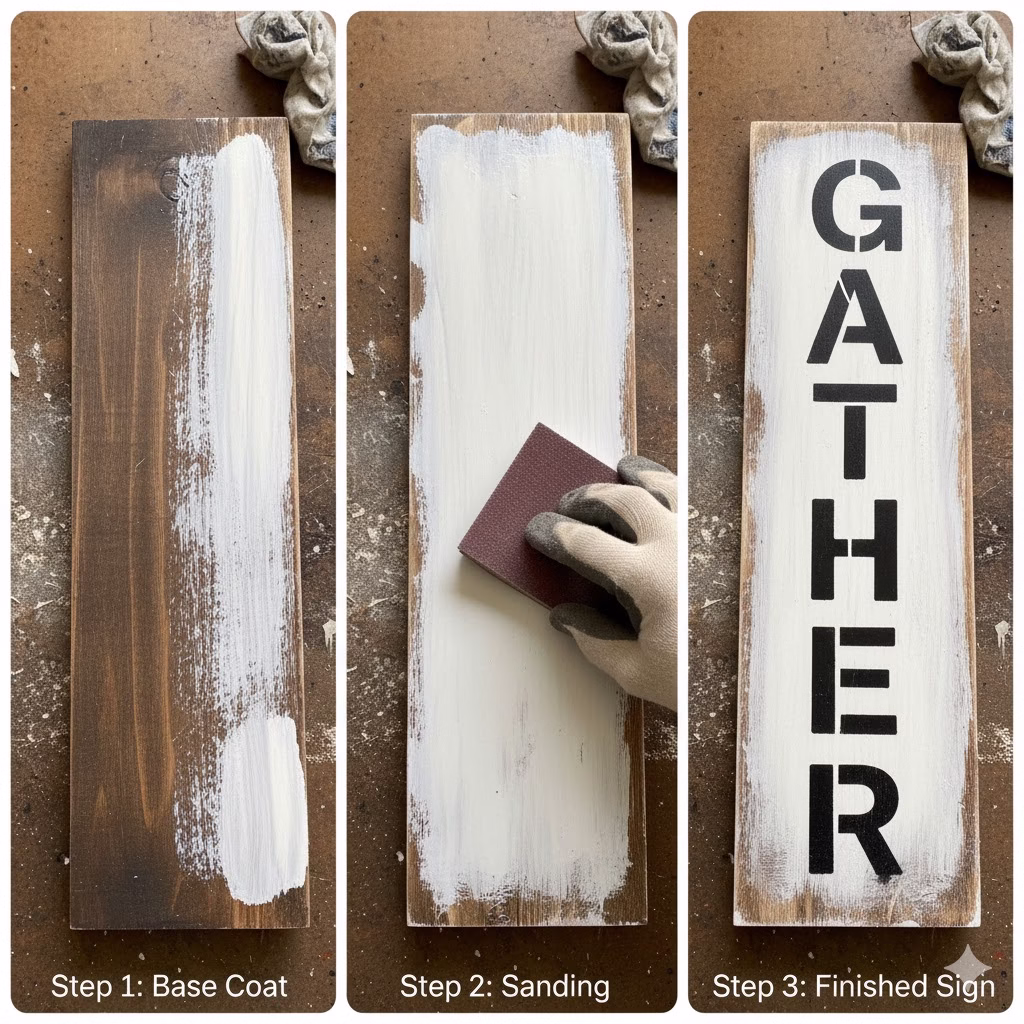
1. The Classic Stenciled Phrase Sign
This is the quintessential rustic sign and the perfect starting point for any beginner exploring DIY Room Décor.
How to Do It:
- Materials: A plank of pine or reclaimed wood (1-2 feet long), chalk paint (white or black), stencil adhesive, and a letter stencil set.
- The Rustic Touch: Lightly sand the wood and apply a thin, uneven coat of a contrasting base colour (e.g., dark brown). Once dry, apply your main colour (e.g., white). When that second layer is dry, use 80-grit sandpaper to strategically rub away the paint on the edges and high points, allowing the base colour to peek through.
- Signage: Use a level to position your stencil. Apply stencil adhesive to prevent bleed-through. Use a dry brush technique (very little paint on the brush) to lightly dab the paint over the letters. This is a vital step for crisp lines and a professional finish in any DIY Wall Décor project.
- Quote Inspiration: Short and sweet phrases like “Welcome” or “Gather.”
2. Pallet Wood Arrow Sign
Using pallet wood is one of the most accessible and effective DIY Ideas for achieving a rustic look. The arrow shape adds direction and visual interest to your Wall Décor.
How to Do It:
- Materials: Three to four pieces of disassembled pallet wood, wood glue, and a saw (or ask your hardware store to make the cuts).
- Assembly: Cut the ends of two pieces of wood at a 45-degree angle to form the arrowhead. Attach all pieces to a slightly longer, wider backing piece using wood glue and small nails.
- Finish: Stain the wood in a deep, rich walnut colour and seal it with wax. Leave the sign completely blank for a minimalist, textural statement or add a single white painted initial.
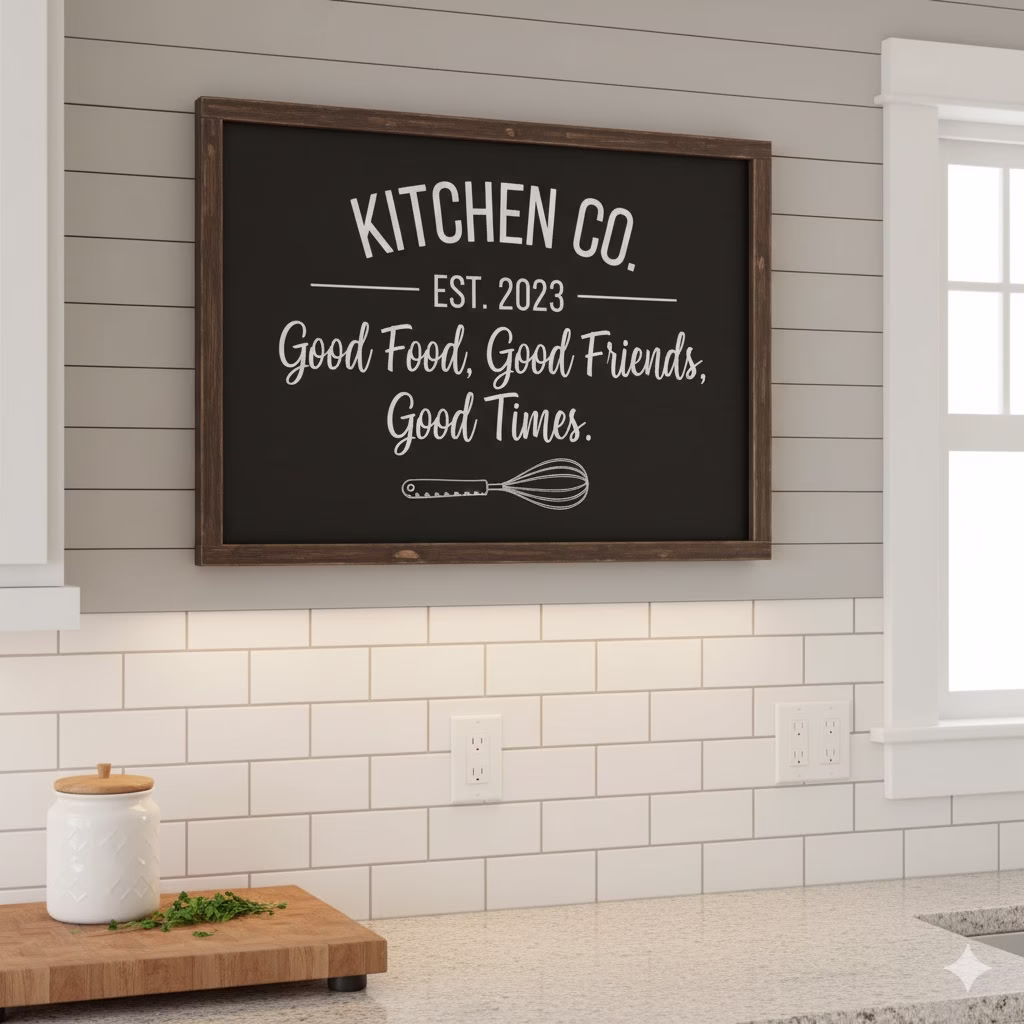
3. Faux-Chalkboard Quote Sign
This sign brings the cozy, casual feel of a café into your kitchen or dining space.
How to Do It:
- Materials: A smooth piece of plywood, chalkboard paint, liquid chalk marker, and a pencil.
- Prep: Paint the plywood with two coats of chalkboard paint.
- Transfer: Print your desired quote. Rub the back of the paper with chalk. Place the paper on the chalkboard and trace the outline of the letters with a pencil. When you remove the paper, a light chalk outline will remain.
- Execution: Trace and fill in the outlines with the liquid chalk marker for a clean, permanent chalk look. This is a smart DIY Room Décor trick to get the look without the dust.
4. Weathered Beach Wood Block Sign
Ideal for a bathroom or laundry room, this design focuses on texture and simple block lettering.
How to Do It:
- Materials: A thick block of scrap wood (2×4 or similar), grey and white wash stain.
- Weathering: Apply the grey stain unevenly, wiping off the excess quickly. Follow up with a lighter white wash. The combination mimics sun-bleached driftwood, a lovely form of Wall Décor.
- Lettering: Use large, bold stencils and plain black acrylic paint. Focus on functional words like “Wash” or “Laundry.”
5. Layered Scrabble Tile Sign
This unique dimensional piece adds a playful, vintage vibe to your DIY Room Décor.
How to Do It:
- Materials: A simple stained wood backing board, small wooden squares (purchased or cut from dowel rod), and cream-coloured paint.
- Creation: Paint the small wooden squares cream. Once dry, use a permanent marker or small letter stamps to add individual letters to each square, recreating the look of Scrabble tiles.
- Assembly: Glue the tiles onto the backing board to spell out family names or a fun word like “Cuddle.” The dimensional aspect makes this a high-impact piece among your DIY Ideas.
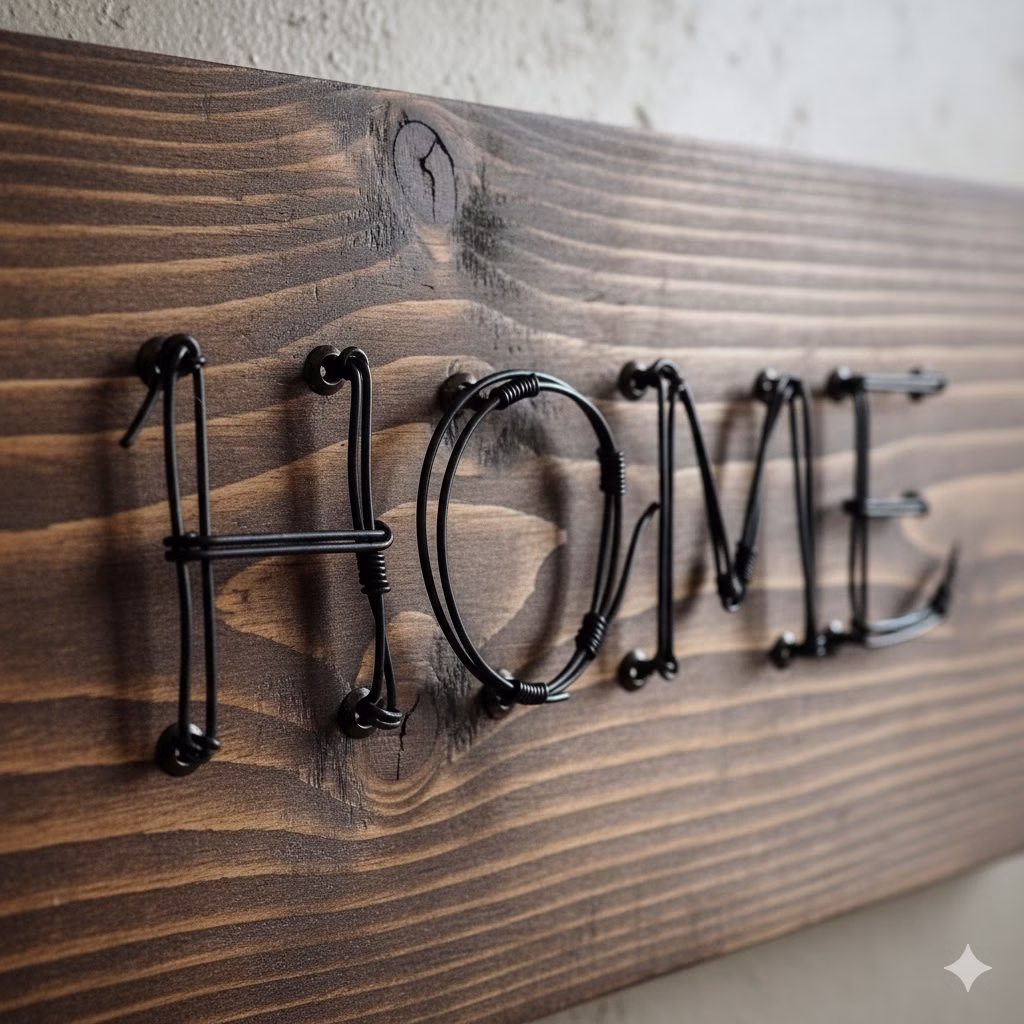
6. Industrial Farmhouse Wire Sign
Combining rustic wood with industrial metal creates a modern farmhouse aesthetic.
How to Do It:
- Materials: A dark stained wood plaque, thin gauge wire (craft wire), and small eyelet screws.
- Design: Lightly sketch your word (e.g., “Home”) onto the wood. Drill small pilot holes and insert the eyelet screws along the line of the text.
- Weaving: Bend and shape the wire to form the letters, securing the wire ends by wrapping them around the eyelet screws. This adds an unexpected textural element to your Wall Décor.
7. Framed Burlap or Canvas Sign
For a slightly more polished, yet still rustic, look, framing your textile sign is the answer.
How to Do It:
- Materials: A piece of burlap or canvas, a lightweight picture frame (thrifted is best), and black fabric paint.
- Transfer: Use a freezer paper stencil method (it temporarily adheres to fabric, preventing bleeding) or a simple pencil transfer to get your design onto the fabric.
- Finish: Once painted and dry, stretch the fabric inside the frame. This is a fantastic way to incorporate different textures into your overall DIY Room Décor scheme.
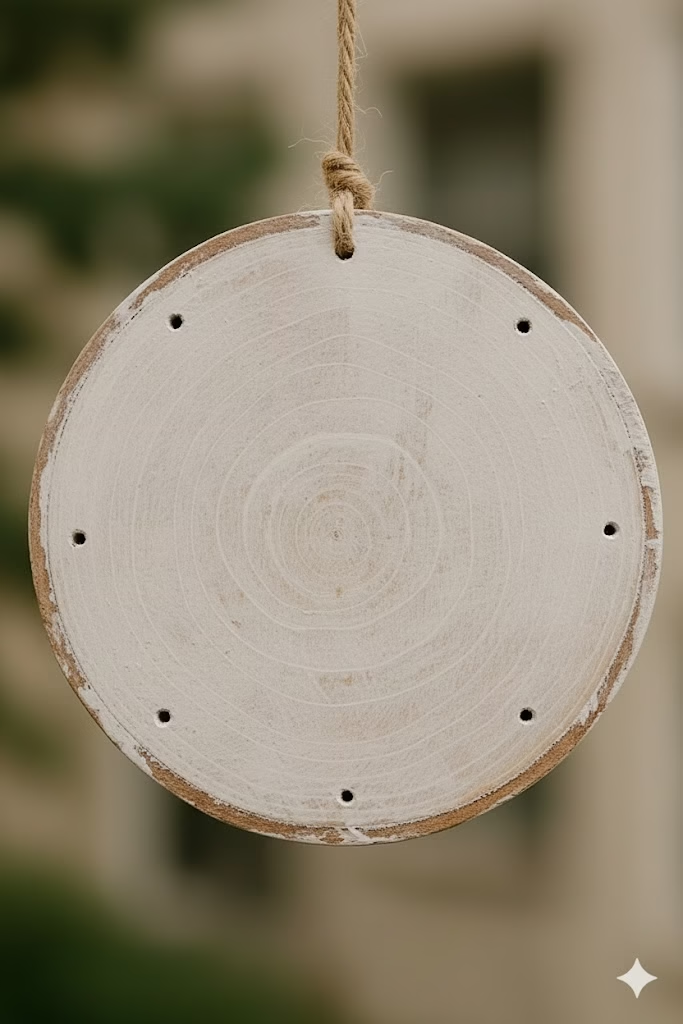
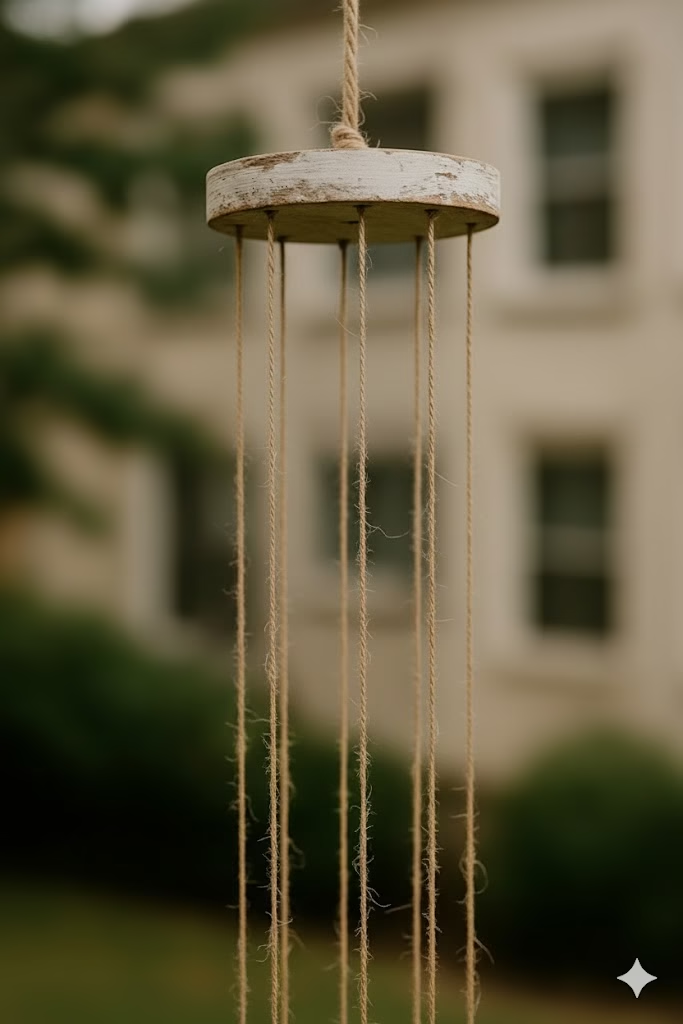
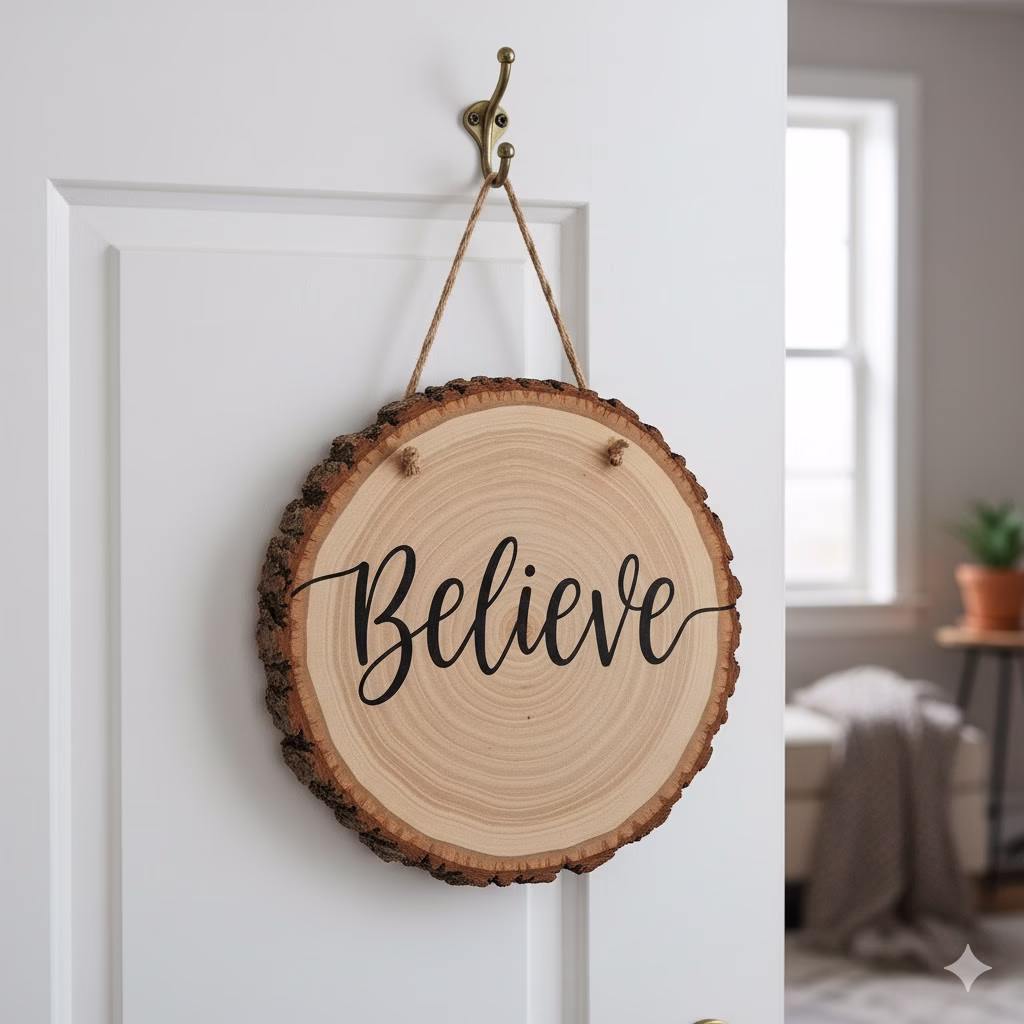
8. Wood Slice Door Hanger
Perfect for a bedroom, office, or front door, the natural edge of a wood slice brings a true outdoor element inside.
How to Do It:
- Materials: A large, preserved wood slice (with bark intact), wood burning tool (optional), and white acrylic paint.
- Lettering: Either freehand a quote or initial, or use a wood-burning tool for a permanent, etched effect. If using paint, keep the lettering simple and centred.
- Hanging: Attach twine or rope to the back for hanging. These smaller pieces are easy DIY Ideas that can be scattered throughout the house.
9. Distressed White Wash Family Name Sign
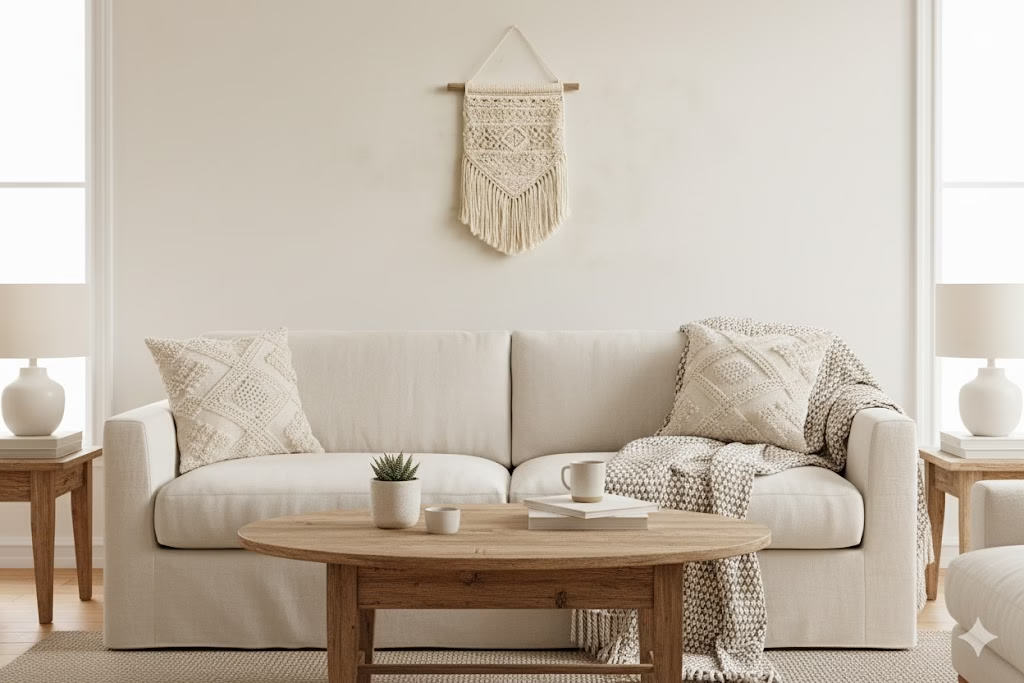
A classic for the mantle or above a sofa, this is a large statement piece of Wall Décor.
How to Do It:
- Materials: A large, long piece of wood, white semi-transparent stain (wash), dark grey paint, and a vinyl cutting machine (optional, but highly recommended for large, crisp letters).
- Stain: Apply the white wash, allowing some of the natural wood grain to show through.
- Vinyl: Cut a large vinyl stencil of your family name and established date. Apply it firmly. Paint over the stencil with dark grey. Peel off the vinyl carefully while the paint is still damp to reveal crisp letters.
- Distressing: Once dry, use a light sanding block over the letters and edges for that essential worn, rustic appearance.
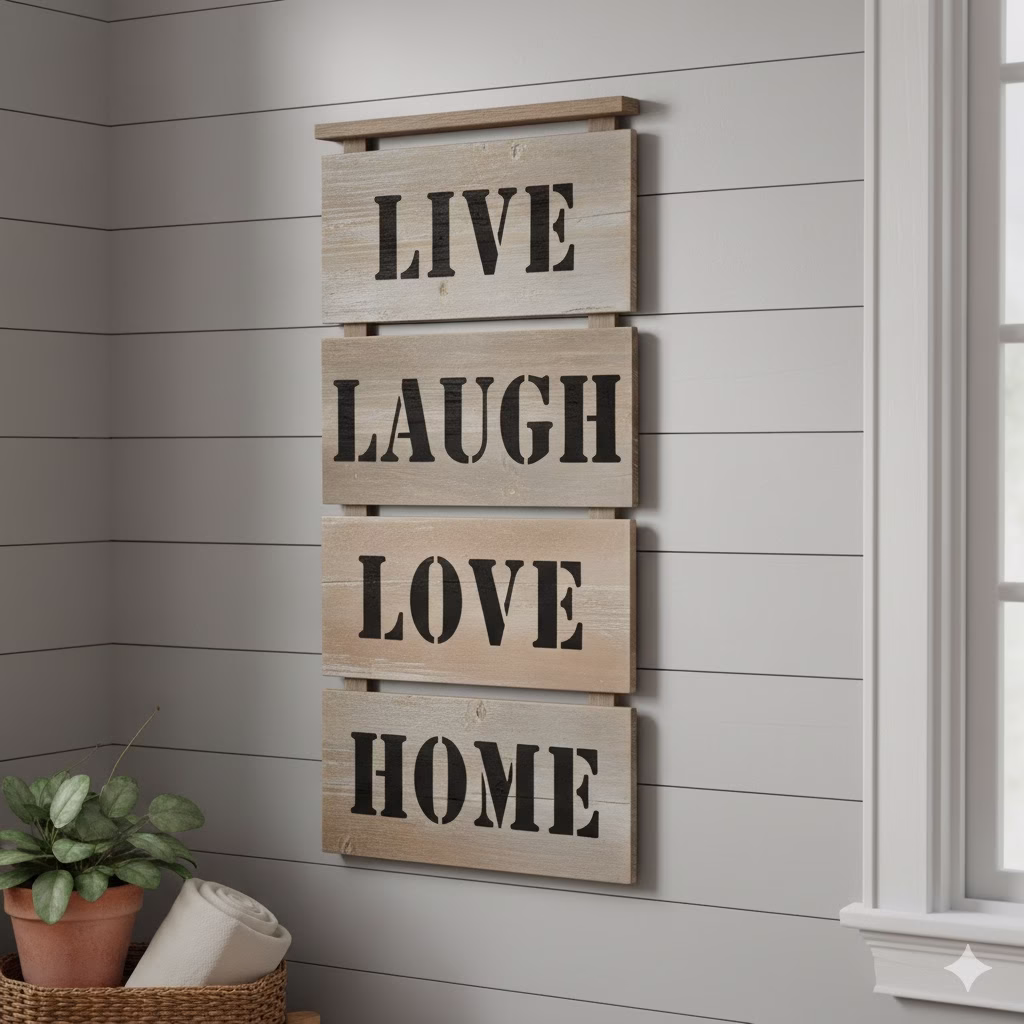
10. Multi-Board Vertical Sign
This vertical design is perfect for filling narrow wall spaces, like beside a door or in a hallway, offering great versatility in DIY Room Décor.
How to Do It:
- Materials: Three to five thin wood boards cut to the same length, a backer board (or two cleats of wood), and various shades of stain (light grey, dark brown, natural).
- Staining: Stain each board a different shade to create visual dimension.
- Assembly: Lay the stained boards side-by-side and secure them to the backer cleats.
- Text: Apply a vertical phrase, with one word on each horizontal plank (e.g., “Live,” “Laugh,” “Love”). Simple stencils and bold fonts work best for this kind of Wall Décor piece.
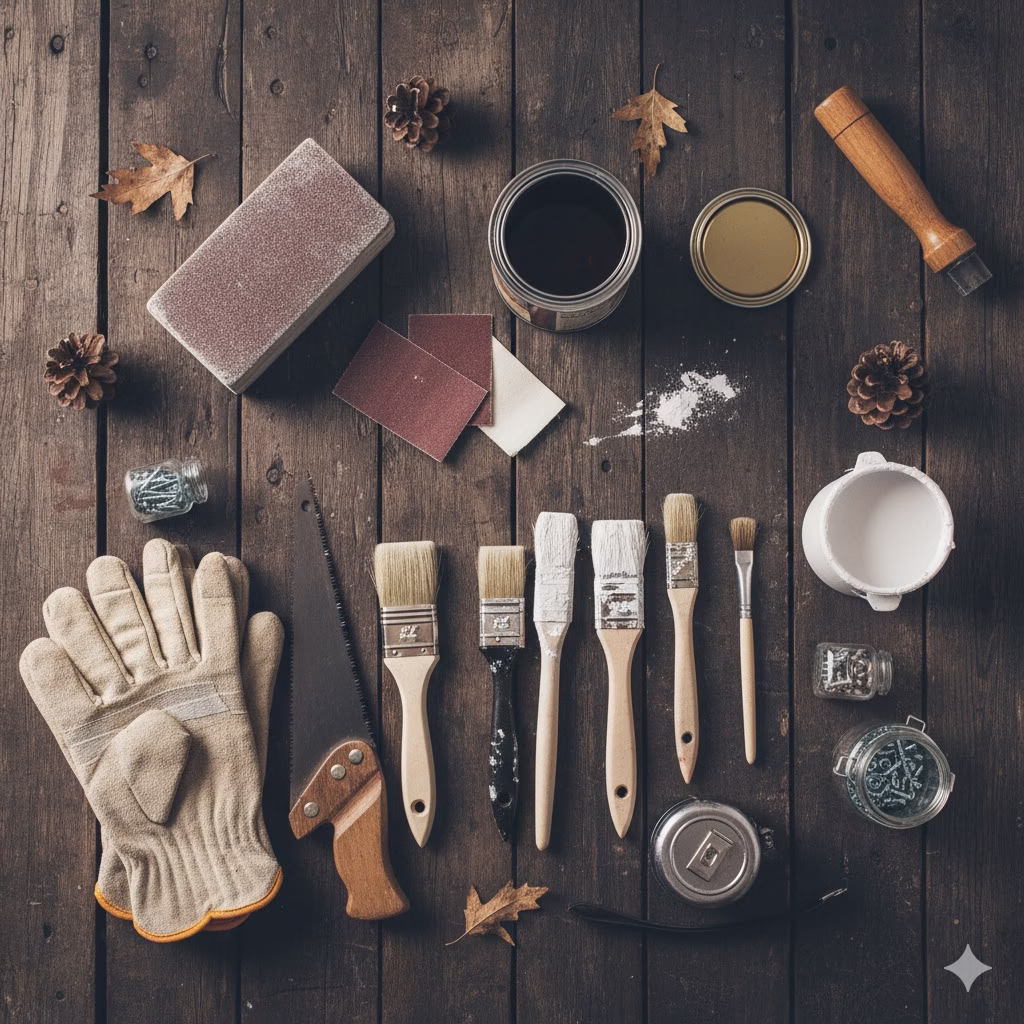
Tools and Tips for Successful Rustic DIY Ideas
No matter which of these DIY Ideas you choose, mastering a few basic techniques will ensure a professional-looking result for your DIY Room Décor projects:
- Sanding is Key: Always start with sanding. Even reclaimed wood benefits from a light sanding to prevent splinters and provide a smooth surface for painting or staining.
- The Power of Contrast: Use high-contrast colours (light wood/dark text or dark wood/light text). Rustic signs rely on bold, legible messages.
- Creating the Perfect Distress: For the most authentic rustic look, avoid sanding in the middle of the board. Focus your sanding on the edges and corners—the spots that would naturally show wear and tear over time.
- Transferring Text: For perfect lettering without a stencil, the pencil transfer method (as described in the chalkboard section) is foolproof. Alternatively, project the text onto the wood using a small digital projector and trace it.
- Sealing: Use a clear polyurethane spray (matte finish is best for rustic style) to seal your finished sign, protecting it from dust and moisture. This small step makes all the difference in the longevity of your Wall Décor.
Customizing Your Rustic Signs
The real joy of DIY Room Décor is in the personalization. Don’t be afraid to experiment with the following:
- Colour: While classic rustic uses whites, creams, blacks, and browns, consider adding a pop of a muted, earthy colour like sage green or dusty blue to complement your existing room palette.
- Hardware: Change the hanging method. Use decorative hooks, thick rope, leather straps, or simple sawtooth hangers to alter the feel.
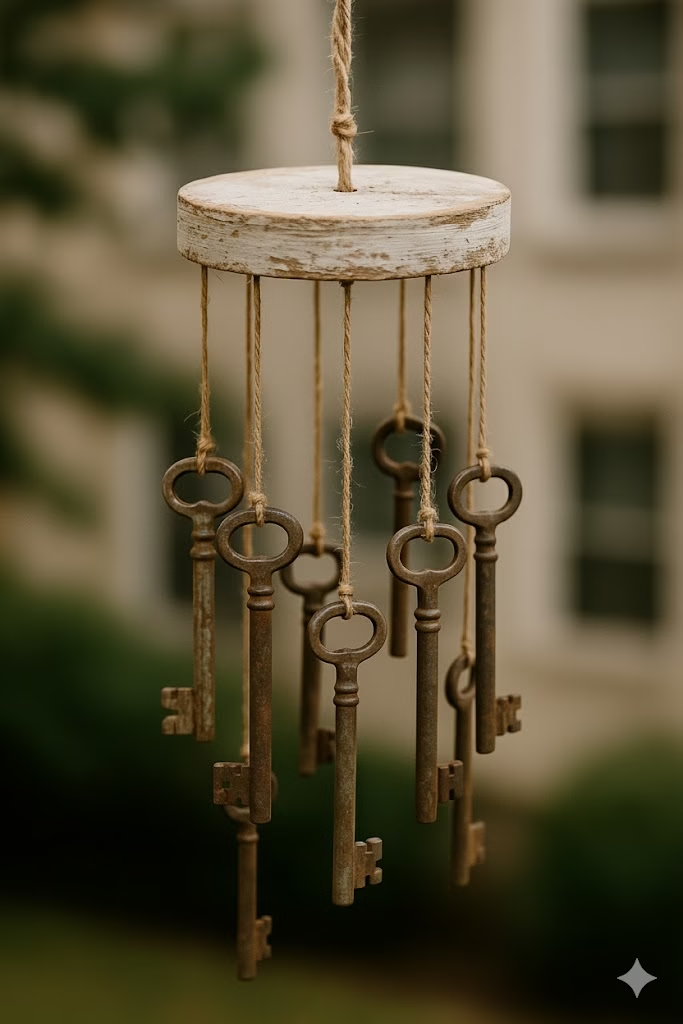
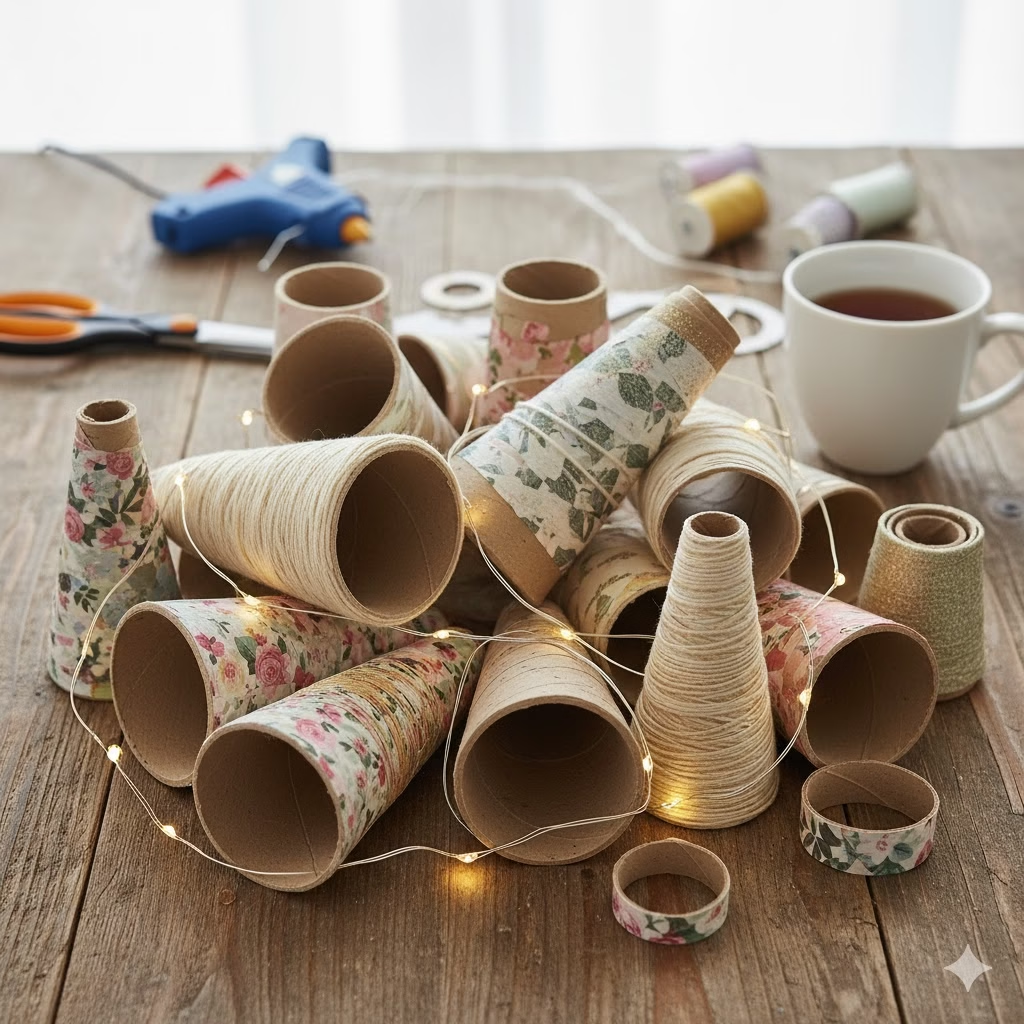
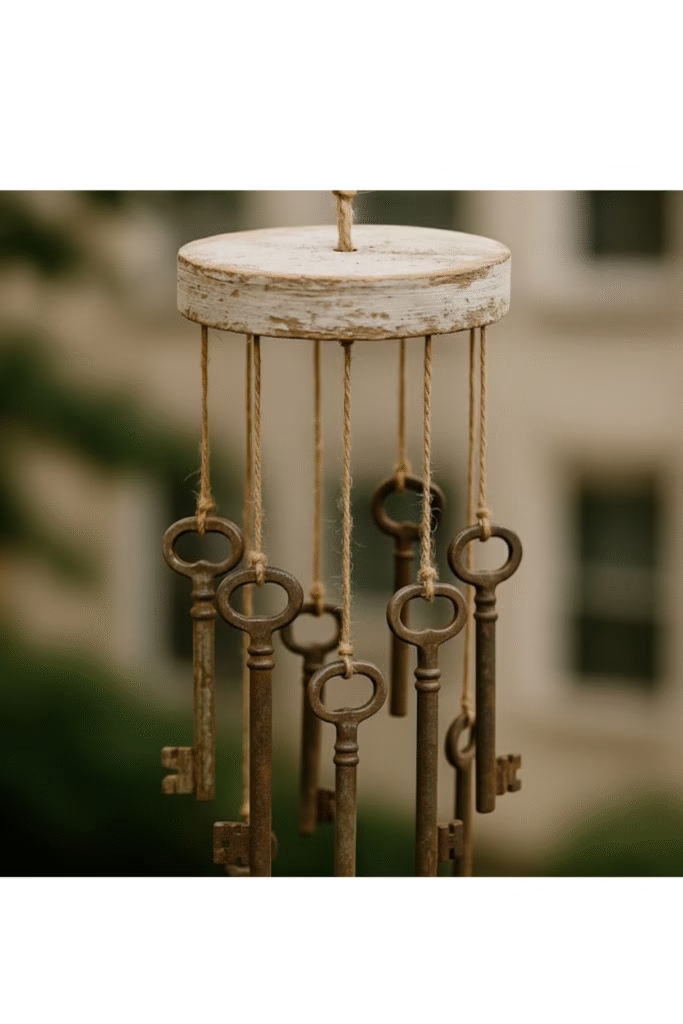
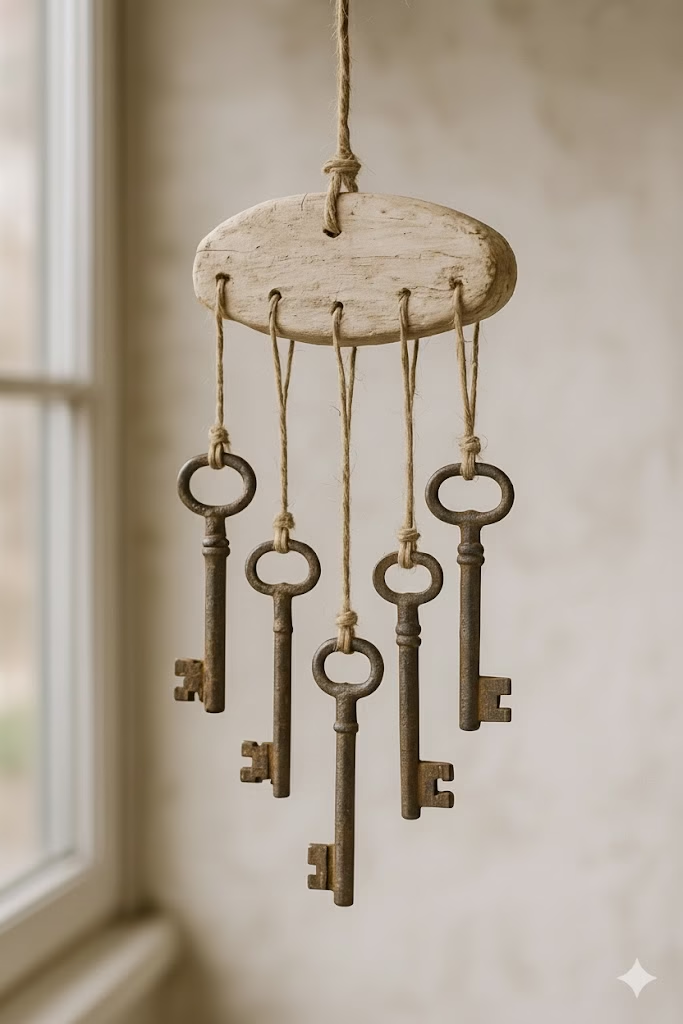
- Embellishments: Attach small metal accents, like antique keys, dried sprigs of lavender, or small galvanized steel letters to your finished sign for added texture and depth. These minor DIY Ideas can drastically change the final look.
By diving into these 10 DIY Ideas, you are not just saving money; you are cultivating a home environment that is uniquely yours. Each rustic sign you create becomes a conversation starter and a testament to the fact that elegant, cozy, and personal Wall Décor is entirely within reach. Embrace the process, enjoy the imperfections, and transform your space one beautiful sign at a time.
Frequently Asked Questions
Q: What is the best type of wood for rustic signs?
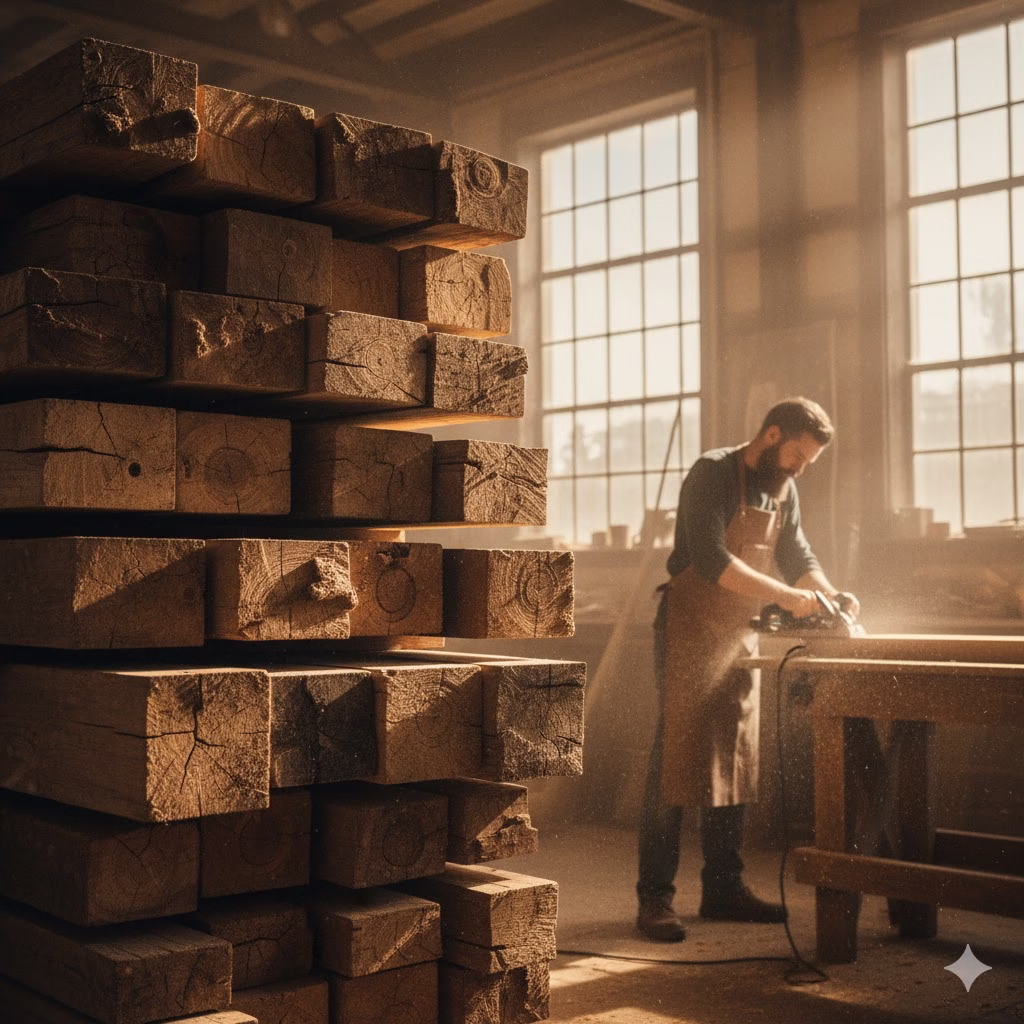
The best wood is often the most accessible and affordable. Pine is excellent for smooth surfaces. For true rustic charm, look for reclaimed pallet wood, fence posts, or scrap lumber from a local hardware store. The imperfections—knots, cracks, and uneven grain—are what give the sign character, which is the core goal of DIY Room Décor.
Q: How do I prevent paint from bleeding under the stencil?
There are two highly effective DIY Ideas to prevent paint bleed. First, use a small amount of stencil adhesive spray on the back of the stencil. Second, and most importantly, use the “dry brush” technique: dip your brush, then wipe most of the paint off onto a paper towel before dabbing it onto the stencil. Use multiple thin coats rather than one thick, wet coat.
Q: Can I use outdoor signs indoors?
Yes, you can. Signs sealed with outdoor polyurethane are highly durable and perfect for high-moisture areas inside your home, such as bathrooms or kitchens. The extra protection is a beneficial aspect of your DIY Wall Décor.
Q: What is the easiest way to hang heavy rustic signs?
For large or heavy signs, always use D-rings or picture wire securely fastened to the back. Use appropriate wall anchors (like toggle bolts or self-drilling anchors) when hanging into drywall to ensure your DIY Room Décor is safely secured.
Q: Where can I find affordable paint for these projects?
Look for sample pots of latex paint at hardware stores; they are often available for a few dollars and are perfect for smaller projects like these DIY Ideas. Chalk paint is also excellent for rustic looks and a small amount goes a long way.
References
- Spero Recovery – 5 Psychological and Social Benefits of Woodworking
- Foyr – Upcycling in Interior Design: Repurpose Home Decor Items
Recent Posts