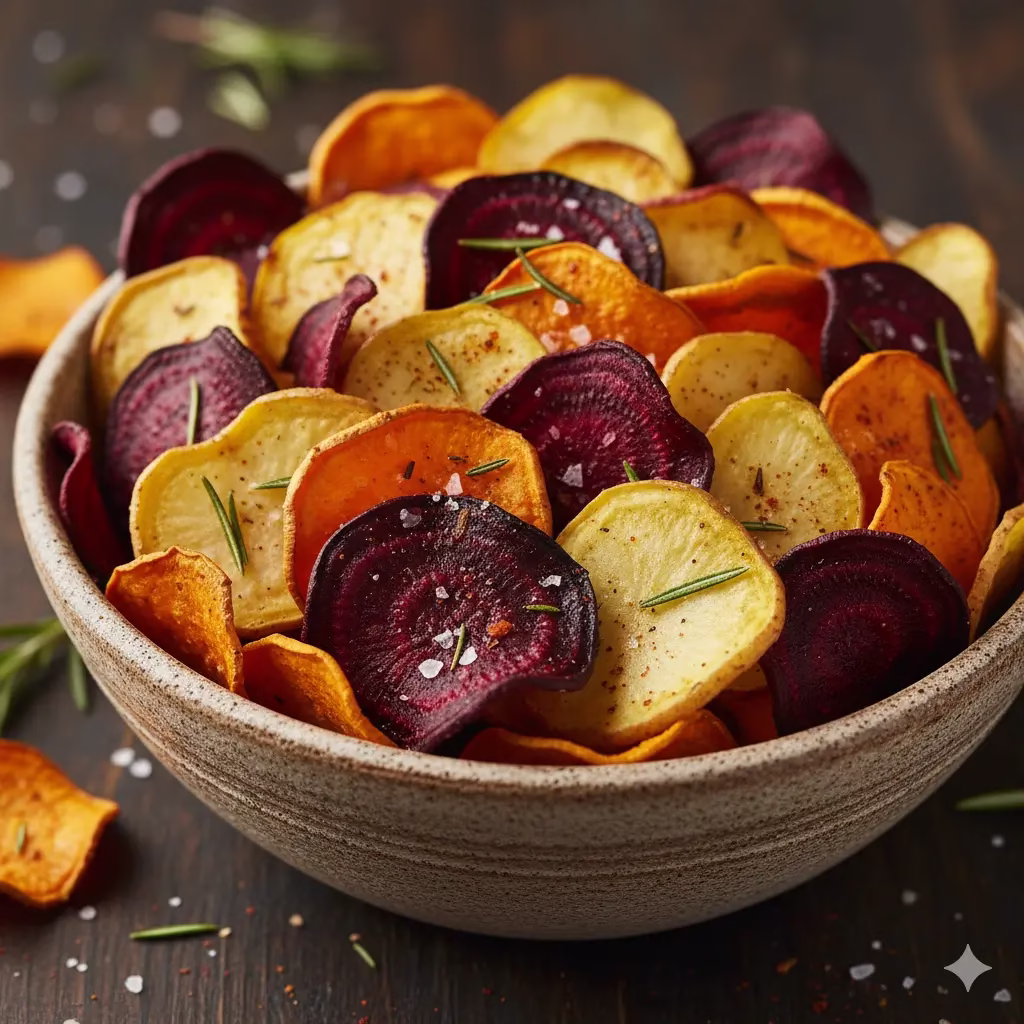
Discover the delightful crunch of homemade root vegetable chips! This article guides you through selecting, preparing, and frying a variety of root vegetables into healthy, satisfying snacks. Elevate your snack game with these wholesome and flavorful root vegetable treats.
A Fresh Take on Snack Time with Root Vegetables
Are you tired of the same old snacks? Do you want a treat that is both crunchy and good for you? Look no further than root vegetables. These amazing plants grow underground and are perfect for turning into crispy, homemade chips. Forget about processed snacks from the store. Making your own root vegetable chips is a healthier, more delicious choice. It is also surprisingly easy.
Creating your own chips gives you full control. You can choose the oil you use and the spices you add. This lets you make a snack that fits your diet. It’s also fun to try different flavors. There is a special joy in turning a whole vegetable into a golden, crunchy chip. It is a cooking adventure that offers both good nutrition and great taste.
The Power of Root Vegetables: A Healthy Choice
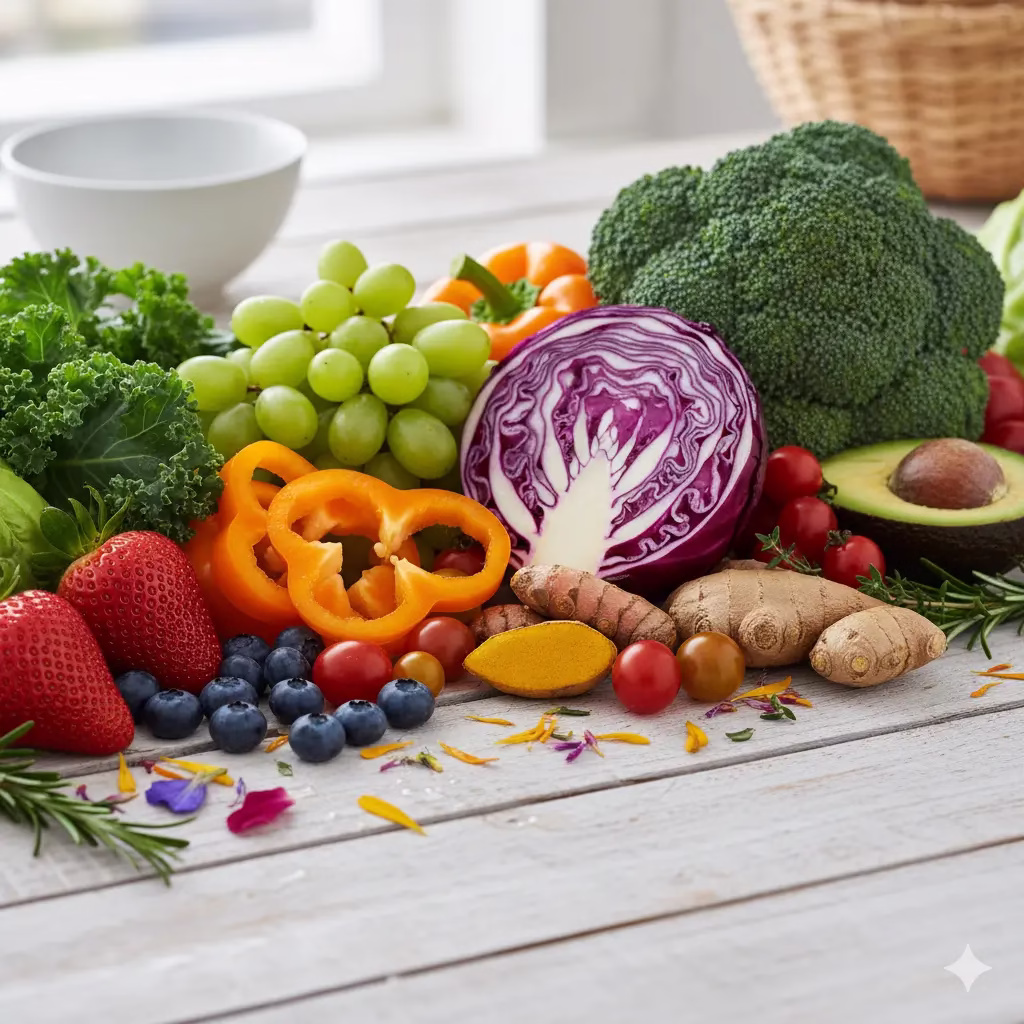
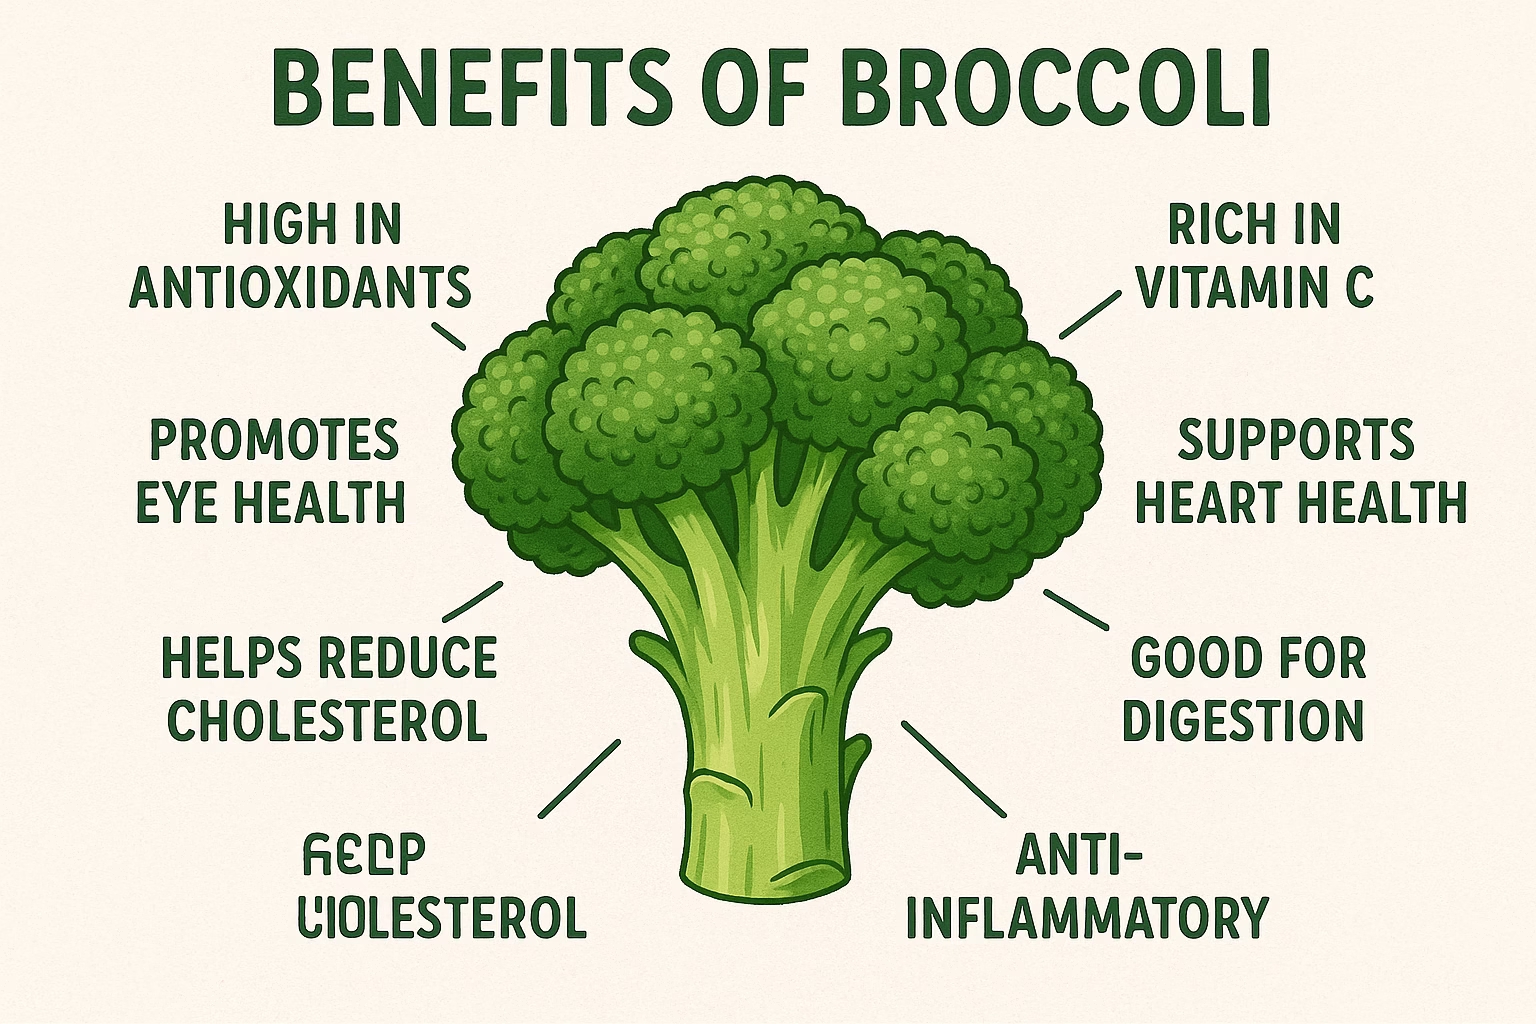
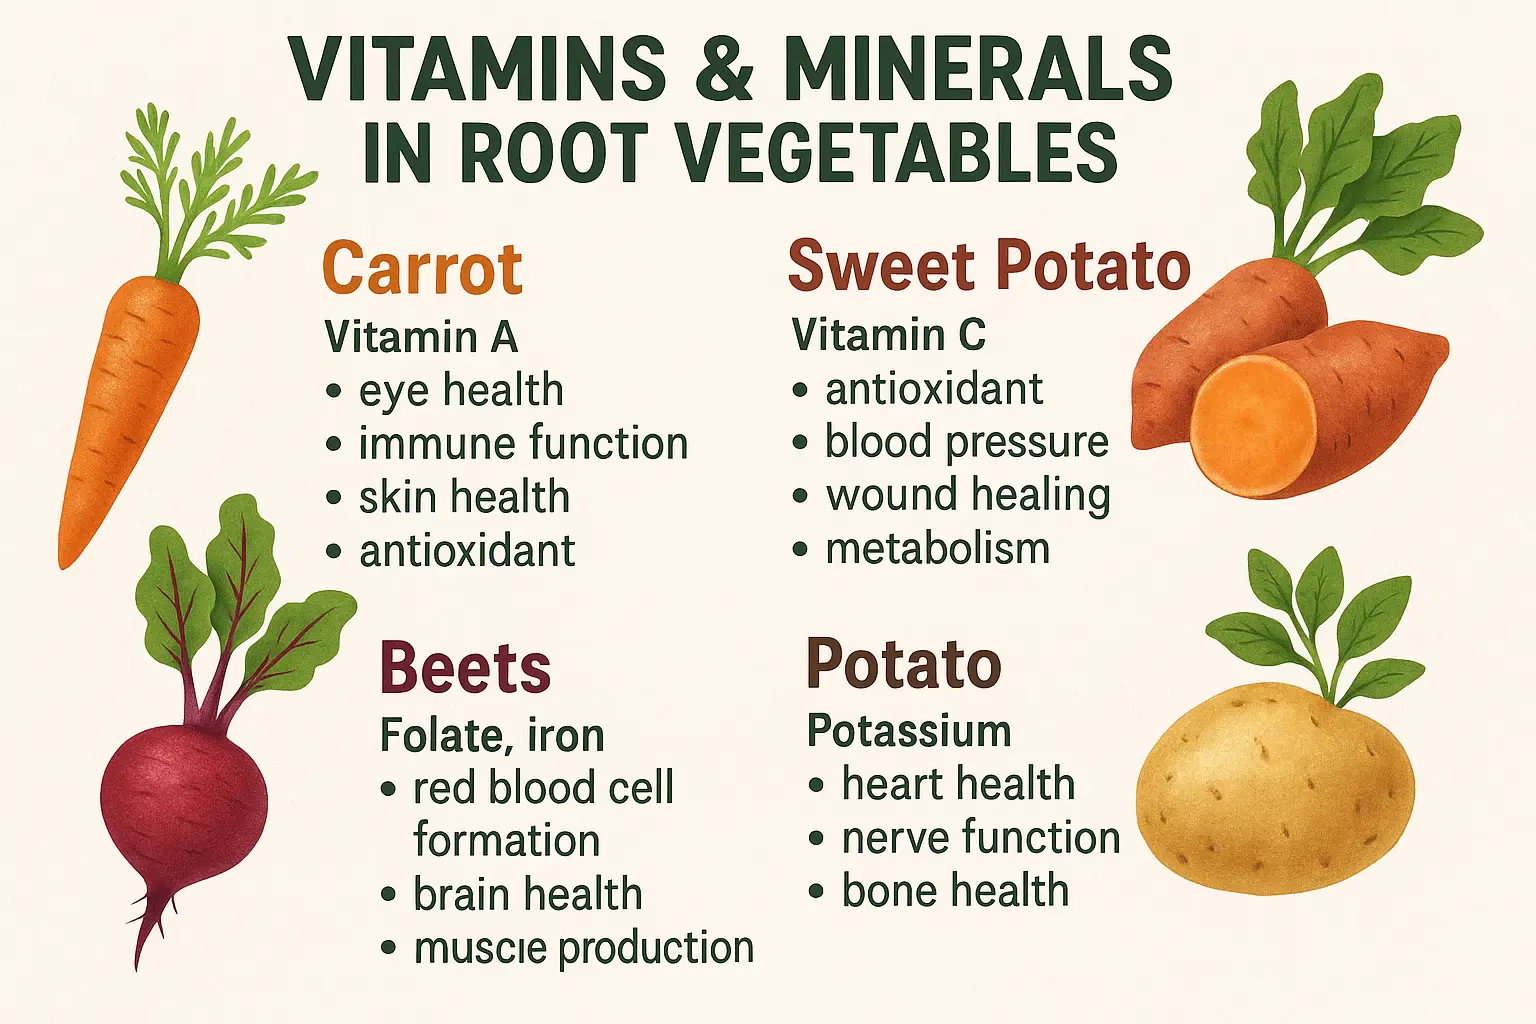
Root vegetables are full of good things. They have lots of fiber, vitamins, and minerals. Unlike many processed snacks, chips made from root vegetables give you lasting energy. They are a good part of a balanced diet. Their natural sweetness and earthy flavors become even better when you slice and cook them. This makes a complex taste you will love. From bright red beets to pale yellow parsnips, each root brings its own unique flavor to the bowl.
This article will show you how to pick and prepare ten great root vegetables for making chips. We will cover everything you need to know. You’ll learn how to slice them right and how to get them perfectly crispy. Get ready to find a world of new, healthy snack ideas.
So, let’s start our journey into the world of root vegetable chips. It doesn’t matter if you cook a lot or are just starting out. Our easy steps and helpful tips will help you make a great snack. Prepare to amaze yourself and your family with these homemade treats!
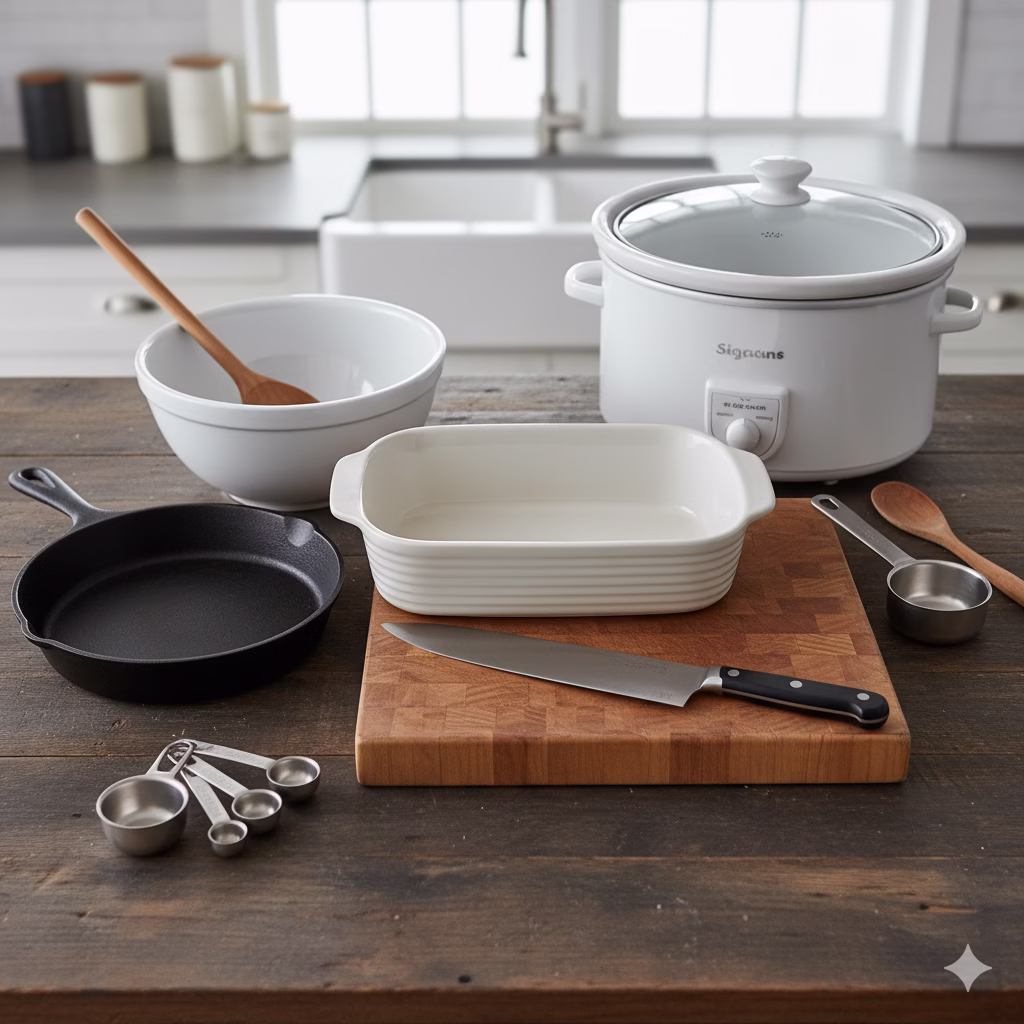
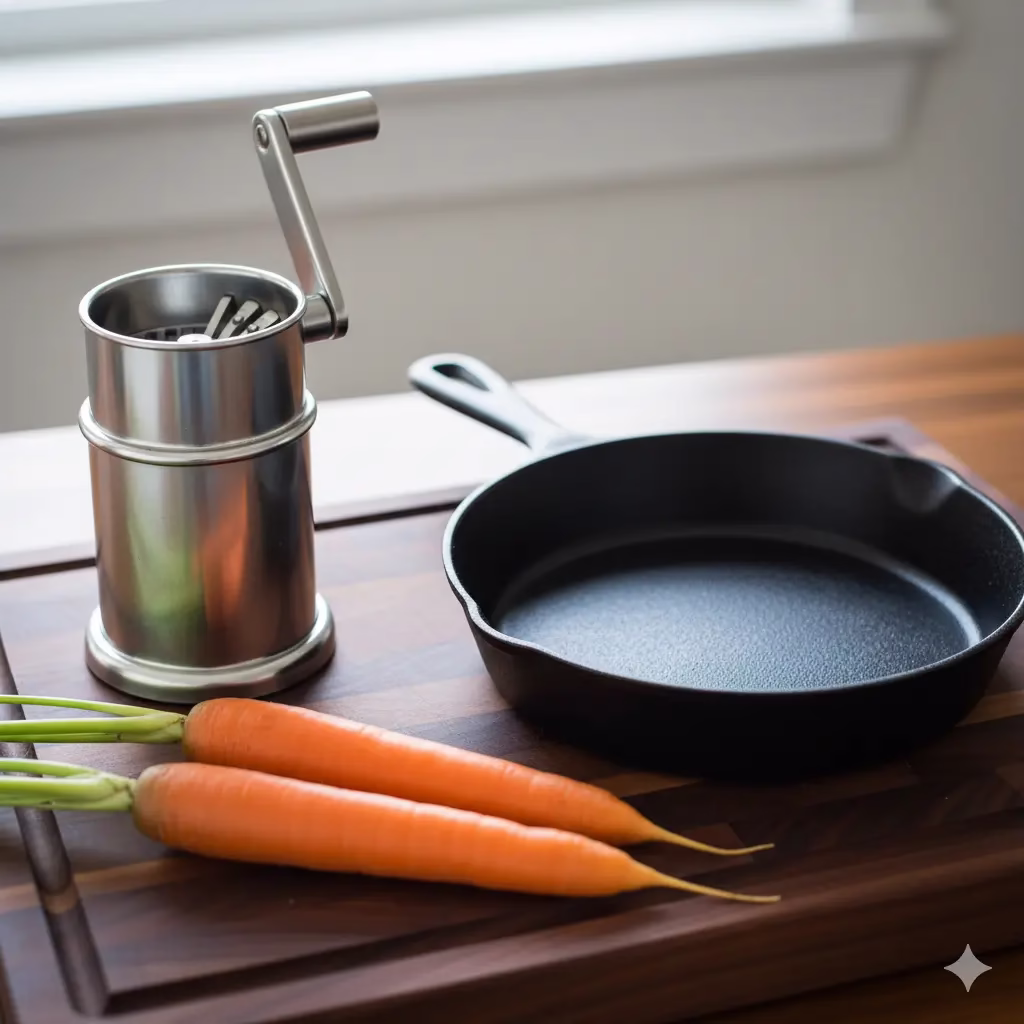
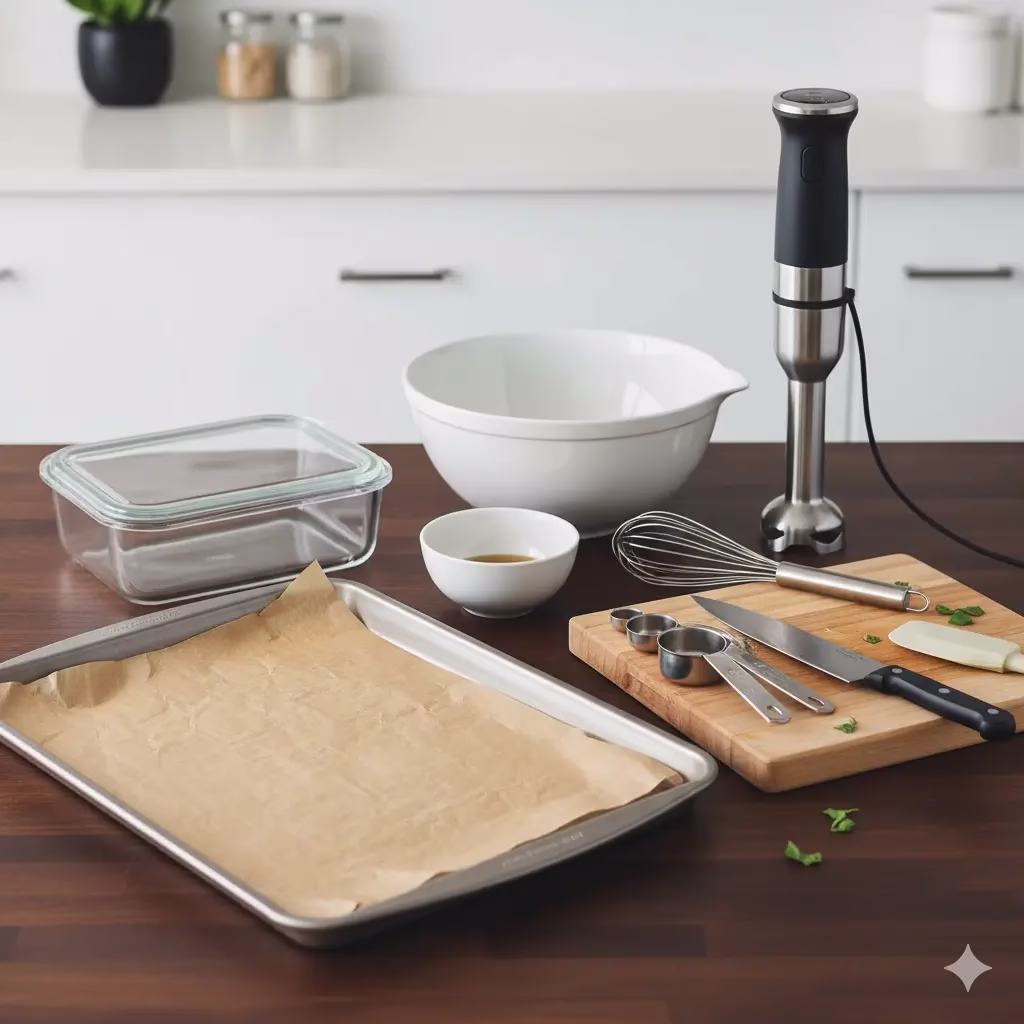
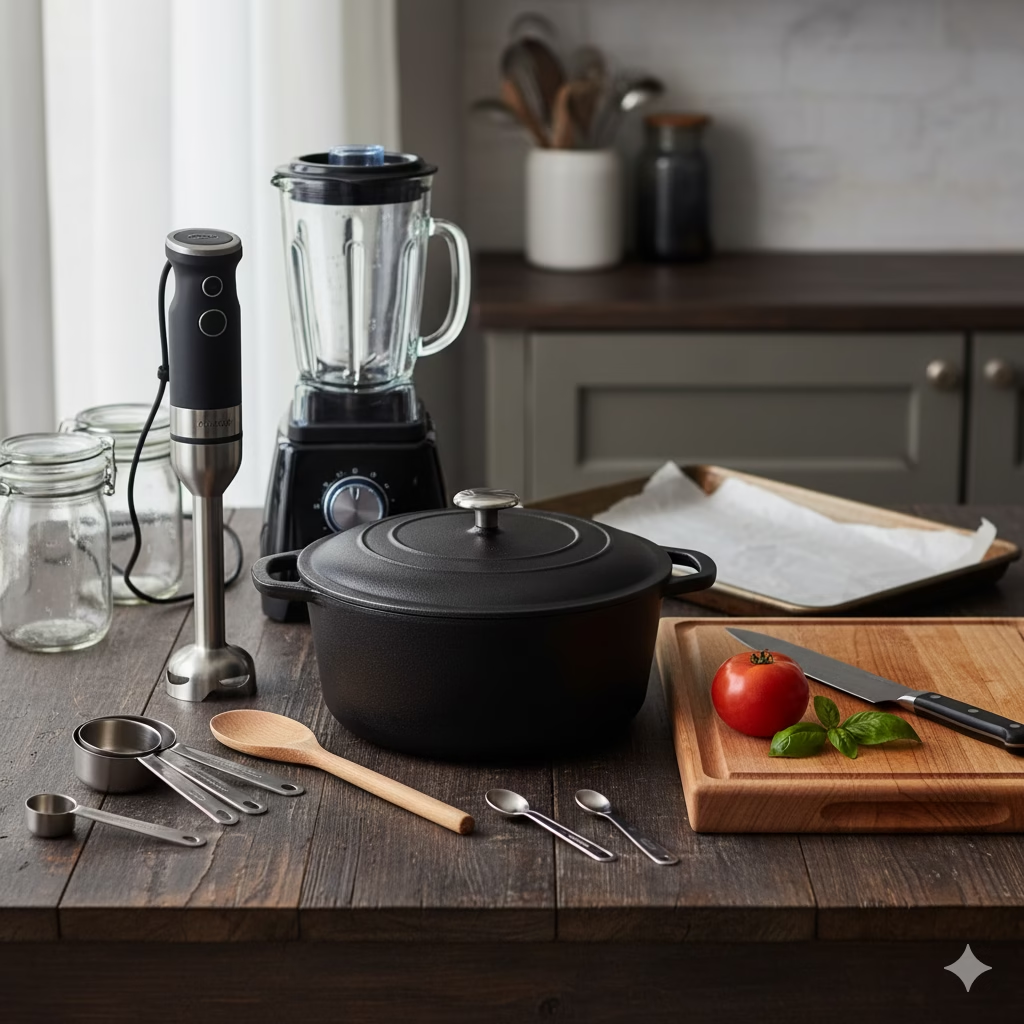
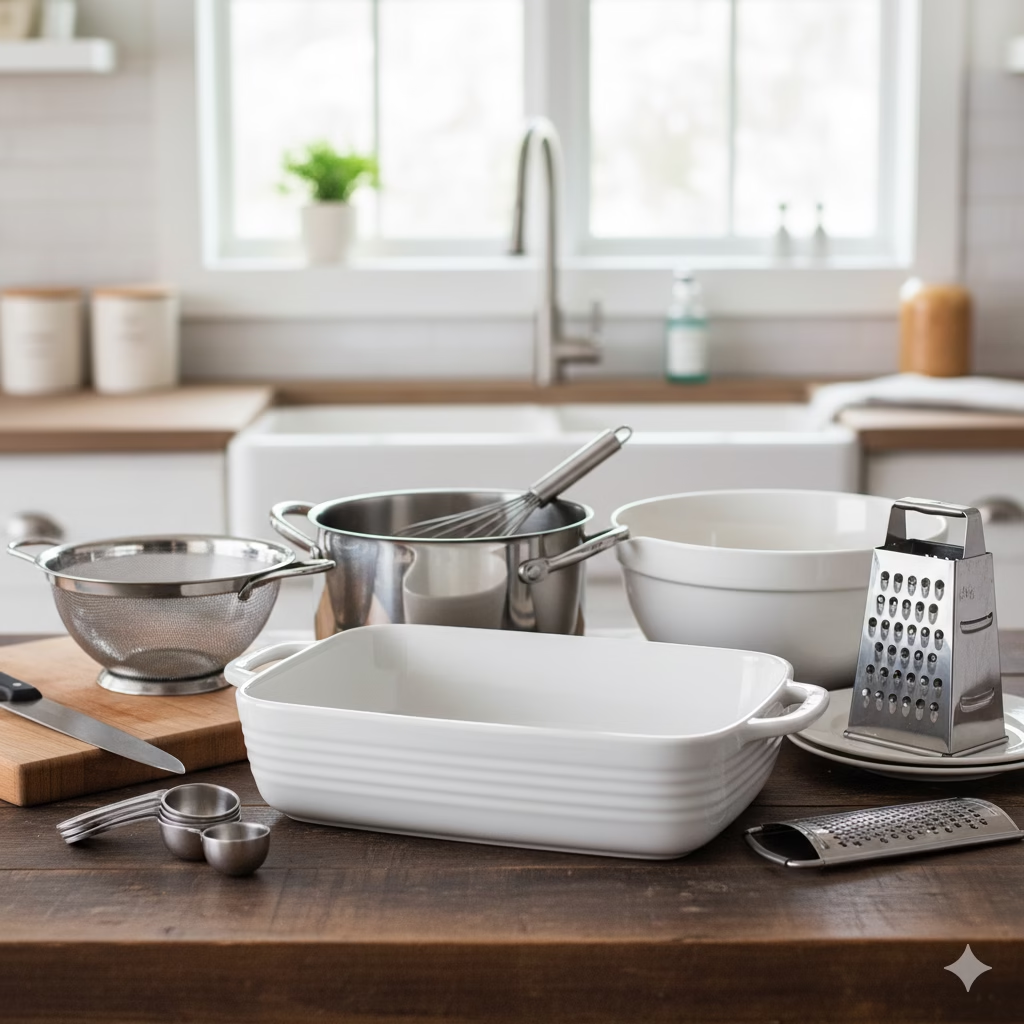
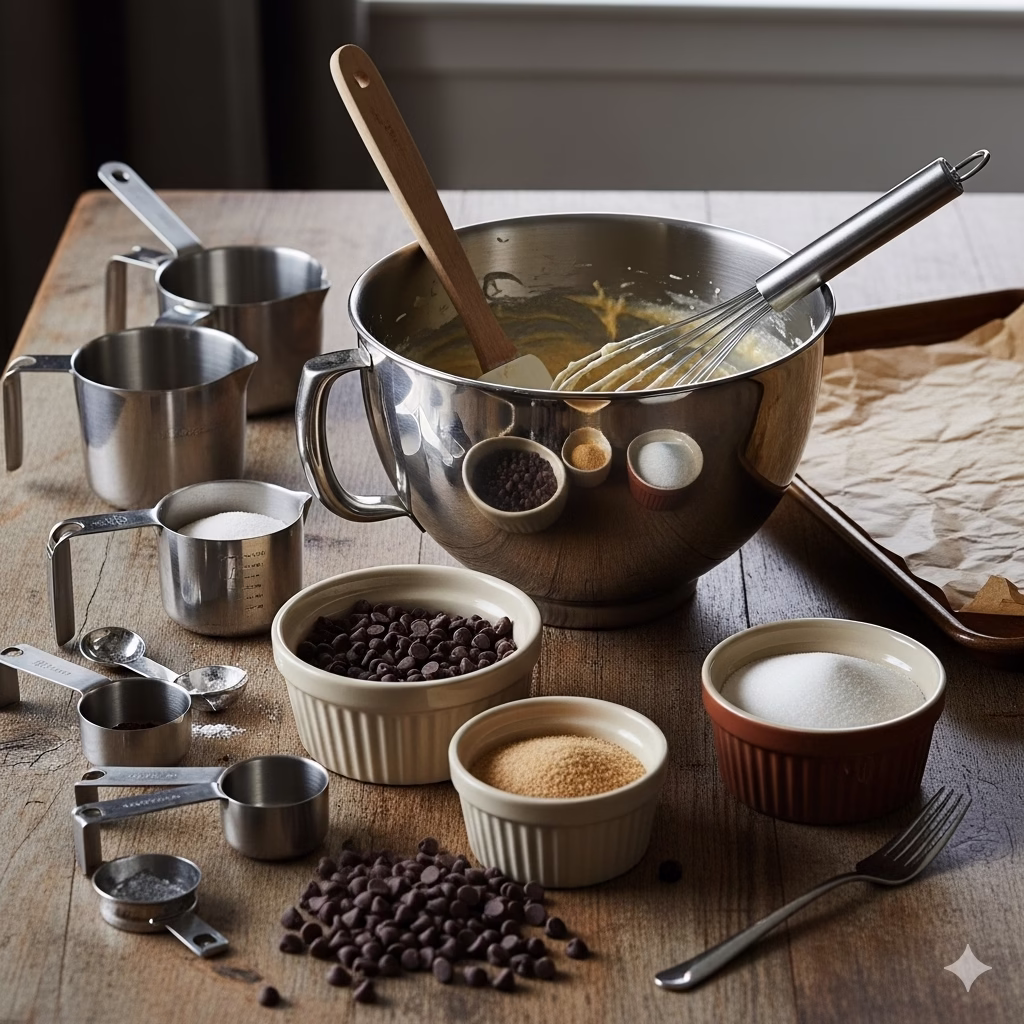
What You’ll Need
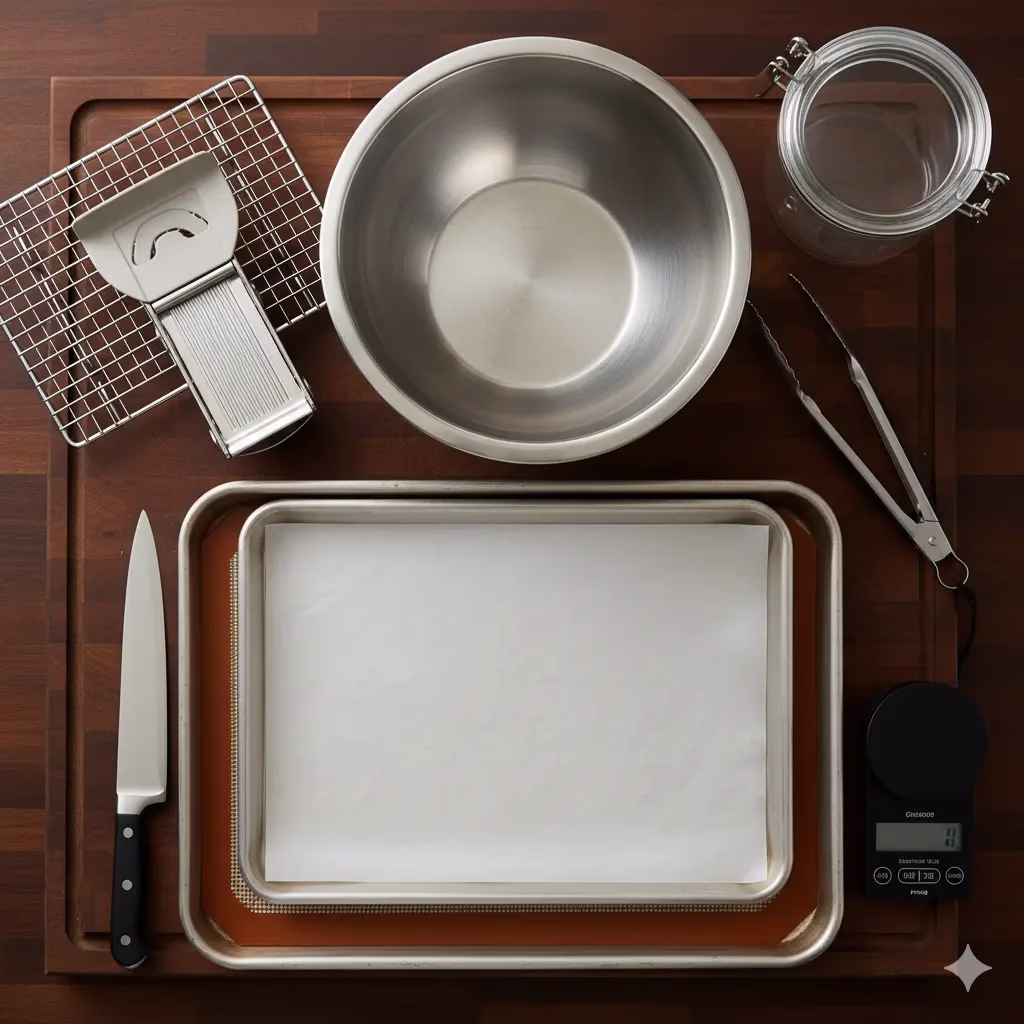
- Large mixing bowls
- A sharp knife or a mandoline slicer
- Baking sheets
- Parchment paper or silicone baking mats
- Tongs
- A cooling rack
- An airtight container for storage
- Optional: Deep fryer or air fryer
Time to Prepare your Root Vegetables
- Prep Time: 25-35 minutes (depending on how you slice them)
Time to Cook
- Bake Time: 20-30 minutes
- Fry Time: 3-5 minutes per batch
- Air Fry Time: 15-20 minutes
Servings
- 4-6 servings
Nutritional Information (approximate per serving)
- Calories: 150-200 kcal
- Fat: 8-12g
- Saturated Fat: 1-2g
- Carbohydrates: 20-25g
- Fiber: 3-5g
- Protein: 1-2g
- Sodium: 100-200mg (varies with seasoning)
- Note: These numbers can change based on the vegetables, oil, and cooking method you choose.
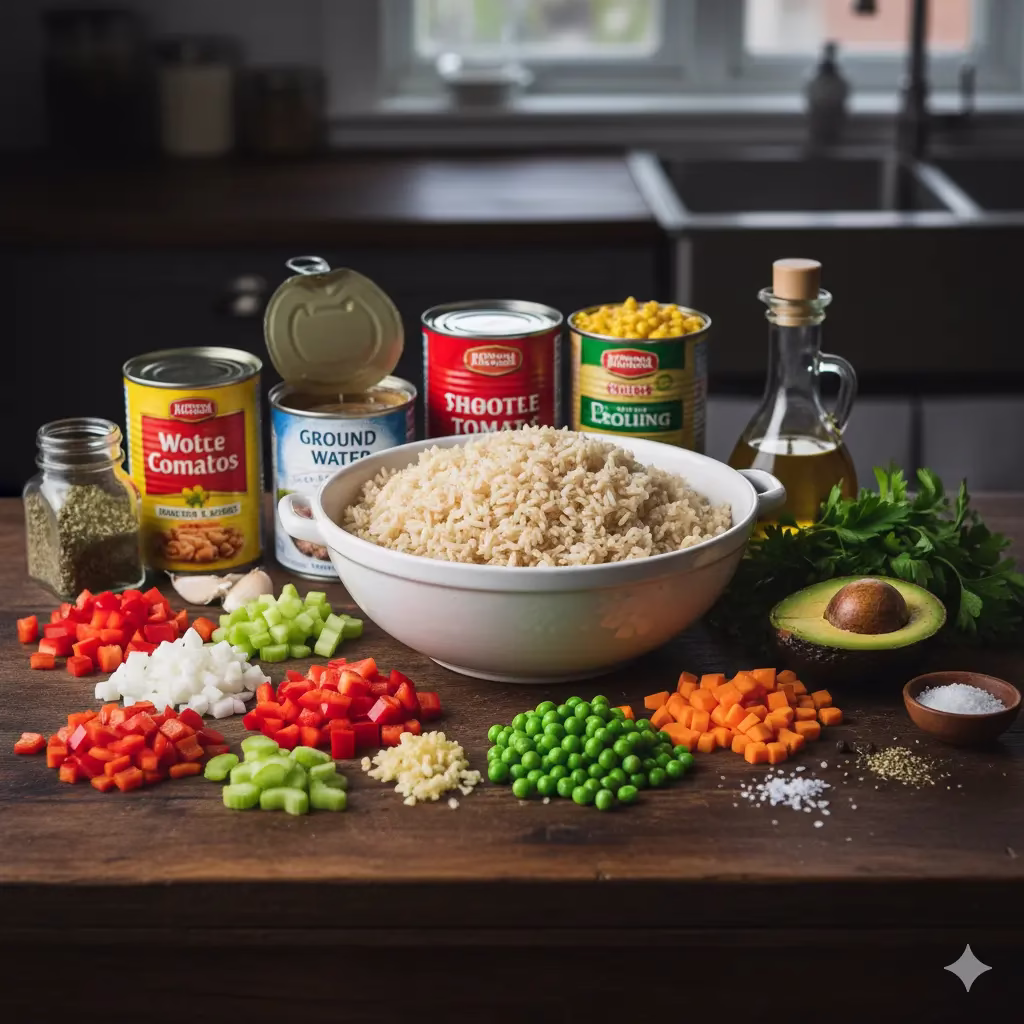
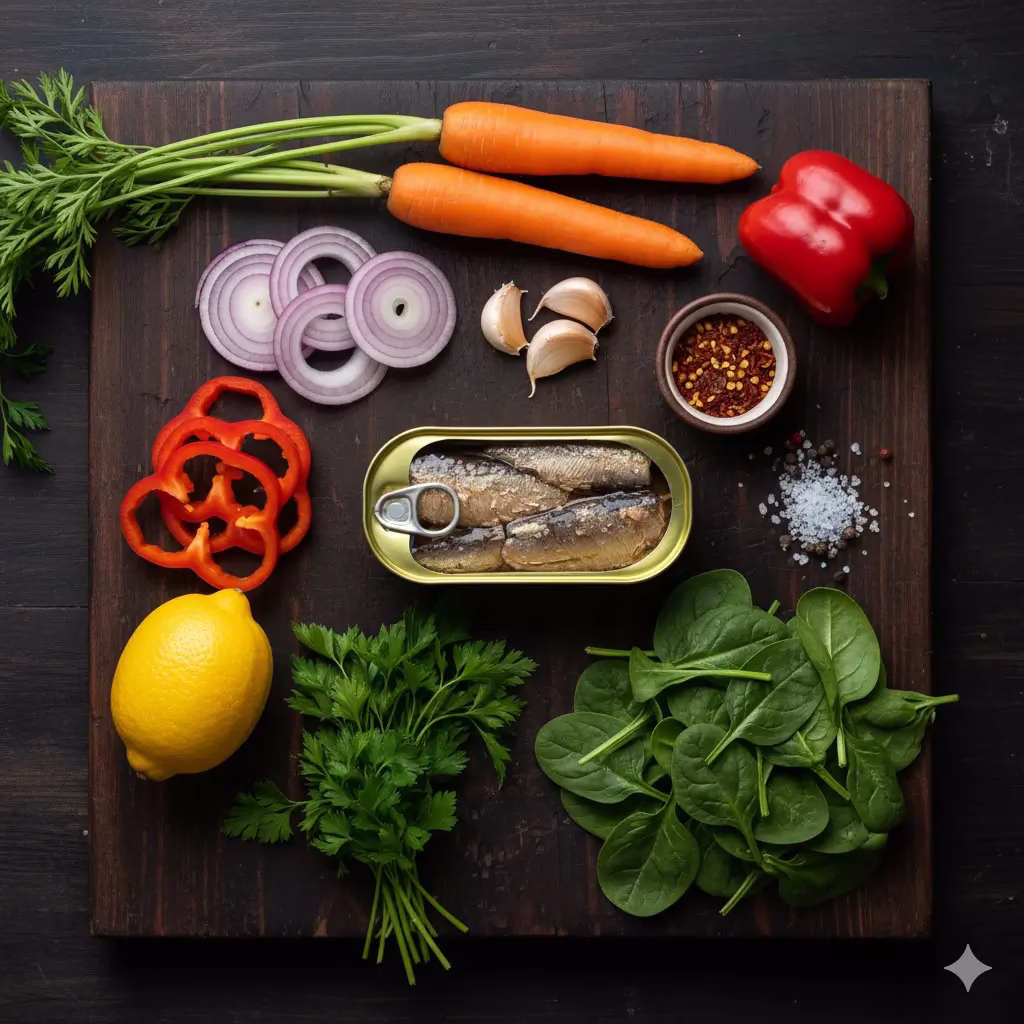
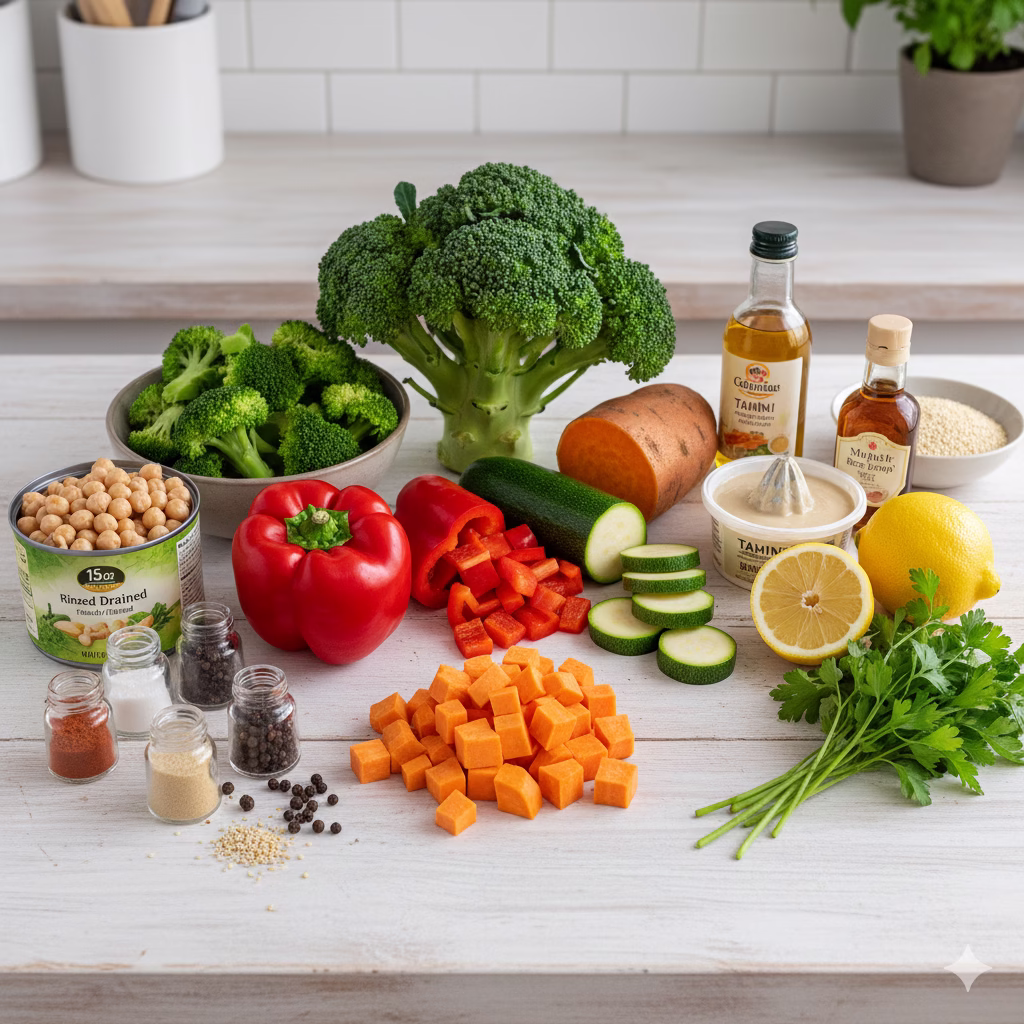
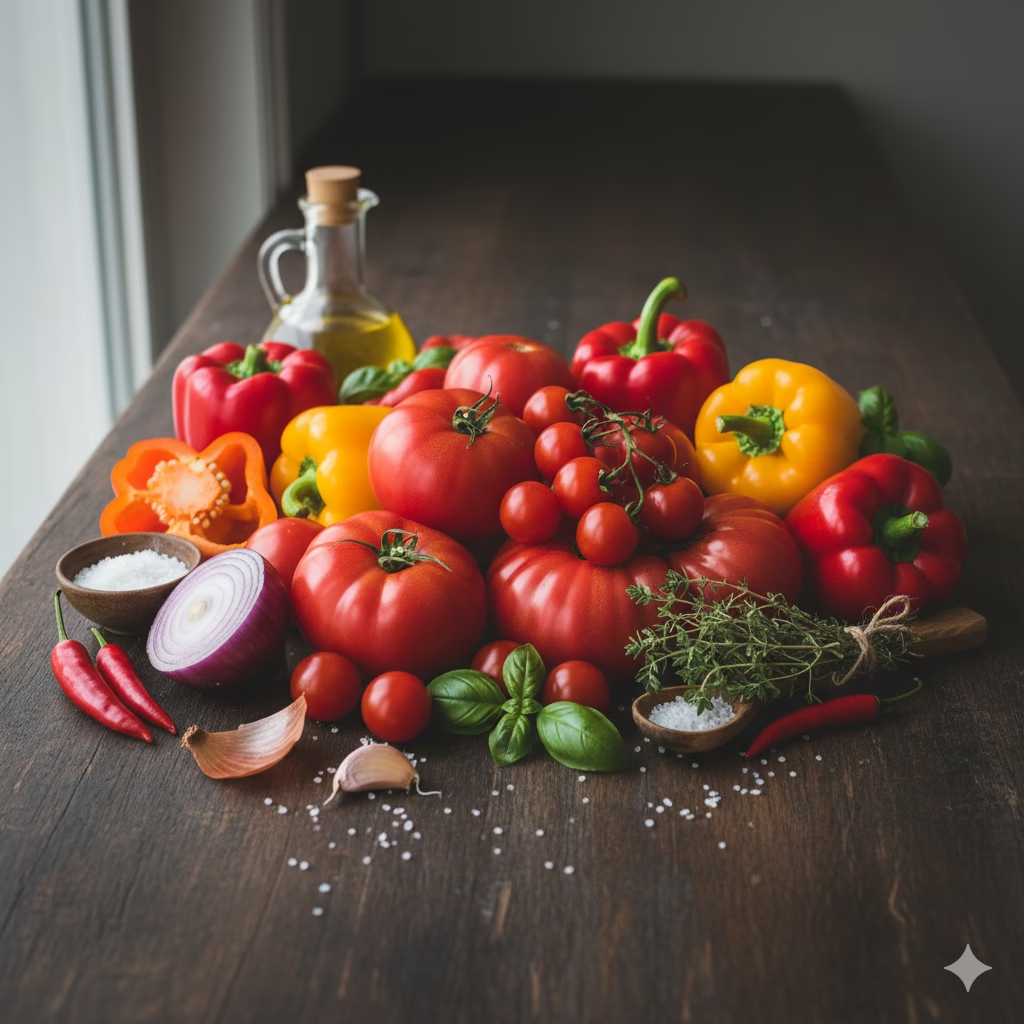
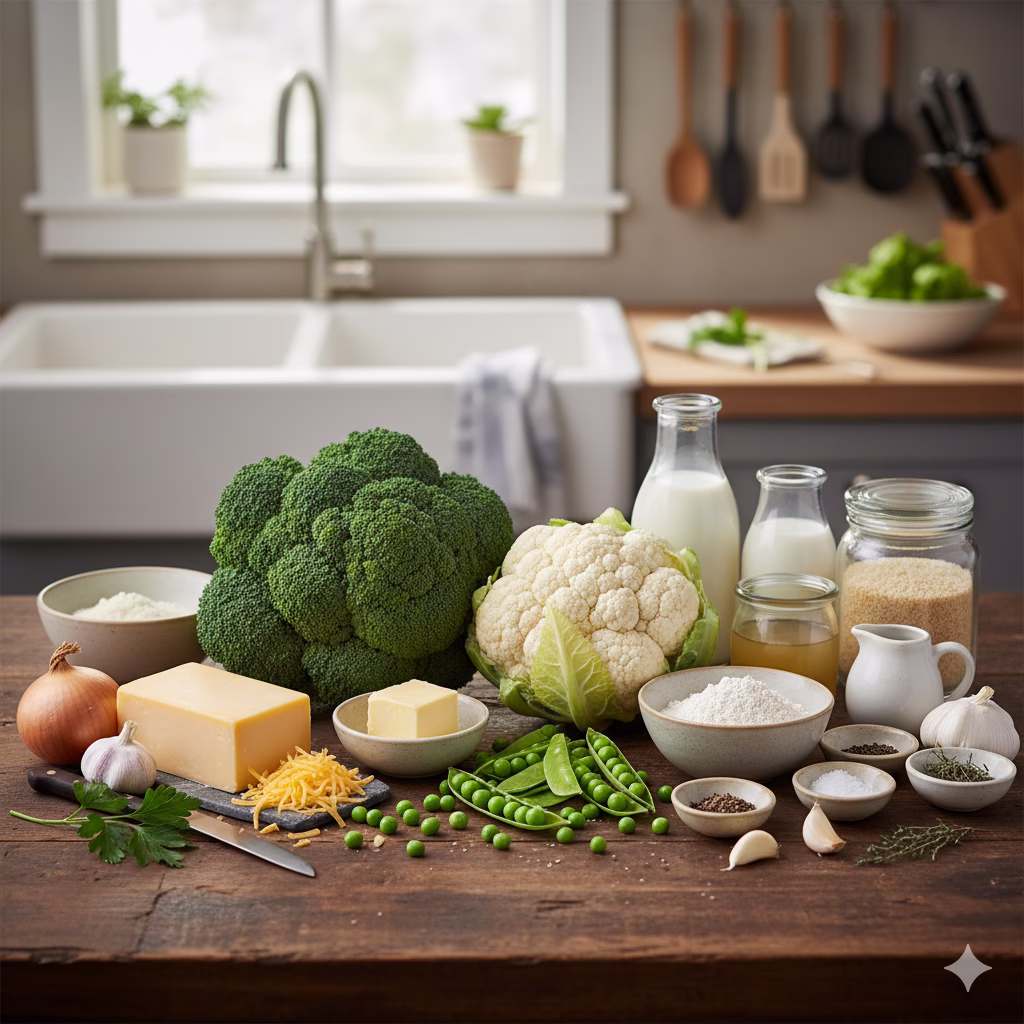
Ingredients for Your Chips

Gather these fresh and tasty items for your chip-making fun!
- The Root Vegetables (pick 3-4 for a mixed bag):
- medium sweet potatoes (2)
- 2 medium beets (red or golden)
- 2 medium parsnips
- medium carrots (2)
- 1 large celery root (celeriac)
- A large rutabaga
- 1 large turnip
- 2 medium Yukon Gold potatoes
- A large daikon radish
- 1 large taro root
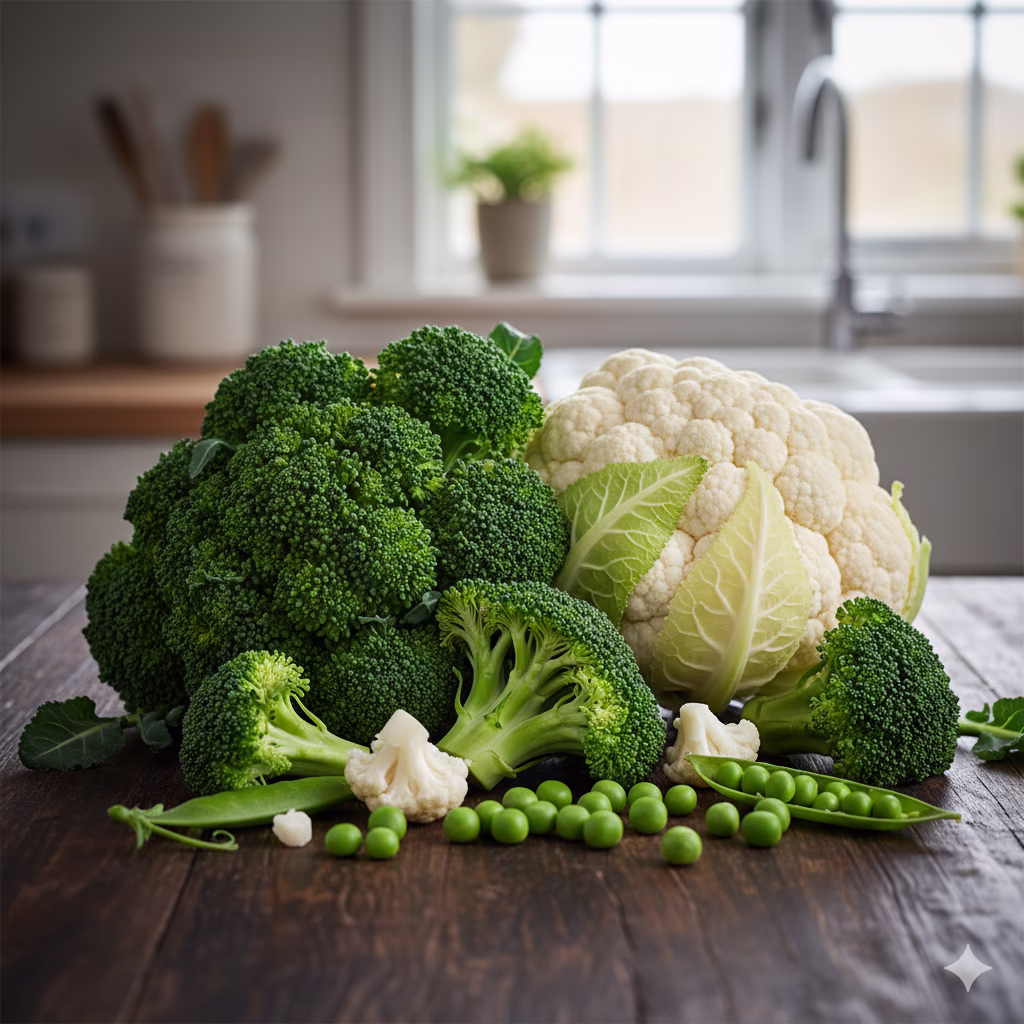
- A cup green beans, ends trimmed
- 1 cup broccoli florets, small
- Healthy Oils:
- 2-3 tablespoons of olive oil, avocado oil, or coconut oil
- Seasonings:
- 1 teaspoon sea salt (or to your liking)
- ½ teaspoon black pepper (freshly ground is best)
- Optional: ½ teaspoon smoked paprika, ¼ teaspoon garlic powder, ¼ teaspoon onion powder, a little cayenne for heat, or fresh herbs like rosemary or thyme
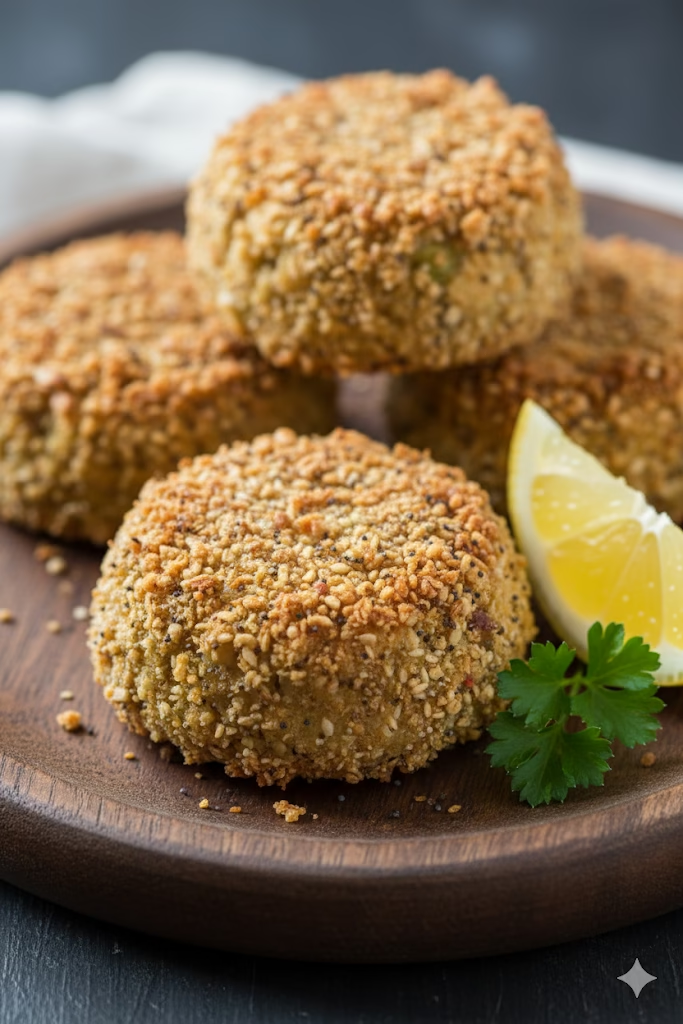
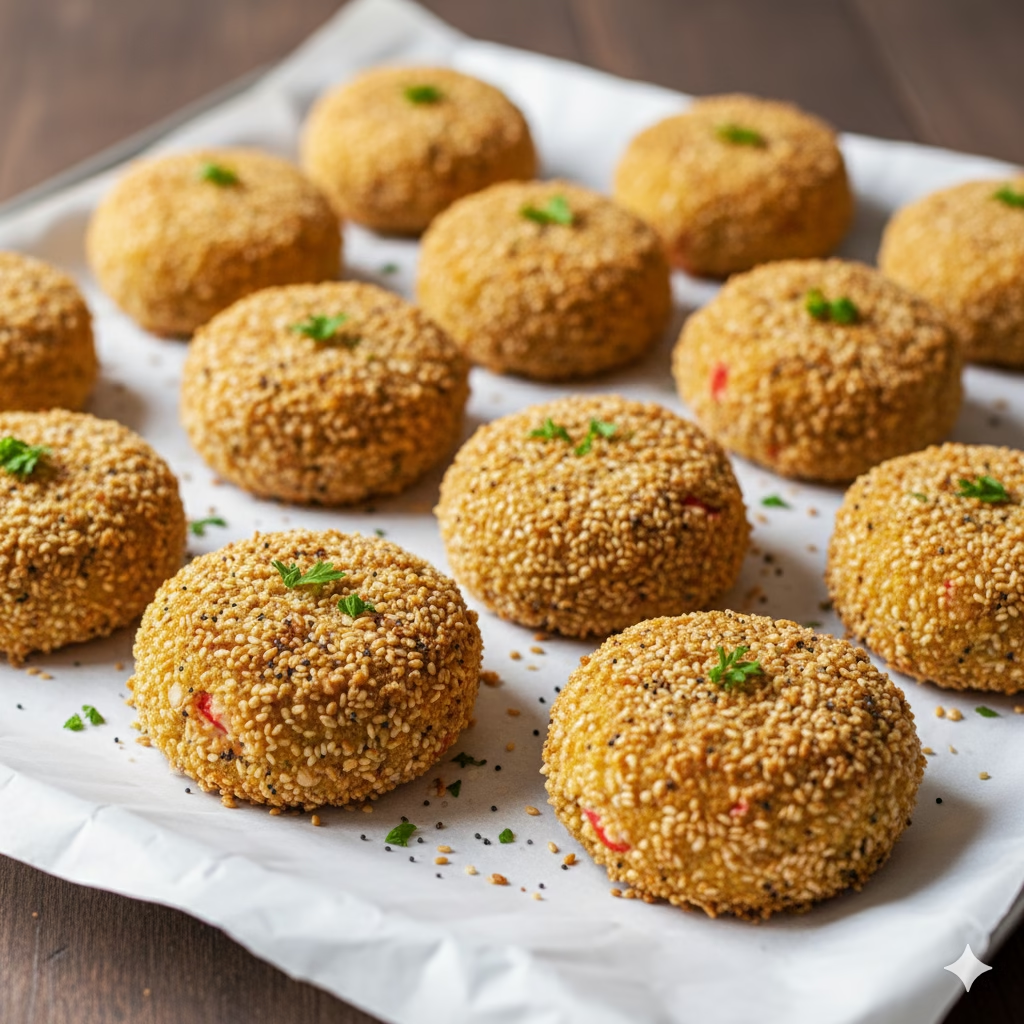
How to Make Crispy Root Vegetable Chips
Follow these simple steps to turn your raw vegetables into a great snack. You can choose to bake, air fry, or deep fry them.
Getting Ready to Cook your Root Vegetables
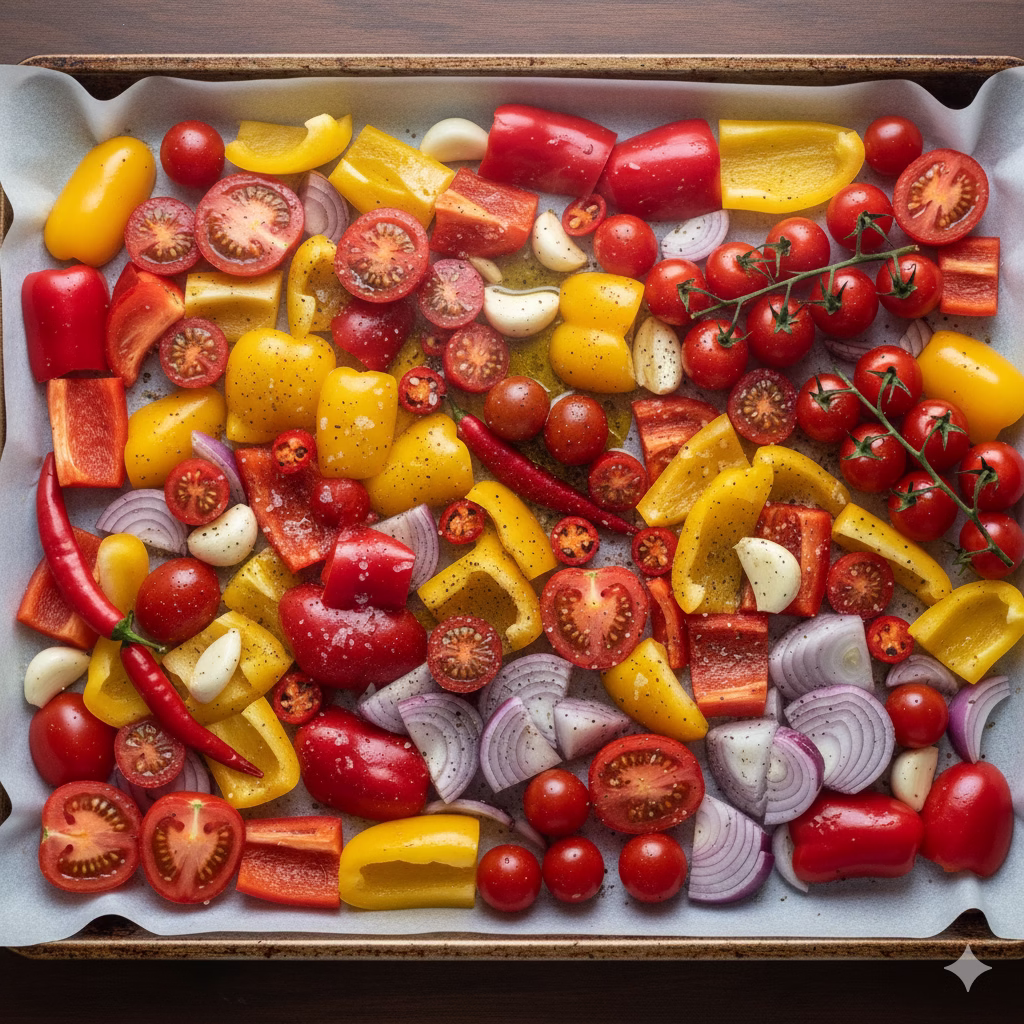
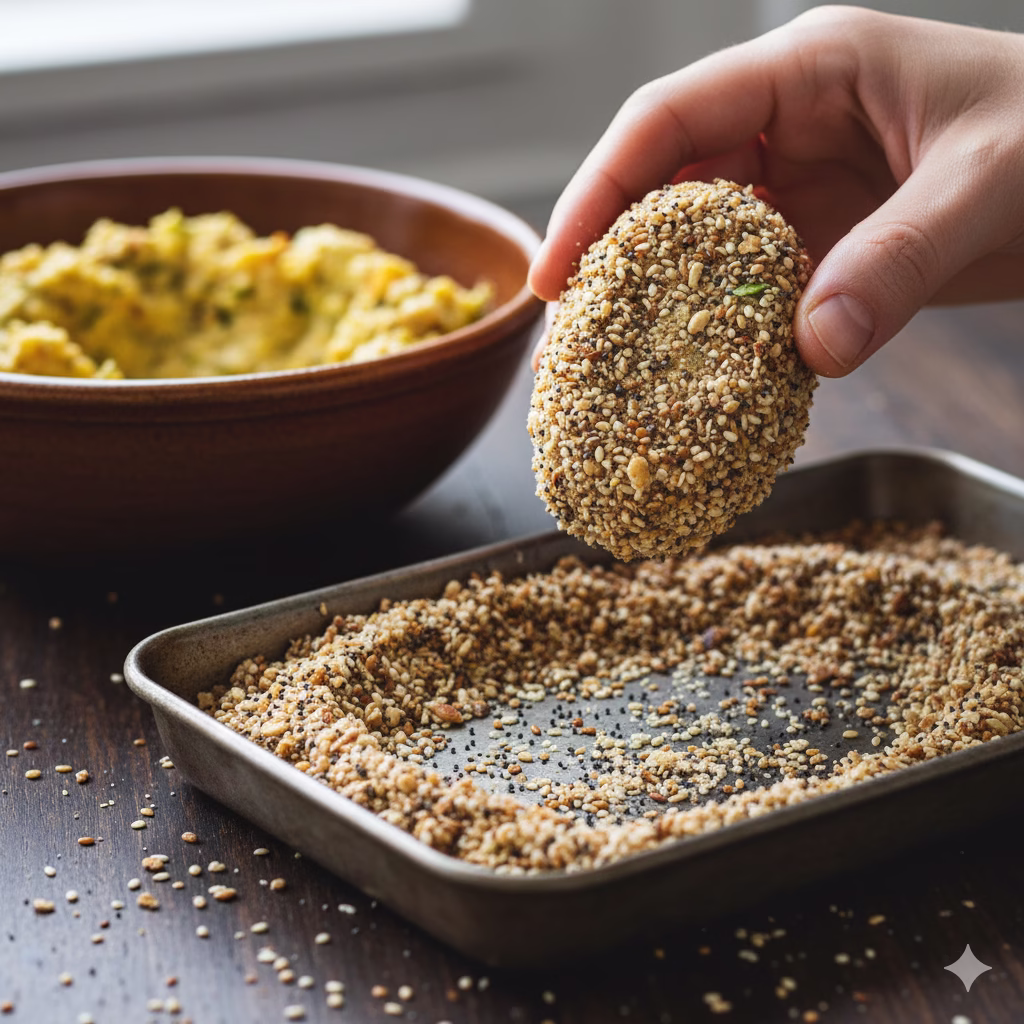
- Wash and Peel: First, wash all the vegetables well. Use a vegetable brush to scrub off any dirt. For most roots, you will need to peel them. For beets and daikon radish, you can leave the skin on for a more rustic look. Just be sure to scrub them very well.
- Slice Thinly: This is the most important step for crispy chips. The thinner and more even your slices are, the better your chips will be.
- Using a Mandoline Slicer: This tool makes super-thin, even slices (about 1/16 to 1/8 inch thick). Always use the safety guard to protect your fingers.
- Using a Knife: If you use a sharp knife, take your time. Cut each vegetable as thinly as you can. It takes patience.
- For Green Beans and Broccoli: Just trim the ends of the beans and break the broccoli into small, even pieces.
- Soak (for some roots): For potatoes, taro, and other starchy vegetables, you can soak the slices in cold water for 15-30 minutes. This helps remove extra starch and makes them crispier. After soaking, drain the water. Then, spread the slices on a clean towel. Pat them completely dry. Any water left on them will make them steam instead of crisp up.
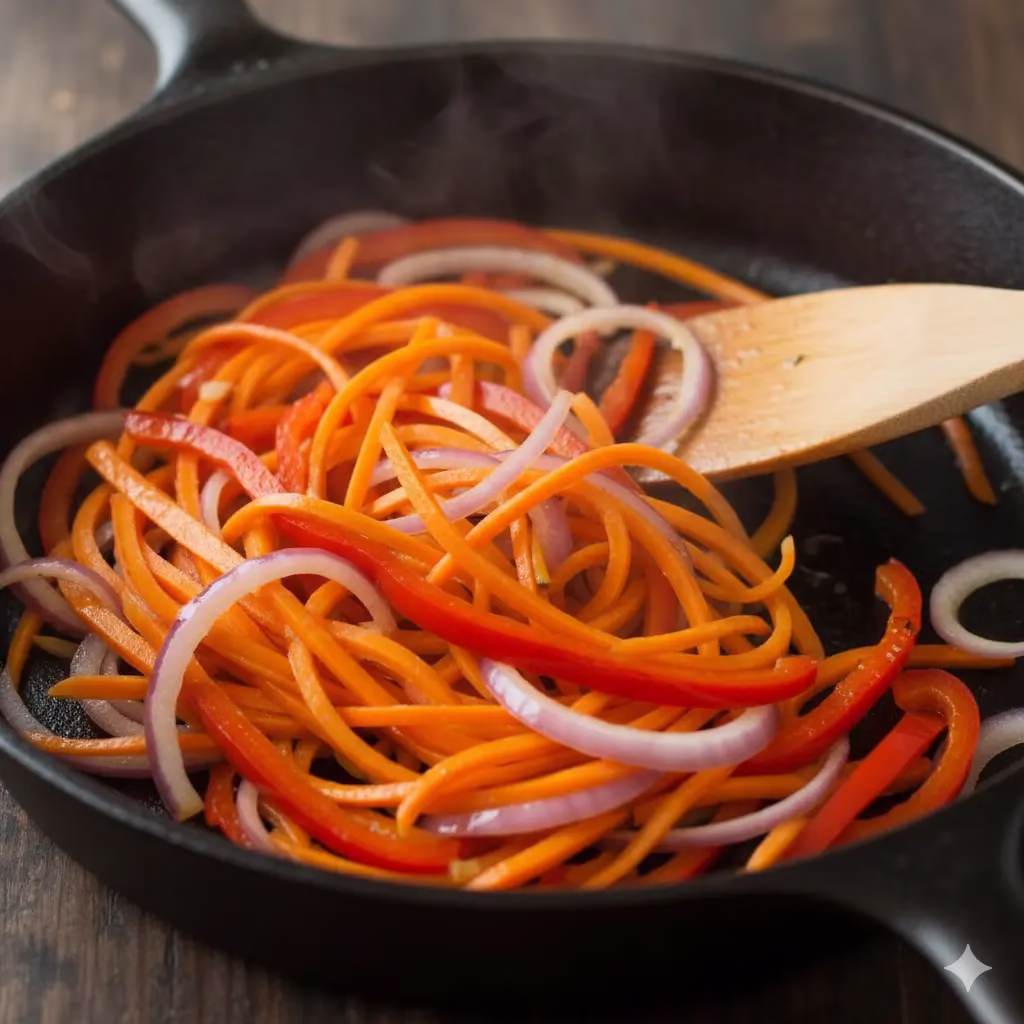
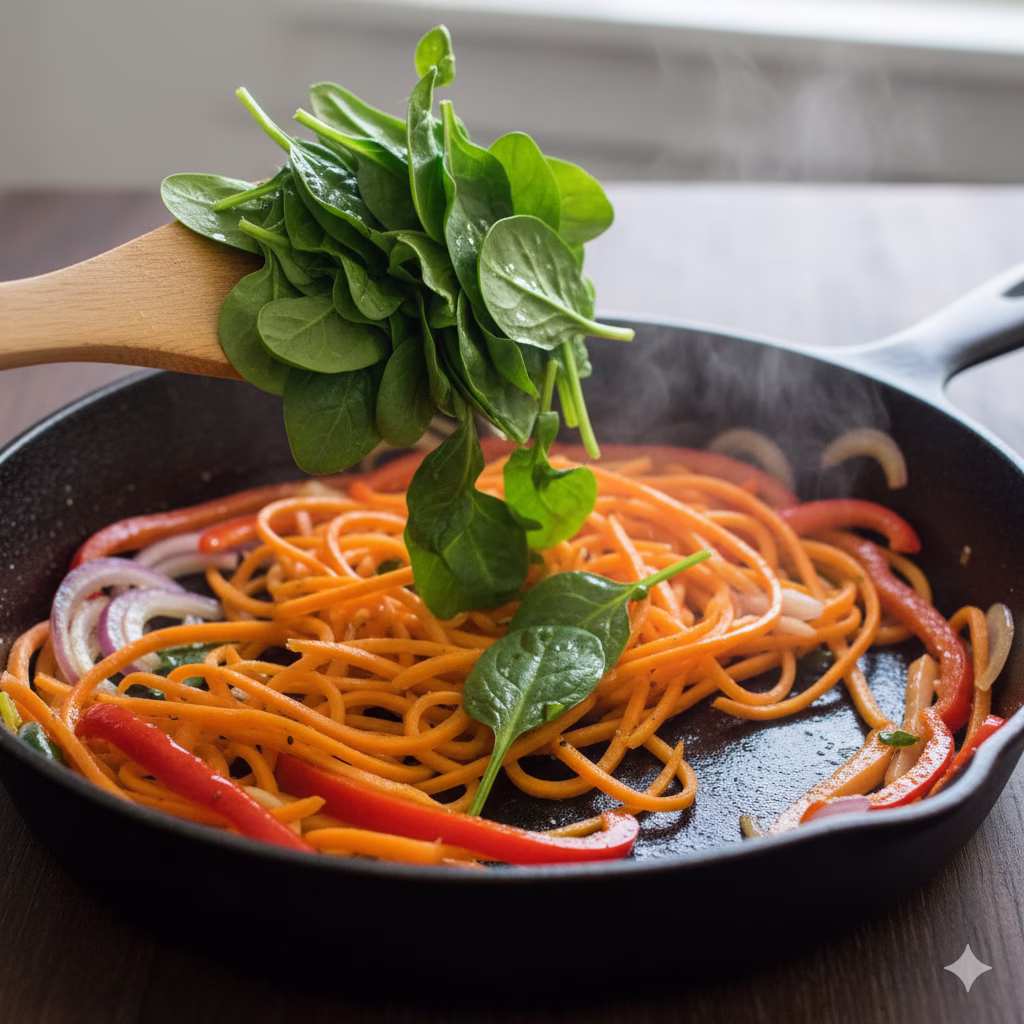
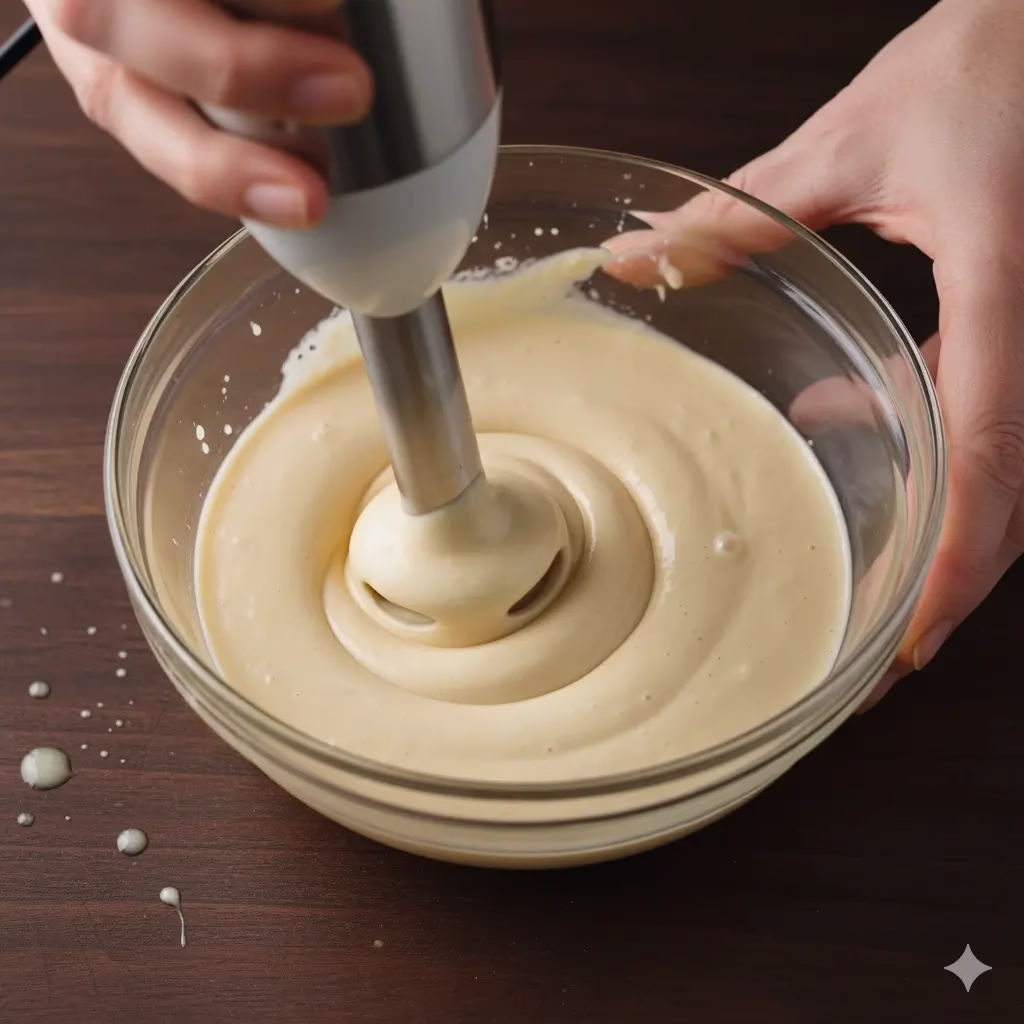
- Toss with Oil and Spices: Put the dry vegetable slices, green beans, and broccoli in a big bowl. Drizzle them with 2-3 tablespoons of oil. Use your hands to mix everything. Make sure every piece has a light coat of oil. Then, sprinkle on the salt, pepper, and any other spices you like. Mix again to spread the seasonings evenly.
Choose Your Cooking Method for Root Vegetables
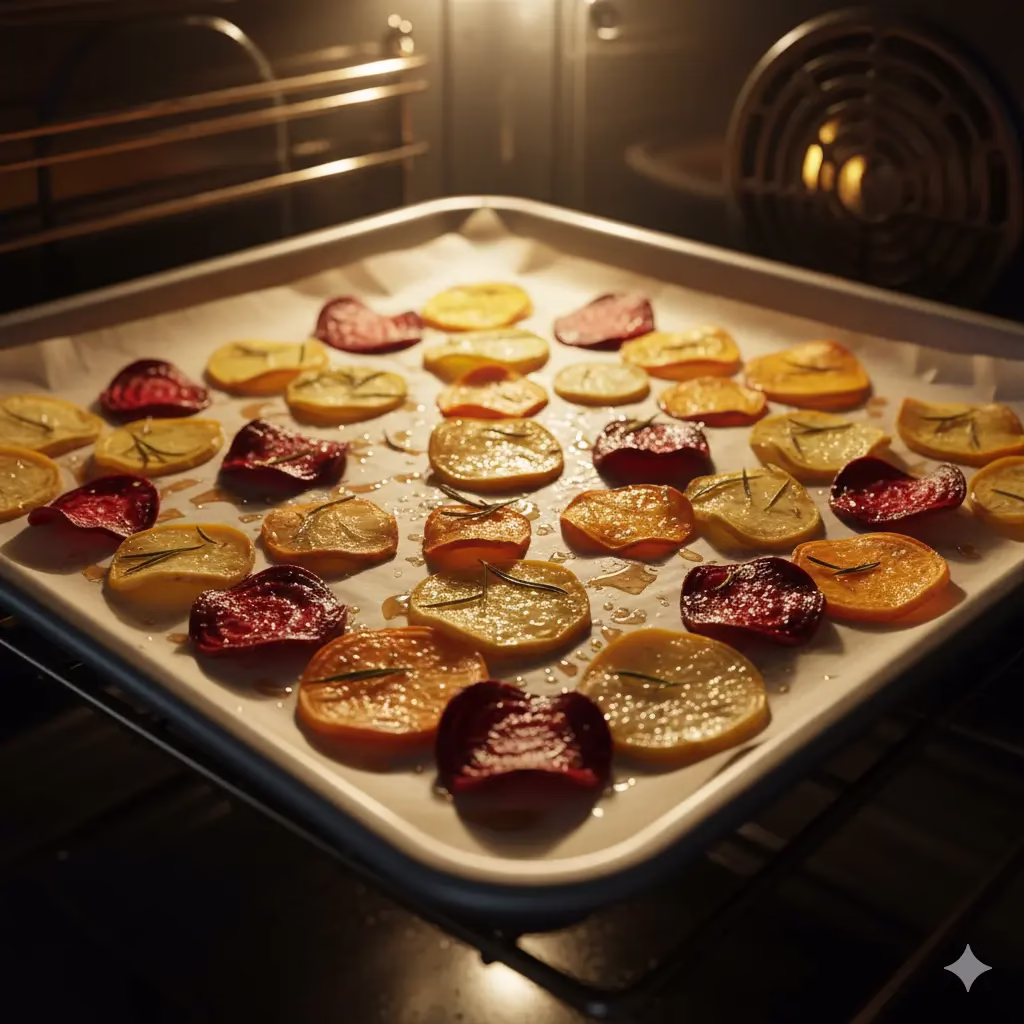
Method 1: Baking (Our Healthy Pick)
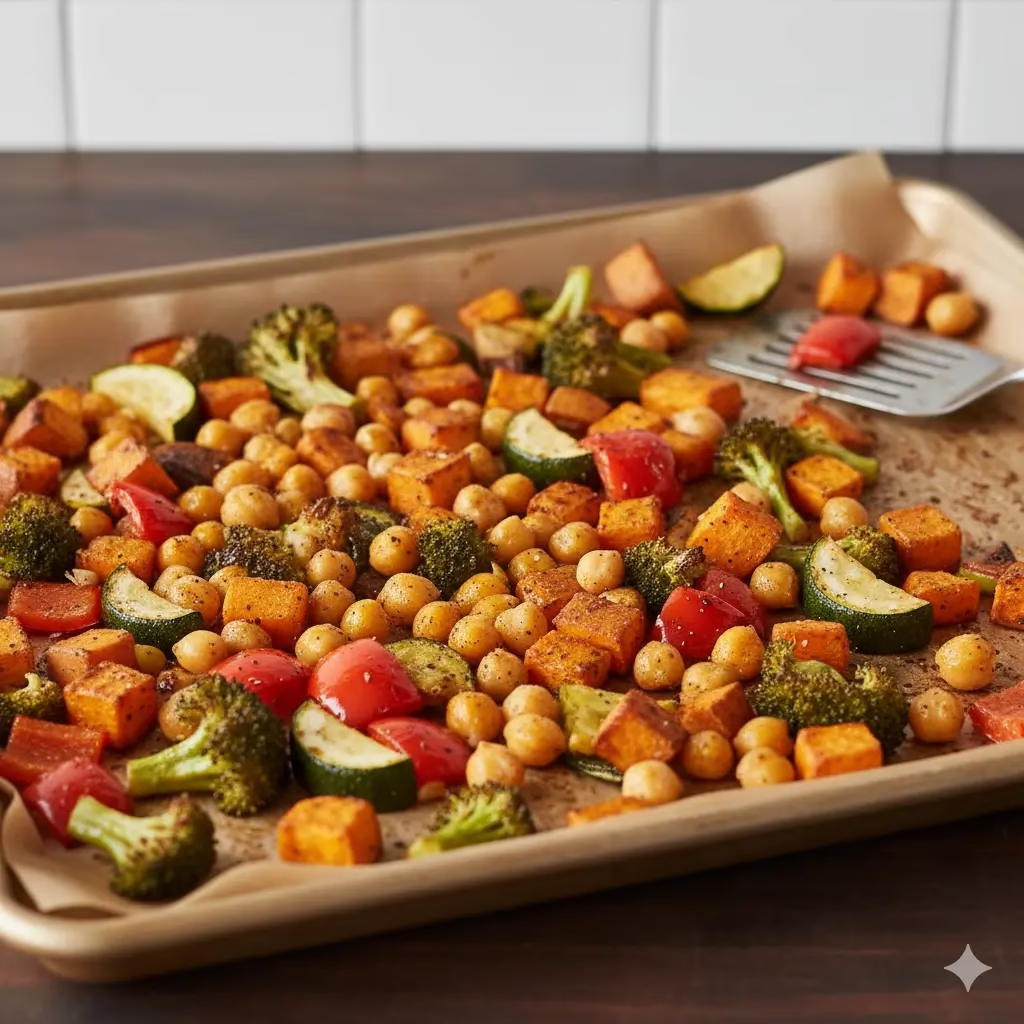
- Heat Oven: Heat your oven to 375°F (190°C). Line two big baking sheets with parchment paper. This stops the chips from sticking.
- Lay out the Chips: Place the seasoned vegetable slices in a single layer on the baking sheets. Don’t crowd them! If they touch, they will steam. Use a third sheet if you need to.
- Bake: Put the sheets in the hot oven. Bake for 20-30 minutes, until the chips are golden and crunchy. The time will change based on how thick your slices are.
- Flip Them: After about 10-15 minutes, use tongs to flip each chip carefully. Watch them closely at the end. Thin chips can burn very fast.
- Cool: When they are ready, take the sheets from the oven. Move the chips to a wire rack right away. They will get even crispier as they cool.
Method 2: Air Frying
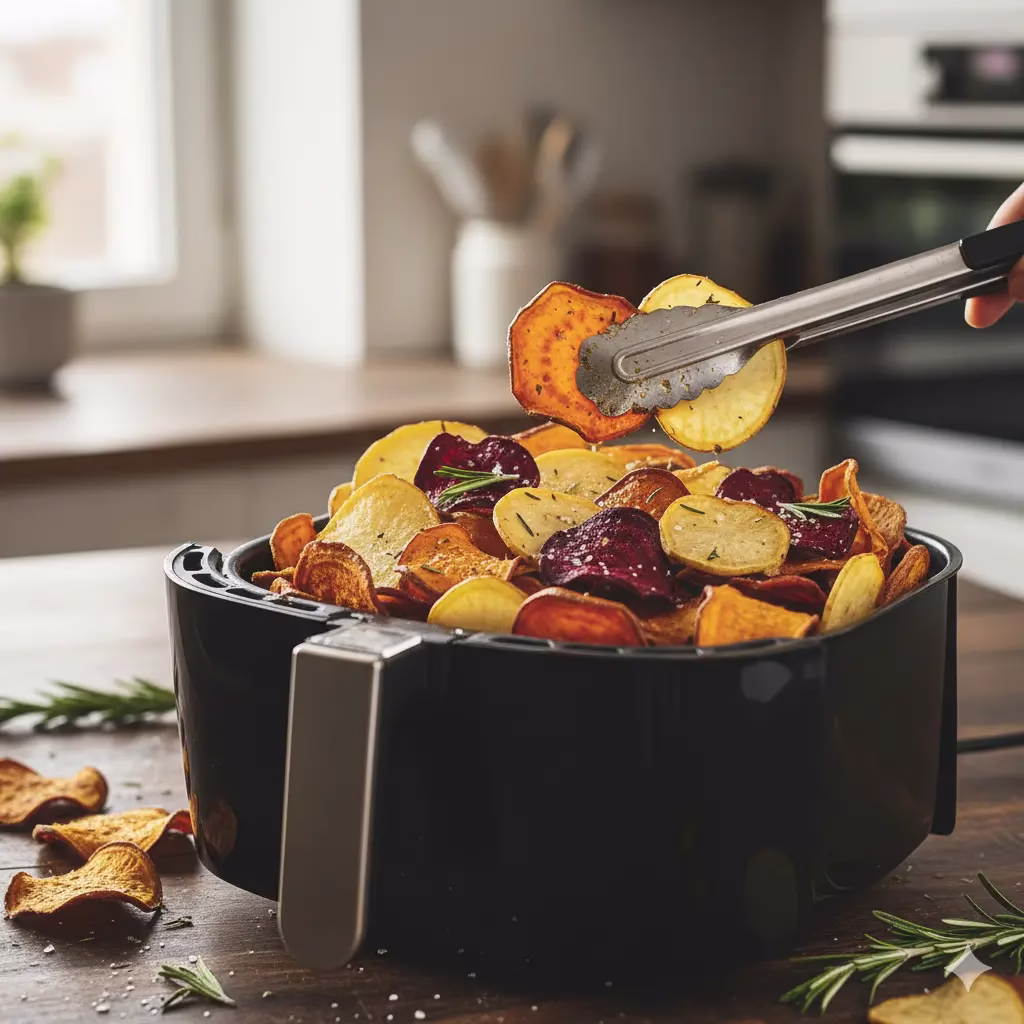
- Heat Air Fryer: Heat your air fryer to 350°F (175°C).
- Arrange in Basket: Put a single layer of seasoned slices in the air fryer basket. Don’t fill it too much. You will probably need to cook a few batches.
- Air Fry: Cook for 15-20 minutes. Shake the basket or flip the chips every 5-7 minutes. Keep cooking until they are golden and crispy.
- Cool: Put them on a wire rack to cool and get crispier.
Method 3: Deep Frying (For the Crispiest Result)

- Heat Oil: Get a big pot with a thick bottom. Pour in enough healthy oil (like avocado or sunflower oil) to be about 2-3 inches deep. Heat it to 350°F (175°C). Use a thermometer to check the temperature.
- Fry in Batches: Carefully drop a small amount of seasoned slices into the hot oil. Don’t add too many at once. This will make the oil cool down and your chips will get soggy.
- Fry Until Golden: Fry for 3-5 minutes. Stir them a little with a slotted spoon. They are done when they are golden brown.
- Drain: Use the spoon to move the chips to a wire rack over a paper towel. This lets the extra oil drain off. Add a little more salt if you want.
- Repeat: Keep frying in small batches until all the slices are cooked.
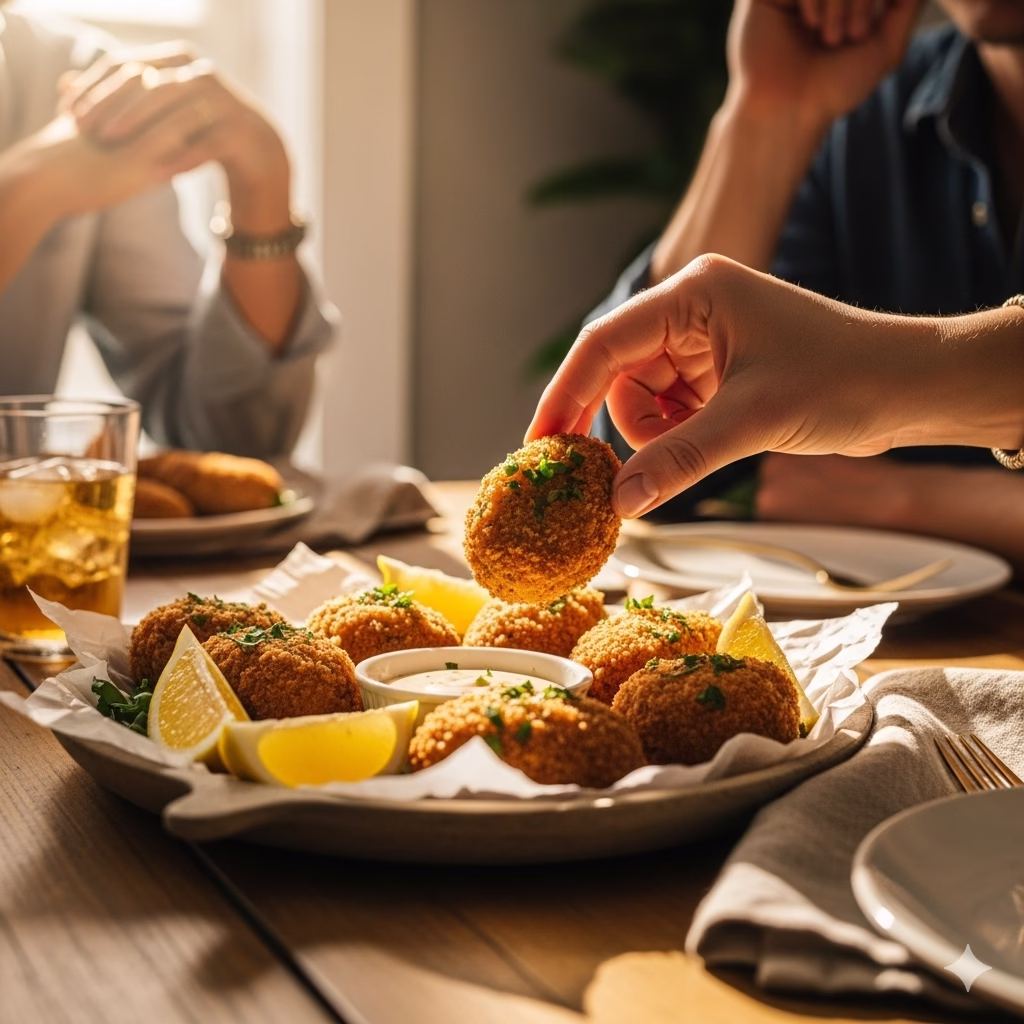
Why You Should Make Your Own Chips

Making your own root vegetable chips is a great idea. It is more than just a tasty snack; it’s a smart choice for your health.
Root Vegetables: A Nutritious Snack
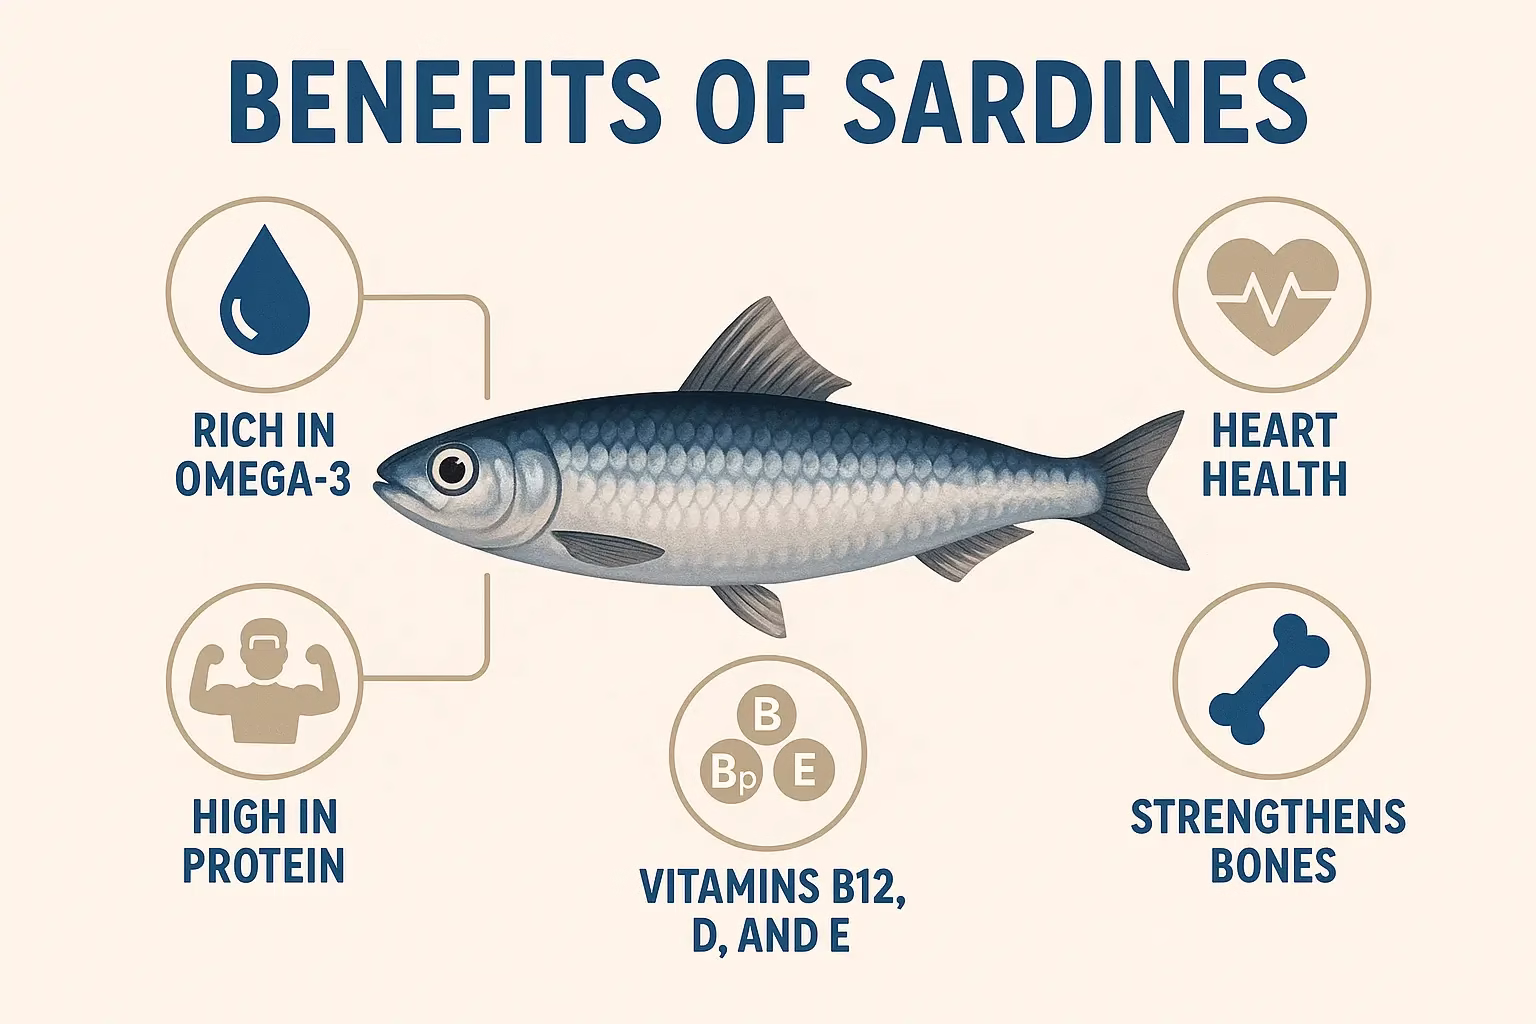
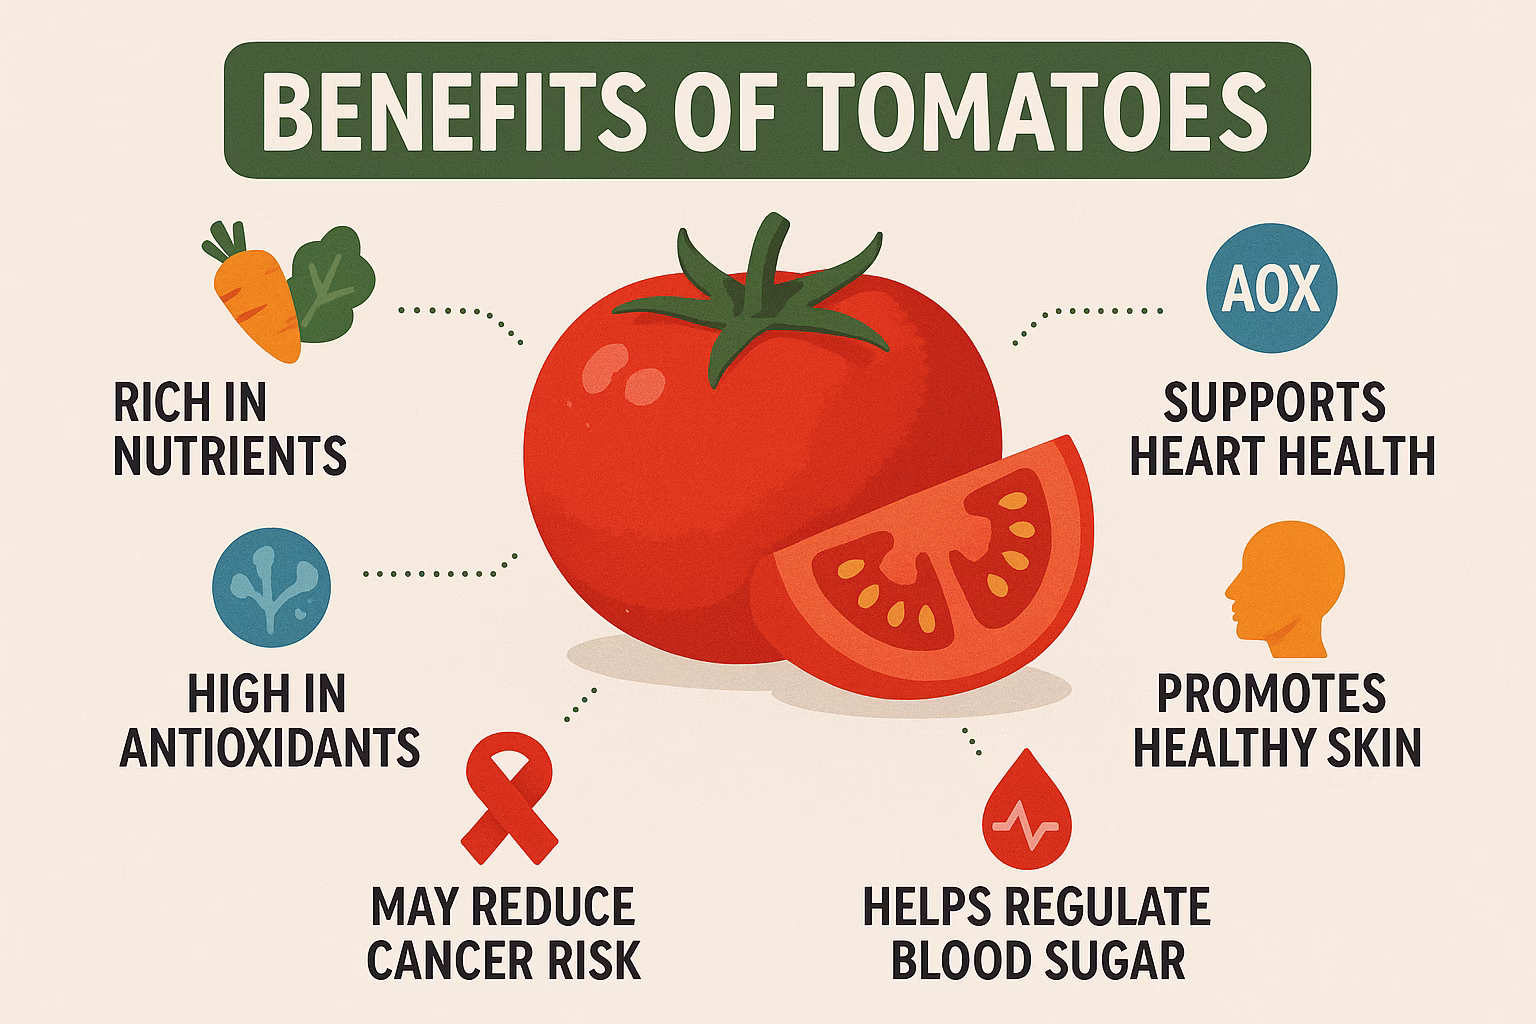
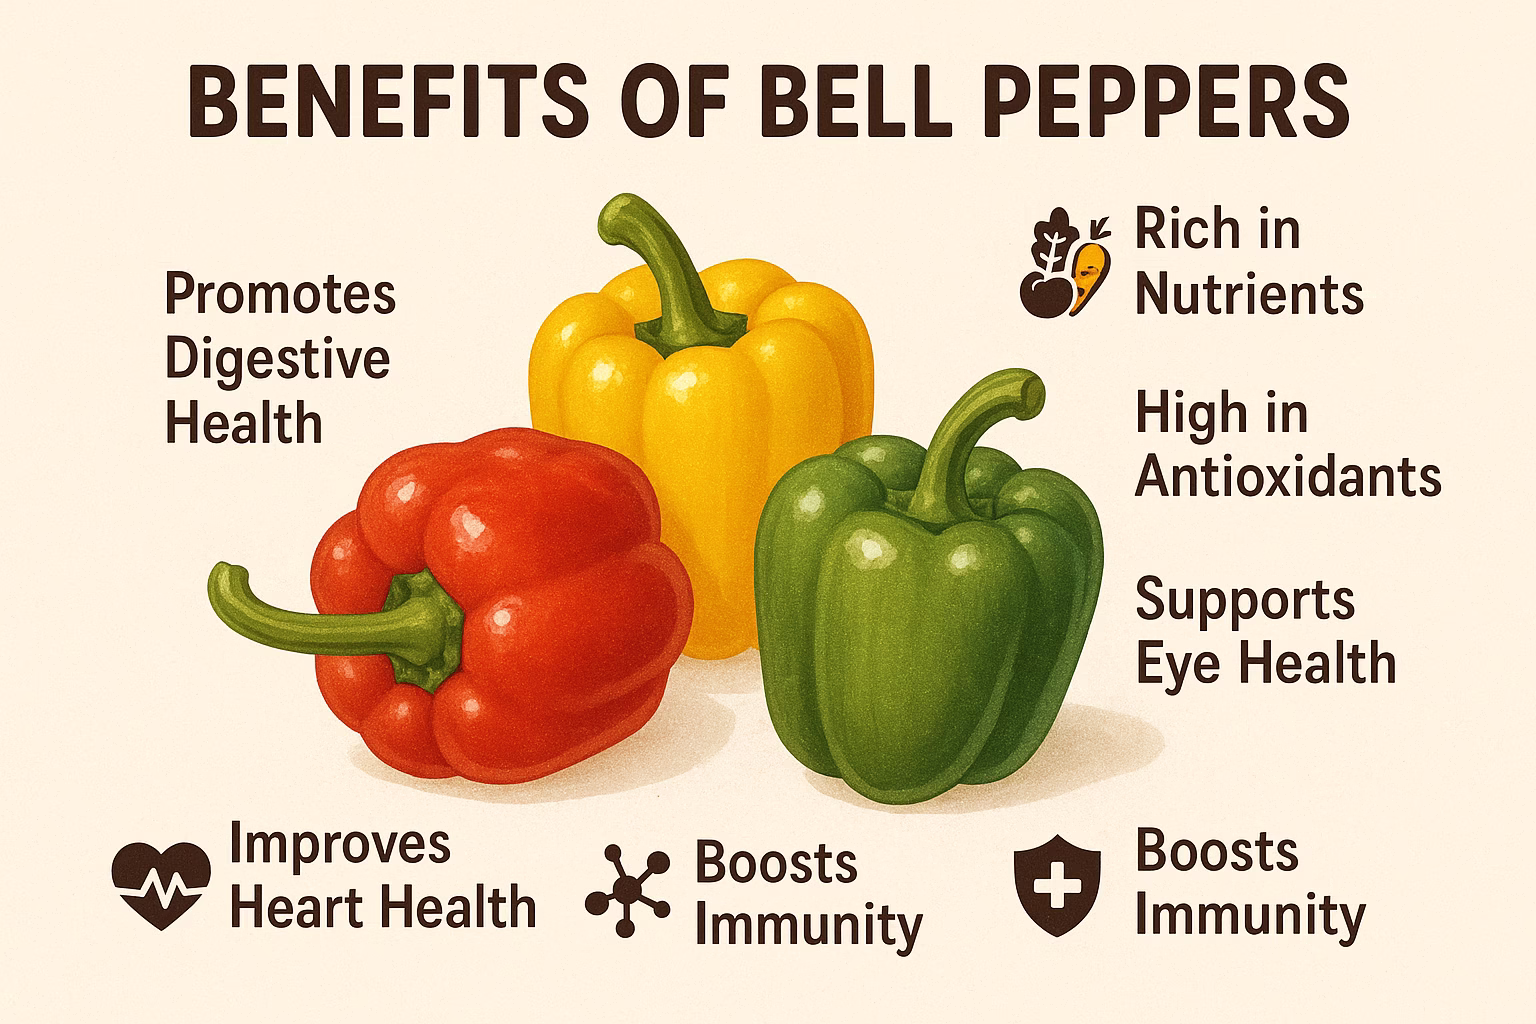
Store-bought chips are often fried in unhealthy oils and have lots of salt and fake flavors. When you make them yourself, you control everything. You can use healthy oils like olive or avocado oil. Root vegetables are full of good stuff. Sweet potatoes have beta-carotene. Beets have folate. Parsnips have fiber. By making them into chips, you keep many of these key nutrients.
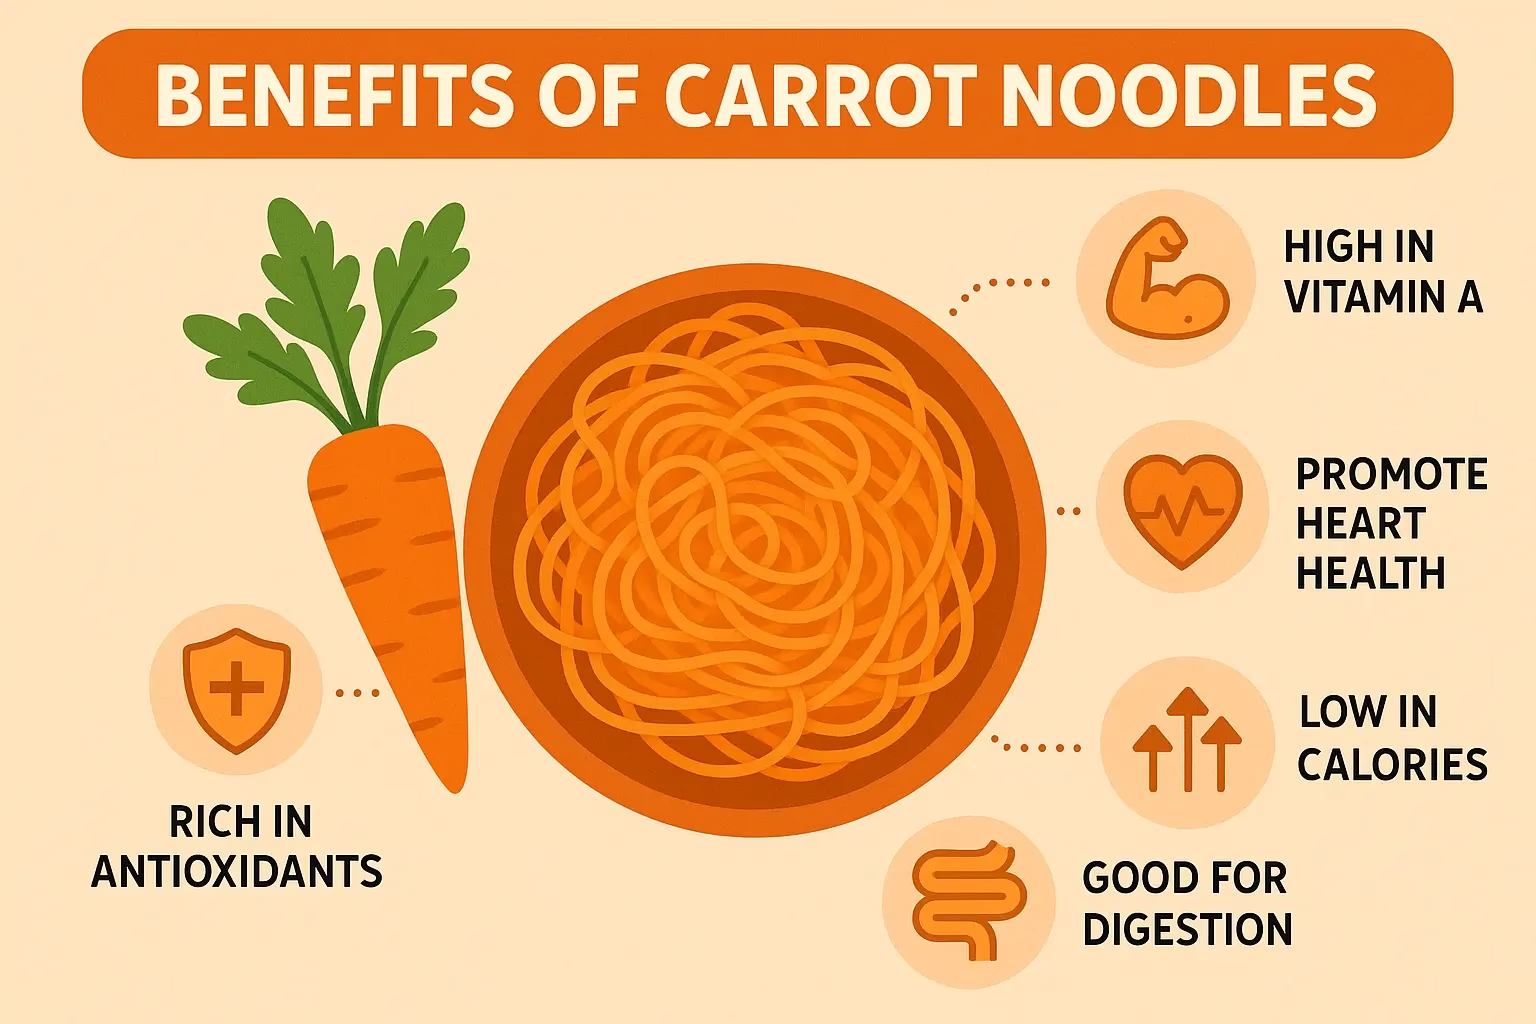
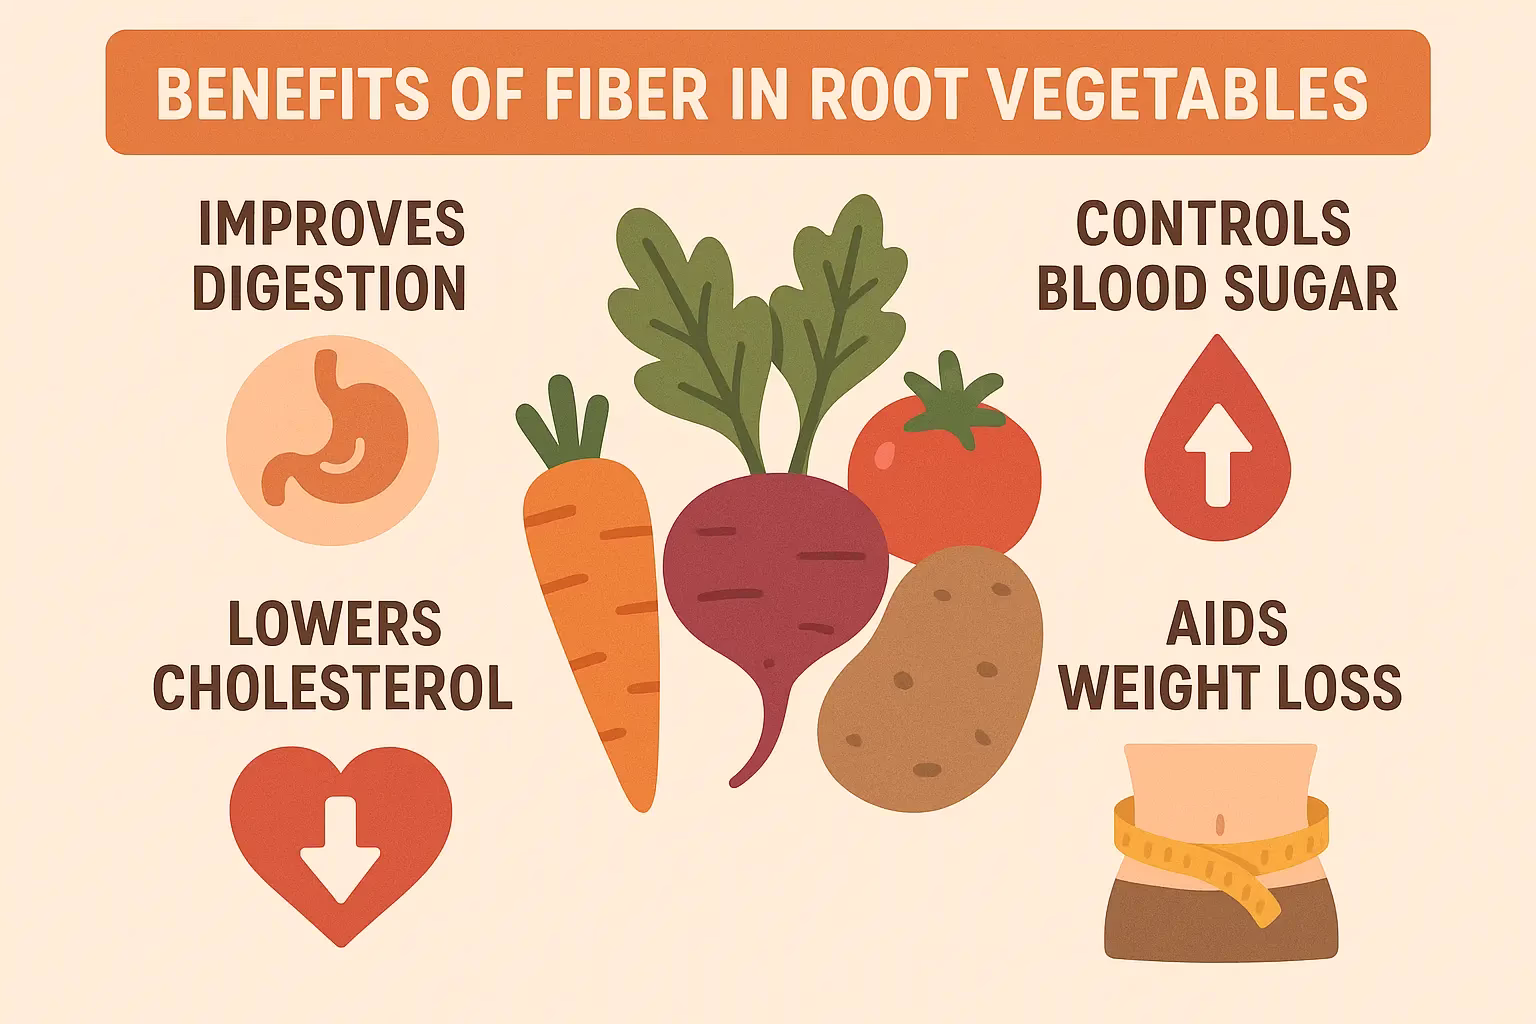
Full of Fiber
Most root vegetables have a lot of fiber. Fiber is important for good digestion. It helps you feel full, which can help with weight control. A serving of homemade chips can give you a big boost of daily fiber.
You Are in Control
The best part is that you know exactly what is in your food. You can pick organic vegetables, use less salt, and avoid all the fake stuff. This is great for people with food allergies or special diets. It makes snacking simple, pure, and just for you.
How to Change Up Your Chips
One of the best things about making chips at home is you can try new things. Get creative with your spices!
| Root Vegetable | Flavor Notes | Fun Seasoning Ideas |
| Sweet Potato | Sweet, earthy | Cinnamon and a little sugar, chili-lime, rosemary and sea salt |
| Beet | Earthy, a bit sweet | A drizzle of balsamic glaze (after baking), dill and sea salt, a sprinkle of goat cheese powder |
| Parsnip | Sweet, slightly nutty | Honey mustard, thyme and black pepper, curry powder |
| Carrot | Sweet, earthy | Ginger and cumin, orange zest and sea salt, a little maple syrup (before baking) |
| Celery Root | Earthy, nutty | Truffle oil (after baking), Parmesan and garlic powder, smoked paprika and onion powder |
| Rutabaga | Mildly sweet, a bit peppery | Sage, smoked salt, blackening seasoning |
| Turnip | A bit peppery | Lemon pepper, everything bagel seasoning, caraway seeds |
| Yukon Gold | Buttery, classic potato taste | Ranch seasoning, salt and vinegar powder, Old Bay seasoning |
| Daikon Radish | Mildly peppery | Sesame oil and toasted sesame seeds, shichimi togarashi, rice vinegar (a light spray before baking) |
| Taro Root | Nutty, starchy, a bit sweet | Unsweetened coconut flakes, five-spice powder, ginger and garlic |
| Green Beans | Fresh, grassy | Lemon zest, red pepper flakes, nutritional yeast (for a cheesy taste) |
| Broccoli | Earthy, a bit bitter | Garlic and red pepper flakes, lemon-dill, a hint of parmesan (after baking) |
Final Thoughts on Root Vegetables

Making your own root vegetable chips is more than just cooking. It is a great step toward better health. You have learned how to turn simple vegetables into a crunchy, tasty snack. Your homemade chips are much better than anything you can buy. They have no fake stuff or unhealthy fats. The bright colors and good nutrients make them a perfect part of any diet.
Try new things with different vegetables, oils, and spices. Be creative! Share your tasty chips with friends and family. Show them how good healthy snacking can be. So, get your slicer ready. Pick your favorite roots. Get ready to enjoy the best, guilt-free crunch ever. Your taste buds and your body will both thank you!
Frequently Asked Questions (FAQs)
Q1: How do I keep my homemade chips from getting soft?
A1: Let your chips cool down completely on a wire rack after you cook them. Once they are fully cool, put them in an airtight container. Keep the container at room temperature. For the best crunch, eat them within 3-4 days. You can also put a small paper towel in the bottom of the container to soak up any extra moisture.
Q2: Can I use a dehydrator to make these chips?
A2: Yes, you can! A dehydrator is a great way to make low-fat chips. It will take longer than baking or frying. Just slice the vegetables thin. Toss them lightly with oil and spices. Then, lay them on the dehydrator trays in a single layer. Dehydrate them on a low heat (about 125-135°F or 52-57°C) for many hours. This could be 6 to 12 hours or more. They are done when they are fully dry and crispy.
References
- The Nutrition Source – Vegetables and Fruits
- Mayo Clinic –Dietary fiber: Essential for a healthy diet
- Healthline – 13 Healthy Root Vegetables and Their Benefits
Recent Posts