Dive into the vibrant world of beetroot with this exquisite gratin recipe. Discover how simple ingredients can transform into the best beetroot gratin, a dish that’s as healthy as it is delicious. Get ready to elevate your cooking and impress your taste buds with this unforgettable beetroot gratin.
Discovering the Magic of Beetroot Gratin
When it comes to comfort food, few dishes can rival the heartwarming appeal of a gratin. The layers of tender vegetables, bathed in a rich, creamy sauce and topped with a golden, bubbly crust, are pure culinary bliss. But what if we told you there’s a gratin recipe that not only delivers on taste and texture but also boasts an incredible nutritional profile and a stunning visual appeal? Enter the beetroot gratin – a dish that’s about to become your new favorite.
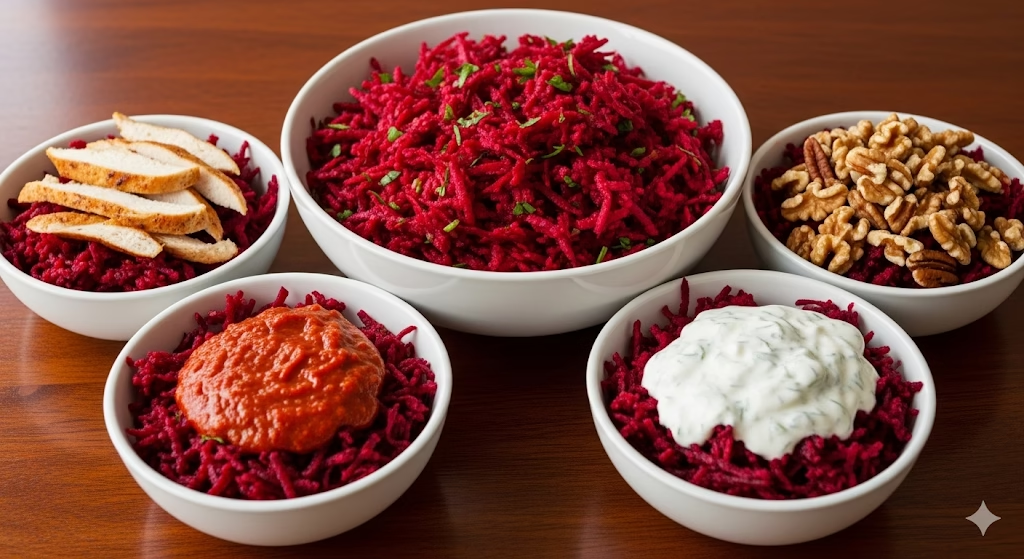
Beetroot, often celebrated for its earthy flavor and vibrant hue, is a powerhouse of nutrients. It brings a unique sweetness and a gorgeous deep crimson to any dish, making it a standout ingredient. In this recipe, we harness the natural goodness of beetroot and combine it with a luxurious, yet surprisingly light, creamy sauce and a touch of savory cheese to create a gratin that truly lives up to its name: The Best Beetroot Gratin Ever.
A Health-Conscious Take on the Classic Beetroot Gratin
This isn’t just another side dish; it’s a star in its own right. Whether you’re looking for a show-stopping accompaniment to a festive meal, a hearty vegetarian main course, or simply a comforting dish to warm you from the inside out, this beetroot gratin ticks all the boxes. It’s a dish that invites you to slow down, savor each bite, and appreciate the simple beauty of wholesome ingredients.
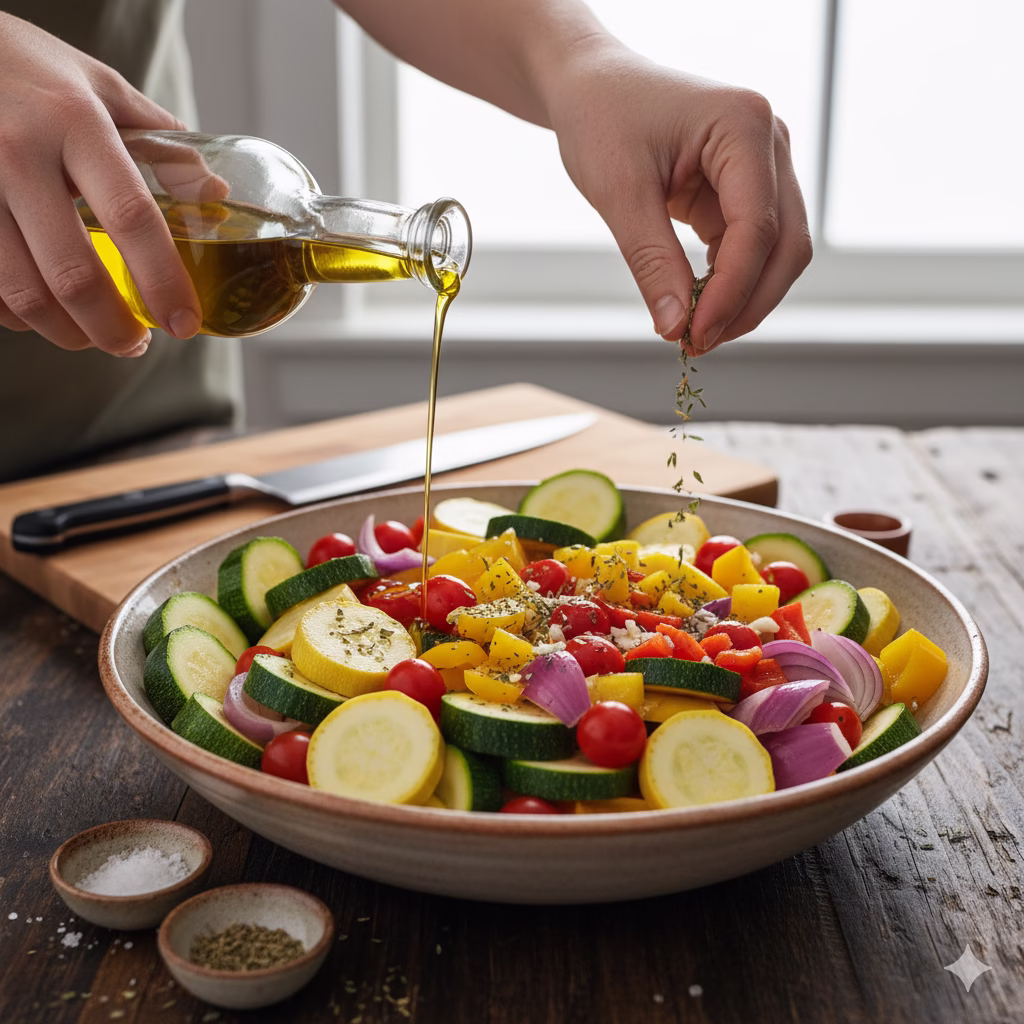
Preparing this beetroot gratin is a delightful journey from start to finish. From thinly slicing the jewel-toned beetroots to assembling the layers with care, each step contributes to the final masterpiece. And the aroma that fills your kitchen as it bakes? Absolutely divine. It’s a sensory experience that promises a truly satisfying meal.
So, get ready to transform humble beetroots into an extraordinary culinary creation. This recipe is designed to be accessible for cooks of all levels, with clear, detailed instructions that ensure a perfect result every time. Prepare to fall in love with “The Best Beetroot Gratin Ever.”
Preparing Your Perfect Beetroot Gratin
Time to Prepare: 25 minutes
Time to Cook: 50-60 minutes
Servings: 6
Nutritional Information (per serving, approximate)
- Calories: 280-320 kcal
- Protein: 10-12g
- Fat: 18-22g (Saturated Fat: 10-12g)
- Carbohydrates: 20-25g
- Fiber: 5-7g
- Sugars: 8-10g
- Vitamin C: 15-20% DV
- Folate: 25-30% DV
- Potassium: 15-20% DV
- Calcium: 20-25% DV
- Iron: 8-10% DV
(Note: Nutritional values can vary based on specific ingredients and brands used.)
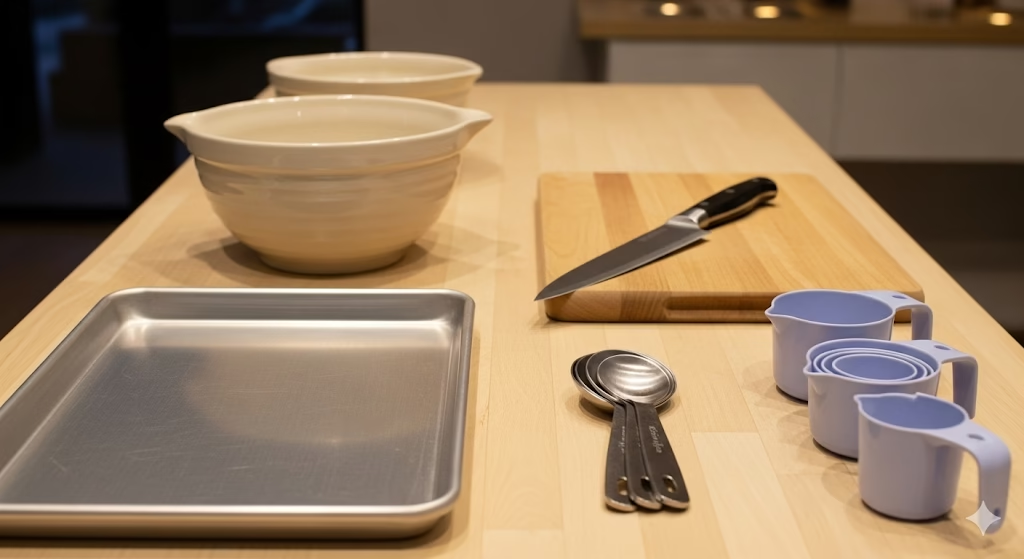
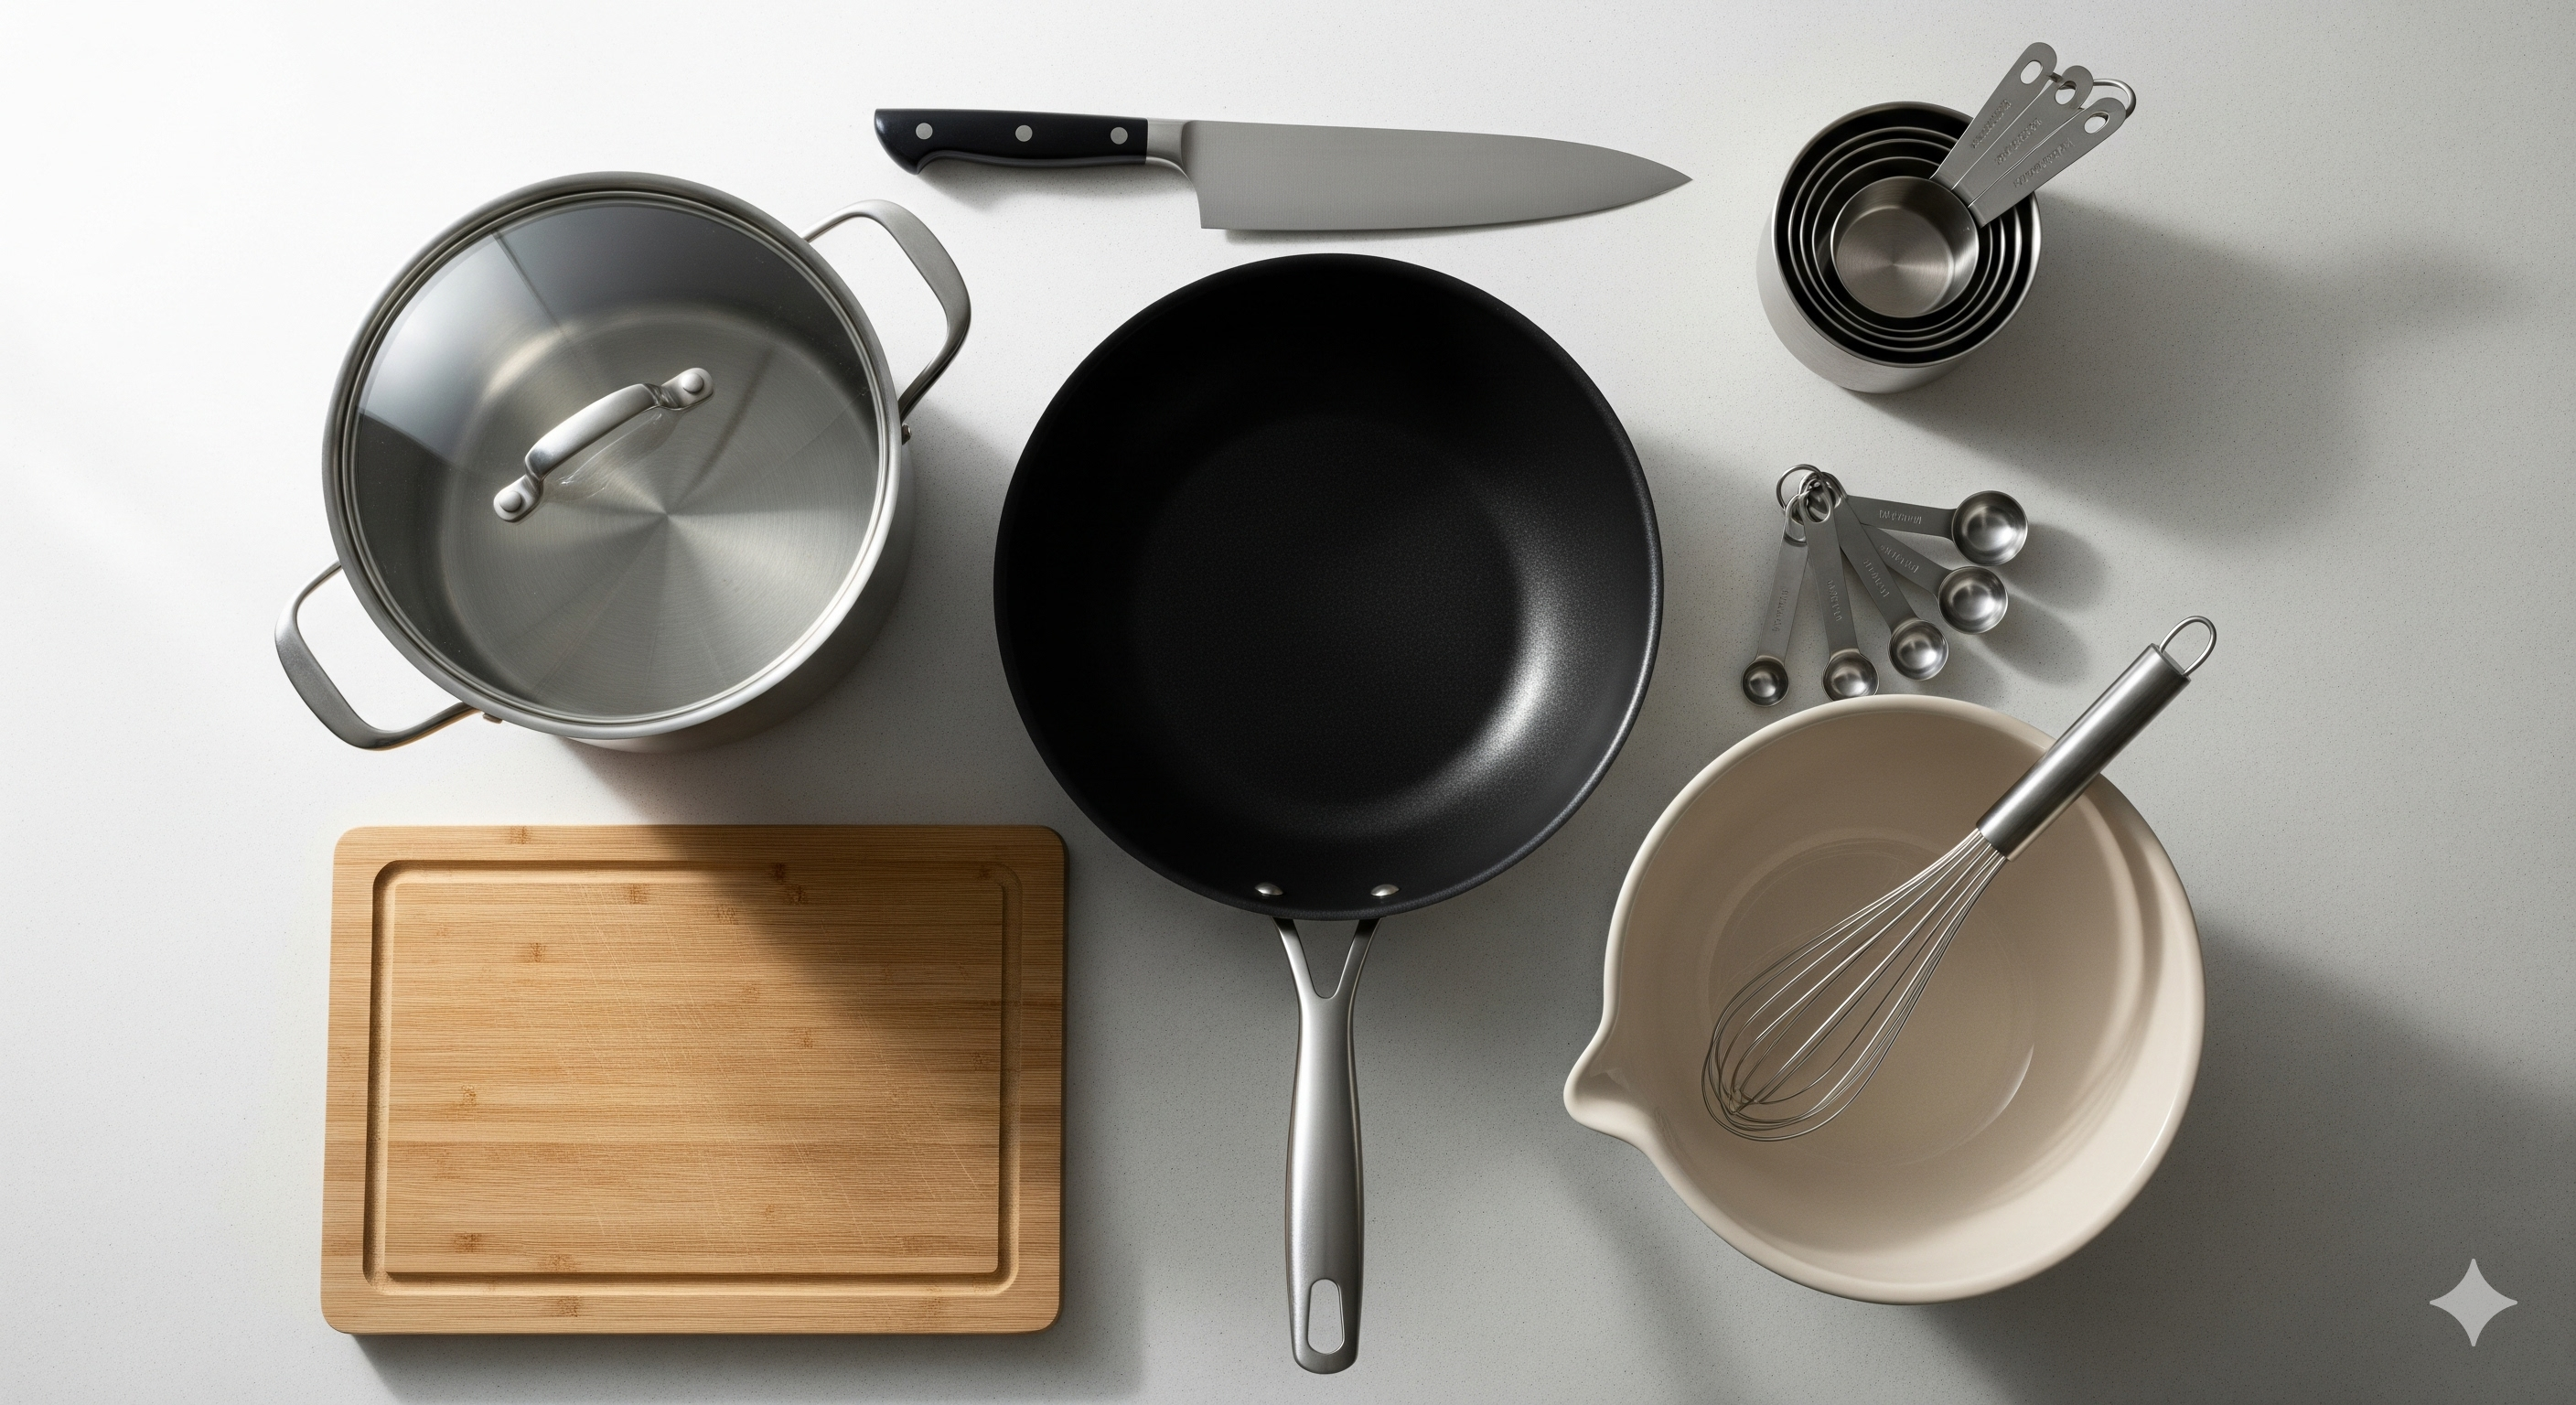
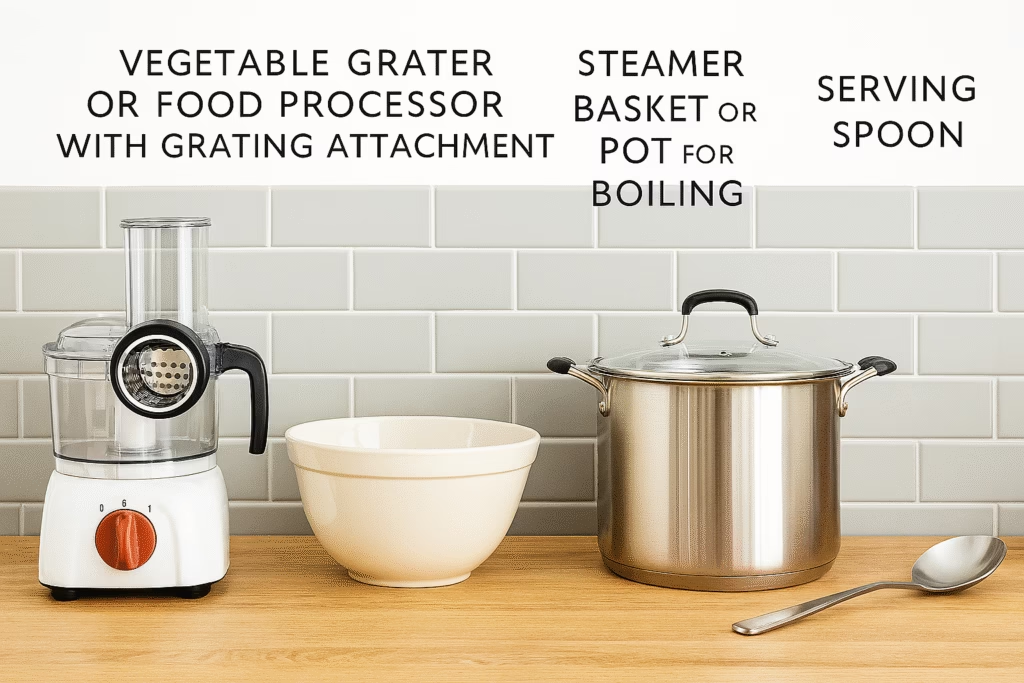
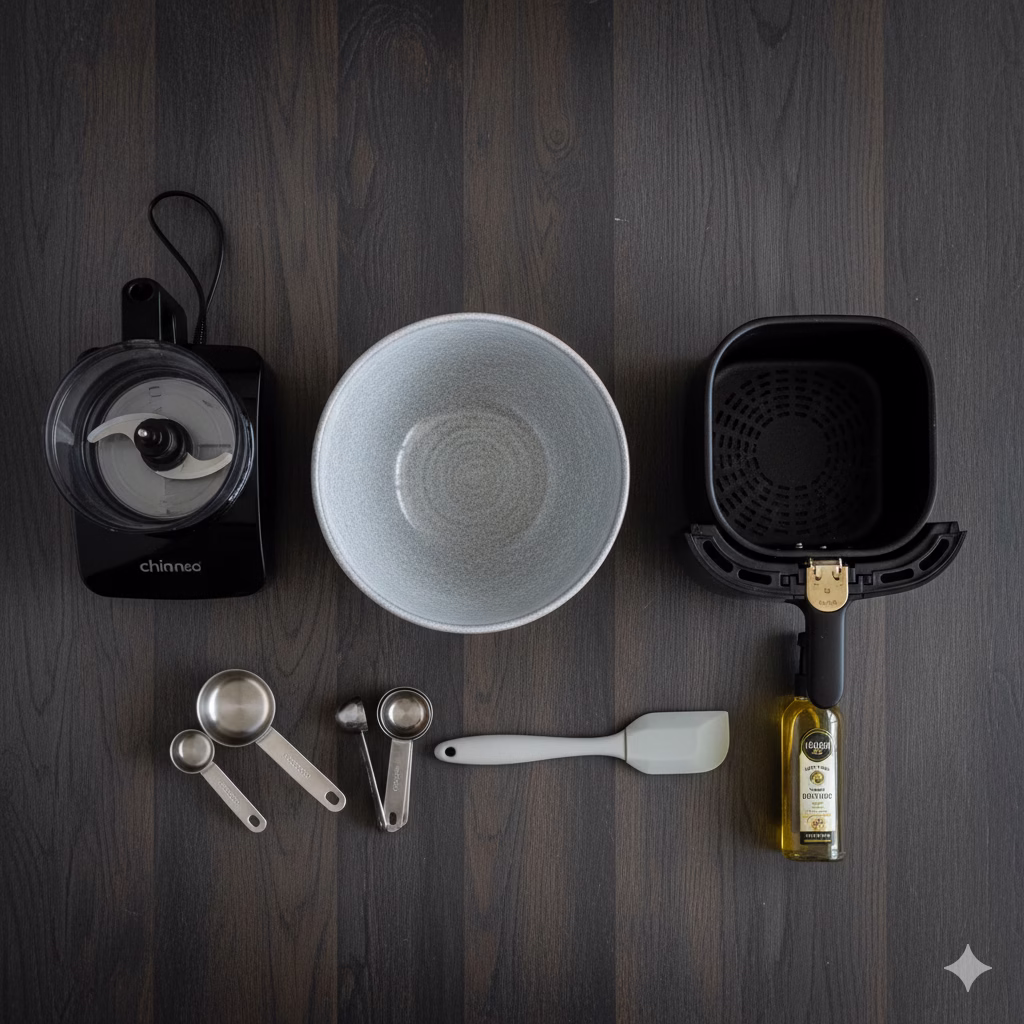
Essential Equipment for Your Beetroot Gratin
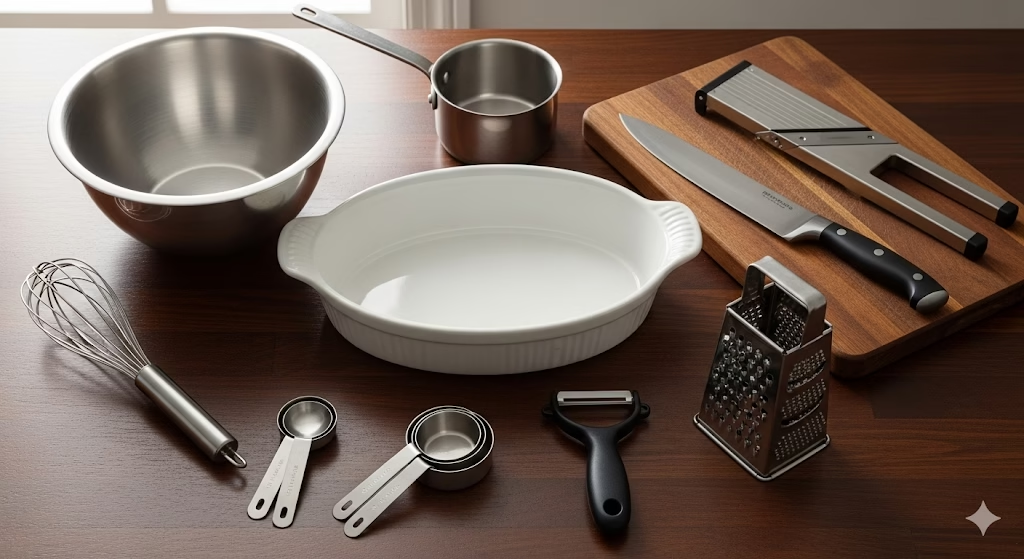
To ensure a smooth and enjoyable cooking experience, here’s the equipment you’ll need:
Large Gratin Dish or Casserole Dish: Approximately 9×13 inches (23×33 cm) is ideal.
Large Mixing Bowl: For preparing the sauce.
Sharp Knife or Mandoline Slicer: For thinly slicing the beetroots. A mandoline makes the process quicker and ensures even slices, but a sharp chef’s knife works perfectly well with a steady hand.
Saucepan: For heating the cream mixture.
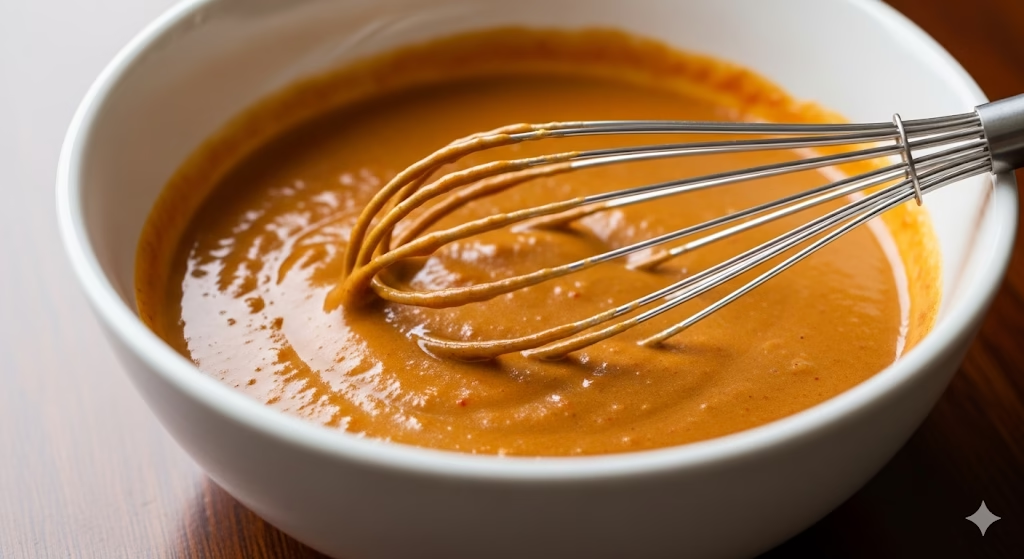
Whisk: To combine the sauce ingredients.
Measuring Cups and Spoons: For accurate ingredient measurements.
Vegetable Peeler: For peeling the beetroots.
Grater: For grating the cheese.
Parchment Paper (optional): For easier cleanup and to prevent sticking.
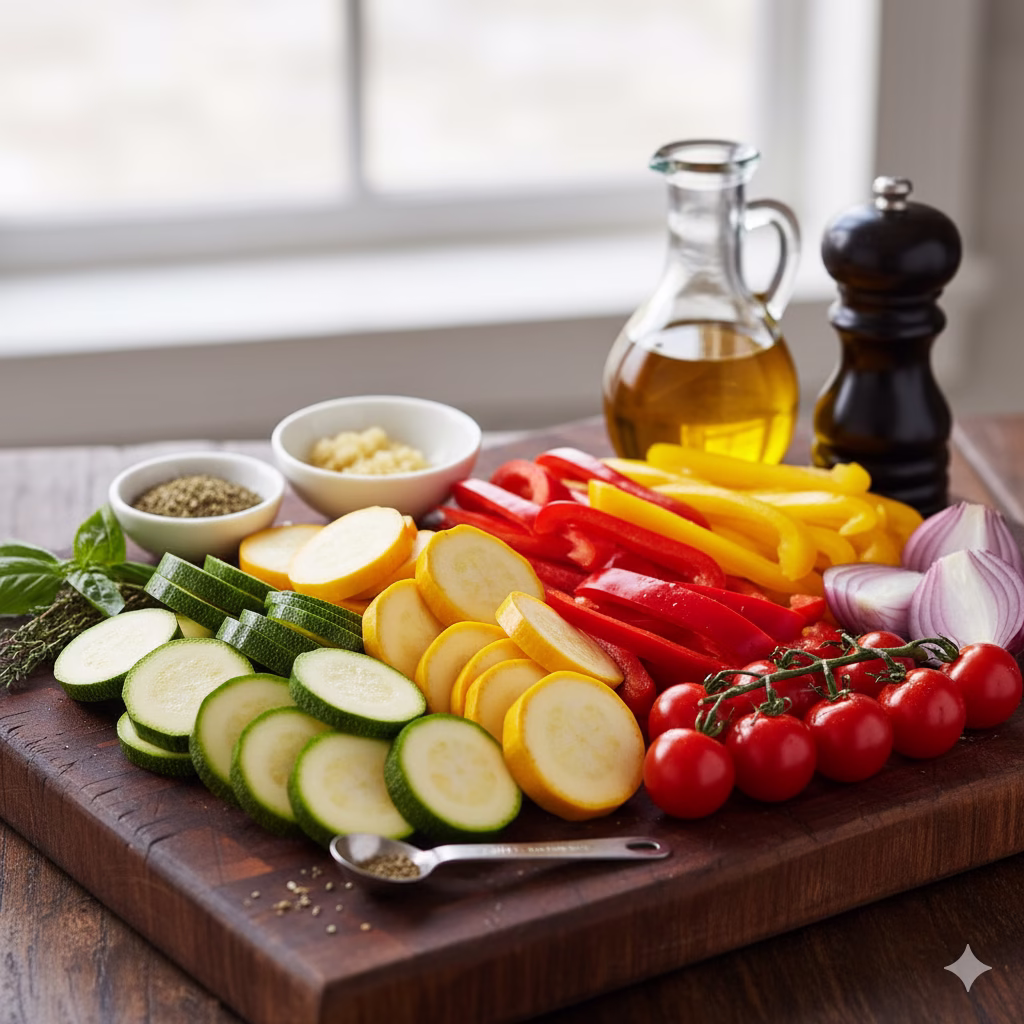
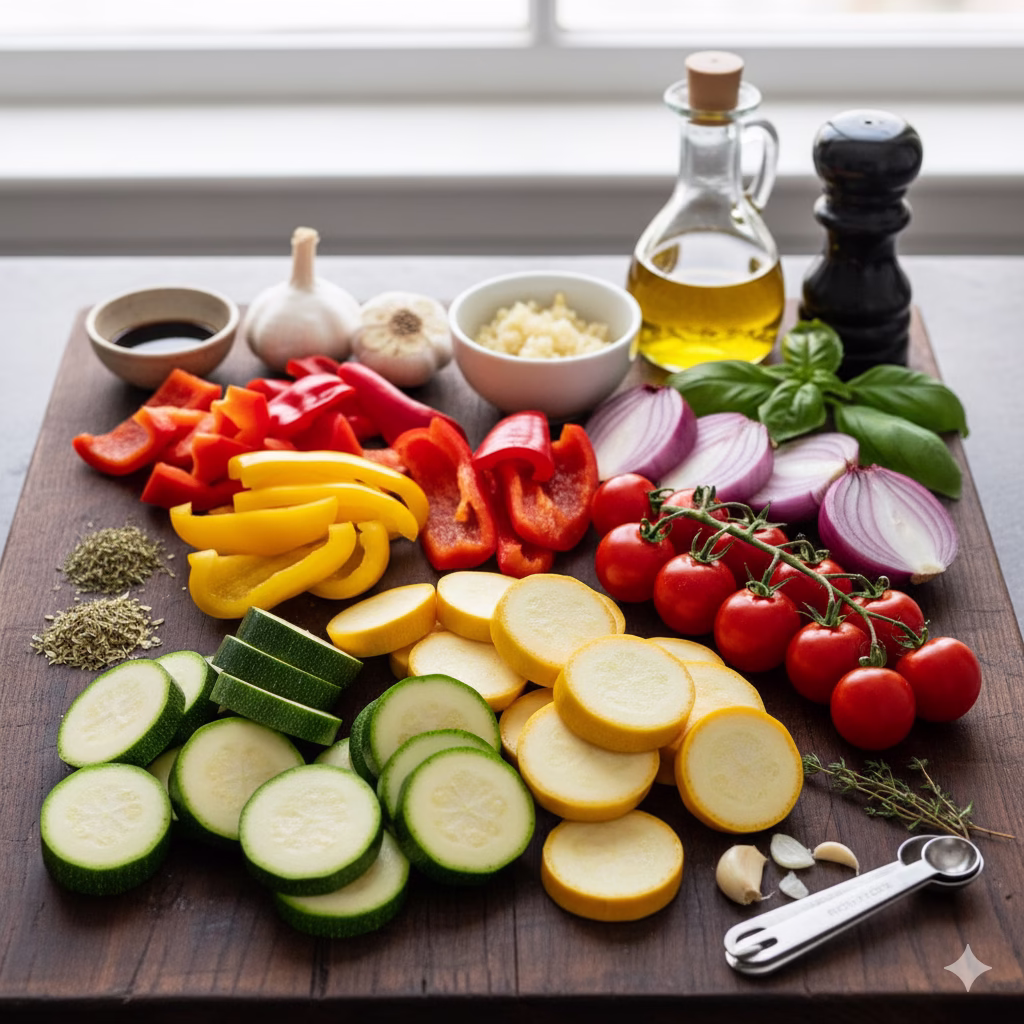
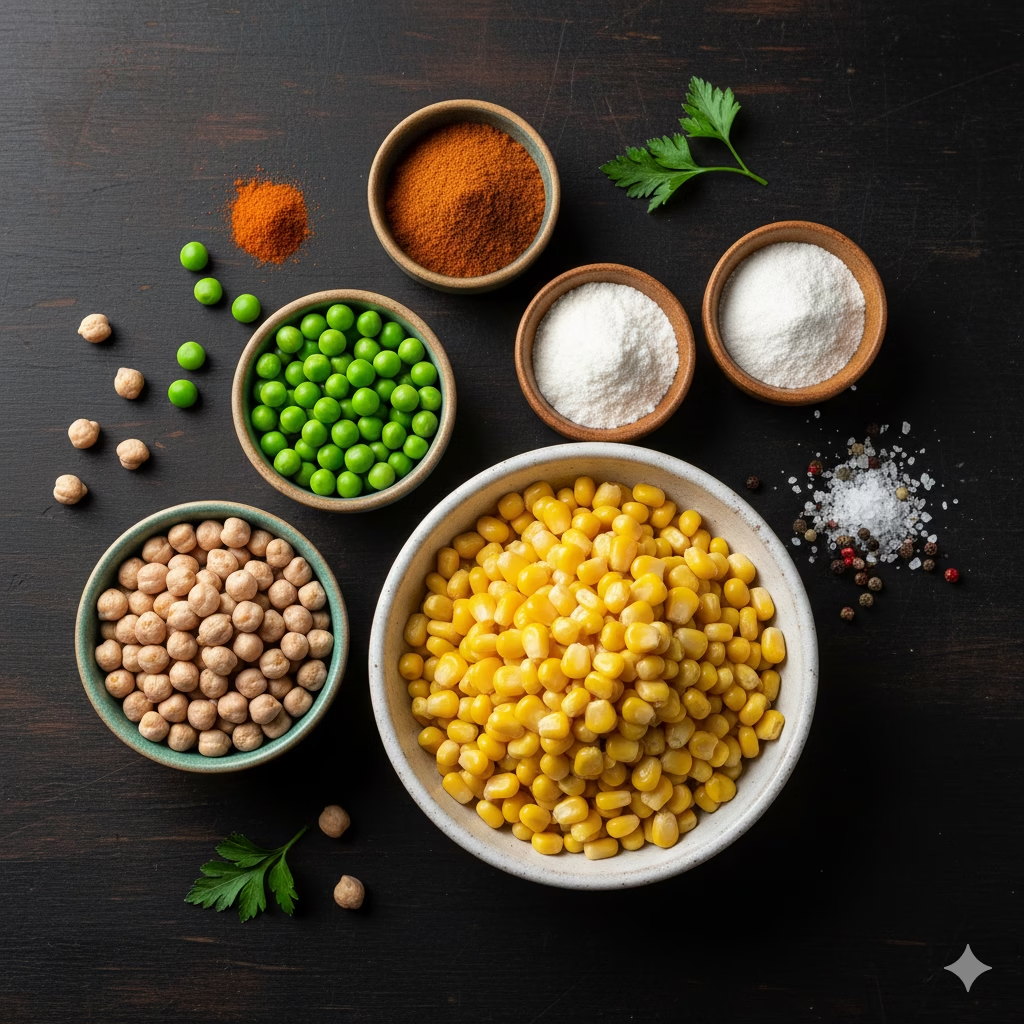
Ingredients for Your Delicious Beetroot Gratin
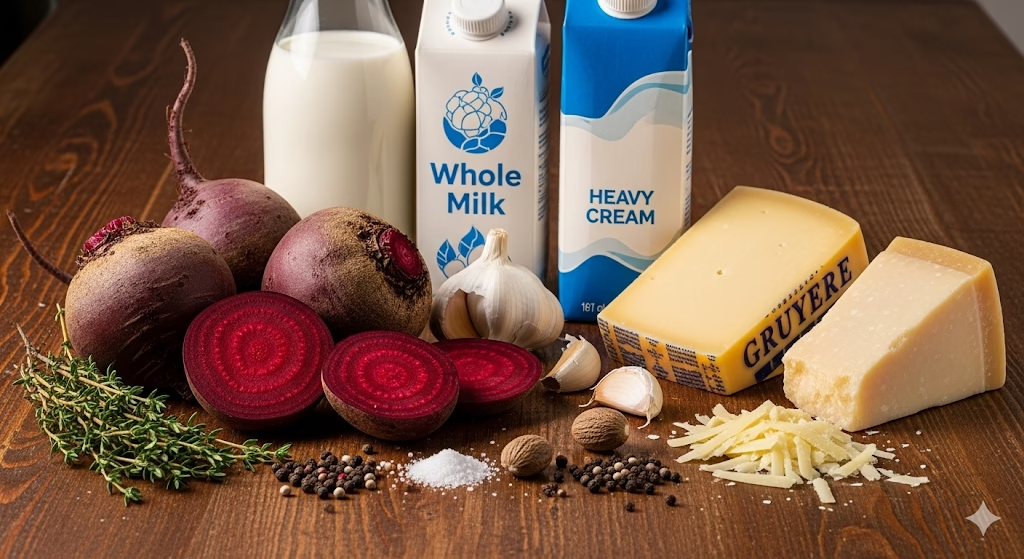
- 4-5 medium-sized beetroots (about 2 lbs or 900g), peeled and thinly sliced (aim for 1/8 inch or 3-4mm thickness)
- 1 ½ cups (360ml) whole milk (or a dairy-free alternative like oat milk for a lighter version)
- 1 ½ cups (360ml) heavy cream (or a full-fat coconut milk for dairy-free)
- 2 cloves garlic, minced
- ½ teaspoon fresh thyme leaves, finely chopped (or ¼ teaspoon dried thyme)
- ¼ teaspoon freshly grated nutmeg
- ½ teaspoon salt, or to taste
- ¼ teaspoon black pepper, or to taste
- 1 cup (100g) Gruyère cheese, freshly grated, divided (or a sharp cheddar for a more pronounced flavor)
- ½ cup (50g) Parmesan cheese, freshly grated, divided
- 2 tablespoons olive oil
- Optional: 2 tablespoons chopped fresh parsley or chives for garnish
Step-by-Step Instructions: Creating the Best Beetroot Gratin
Follow these detailed steps to create a show-stopping beetroot gratin that will impress everyone at your table.
Preheat and Prepare: Begin by preheating your oven to 375°F (190°C). As the oven heats, lightly grease your gratin dish or casserole dish with a little olive oil or butter. This step is crucial for preventing the gratin from sticking and ensuring easy serving later.
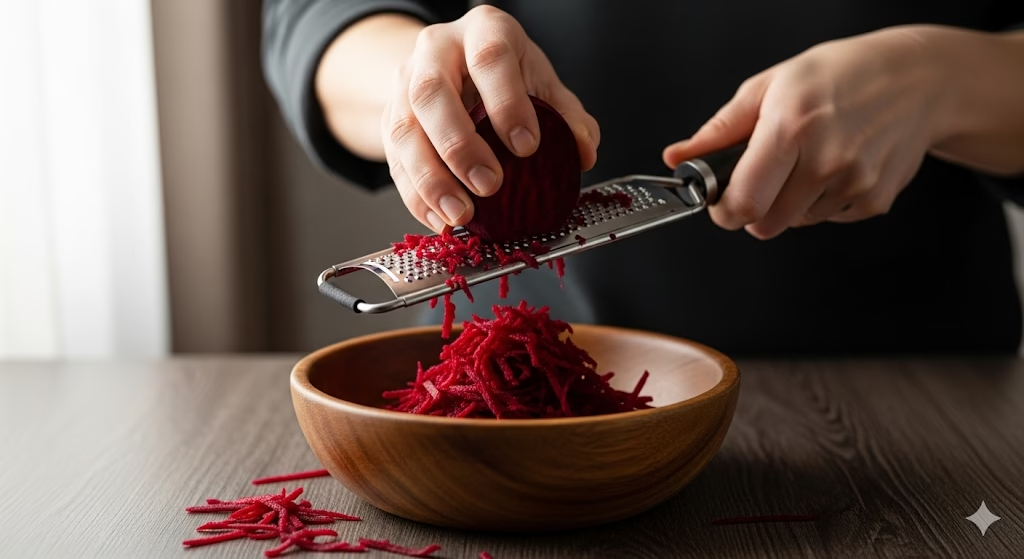
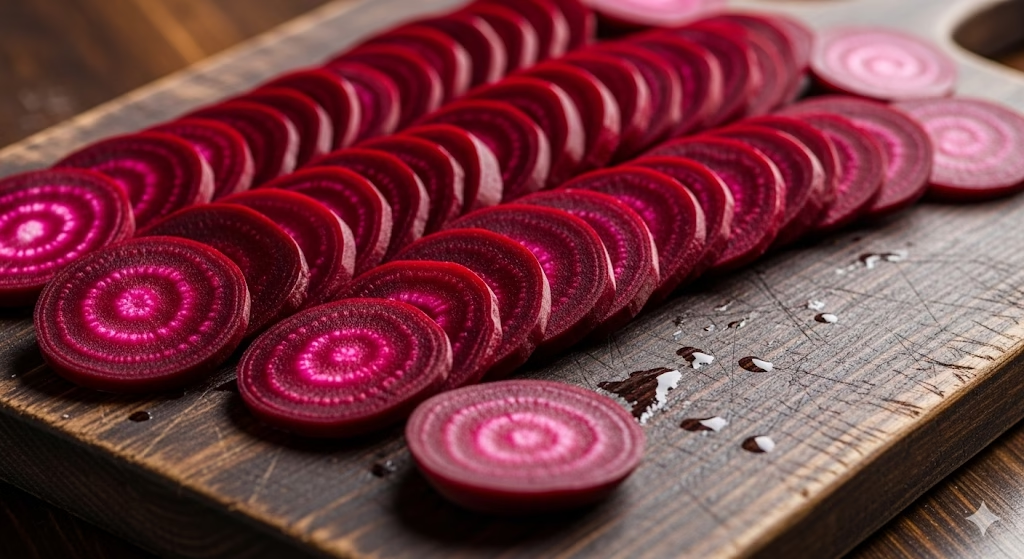
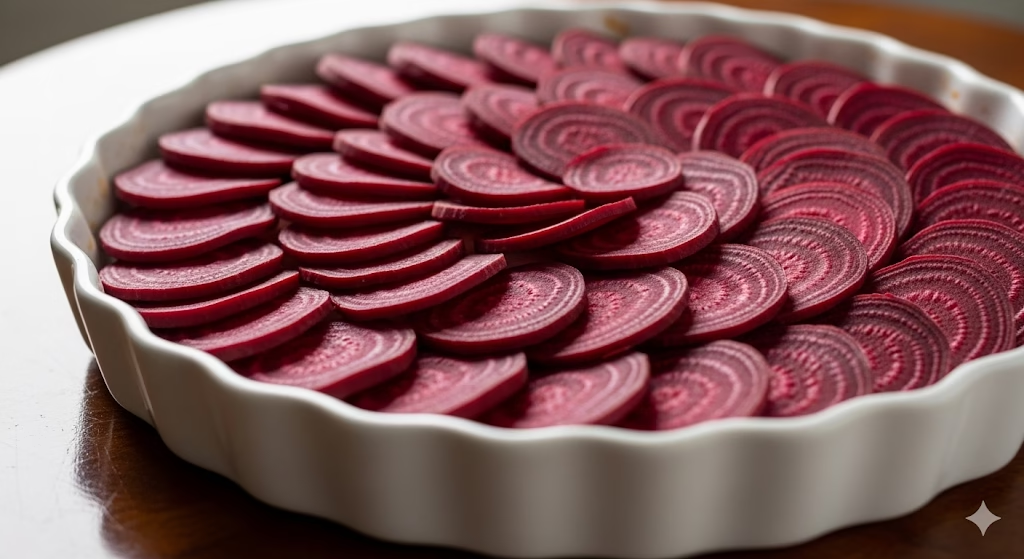
Prepare the Beetroots: Take your peeled beetroots and carefully slice them into thin, uniform rounds. Aim for a thickness of about 1/8 inch (3-4mm). Consistency in thickness is key here, as it ensures even cooking. If you have a mandoline slicer, this is the perfect tool for the job, as it makes quick work of slicing and guarantees uniform results. If you’re using a sharp knife, take your time and try to keep your slices as even as possible.
Whip Up the Creamy Sauce: In a medium saucepan, combine the whole milk and heavy cream. Add the minced garlic, fresh thyme leaves, freshly grated nutmeg, salt, and black pepper. Place the saucepan over medium heat and gently bring the mixture to a simmer, stirring occasionally. Be careful not to let it boil vigorously; a gentle simmer is all you need. Once it reaches a simmer, remove the saucepan from the heat. This allows the flavors to meld and prevents the dairy from curdling.
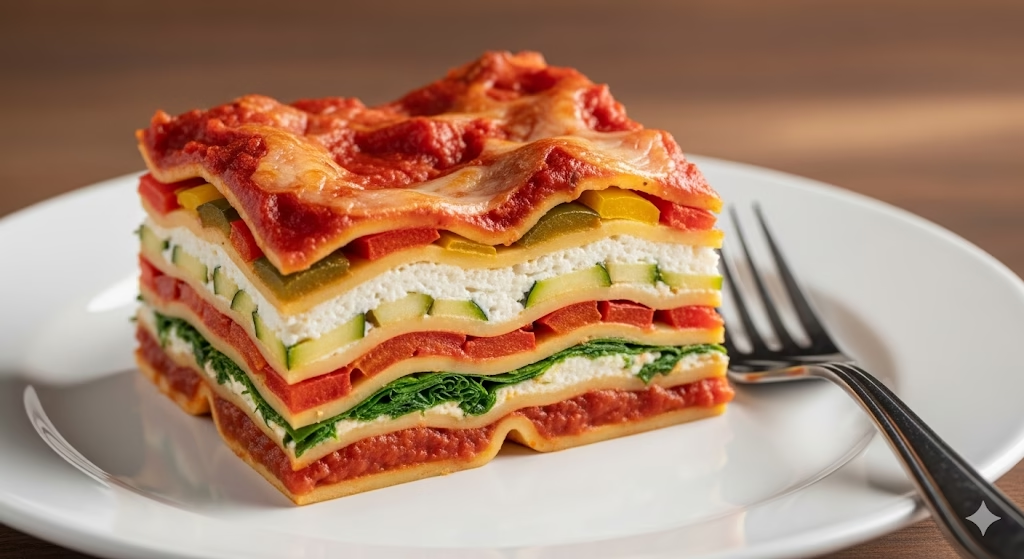
Layer the Gratin with Precision: Now it’s time to assemble your beautiful gratin! Arrange a single layer of sliced beetroots at the bottom of your prepared gratin dish. Try to overlap them slightly, creating a neat pattern that covers the entire base of the dish.
Add Cheese and Sauce: Sprinkle about one-third of the grated Gruyère cheese and one-third of the grated Parmesan cheese evenly over the beetroot layer. Then, carefully pour about one-quarter of the warm cream mixture over the cheese and beetroots.
Repeat the Layers: Continue layering the beetroots, cheese, and cream mixture. You’ll typically get two more layers of beetroots and cheese. For the final layer, after placing the last of the beetroots, pour the remaining cream mixture over everything, making sure it’s evenly distributed.
The Grand Finale of Cheese: Sprinkle the remaining Gruyère and Parmesan cheeses generously over the top of the gratin. This final layer of cheese will melt and brown beautifully, creating that irresistible golden crust.

Cooking Your Beetroot Gratin: Methods and Alternatives
Oven Baking (Standard Method)
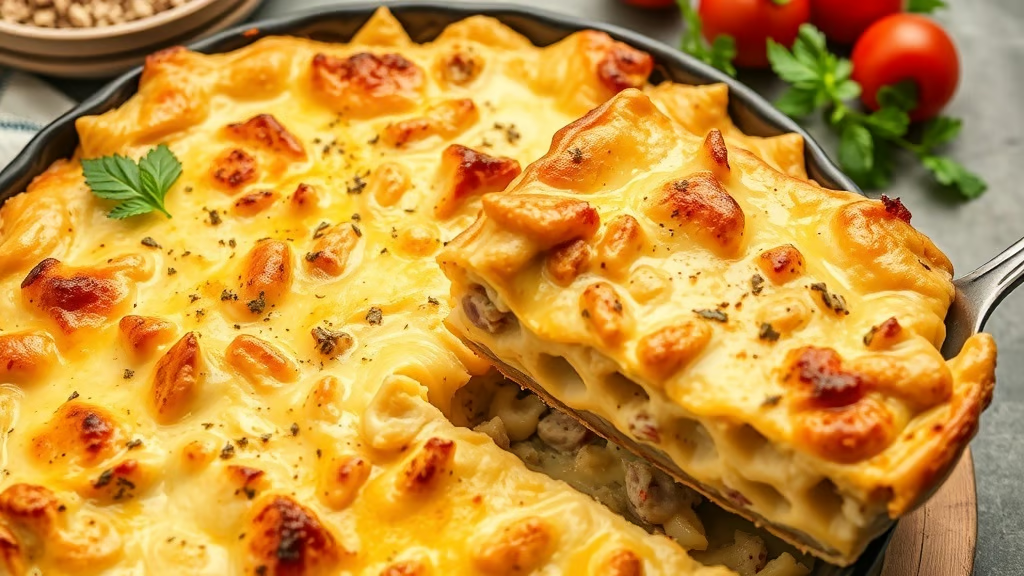
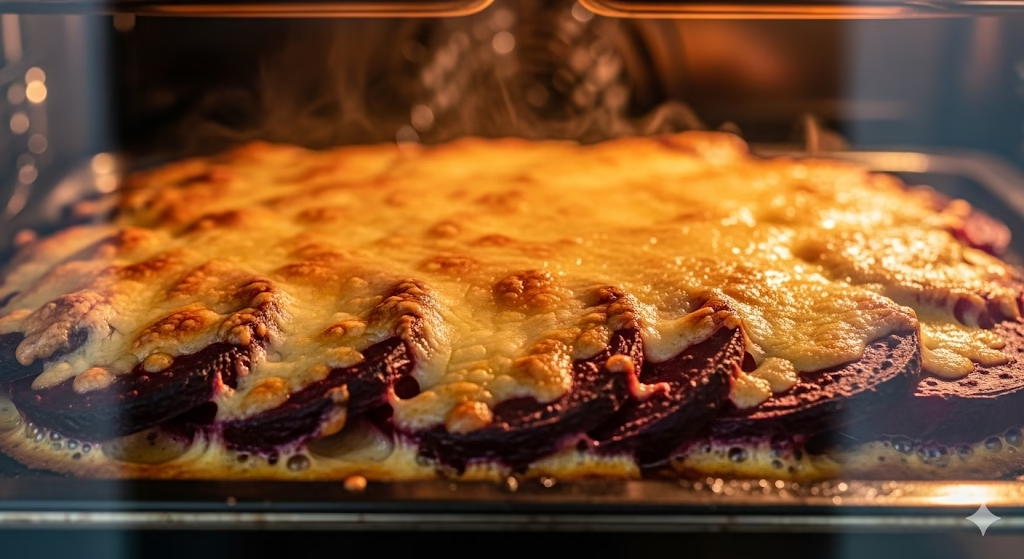
- Bake to Perfection: Carefully place the gratin dish into your preheated oven. Bake for 35-40 minutes, or until the beetroots are tender when pierced with a fork and the cream mixture is bubbling around the edges.
- Golden Crust: After the initial baking, increase the oven temperature to 400°F (200°C) and bake for an additional 10-15 minutes, or until the cheese on top is melted, golden brown, and delightfully bubbly. Keep a close eye on it to prevent burning.
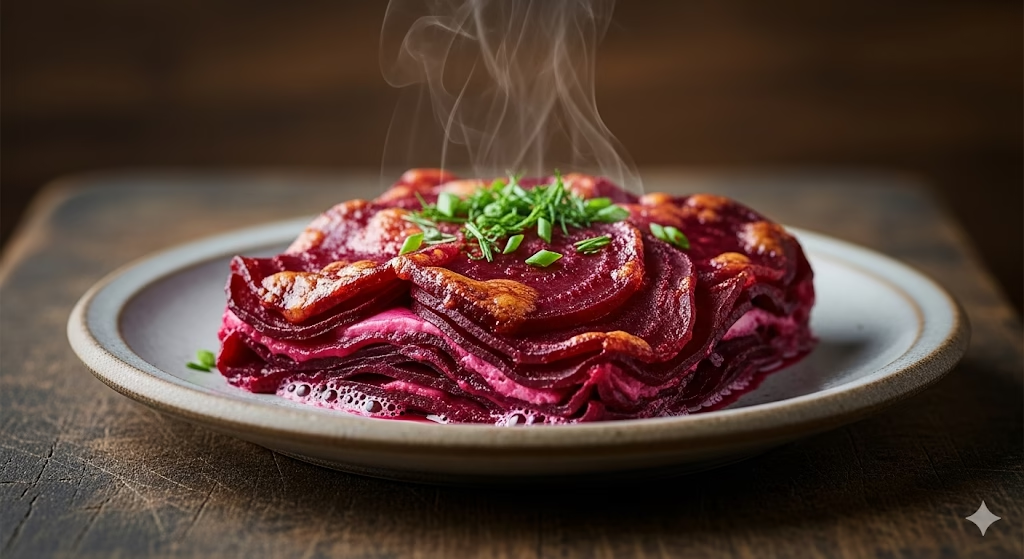
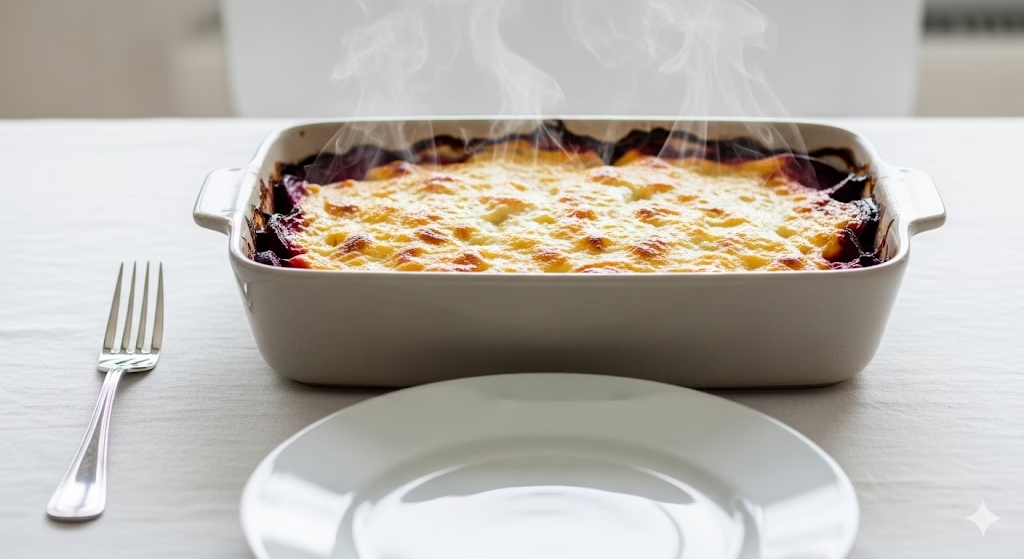
- Rest and Serve: Once baked, remove the gratin from the oven and let it rest for at least 10-15 minutes before serving. This resting period is crucial as it allows the gratin to set, making it easier to serve clean portions, and ensures the flavors fully develop. Garnish with fresh parsley or chives if desired.
Alternative Cooking Method: Air Fryer (for smaller portions or faster cooking)
For a quicker cooking time or if you’re making a smaller portion, an air fryer can be a fantastic alternative.
- Preparation: Follow steps 1-7 for preparing and assembling the beetroot gratin in a small, air-fryer-safe baking dish or individual ramekins. Ensure your dish fits comfortably in your air fryer basket.
- Air Fry: Preheat your air fryer to 350°F (175°C). Carefully place the gratin dish into the air fryer basket.
- Cook: Air fry for 25-35 minutes. Check for tenderness by piercing a beetroot with a fork. If the top is browning too quickly, you can loosely cover it with foil.
- Golden Finish: For the last 5-10 minutes, remove the foil (if used) and increase the temperature to 375°F (190°C) to get a crispy, golden cheese topping.
- Rest: As with oven baking, let it rest for 5-10 minutes before serving.
Alternative Cooking Method: Slow Cooker (for hands-off cooking)
While gratins are traditionally baked, a slow cooker can offer a hands-off approach, perfect for when you want to set it and forget it.
Preparation: Follow steps 1-7 for preparing and assembling the beetroot gratin, but use a slow-cooker-safe casserole dish that fits inside your slow cooker, or layer directly into the slow cooker if it has a suitable insert.
Cook: Place the lid on your slow cooker and cook on HIGH for 2-3 hours or on LOW for 4-5 hours, or until the beetroots are tender and the sauce is bubbly and thickened.
Broil for Crust (Optional): If you desire a golden, crispy cheese topping, carefully transfer the gratin from the slow cooker to an oven-safe dish. Place it under a preheated broiler for 2-5 minutes, watching closely to prevent burning.
Rest: Let the gratin rest for 10-15 minutes before serving.
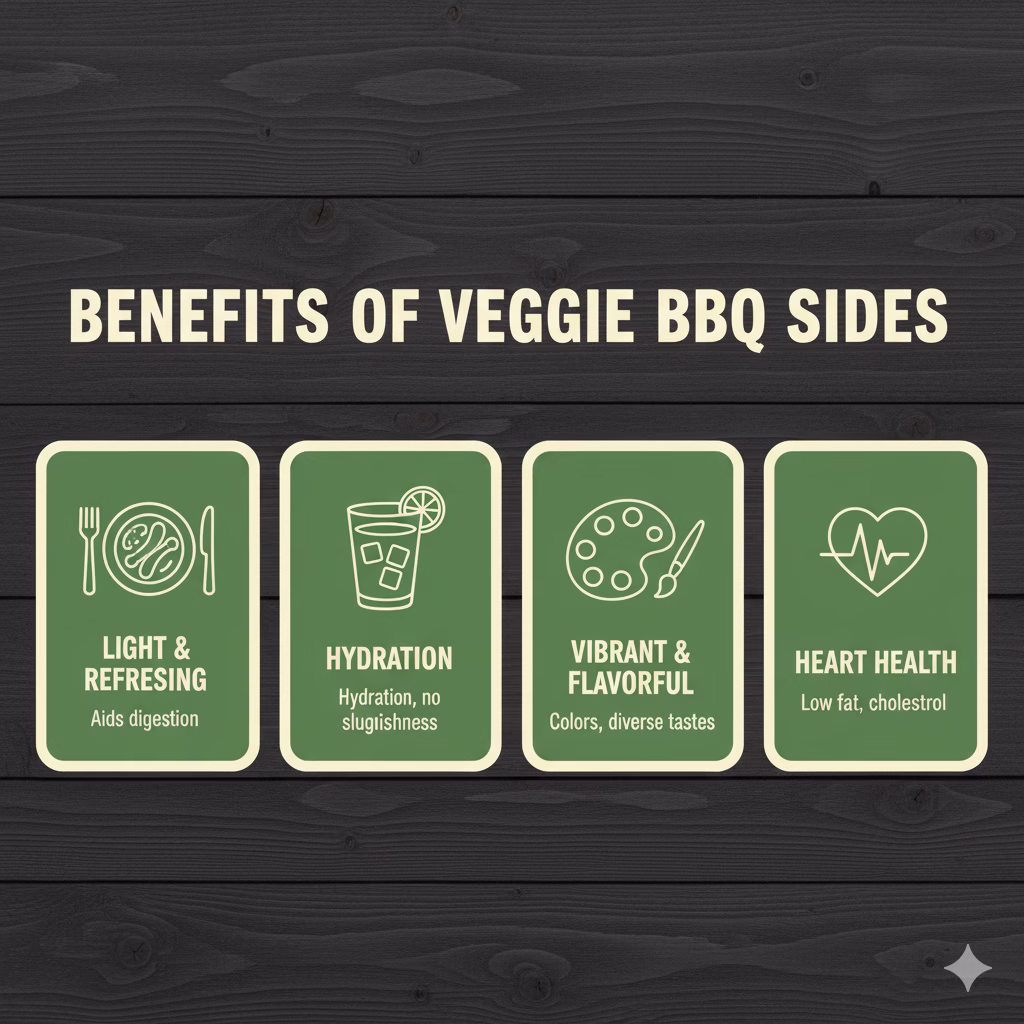
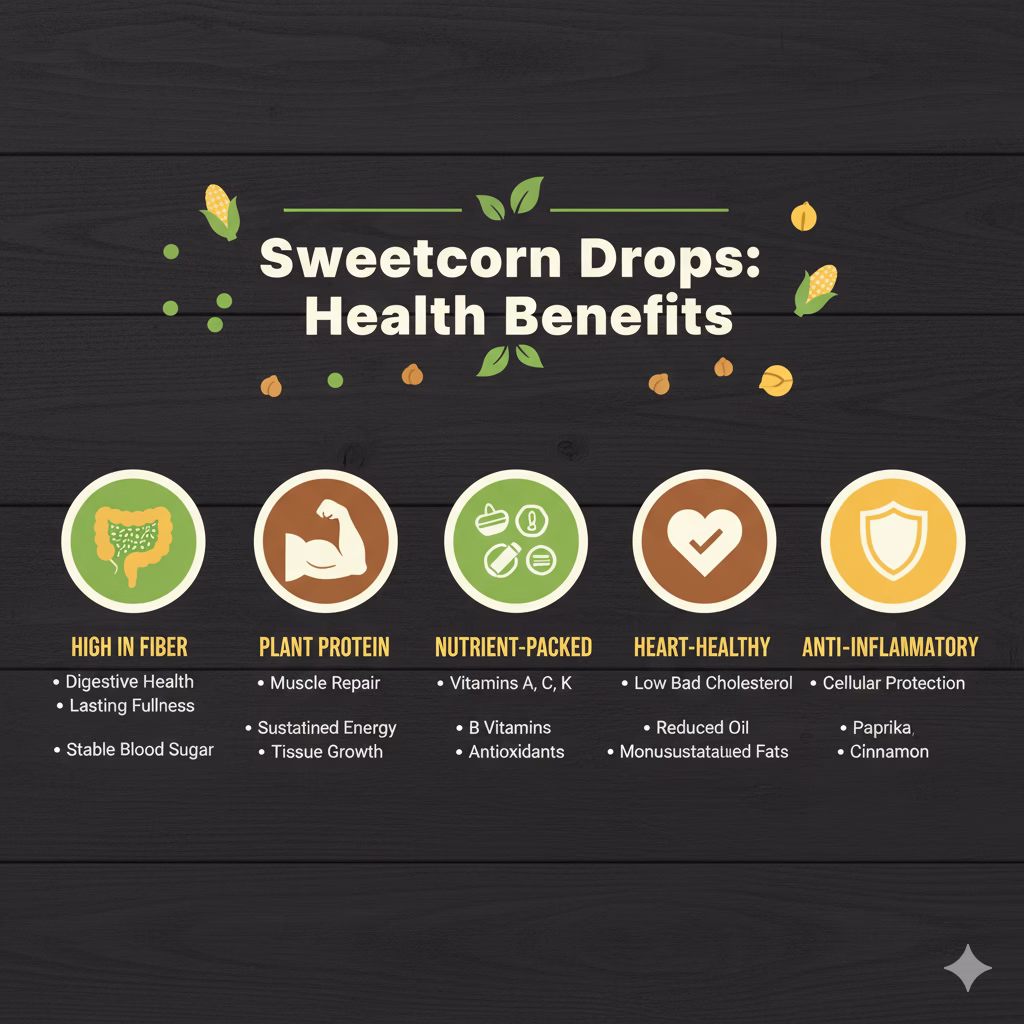
The Wholesome Benefits of Beetroot Gratin
Beyond its incredible taste, this beetroot gratin offers a myriad of health benefits, making it a truly nourishing addition to your diet. Beetroots are known for their impressive nutritional profile, and incorporating them into such a delicious dish makes healthy eating an absolute joy.
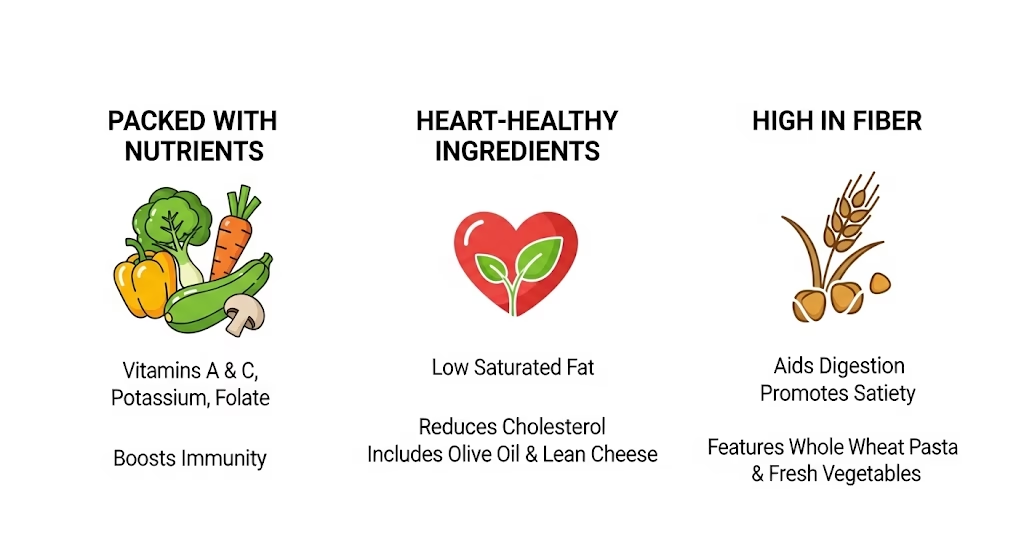
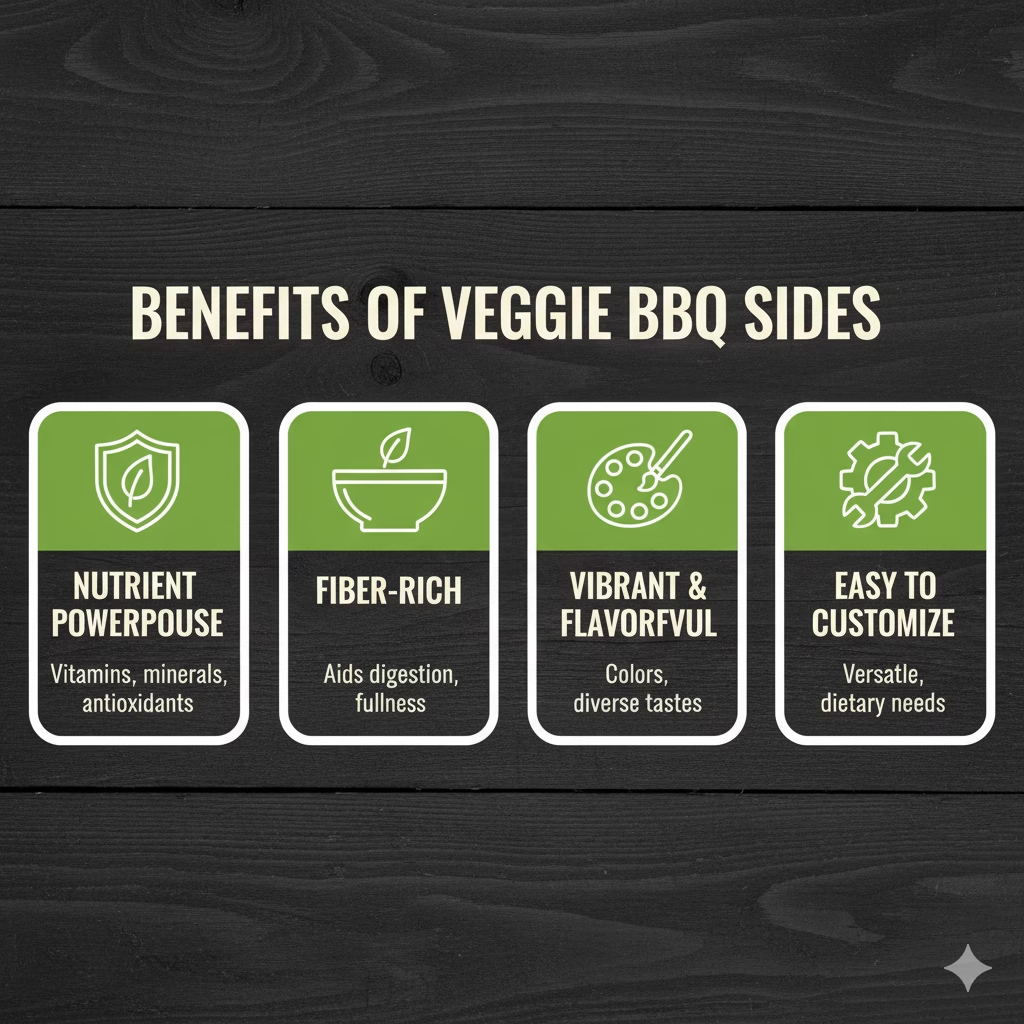
Nutrient Powerhouse
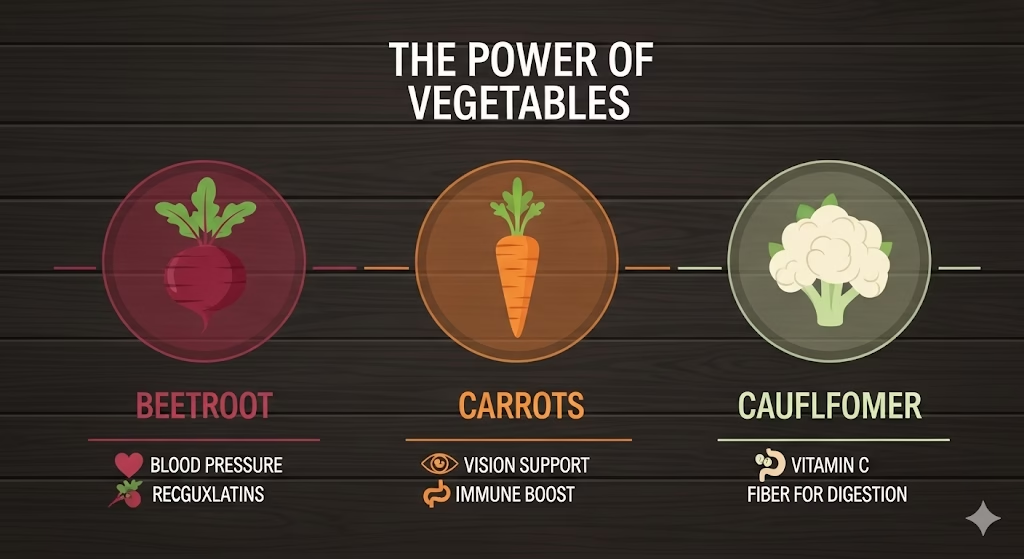
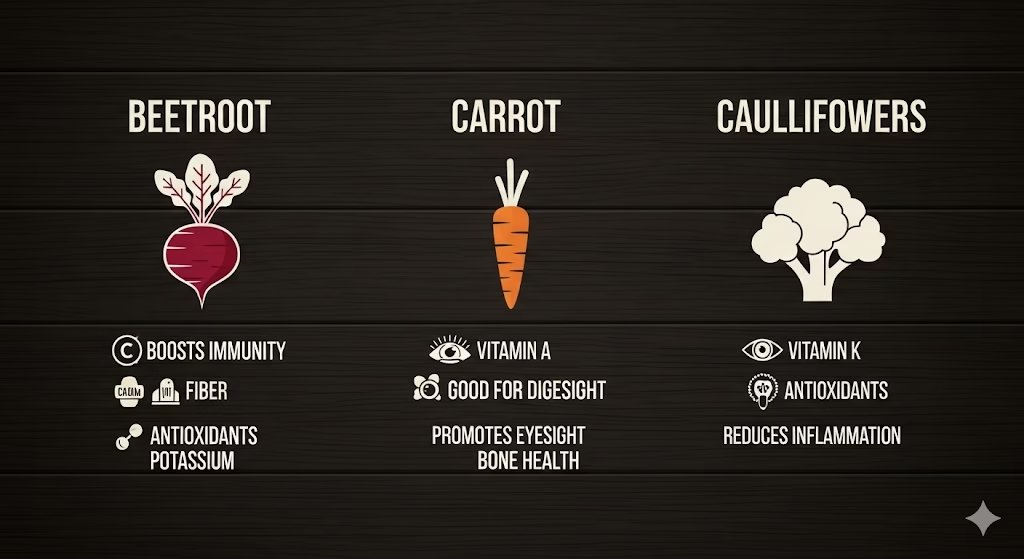
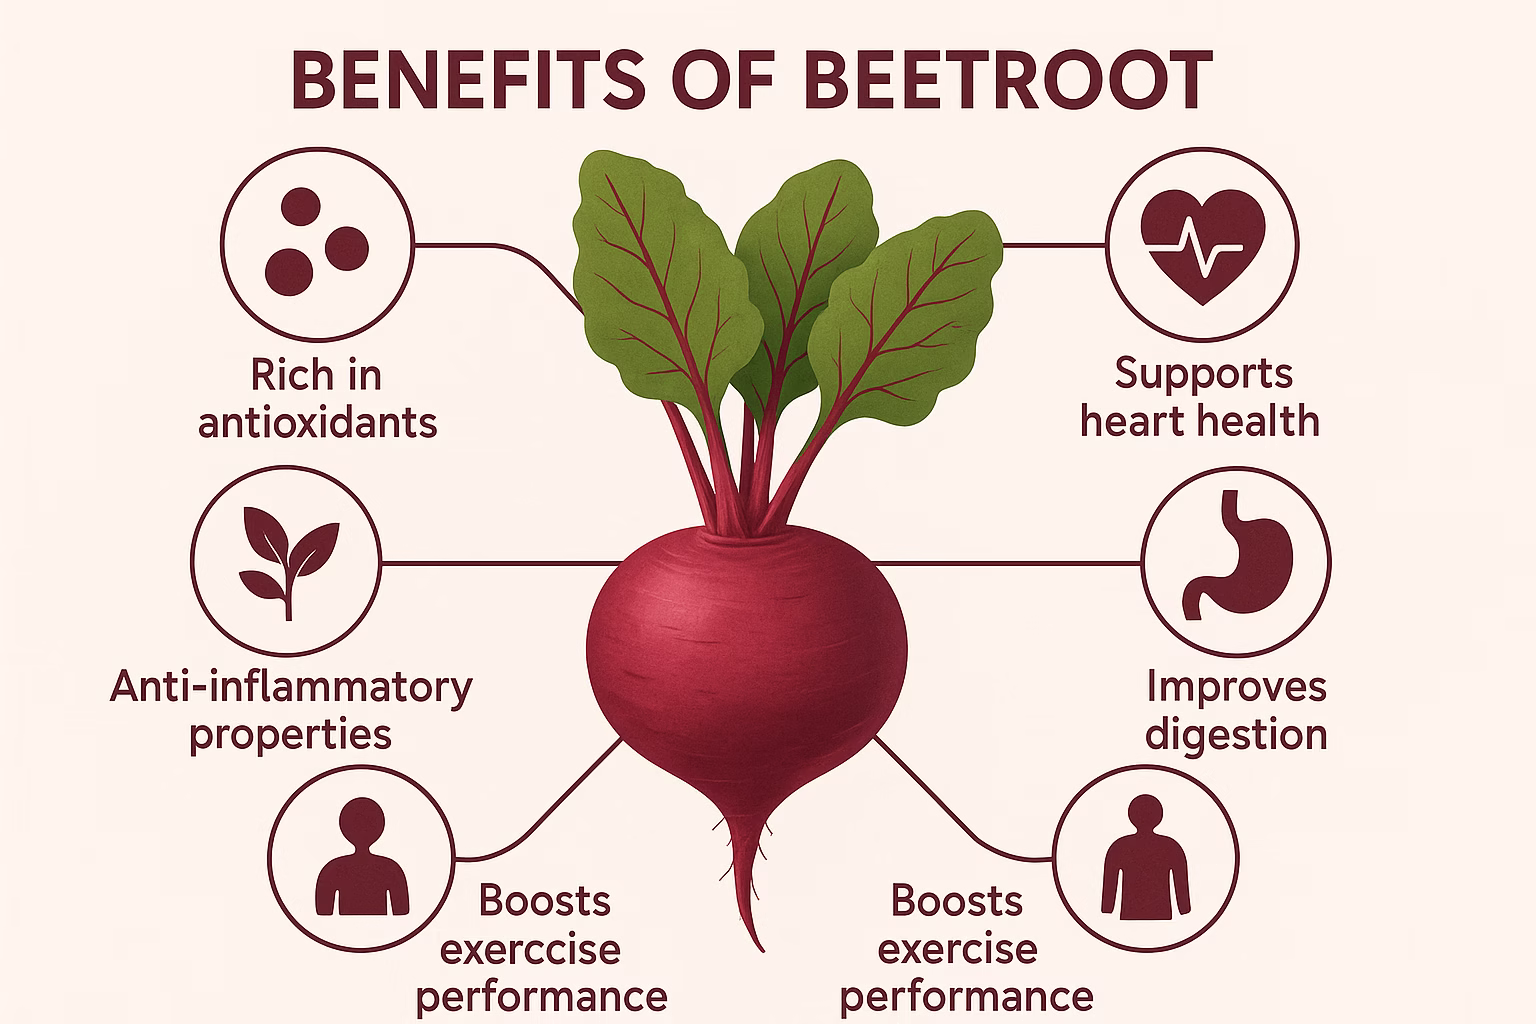
Beetroots are packed with essential vitamins and minerals, including folate (vitamin B9), manganese, potassium, iron, and vitamin C. Folate is crucial for cell function and tissue growth, while manganese plays a role in bone formation and nutrient metabolism. Potassium is vital for blood pressure regulation, and iron is essential for oxygen transport in the body.
Antioxidant Rich
The vibrant color of beetroots comes from betalains, powerful antioxidants that help protect cells from damage caused by free radicals. These compounds may contribute to reducing inflammation and supporting overall cellular health. Enjoying this beetroot gratin is a delicious way to boost your antioxidant intake.
Digestive Health
Beetroots are an excellent source of dietary fiber, which is vital for maintaining a healthy digestive system. Fiber helps regulate bowel movements, prevents constipation, and can support a balanced gut microbiome. A good fiber intake also contributes to a feeling of fullness, which can aid in weight management.
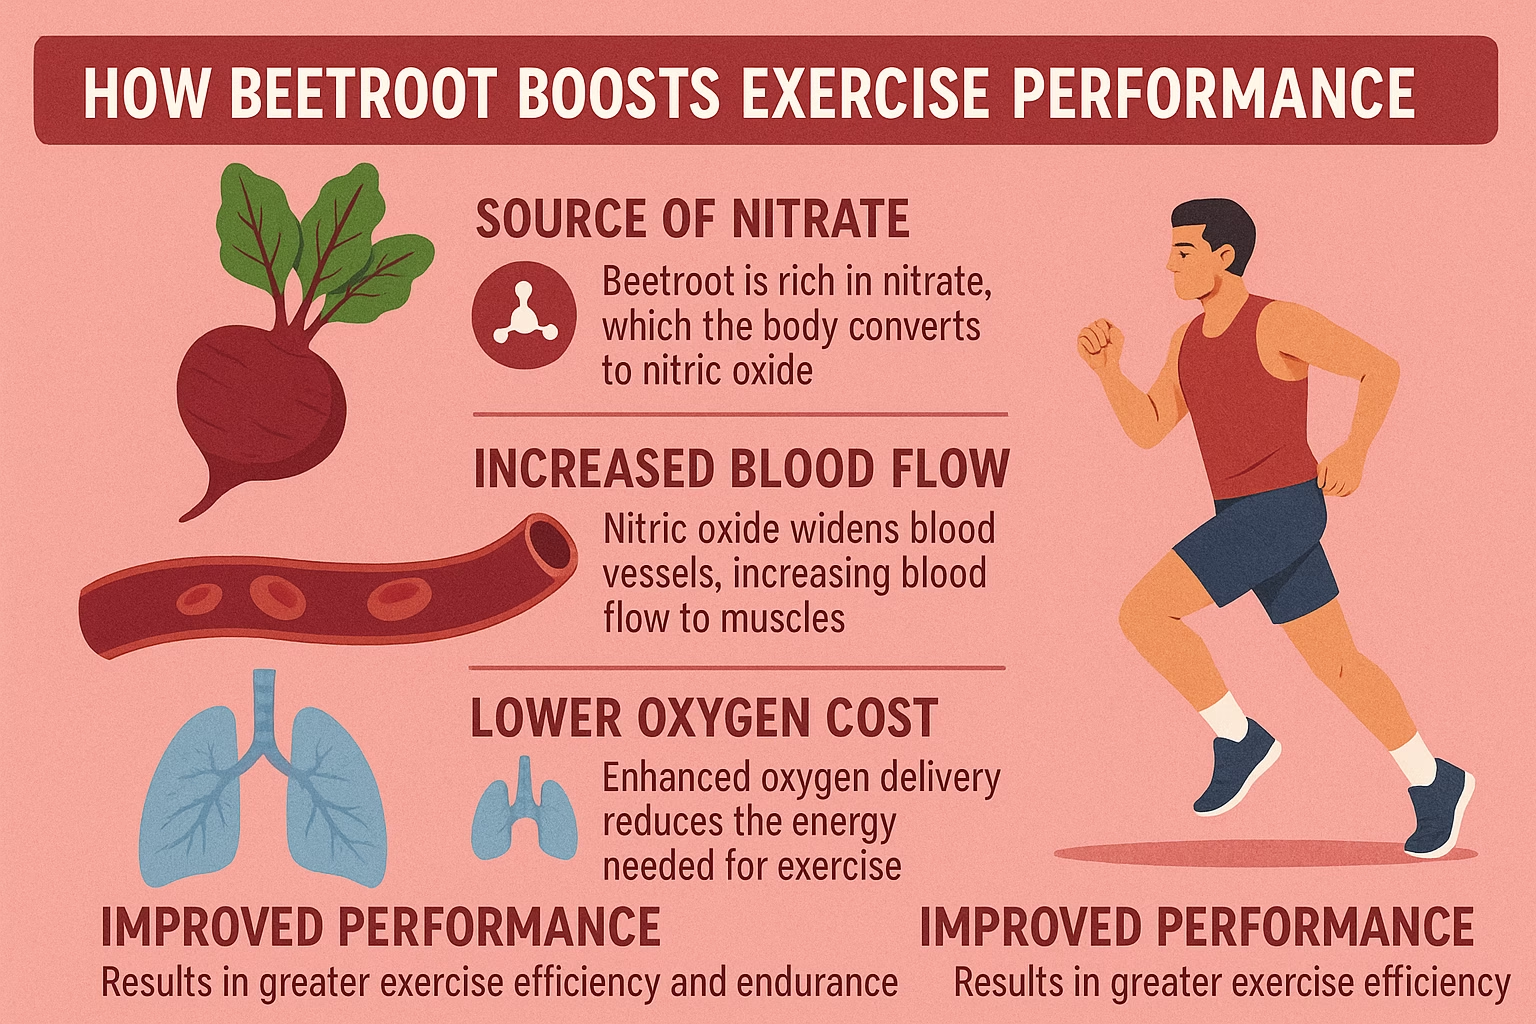
Heart Health Support
The nitrates found naturally in beetroots are converted into nitric oxide in the body, which helps to relax and dilate blood vessels. This can lead to improved blood flow and reduced blood pressure, thereby supporting cardiovascular health. Including beetroot gratin in your diet can be a tasty step towards a healthier heart.
Energy and Stamina
Thanks to their nitrate content, beetroots have been shown to improve athletic performance by increasing oxygen efficiency. While this gratin might not turn you into an Olympic athlete overnight, it can contribute to sustained energy levels and overall vitality, making it a great choice for active individuals.
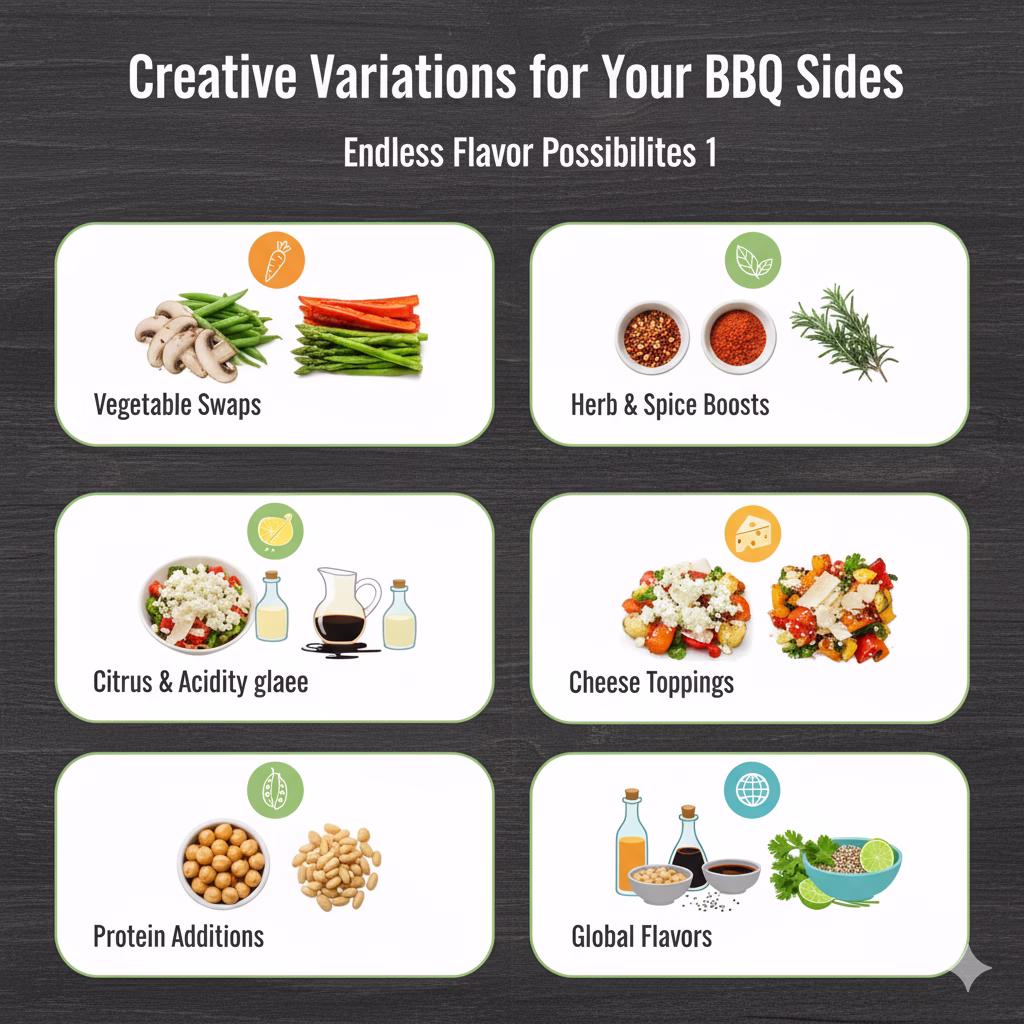
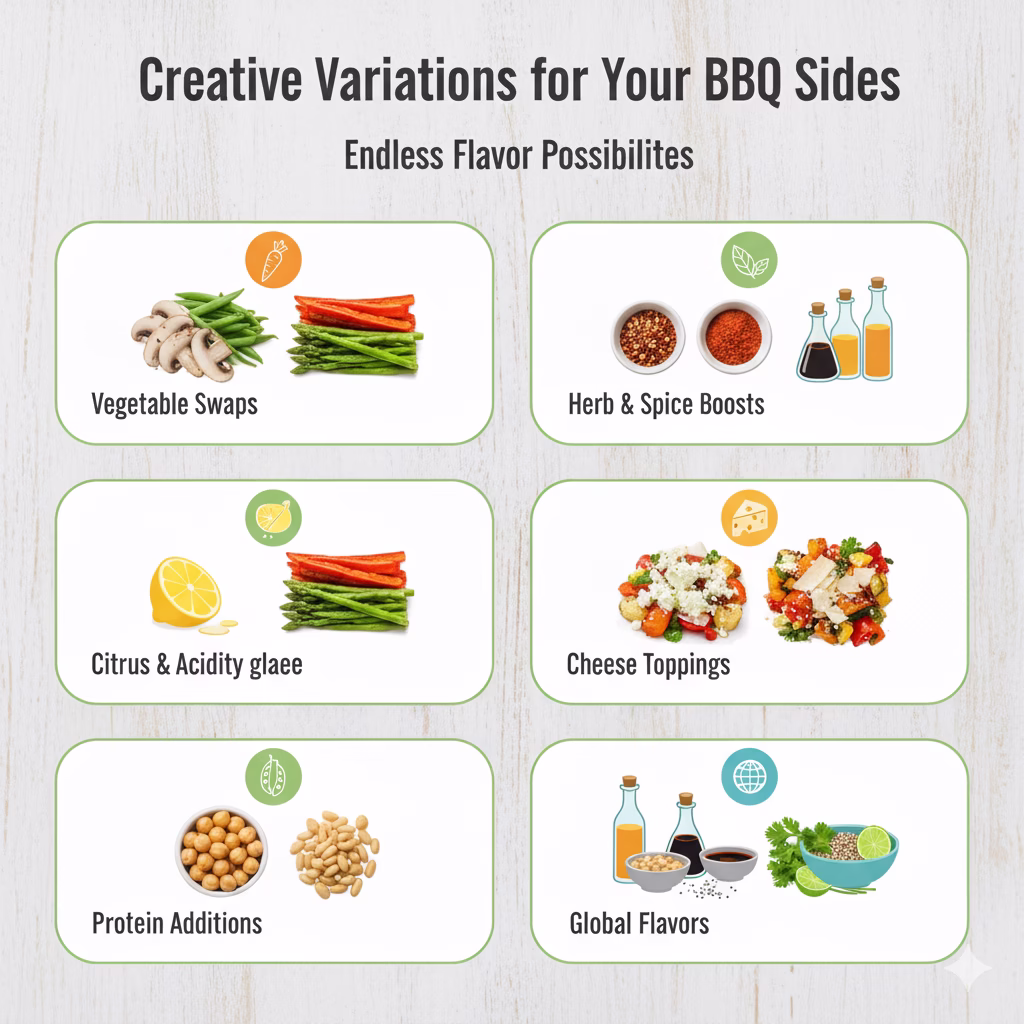
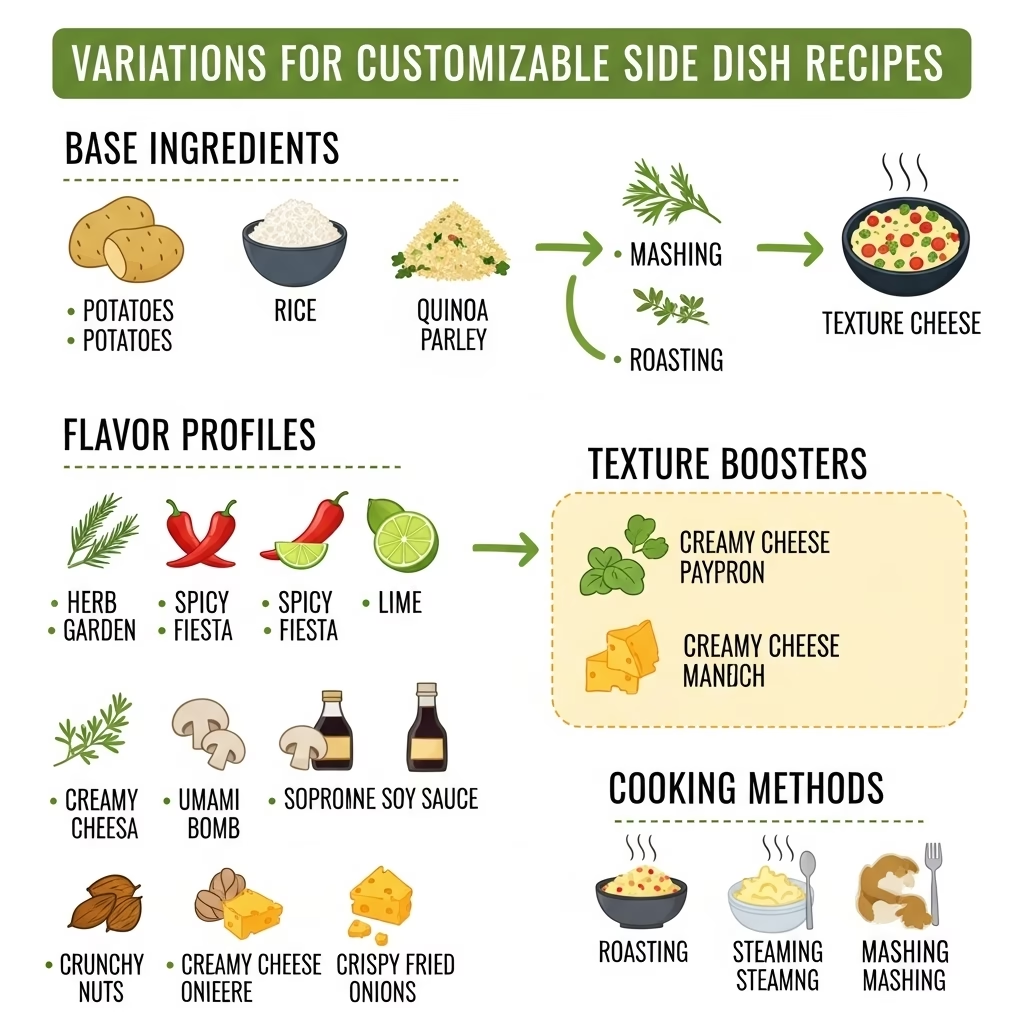
Variations for Your Beetroot Gratin Experience
This beetroot gratin recipe is wonderfully versatile. Feel free to customize it to suit your dietary needs, taste preferences, or what you have available in your pantry.
| Variation Category | Suggestions |
| Dairy-Free | Replace whole milk with unsweetened oat milk or almond milk. Use full-fat coconut milk instead of heavy cream. Opt for nutritional yeast or a good quality dairy-free cheese alternative for the cheesy topping. |
| Vegan | Combine dairy-free milk and cream alternatives with nutritional yeast for a cheesy flavor. Use a vegan cheese substitute for the gratin top. Ensure all ingredients, like stock (if using), are plant-based. |
| Cheese Choice | Experiment with different cheeses. Aside from Gruyère and Parmesan, consider sharp cheddar, provolone, Fontina, or even a smoked Gouda for a deeper flavor. A sprinkle of goat cheese can add a tangy note. |
| Herb Infusion | Beyond thyme, try fresh rosemary, sage, or a mix of Italian herbs for a different aromatic profile. Dried herbs can also be used, but use half the amount of fresh herbs. |
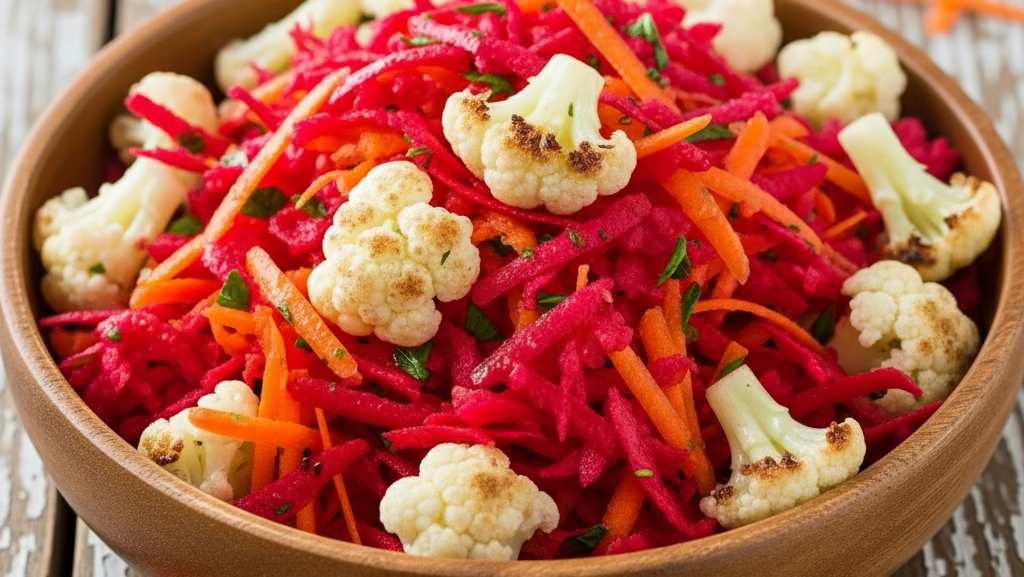
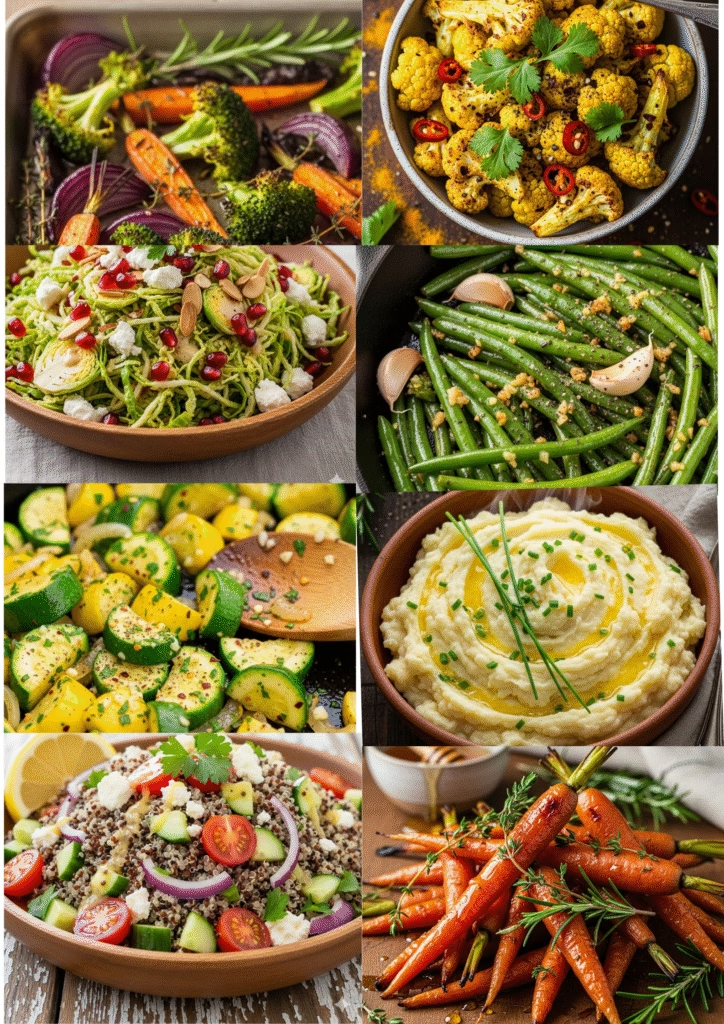
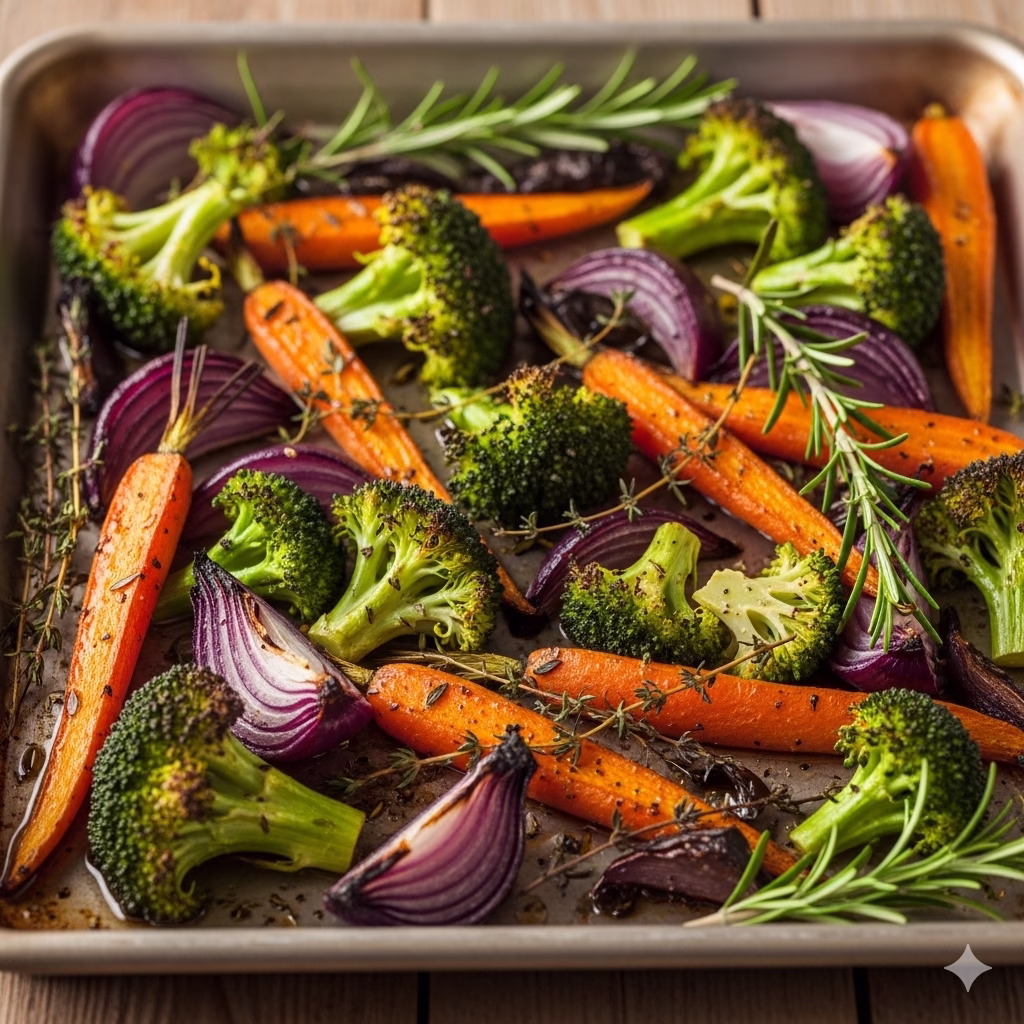
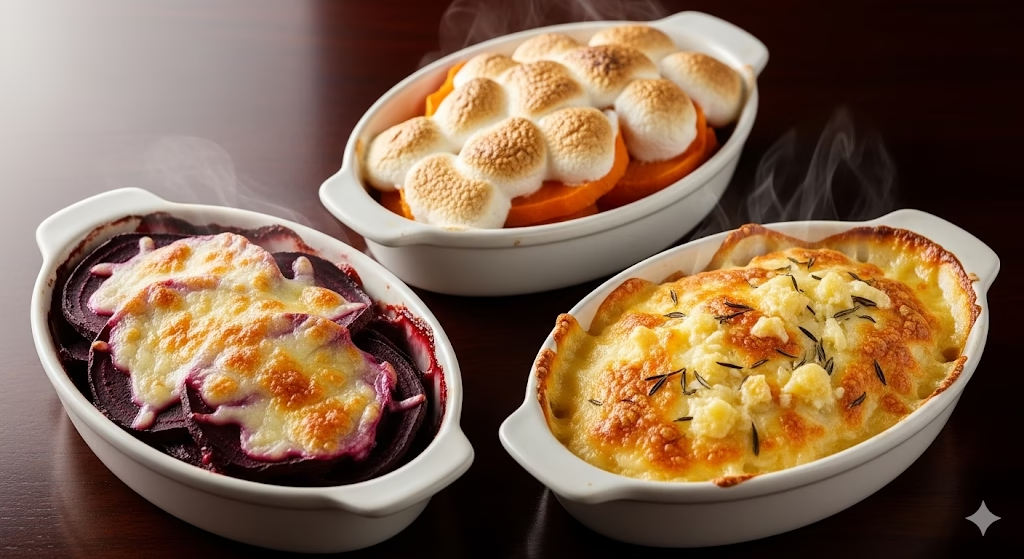
| Added Vegetables | Incorporate other thinly sliced root vegetables like potatoes, sweet potatoes, carrots, or parsnips. Layer them alternately with the beetroots for added texture and nutritional diversity. Ensure all vegetables are sliced thinly for even cooking. |
| Spicy Kick | Add a pinch of red pepper flakes to the cream mixture for a subtle heat, or finely dice a jalapeño and sprinkle it between layers for a more pronounced spicy flavor. |
| Protein Boost | For a more substantial main dish, consider adding cooked, crumbled plant-based sausage, lentils, or a layer of sautéed mushrooms between the beetroot layers. |
Final Thoughts: Embrace the Beetroot Gratin
As you’ve journeyed through the creation of “The Best Beetroot Gratin Ever,” we hope you’ve been inspired to bring this vibrant, wholesome, and incredibly delicious dish into your culinary repertoire. It’s more than just a recipe; it’s an invitation to savor the rich flavors of nature, to enjoy the process of cooking, and to share a truly memorable meal with those you cherish.
This beetroot gratin is a testament to how simple, natural ingredients can be transformed into something extraordinary with just a little care and attention. Whether you’re a seasoned chef or a home cook looking to expand your horizons, this recipe offers a rewarding experience and a dish that’s sure to garner compliments. So, don’t hesitate! Gather your ingredients, get slicing, and prepare to indulge in the best beetroot gratin you’ve ever tasted. We encourage you to make it your own with the suggested variations and discover new layers of flavor.
Frequently Asked Questions (FAQs) about Beetroot Gratin
Q1: Can I prepare beetroot gratin ahead of time?
A1: Yes, you can! You can assemble the gratin up to 24 hours in advance. Simply cover the unbaked gratin tightly with plastic wrap and refrigerate. When ready to bake, remove it from the refrigerator about 30 minutes before baking to allow it to come closer to room temperature. You might need to add an extra 5-10 minutes to the baking time if it’s going into the oven directly from the fridge.
Q2: How can I store leftovers and reheat beetroot gratin?
A2: Leftover beetroot gratin can be stored in an airtight container in the refrigerator for up to 3-4 days. To reheat, you can warm individual portions in the microwave until heated through, or cover the gratin dish with foil and reheat in an oven preheated to 350°F (175°C) for about 20-25 minutes, or until hot and bubbly. For a crispy top, remove the foil for the last few minutes.
References
- USDA Beetroot – raw
- NIH – Folate
- AHA – Shaking the Salt Habit to Lower High Blood Pressure
Recent Posts