This article delves into the incredible world of Fermented Foods, guiding you through their gut-healing power. Discover how these probiotic-rich ingredients can transform your health, from improving digestion to boosting your immune system. Learn to choose, prepare, and enjoy Fermented Foods for a happier, healthier you.

Unlock a Healthier You with Fermented Foods
A healthy gut is essential for overall well-being. It can affect everything from your immune system to your mood. Fermented foods are one of the most powerful tools you have to nourish your gut and support a thriving microbiome. This guide will walk you through what fermented foods are, why they’re so good for you, and how to easily incorporate them into your daily life.
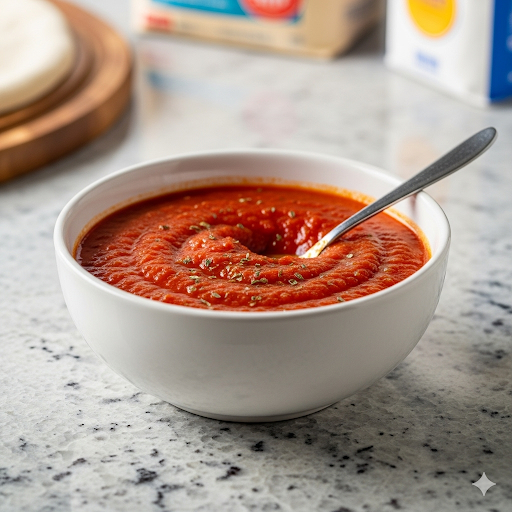
Fermented pickled vegetables are an excellent way to support gut health. Unlike quick-pickled vegetables, which use vinegar to preserve the food and often lack live cultures, fermented vegetables undergo a process called lacto-fermentation. This process uses naturally occurring bacteria (primarily Lactobacillus species) to break down sugars and create lactic acid, which acts as a preservative and gives the vegetables their characteristic tangy flavor.

This post contains affiliate links. If you make a purchase through these links, I may earn a small commission at no extra cost to you.
Fermented Foods and Your Gut Microbiome
This natural process creates a wealth of beneficial bacteria known as probiotics. These live microorganisms, when consumed in adequate amounts, can help balance your gut flora, improve digestion, and even strengthen your immune system.
By adding fermented foods to your diet, you are directly introducing these good bacteria, which can help your gut function more efficiently.
Beyond their probiotic benefits, many fermented foods also contain enzymes and prebiotics that further aid in digestion.
The fermentation process can make nutrients in the food more bioavailable, meaning your body can absorb them more easily. This makes fermented vegetables a nutritional powerhouse that goes beyond their simple ingredients.
While fermented foods have been a part of human diets for thousands of years, they have seen a resurgence in popularity due to growing awareness of gut health.
From classic sauerkraut to spicy kimchi, there’s a wide variety of flavors and textures to explore. By the end of this guide, you’ll be ready to start your own gut health journey with these delicious and powerful foods.
What Are Fermented Foods and Why Do They Matter?
The Magic of Lacto-Fermentation
Fermented foods are created through a process called lacto-fermentation. This is a simple, natural method of food preservation that uses beneficial bacteria to transform vegetables.
This process not only preserves the food but also enhances its nutritional value and creates a unique tangy flavor. The lactic acid produced during fermentation also inhibits the growth of harmful bacteria, making the food safe and healthy to eat.
A Recipe for Fermented Pickled Vegetables
This is a great starting point for anyone new to fermenting. You can use this simple brine to create a variety of delicious fermented pickles.
Time to Prepare: 15 minutes
Time to Ferment: 7-14 days
Equipment
- 1-quart glass jar with a tight-fitting lid
- A fermentation weight or small glass jar that fits inside the main jar
- A large bowl
- Knife and cutting board
Ingredients
- 1 lb of mixed vegetables (carrots, radishes, cauliflower florets, bell peppers, or green beans work well)
- 2 tablespoons of non-iodized sea salt
- 2 cups of filtered water
- Optional flavorings: 2-3 cloves of garlic, 1 tablespoon of fresh dill, 1 teaspoon of mustard seeds, or a pinch of red pepper flakes

This post contains affiliate links. If you make a purchase through these links, I may earn a small commission at no extra cost to you.
Instructions
Prepare the Vegetables
Wash all your vegetables thoroughly. Cut them into sticks or florets that will fit snugly into your glass jar, leaving about an inch of space at the top. This extra space is crucial as the vegetables will expand slightly during fermentation.
Make the Brine
In your large bowl, whisk together the filtered water and non-iodized sea salt until the salt is completely dissolved. Using non-iodized salt is important, as iodine can interfere with the fermentation process.
Pack the Jar
Place your prepared vegetables into the clean glass jar. If using any of the optional flavorings, add them now, distributing them evenly throughout the jar. Pack the vegetables tightly but gently to avoid bruising them.
Pour the Brine:
Carefully pour the salt brine over the vegetables, making sure they are completely submerged. Leave that one-inch space at the top of the jar. This is essential for preventing overflow as the fermentation process creates gas.
Submerge the Veggies
Place a fermentation weight or a smaller, clean glass jar on top of the vegetables to keep them fully submerged under the brine. This prevents mold from forming.
Seal and Store
Screw the lid on loosely so that gases can escape. Place the jar in a cool, dark place (away from direct sunlight) to ferment. A pantry or a kitchen cabinet works well.
Monitor the Process
Check your jar daily. You might see small bubbles forming—this is a sign of healthy fermentation. After about 7 days, you can taste the vegetables. They should be tangy and crisp. If you prefer them tangier, let them ferment for a few more days.
Refrigerate
Once the vegetables have reached your desired level of tanginess, tighten the lid and move the jar to the refrigerator. This will slow down the fermentation process and preserve the flavor. The fermented vegetables will last for several months in the fridge.
A List of Gut-Friendly Fermented Foods
Here is a list of fermented pickled vegetables that are great for gut health, offering a variety of flavors and textures to explore.
Classic Fermented Vegetables
- Sauerkraut: This is arguably the most well-known fermented vegetable. It’s simply fermented cabbage and is packed with probiotics. The fermentation process makes the nutrients in cabbage more bioavailable.
- Kimchi: A staple of Korean cuisine, kimchi is a spicy, fermented dish typically made from napa cabbage and a variety of seasonings like gochugaru (Korean chili powder), garlic, ginger, and scallions. The mix of vegetables and spices offers a complex flavor and a wide array of beneficial bacteria.
- Fermented Dill Pickles: True fermented pickles are made with just cucumbers, a salt brine, and spices like dill and garlic. Look for “fermented,” “live cultures,” or “unpasteurized” on the label, and find them in the refrigerated section of the grocery store.
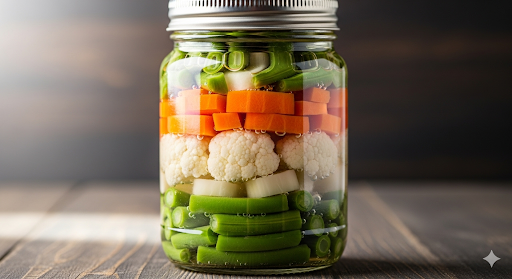
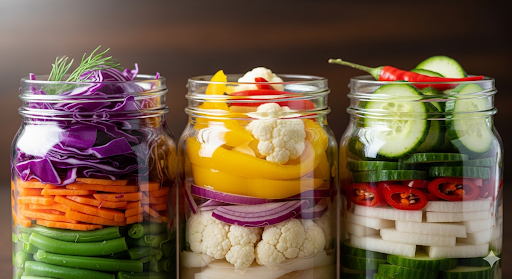
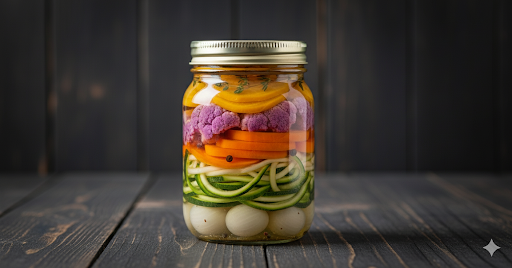
The gallery shows a selection of feremented vegetables in jars. They include: green beans, carrots, cucumber, cauliflower etc.
Other Great Options for Fermentation
The beauty of lacto-fermentation is that you can ferment almost any vegetable. Here are some more you can try:
- Fermented Carrots: Carrots ferment well on their own or with other vegetables. They maintain their crunch and can be flavored with ginger, garlic, or a hint of turmeric.
- Fermented Beets: Fermented beets are a beautiful, vibrant food. The fermentation process mellows their earthy flavor and can be used to make a probiotic drink called beet kvass.
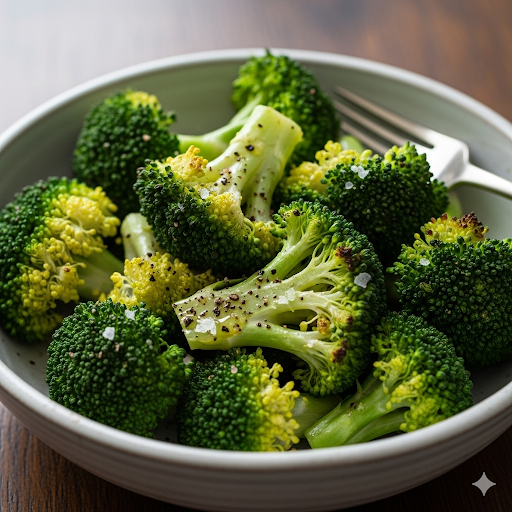
- Fermented Cauliflower and Broccoli: These cruciferous vegetables ferment nicely, developing a tangy flavor that is delicious in salads or as a side dish.
- Fermented Green Beans: Fermenting green beans gives them a crisp, zesty taste. They’re a fantastic snack or a tangy addition to a meal.
- Fermented Radishes: Radishes ferment quickly and are great for a beginner fermenter. They maintain their crunch and develop a sharp, tangy flavor.
- Fermented Garlic and Onions: Fermenting garlic and onions not only preserves them but also makes them easier to digest for some people. They can be used as a flavorful ingredient in many dishes.
- Fermented Jalapeños or Other Peppers: For those who like a little heat, fermented peppers are a flavorful and spicy way to get your probiotics.
- Mixed Vegetable Ferments (Giardiniera): You can create your own mix of fermented vegetables. A common combination includes carrots, cauliflower, celery, and bell peppers. This is a great way to use up a variety of produce.
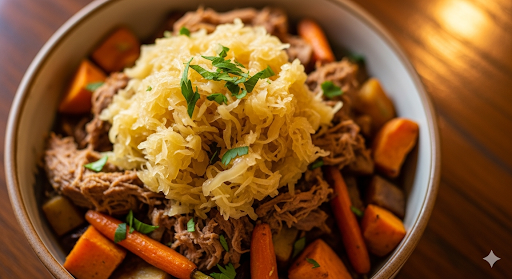
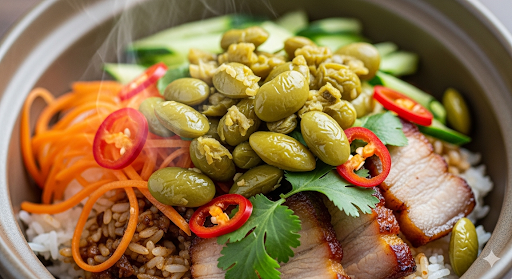
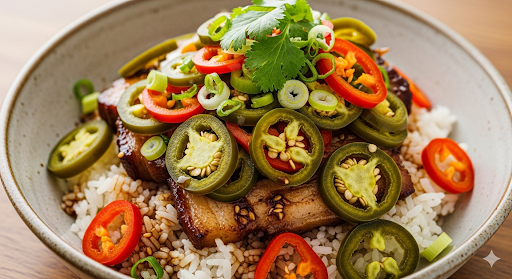
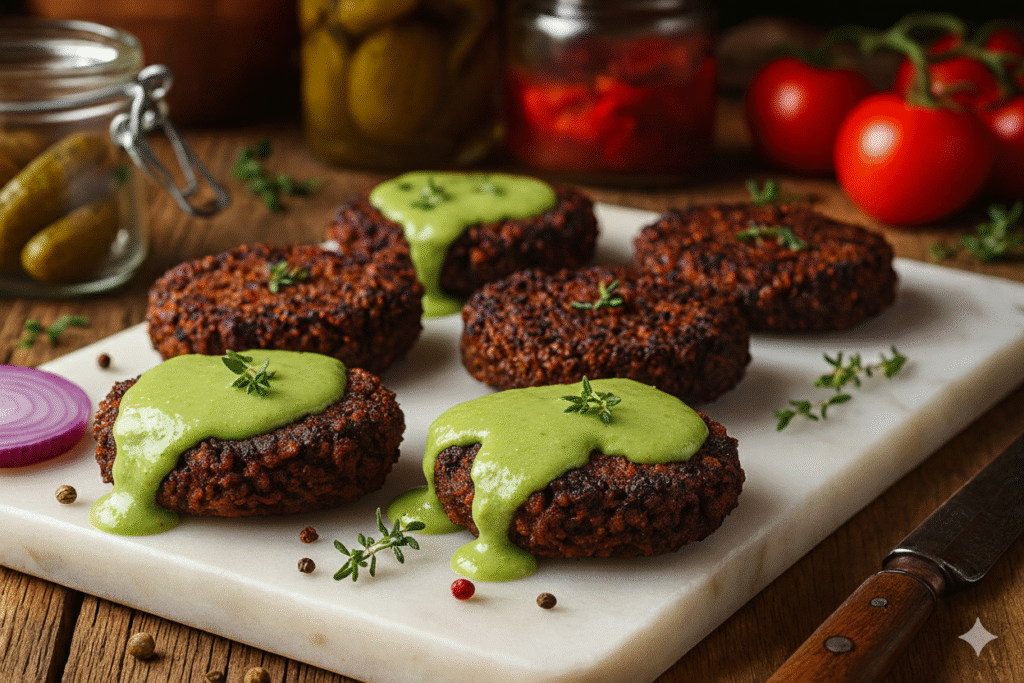
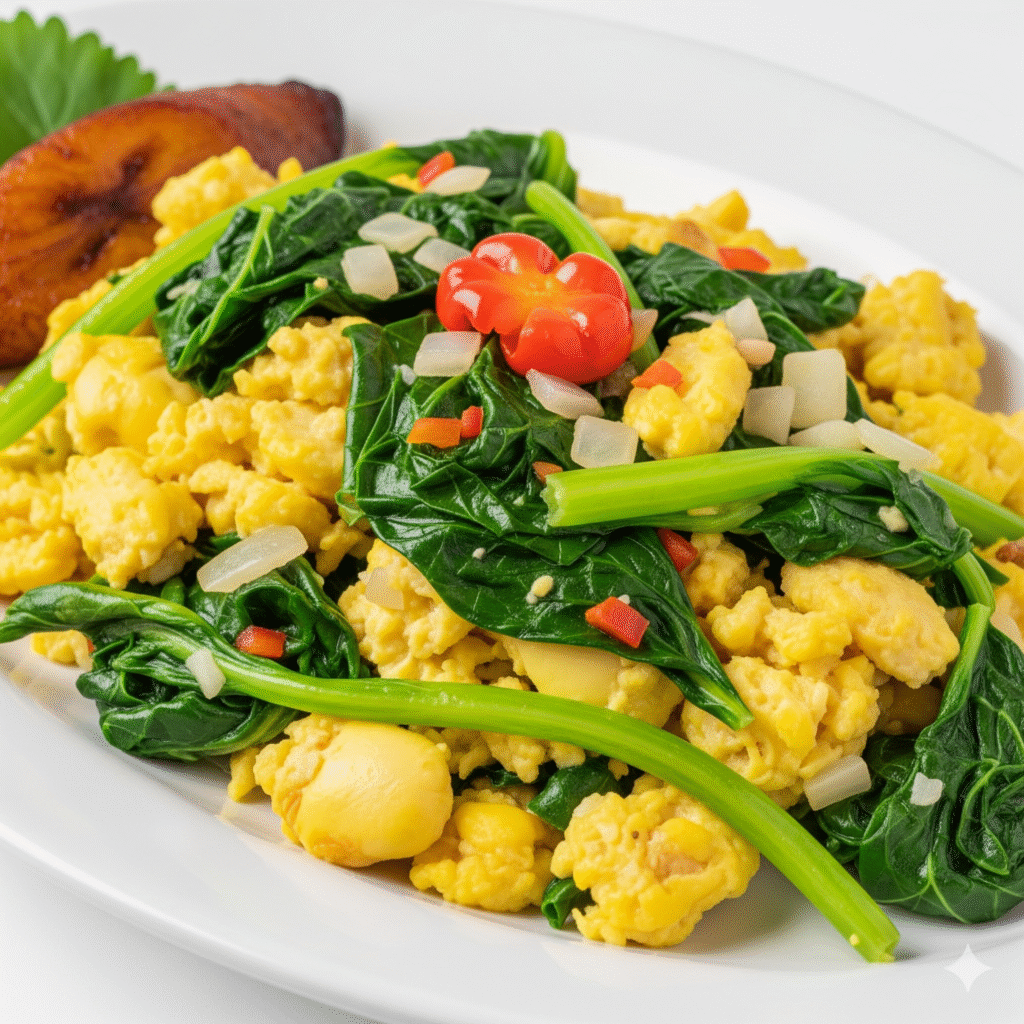
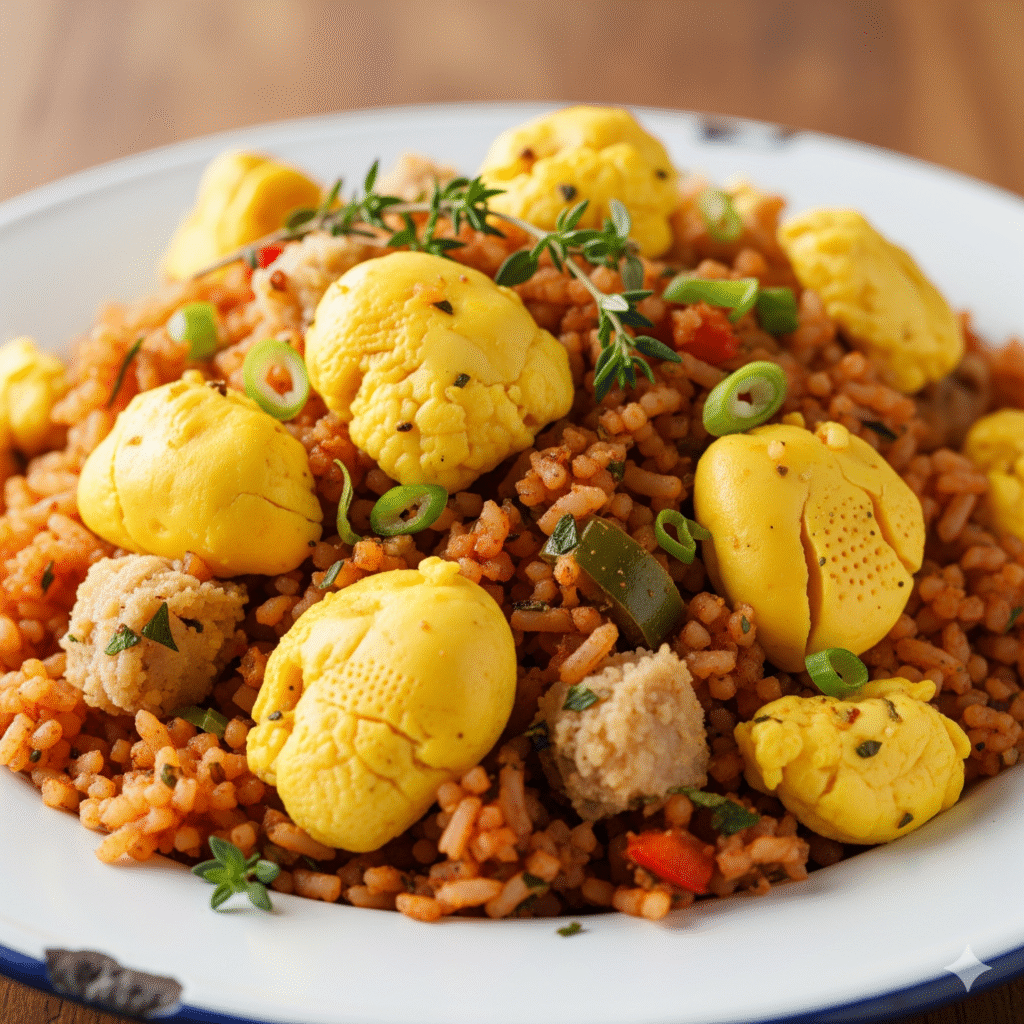
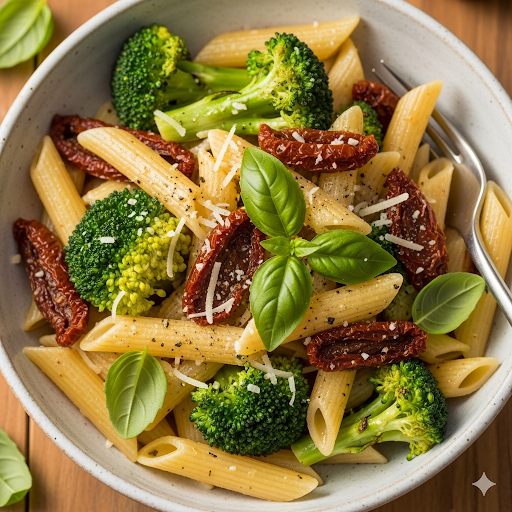
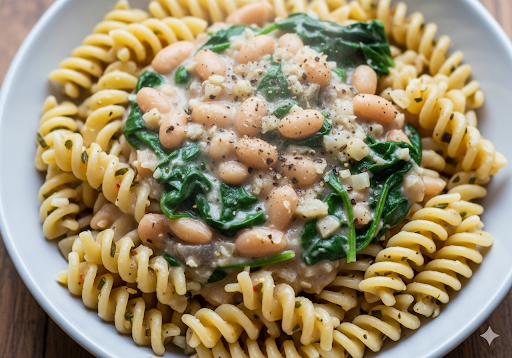
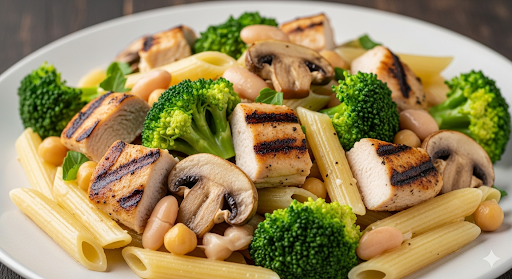
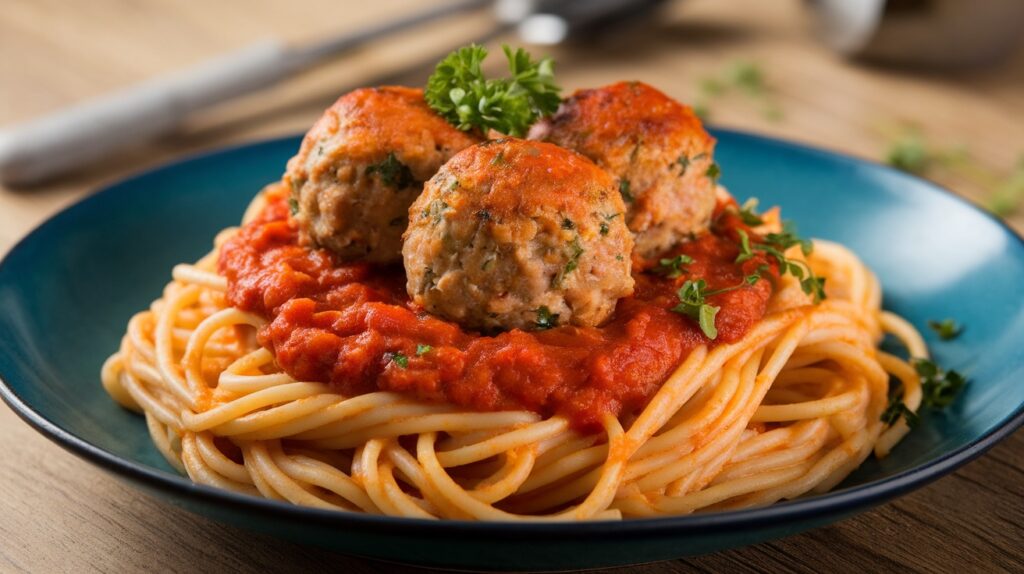
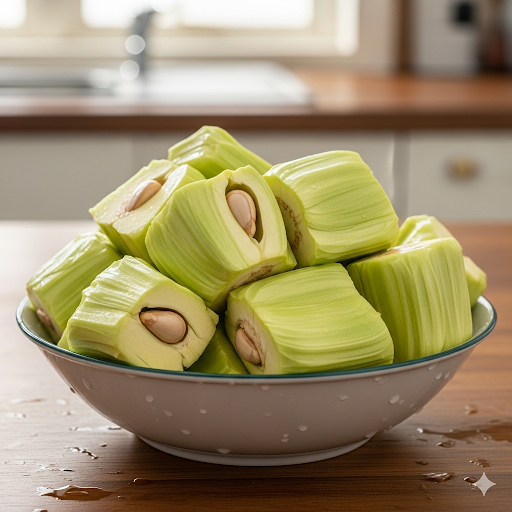
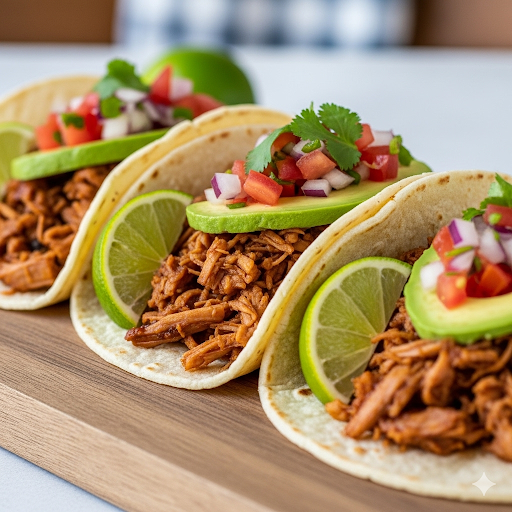
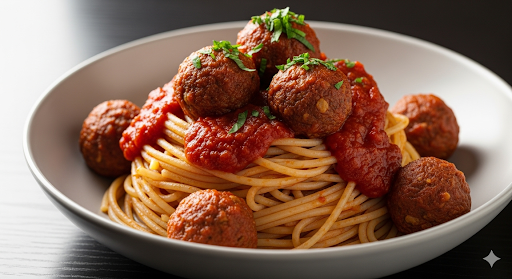
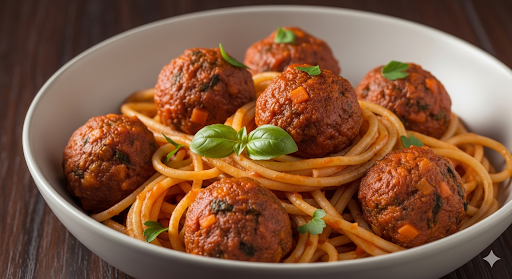
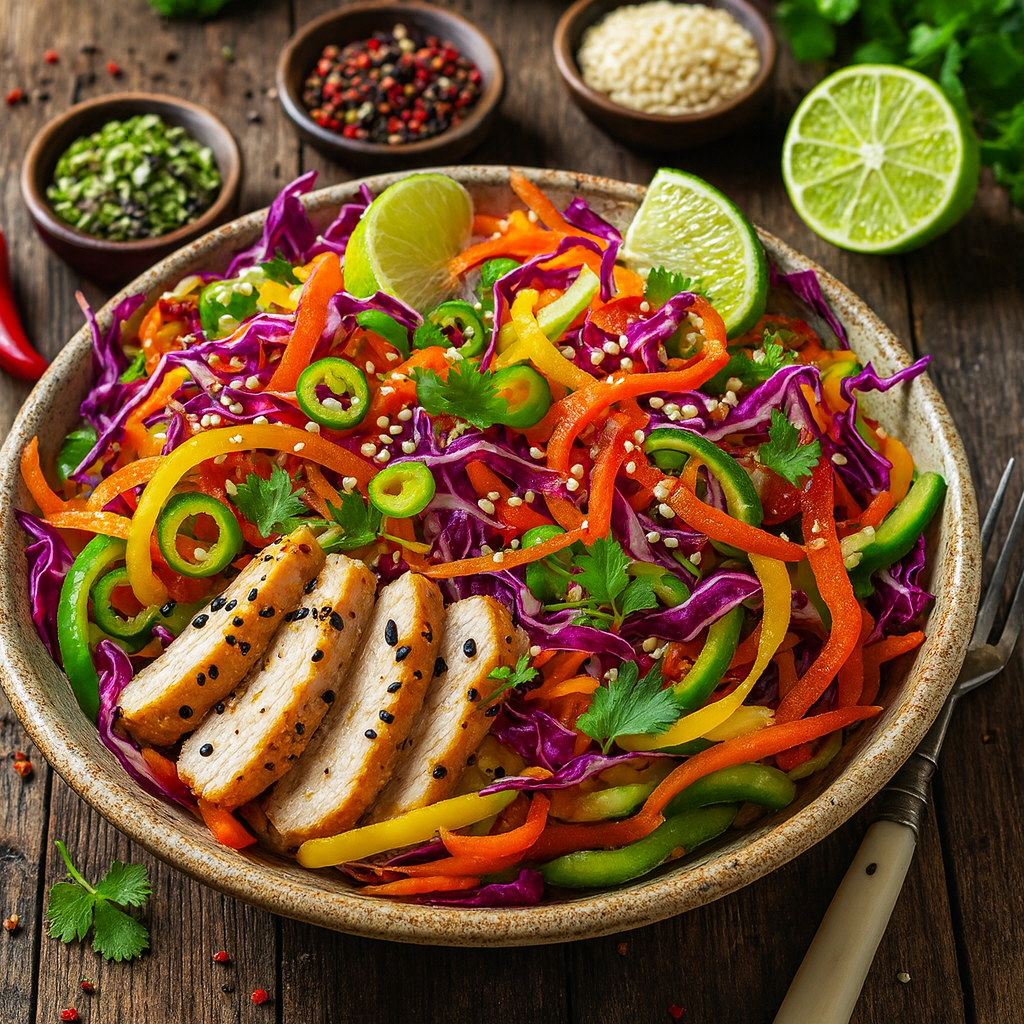
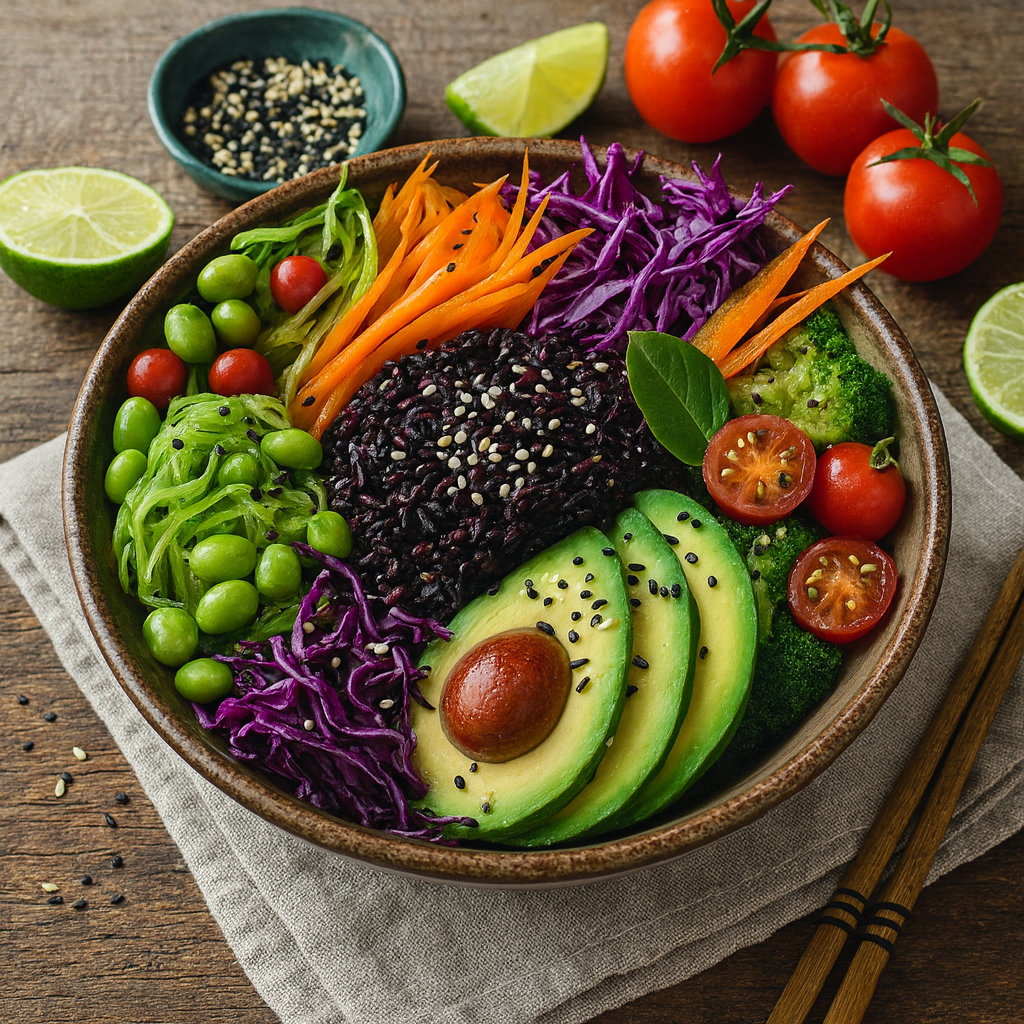
The gallery shows a delicious bowl of food topped with sauerkraut first, the middle image shows food topped with fermented green beans and the final image shows a delicious bowl of food topped with fermented jalapeños and other peppers
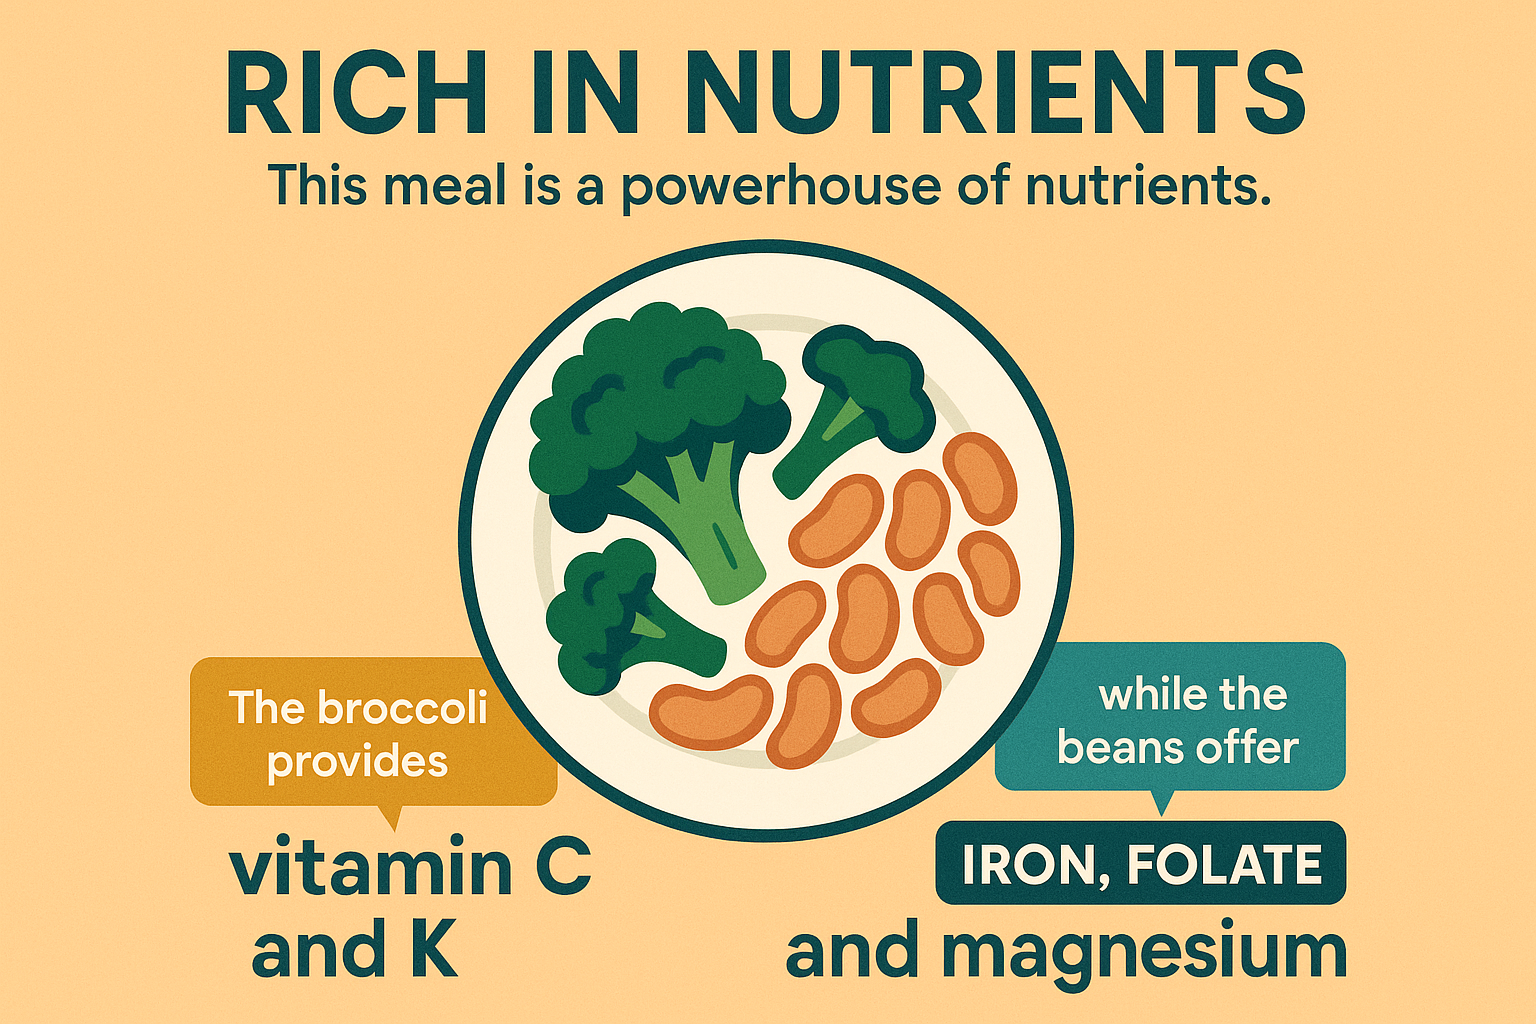
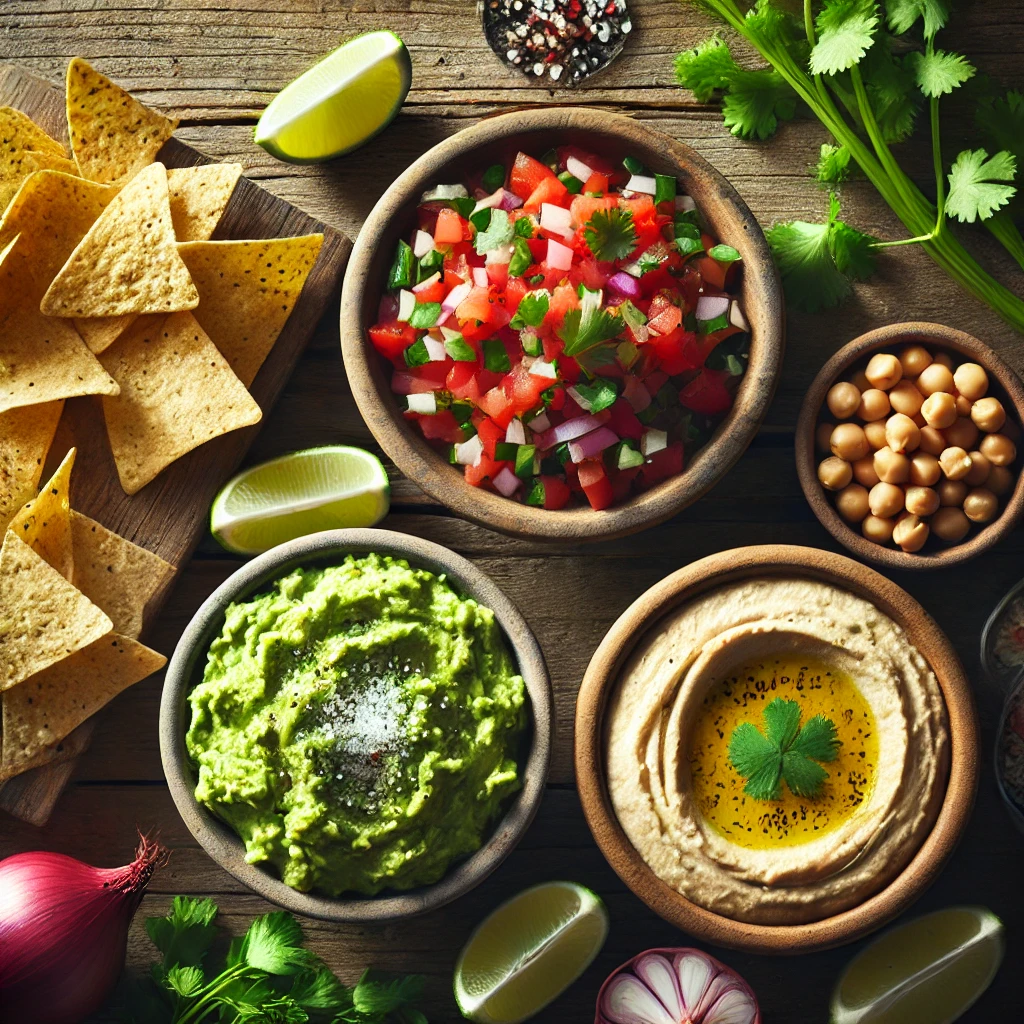
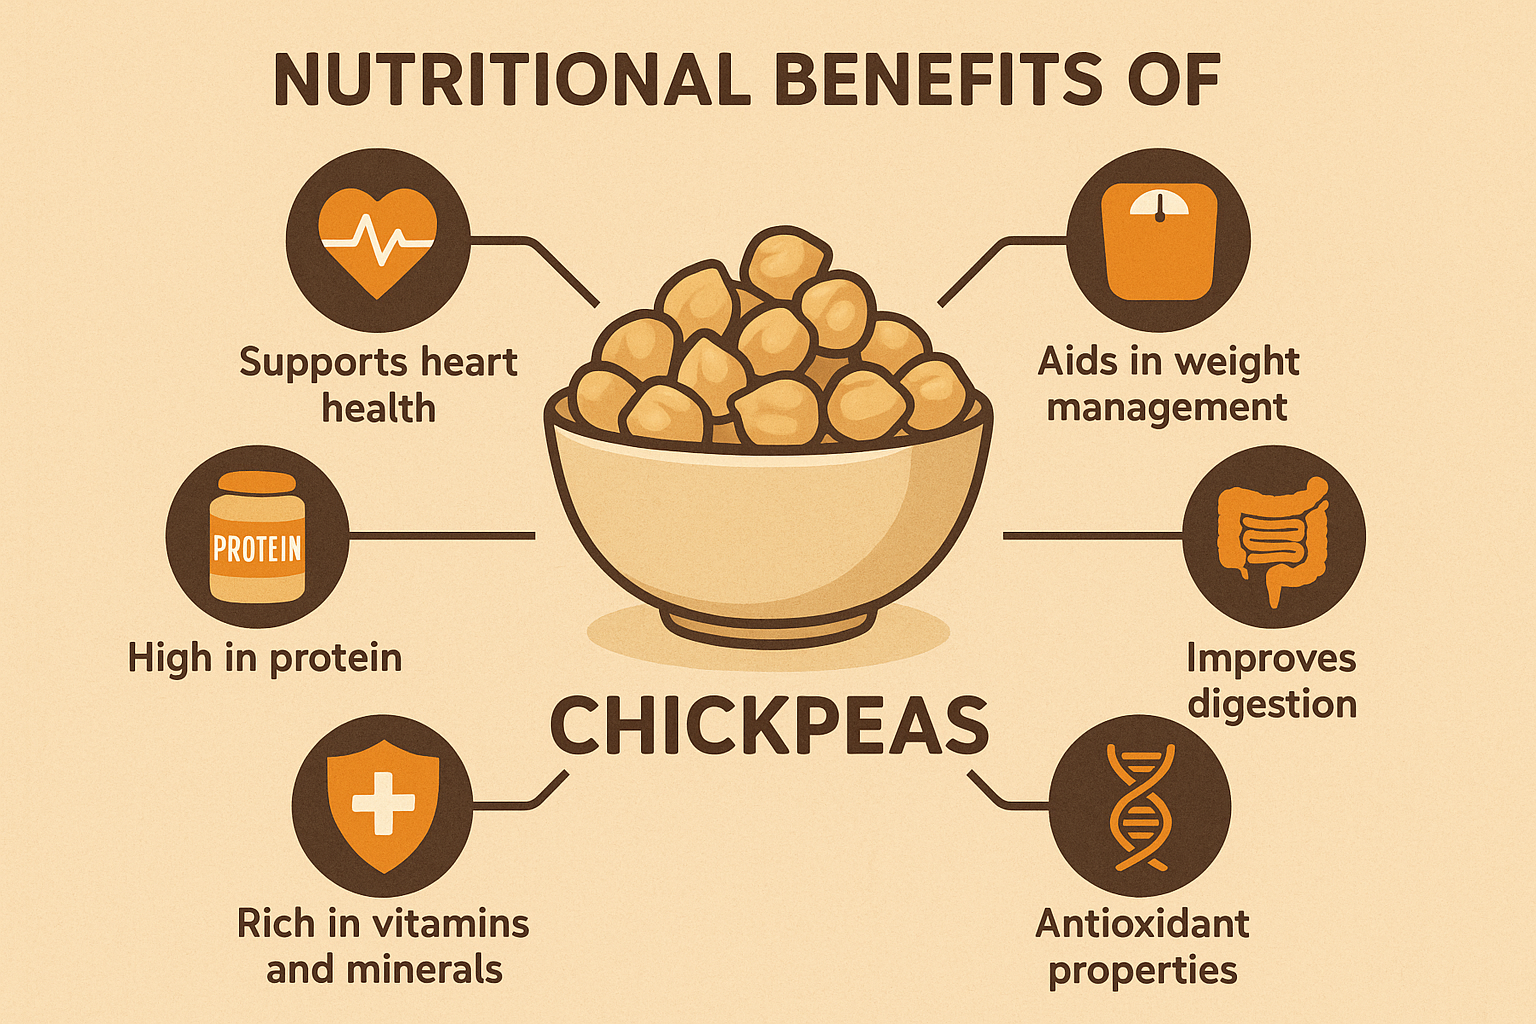
Benefits of Fermented Foods for Your Gut Health
Incorporating fermented foods into your diet offers a range of powerful benefits beyond simple digestion.
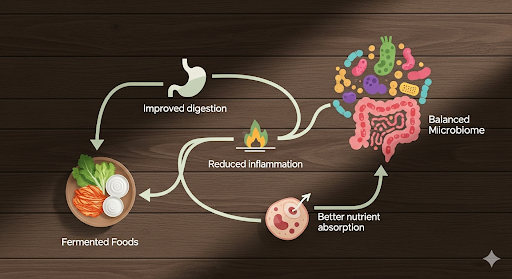
- Improved Gut Microbiome: The most significant benefit is the introduction of beneficial bacteria to your gut. A balanced gut microbiome is linked to improved digestion, reduced inflammation, and better nutrient absorption.
- Enhanced Immune Function: A large portion of your immune system is located in your gut. By promoting a healthy gut, fermented foods can help strengthen your body’s natural defenses and make you less susceptible to illness.
- Better Mood and Brain Health: Research suggests a strong connection between the gut and the brain, often called the “gut-brain axis.” A healthy gut can positively influence mood, reduce stress, and improve cognitive function.
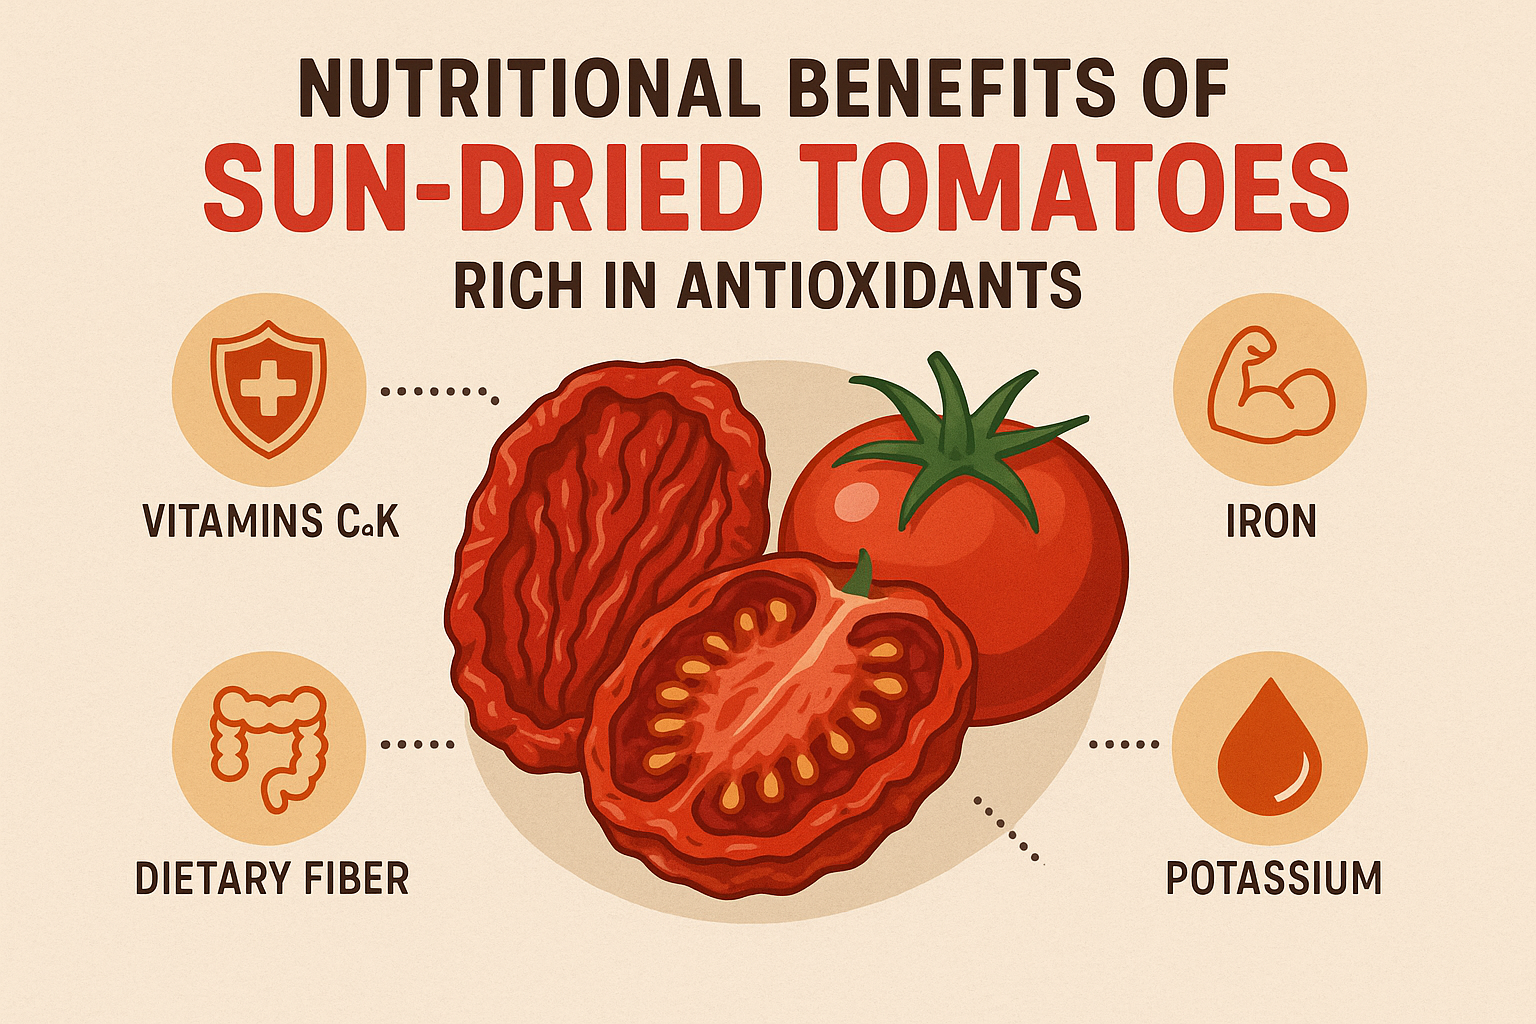
- Increased Nutrient Bioavailability: The fermentation process breaks down certain compounds, making vitamins and minerals, like B vitamins and iron, easier for your body to absorb and use.
- Digestive Harmony: Fermented foods can help with common digestive issues such as bloating, gas, and indigestion by supporting a healthy digestive process.
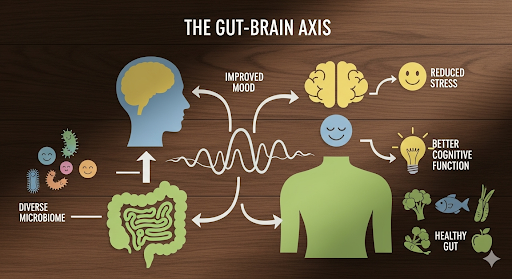
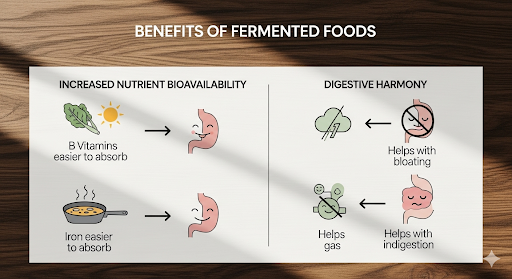
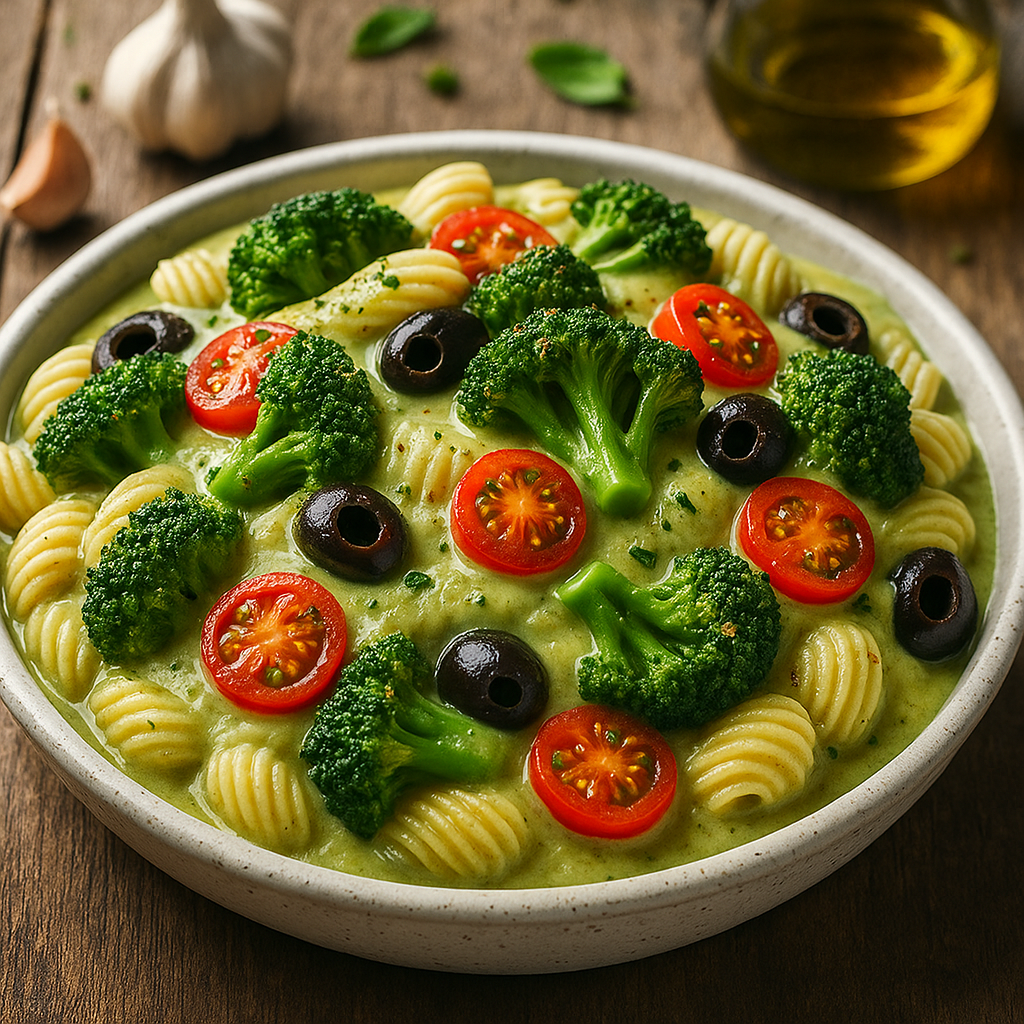
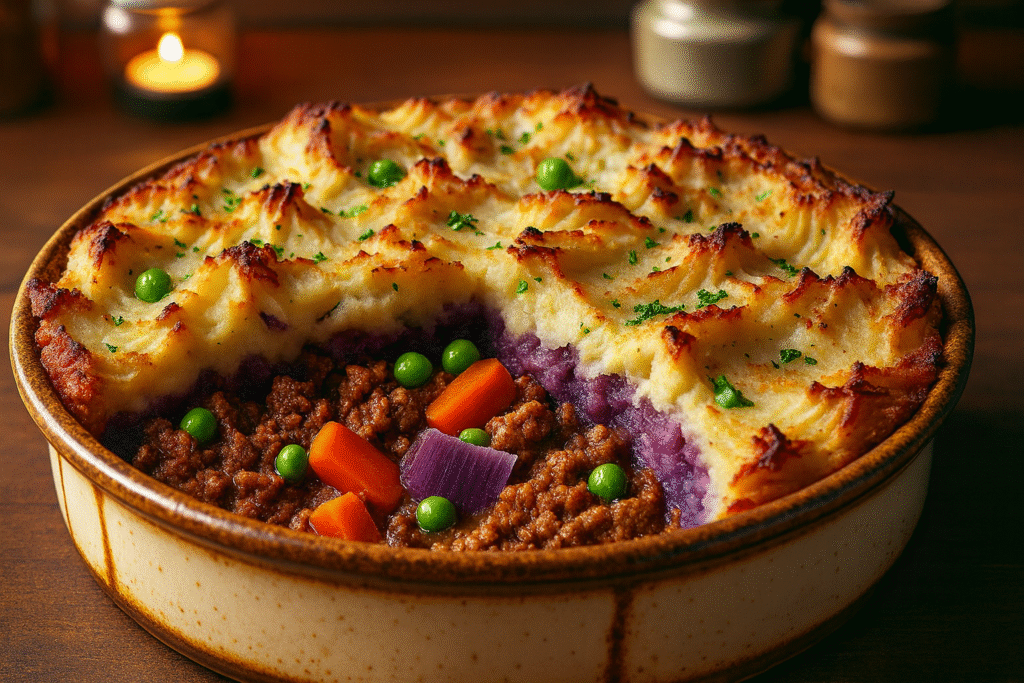
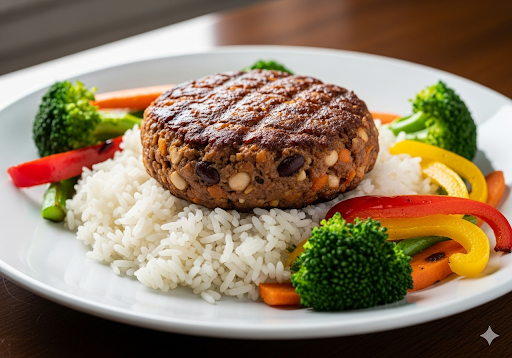
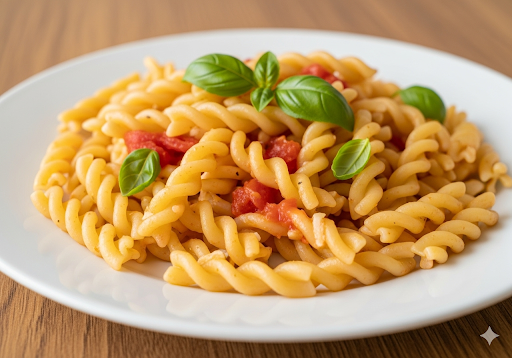
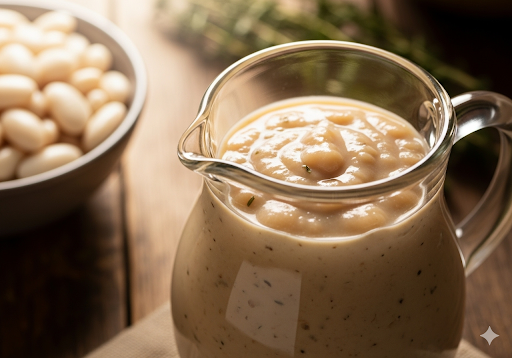
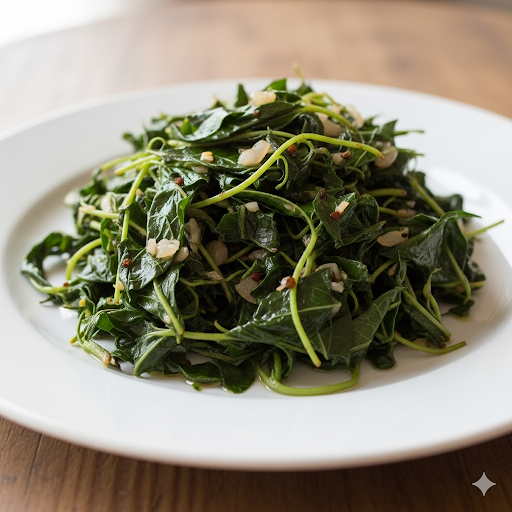
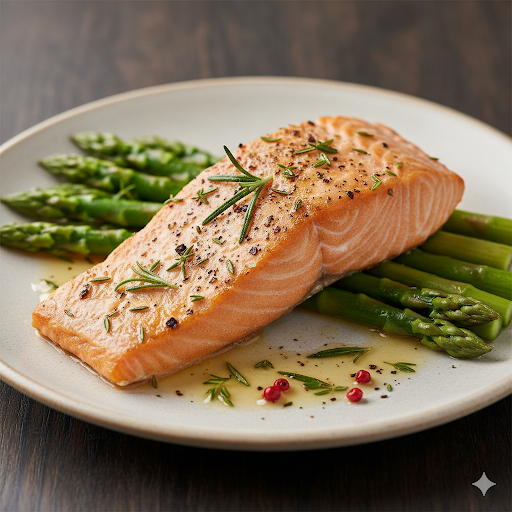
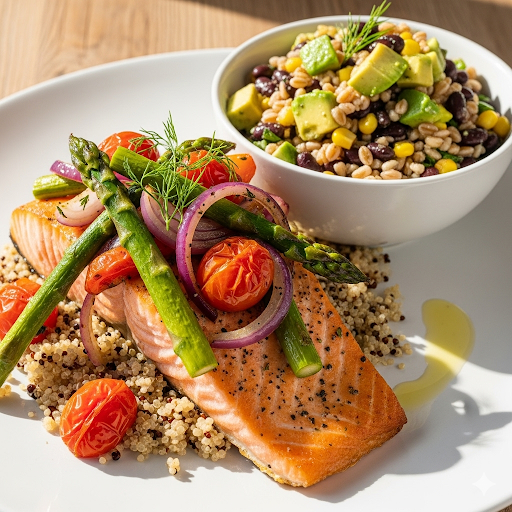
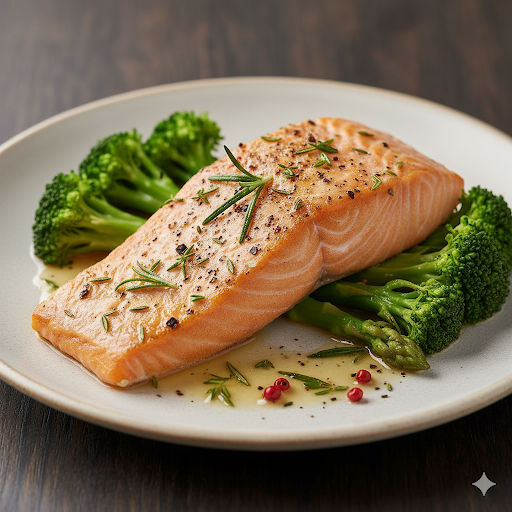
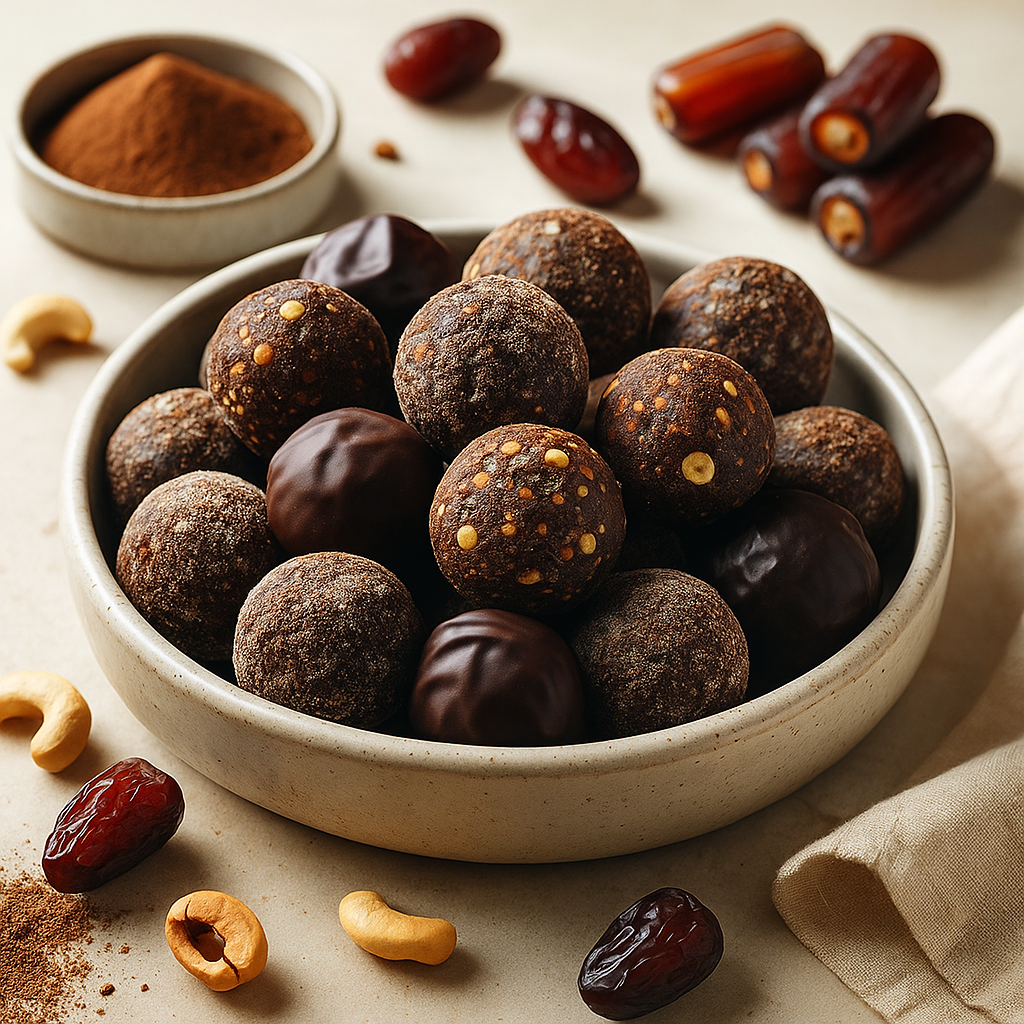
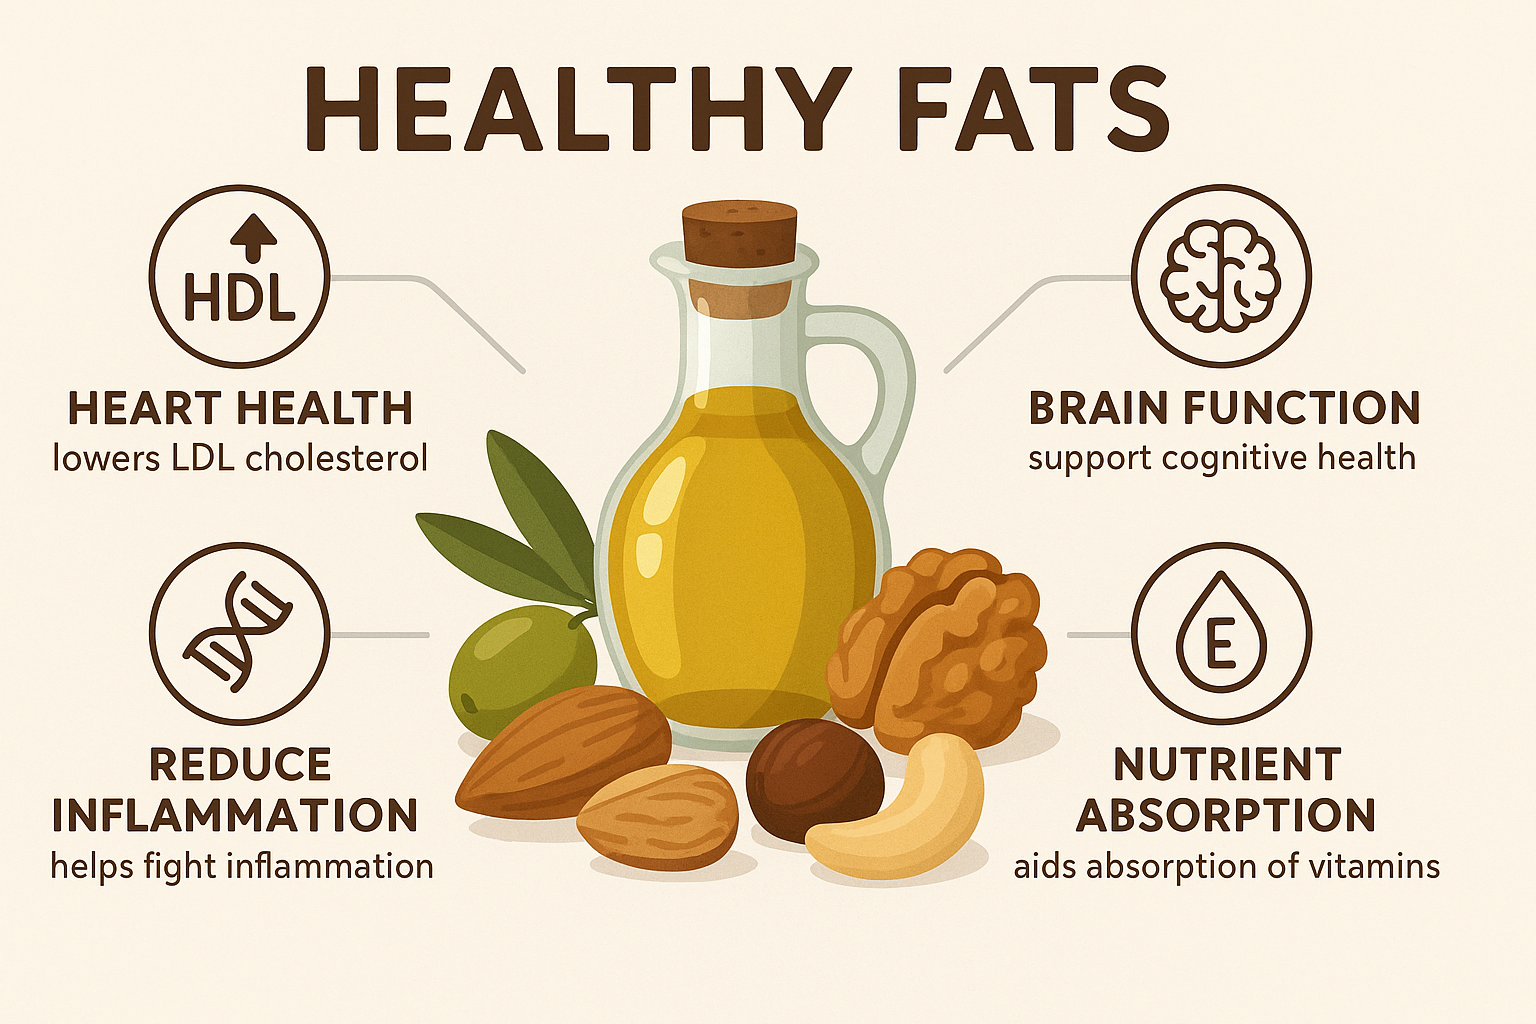
The gallery shows the benefits of fermented foods have on your gut and brain. The next image shows how fermented foods benefits your digestive harmony. And the final image shows how fermented foods can Improved Gut Microbiome.
How to Choose and Eat Fermented Foods
How to Choose Fermented Foods at the Store
When buying fermented vegetables, it’s crucial to check the label. If a product has been pasteurized (heated to kill bacteria for a longer shelf life), it will not contain live probiotics. Look for products specifically labeled as “fermented,” “unpasteurized,” or “live and active cultures.” These are almost always found in the refrigerated section of the store.
How to Incorporate Fermented Foods into Meals
If you’re new to fermented foods, start with a small amount, like a tablespoon or two per day, and gradually increase your intake. This allows your gut microbiome to adjust. Fermented vegetables can be enjoyed in many ways:
- As a side dish with meals.
- Topping sandwiches, wraps, or salads.
- Mixed into grain bowls or stir-fries (add at the end to preserve the cultures).
- As a flavorful snack on their own.

This post contains affiliate links. If you make a purchase through these links, I may earn a small commission at no extra cost to you.
Final Thoughts
The journey to a healthier gut is an investment in your overall health. By embracing the power of fermented foods, you’re giving your body a natural and delicious way to flourish. Start small, experiment with different flavors, and listen to what your body needs. Your gut will thank you for it.
Frequently Asked Questions (FAQs)
Q: Can I get the same benefits from vinegar-pickled vegetables?
A: No. Vinegar-pickled vegetables, like most jarred pickles in the condiment aisle, are preserved with vinegar and are often pasteurized, meaning they do not contain the live, beneficial bacteria found in lacto-fermented foods. Look for the “unpasteurized” label and find them in the refrigerated section to get the probiotic benefits.
Q: How do I know if my fermentation is working correctly?
A: A successful fermentation will often produce a slight carbonation and a tangy, pleasant smell. You may see small bubbles rising in the jar. If you see mold or a foul odor, the fermentation process may have been compromised, and it’s best to discard the batch and start over.
References
- U.S. National Library of Medicine – Fermented Foods
- Harvard Medical School – Fermented foods for better gut health
- Cleveland Clinic – 5 Reasons to Add More Fermented Foods to Your Diet
Recent Posts