Discover the surprising health benefits of ‘eating white.’ This guide explores a variety of nutritious, pale-colored foods. Learn how to incorporate a rainbow of goodness, starting with the surprising ‘eat white’ trend.

The Surprising World of ‘Eating White’ Foods
When it comes to healthy eating, we’re often told to “eat the rainbow.” While this is excellent advice, it can sometimes lead us to overlook a whole category of incredibly beneficial foods: white foods.
These often-misunderstood ingredients are a powerhouse of nutrition, packed with essential vitamins, minerals, and unique compounds that support our well-being in countless ways. From the humble cauliflower to the potent garlic, the world of eating white foods offers a surprising array of flavors and textures that can elevate your meals and boost your health.
Many people mistakenly believe that white foods are simply empty calories, devoid of the nutrients found in their more colorful counterparts. However, this couldn’t be further from the truth. In fact, many white foods, such as mushrooms, onions, and potatoes, are rich in potassium, fiber, and powerful antioxidants. Incorporating these foods into your diet is a simple and delicious way to ensure you’re getting a well-rounded mix of nutrients.
Why You Need to start Eating White Foods
This article will delve into the incredible world of eating white foods, showcasing their nutritional profiles and culinary versatility. We’ll explore not just a list of these foods, but also a delicious and easy-to-follow recipe that incorporates many of them. Get ready to rethink what it means to eat a colorful and healthy diet, starting with the simple, elegant, and powerful white plate.
We’ll focus on a recipe that highlights the versatility and flavor of white ingredients, creating a dish that is both nourishing and satisfying. The goal is to prove that “eating white” isn’t a limitation; it’s an opportunity to discover new flavors and enhance your health. Prepare to be inspired to add more of these wholesome foods to your daily routine.
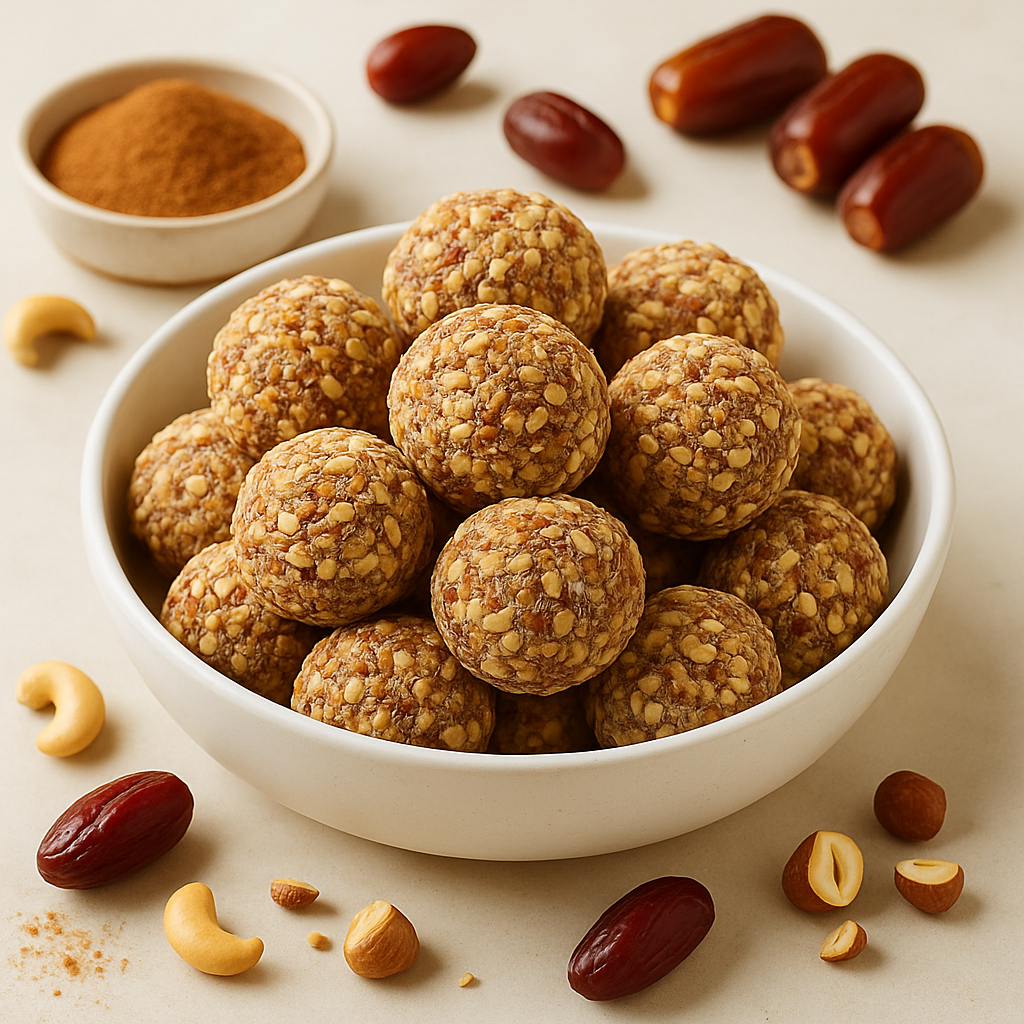
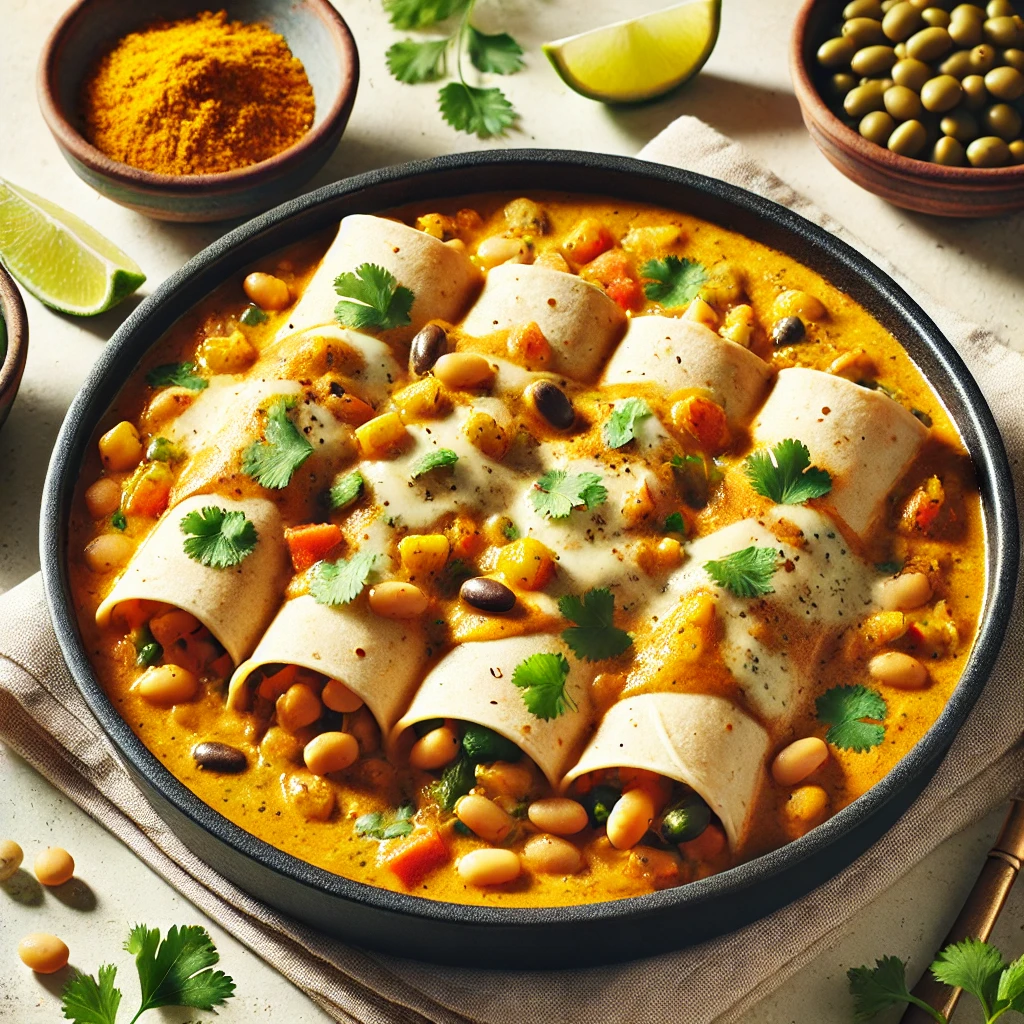
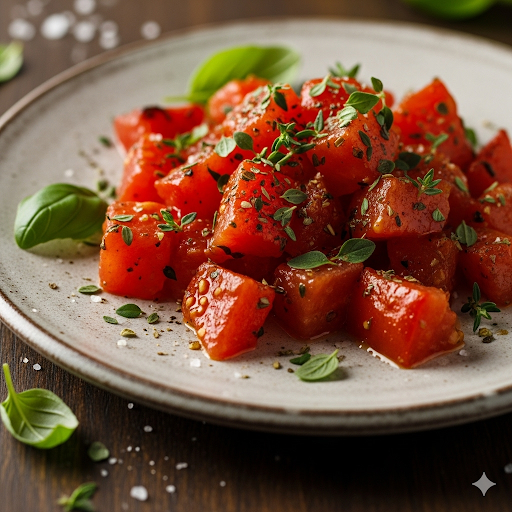
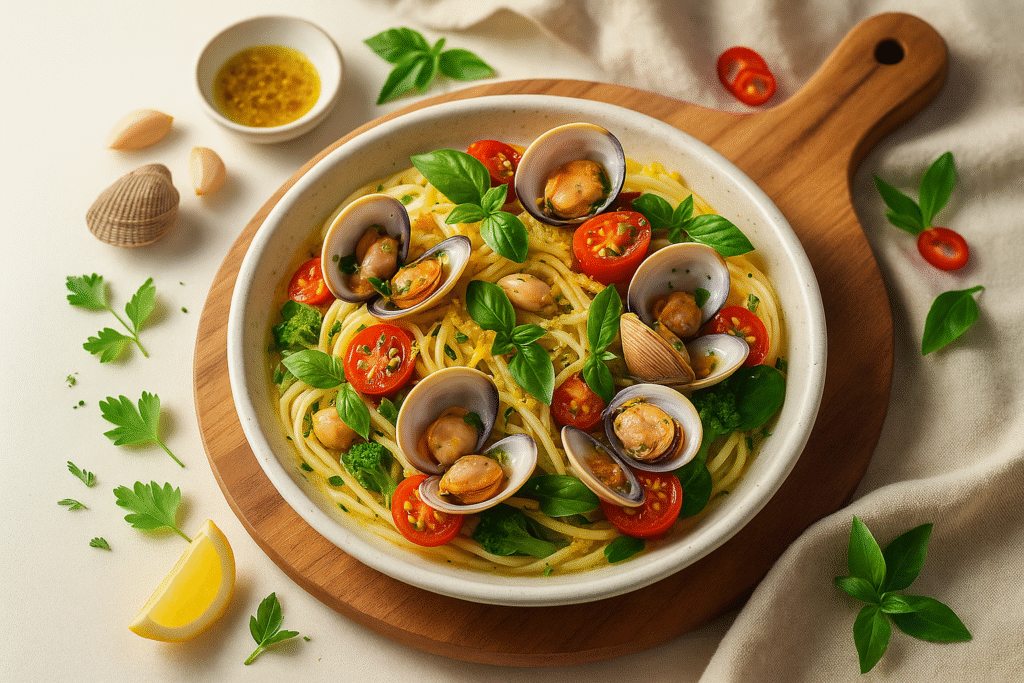
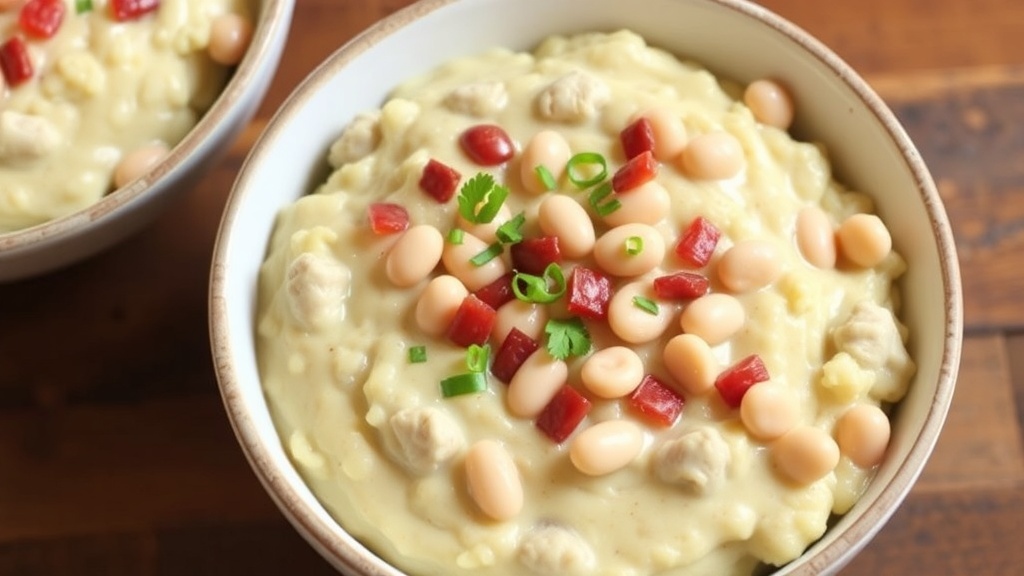
The recipe we’ll be sharing is a creamy and savory White Bean and Cauliflower Mash, a perfect side dish or a light main course. It’s a testament to how simple ingredients can create something truly special. This dish is not only delicious but also packed with fiber, protein, and essential nutrients that will leave you feeling full and energized.
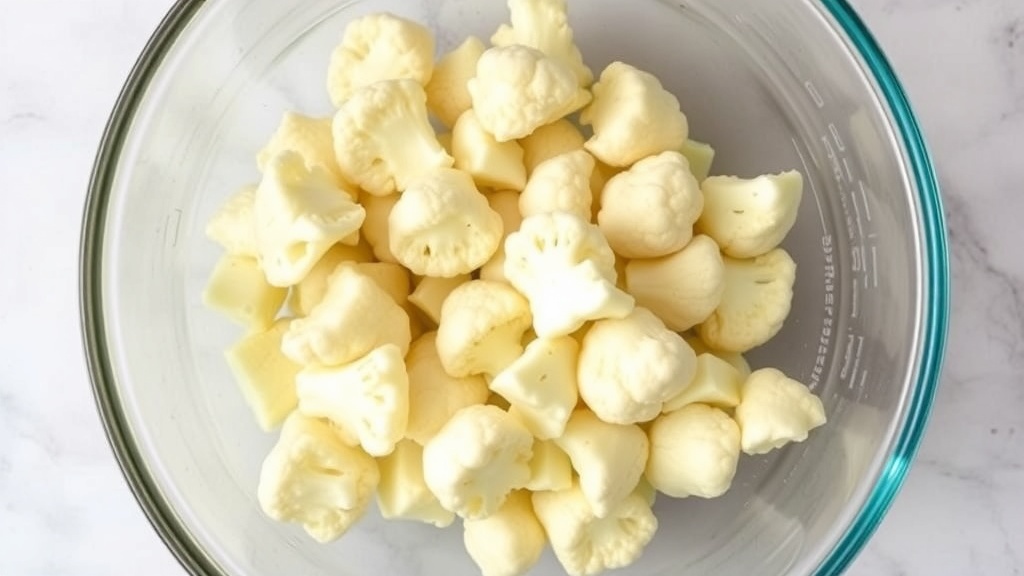
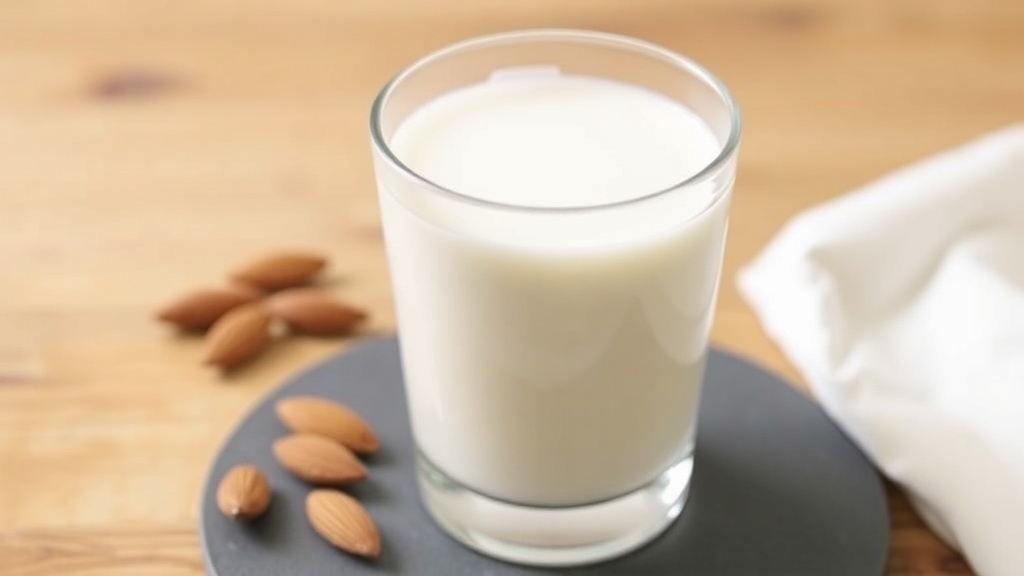
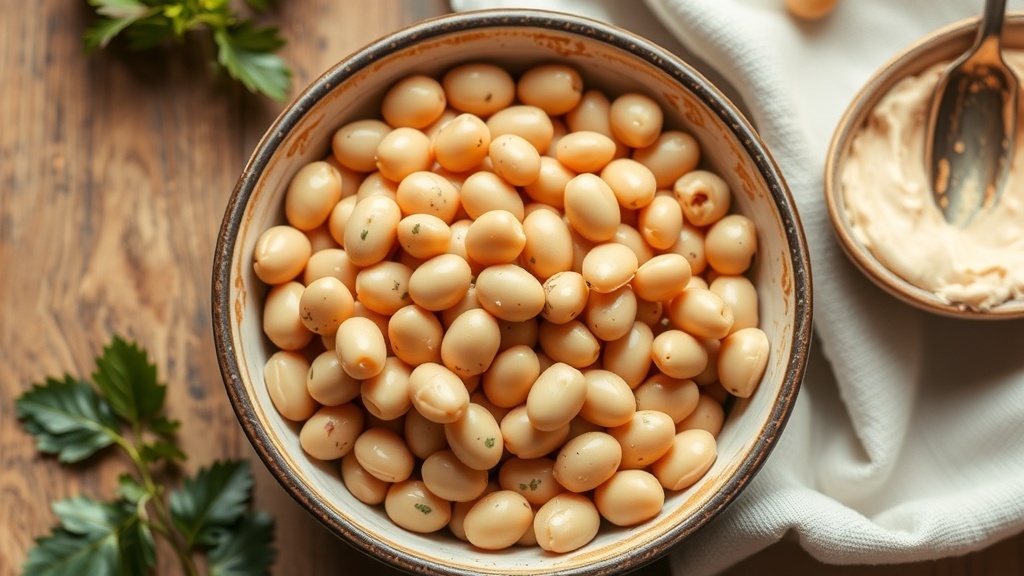
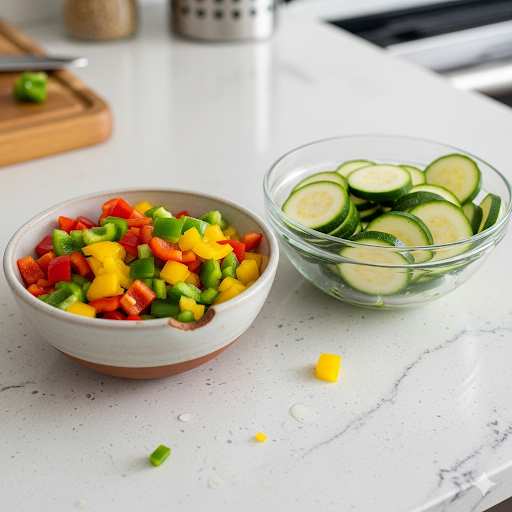
The gallery shows a bowl of cauliflower florets, a glass of insweetened Almond milk and Navy beans.
A Recipe for Wholesome Comfort: Creamy White Bean and Cauliflower Mash
This recipe is designed to be simple yet incredibly flavorful, proving that healthy eating doesn’t have to be complicated.
It takes cues from the classic mashed potato but swaps in more nutrient-dense ingredients for a lighter, fiber-rich alternative. The combination of creamy beans and soft cauliflower creates a smooth, comforting texture that pairs well with almost any main course.
Time to Prepare: 15 minutes
Time to Cook/Blend: 25-30 minutes
Servings: 4
Nutritional Information For eating white foods
This dish is a nutritional powerhouse. Each serving is rich in plant-based protein and dietary fiber from the white beans, which are excellent for digestive health and help you feel full longer.
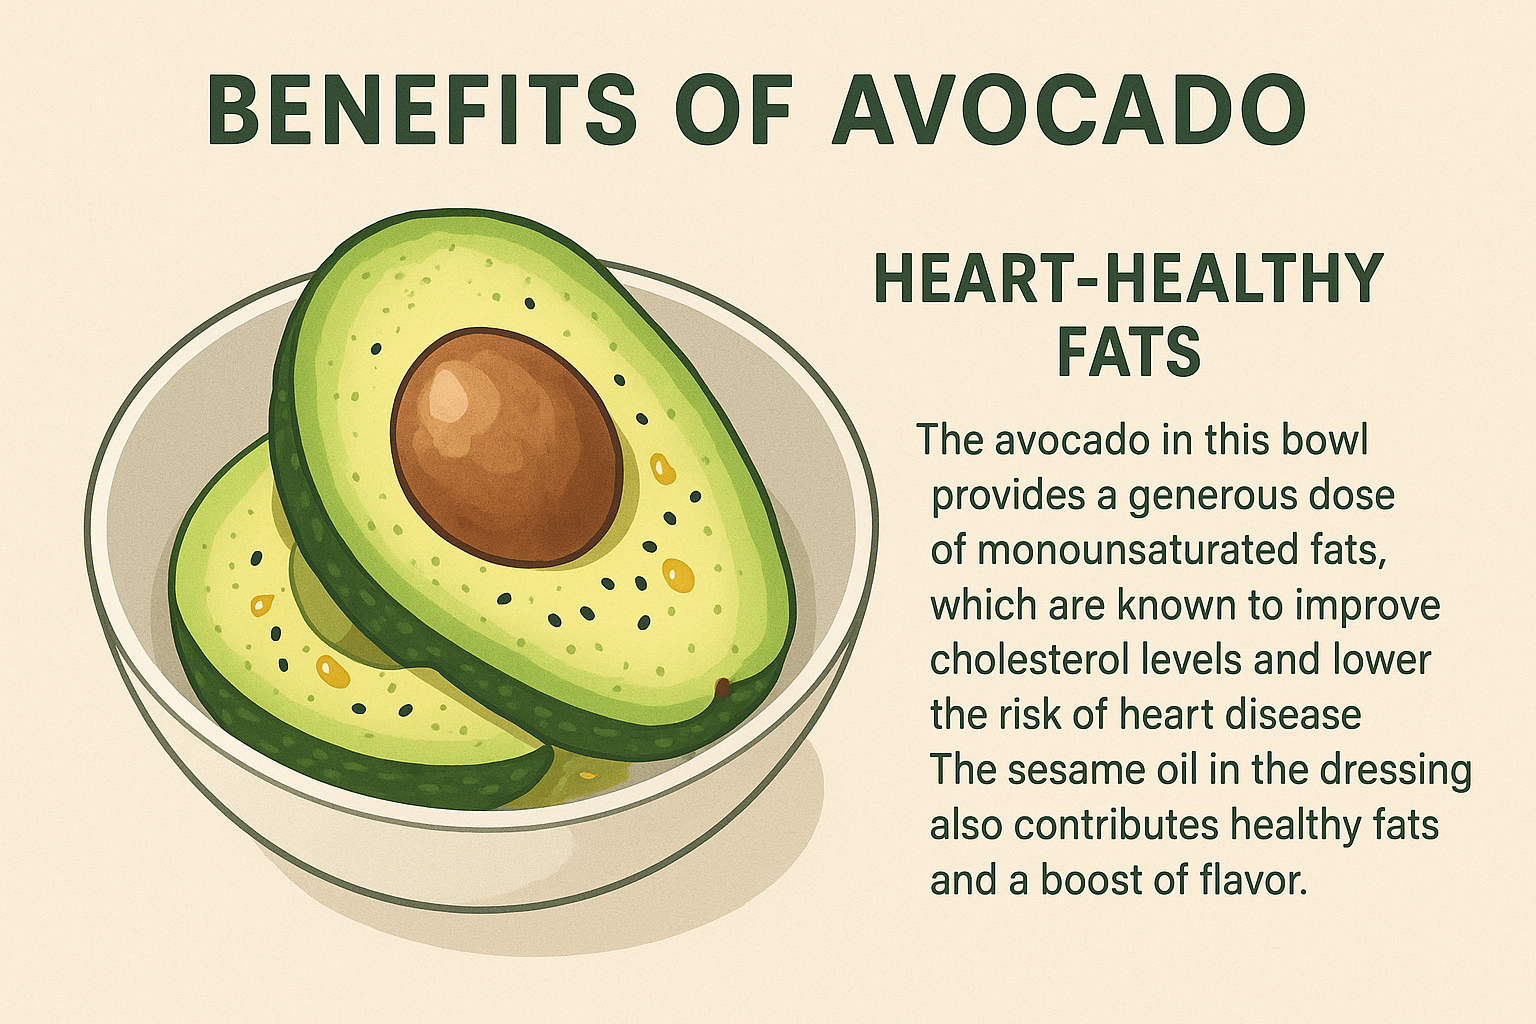
The cauliflower provides a significant dose of Vitamin C and Vitamin K, while also being low in calories. Olive oil contributes heart-healthy monounsaturated fats. This recipe is also naturally gluten-free and can be easily made dairy-free by using a non-dairy milk alternative.
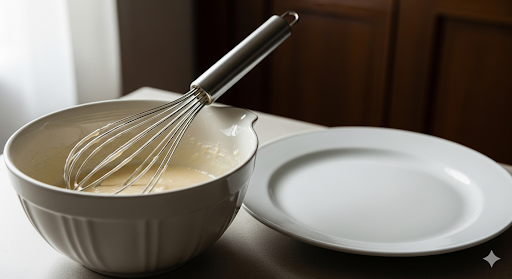
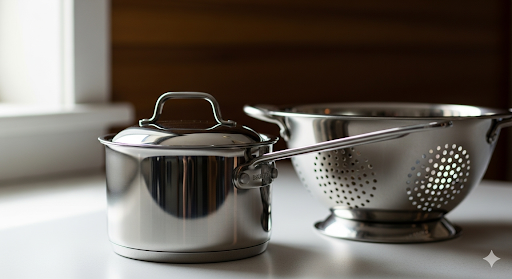
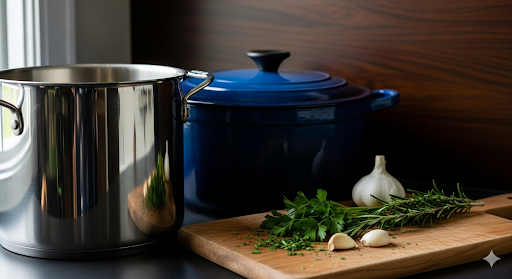
Equipment
- Large pot with a lid
- Steamer basket (optional, but recommended)
- High-speed blender or food processor
- Large mixing bowl
- Measuring cups and spoons
- Garlic press or a knife for mincing


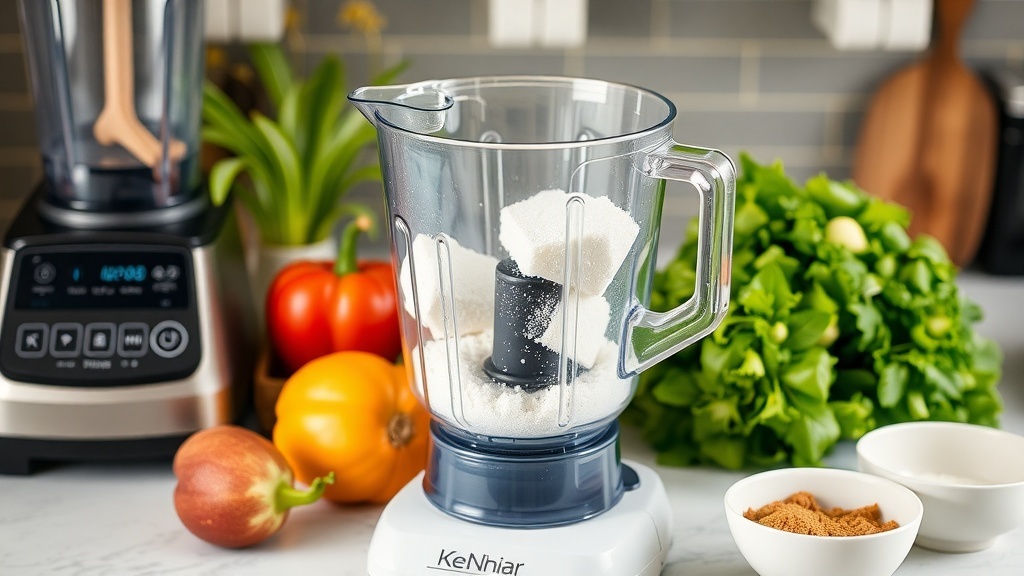
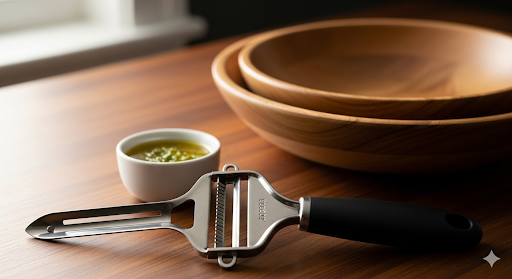
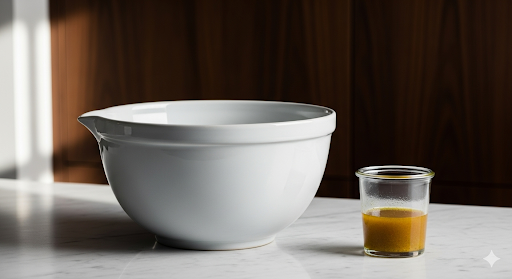
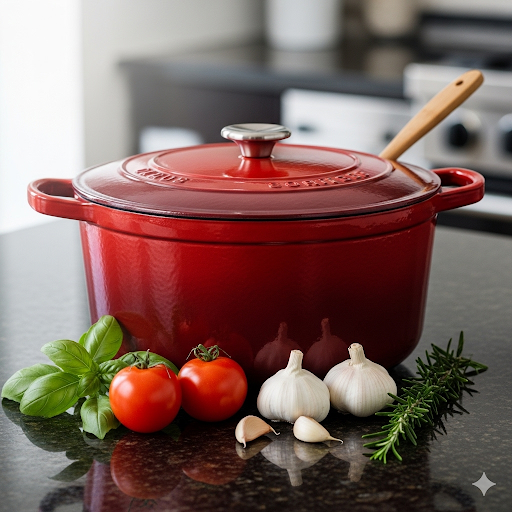
The gallery shows some of the equipment used in this recipe.
Ingredients for Eating White foods
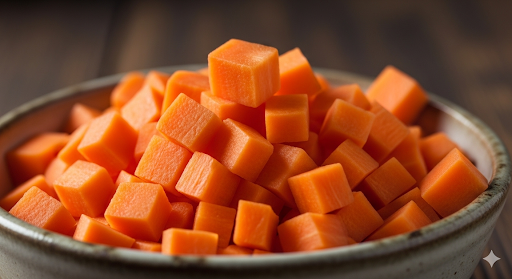
- 1 large head of cauliflower, chopped into florets
- 2 cans (15 ounces each) of cannellini or navy beans, rinsed and drained
- 3-4 cloves of garlic, minced
- 2 tablespoons of extra virgin olive oil
- ½ cup of unsweetened almond milk or other milk of choice (more for a thinner consistency)
- Salt and black pepper to taste
- Optional garnishes: fresh basil leaves, a sprinkle of ground white pepper, a drizzle of olive oil
Step-by-Step Instructions
Prepare the Cauliflower
Wash the head of cauliflower thoroughly. Using a sharp knife, carefully chop the cauliflower into small, uniform florets. This ensures they cook evenly.
Cook the Cauliflower
Place the cauliflower florets into a large pot with a steamer basket and about an inch of water at the bottom. Bring the water to a boil, then cover the pot and steam the cauliflower for 10-15 minutes, or until the florets are very tender and can be easily pierced with a fork.
Alternatively, you can boil the cauliflower directly in the water until soft, but steaming helps retain more nutrients. Once cooked, drain the cauliflower completely, ensuring all excess water is removed. This is a crucial step for achieving a thick, creamy consistency.
Prepare the Aromatics
While the cauliflower is steaming, heat the olive oil in a small pan over medium-low heat. Add the minced garlic and sauté for 1-2 minutes until fragrant. Be careful not to let the garlic brown, as this can make it taste bitter.
Combine and Blend
Transfer the hot, drained cauliflower to a high-speed blender or food processor. Add the rinsed and drained white beans, the sautéed garlic and olive oil, and start with a quarter cup of the milk.
Achieve Creaminess
Begin blending the ingredients on a low speed, gradually increasing to high. Pause the blender occasionally to scrape down the sides with a spatula. Slowly add more milk, a tablespoon at a time, until you reach your desired consistency—smooth and creamy, but not watery. The amount of milk you use will depend on how soft your cauliflower is and how thick you prefer the mash.
Season and Serve
Once the mash is perfectly smooth, transfer it to a serving bowl. Stir in salt and pepper to taste. You’ll likely need more salt than you think to bring out the flavors. Garnish with fresh basil or a drizzle of olive oil for a beautiful finish. Serve immediately while warm.
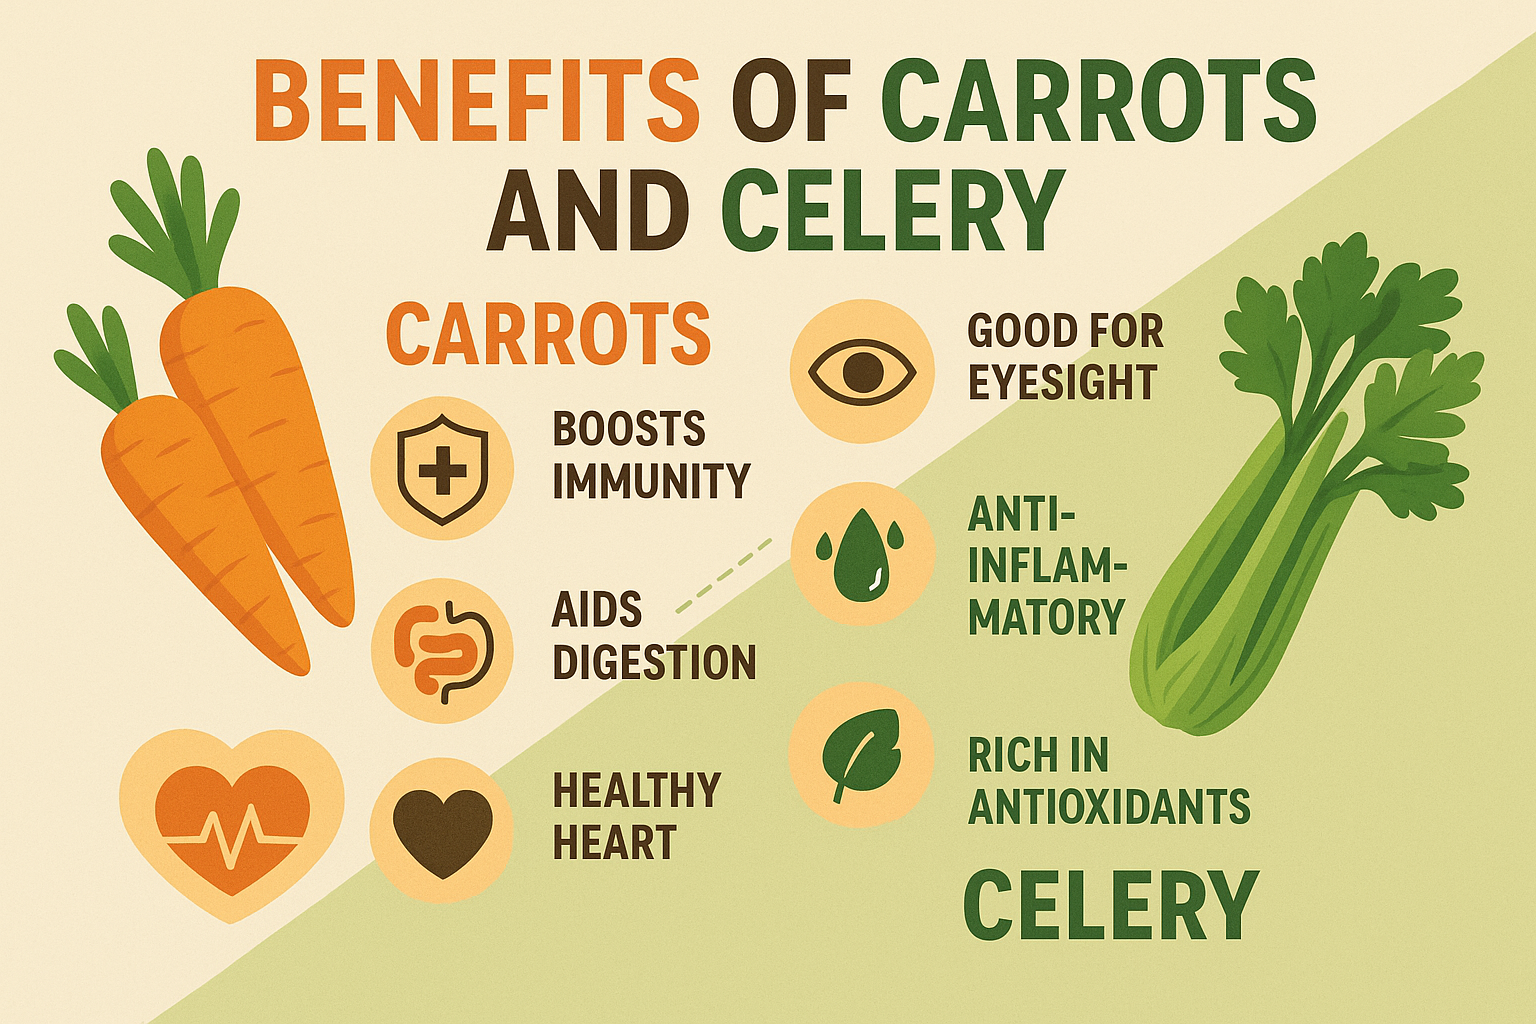
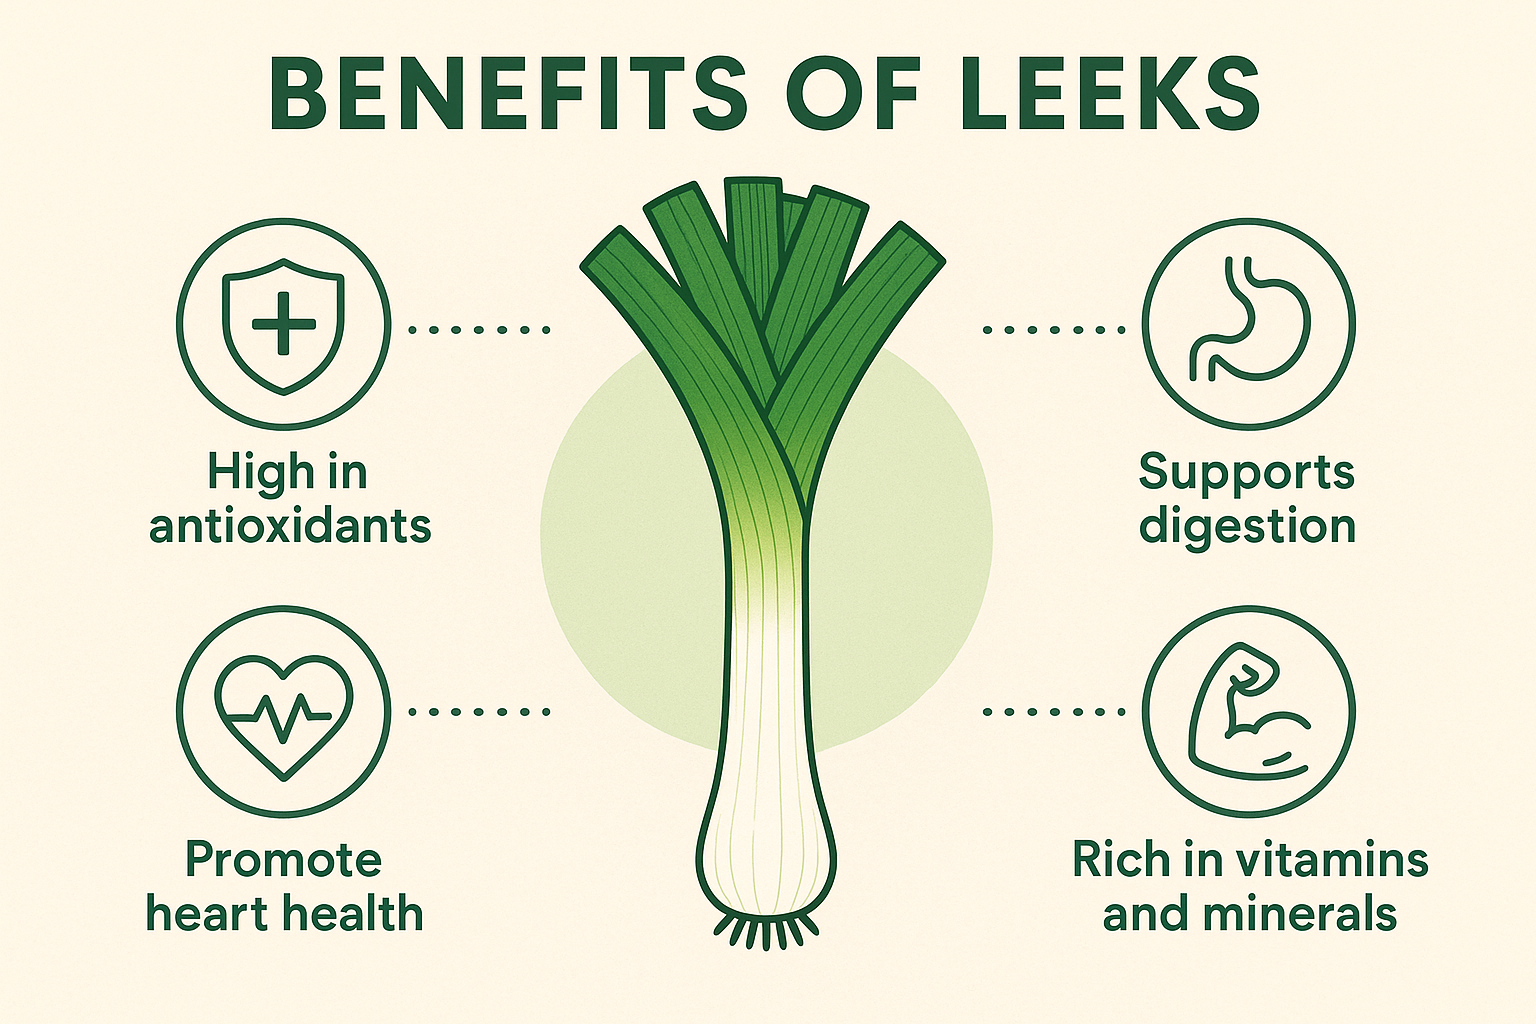
The Benefits of eating White Foods
‘Eating white’ isn’t about giving up color; it’s about embracing a category of foods with powerful health perks. The key is to include them as part of a balanced diet that also features vibrant fruits and vegetables.
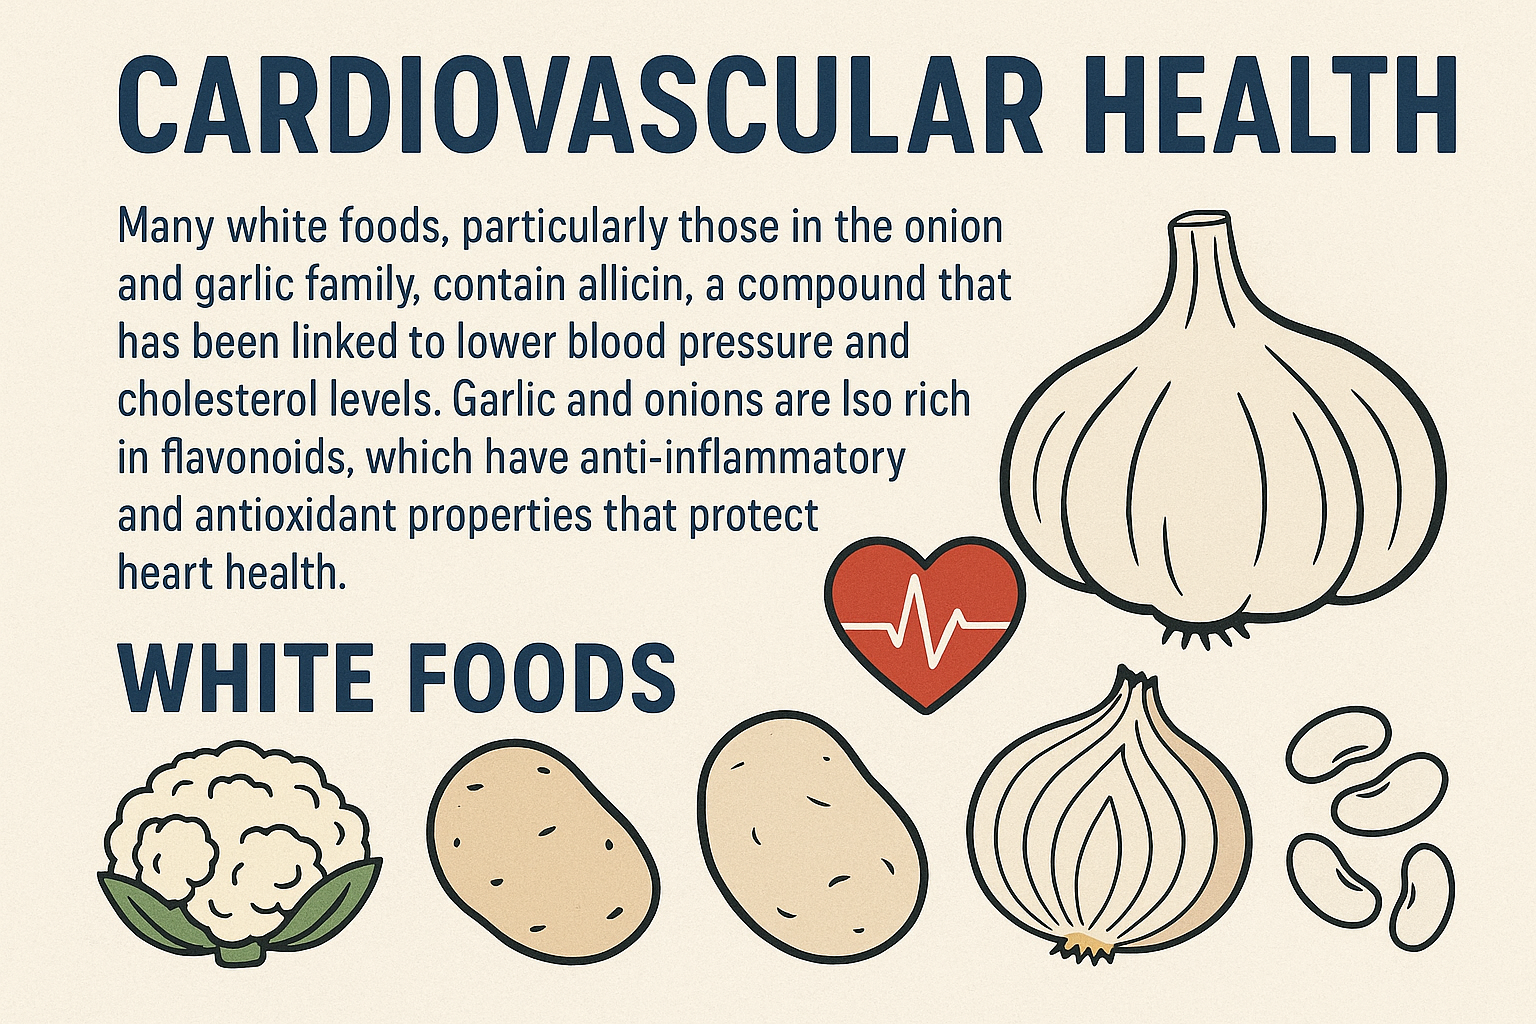
Cardiovascular Health
Many white foods, particularly those in the onion and garlic family, contain allicin, a compound that has been linked to lower blood pressure and cholesterol levels. Garlic and onions are also rich in flavonoids, which have anti-inflammatory and antioxidant properties that protect heart health.
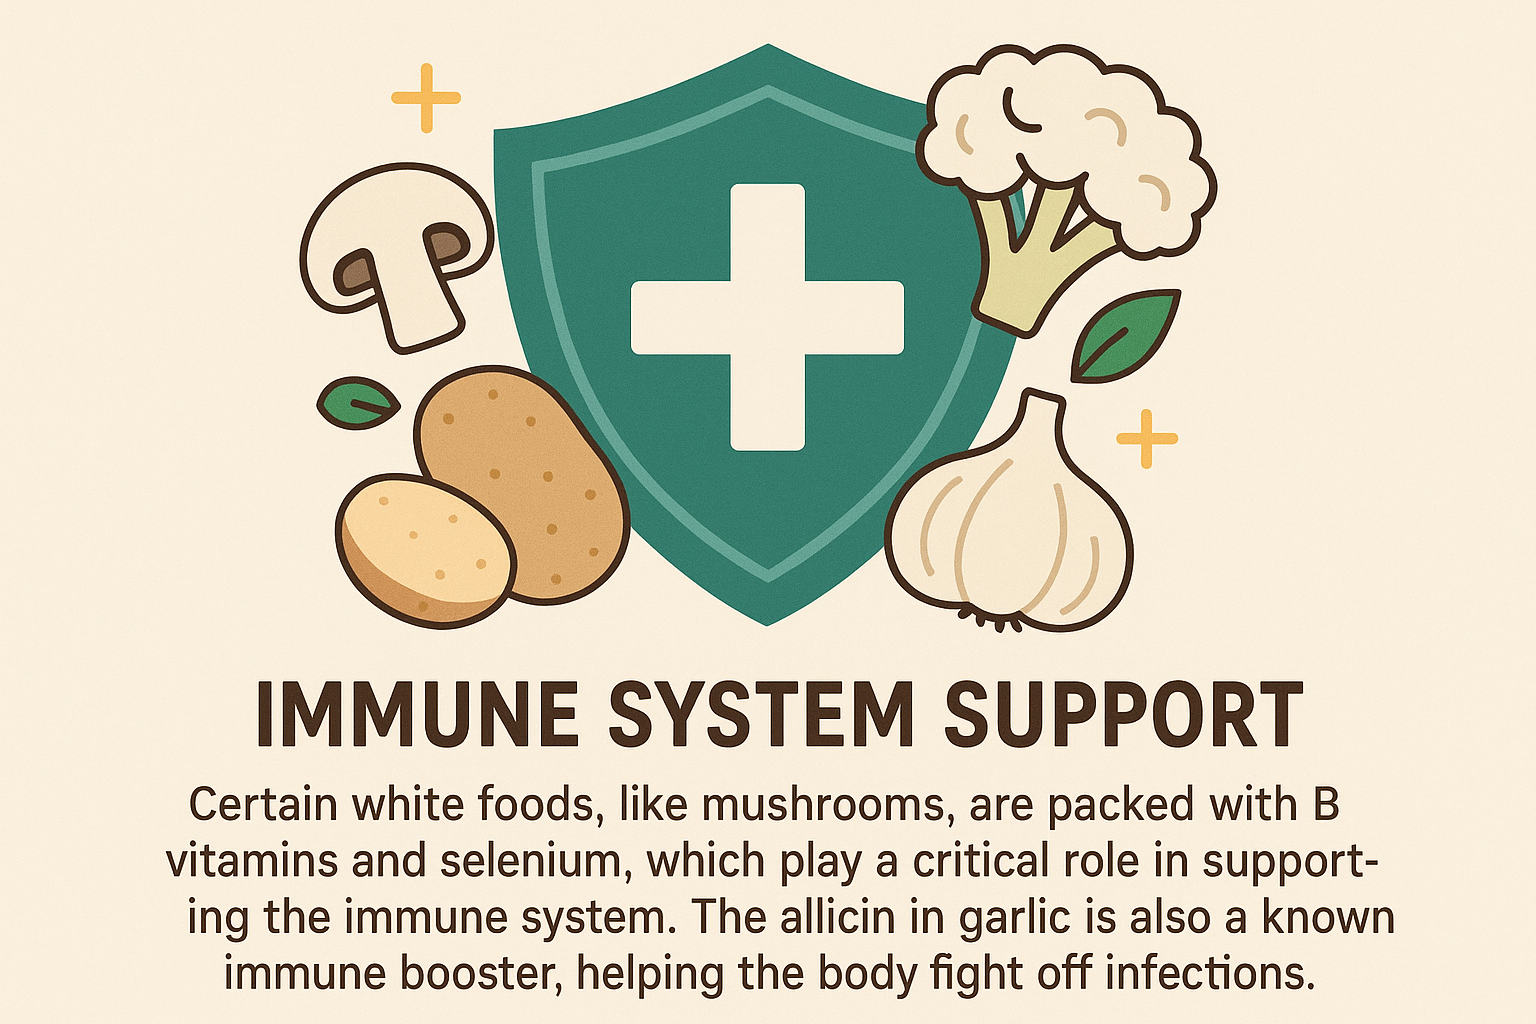
Immune System Support
Certain white foods, like mushrooms, are packed with B vitamins and selenium, which play a critical role in supporting the immune system. The allicin in garlic is also a known immune booster, helping the body fight off infections.
Digestive Wellness
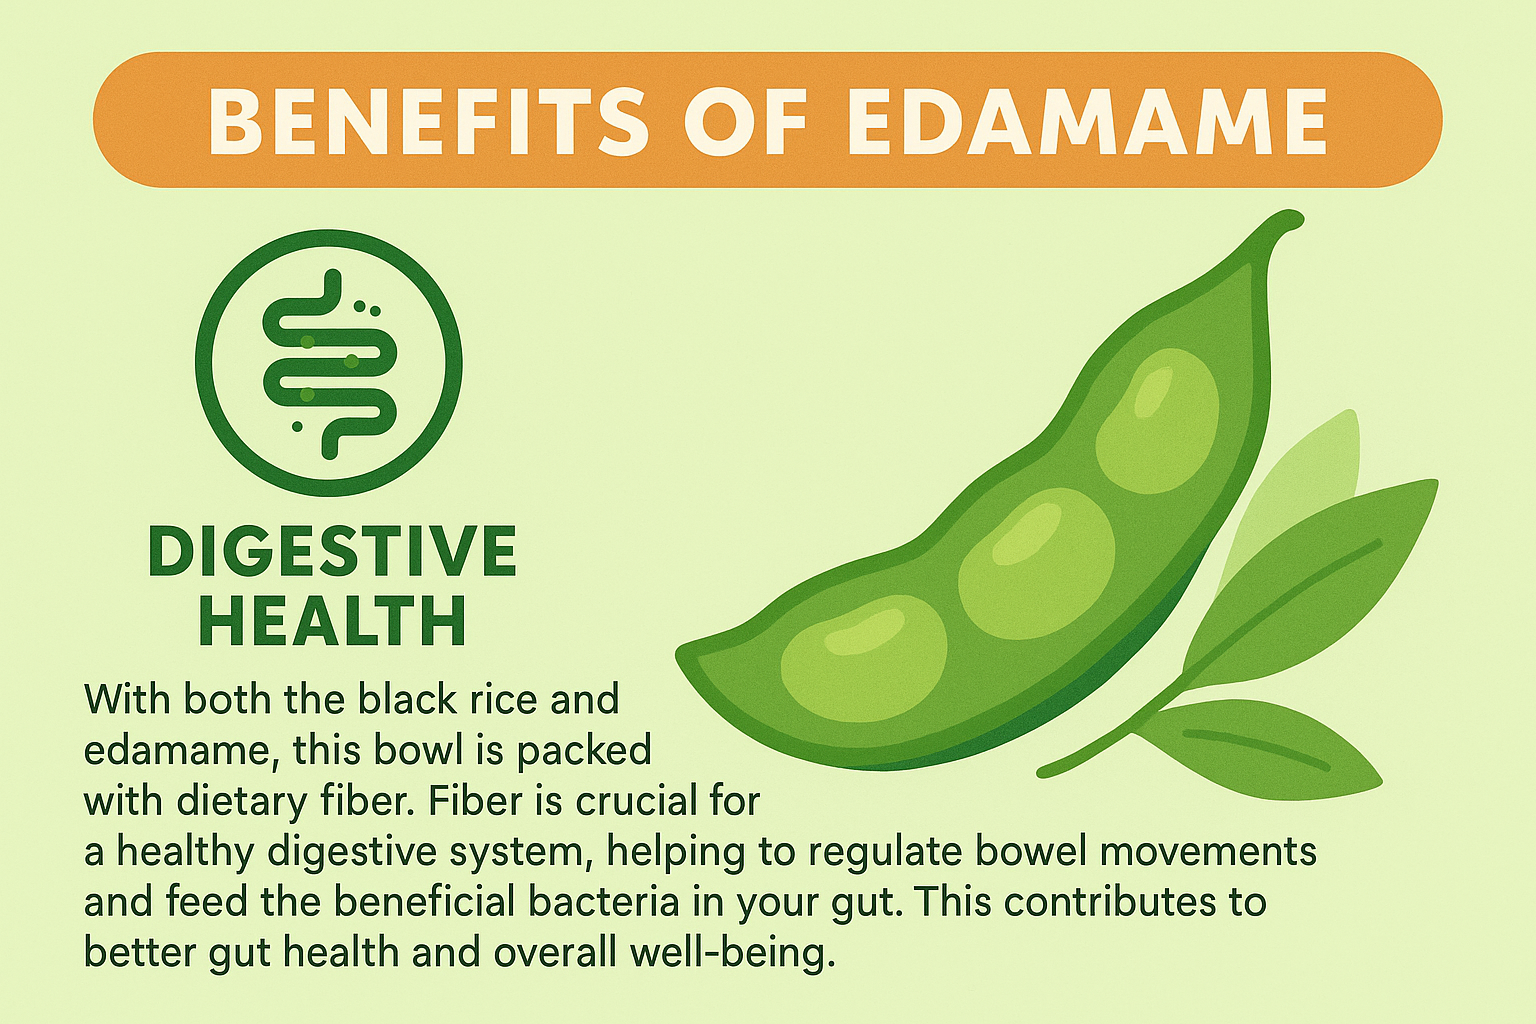
White foods like cauliflower and beans are excellent sources of dietary fiber. Fiber is essential for a healthy digestive system, promoting regular bowel movements and feeding the beneficial bacteria in your gut. This contributes to overall gut health and may reduce the risk of digestive diseases.
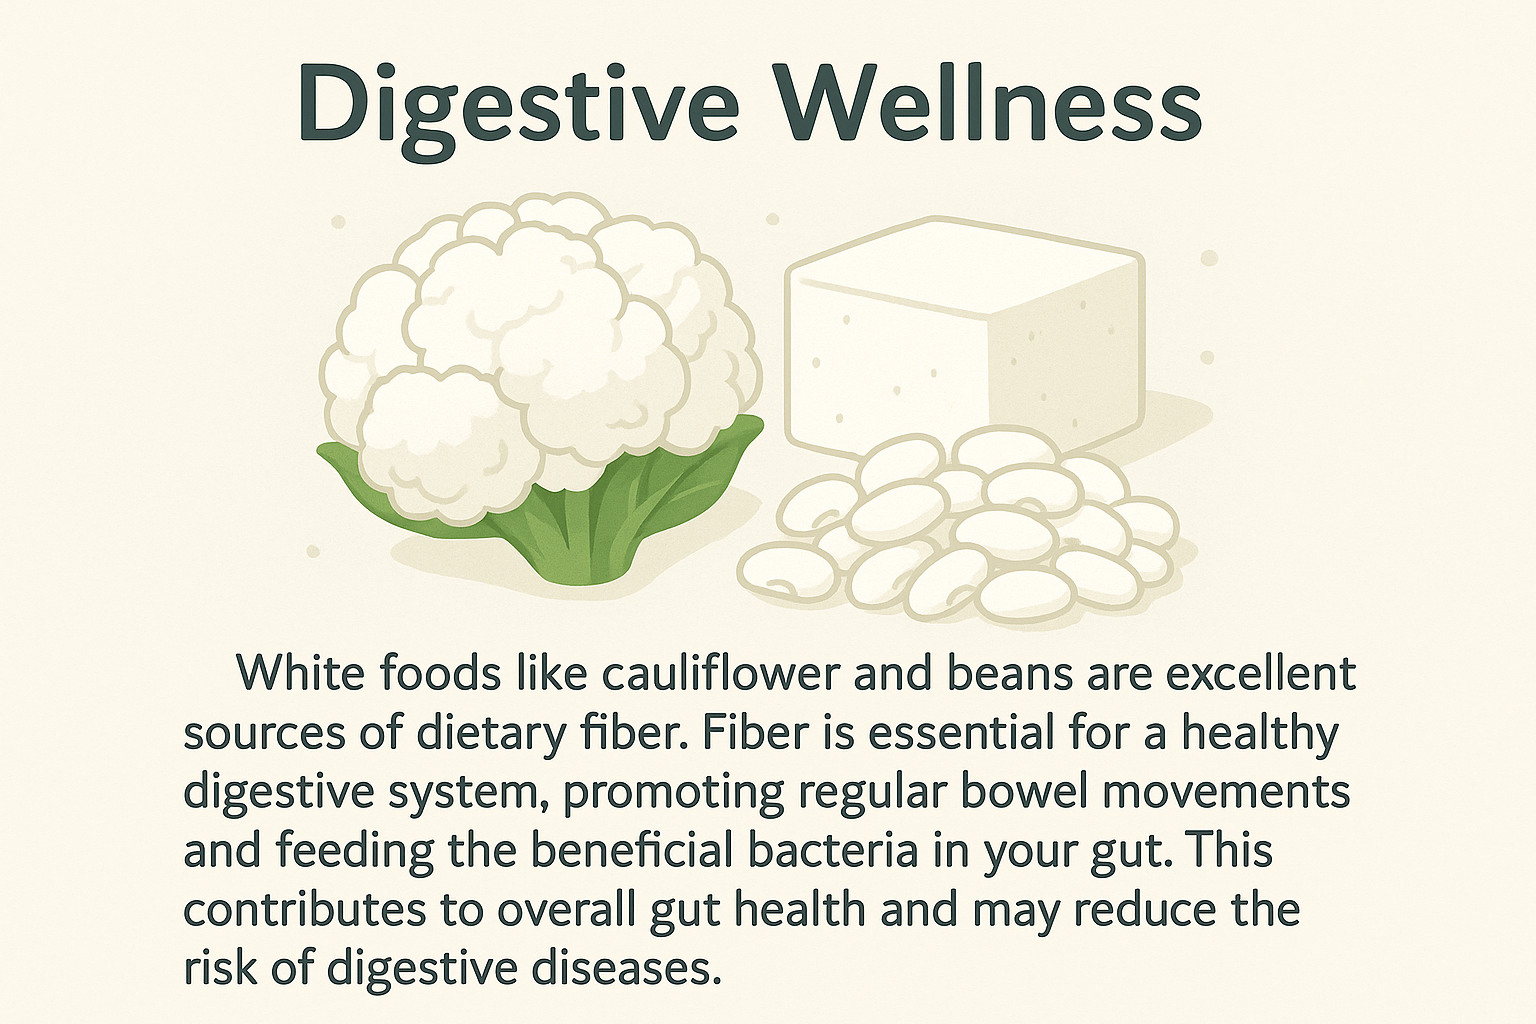
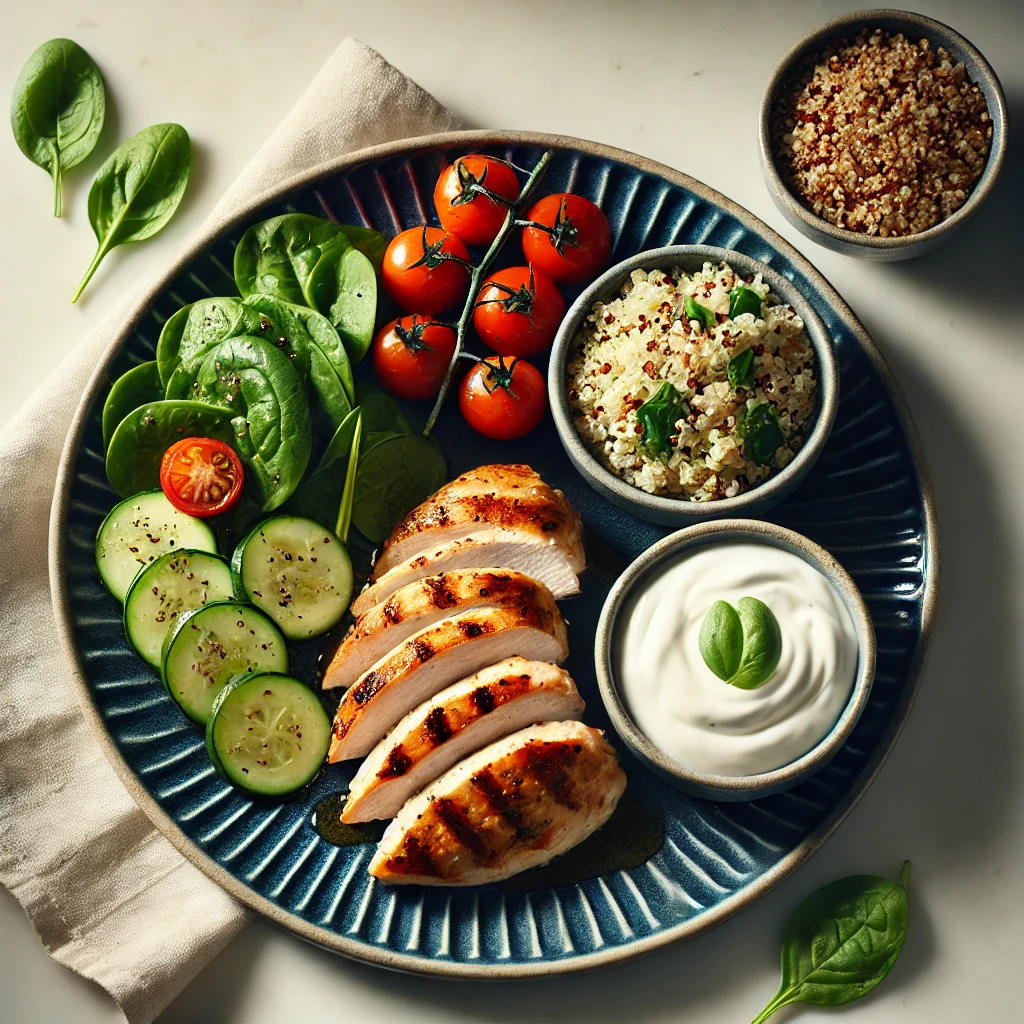
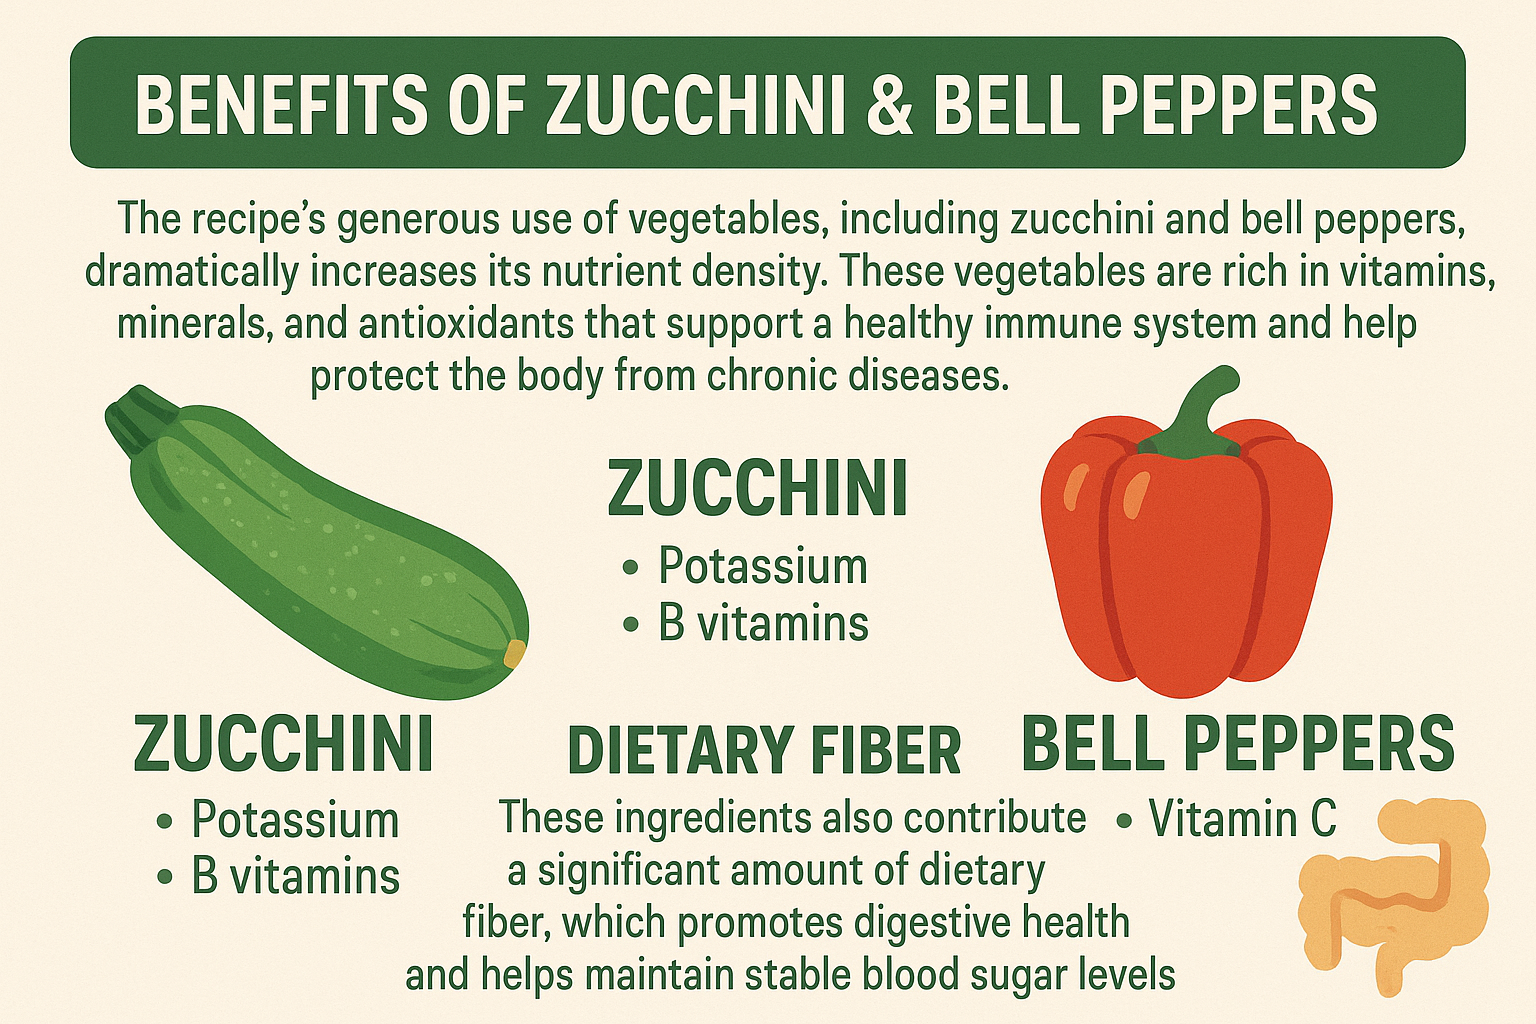
The gallery shows the benefits of eating white foods have on your digestive system, your immune system and your cardiovascular health.
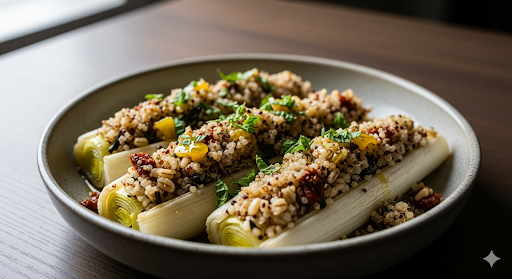
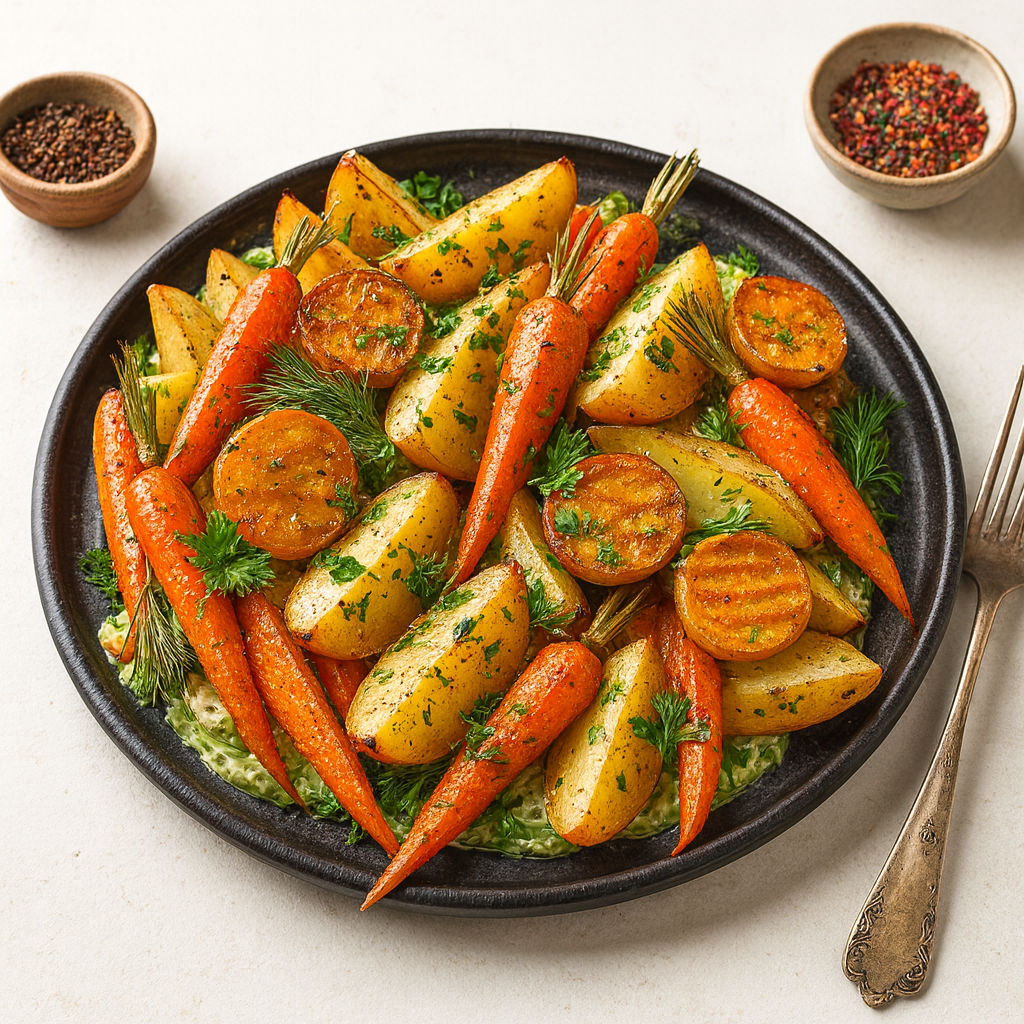
Variations to Customize Your Dish
The beauty of this recipe is its flexibility. You can easily adapt it to suit your taste or dietary needs.
| Variation Category | Suggestions |
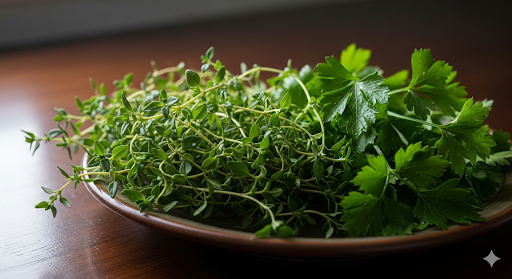
| Flavor Boosters | Stir in 1-2 tablespoons of nutritional yeast for a cheesy flavor. Add a pinch of nutmeg or a sprig of fresh thyme to the blender for a different aroma. Roast the cauliflower and garlic before blending for a deeper, nuttier flavor. |
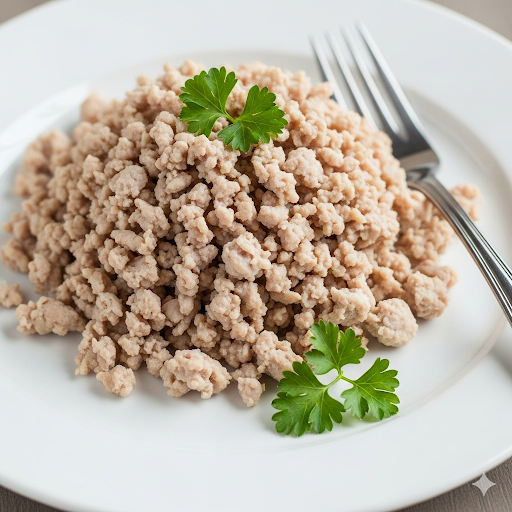
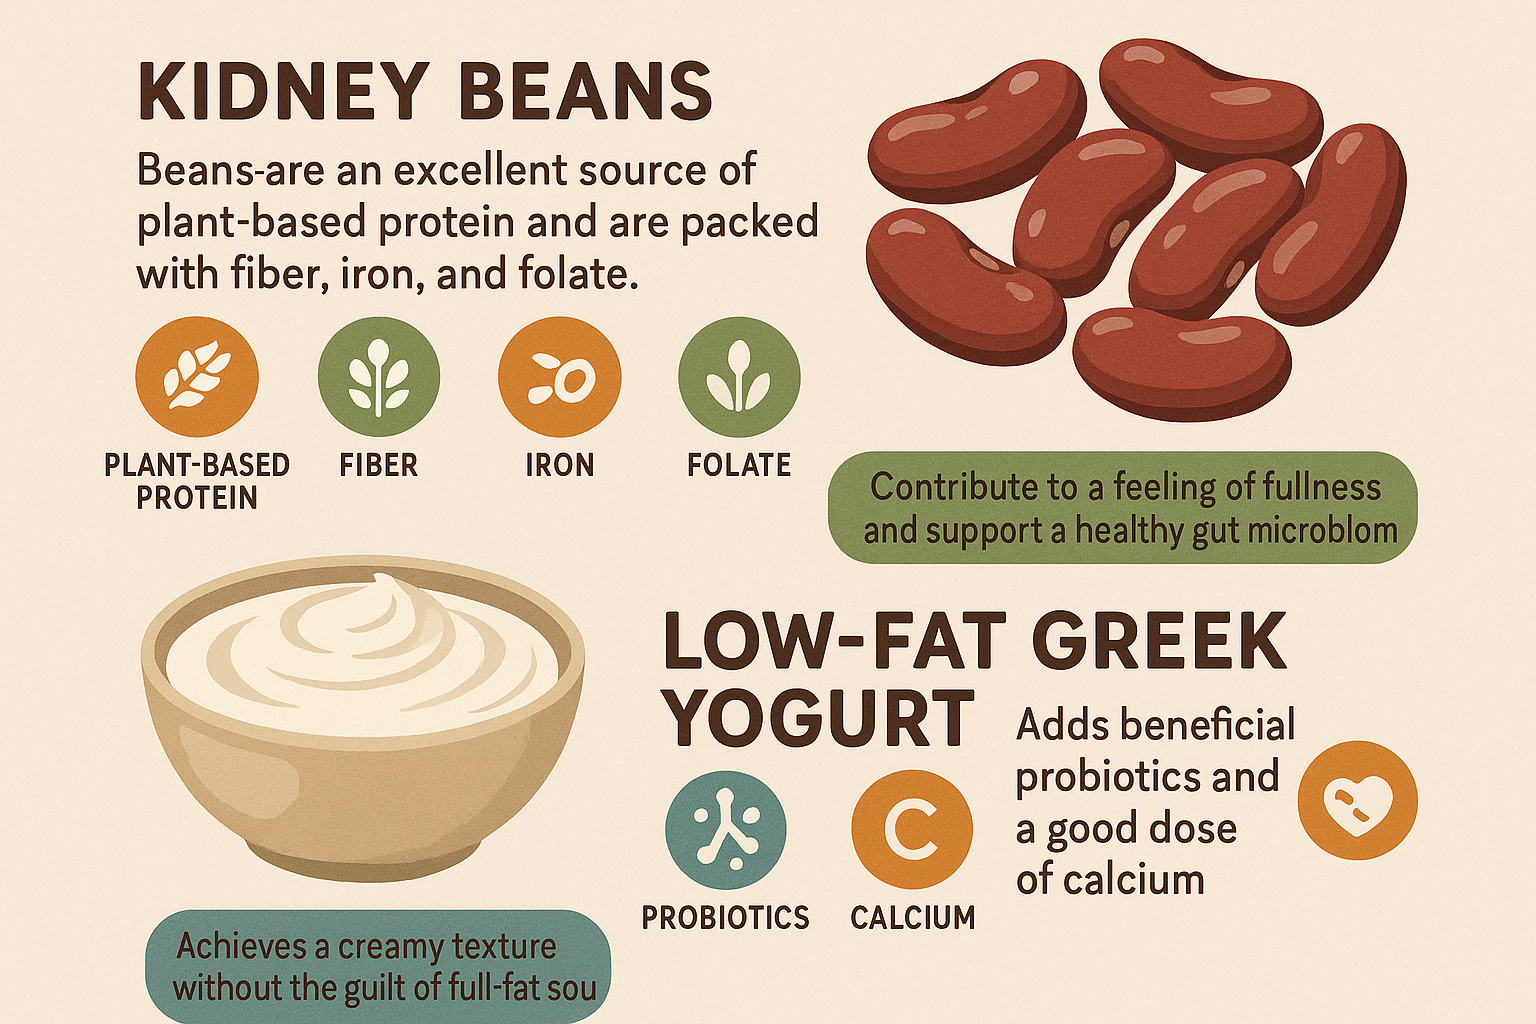
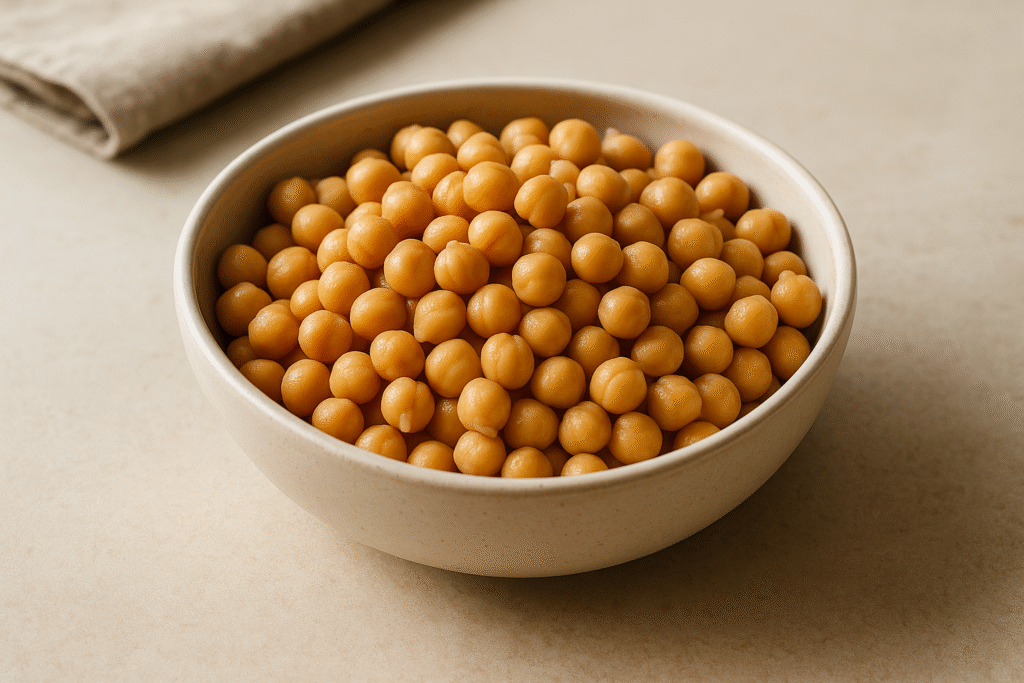
| Protein & Texture | Add cubed firm tofu or chickpeas to the mash for extra protein. For a richer, creamier texture, stir in a dollop of Greek yogurt or a tablespoon of unsalted butter at the end. |
| Spice Level | Add a pinch of white pepper for a subtle heat, or stir in a dash of cayenne pepper for a spicier kick. |
| Dietary Adaptations | To make it dairy-free, use a plant-based milk and ensure any added butter is vegan. To make it low-carb, simply use more cauliflower and fewer beans. |
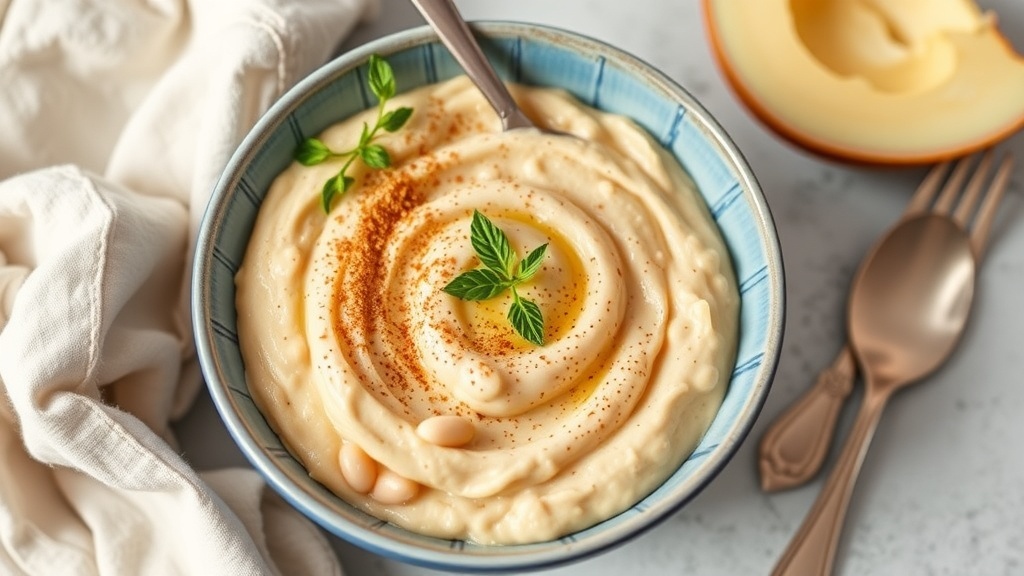
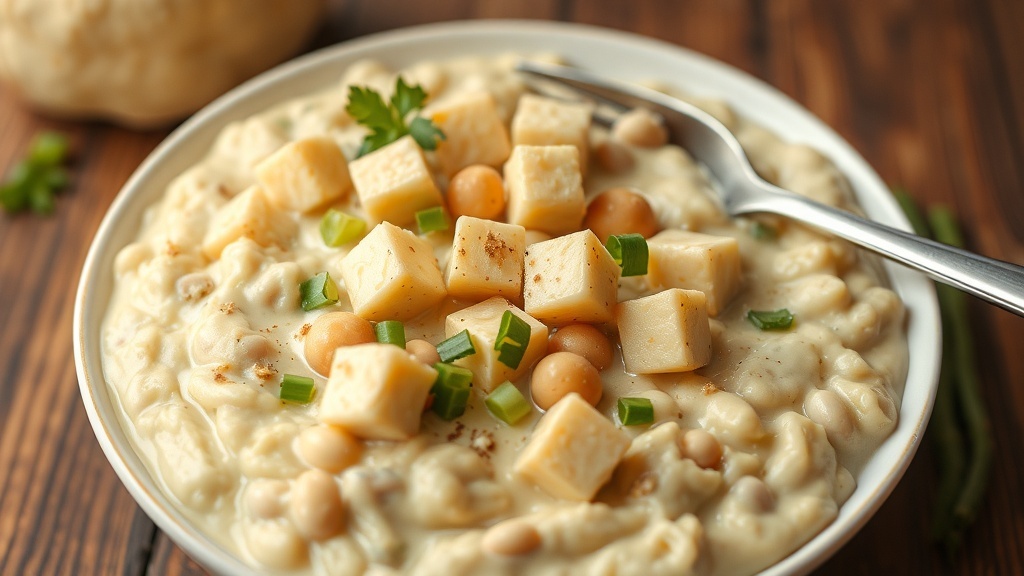
The gallery shows different variations to the main recipe. Image one, is Creamy White Bean and Cauliflower Mash, image two, has had cinnamon added and the third image, cubed tofu has been added to the dish.
Final Thoughts on Eating White Foods
Embracing white foods is a simple yet effective way to add more diversity and nutrient density to your diet. They are versatile, delicious, and offer a host of health benefits that are too good to ignore. From the heart-healthy properties of garlic and onions to the gut-friendly fiber in cauliflower and beans, these foods are a testament to the fact that nutritional value isn’t limited by color. So next time you’re at the grocery store, don’t overlook the produce that’s a shade of white. Your body will thank you for it.
This recipe for Creamy White Bean and Cauliflower Mash is just one example of the many delicious ways to incorporate these foods into your meals. We encourage you to experiment with other white ingredients, like mushrooms in a stir-fry, or potatoes in a hearty stew. Start with small changes, and soon, you’ll find that “eating white” becomes a staple in your healthy, vibrant diet.
Frequently Asked Questions (FAQs)
Q: Are white foods really as healthy as colorful ones?
A: Yes! While the “eat the rainbow” philosophy is valuable for ensuring a wide range of nutrients, white foods are not “empty.” They provide unique benefits not found in other foods. For example, garlic contains allicin, and bananas are rich in potassium—both essential for good health. The key is to eat a variety of foods from all color categories.
Q: What are some other healthy white foods I can add to my diet?
A: The list is long and delicious! Consider adding parsnips, turnips, white potatoes (skin on for fiber), white peaches, white asparagus, and jicama to your meals. Each offers a different nutritional profile and can be used in a variety of culinary applications, from roasting to blending.
References
- American Heart Association – Health benefits of garlic
- National Institutes of Health – Health benefits of dietary Fibers
- Harvard T.H. Chan – Paint your plate with the colors of the rainbow
Recent Posts