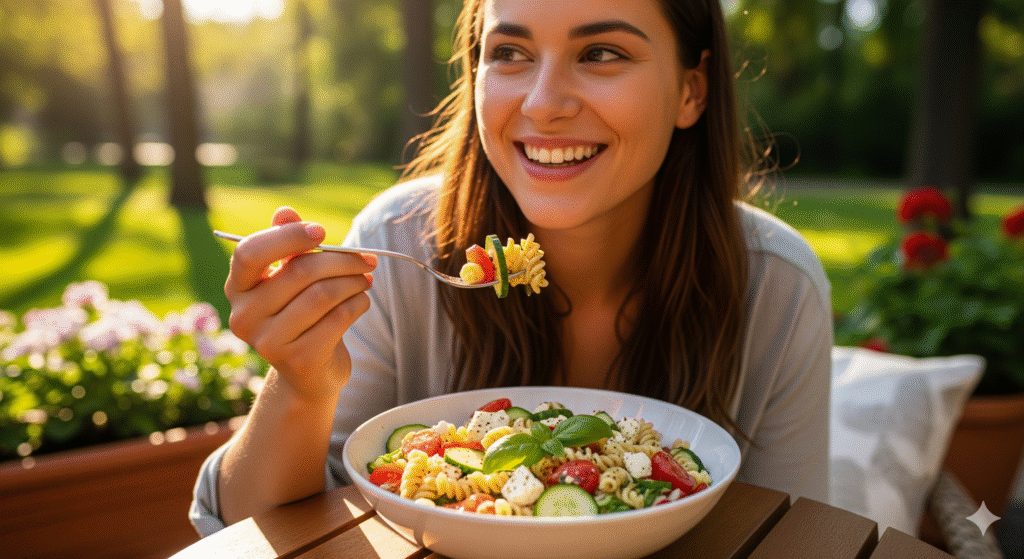
There’s a reason spaghetti with clams, or Spaghetti alle Vongole, is a timeless classic. It’s the perfect blend of simple elegance and fresh, briny flavor. This easy, healthy version captures all the magic in under 30 minutes, making it the ideal weeknight dinner.
Spaghetti with Clams: A Taste of the Mediterranean
Italian cooking is often celebrated for its ability to create complex, unforgettable flavors from just a few simple, high-quality ingredients. This recipe for spaghetti with clams embodies that philosophy perfectly. It’s a dish that looks and tastes like something you’d enjoy at a seaside trattoria, but it’s surprisingly simple to master in your own kitchen. By focusing on fresh, healthy ingredients and a streamlined process, we’ve created a meal that is both a treat for your taste buds and a boost for your well-being.
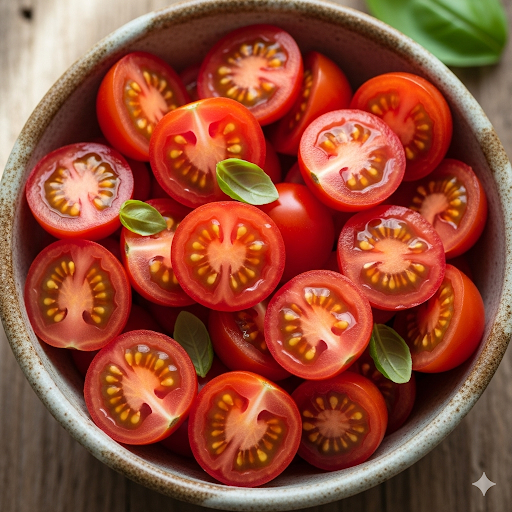
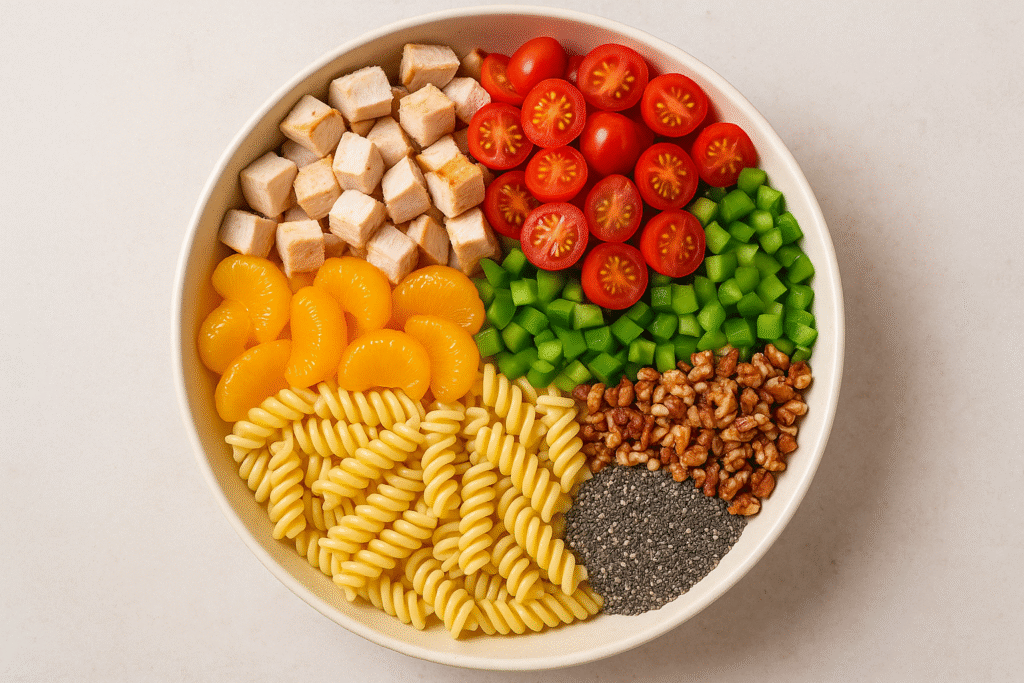
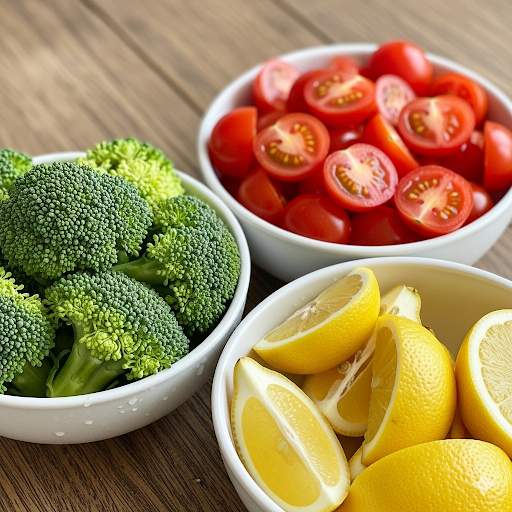
Unlike heavier pasta dishes, this recipe is a masterclass in lightness and freshness. We rely on the natural flavors of the sea, complemented by a vibrant mix of Mediterranean staples. The clams release their briny liquor, which forms a delicious, light sauce when combined with garlic, olive oil, and a splash of white wine. To this classic foundation, we add a colorful array of vegetables and herbs—halved cherry tomatoes and bright green broccoli florets—that not only make the dish visually stunning but also enhance its nutritional profile.
The Beauty of Simple Ingredients for Spaghetti with Clams
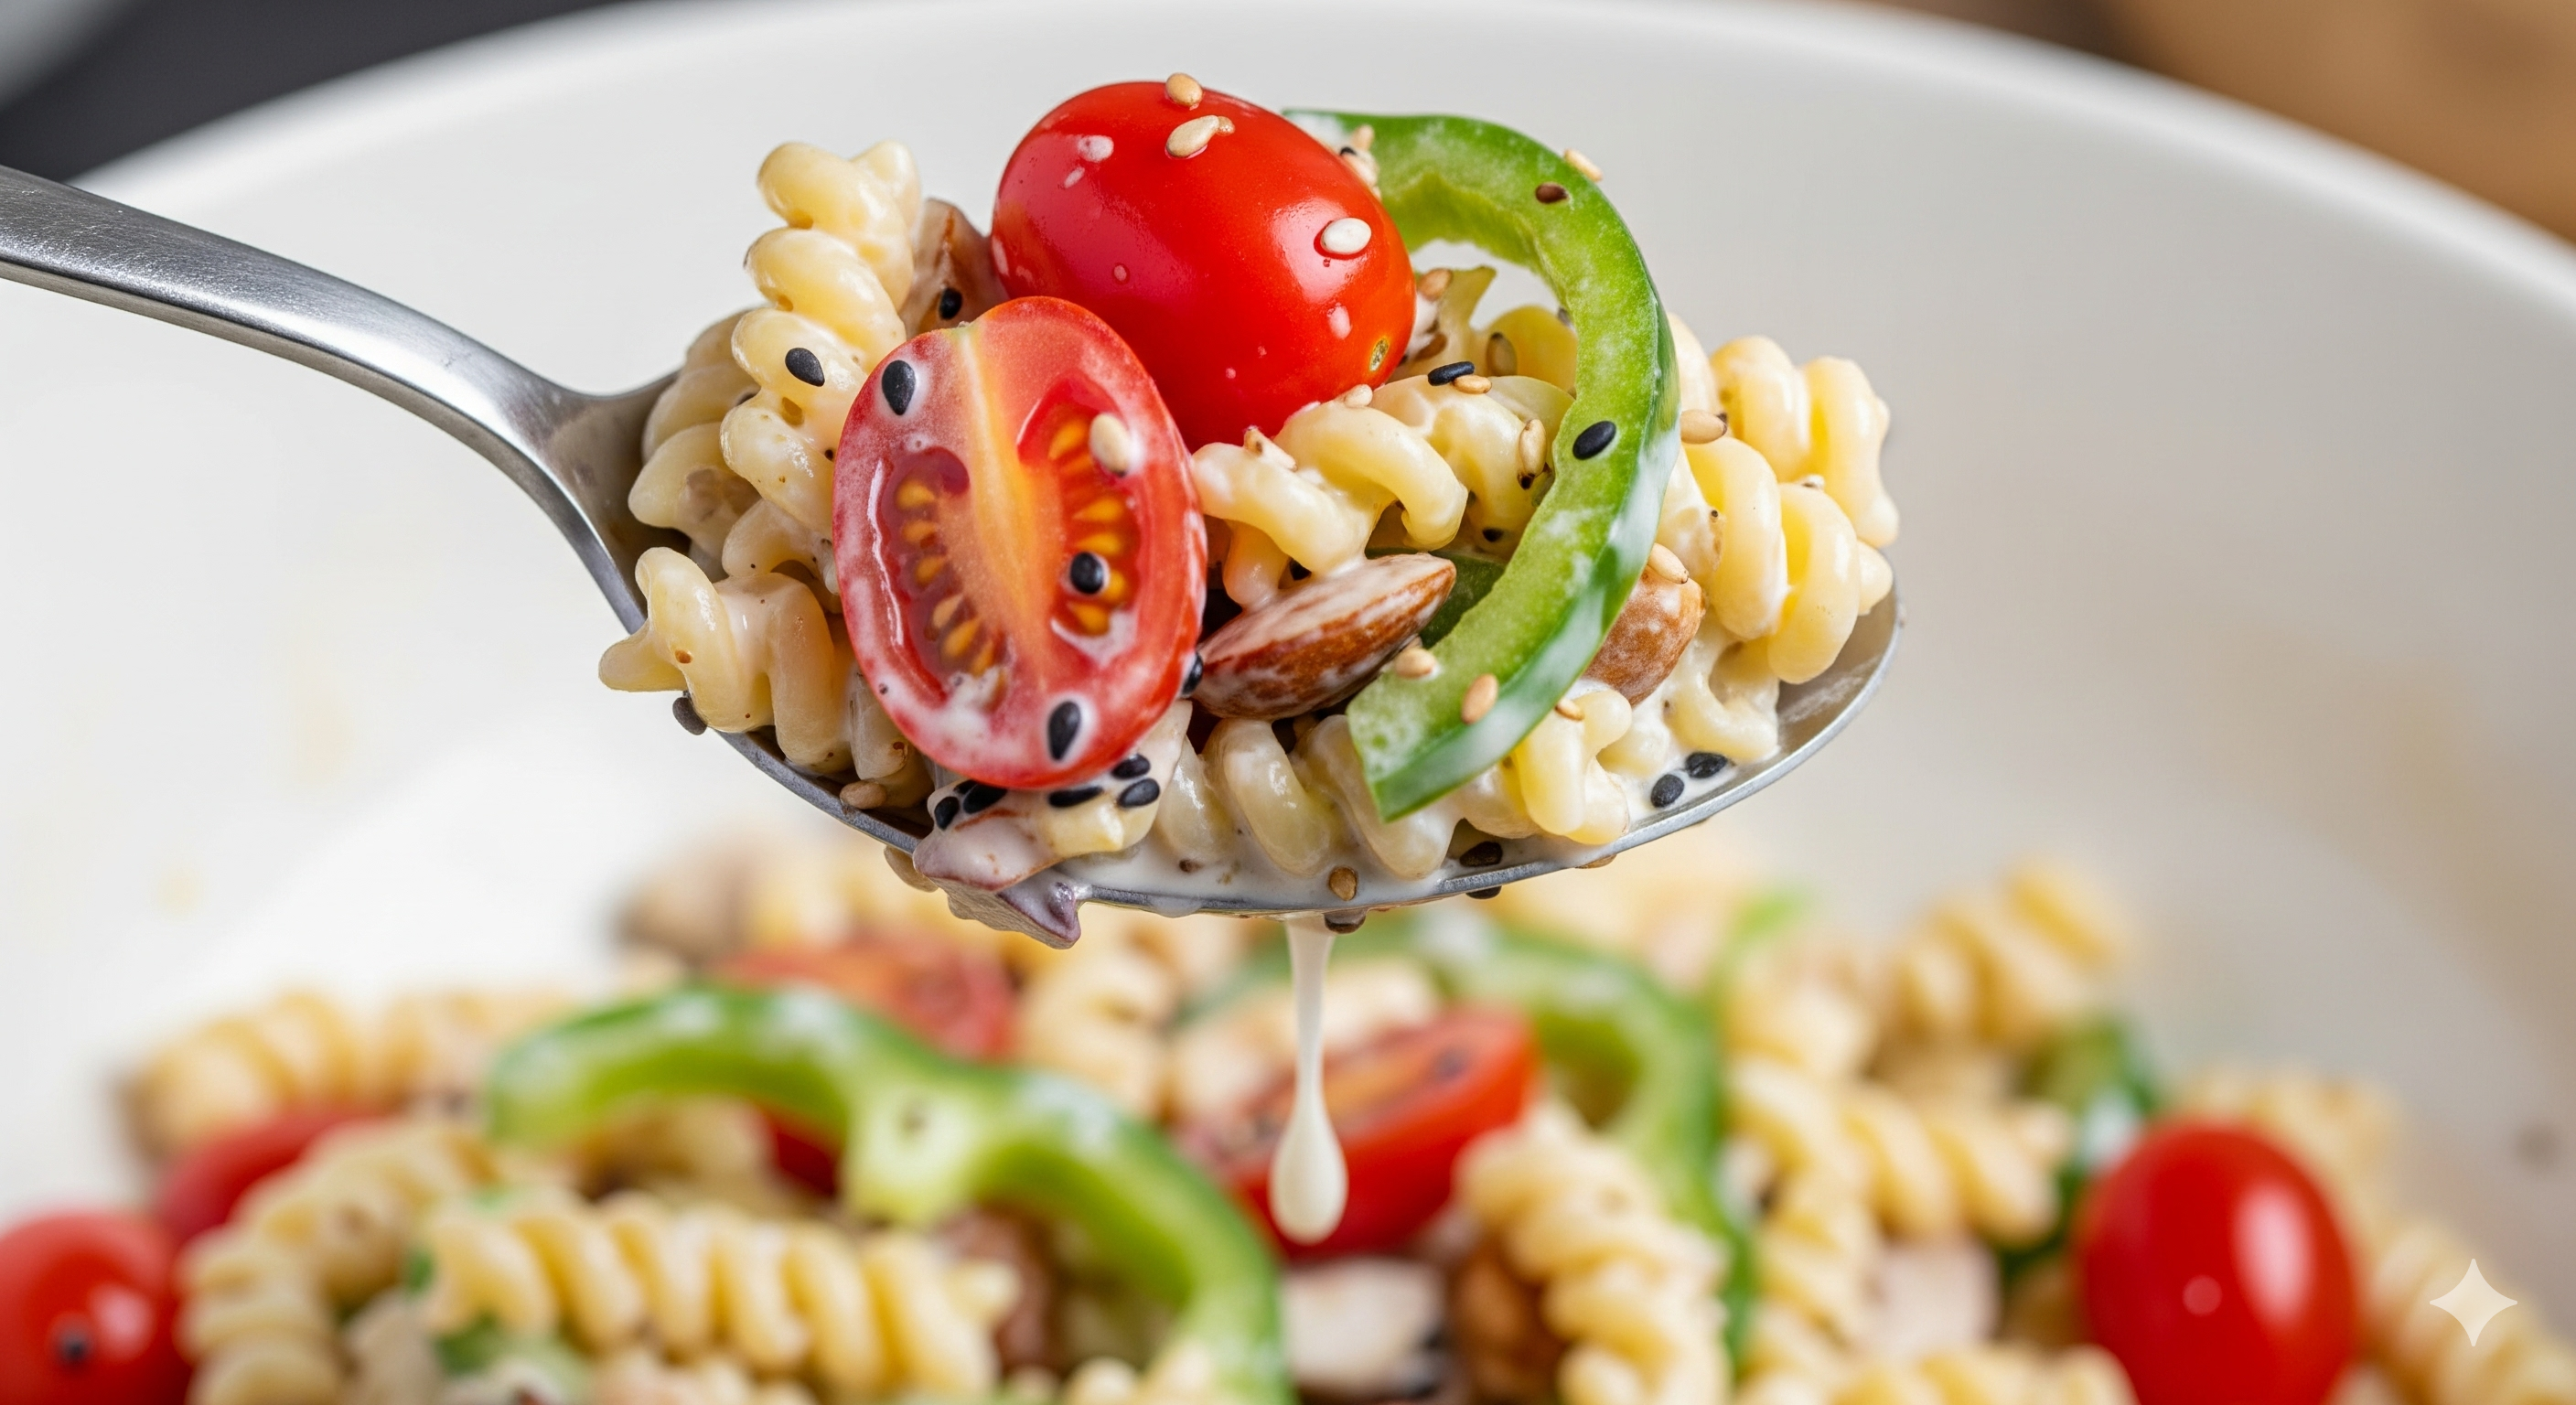
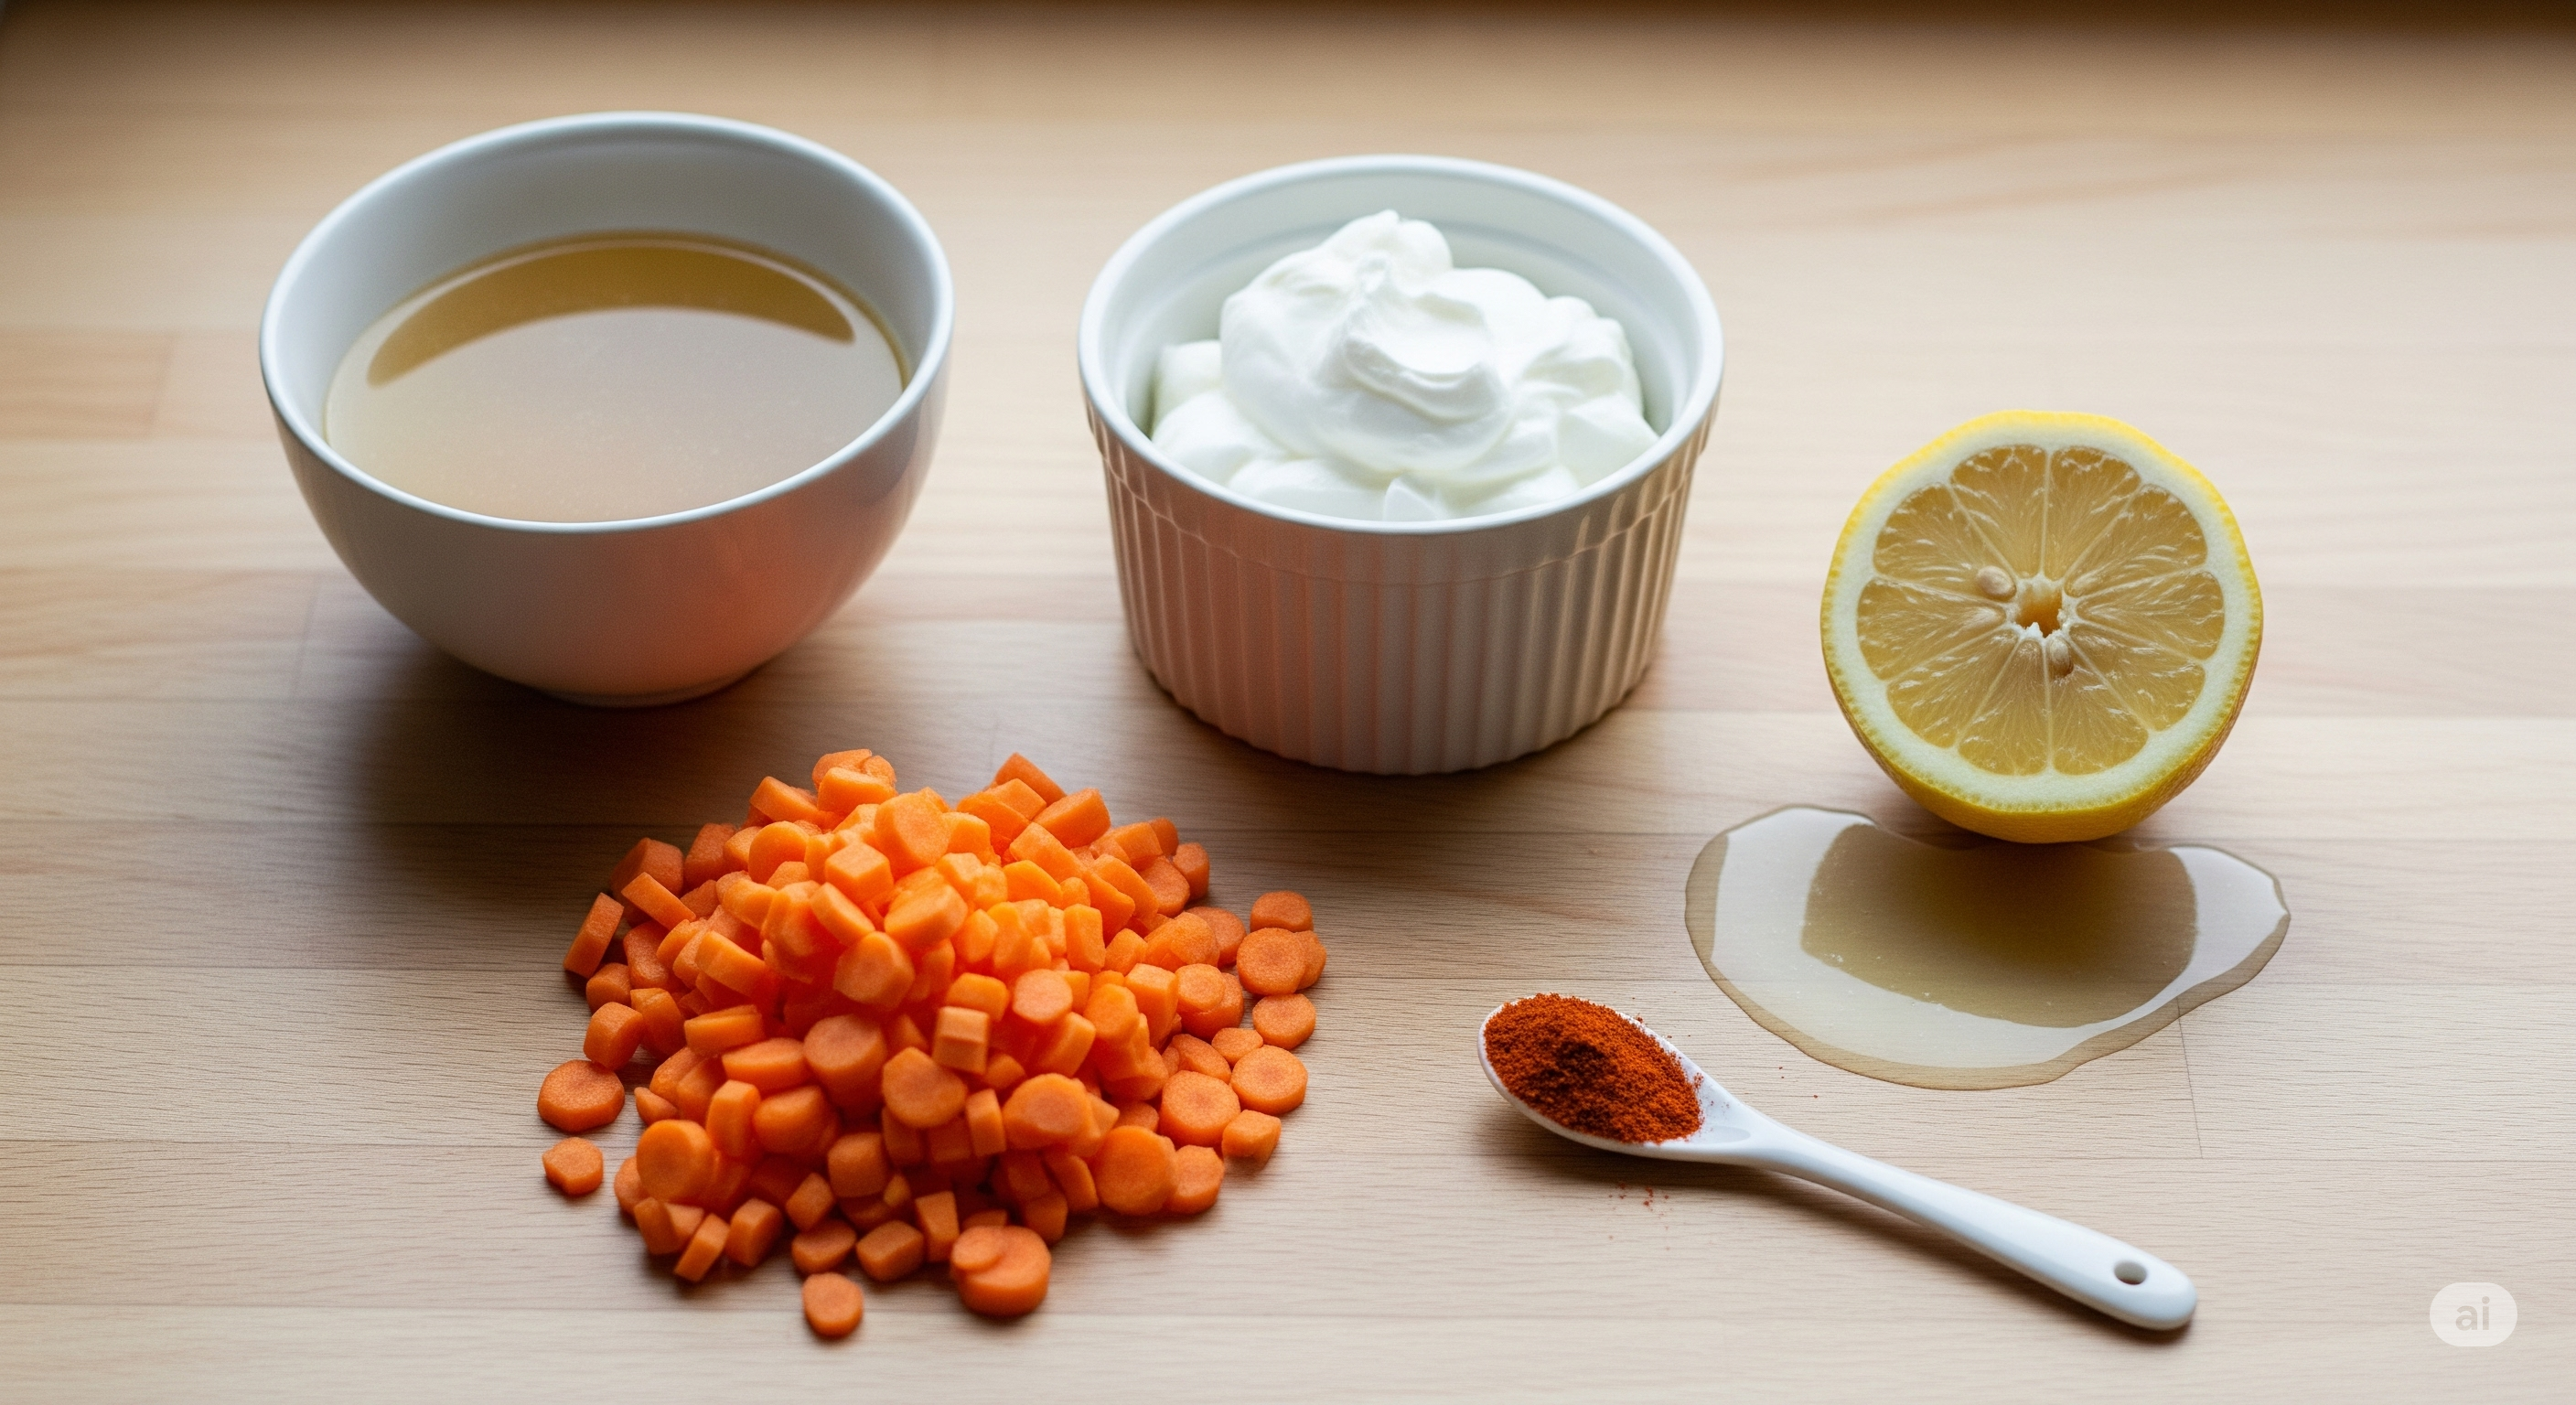
The beauty of this dish lies in its simplicity. With just a handful of ingredients and a quick cooking time, you can create a meal that is both healthy and satisfying. The tender spaghetti is perfectly coated in the savory sauce, and each spoonful offers a delightful mix of plump clams, sweet tomatoes, and crisp broccoli. The finishing touches—a sprinkle of red chili flakes and a generous amount of fresh parsley—add the final notes of heat and freshness that make this dish truly shine. It’s a recipe designed to make you feel good about what you’re eating, without spending hours on a complicated meal.
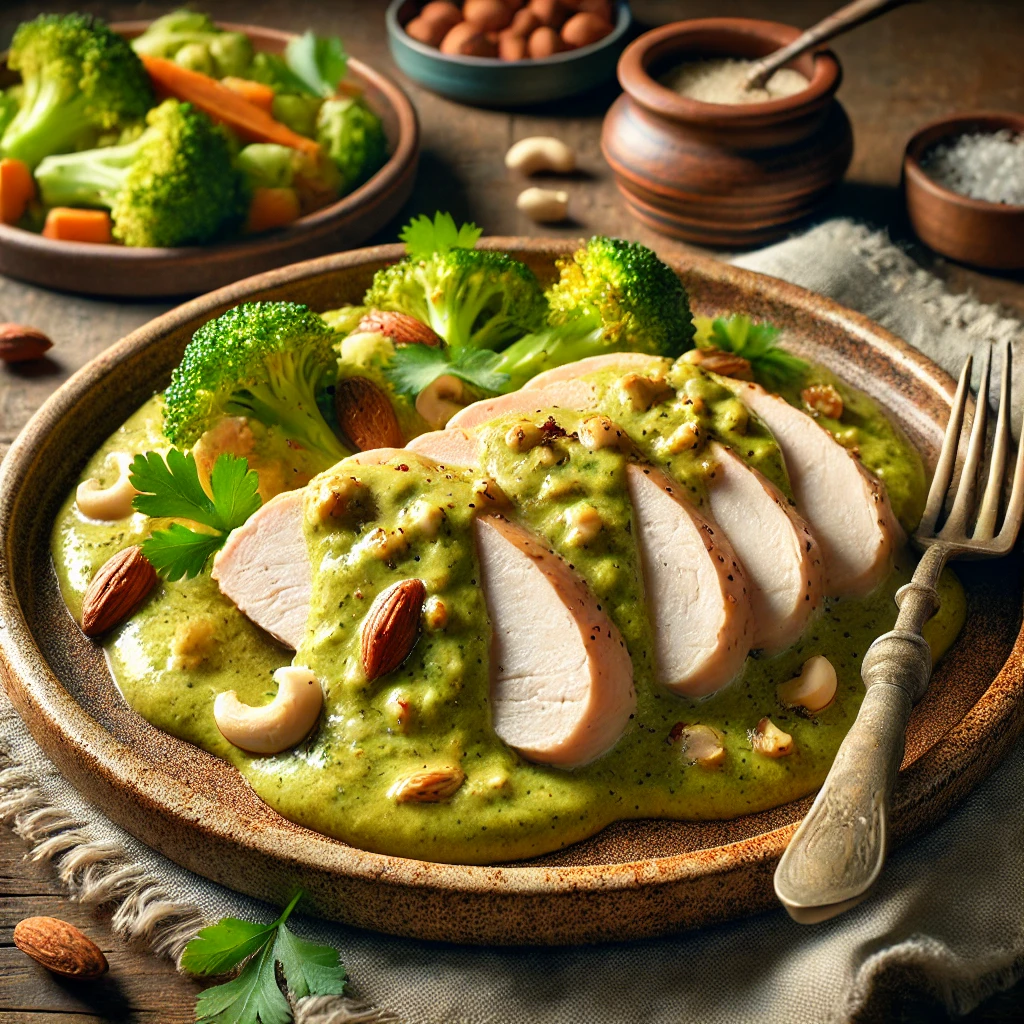
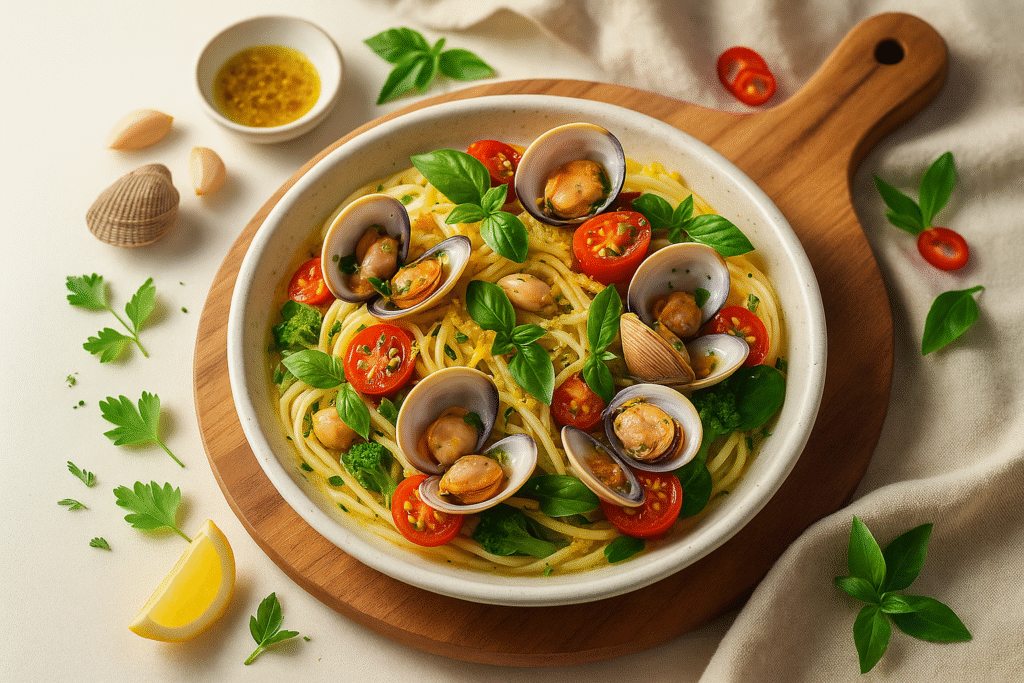
This recipe is built to be a visual showstopper, just like the image you’ve provided. The careful arrangement of ingredients, from the upright clams to the scattered basil and vibrant tomatoes, elevates the dish from a simple meal to a work of art. The final result looks elegant and sophisticated, yet the process to get there is completely approachable for home cooks of any skill level.
So, let’s get started on creating this beautiful, nutritious, and incredibly flavorful spaghetti with clams. It’s time to bring a taste of the Italian coast right to your dinner table.
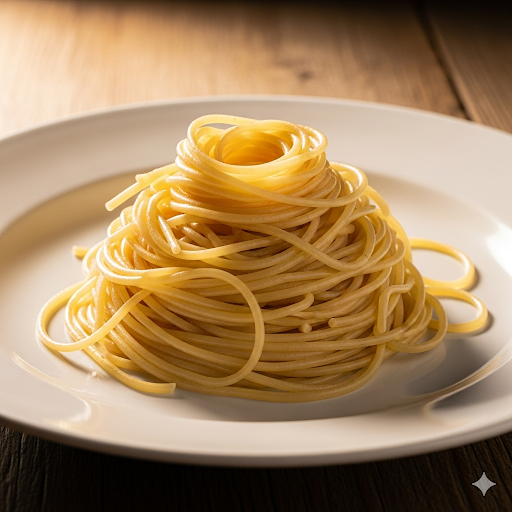
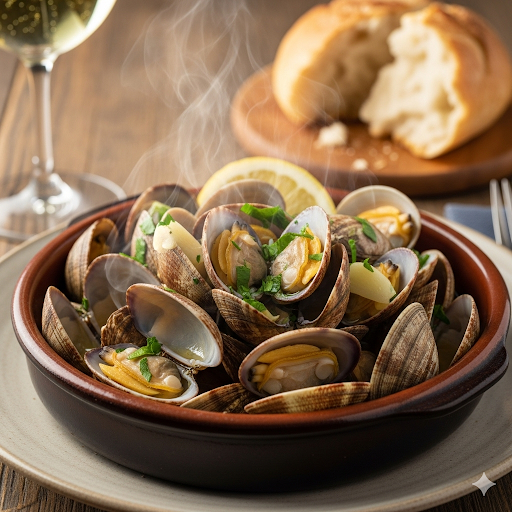
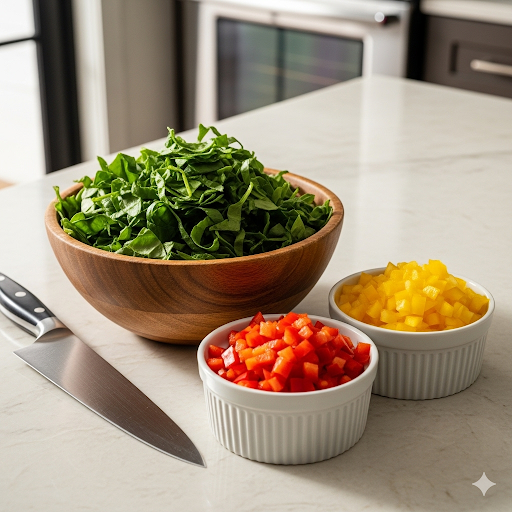
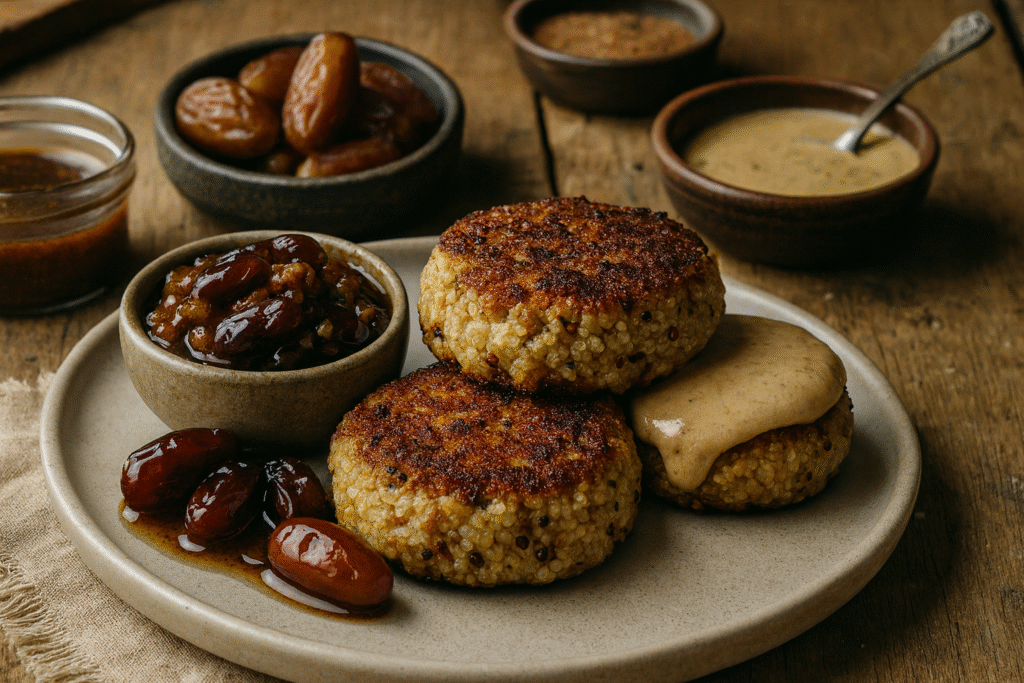
The gallery shows a plate of cooked sphagetti, cooked clams and some of the vegetables used in this recipe.
Time to Prepare and Cook
Time to Prepare: 10 minutes
Time to Cook: 20 minutes
Servings: 2-3
Nutritional Information
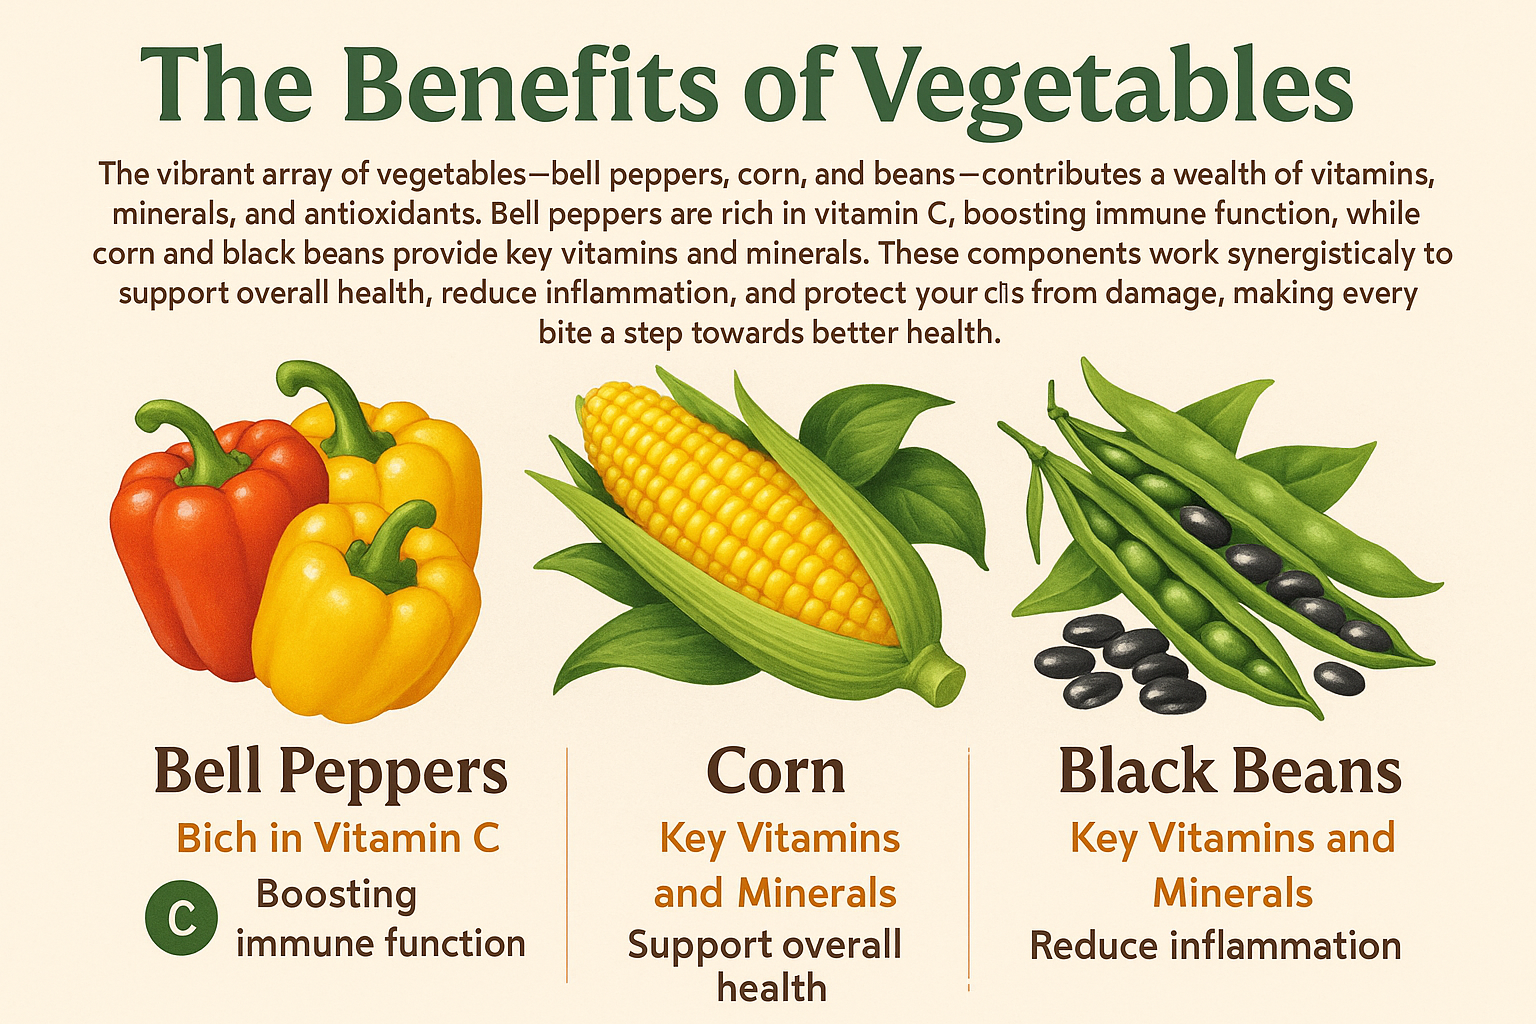
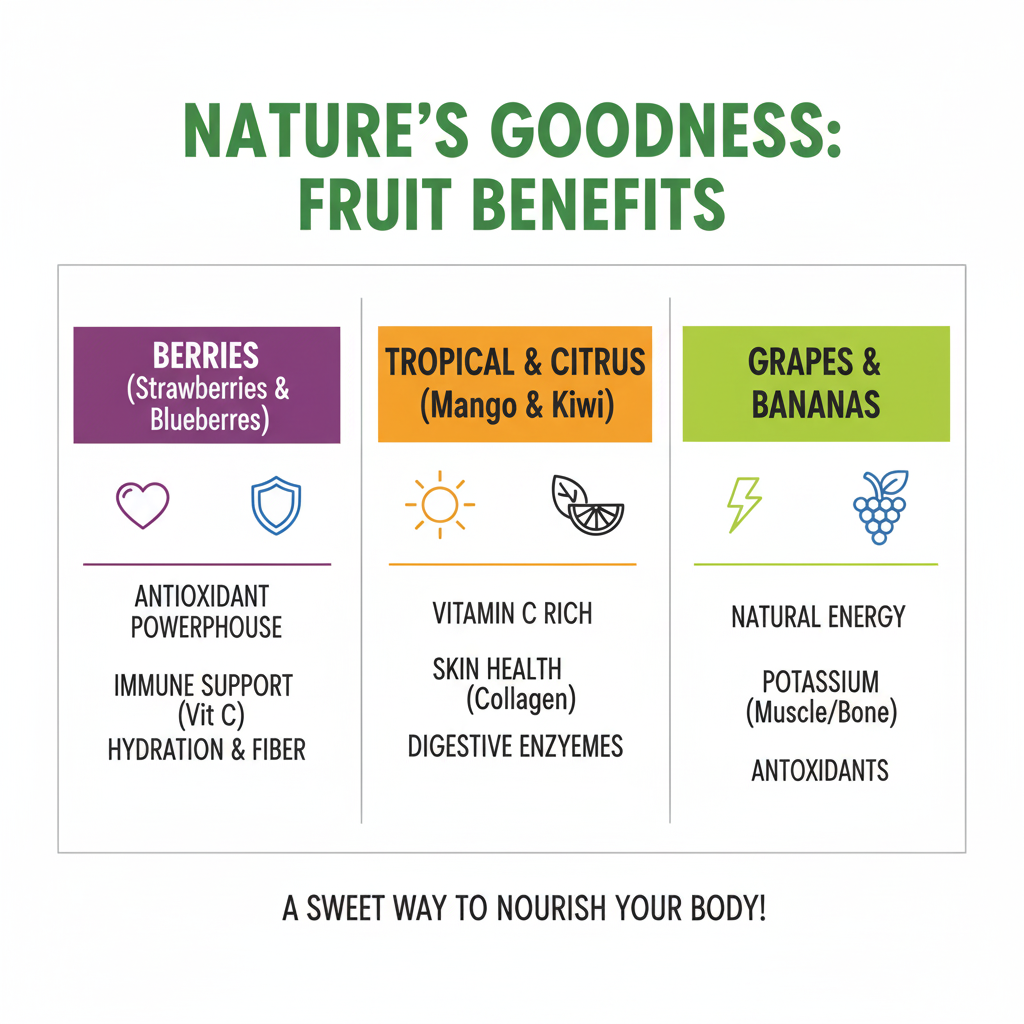
This spaghetti with clams dish is a nutritional powerhouse that fits perfectly into a healthy, Mediterranean-inspired diet. The star of the show, the clams, are an excellent source of lean protein and are particularly rich in essential minerals, especially iron and zinc. They also provide a significant amount of Vitamin B12, which is vital for nerve function and red blood cell formation.
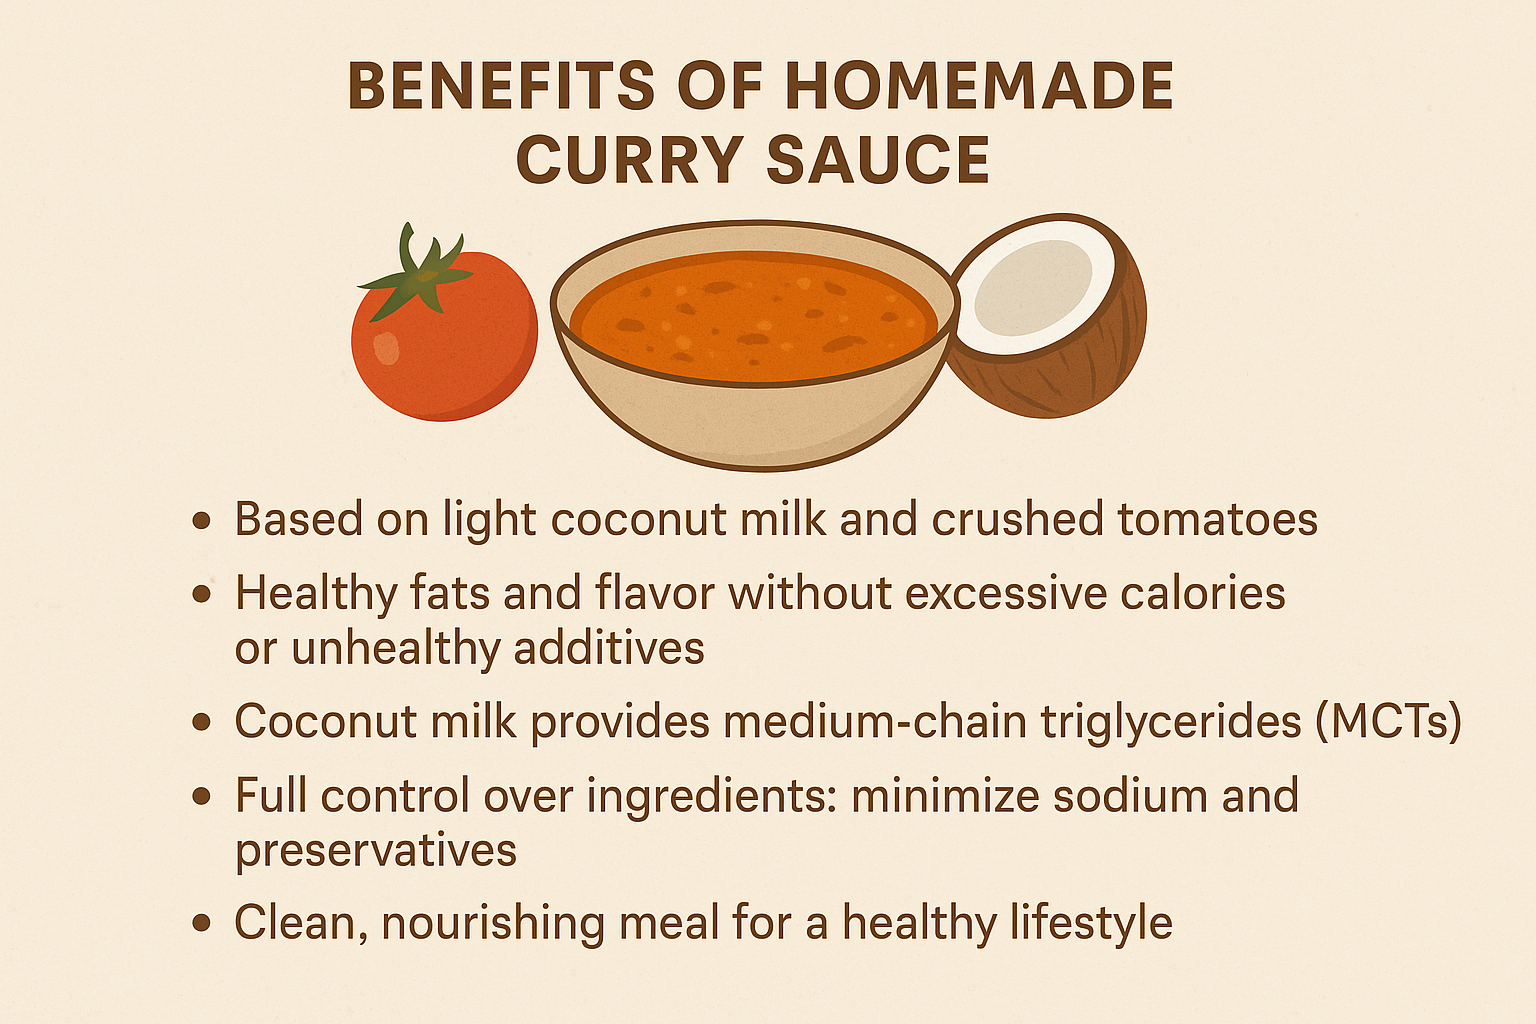
Beyond the protein, the recipe’s ingredients are packed with health benefits. The use of extra virgin olive oil provides healthy monounsaturated fats, which are known to be beneficial for heart health. The inclusion of fresh vegetables like cherry tomatoes and broccoli adds a substantial amount of dietary fiber, Vitamin C, and other powerful antioxidants. These nutrients help support your immune system, aid in digestion, and reduce inflammation throughout the body. By combining these wholesome ingredients, you get a meal that is both incredibly flavorful and deeply nourishing.
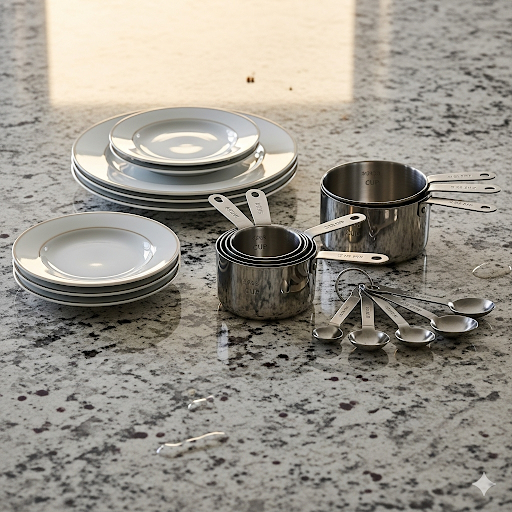
Equipment
- Large pot for boiling pasta
- Large skillet or Dutch oven with a lid
- Colander or strainer
- Tongs
- Serving bowls
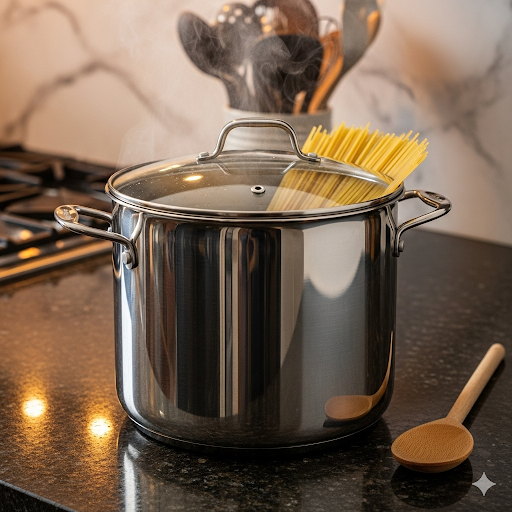

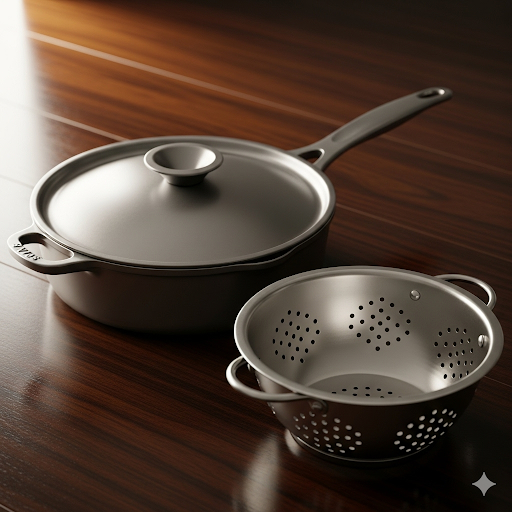
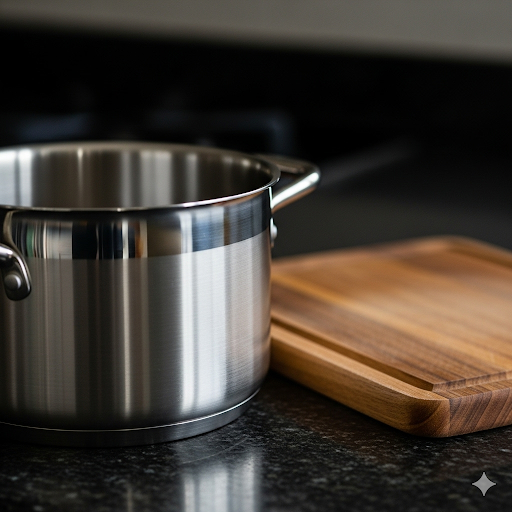
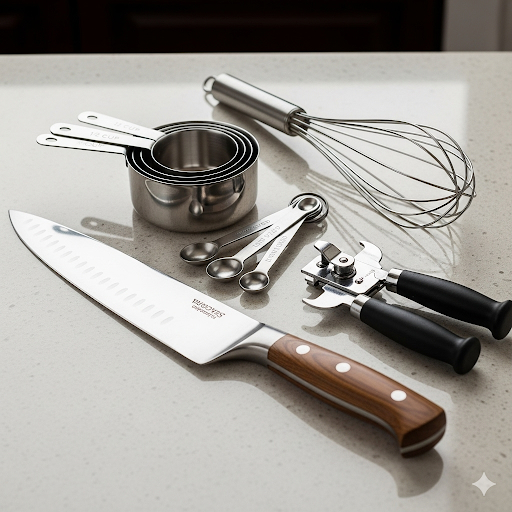
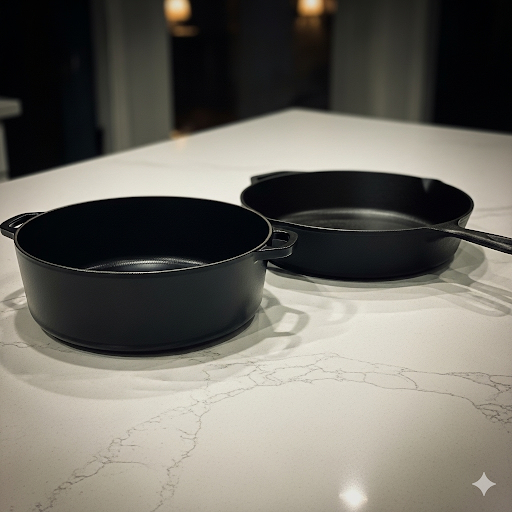
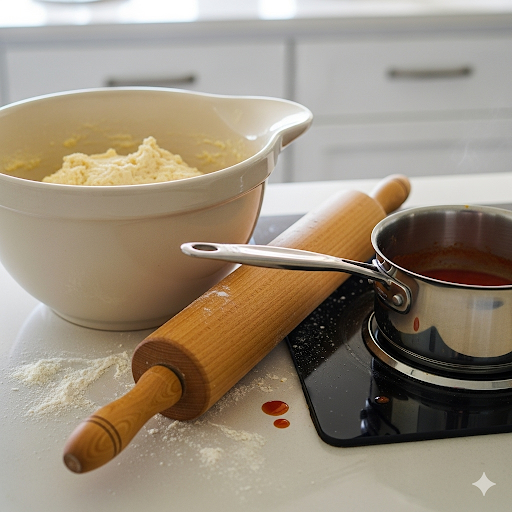
The gallery shows large cooking pot with sphagetti, serving bowls and frying pan and colander
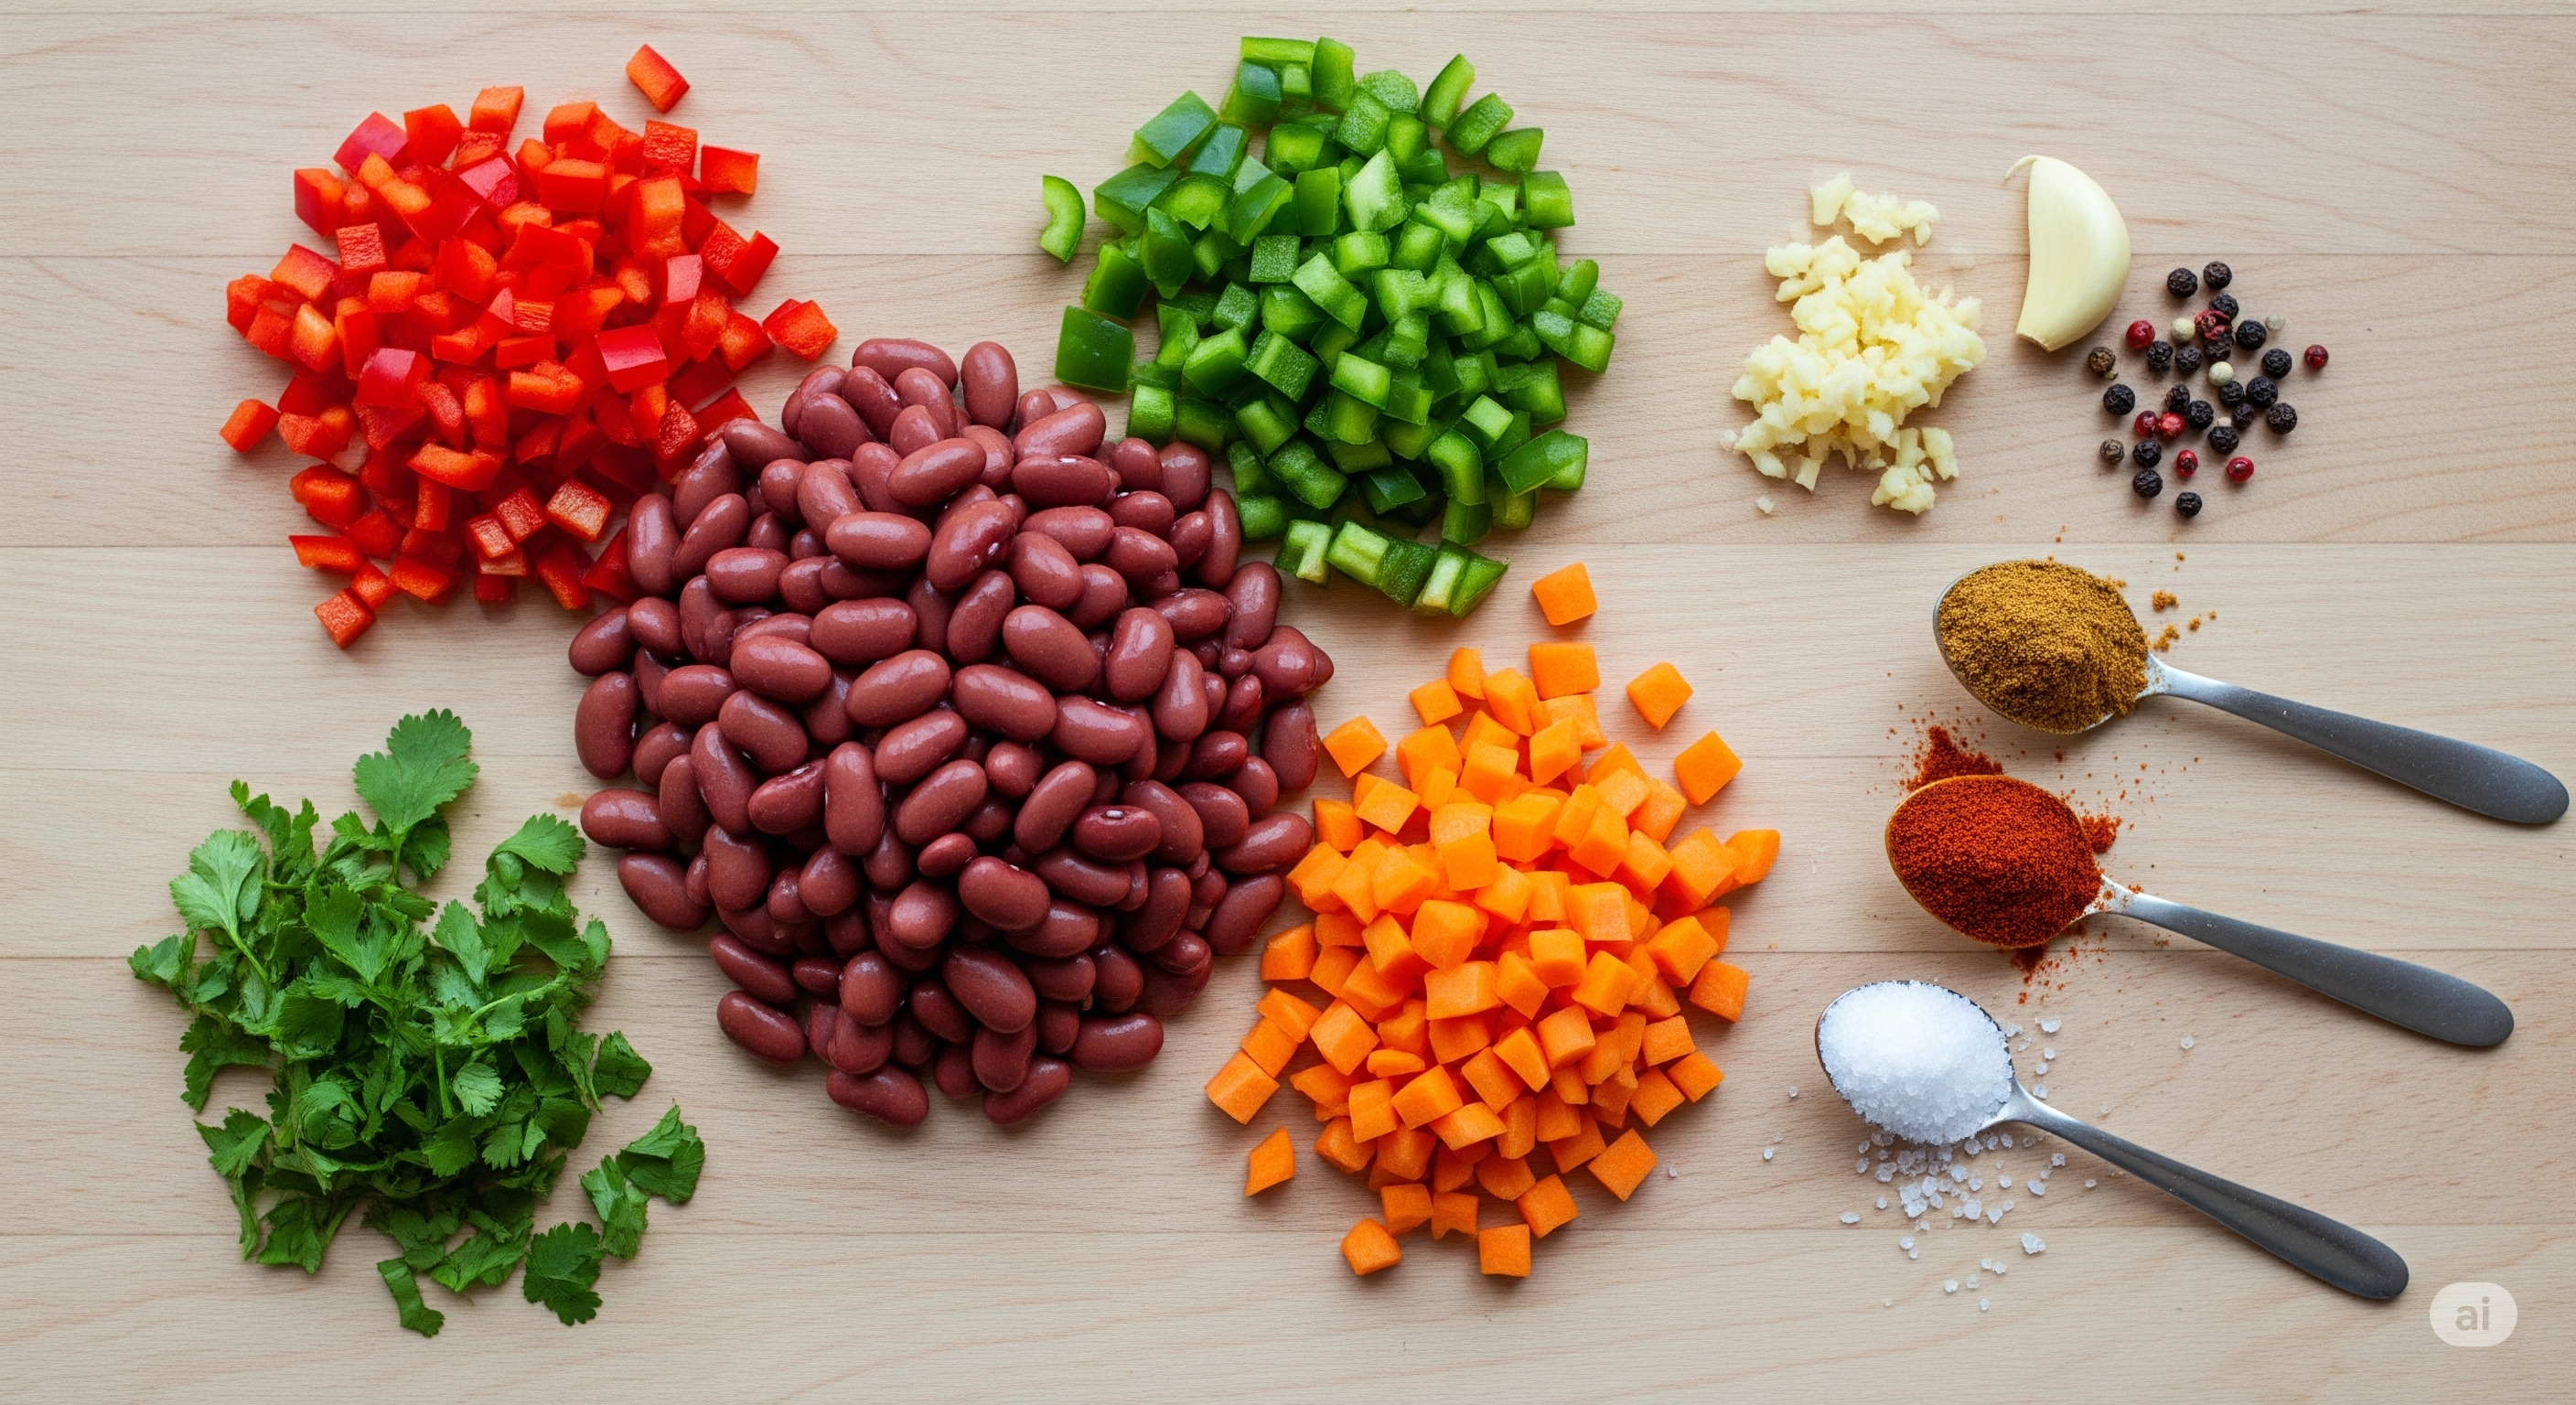
Ingredients
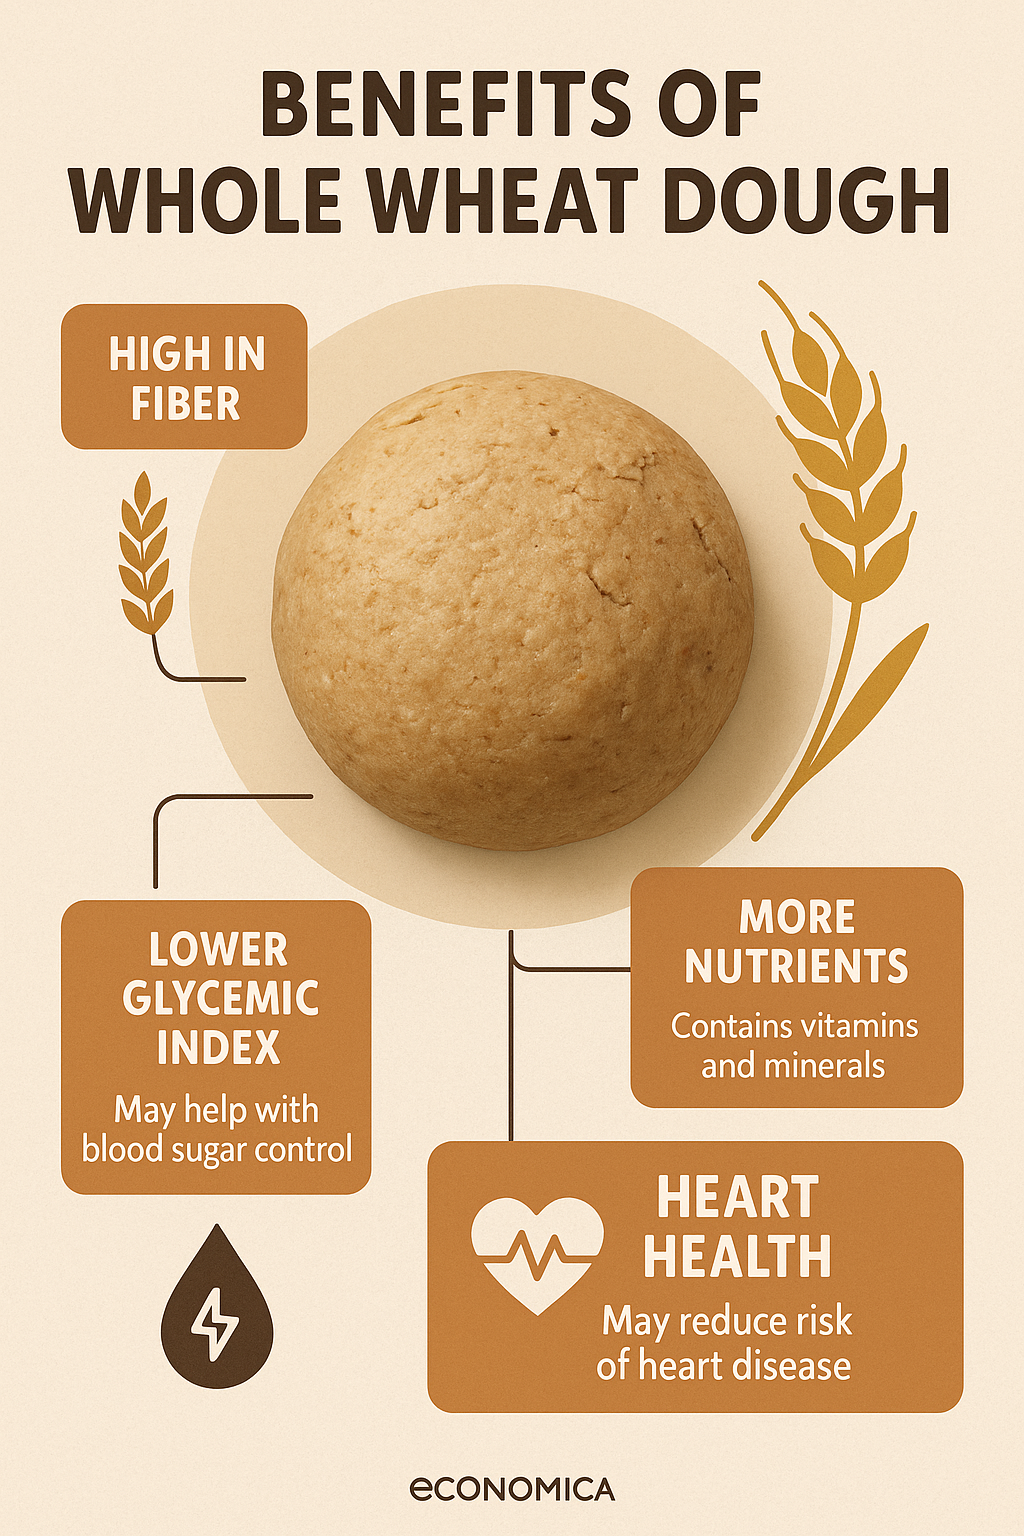
- 8 oz whole wheat or gluten-free spaghetti
- 1 lb littleneck clams, scrubbed and rinsed
- 1 tablespoon extra virgin olive oil
- 3-4 cloves garlic, thinly sliced
- ½ cup dry white wine (or low-sodium vegetable broth)
- 1 cup broccoli florets, small
- 1 cup cherry tomatoes, halved
- ¼ teaspoon red chili flakes (or to taste)
- ¼ cup fresh parsley, chopped
- ¼ cup fresh basil leaves
- 1 lemon, cut into wedges, for serving
- Salt and black pepper to taste
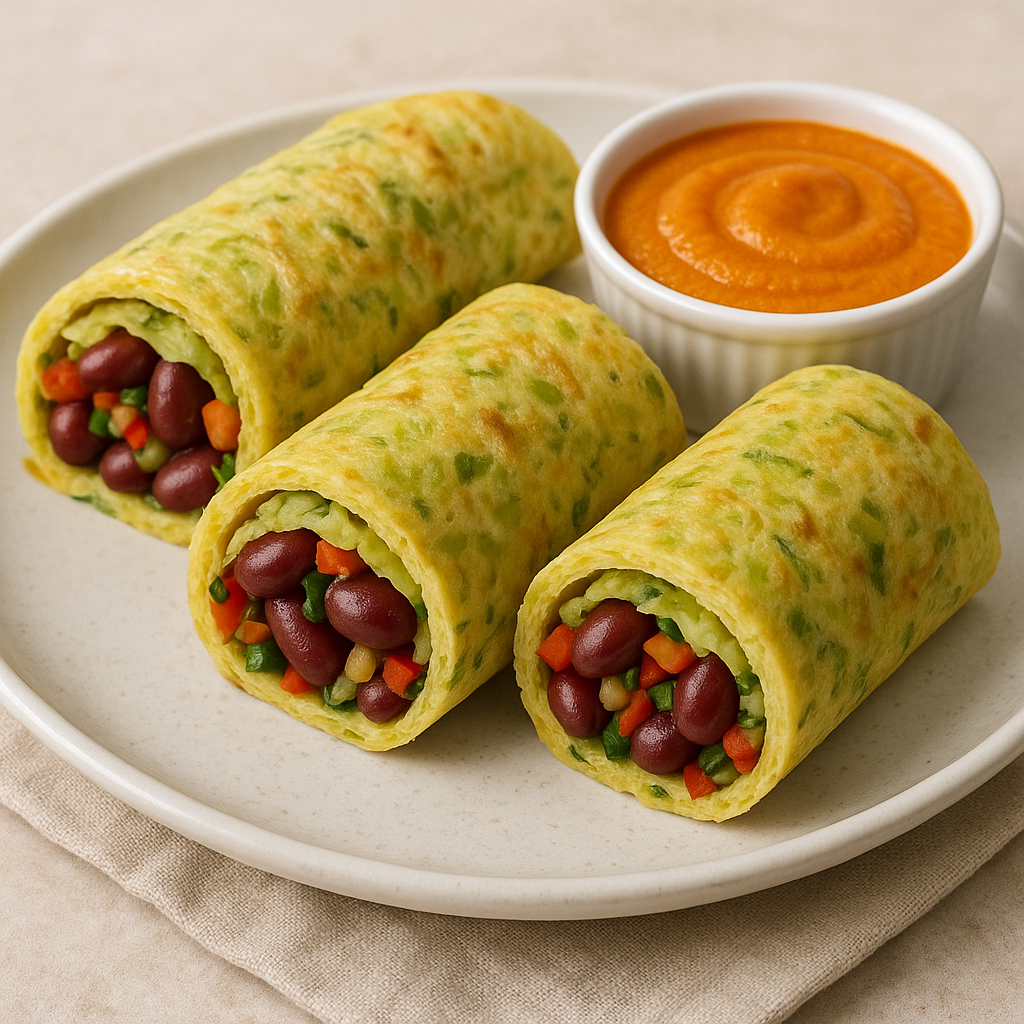
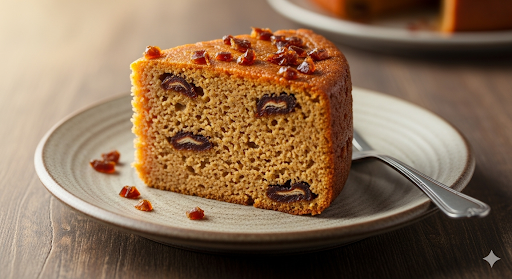
Sphagetti with clams
Step-by-Step Instructions for Spaghetti with Clams
Prepare the Pasta
Begin by bringing a large pot of generously salted water to a rolling boil. Add your spaghetti and cook it according to the package directions until it’s perfectly al dente, meaning it’s firm to the bite. For added efficiency, in the last 3 minutes of the pasta’s cooking time, add the small broccoli florets directly to the boiling water to cook alongside the spaghetti.
Sauté the Garlic
While the pasta is cooking, place a large skillet over a medium-high heat. Add the olive oil and the thinly sliced garlic. Cook for about 1 minute, stirring constantly, until the garlic is fragrant and just begins to turn a light golden color. It’s very important not to let it burn, as this will give it a bitter taste.
Steam the Clams
Carefully add the scrubbed clams and the red chili flakes to the skillet with the garlic. Pour in the white wine or low-sodium vegetable broth. Immediately place a tight-fitting lid on the skillet. Increase the heat to high and steam the clams for 5-7 minutes. You’ll know they are ready when they have all opened up. Gently shake the pan a couple of times during this process to help them open more evenly. Be sure to discard any clams that do not open after cooking.
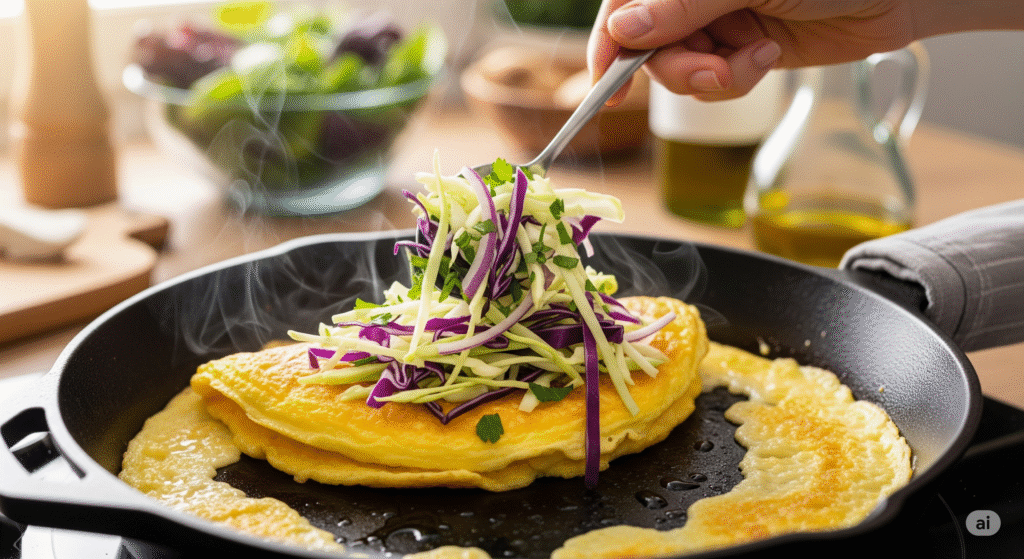
Combine and Sauce
Once the clams have opened, remove the lid. Using tongs, transfer the cooked spaghetti and broccoli directly from the pot into the skillet with the clams and sauce. Toss everything together vigorously. The starchy pasta water clinging to the spaghetti will combine with the clam juices and white wine to create a rich, light, and delicious sauce that coats every strand. Stir in half of the fresh, chopped parsley and season with black pepper to your taste.
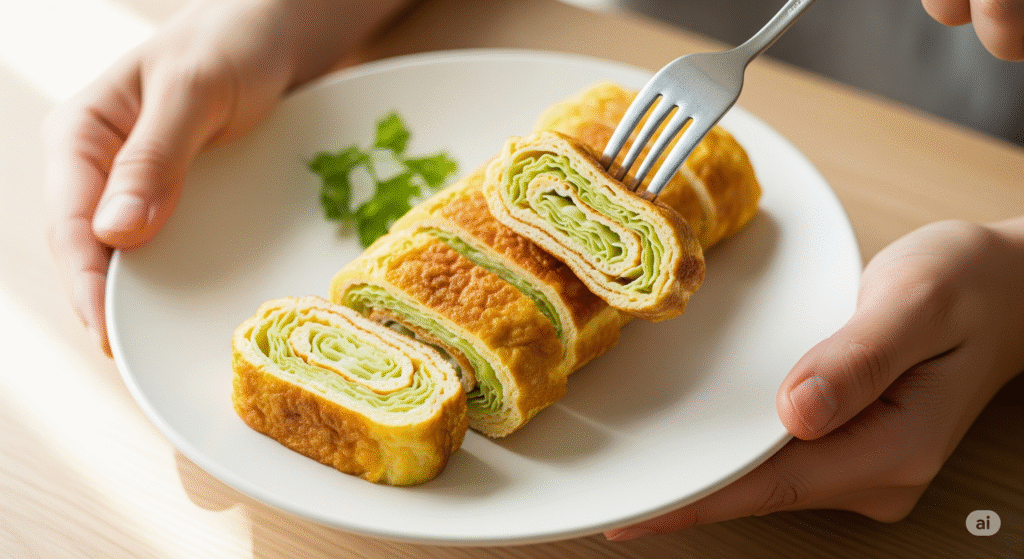
Serve and Garnish
To serve, use tongs to carefully transfer the spaghetti and the clam-broccoli mixture into individual serving bowls. Arrange the clams so they stand up around the pasta, giving the dish that layered and elegant look from the hero image. Sprinkle with the remaining fresh parsley and add a few fresh basil leaves on top. Place a lemon wedge on the side of each bowl to be squeezed over the pasta just before eating. Enjoy your meal immediately while it’s hot.
Benefits of Spaghetti with Clams
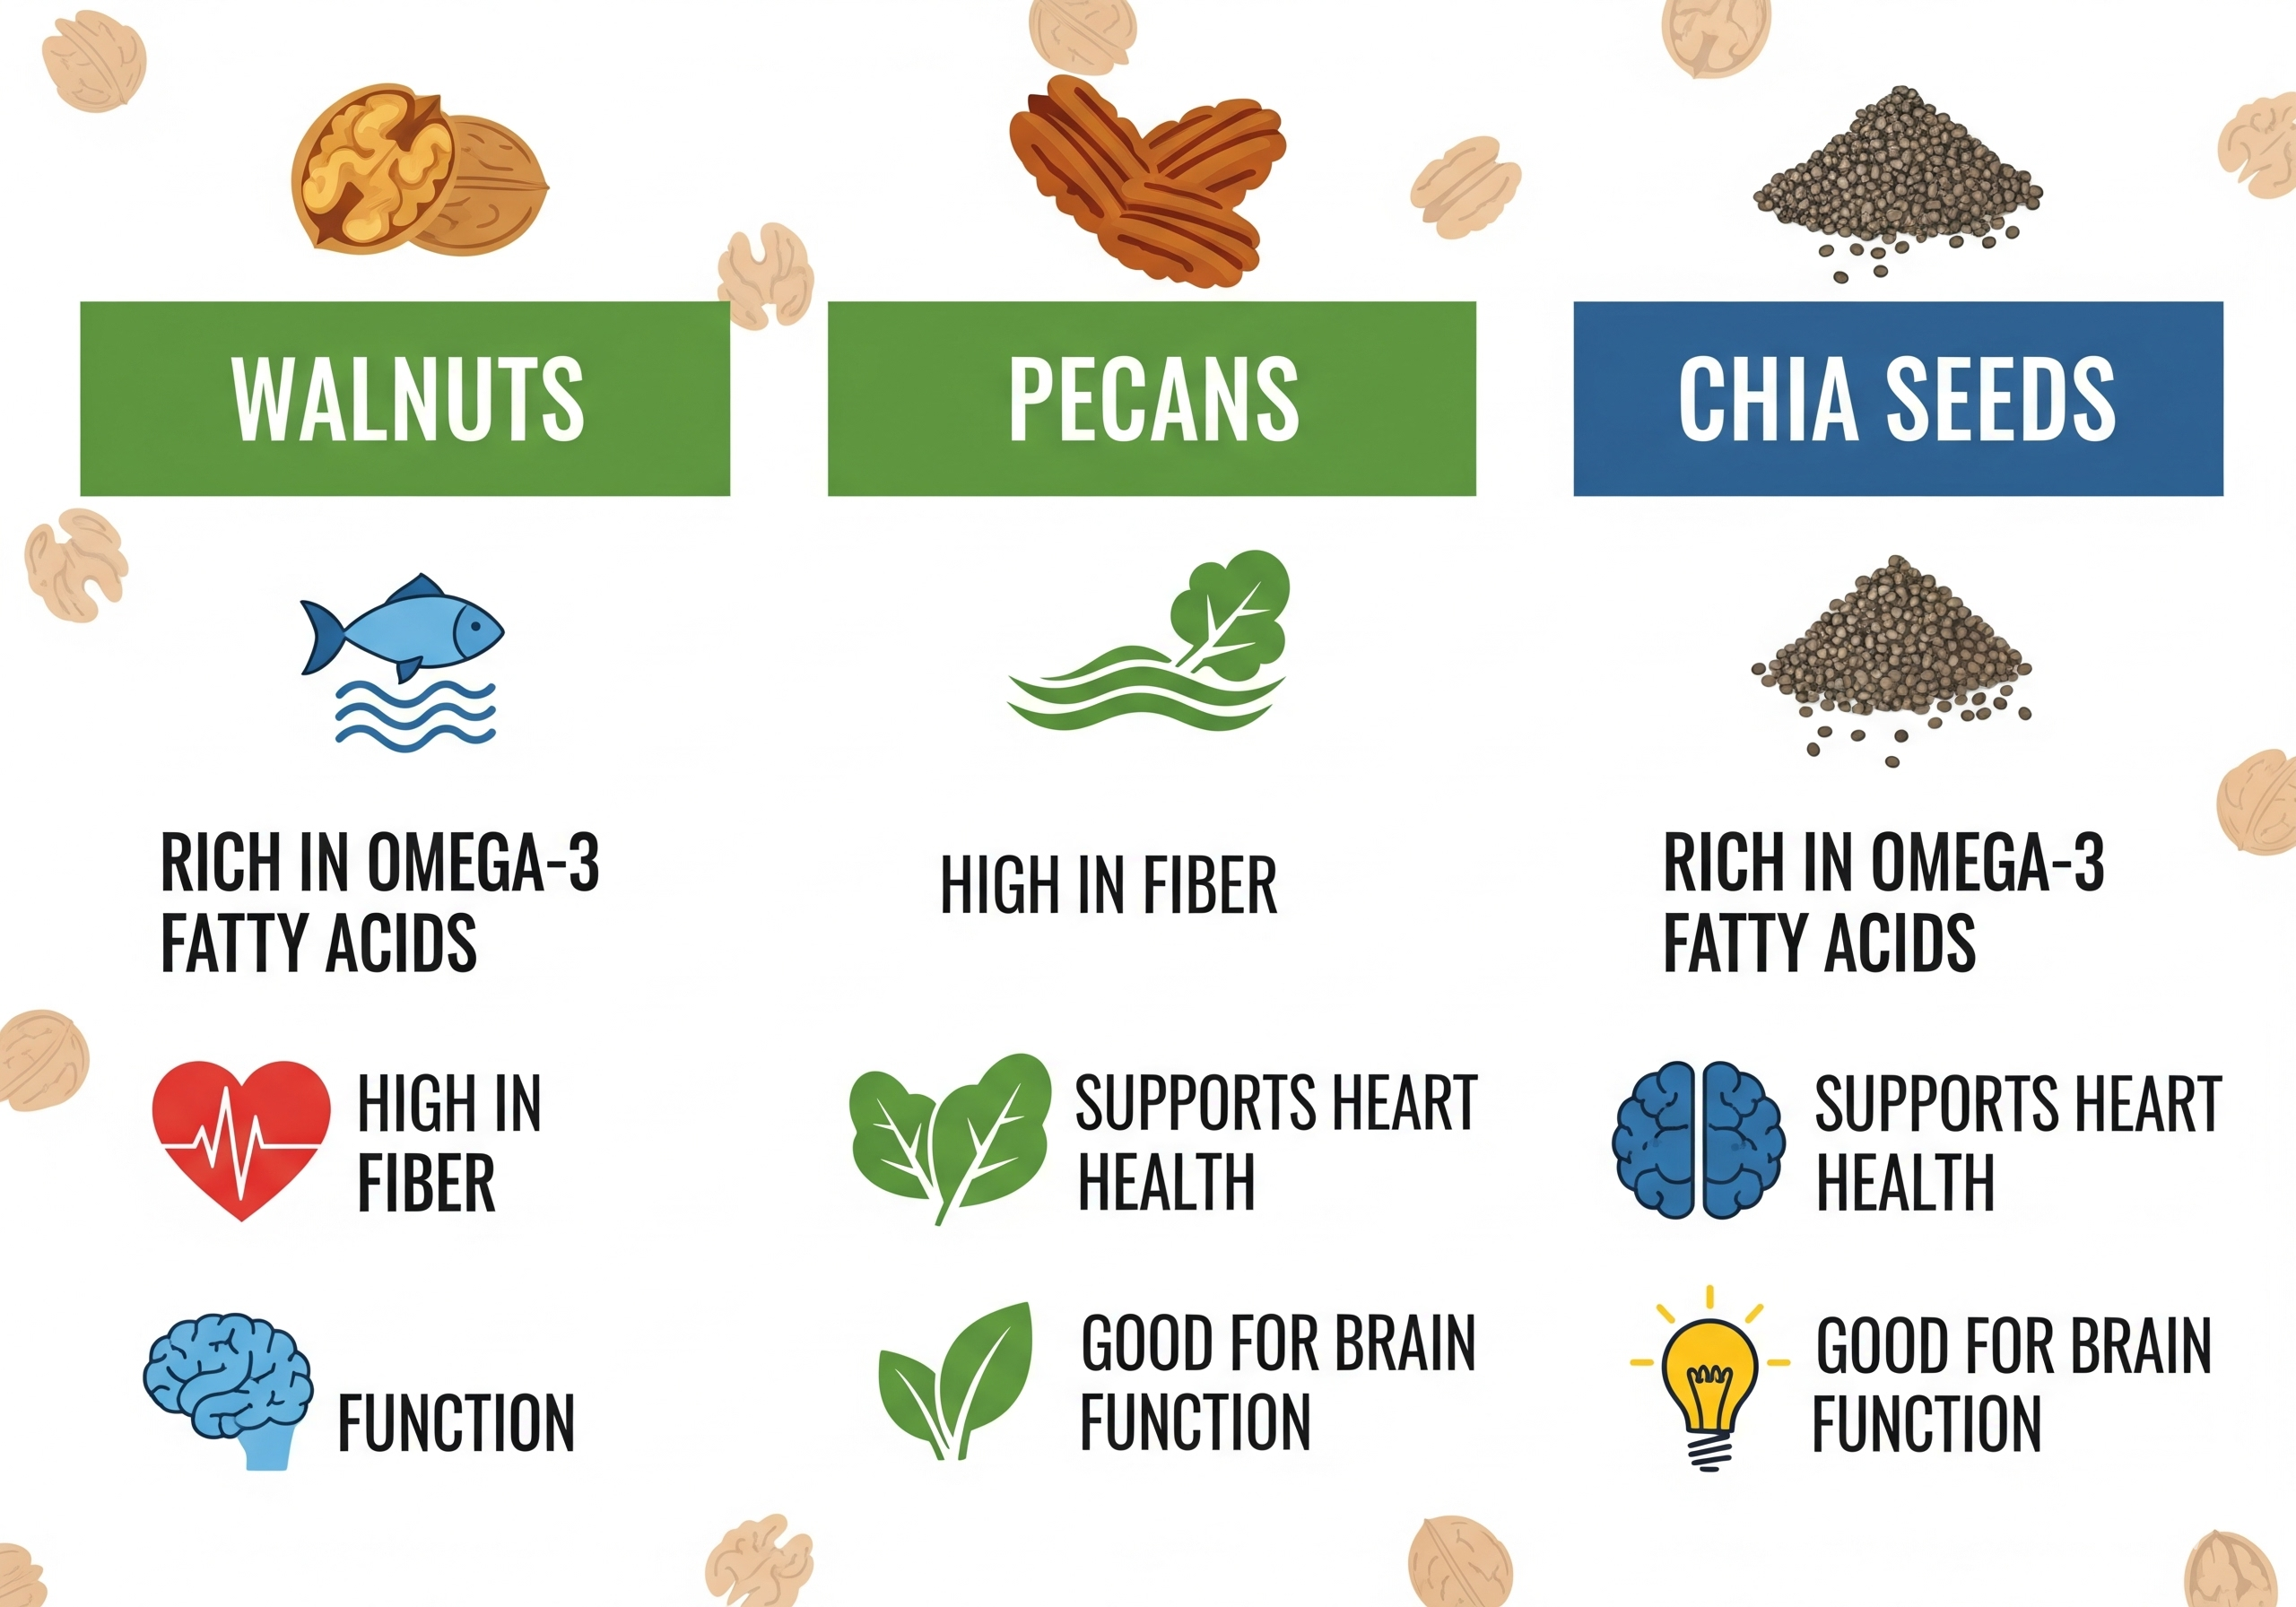
This healthy spaghetti with clams is a fantastic choice for a nutritious dinner, offering a powerful array of health benefits that make every bite count. The star of the show, the clams, are a lean protein source that is naturally low in fat and calories. They are also packed with essential minerals like iron, which is crucial for red blood cell formation and energy levels, as well as a significant amount of Vitamin B12, which supports brain function and a healthy nervous system.
The recipe’s focus on a simple, olive oil-based sauce rather than heavy creams or butters also contributes to its health profile. Extra virgin olive oil is a cornerstone of the Mediterranean diet and is rich in monounsaturated fats and antioxidants. These healthy fats have been linked to a reduced risk of heart disease and can help lower bad cholesterol levels, making this a heart-healthy meal you can feel good about.
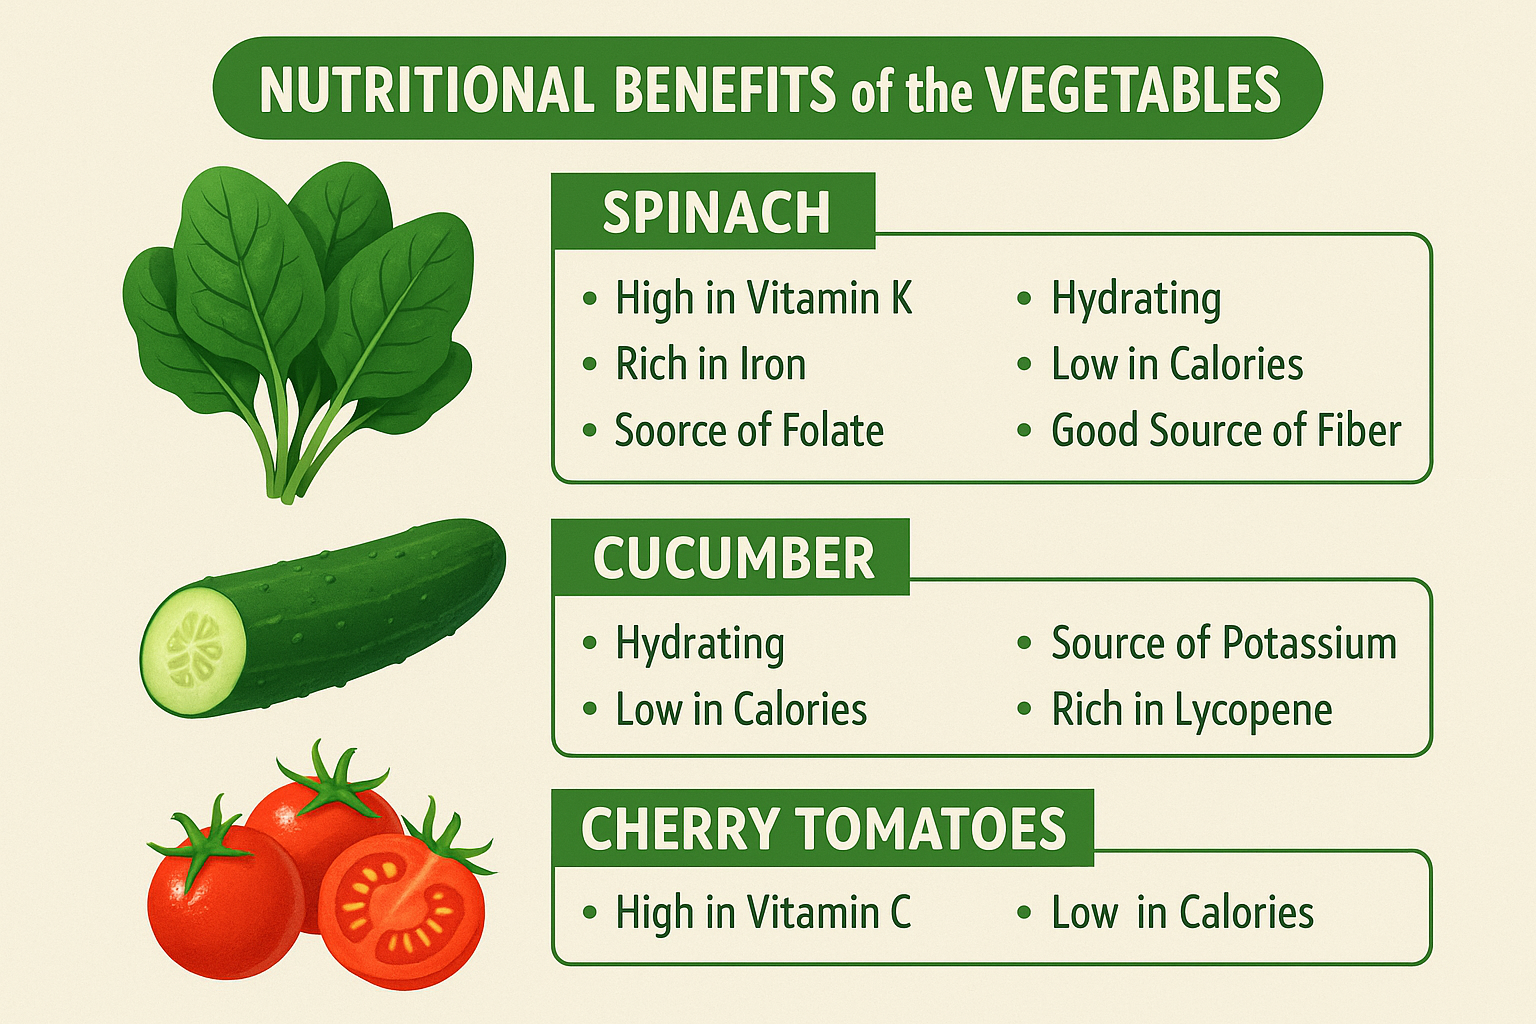
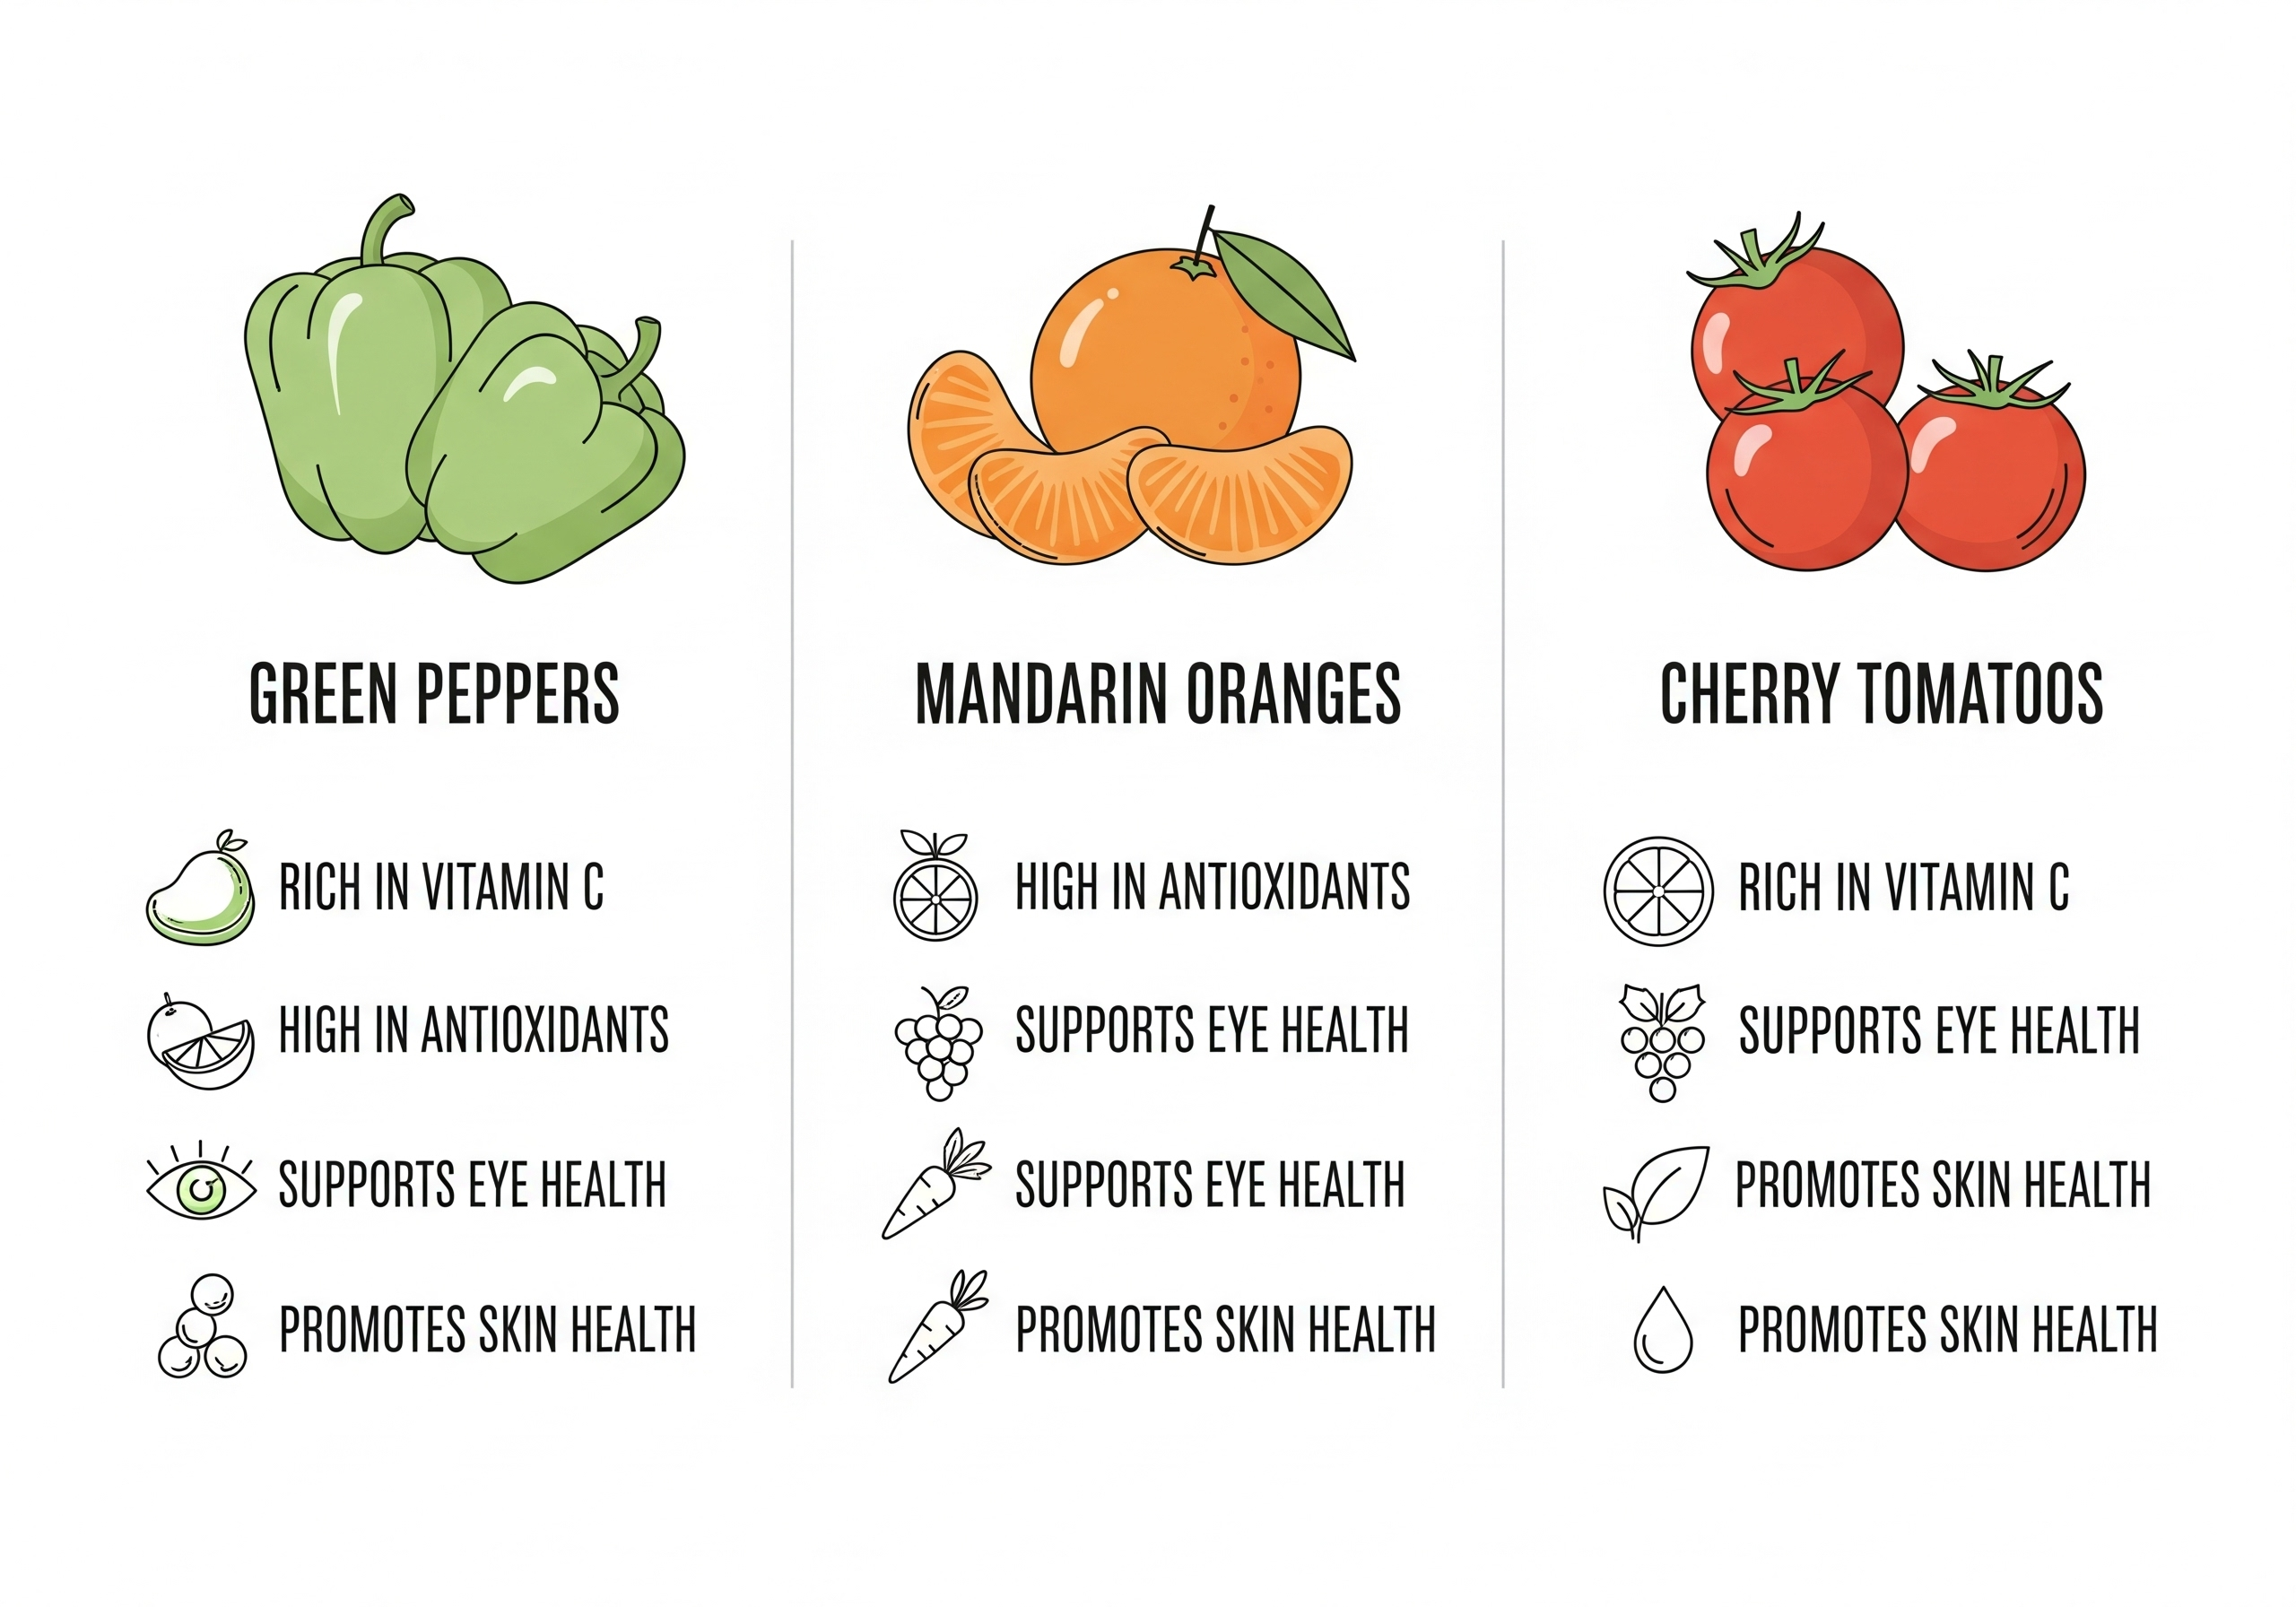
Finally, the generous inclusion of fresh vegetables and herbs elevates this dish from simple to spectacular, both in flavor and nutrition. Broccoli provides a good dose of fiber and Vitamin C, while cherry tomatoes are a great source of lycopene, a potent antioxidant. The fresh parsley and basil not only add a burst of freshness but also provide additional vitamins and micronutrients. This well-rounded combination of protein, healthy fats, fiber, and vitamins creates a meal that is both deeply satisfying and incredibly nourishing.
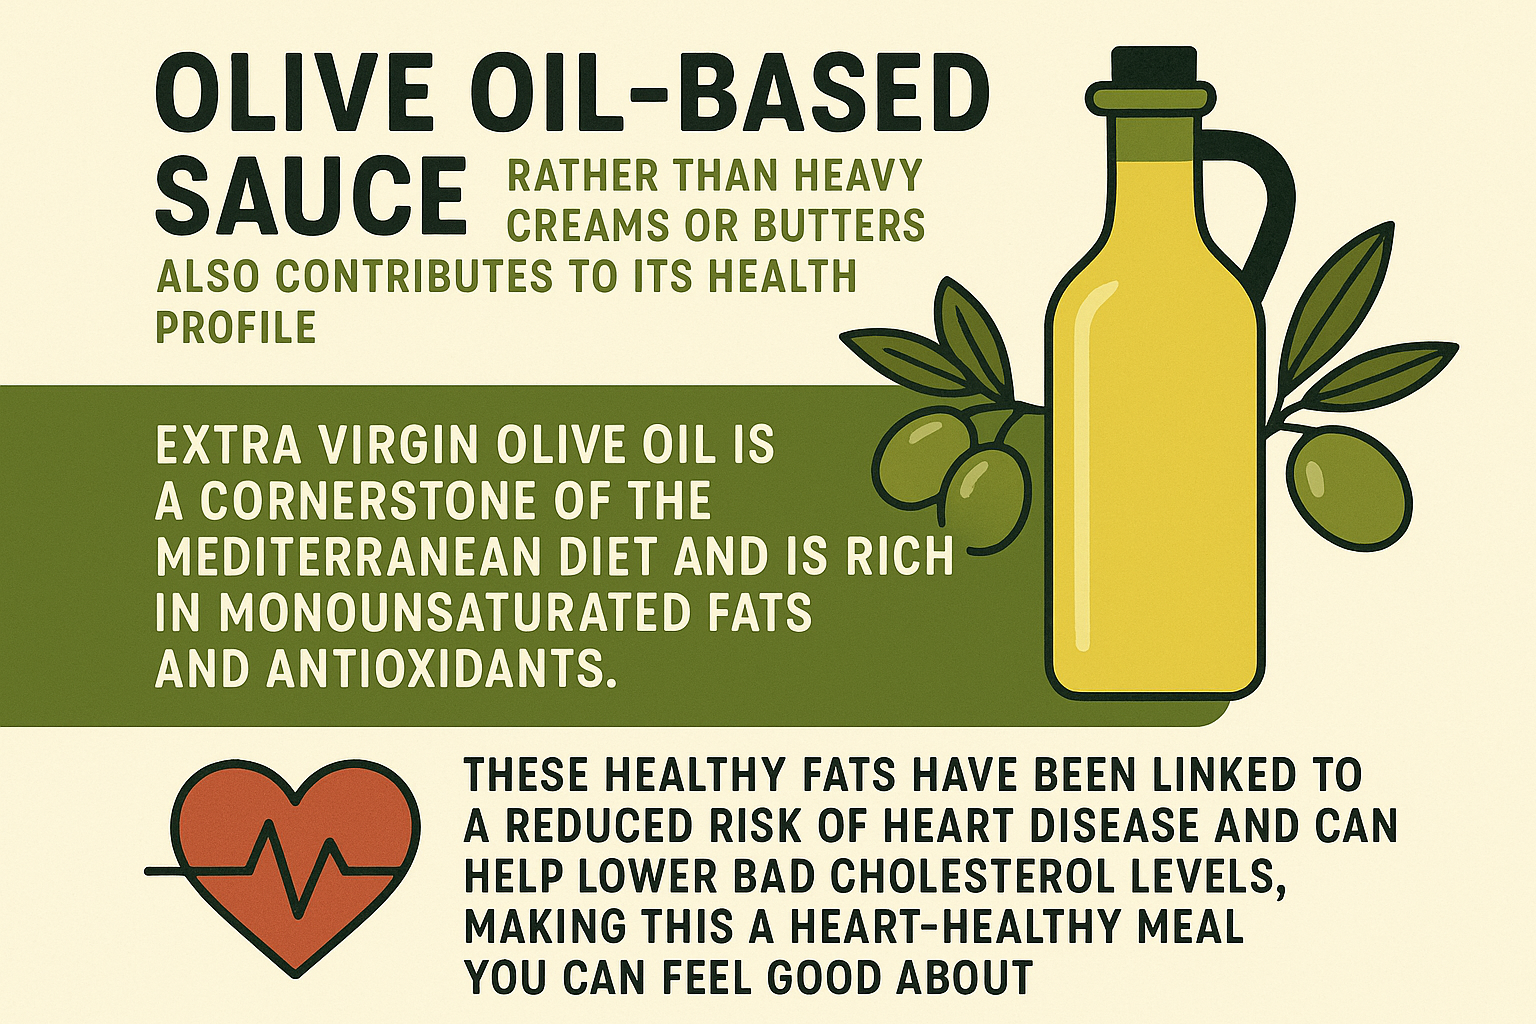
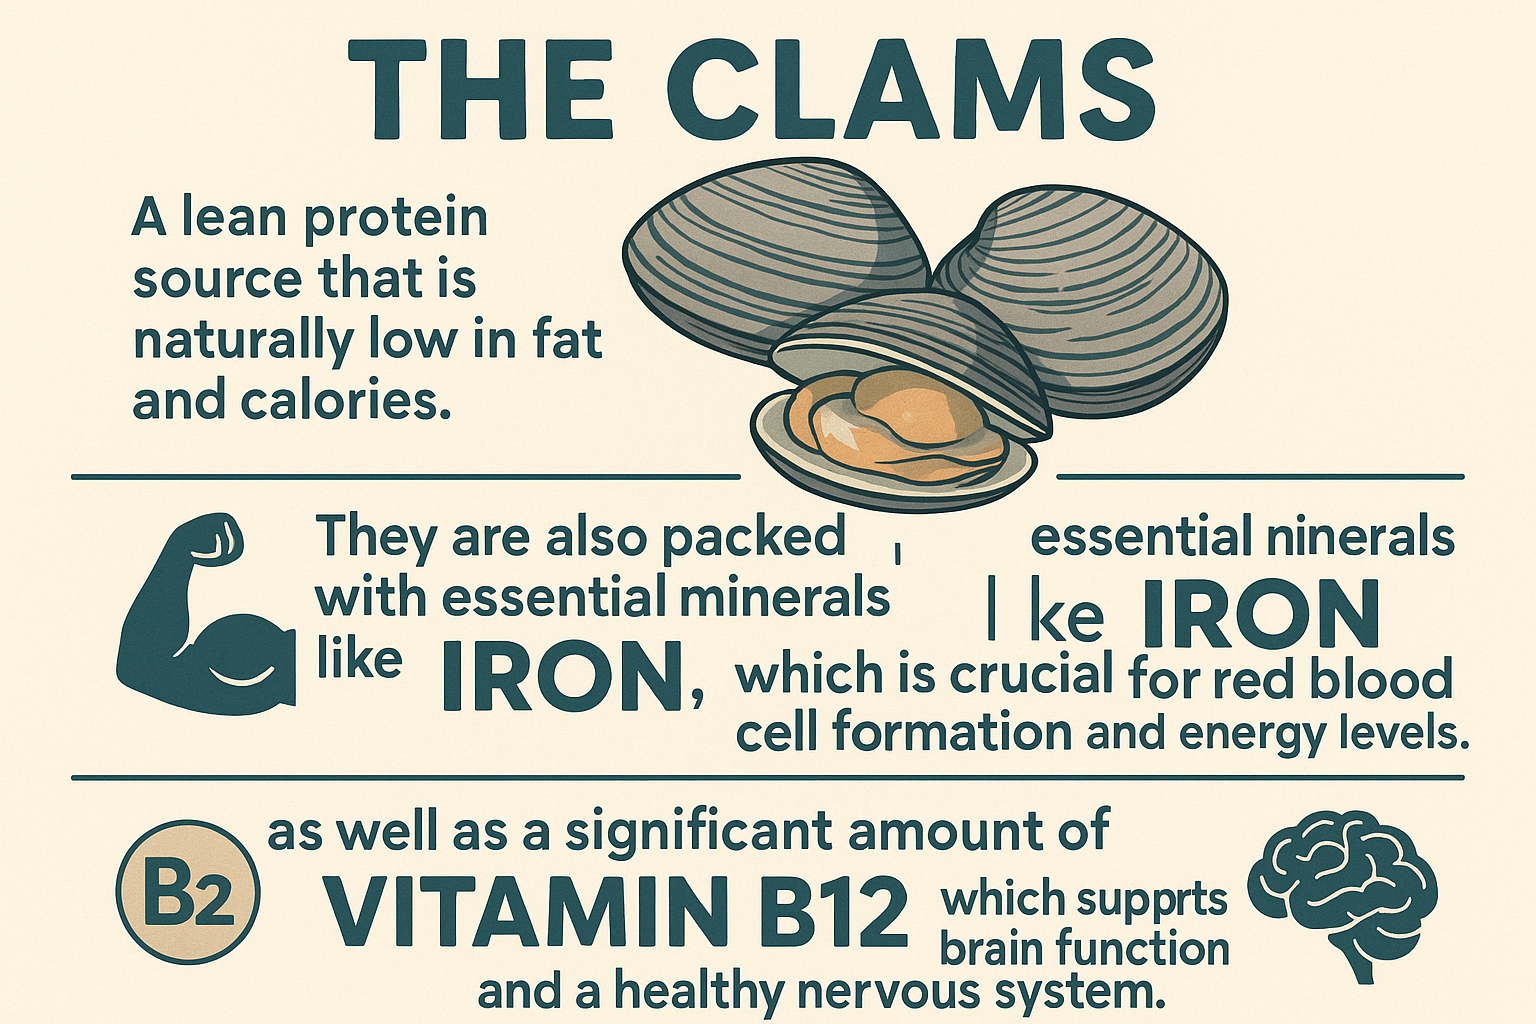
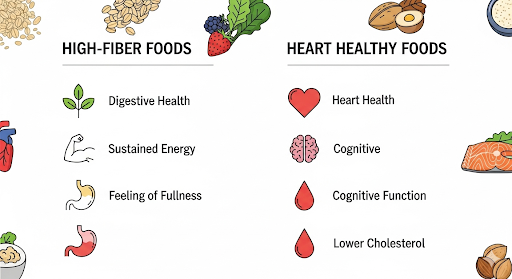
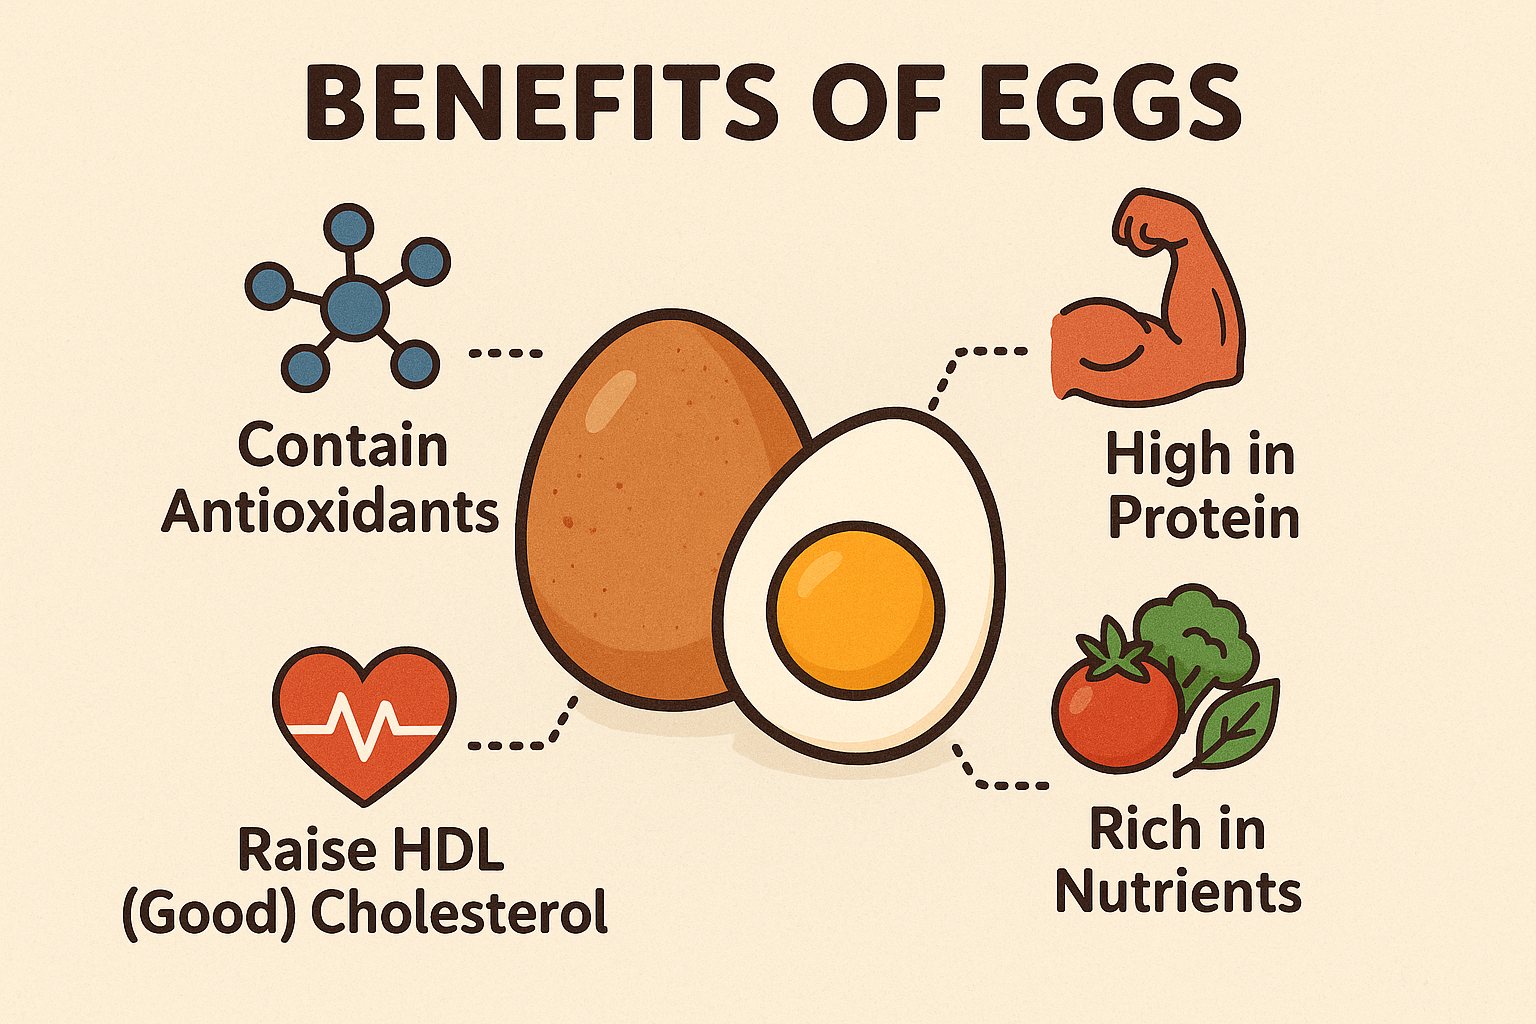
The gallery shows the nutritional benefits of Olive oil and Clams.
Variations: Customize Your Dish
This recipe is wonderfully versatile. Feel free to swap ingredients to suit your personal tastes or what you have on hand.
| Variation | Ingredients to Add/Substitute |
| Different Seafood | Use cooked shrimp, mussels, or scallops instead of clams. |
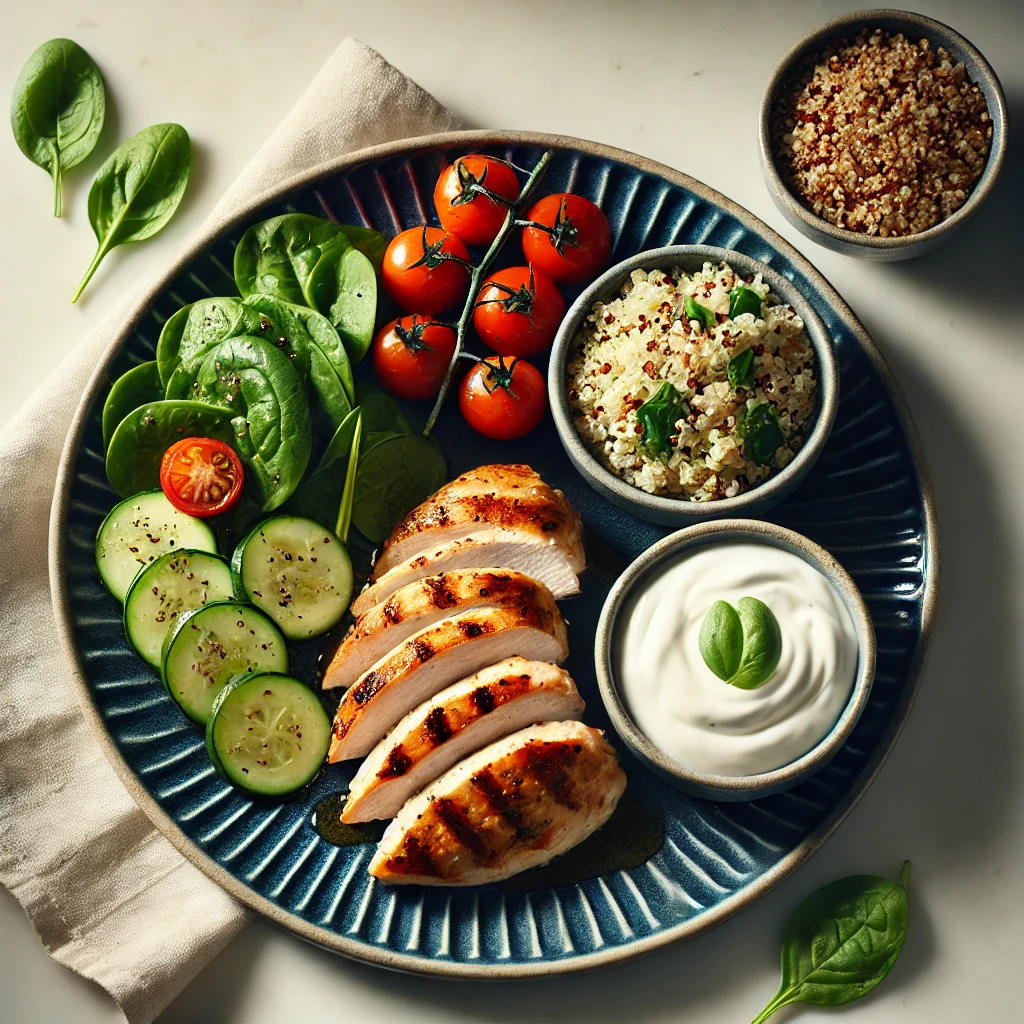
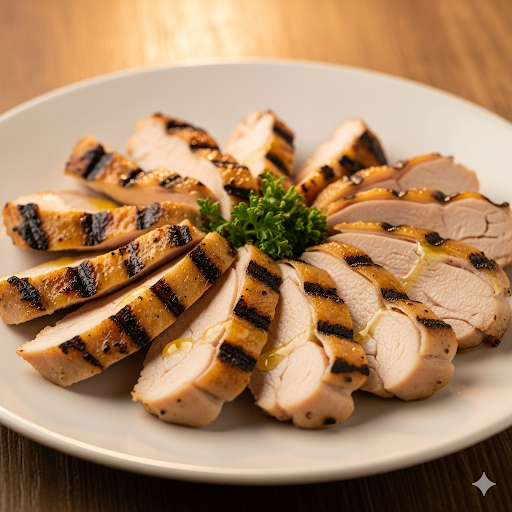
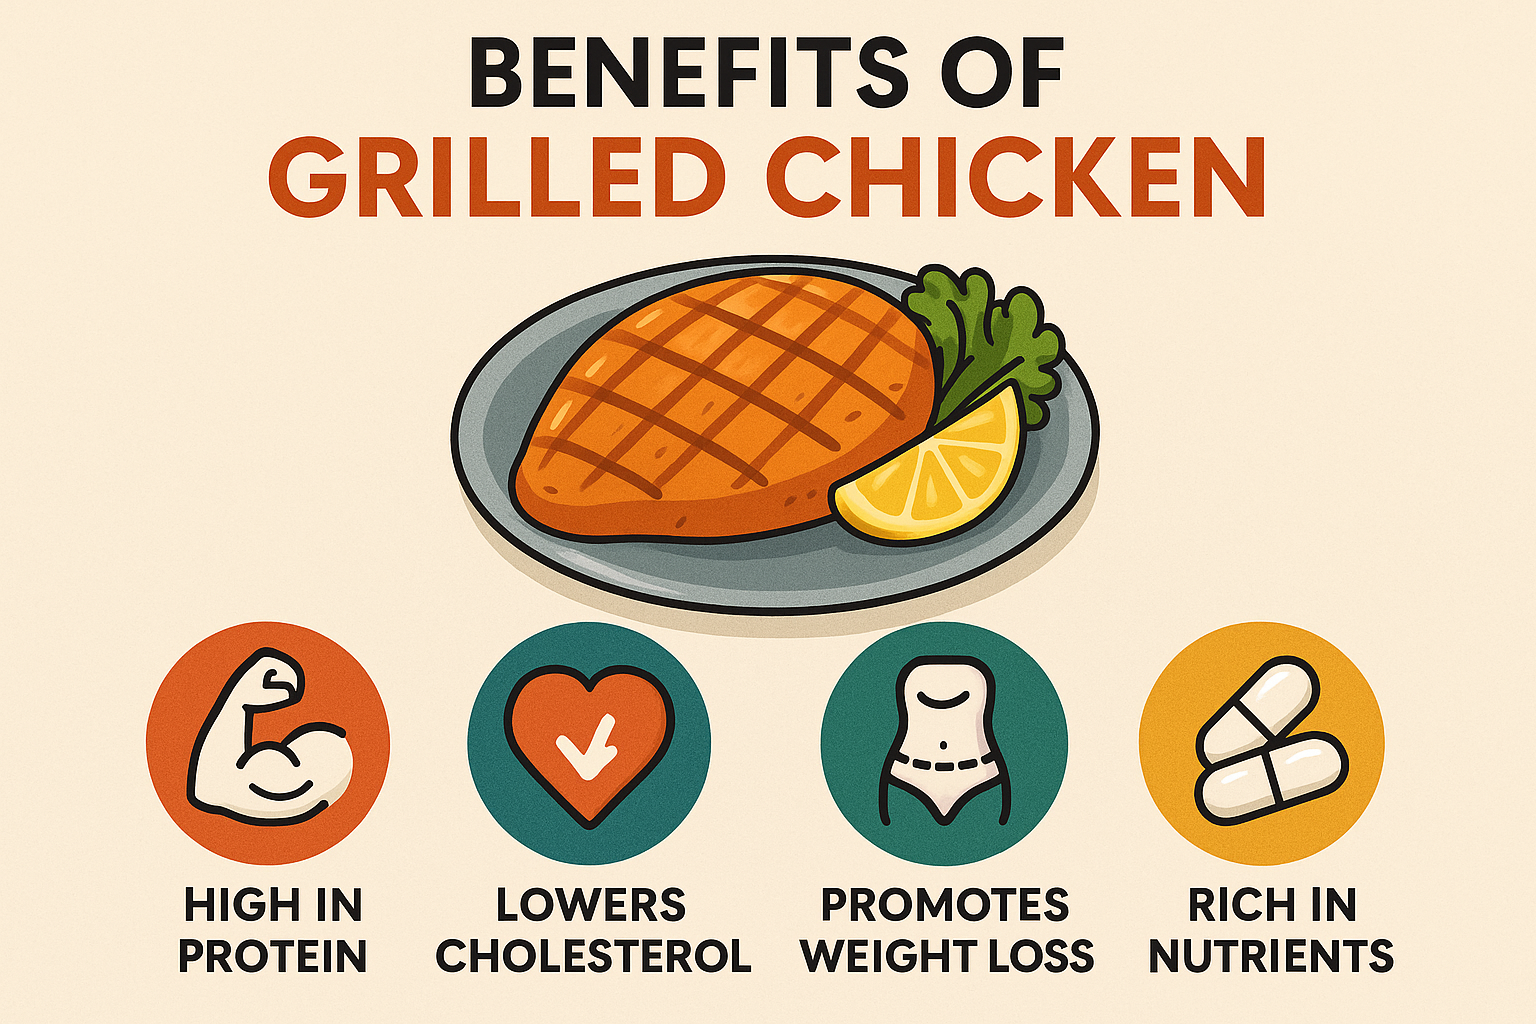
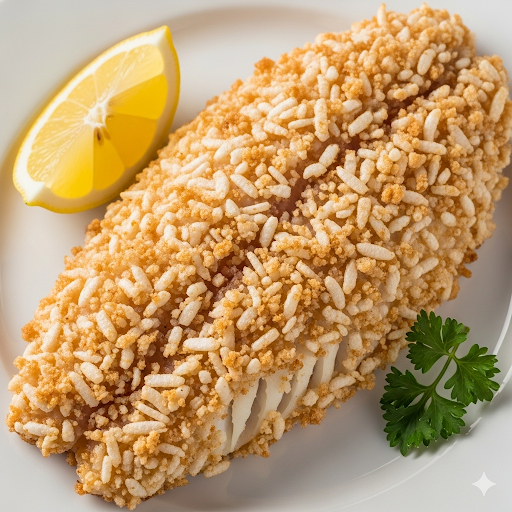
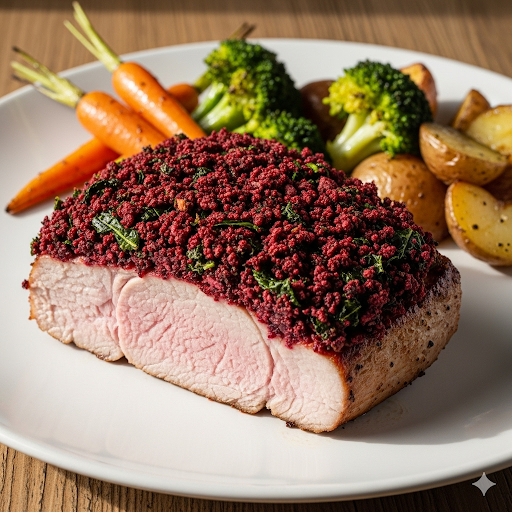
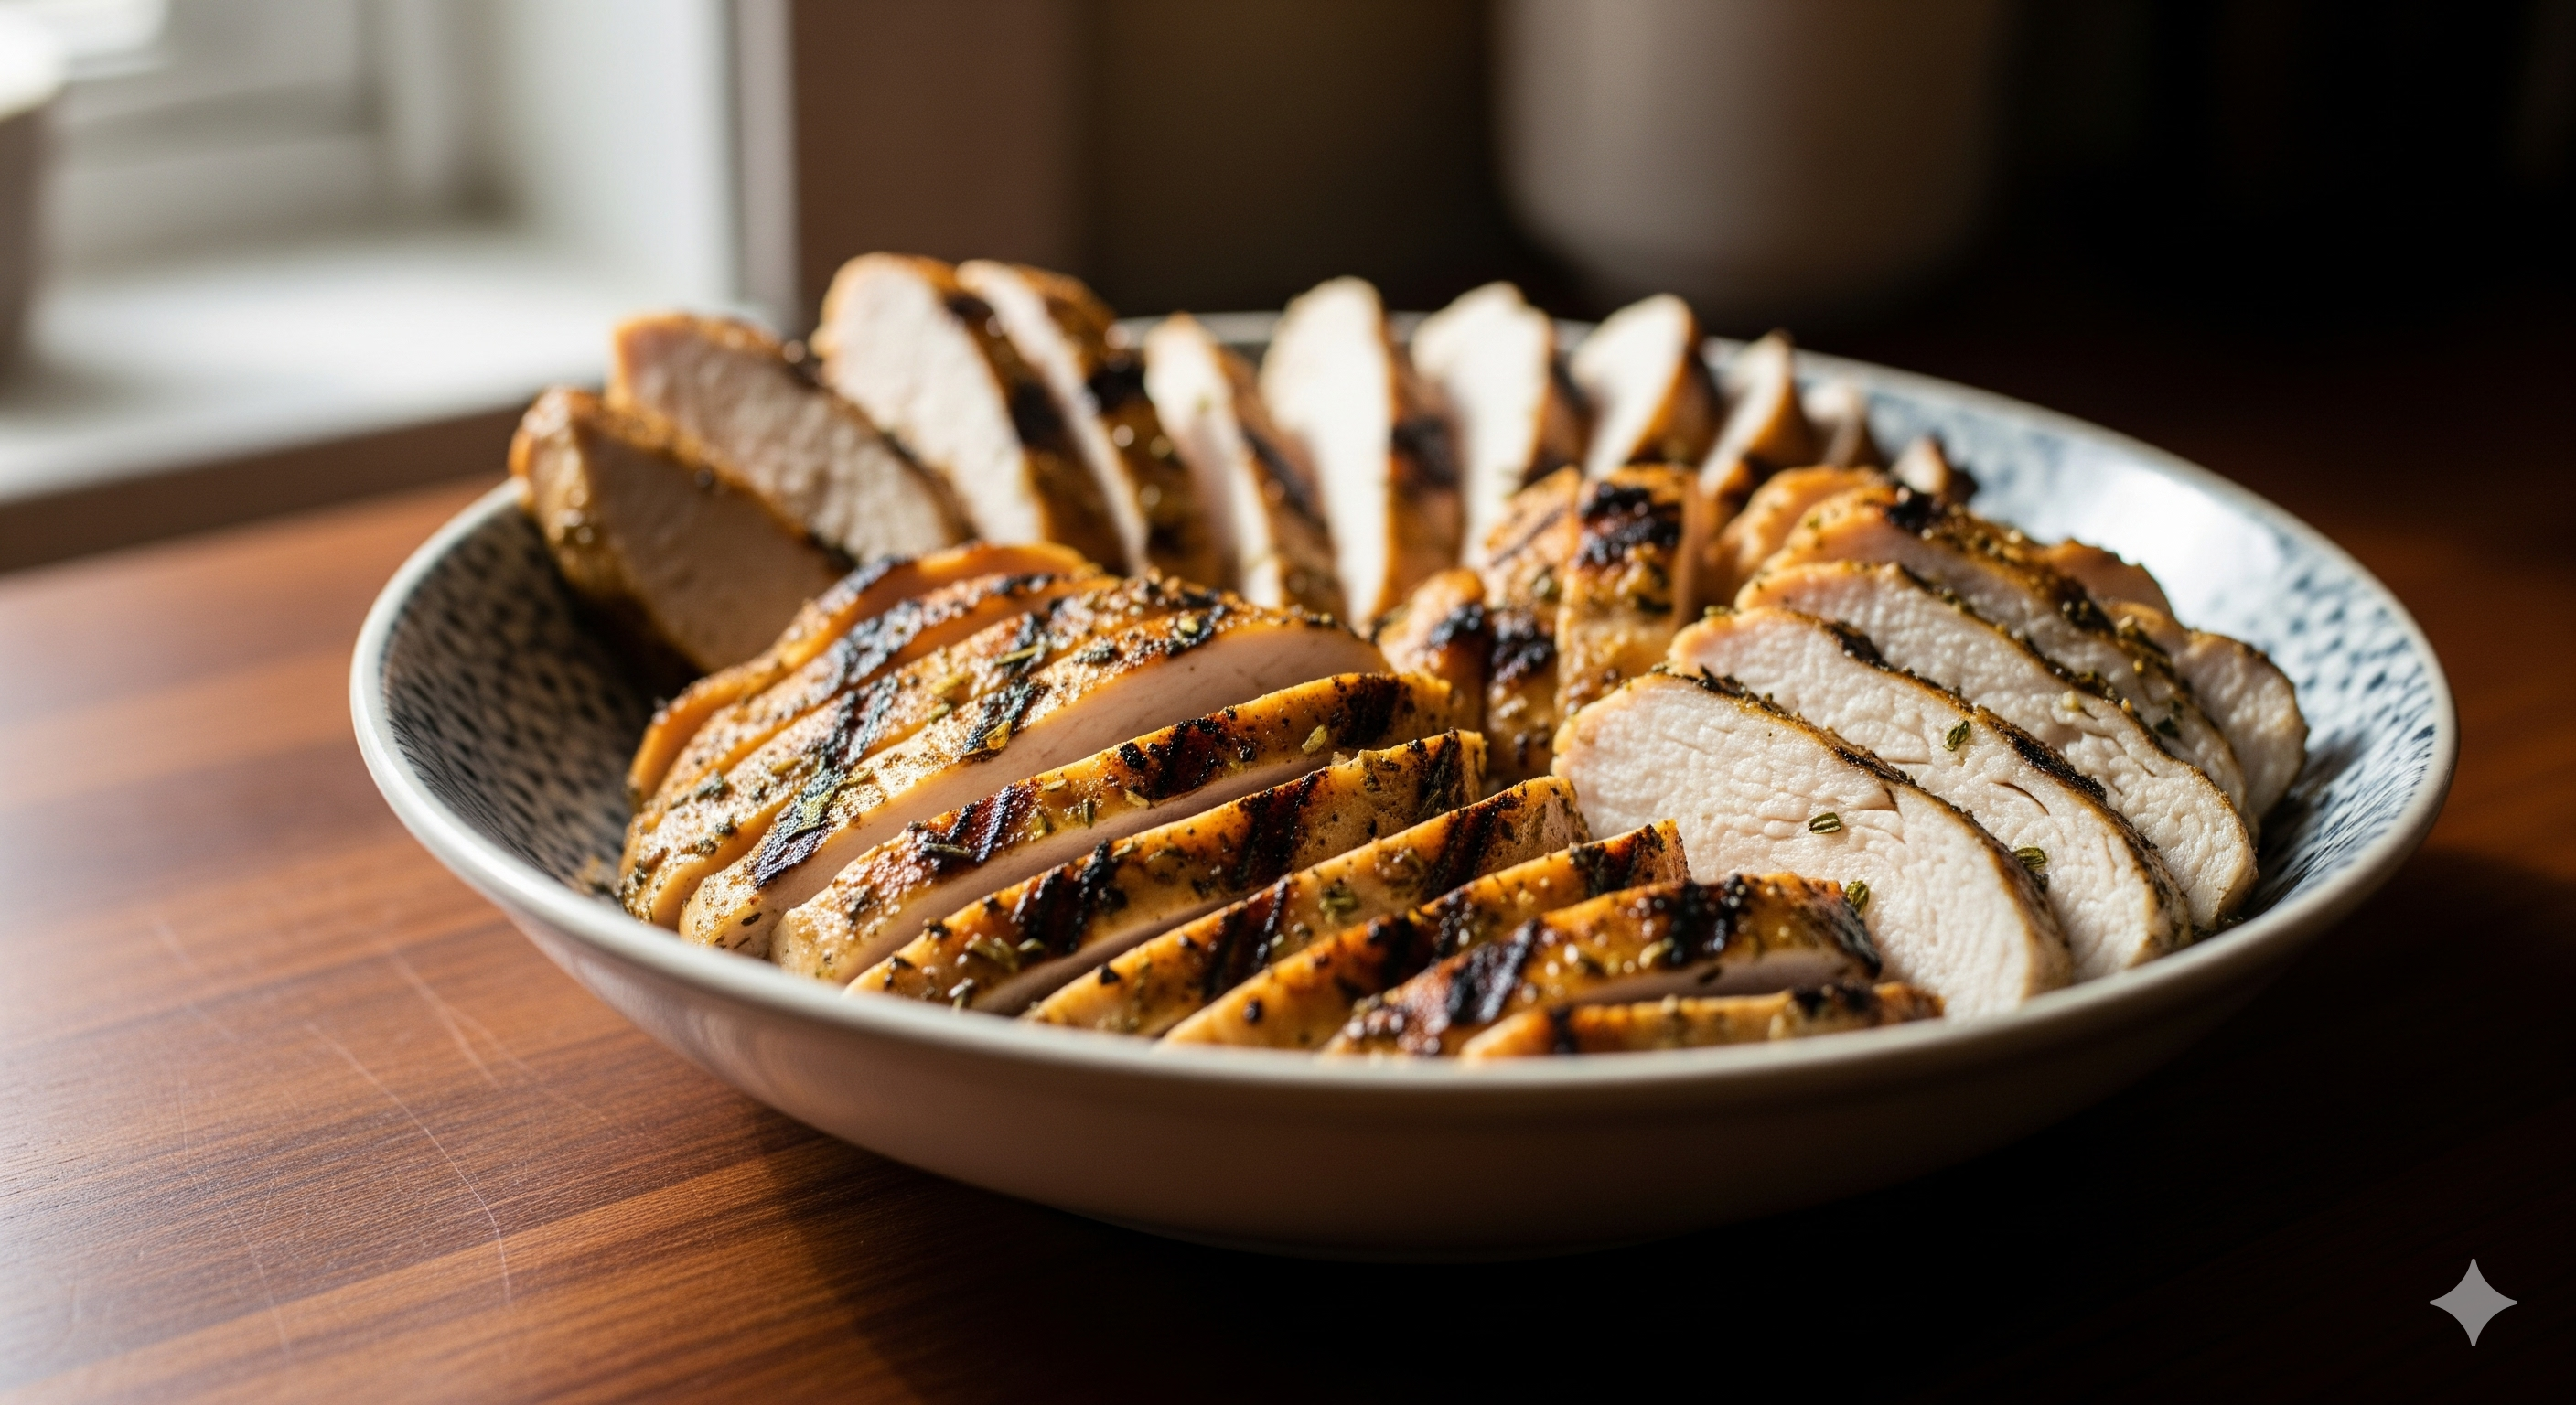
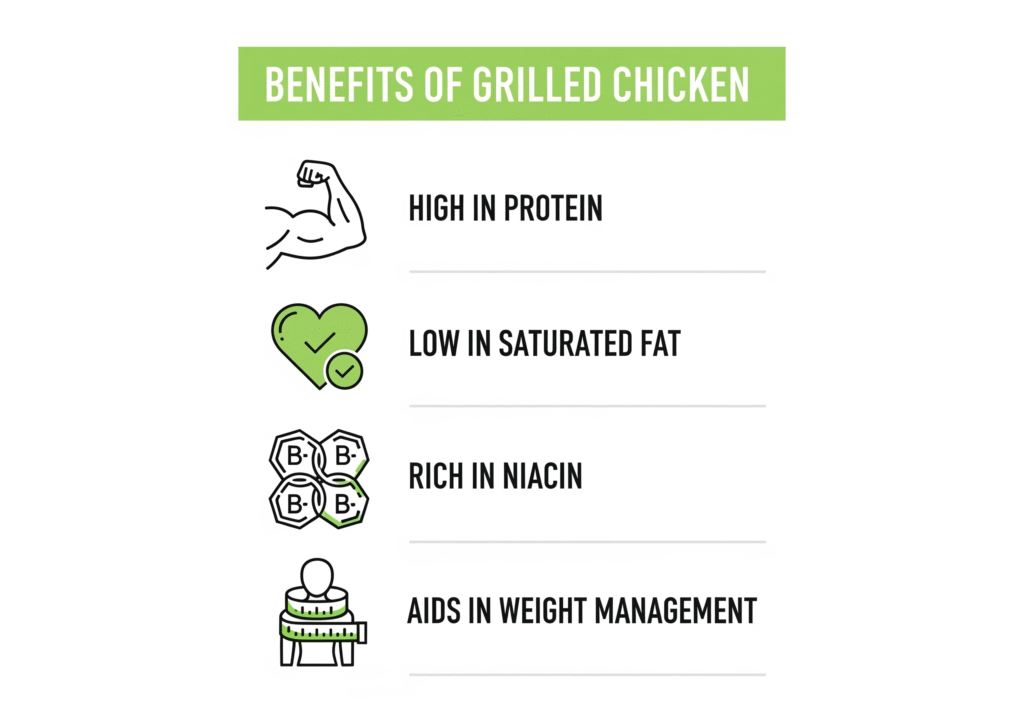
| Add a Protein | Add grilled chicken or salmon flakes for a heartier meal. |
| Gluten-Free | Use gluten-free spaghetti or zucchini noodles instead of traditional pasta. |
| No Wine | Use low-sodium vegetable broth to steam the clams for a non-alcoholic version. |
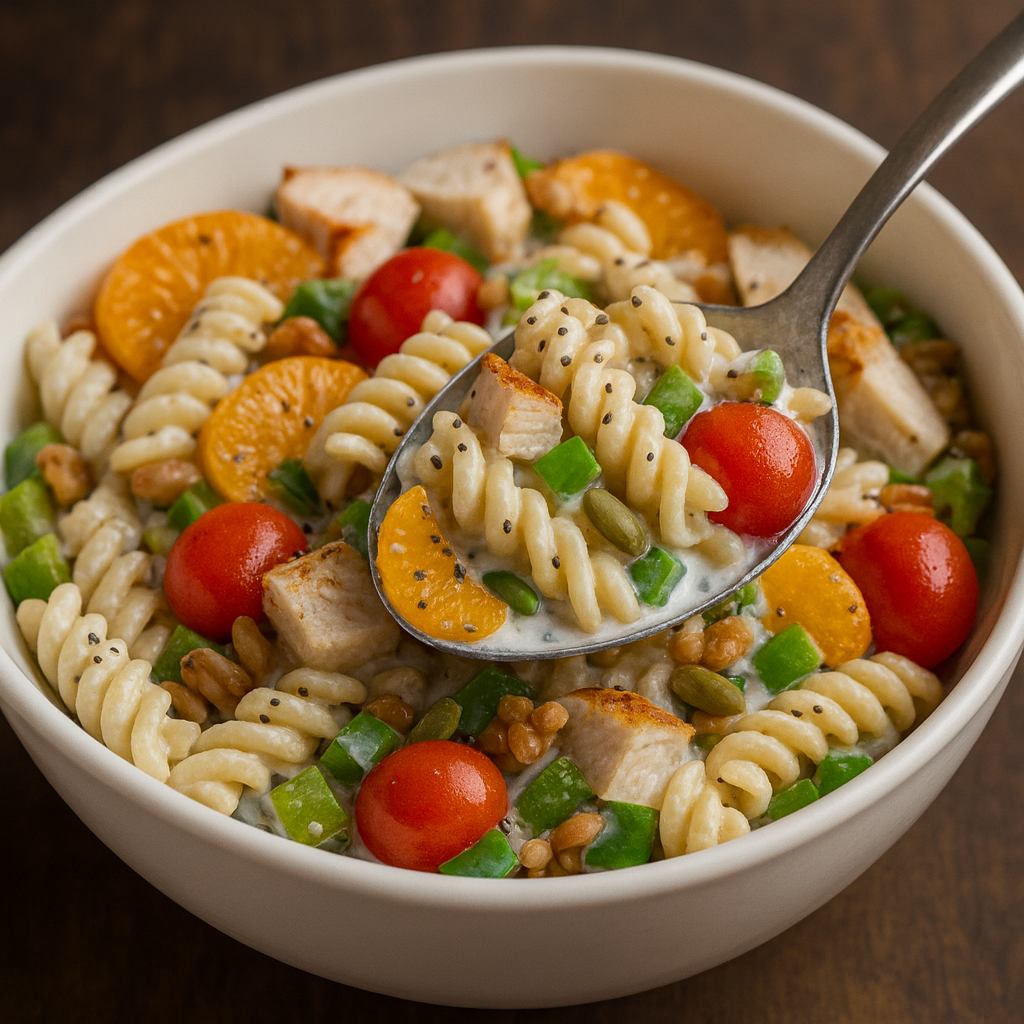
| More Vegetables | Add chopped spinach, steamed asparagus tips, or peas to the pasta. |
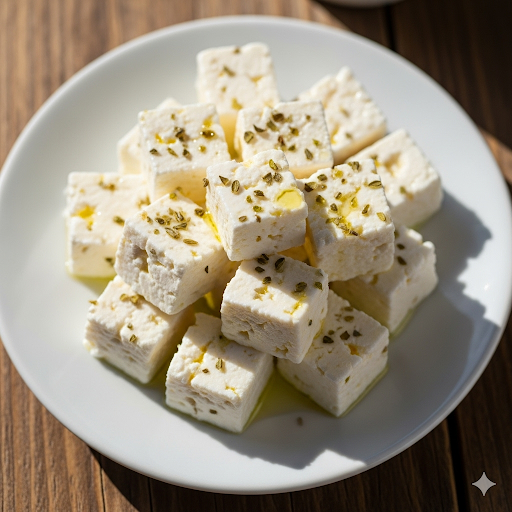
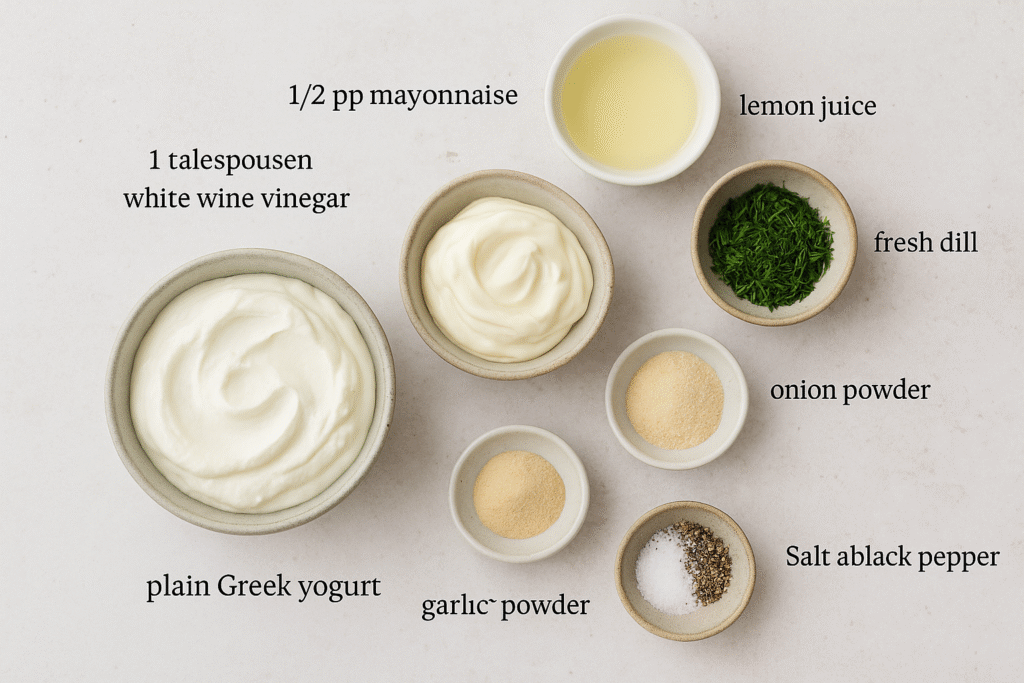
| Creamier Sauce | Stir in 1/4 cup of heavy cream or plain Greek yogurt at the end for a richer sauce. |

The images show pasta, clams, and vegetables being tossed in the pan and the finished meal on a plate.
Final Thoughts: A Simple Recipe, for Spaghetti with Clams
This healthy and easy spaghetti with clams is proof that you don’t need to spend hours in the kitchen to create a memorable meal. By embracing a few fresh, simple ingredients, you can bring the vibrant flavors of the Mediterranean to your table in under 30 minutes. It’s a dish that feels elegant and special, yet is wholesome and perfect for any night of the week. So go ahead, treat yourself to a little taste of the good life, and make this delicious recipe a new staple in your cooking repertoire.
Frequently Asked Questions (FAQs)
Q: Do I have to use fresh clams?
A: While fresh clams provide the best flavor, you can use canned or frozen clams in a pinch. If using canned, be sure to use the liquid in the can as part of the sauce for flavor, but be mindful of the sodium content.
Q: How do I know if my clams are fresh?
A: Fresh clams should be tightly closed. If any are open, tap them gently on the counter. If they close, they are alive and safe to use. If they remain open, discard them.
References
American Heart Association – The benefits of adding a drizzle of olive oil
Harvard T.H. Chan – The Mediterranean Diet
Healthline – What Is Shellfish?
Recent Posts