Cheesecake lollies are a fun and refreshing way to enjoy the taste of cheesecake without the fuss of baking. This recipe keeps things light, healthy, and easy for everyone. Whether made with cream cheese or Greek yogurt, cheesecake lollies are a treat you’ll want to make again and again.
Cheesecake Lollies That Spark Sweet Conversations
“Can you believe these are homemade?” one friend asked as she took a bite of the frozen cheesecake lolly. Another chimed in, “They taste so rich and creamy, but not heavy at all!” That’s the beauty of cheesecake lollies — all the indulgence of cheesecake in a lighter, frozen, and fun-to-eat form.
If you love cheesecake but find it too heavy, too rich, or just too time-consuming to bake, this recipe is your answer. Cheesecake lollies are not only easy to make but also versatile. They’re perfect for hot summer days, afternoon snacks, or even a playful dessert to serve at dinner parties.
What makes them even better is that you can make them healthier without sacrificing flavor. By swapping out full-fat cream cheese for low-fat cream cheese or Greek yogurt, using natural sweeteners like stevia or erythritol, and creating a simple base from oats, nuts, and dates, you can enjoy cheesecake lollies that are creamy, refreshing, and guilt-free.
These little frozen desserts are also completely customizable. You can add fruit, drizzle them with chocolate, or sprinkle them with crushed nuts. The recipe we’ll explore here keeps things simple yet satisfying — but once you’ve mastered the basics, the possibilities are endless.
So, whether you’re someone who has never baked a cheesecake or someone who just wants a healthier frozen dessert, this step-by-step guide will make your cheesecake lollies a success from the very first batch.
Time to Prepare For Cheesecake Lollies
15 minutes (plus 4–6 hours freezing time)
Time to Cook/Blend
5 minutes
Servings
Makes 8 cheesecake lollies
Nutritional Information (per lolly, approx.)
- Calories: 160
- Protein: 5 g
- Carbohydrates: 18 g
- Sugars: 10 g
- Fat: 7 g
- Fiber: 3 g
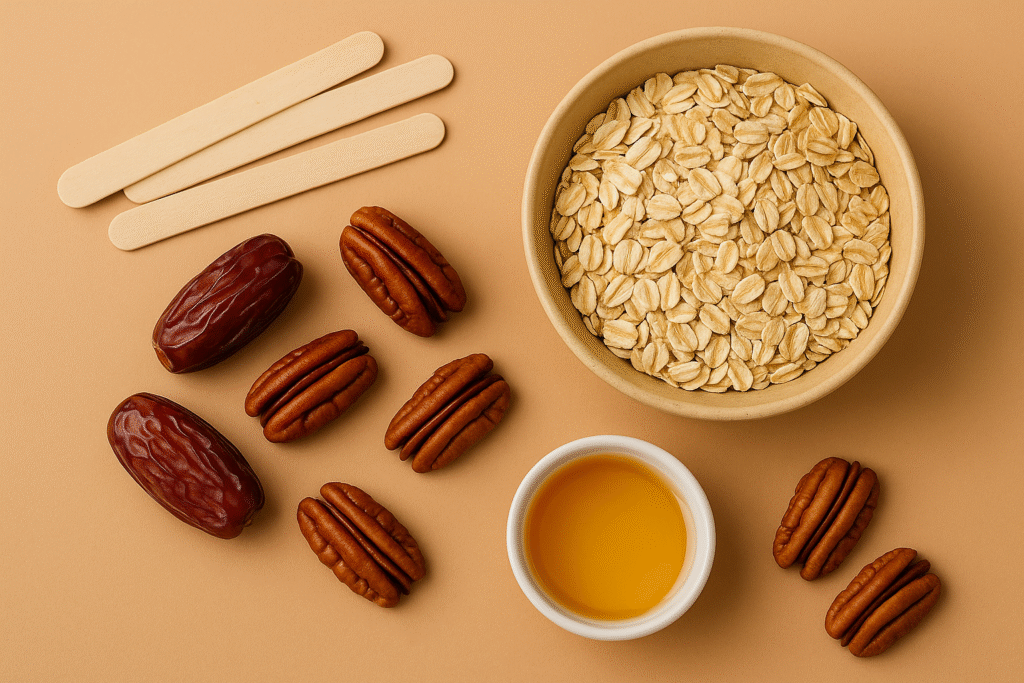
Equipment You’ll Need
- Food processor (for base mixture)
- Blender (for filling)
- Lolly molds (8 standard-sized)
- Lolly sticks
- Mixing bowls
- Spoon (for pressing and scooping)
- Optional: parchment paper and baking sheet (if making without molds)
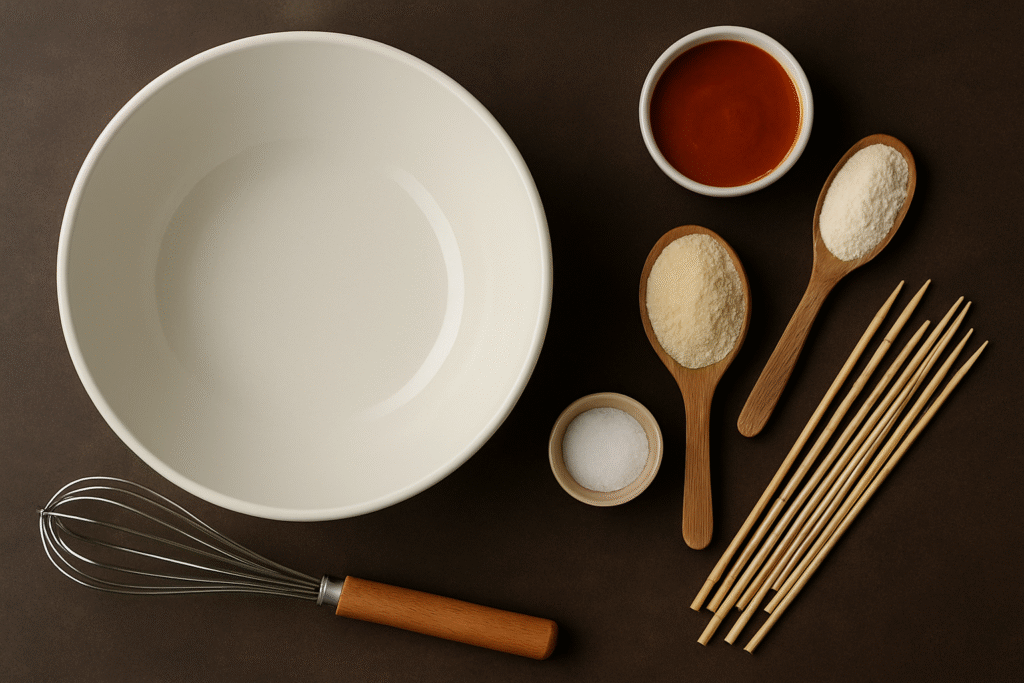
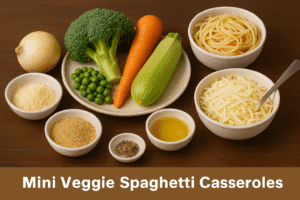
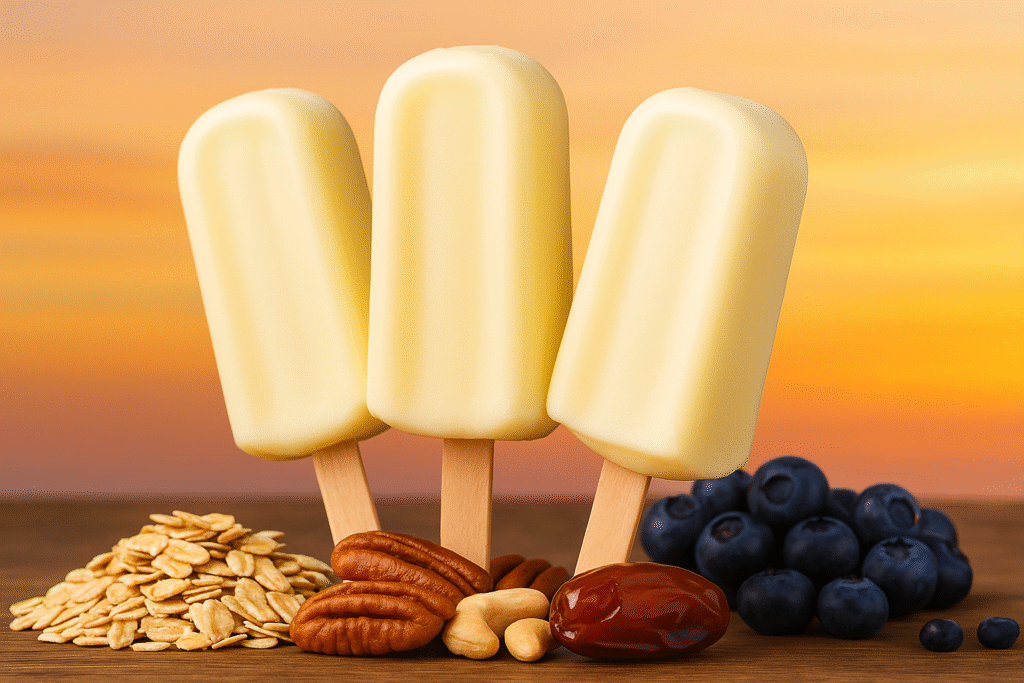
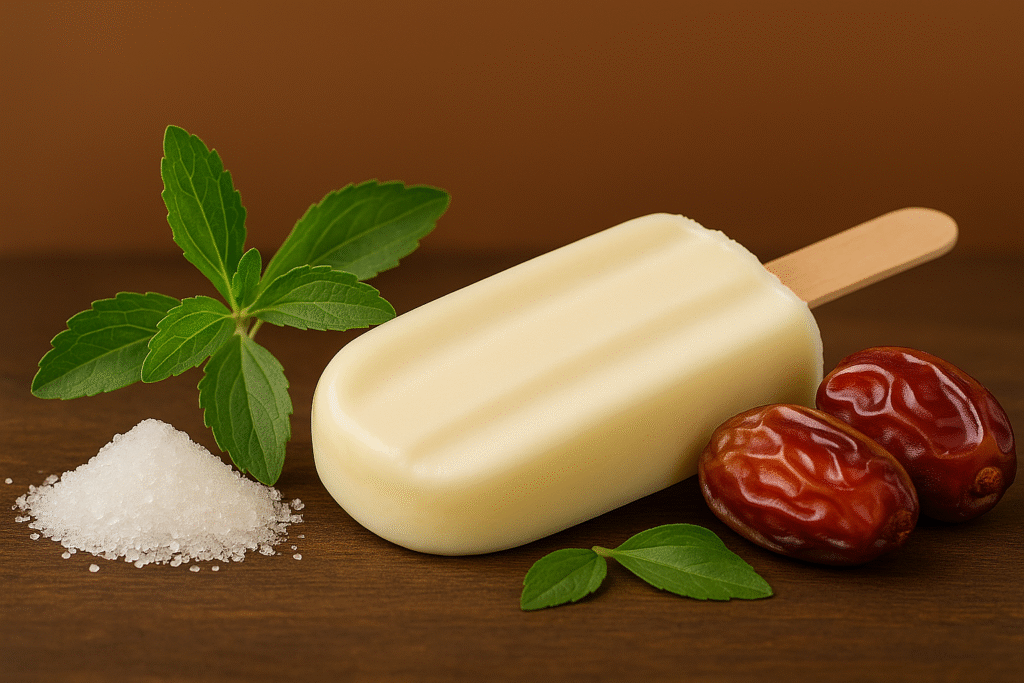
Ingredients For Cheesecake Lollies
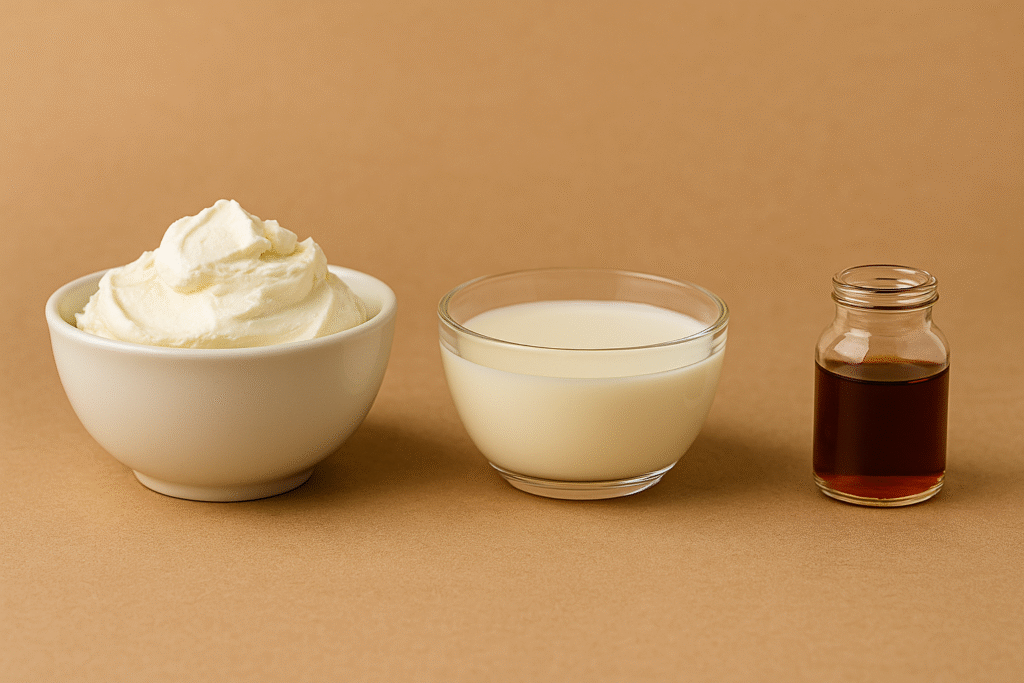
- 8 oz (225 g) low-fat cream cheese or plain Greek yogurt
- 1 cup (240 ml) milk of choice (dairy or unsweetened almond milk)
- ¼ cup honey, maple syrup, or natural sweetener (like stevia/erythritol)
- 1 tsp vanilla extract
- ½ cup oats
- ½ cup pitted dates
- ½ cup walnuts or almonds
- Pinch of salt
- Optional: fresh fruit pieces (berries, mango, banana)
- Optional: melted dark chocolate for drizzling
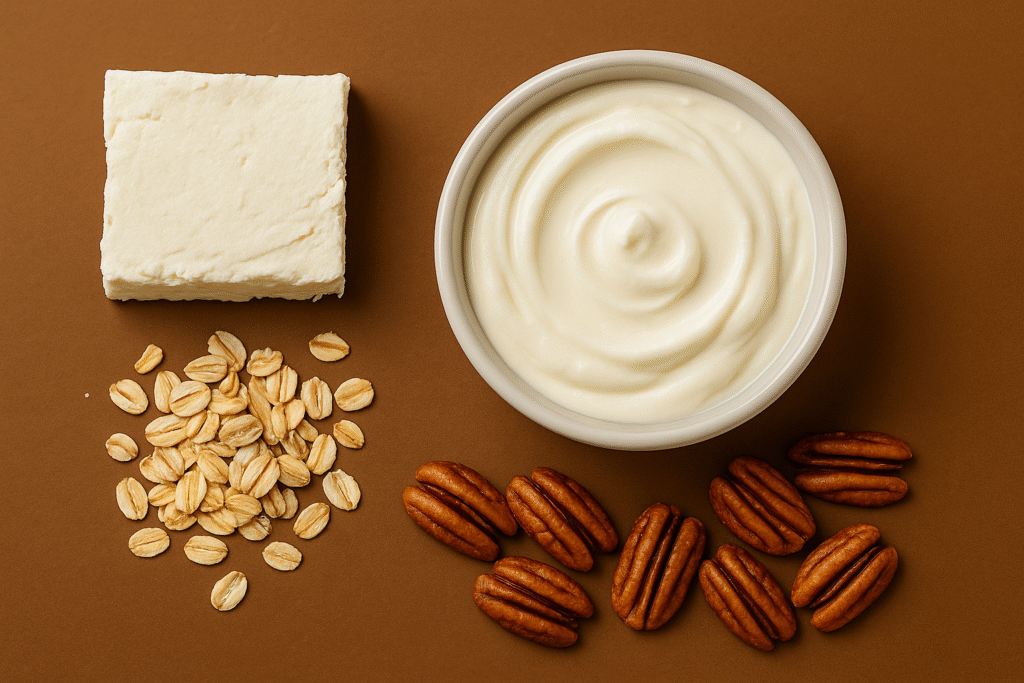
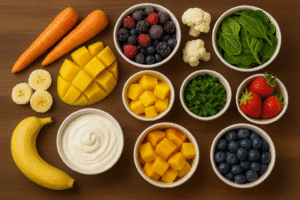
A closer look at the essentials for cheesecake lollies—smooth cream cheese or yogurt, natural sweeteners, and wholesome oats, nuts, and dates for the base.
Step-by-Step Instructions For Cheesecake Lollies
Step 1: Prepare the Base
- Place the oats, dates, and nuts into a food processor. Blend until the mixture comes together into a slightly sticky, crumb-like texture.
Step 2: Line the Molds
- Spoon a small amount of the base mixture into each lolly mold, pressing it down gently with the back of a spoon.
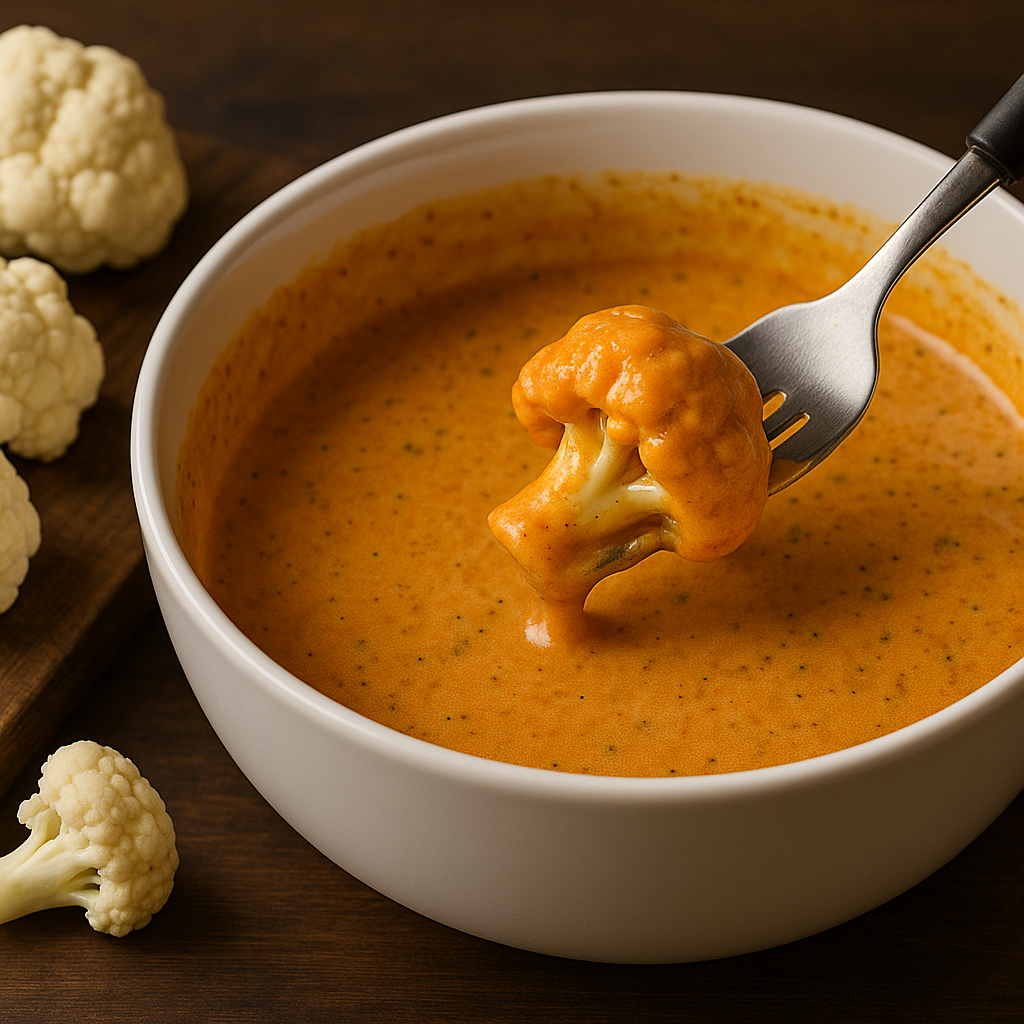
Step 3: Blend the Filling
- In a blender, combine cream cheese (or Greek yogurt), milk, sweetener, vanilla extract, and a pinch of salt. Blend until smooth and creamy.
Step 4: Add Fruit (Optional)
- Chop small pieces of fruit and place them into the molds over the base layer before adding the filling.
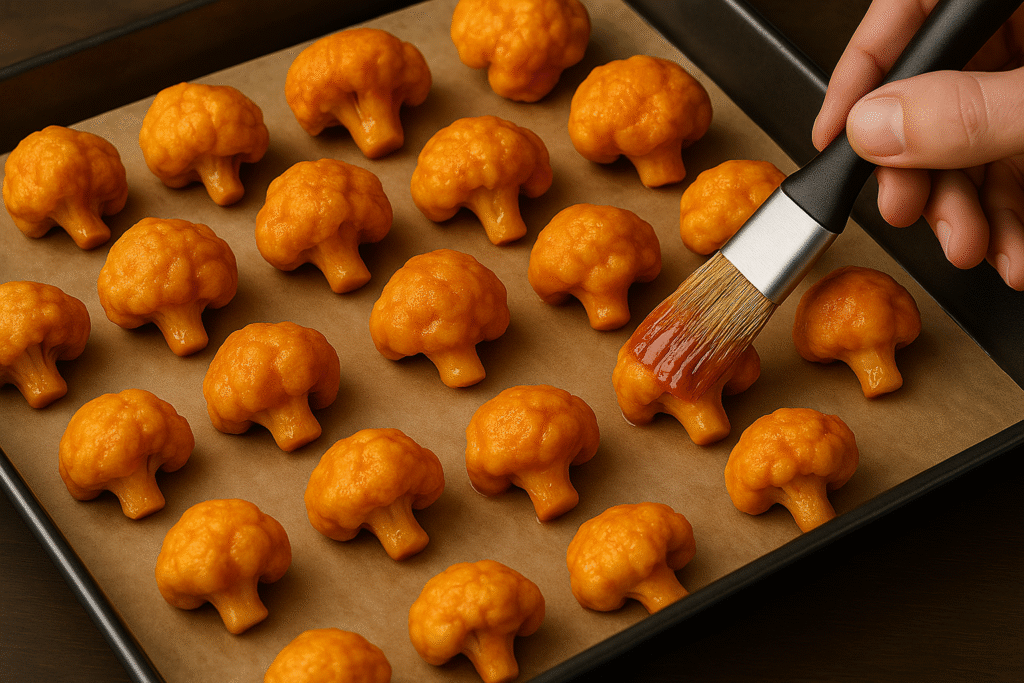
Step 5: Fill the Molds
- Pour the cheesecake filling into the molds, leaving a little space at the top.
Step 6: Insert Sticks
- Place lolly sticks into each mold, ensuring they are upright and centered.
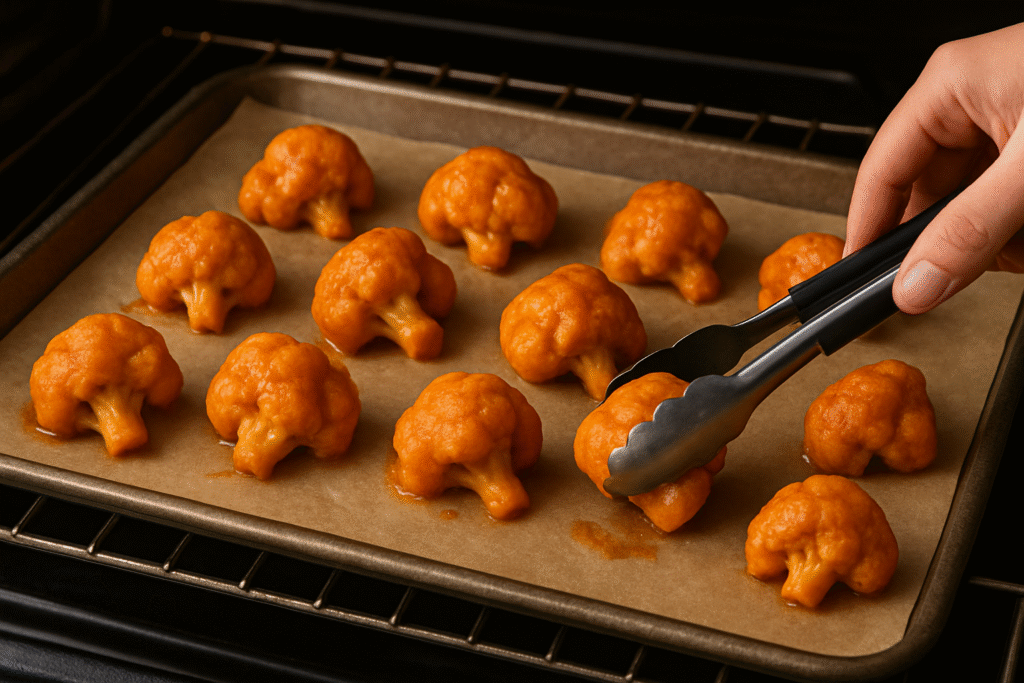
Step 7: Freeze
- Freeze for at least 4–6 hours, or overnight for the best texture.
Step 8: Remove and Serve
- To release, briefly dip molds in warm water (without submerging the lollies) before pulling them out.
Step 9: Garnish (Optional)
- Drizzle with melted chocolate or sprinkle nuts before serving.
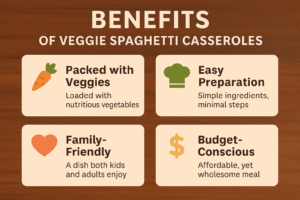
Benefits of Cheesecake Lollies
Cheesecake lollies aren’t just tasty — they also come with some surprising benefits:
- Lighter Indulgence: By using Greek yogurt or low-fat cream cheese, you can enjoy a creamy texture without the heaviness of baked cheesecake.
- Supports Healthy Digestion: The oat and date base provides natural fiber, which aids digestion and helps you feel satisfied longer.
- Steady Energy Boost: Dates and nuts offer natural sweetness and healthy fats, giving you lasting energy instead of a sugar crash.
- Protein-Packed Treat: Greek yogurt boosts protein, making this dessert more filling and supportive of muscle repair.
- Better for the Heart: Walnuts and almonds add omega-3 fatty acids and antioxidants, which contribute to heart health.
- Portion Control Built-In: Each lolly is pre-portioned, making it easy to enjoy dessert without overindulging.
- Family-Friendly: Kids and adults alike enjoy these frozen treats, making them a versatile snack or dessert.
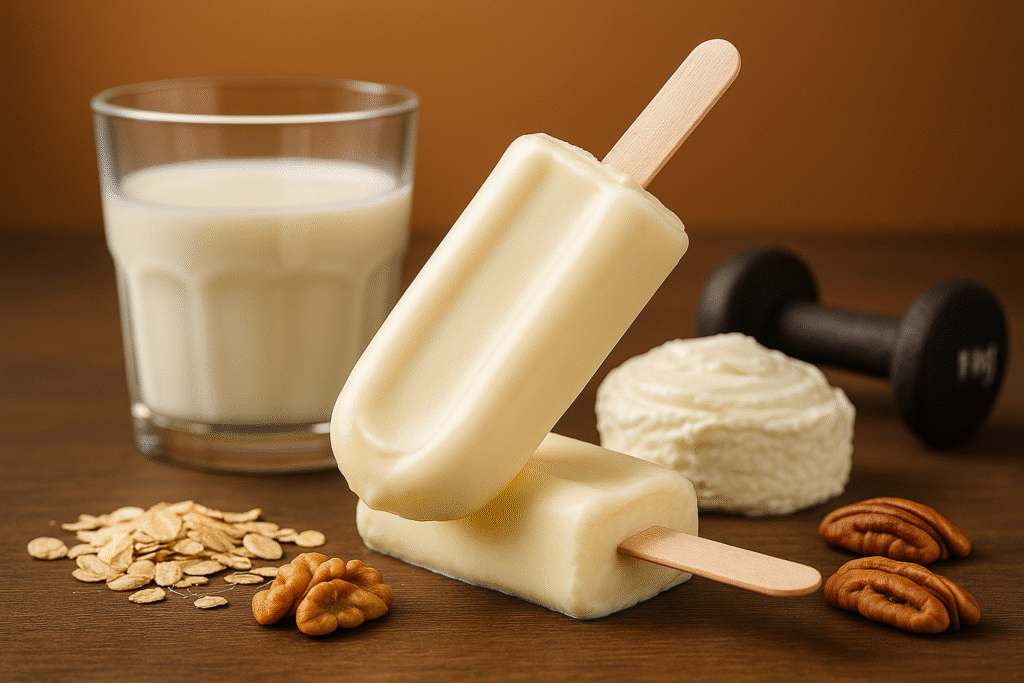
This gallery highlights the key health benefits of cheesecake lollies in a simple, visual way. From being a protein-packed treat that supports muscle recovery, to offering a lower-sugar, guilt-free indulgence, and finally giving an energy and satiety boost with wholesome ingredients like oats, nuts, and fruit — these lollies prove that dessert can be both delicious and nourishing.
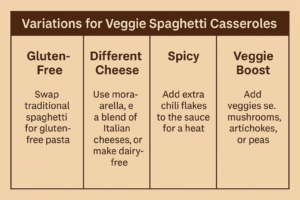
Variations For Cheesecake Lollies
| Variation | How to Make It |
|---|---|
| Berry Swirl | Add blended raspberries or blueberries into the cheesecake mix for a fruity twist. |
| Chocolate Lovers | Mix cocoa powder into the filling and drizzle melted dark chocolate on top. |
| Tropical Delight | Add chopped mango and coconut flakes for a refreshing summer version. |
| Nutty Crunch | Sprinkle chopped almonds or pistachios into the molds before freezing. |
| Vegan Swap | Use dairy-free yogurt and maple syrup instead of cream cheese and honey. |
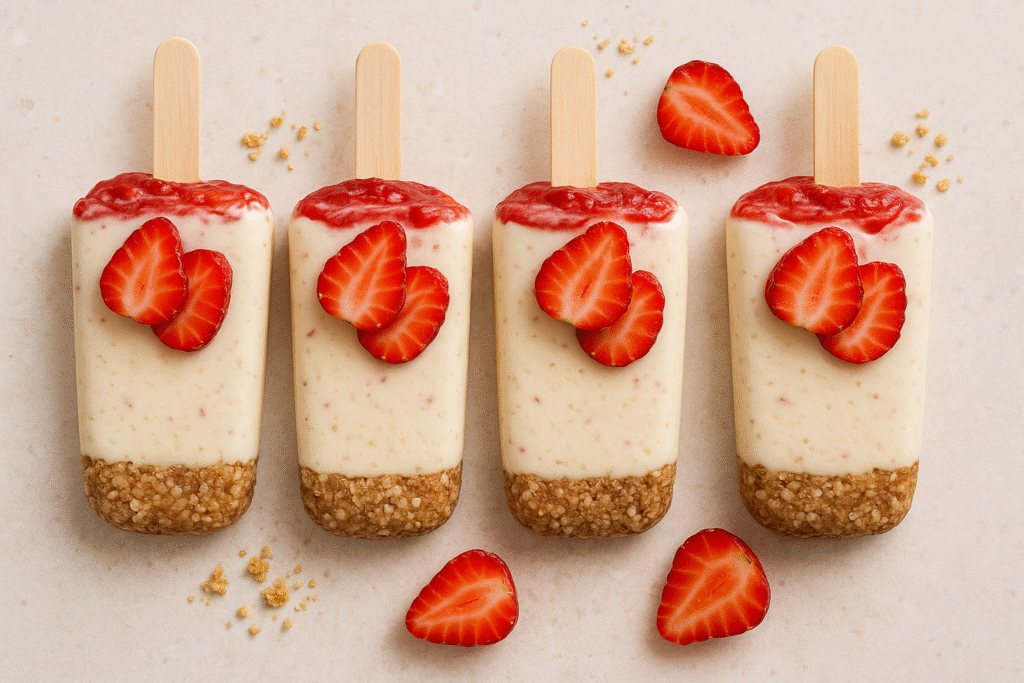
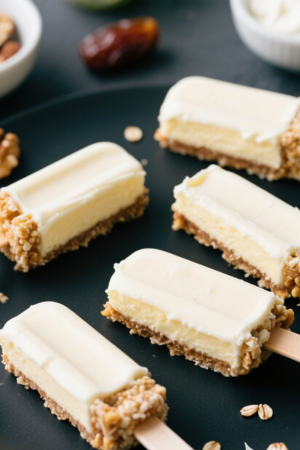
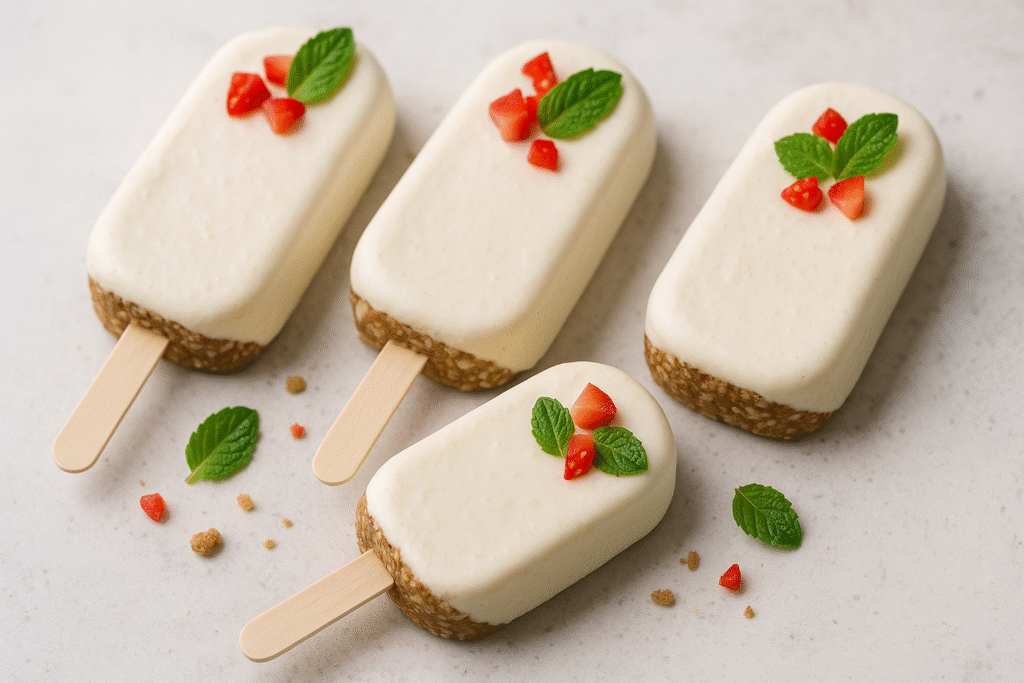
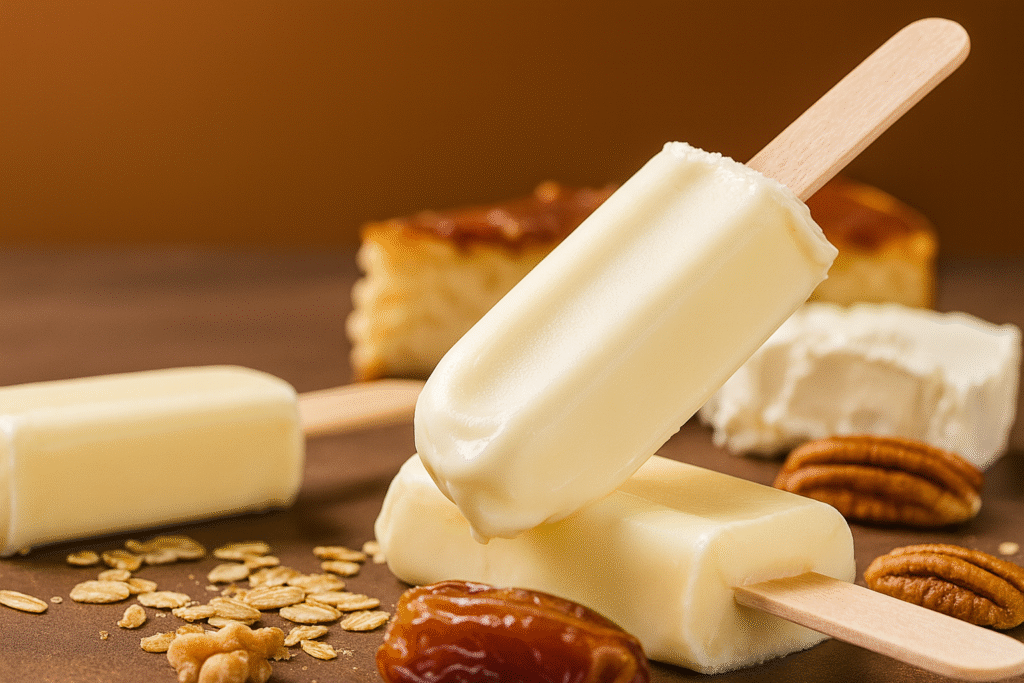
Enjoy cheesecake lollies three ways: fresh with strawberries, refreshing with mint and berries, or crunchy with a nut-coated base. A fun treat for every taste!
Final Thoughts On Cheesecake Lollies
Cheesecake lollies are proof that dessert doesn’t have to be complicated to be delicious. With simple ingredients, you can create a refreshing frozen treat that’s healthier and lighter than traditional cheesecake.
Whether you enjoy them plain, fruity, or drizzled with chocolate, these lollies are bound to become a staple in your freezer. They’re versatile, fun to make, and perfect for both adults and children.
So don’t wait — gather your ingredients and start freezing. Your next favorite dessert is only a few hours away!
Frequently Asked Questions (FAQs)
Q1: Can I make these cheesecake lollies without a lolly mold?
Yes! Use small paper cups and wooden sticks as an easy alternative.
Q2: How long can I store cheesecake lollies in the freezer?
They’ll keep well for up to 2–3 weeks in an airtight container.
Q3: Can I use full-fat cream cheese instead of low-fat?
Yes, it makes them creamier and richer, but also higher in calories.
Q4: Can I make these vegan-friendly?
Absolutely — swap dairy with plant-based yogurt and sweeten with maple syrup.
References
- Harvard T.H. Chan School of Public Health – In search of a milk alternative
- Mayo Clinic – Artificial sweeteners
- American Heart Association – Go Nuts (But Just a Little!)
Recent Posts