These veggie egg muffin rolls are a delicious and healthy option the whole family can enjoy. Packed with fresh vegetables and protein, they’re quick to prepare and easy to customize. Whether for breakfast, lunch, or a snack, these veggie egg muffin rolls will be a hit in your kitchen.

A Fun and Healthy Twist on Egg Muffin for Kids
Egg muffins are a parent’s dream — they’re protein-packed, easy to make ahead, and endlessly customisable. But if you want to add a little extra fun factor to your kids’ meals, veggie egg muffin rolls are the way to go. They’re shaped like mini baguettes, making them easy for little hands to hold, and their bright vegetable filling looks as good as it tastes.
In this recipe, we’ll use fresh eggs and colourful vegetables to make something that’s healthy enough for breakfast, lunch, or snacks, but exciting enough that your kids will actually want to eat it.
You can prepare them in silicone baguette tins for a smooth, roll-shaped finish, or bake them in a loaf tin and slice them into kid-friendly portions. They’re freezer-friendly, quick to reheat, and travel well in lunchboxes.
Not only are they simple to make, but you can also get your children involved in the process. From whisking eggs to choosing their favourite veggie add-ins, this recipe is a great way to get kids excited about cooking.
Let’s dive in and make these colourful, healthy, and delicious veggie egg muffin rolls that will become a go-to in your home.

Time to Prepare: 10 minutes
Time to Cook: 18–22 minutes (mini rolls) / 30–35 minutes (loaf tin)
Equipment You’ll Need
Silicone baguette mold – creates the smooth, rounded rolls and helps achieve an even golden coating.
Alternative: Standard loaf tin. If using a loaf tin, bake as one loaf, then slice into mini rolls after cooling. Adjust cooking time to 30–35 minutes total.
Large mixing bowl
Whisk or fork
Non-stick baking brush
Measuring cups and spoons
Sharp knife for slicing rolls if using loaf tin
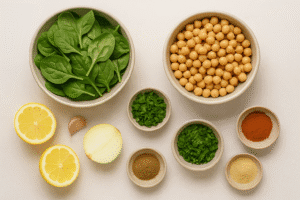
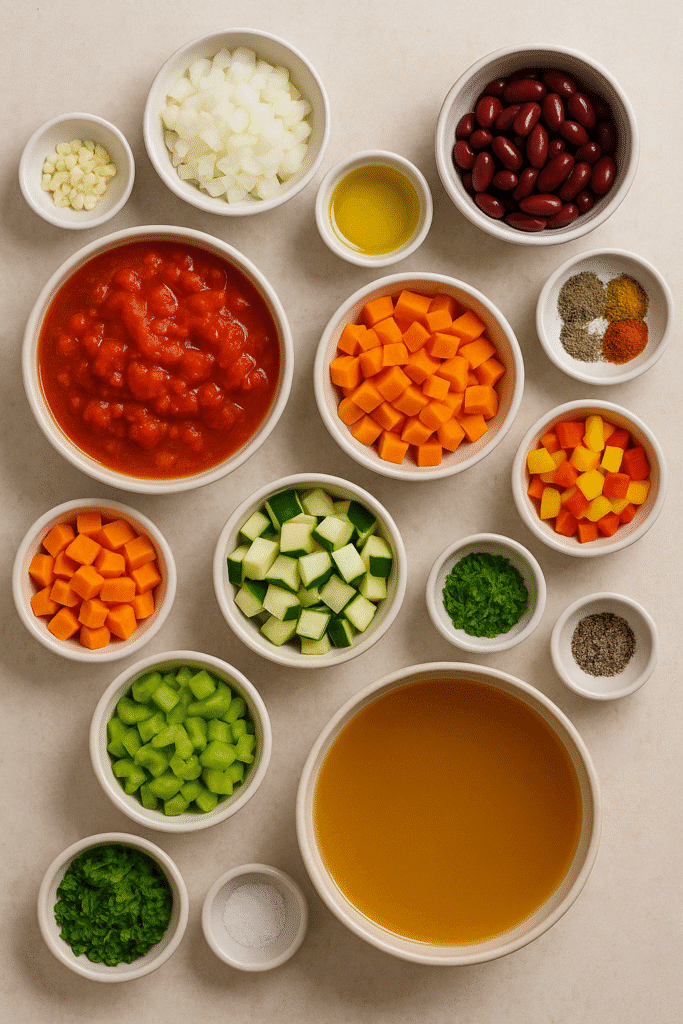
Ingredients (Makes 6 rolls or 1 loaf)
- 6 large eggs
- 1 cup (120g) finely chopped mixed vegetables (e.g., spinach, bell pepper, zucchini, carrot)
- ½ cup (60g) grated cheese (cheddar, gouda, or parmesan for a golden crust)
- ¼ cup (30g) cooked quinoa or cooked brown rice (optional, for extra texture)
- 2 tbsp milk or dairy-free milk alternative
- 1 tsp potato starch or cornstarch (optional – improves coating)
- 1 tsp garlic powder (optional)
- ½ tsp salt
- ¼ tsp black pepper
- 1–2 tsp light olive oil or melted butter (for brushing molds and tops

Instructions For Veggie Egg Muffin Rolls
- Preheat the oven to 170°C (340°F). Lightly grease your silicone baguette mold or loaf tin with a small amount of olive oil or butter.
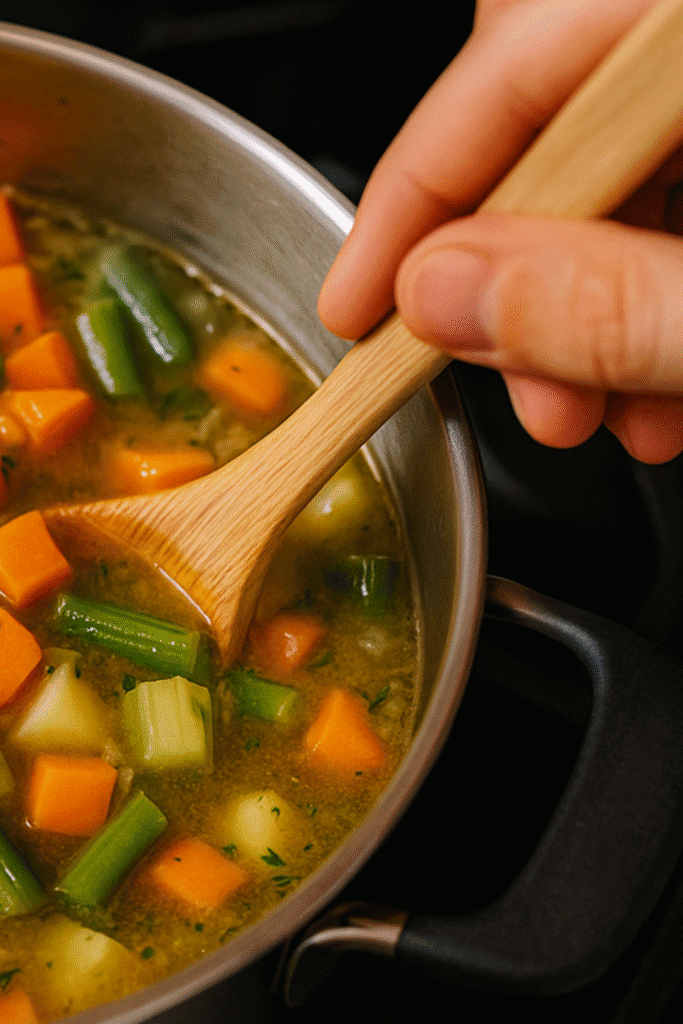
- Prepare the vegetables: Chop finely so they cook evenly. If using watery veggies like zucchini, pat them dry with a paper towel to avoid sogginess.
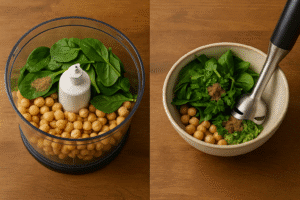
- Mix the batter: In a large mixing bowl, whisk together eggs, milk, potato starch, garlic powder, salt, and pepper until well combined. Stir in the chopped vegetables, quinoa or rice (if using), and grated cheese.
- Fill the molds: Spoon the mixture evenly into each cavity of the baguette mold, filling about ¾ full to allow for rising.
- Brush for a golden coating: Lightly brush the tops of the batter with olive oil or melted butter. This step is key for the golden, crisp look.
- Bake in two stages:
- First stage: Bake at 170°C (340°F) for 14–16 minutes, or until mostly set.
- Second stage: Increase heat to 200°C (400°F) for an extra 4–6 minutes to achieve that golden, crisp top.
- (If using loaf tin – bake 25 minutes at 170°C, then 5–8 minutes at 200°C.)
- Cool slightly before removing: Let the rolls rest for 3–5 minutes before removing from the mold. If using loaf tin, allow to cool fully before slicing into mini rolls.
- Serve: Enjoy warm, or pack into lunchboxes. They also taste great at room temperature.

Storage and Reheating Tips
- Refrigeration: Store cooled muffins in an airtight container in the fridge for up to 4 days.
- Freezing: Wrap individually and freeze for up to 2 months. Thaw overnight in the fridge before reheating.
- Reheating: Warm in the microwave for 30–40 seconds, or reheat in an oven at 160°C (320°F) for 5–7 minutes.
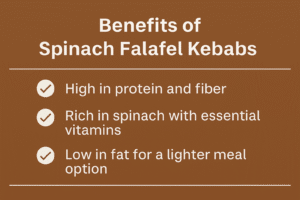
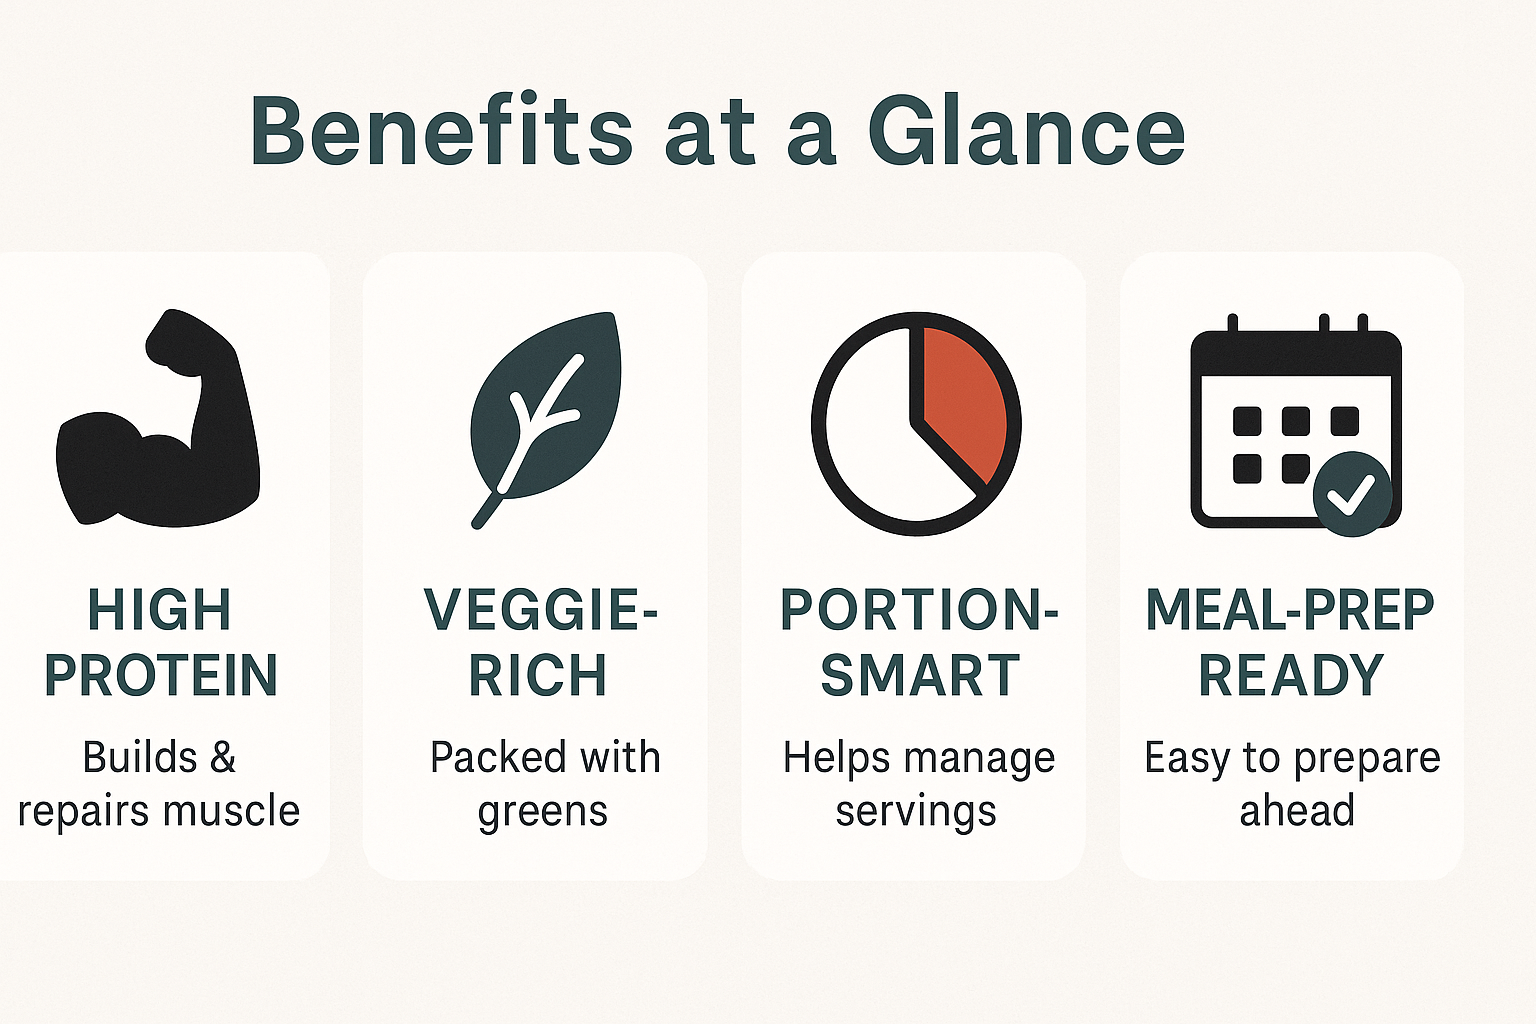
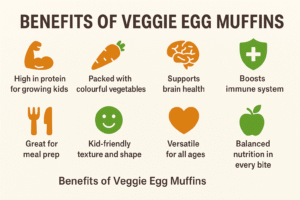
Benefits of Veggie Egg Muffin
- 1. A Healthy, Kid-Friendly Breakfast or Snack
- Veggie egg muffin rolls are packed with high-quality protein from eggs, fiber from vegetables, and healthy fats from olive oil or cheese. This balance helps keep kids fuller for longer, reducing the temptation for sugary snacks.
- 2. Fun to Eat and Perfectly Portable
- Shaped like mini baguettes, these rolls are fun for kids to hold and easy to pack into lunchboxes. The sealed roll shape means less mess, making them a stress-free option for busy mornings or school snacks.
- 3. That Irresistible Golden Crisp Coating
- The light brushing of olive oil or butter before baking creates a golden, crisp finish — not only making the rolls more visually appealing but also adding a delicious texture that kids love. This small step turns a simple egg muffin into a bakery-style treat without deep frying.
- 4. Customizable for Every Taste
- You can easily swap vegetables depending on what your kids like or what’s in season — from spinach and sweetcorn to grated carrot or peas. Cheese can be changed for milder or stronger flavors, and the recipe works with dairy-free alternatives.
- 5. Balanced Nutrition in Every Bite
- Each roll contains protein, vitamins, minerals, and slow-digesting carbs (if adding quinoa or brown rice). This combination helps maintain steady energy levels and supports growing bodies.
- 6. Great for Batch Cooking and Meal Prep
- These rolls freeze well and reheat beautifully, making them ideal for busy parents who want quick, healthy options on hand. The golden coating stays appealing even after reheating.
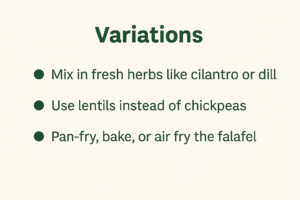
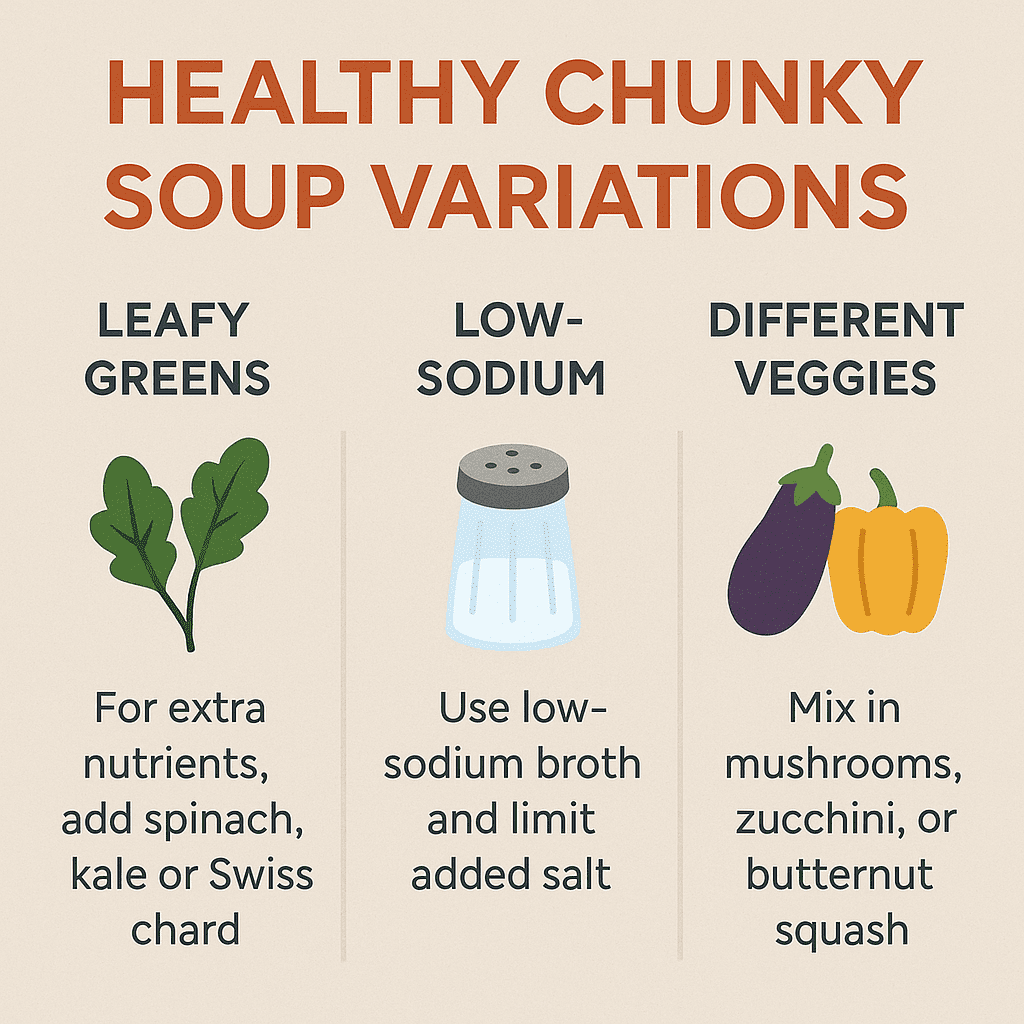
Variations For Veggie Egg Muffin
| Variation Type | Swap or Add-In Ideas | Notes |
|---|---|---|
| Cheese Lovers | Extra cheddar, mozzarella, or feta | Adjust salt if using salty cheese |
| Veggie Boost | Add mushrooms, zucchini, or sweetcorn | Squeeze excess liquid from watery vegetables |
| Protein Packed | Add diced cooked chicken, turkey, or ham | Reduce cheese slightly to balance texture |
| Dairy-Free | Use plant-based milk and dairy-free cheese | Baking time remains the same |
| Spice It Up | Add paprika, cumin, or mild chilli flakes | Keep mild for kids unless they enjoy a bit of spice |
Frequently Asked Questions (FAQs)
Q: Can I make these without cheese?
A: Yes! The muffins will still be delicious and hold together well without cheese, although cheese adds extra flavour and richness.
Q: Can I use frozen vegetables?
A: Absolutely. Just thaw and drain them well before adding to the egg mixture to avoid excess moisture.
Final Thoughts On Veggie Egg Muffin
These quick veggie egg muffin rolls are more than just a healthy snack — they’re a fun way to help your kids eat more vegetables without fuss. Whether you bake them as rolls or slice them from a loaf, they’re colourful, flavourful, and perfect for busy mornings or school lunches. Once you try them, they’ll likely become a weekly staple in your kitchen.
References
- Harvard T.H. Chan – Nutrition Source: Eggs
- British Nutrition Foundation – Benefits of Vegetables
Recent Posts