It is time to make the most of your home, even if you live in a small space. This platform is all about inspiring simple home solutions that look good and work well. We focus on finding smart ways to make daily life better through good design. Our special focus is on areas many people forget, like the window sill. Look through our simple, expert tips and see how smart window sill décor can completely change the way your home feels.
In home design, every bit of space is important, especially when your space is small. Most people focus on big pieces of furniture or wall art. However, there is one small spot with huge potential: the window sill. It is much more than just a ledge. The simple window sill can become a bright focus point, a handy storage spot, or a quiet retreat. It adds beauty and value to your home. Mastering window sill décor means more than filling a space. It means smart, fresh styling that brings in natural light, shows off your personality, and makes even a tiny room feel bigger and carefully planned.
This article shares seven simple and smart ways to use your window sill. We will help you turn that forgotten ledge into a stylish, useful, and beautiful part of your home. These ideas are perfect for small homes. They are easy to use no matter your style—minimalist, plant lover, book fan, or someone who just wants more charm. Get ready to look at your windows in a new way and use all the power of great window sill décor.
1. The Urban Jungle: Bring Greenery Inside
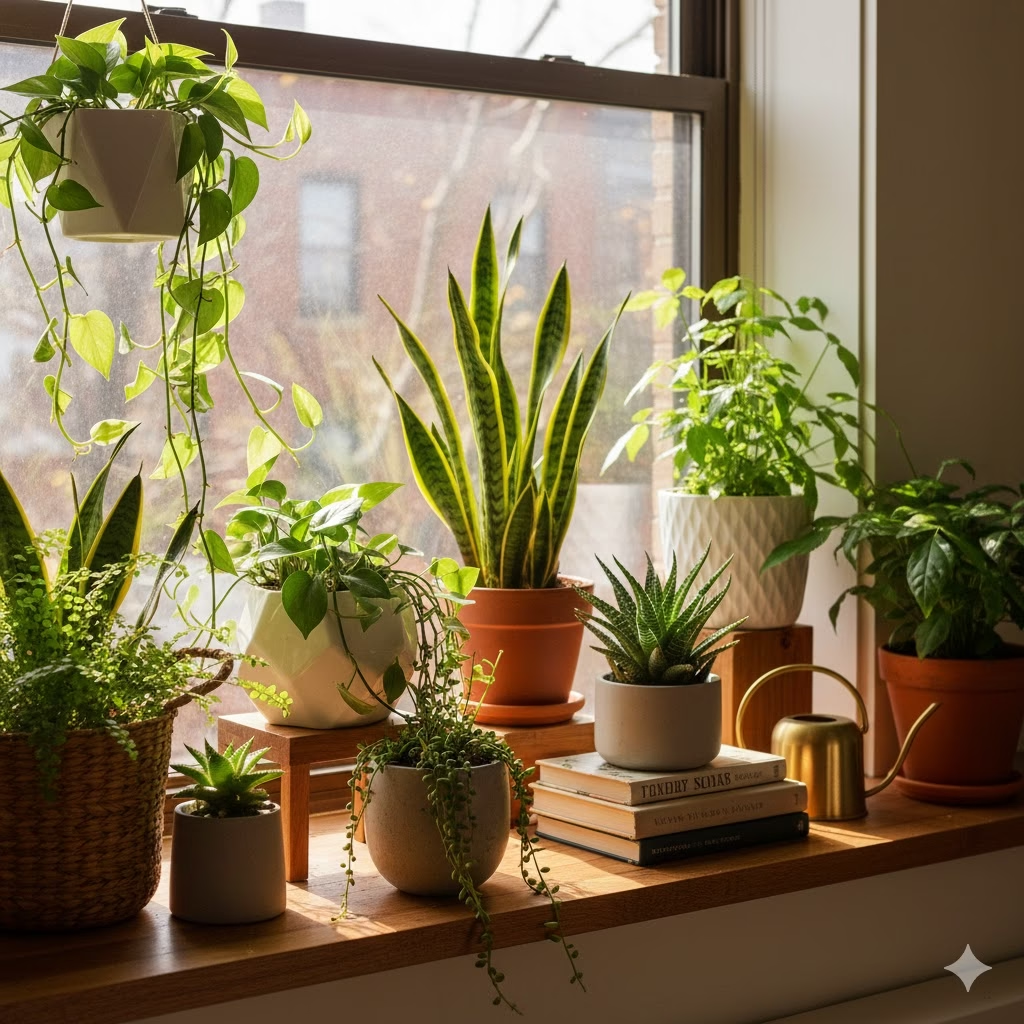
Even in the busiest city apartment, you can create a lively, green space. The window sill is the best place to start. Building an “urban jungle” on your window sill is not just a passing style. It is a way to clean your air, lift your spirits, and add natural beauty without taking up important floor space.
Why it works in small spaces: Plants add life and color by growing tall. They make the eye look up. This makes the room feel taller and deeper. They do not take up floor space, which makes them great for small rooms or apartments.
How to make it happen:
- Pick the right plants: Choose small or medium plants. They should be types that love the light your window offers. Succulents, cacti, air plants, snake plants, Pothos, and small ferns work well for window sills. Plants that hang down, like String of Pearls or English Ivy, add a nice, flowing effect.
- Mix heights and textures: Do not just line up pots that look the same. Use plants of different heights, leaf shapes, and colors. A tall, thin plant next to a short, round one creates a better display. Leaves that are big and wide next to delicate, thin leaves look interesting.
- Buy stylish pots: The containers matter just as much as the plants. Pick pots that match your room—ceramic, clay, woven baskets, or simple concrete pots. Using the same material or color makes the whole collection look good together, even if the plants are different.
- Think about hanging: If your window sill is narrow, try using small plant stands or hanging pots above the window. This lets you have more plants without cluttering the sill.
- Remember water drainage: Make sure your pots have holes for water to drain. Or, use a second, decorative pot underneath. This stops water from sitting and keeps your sill and plants healthy.
Quick Tip: Turn your plants now and then. This makes sure all sides get enough light so they grow evenly. Spraying water on plants that love wet air helps them, especially if the air inside your home is dry.
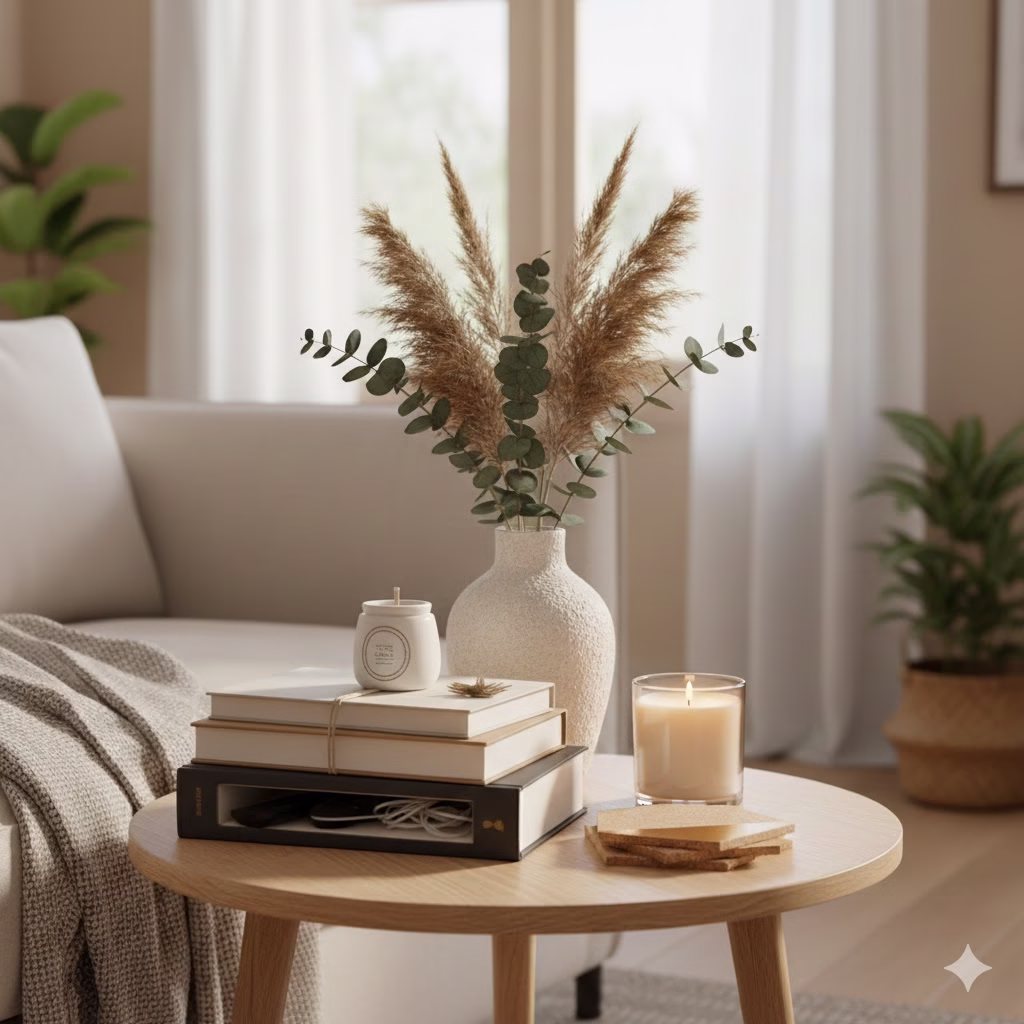
2. The Mini Library: Curated Reads and a Cozy Feel
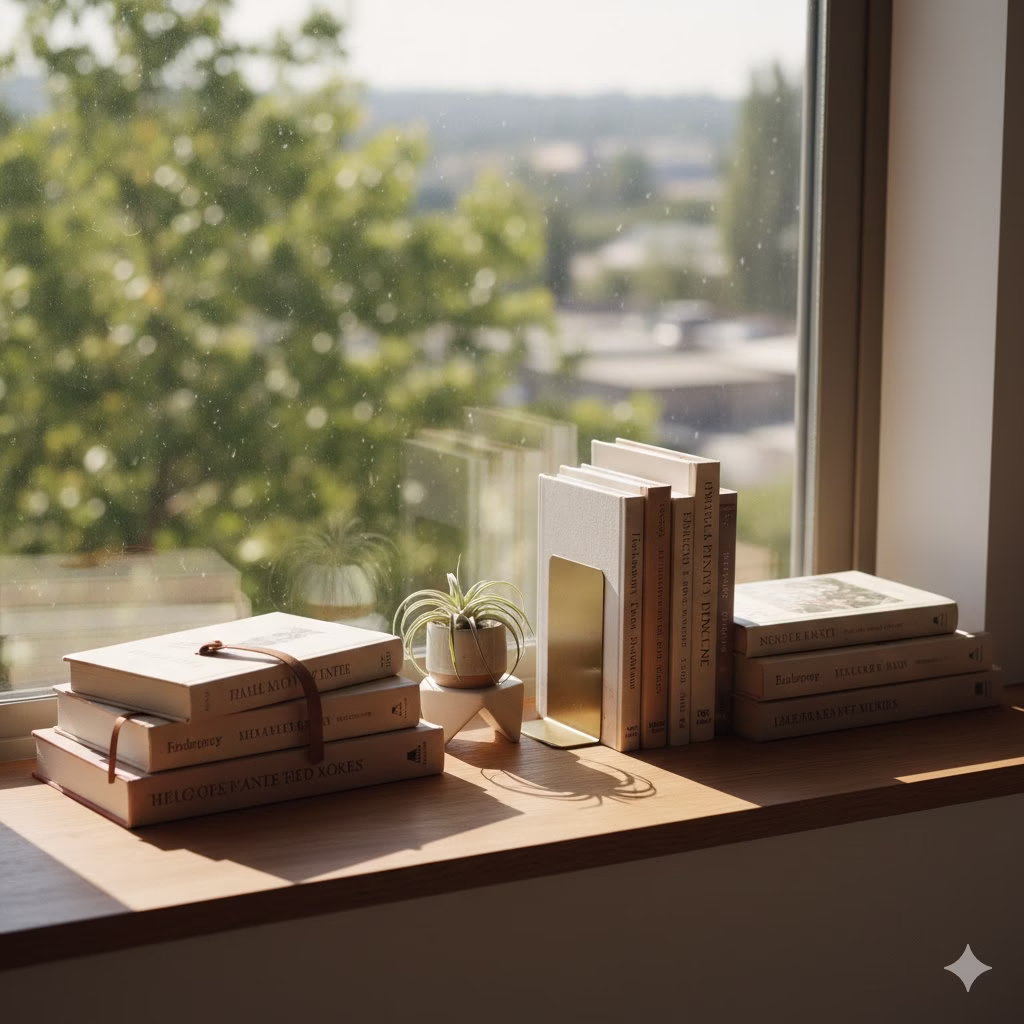
If you love books and have little space, the window sill is perfect. You can create a lovely small library or show off your favorite books there. This solution saves space and adds warmth and character. It makes the room invite you to sit down with a great book.
Why it works in small spaces: Using the vertical and horizontal space for books means you save shelf or table space somewhere else. It also gives the room a cozy, smart feel without adding bulky furniture.
How to make it happen:
- Choose your best covers: Think of your books as decoration. Pick titles with beautiful covers, interesting spines, or ones that set a certain mood. A small stack of art books or favorite novels looks very appealing.
- Stack in creative ways: Do not line them up like soldiers. Stack them sideways, standing up, or both. This creates different heights. Use bookends to keep standing stacks neat. Bookends also act as another piece of décor.
- Add small décor items: A pile of books can be the base for a tiny statue, a nice candle, or a small air plant. This layering makes the display richer. A bookmark hanging out of a book adds a real, lived-in touch.
- Know how you will use it: Is this mostly for showing off, or will you take these books down often? If you use them often, make sure they are easy to grab and put back without knocking over other items.
- Be careful with light: Strong, long-lasting sunlight can fade book covers and hurt the pages. If your window gets a lot of sun, use books you do not mind getting a little old, or use a clear film on the glass to block UV rays.
Quick Tip: For a look that fits together, try to match the colors of your book spines or covers to the rest of the room. This makes the design look planned and harmonious.
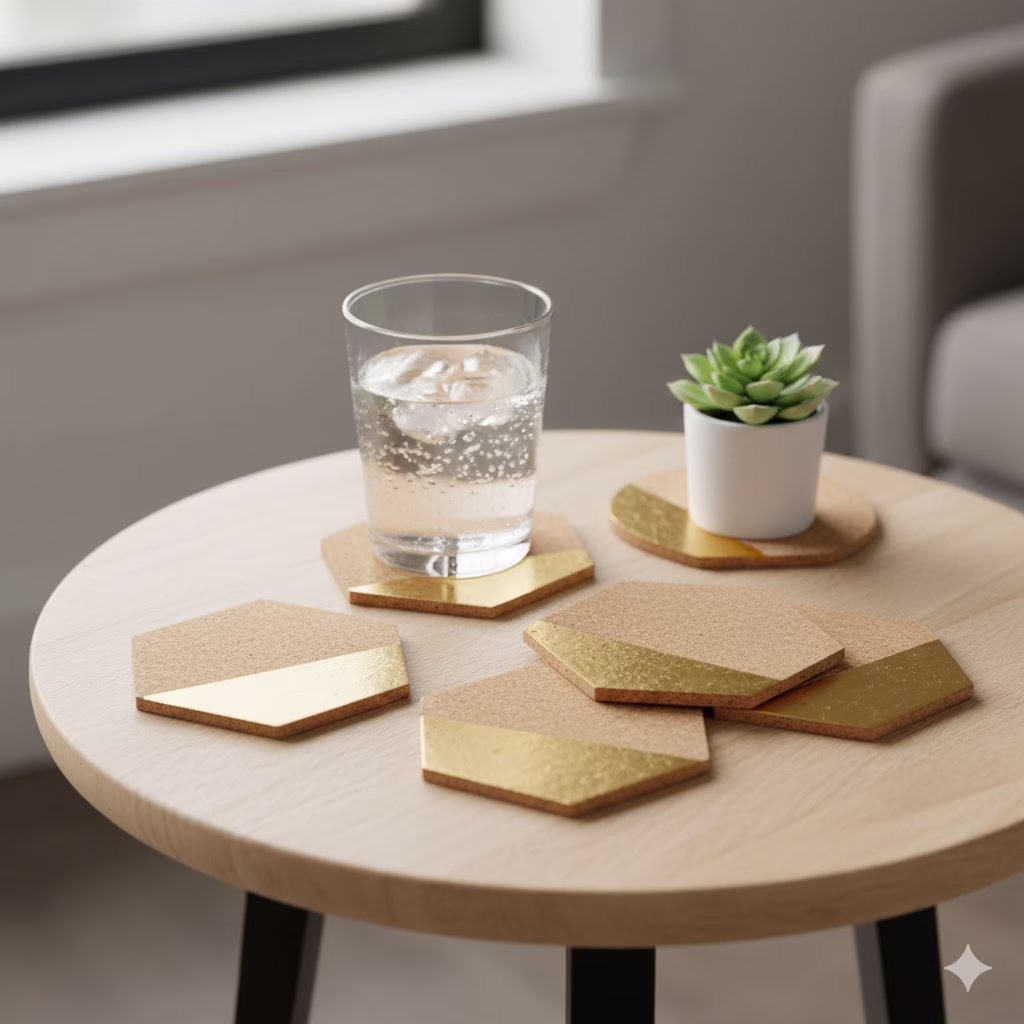
3. The Functional Command Center: Smart Storage
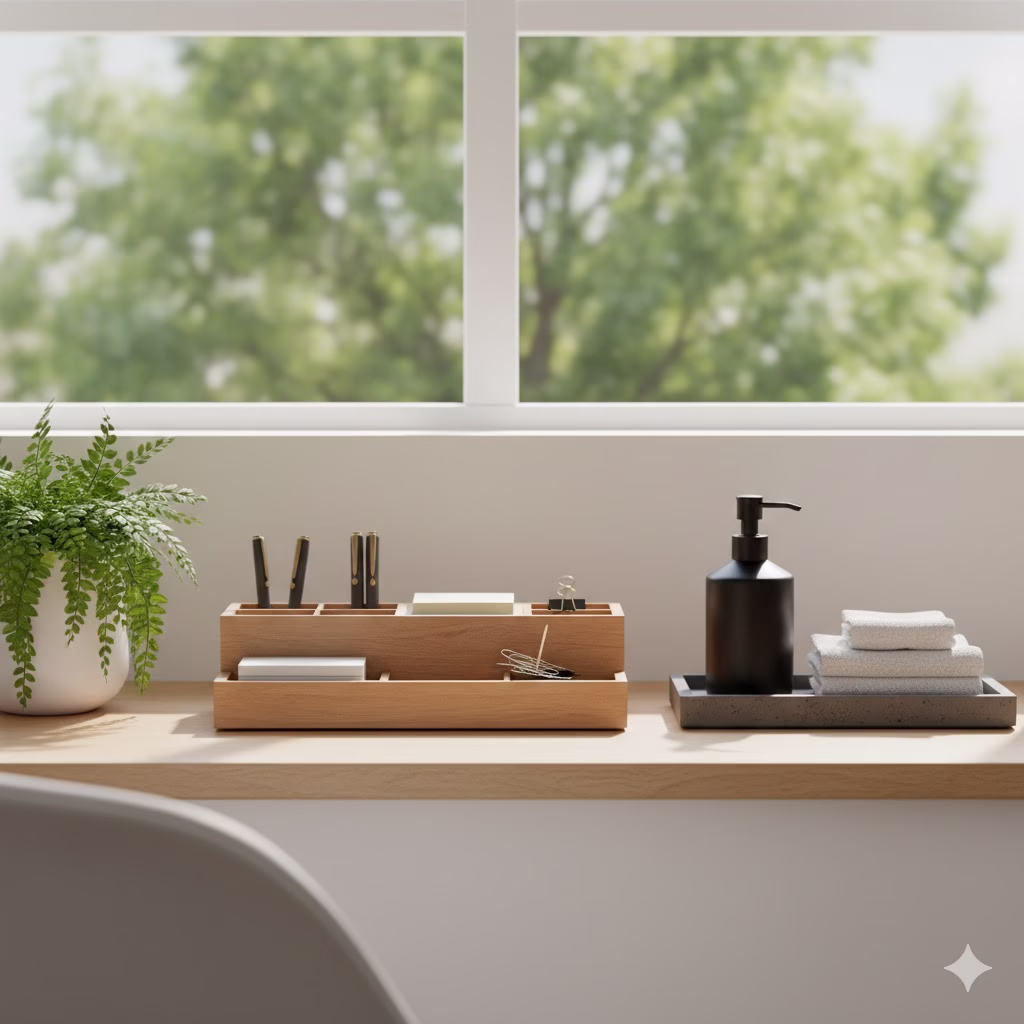
The window sill is not just for pretty things. It can be a very useful storage area. This is especially true in the kitchen, bathroom, or home office where there is little counter space. With good organization, your window sill décor can be both useful and beautiful.
Why it works in small spaces: It uses space that would usually be wasted. This frees up useful counter tops or drawers. By keeping things you use often close by, it makes compact areas work better.
How to make it happen:
- In the Kitchen: Store spices in nice jars, small herb pots, olive oil and vinegar bottles, or even a tiny fruit bowl. Clear glass containers look very stylish. If the window is over the sink, this is a great place for a fancy brush holder or a small vase of fresh herbs.
- In the Bathroom: If your bathroom needs storage, the window sill can hold cotton swabs in a clear jar, a stylish soap pump, small perfumes, or neatly rolled hand towels. Choose items that do not rust or get damaged by water. A small tray helps keep things grouped and contains any spills.
- In the Home Office: Keep key desk items tidy: pens in a decorative holder, a small stack of notes, a beautiful paperweight, or a miniature plant for a little break from work. The natural light is also perfect for tasks where you need to see well.
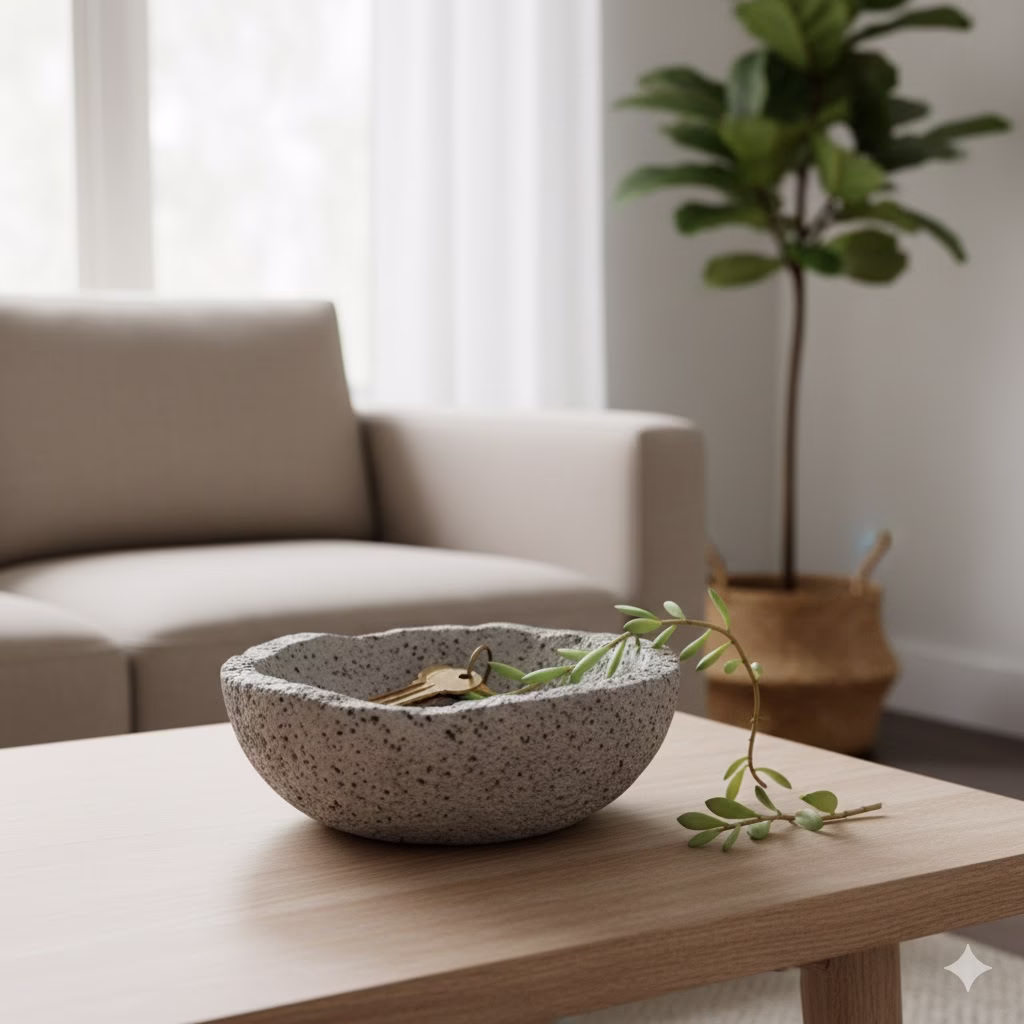
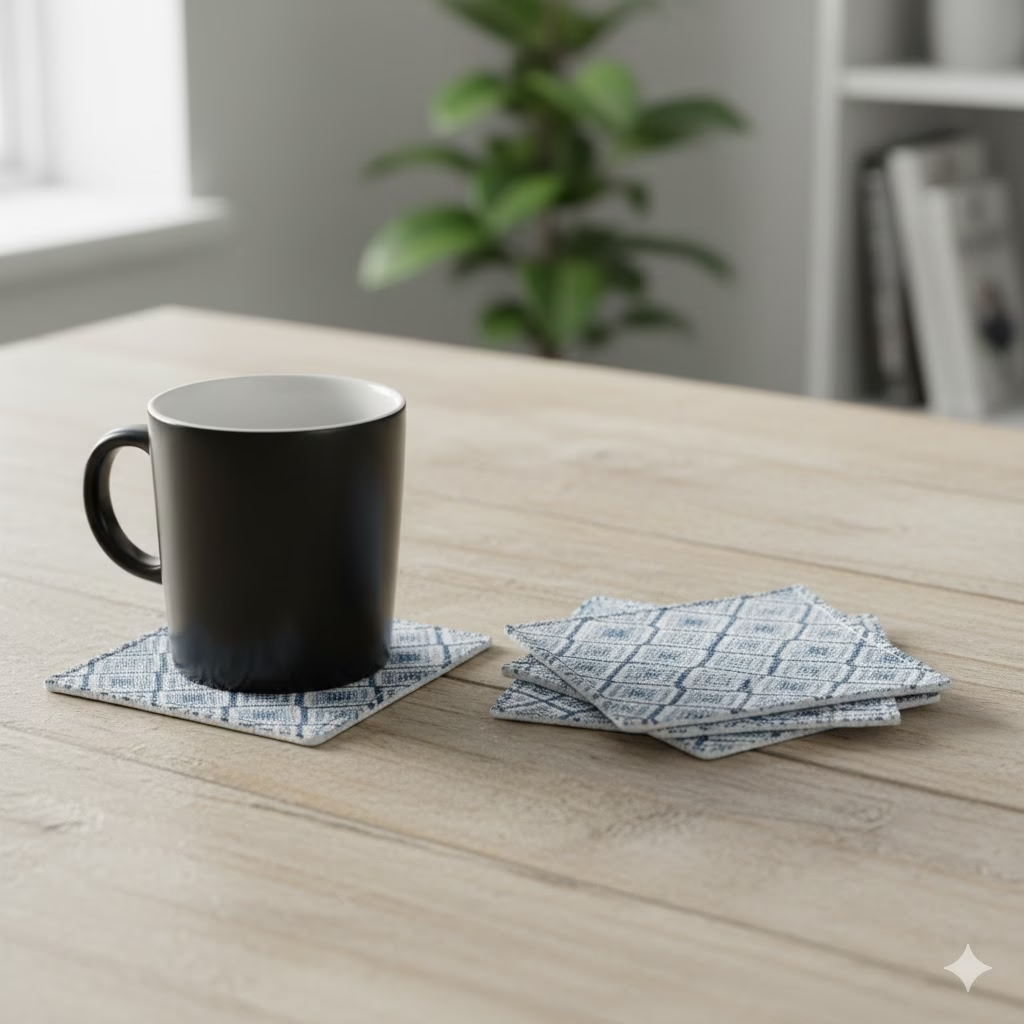
- In the Living Room: Use it for remote controls in a small basket, coasters, or a small box for keys and coins.
- Use trays and boxes: Small, decorative trays, shallow baskets, or divided organizers keep things together and stop clutter from spreading. They also make cleaning easy—just lift the tray.
- Think about height: Make sure the items you store do not block too much of the window. This is important if you need a lot of natural light in the room. Put taller items on the sides of the sill, away from the middle of the glass.
Quick Tip: To make everything look unified, choose storage pieces that share the same material (like all glass or all ceramic) or color. This brings a sense of calm to a mix of different items.
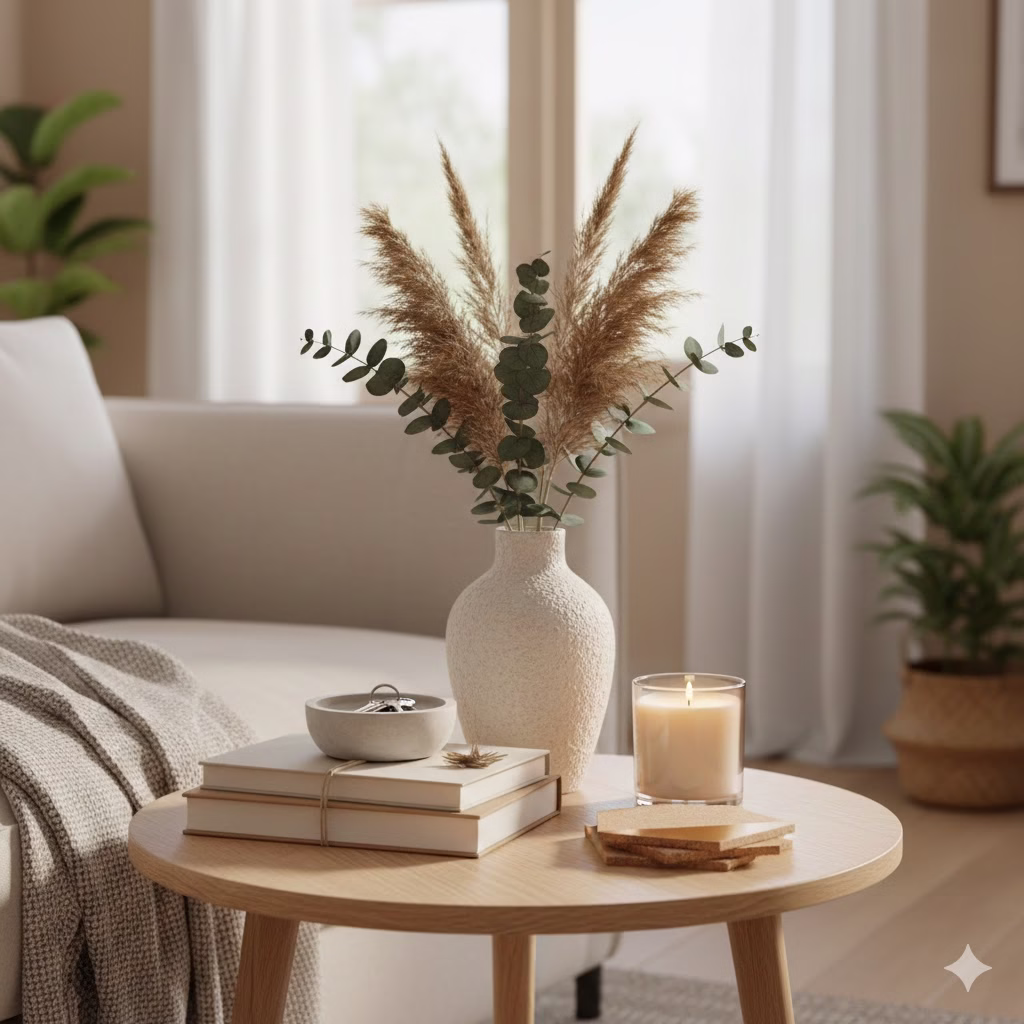
4. The Minimalist Monochrome: Less Is Truly More
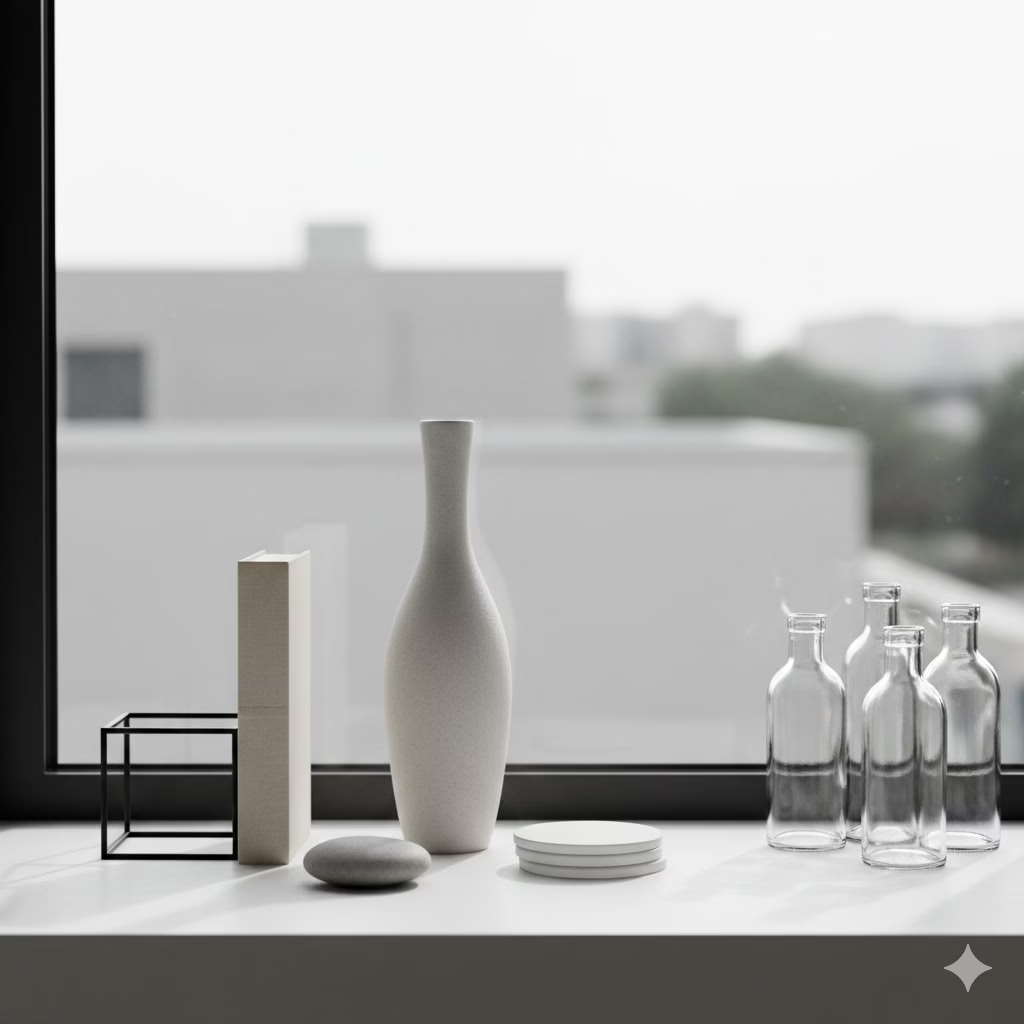
If you live in a small space, keeping things simple is often the best way to have a calm home. The simple style of window sill décor uses clean lines, few colors, and a focus on empty space. This lets the light and the view become the main feature.
Why it works in small spaces: Simple design cuts down on visual noise. This makes a small area feel bigger, calmer, and more modern. The window sill becomes a carefully planned display instead of a place to pile things up.
How to make it happen:
- Stick to simple colors: Choose only neutral colors, like white, black, gray, and natural wood. This simple color scheme creates a neat look that does not compete with the view outside.
- Focus on shape and feel: Since there are few colors, the interest comes from the shape and material of the objects. Use artistic vases, smooth stone items, plain ceramic pieces, or sharp metal accents.
- Use the Rule of Three (or One): Display items in odd numbers (like three) for a good balance, or choose just one piece that makes a big impact. A single, well-made vase or a piece of abstract art may be all you need.
- Play with light: Objects that look great with light are best. Use clear or frosted glass, crystals, or shiny surfaces that catch the sunlight. They will spread reflections around the room. This adds movement and light.
- Keep things useful: If you must include helpful items (like a tiny clock), make sure they match the simple colors and materials you chose. Hide any necessary mess inside simple, elegant boxes.
- Leave empty space: Make sure there is plenty of space between the things you display. The empty space on the window sill is as important as the items themselves. It lets your eyes rest and stops the display from feeling too crowded.
Quick Tip: Think about putting up a small, simple photo (in a plain frame) that matches the simple colors. Or, put a very small succulent in a white geometric pot. This adds a little life while keeping the clean look.
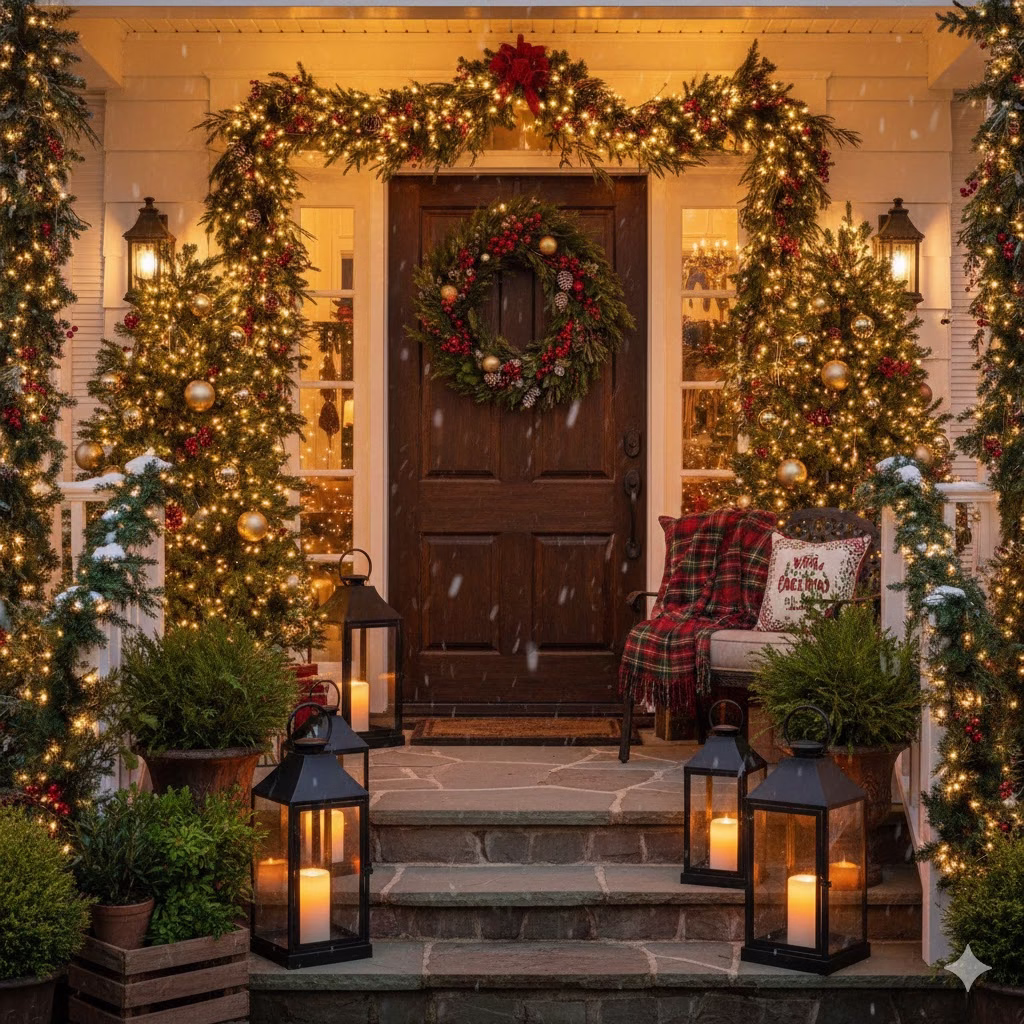
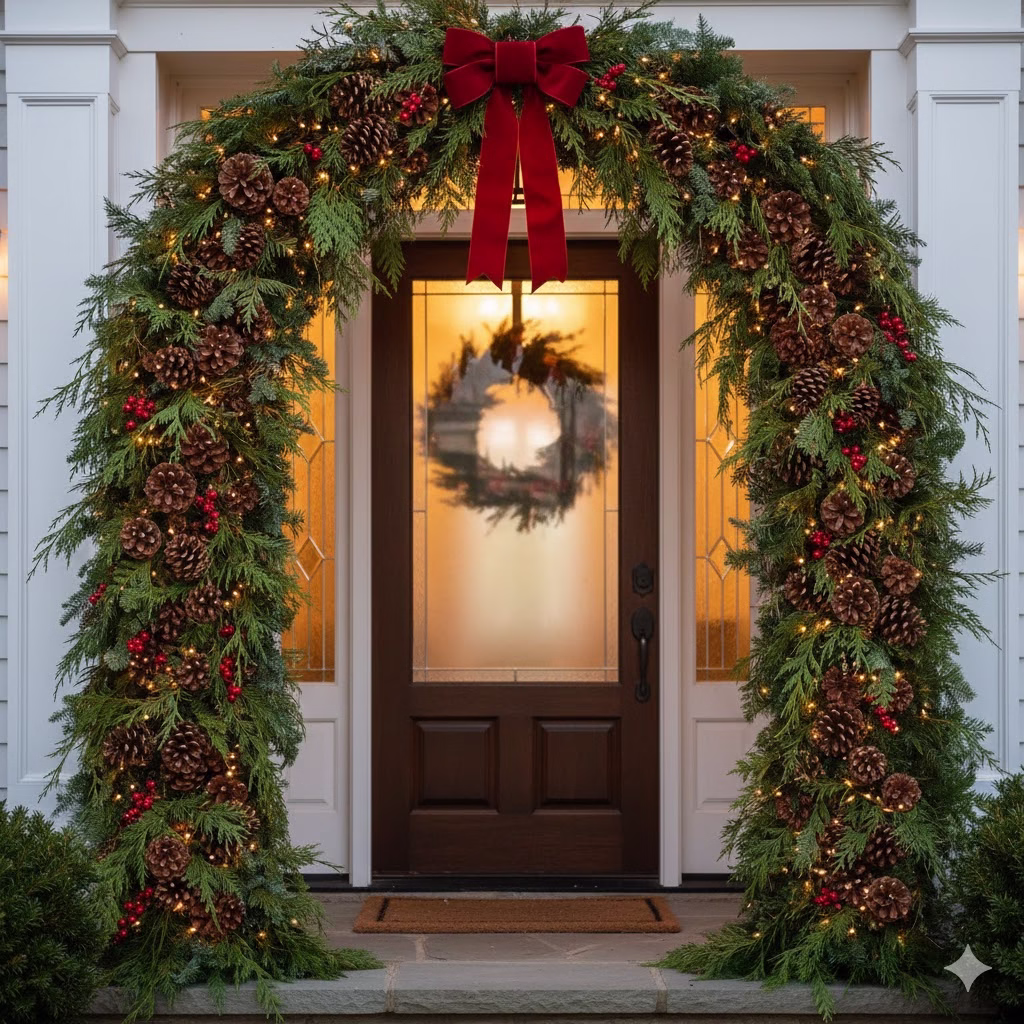
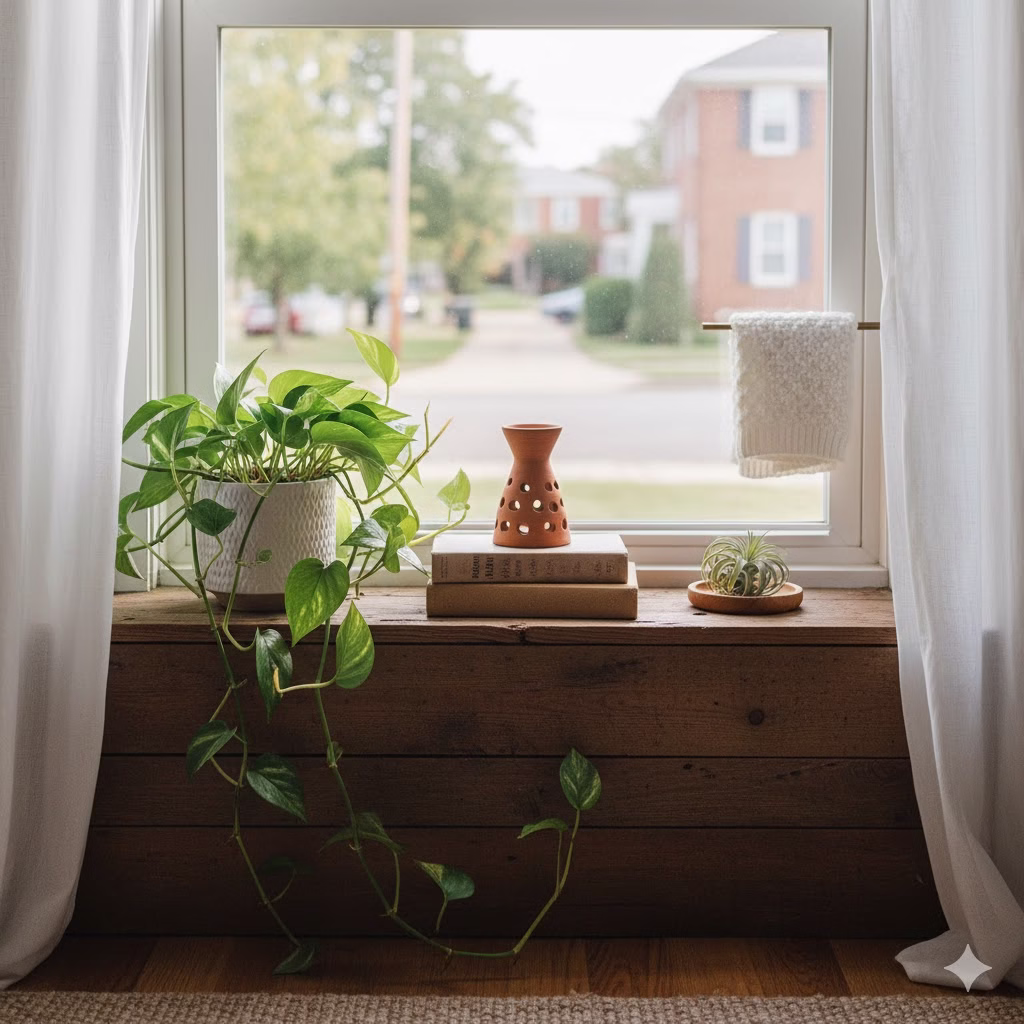
5. The Seasonal Spotlight: Reflecting the Outside
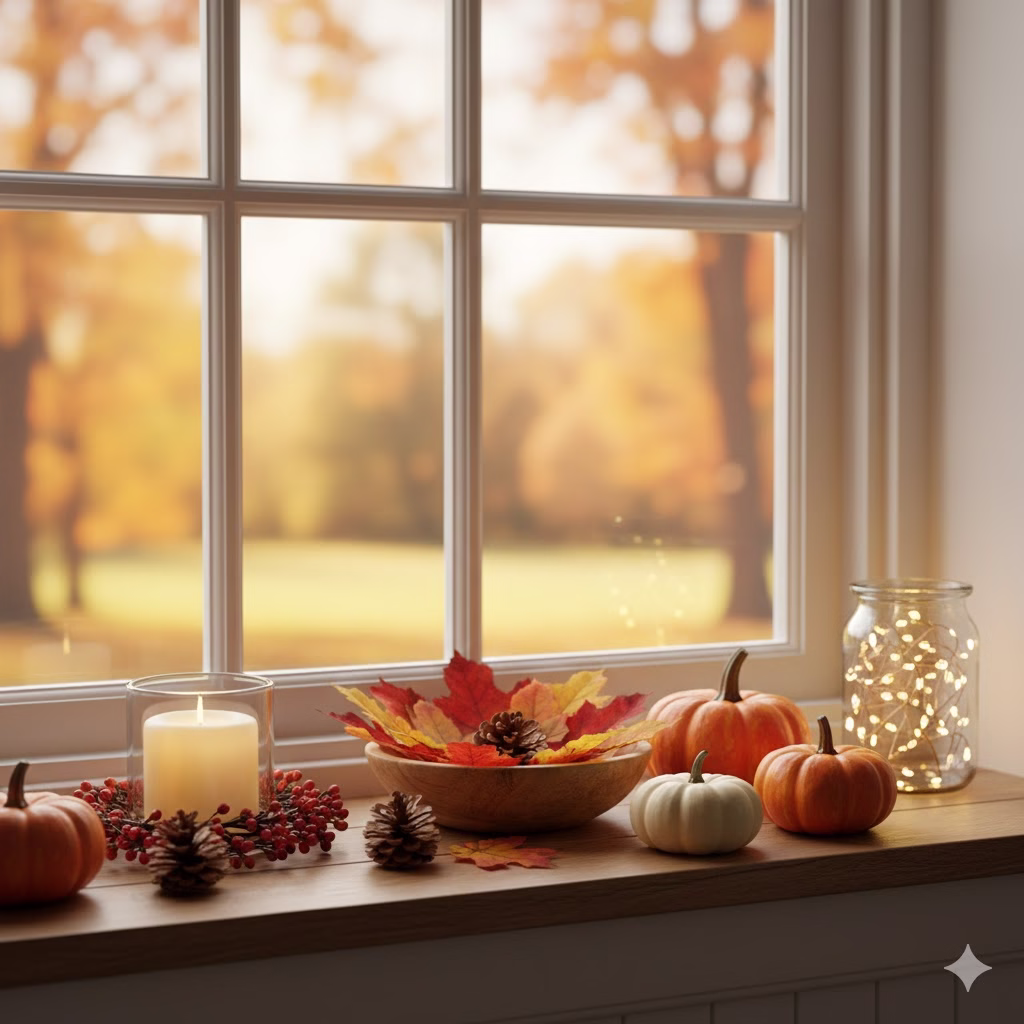
Your window sill naturally connects the inside of your home to the world outside. Using it for seasonal décor is an easy, fun way to keep your home feeling fresh and current all year long. This idea works by using items that change with the seasons, keeping your décor interesting without needing a total room makeover.
Why it works in small spaces: Seasonal changes keep a small space from feeling boring. Since the items are temporary, they prevent long-term clutter. They also draw attention to the view, not the small size of the room.
How to make it happen:
- Spring: Bring in small vases of fresh flowers like tulips or daffodils. Use pastel-colored ceramics or glass objects. A nest with decorative eggs can add a charming, simple touch.
- Summer: Display small jars filled with sand and shells from a trip. Use light, bright colors and clear glass. A bowl of lemons or limes adds a fresh, zesty scent and look.
- Autumn: Use small gourds, pinecones, or colorful fall leaves in a wooden bowl. Candles in deep orange, rust, or gold colors add a cozy warmth. The focus is on natural textures.
- Winter: Keep it simple with white or silver accents. Small evergreen sprigs, miniature trees, or simple white candles are perfect. Focus on items that reflect light, like small ornaments or polished metal.
- Use a consistent base: Keep a few basic pieces, like a simple tray or small stack of books, that stay all year. Then, swap out the smaller, seasonal items on top of them. This makes the change feel fast and simple.
- Mind the temperature: Be careful with heat. If the sill gets very hot in summer, avoid wax candles that might melt or perishable items.
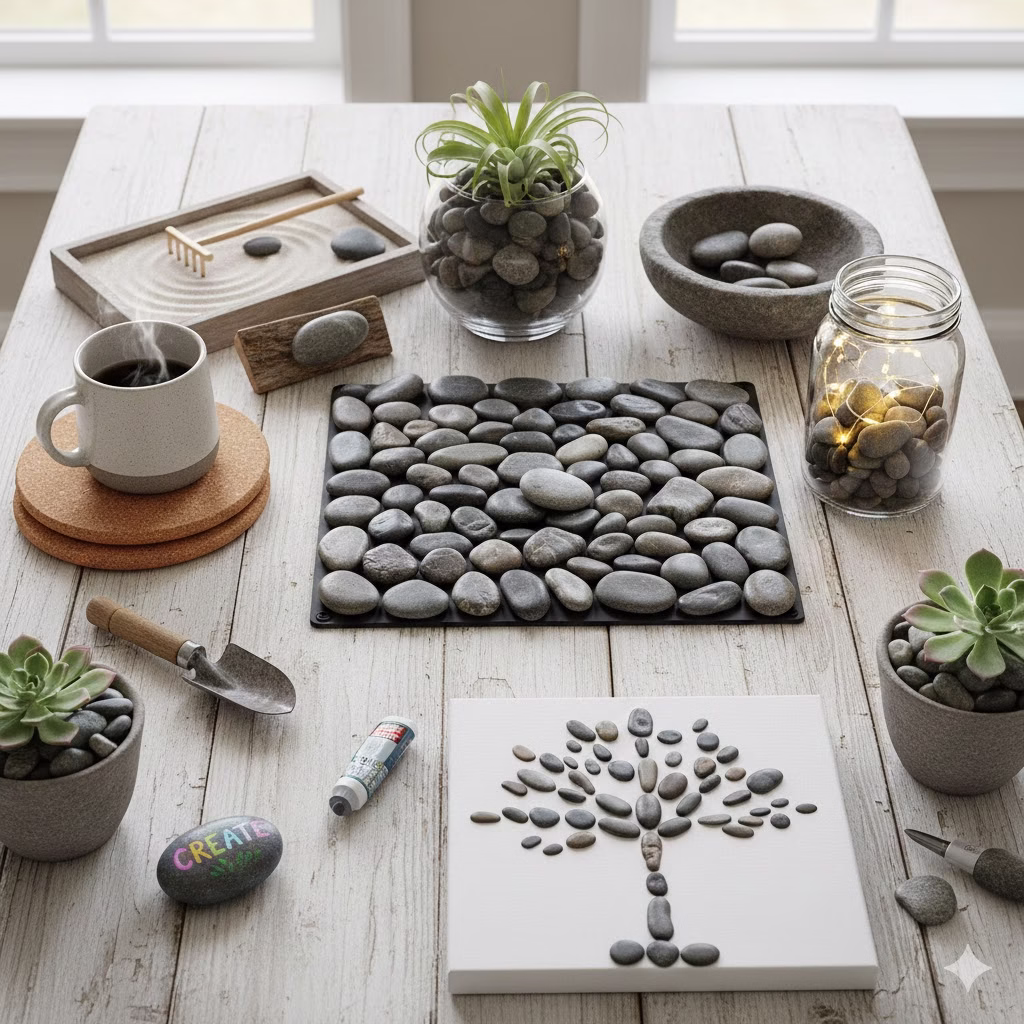
Quick Tip: Go outside and find simple, free items like smooth stones, unique twigs, or leaves. These natural elements are free and add true character to your window sill décor.
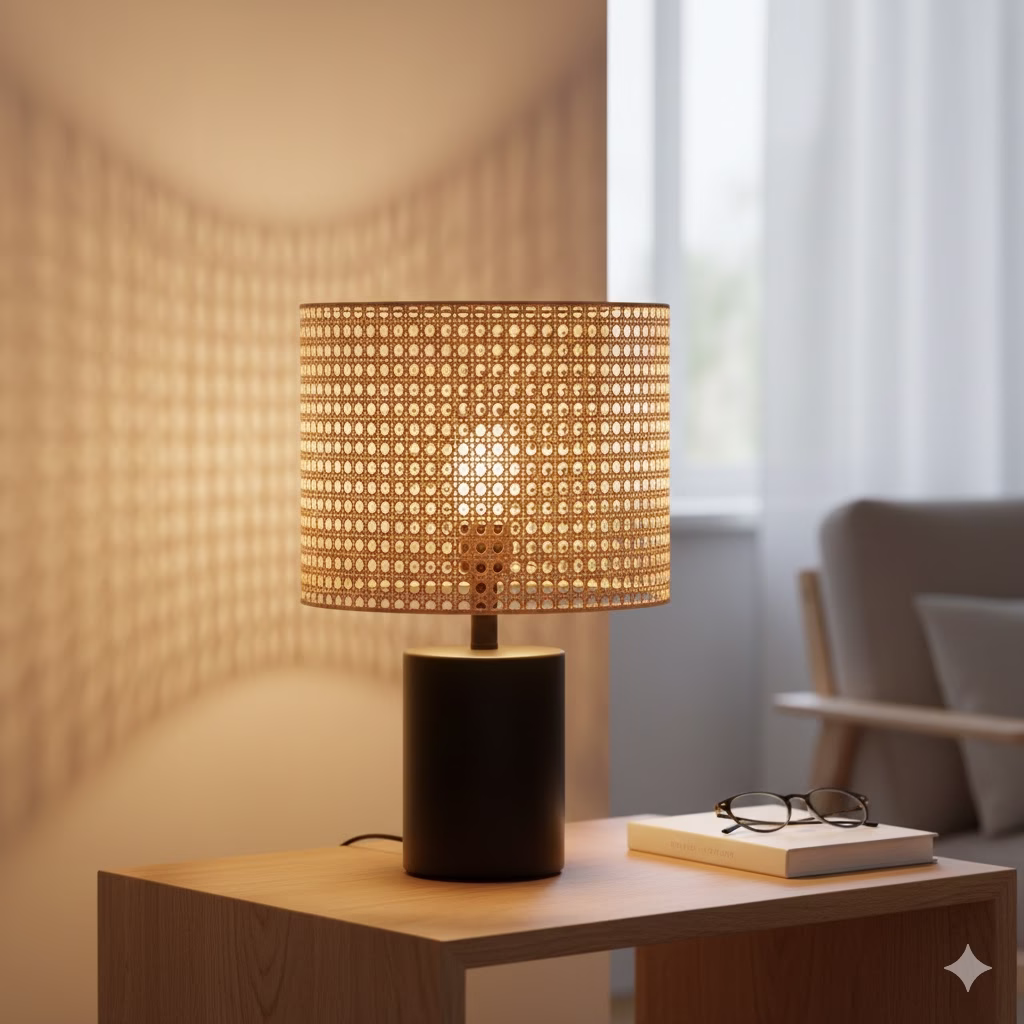
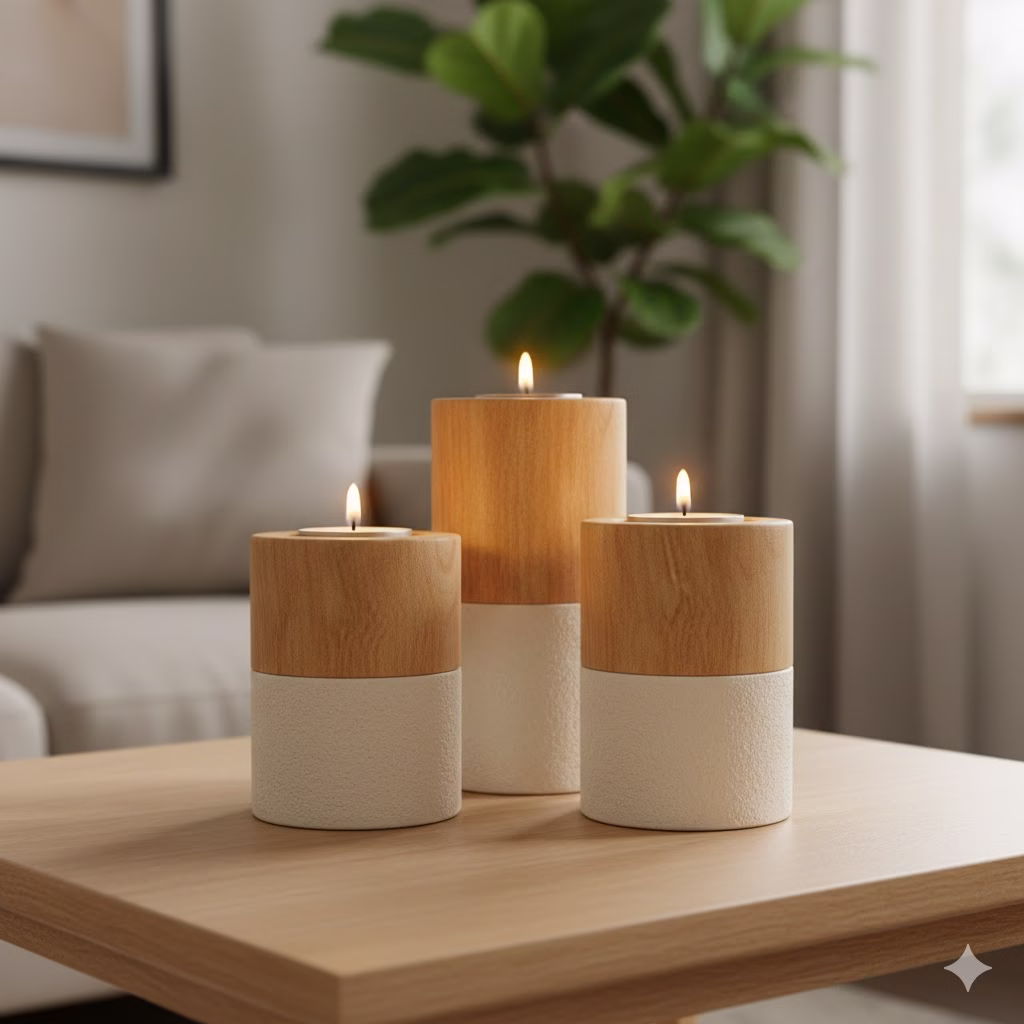
6. The Light Layering: Creating Depth and Warmth
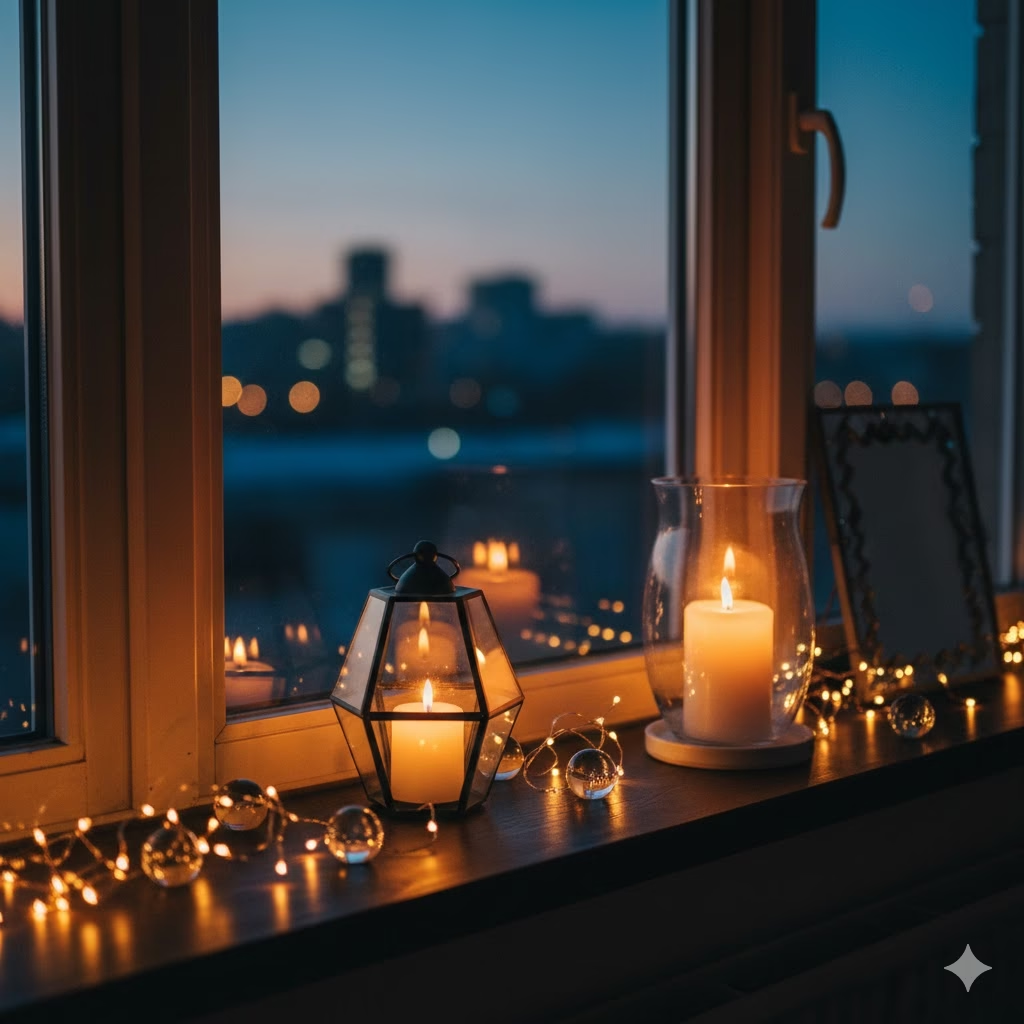
One of the best things about a window sill is its closeness to natural light. By adding layers of artificial light, you can create a cozy, deep atmosphere, especially in the evening. This adds an extra layer of elegance to any small room.
Why it works in small spaces: Lighting creates a mood and draws attention away from the size of the room. Small lights do not take up much space but add a lot of visual impact. They make the room feel warmer and more complex.
How to make it happen:
- Use LED String Lights: Drape delicate, battery-operated LED fairy lights or string lights across the sill. Choose warm white light for a cozy feel. You can weave them around plants or tuck them behind decorative objects.
- Small Lamp or Lantern: If your sill is wide enough, a tiny, stylish table lamp can add a perfect bit of task lighting. If space is tight, a decorative lantern with a battery-operated candle is a safe, charming choice.
- Candle Display (Safety First!): A few small, varied candles (pillar, tapered, or votive) on a heat-safe tray or plate add a classic, warm glow. Always use caution and never leave real flames unattended. For safety and ease, use high-quality LED flickering candles.
- Glass and Reflection: Place items made of clear or colored glass on the sill. When the lights or candles are lit, the glass catches and reflects the light, creating beautiful sparkles and patterns on the walls.
- Mirroring the View: A small, decorative mirror leaning against the window frame can reflect both the view outside and the internal lights, doubling the feeling of space and light.
Quick Tip: Set up your lights on a timer. This way, the moment the sun goes down, your window sill lights up automatically. This creates a charming welcome when you arrive home.
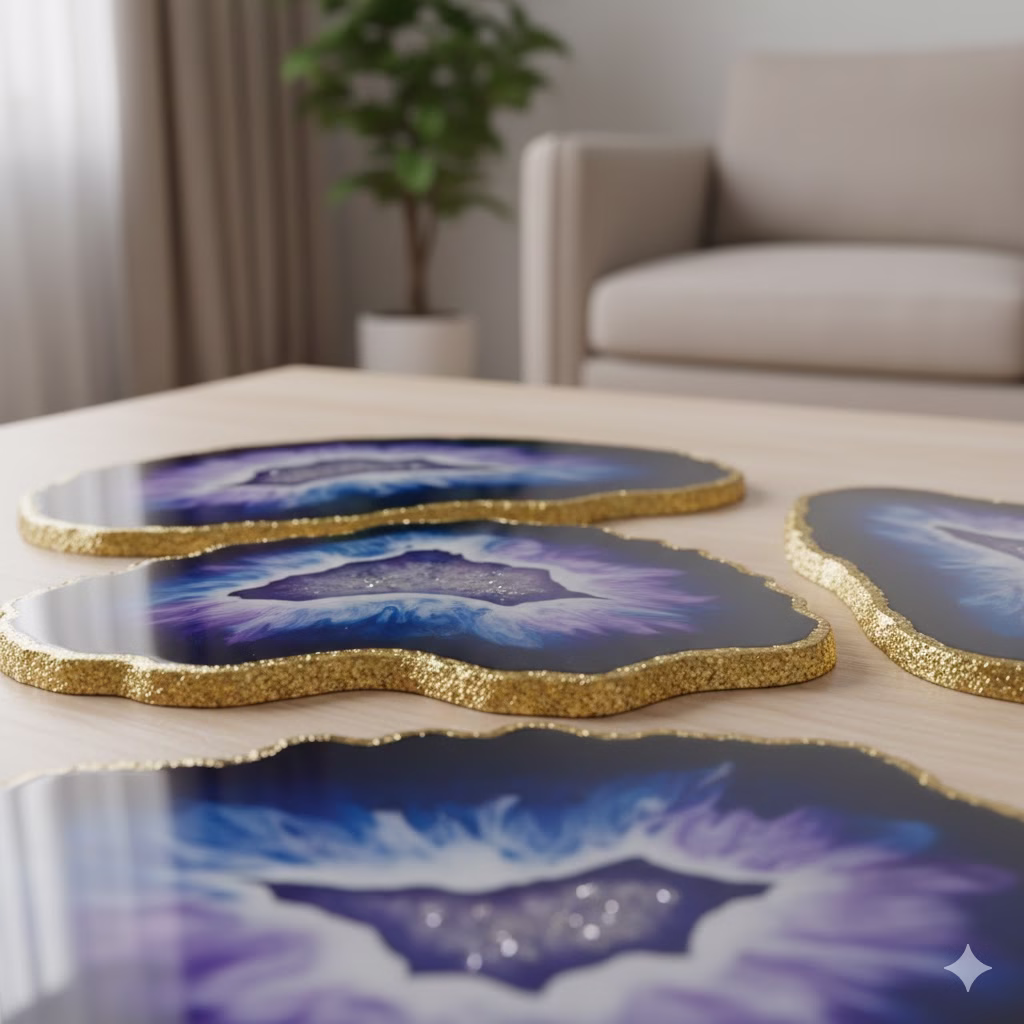
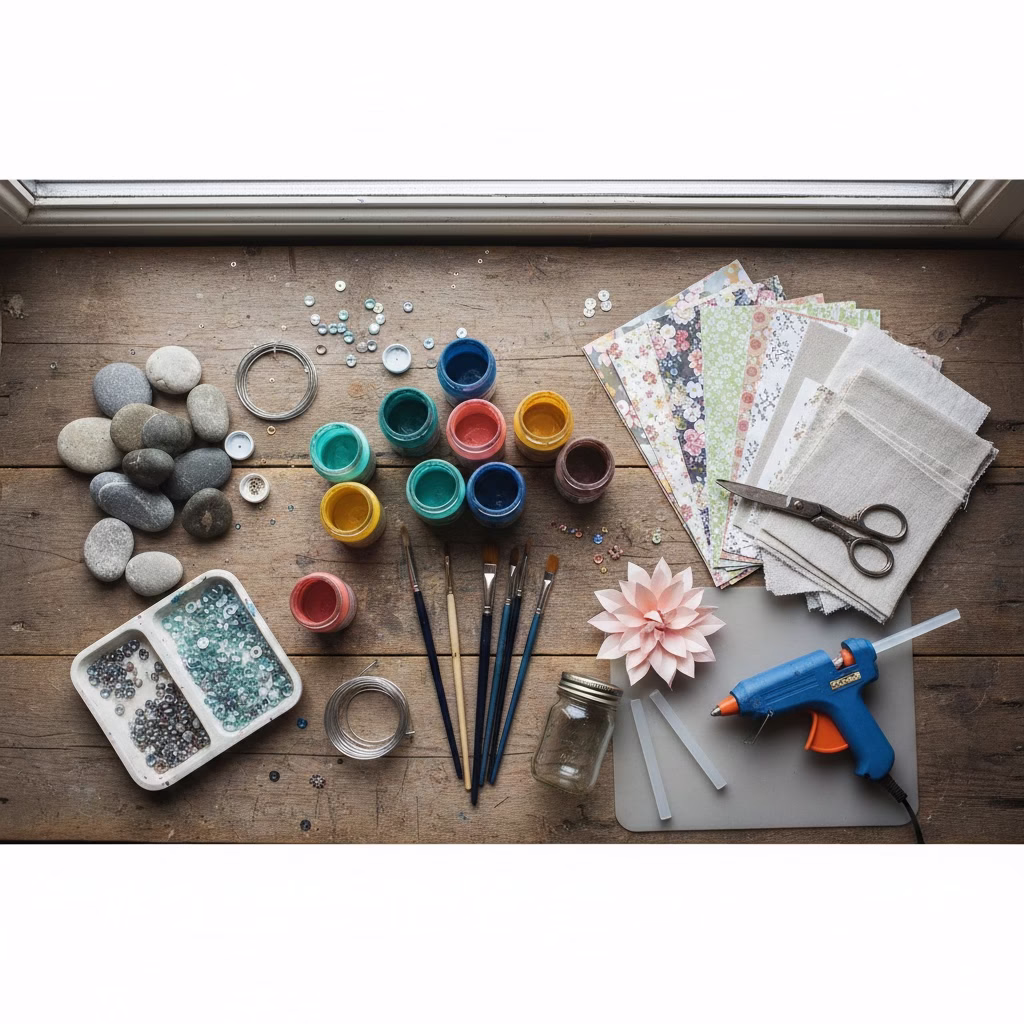
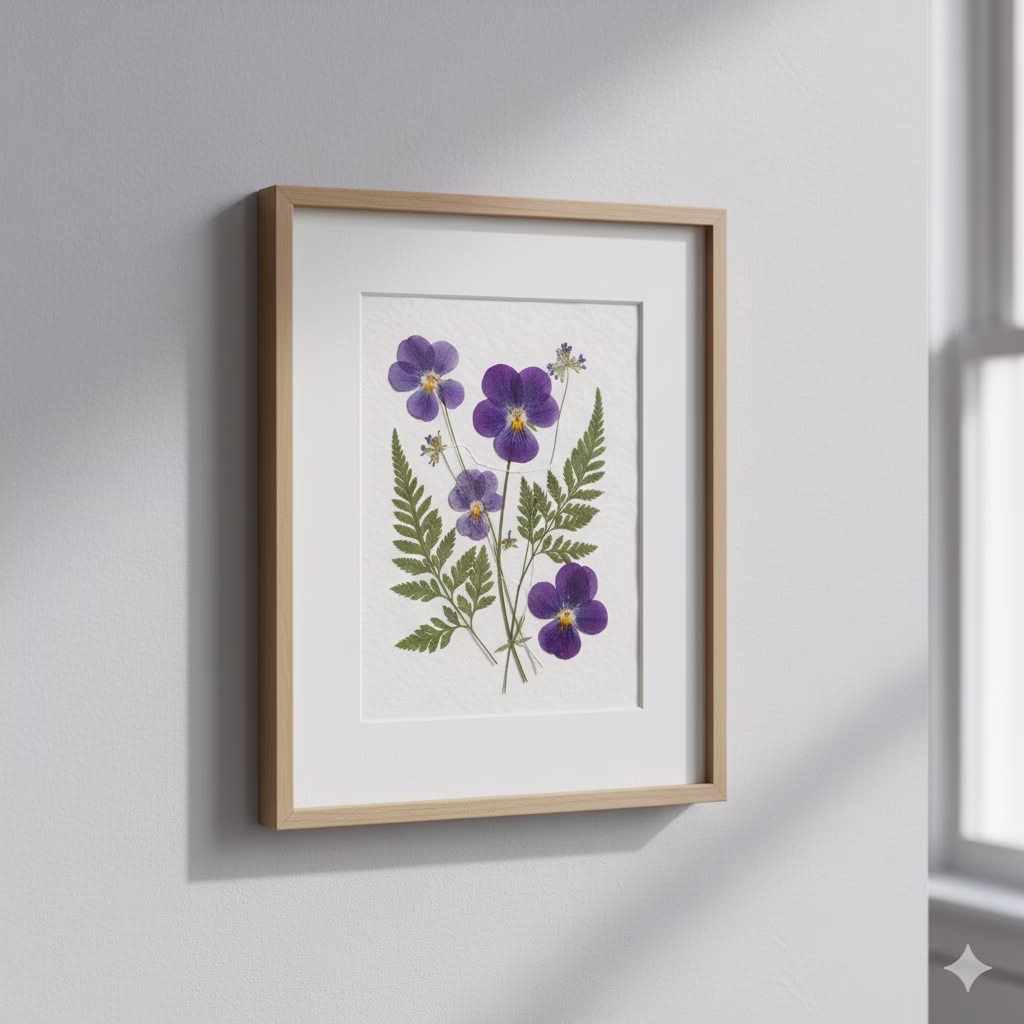
7. The Collector’s Showcase: Curated Tiny Treasures
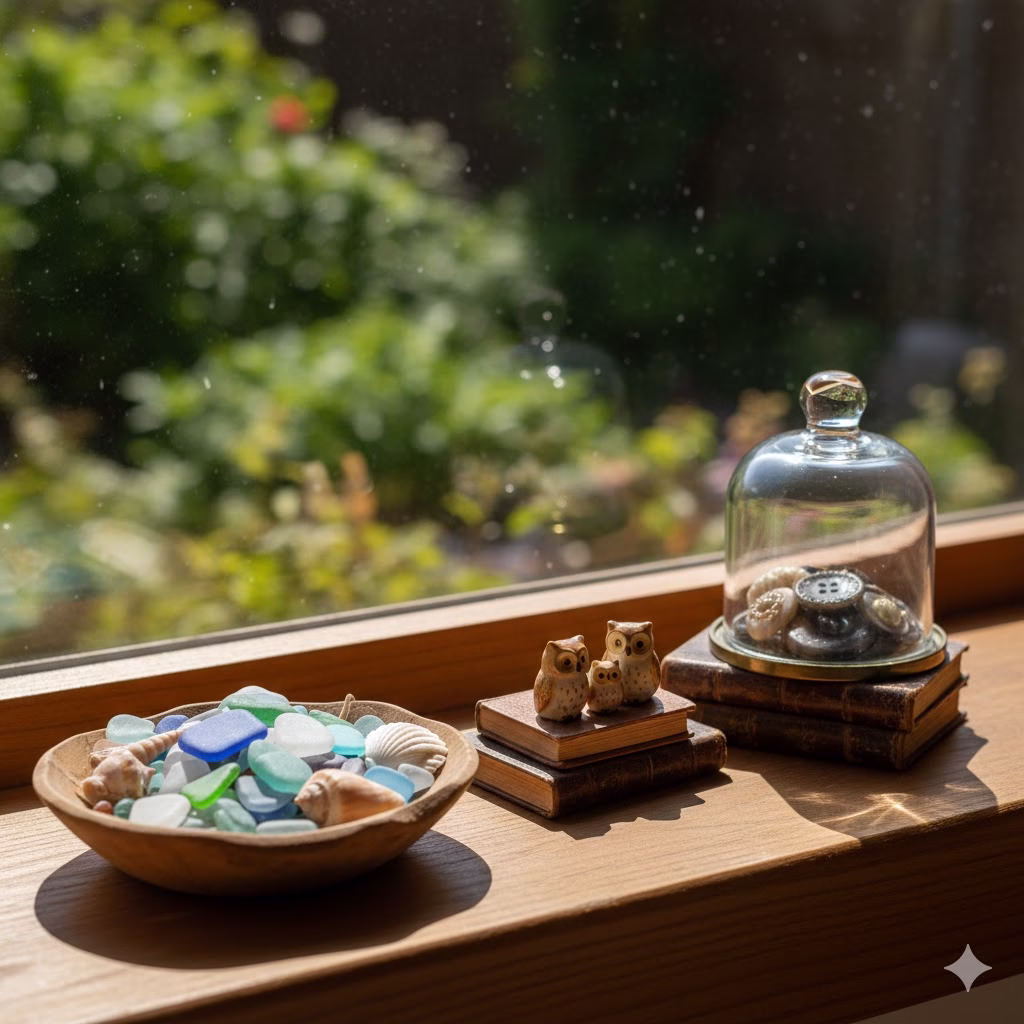
Do you have a collection of tiny, beautiful objects that deserve a spotlight? The window sill is the perfect “micro-gallery.” It is an ideal spot to display small pieces of art, special souvenirs, or inherited items where they can catch the light and start a conversation.
Why it works in small spaces: Collections can quickly take over a room. By limiting them to the window sill, you keep the collection under control. This creates a focused, interesting display without adding clutter to tables or shelves.
How to make it happen:
- Choose a Theme: Group items with a common theme, color, or origin. Examples: smooth stones from trips, small wooden birds, a set of colorful glass bottles, or tiny ceramic animals. Grouping them makes them look like one planned collection.
- Use Small Risers: Use tiny, wooden blocks or small stacks of books to raise certain items. This adds height and makes the display feel more professional and organized.
- Give Space to Each Item: Do not cram everything together. Give each piece a little bit of breathing room so it can be truly seen and appreciated. Focus on quality over quantity.
- Protect Your Items: If your collection includes valuable or light-sensitive items, ensure the window is UV-protected, as direct sunlight can damage colors or materials over time.
- The Glass Advantage: Glass collections (like antique inkwells, marbles, or small paperweights) look amazing on a window sill. The light shines through them, revealing their color and shape in a way that would be impossible in a darker spot.
Quick Tip: Use a shallow, colorful jewelry tray to hold very small, loose items like tiny sea glass or buttons. This keeps the collection together and makes the grouping look intentional.
Conclusion: Window Sill Décor as a Design Statement
The window sill is a small, mighty space. It is a canvas ready for your creativity. Whether you turn it into a tiny greenhouse, an organized work area, or a beautiful showcase for art, giving thought to your window sill décor will greatly improve your small space. It is a simple, cost-effective way to add beauty, light, and function to your home. By using these seven ideas, you can make sure that every inch of your space is not just used, but styled beautifully. Start styling your sill today—you will be surprised at the big impact this small change can make.
References
- D5 Mag – The Importance of Natural Light in Interior Design
- Metro Storage – How to Maximise Space in a Small Apartment
- Garden Design – 14 Best Houseplants for Bright Light
Recent Posts