The bedside table is often an overlooked piece of furniture, serving merely as a dumping ground for phones and half-read books. However, in the pursuit of a fully realized and tranquil aesthetic, this small surface holds significant power. This guide transforms the utilitarian nightstand into a curated, beautiful centerpiece that reflects intentionality and mindful living. Discover the art of arrangement, lighting, and personalization to create a highly functional and visually pleasing space.
Maximizing Your Bedside Table: The ‘Bedside Table’ Transformation
The “That Girl” aesthetic is more than just a trend. It is a promise to live with purpose, stay organized, and take care of yourself every day. This style says that being surrounded by beautiful, organized things can really help your mood and your work. This purposeful way of living is most important in the bedroom, especially on the bedside table.
A great bedside table balances looks and usefulness. It should hold the important things you need when you go to sleep and when you wake up. At the same time, it should be a quiet, beautiful display. This display must help create a calm feeling in the room. It is the last thing you look at before bed. It is also the first thing you see when you wake up. So, how it looks matters a lot.
This long guide will help you change your basic nightstand into a curated, inspiring small haven. This is a key part of the ‘That Girl’ lifestyle. We will talk about everything. This includes how to choose the right table, how to set up the light, what essential items to use, and how to add the final personal touches. These steps will make the space totally yours.
1. Foundation and Functionality: Choosing Your Canvas
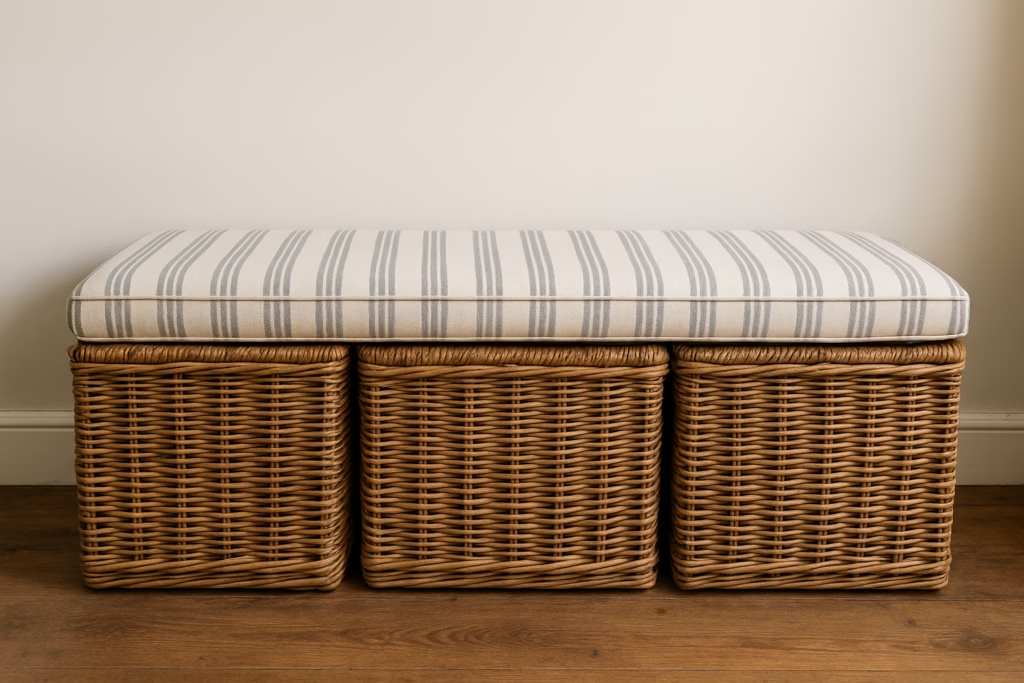
Before you start styling, the bedside table itself must be the correct one. The size and style are very important. They affect how the room feels and how easily you can keep the surface clean.
Selecting the Perfect Nightstand
The size of your nightstand needs to match the size of your bed and the space you have. A good rule is that the top of the bedside table should be about the same height as your mattress. This makes it easy to reach things like water or an alarm clock.
- Height: Try to find a height that is even with or a little taller than your mattress. Having to reach far up or down for things can ruin your comfort and sleep flow.
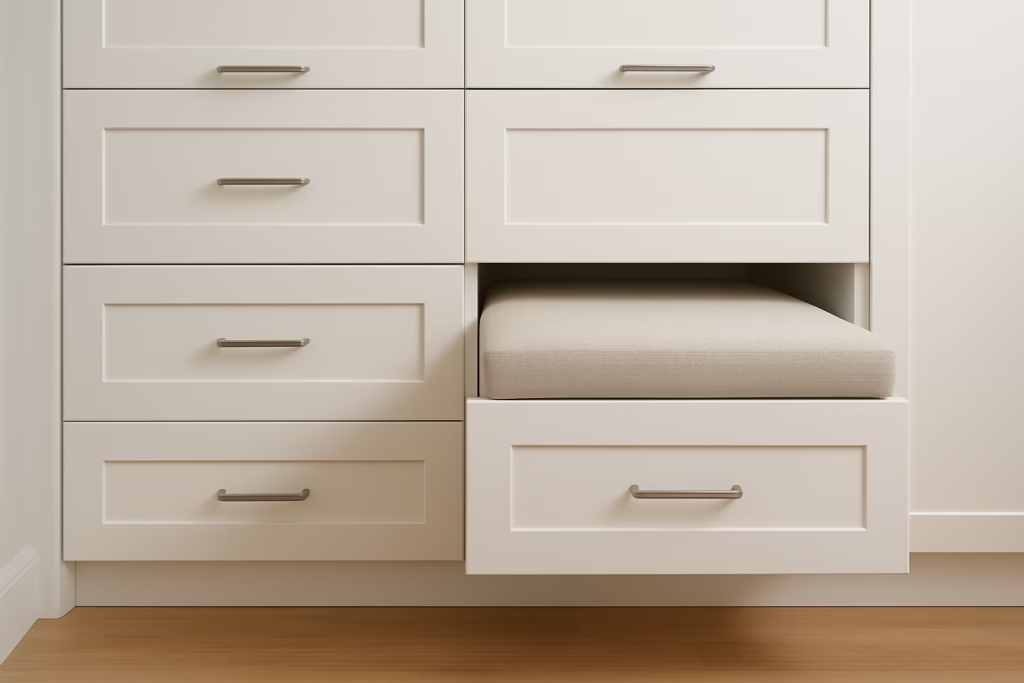
- Storage: The ‘That Girl’ style loves clean lines and surfaces with little on them. Look for a bedside table that has at least one drawer. Drawers are your secret way to hide things you do not want to see. This includes charging cords, hand creams, and reading glasses.
- Style: Pick a style that fits your current bedroom look. This could be warm wood, modern smooth lines, or cool, simple metal. When everything matches, it helps the room feel calm.
The Power of Empty Space
When you look for bedside table ideas, remember that less is often best. A small group of carefully chosen items always looks better than a surface that is too full. Using empty space—leaving parts of the table open—is key. This helps you get that light, simple ‘That Girl’ look. This is a very important first step. It stops your organized bedside table from going back to being a place where you just dump things.
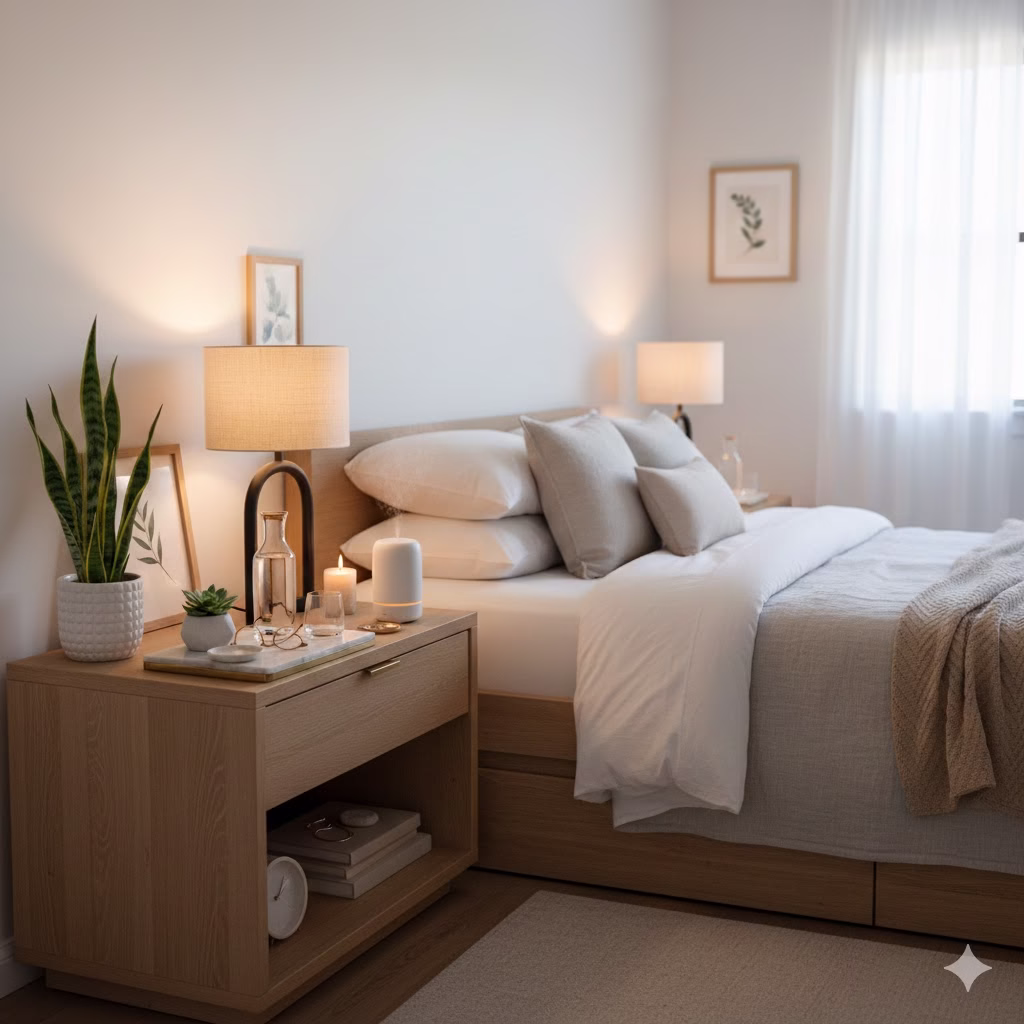
2. Layering the Light: Setting the Mood
Lighting is likely the most important item on your bedside table. It sets the mood for your bedtime routine. It also gives you light to read by. The light itself should be a beautiful object.
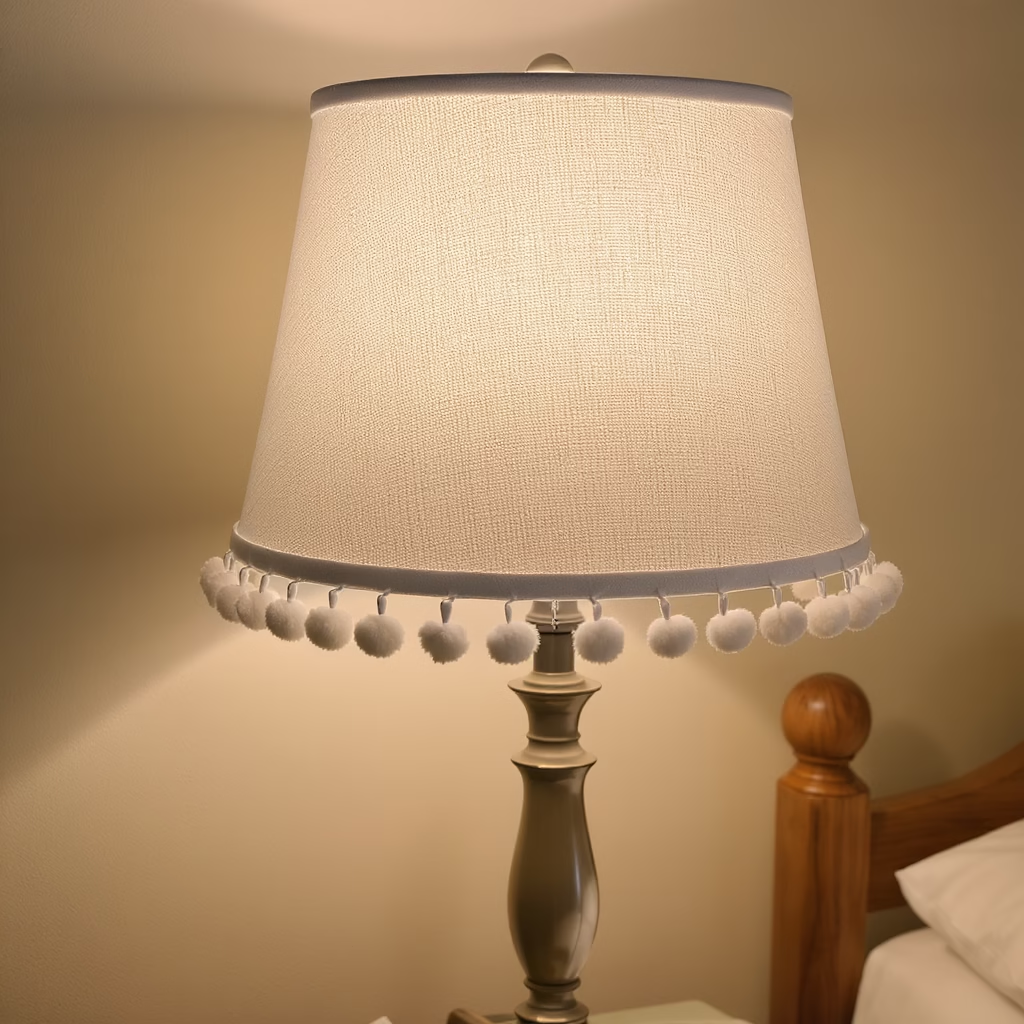
Choosing the Right Lamp
The ‘That Girl’ style often likes lamps that look like art but are still simple. They should give off a warm, gentle light, not a bright, harsh light.
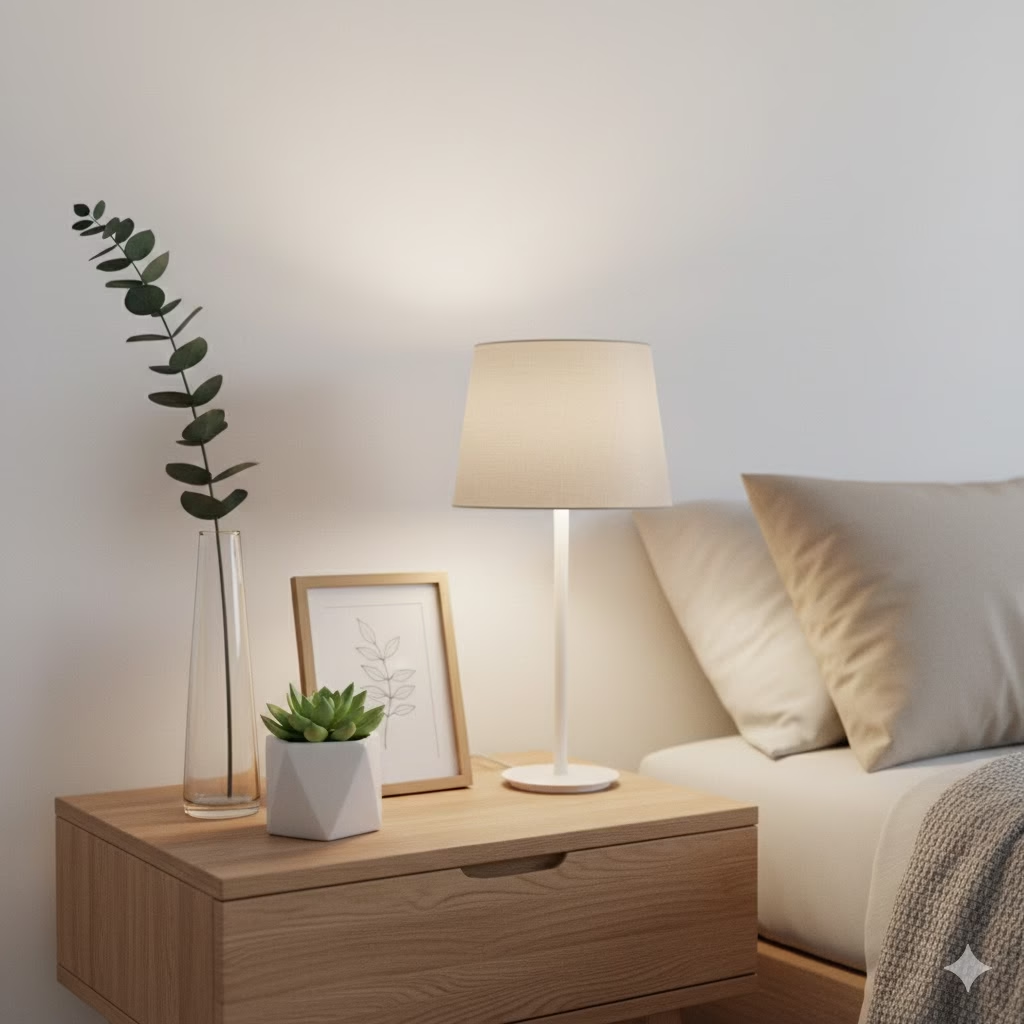
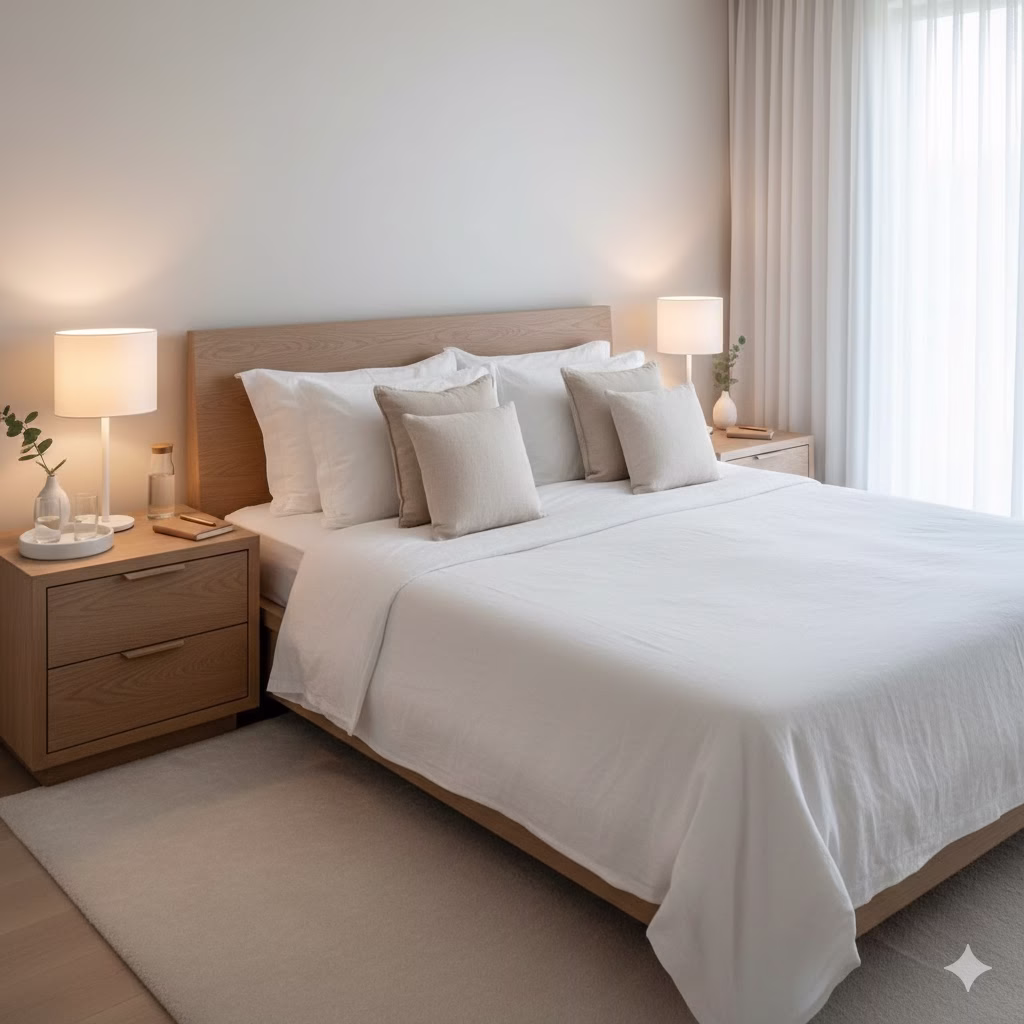
- Size and Scale: Make sure the lamp base and shade fit the size of the bedside table. A lamp that is too tall or wide will take over the whole space. The bottom of the lampshade should be about at eye level when you sit up in bed. This keeps the light from shining straight into your eyes.
- Warm Tones: Choose bulbs that have a warm colour (around 2700K). This soft, welcoming light helps you relax and sleep. This is better than the harsh blue light that comes from screens.
- Modern Choices: If you do not have much room, think about lights attached to the wall. You could also use lights that hang from the ceiling above the nightstand. This gives you more room on the surface for other pretty things. It also creates a smart, unique look.
Adding Work Light and Mood Light
Think about your bedside table light in two parts:
- Work Light: This is the light needed for reading. The lamp should shine light down onto your book.
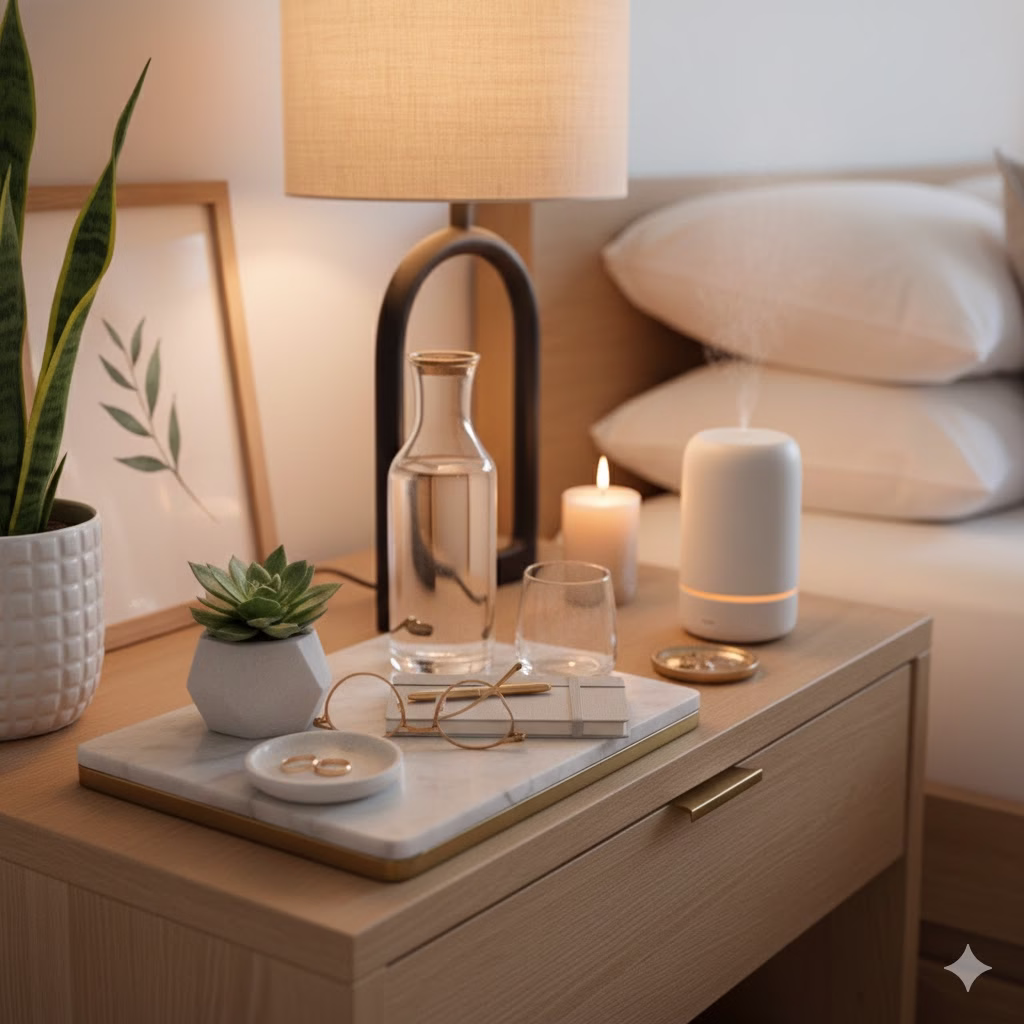
- Mood Light: This is the general soft light that helps the bedroom feel good. If the lamp only shines in one spot, use a small candle or a diffuser with a soft light. This adds more warmth to the overall feeling.
3. Essential Elements: Chosen and Purposeful Items

The things you put on your bedside table must be both useful and beautiful. Every single thing must be important enough to be there.
The Three Useful Things
Focus on three main useful things for your styled bedside table: Water, Time, and Comfort.
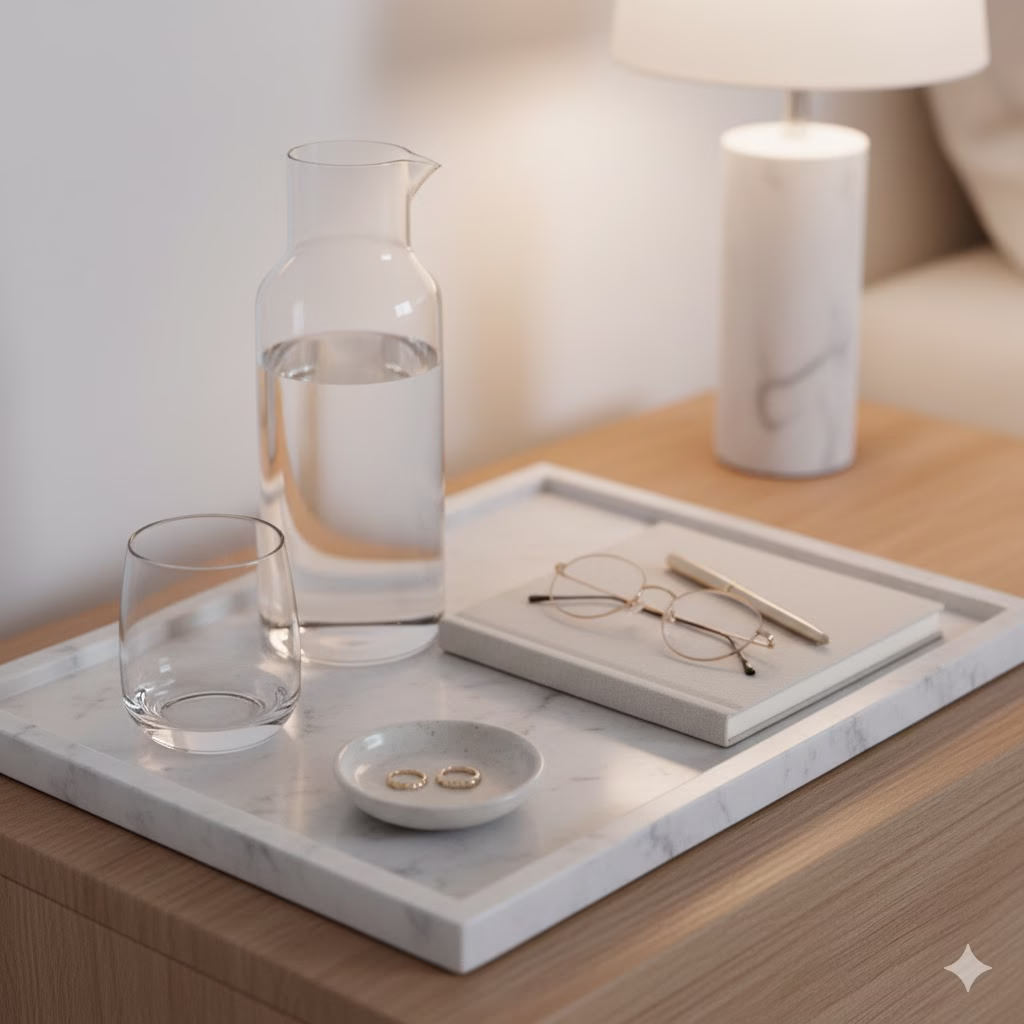
- Water: Stop using a plastic bottle or a normal glass. Use a beautiful water carafe with a glass that matches. This makes drinking water look much nicer. It shows you care about yourself.
- Time Management: Keep your phone inside the drawer. This helps you avoid the blue light before you sleep. Instead, use a stylish, simple alarm clock. Older-style clocks often look better. They give the space a good feel.
- Comfort/Scent: A small, pretty oil diffuser or a simple scented candle is needed. Choose one in a simple pot or glass. Scents really help you relax. A calming scent like lavender helps your body get ready for sleep.
Reading Material
The ‘That Girl’ style suggests you are always trying to learn and grow. Keep the books you are reading neat and in one place.
- Stacking: A small, tidy stack of one to three books is best. Use a decorative thing to hold the books up, like a pretty rock or a small coaster. This keeps the stack neat.
- Topic: Keep books about staying mindful, improving yourself, or classic literature. Choose things that make you think, not things that keep you on a screen.
4. The Decorative Touch: Plants and Personal Items
Once you have the basics and the useful items, add things that bring life and your personality to your bedside table ideas.
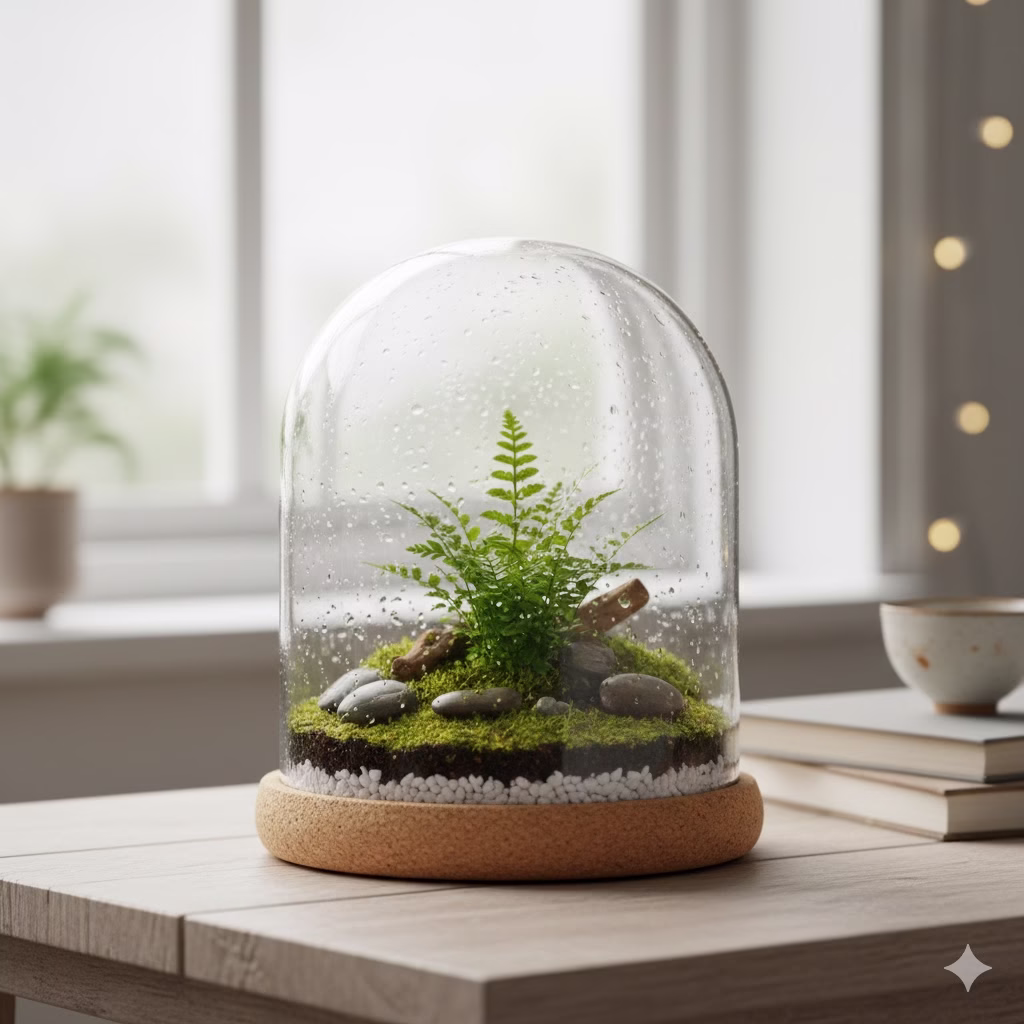
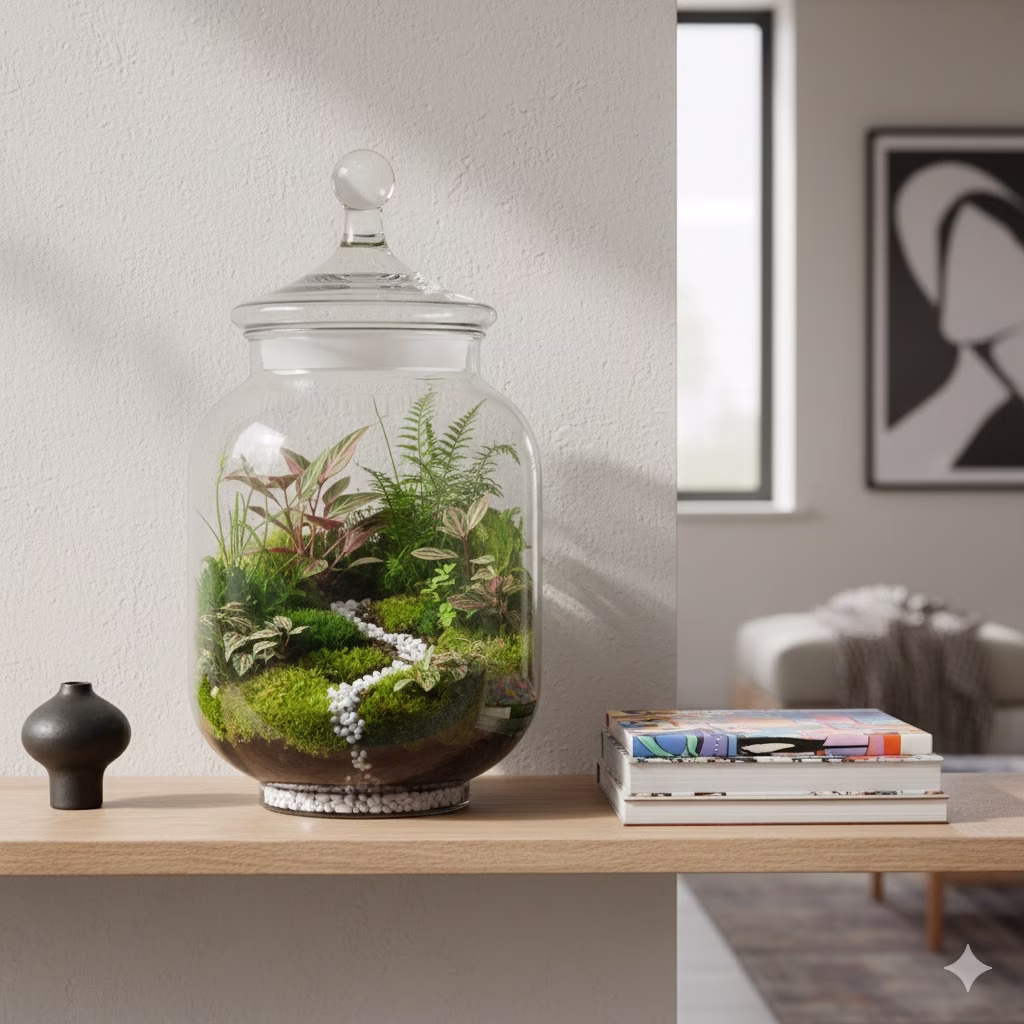
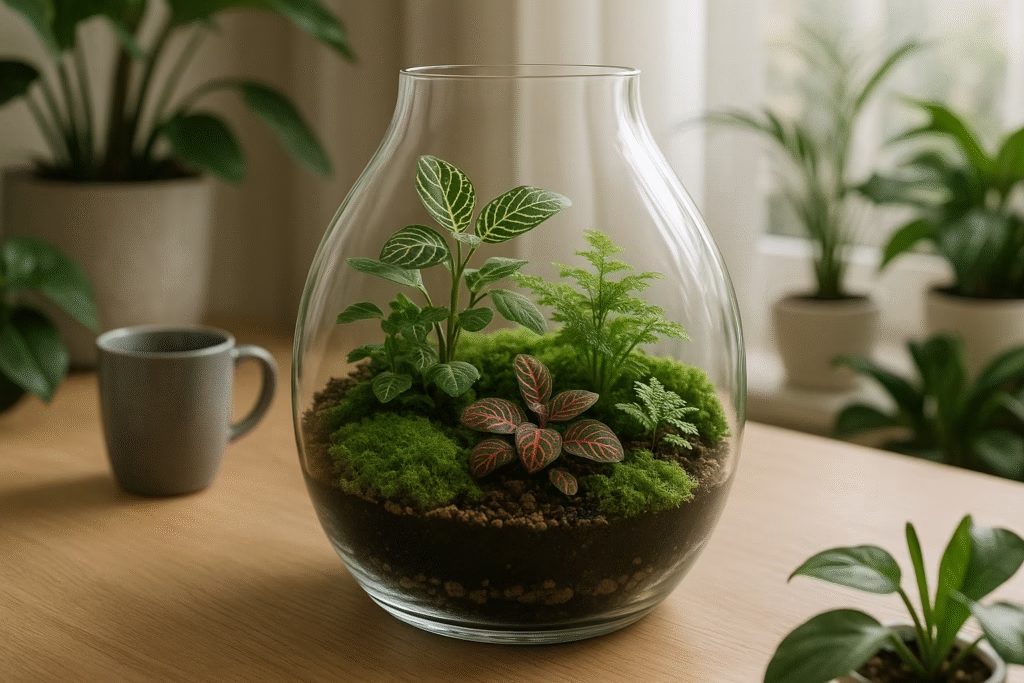
The Plant Element
Bringing nature inside is a key sign of a peaceful, purposeful space.
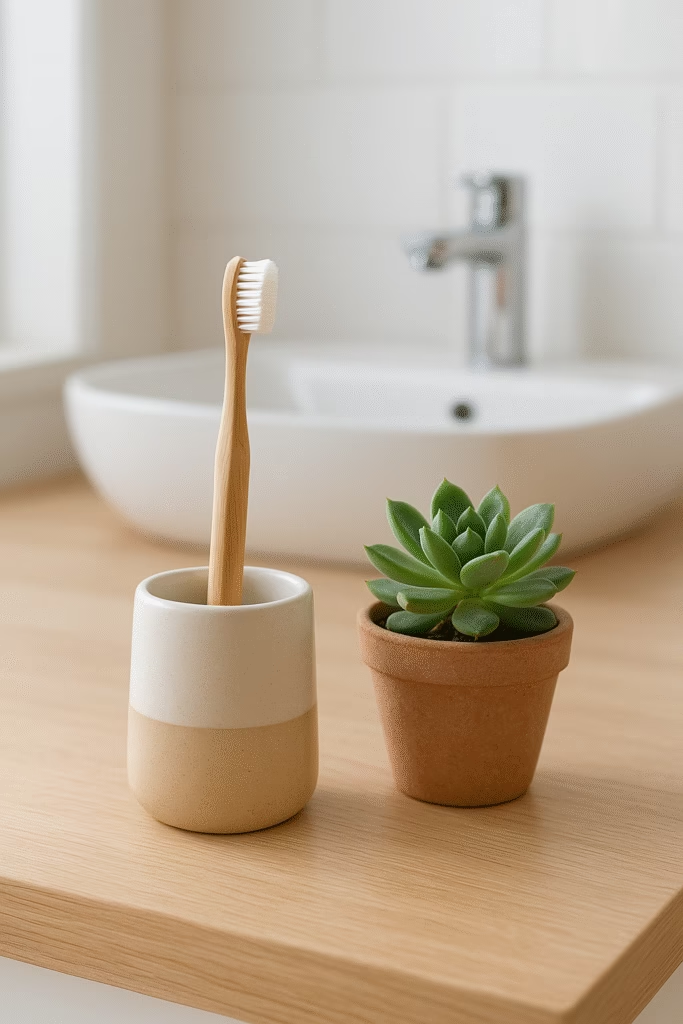
- Potted Plants: Pick plants that do not need much work and grow well inside. Good choices are a Snake Plant, ZZ Plant, or a small group of succulents. Put them in a simple, neutral pot. This could be clay or white ceramic. The pot should look good with the room.
- Single Stem: If you like things very simple, use just one stem. This could be a dried flower or a piece of green eucalyptus. Put it in a small, thin vase. This gives a clean, stylish look without too much clutter.
Adding Simple Art and Keepsakes
This is the chance for your unique style to show. But keep it simple and contained.
- Small Art: A framed picture or a piece of abstract art can lean against the wall. It should not be bigger than a postcard. The frame must match the room’s style. For example, use thin metal or natural wood.
- The Jewelry Dish: For small things like jewelry, lip balm, or hair ties, you need a small, pretty dish or tray. This could be made of ceramic, marble, or brass. This stops small items from making the surface look messy. It makes sure every small thing has its own clean place. Never let items just lie loose on the table. They must be inside something.
5. Maintenance and Good Habits: Keeping it ‘That Girl’
The hardest part of styling a bedside table is keeping it looking good all the time. The ‘That Girl’ rule is based on having regular, careful habits.
The Daily Clean-Up
Make it a habit to “reset” your bedside table every morning or evening. It is like wiping down your kitchen counter.
- Tidy Up: Put away the book you finished. Put the charging cord back in the drawer. Place the water carafe back neatly.
- Wipe Down: Dust always makes simple looks seem messy. A quick wipe with a soft cloth keeps the surface clean and perfect.
Making Drawers Tidy
The inside of your bedside table drawers should be as organized as the top. Use small organizers inside the drawers to keep things separated.
- Sorted Spaces: Set aside one section for technology (chargers, headphones). Use another for comfort items (sleep masks, hand cream). Use a third for writing supplies. When everything has a set place, clutter is less likely to spill out onto the table’s surface.
A Note on Phones
For the ‘That Girl’ way of sleeping and feeling good, the bedside table should be a no-phone zone. Put your phone on a charger inside a drawer or even farther away from your bed. Use the stylish alarm clock to wake you up. This makes sure that the first thing you see in the morning is not a screen full of messages, but a beautiful, calming space.
Conclusion: The Bedside Table as a Reflection
The bedside table is a small surface that makes a big impact. It shows how you approach life. Is it a messy pile that shows you are always rushing? Or is it a neat display that shows you are purposeful, careful, and pay attention to small details?
Use these simple rules. Pick the right base. Add warm, useful light. Only use beautiful, necessary things. Keep the space clean every day. If you do this, you can change your nightstand into a source of peace and inspiration. This better space will always remind you to live a more mindful and beautiful ‘That Girl’ life.
Changing your bedside table is not just about decorating. It is about making your space work for your best self. It turns a normal piece of furniture into something special that helps you feel calm and stick to your routine.
External References
- Science Direct – Exploring associations between clutter and wellbeing
- MI blue daily – What Color Light is Best for Sleep?
- Nancy Straughan – How to Style Small Spaces
Recent Posts