As a lifelong lover of simple, natural home décor, I find joy in crafting beautiful things from everyday materials. There’s a magic in taking something ordinary, like a humble piece of dried fruit, and turning it into vibrant, sun-kissed art that brightens a room. This guide to making Dried Fruit Garlands is born out of my own efforts to make my house feel more like a home, filled with warmth and natural charm. I hope it inspires you to embrace your inner crafter and create something truly beautiful and lasting for your own space.
The Natural Charm of Dried Fruit Garlands
We all want home décor that is both beautiful and meaningful. For this goal, natural elements often provide the best results.
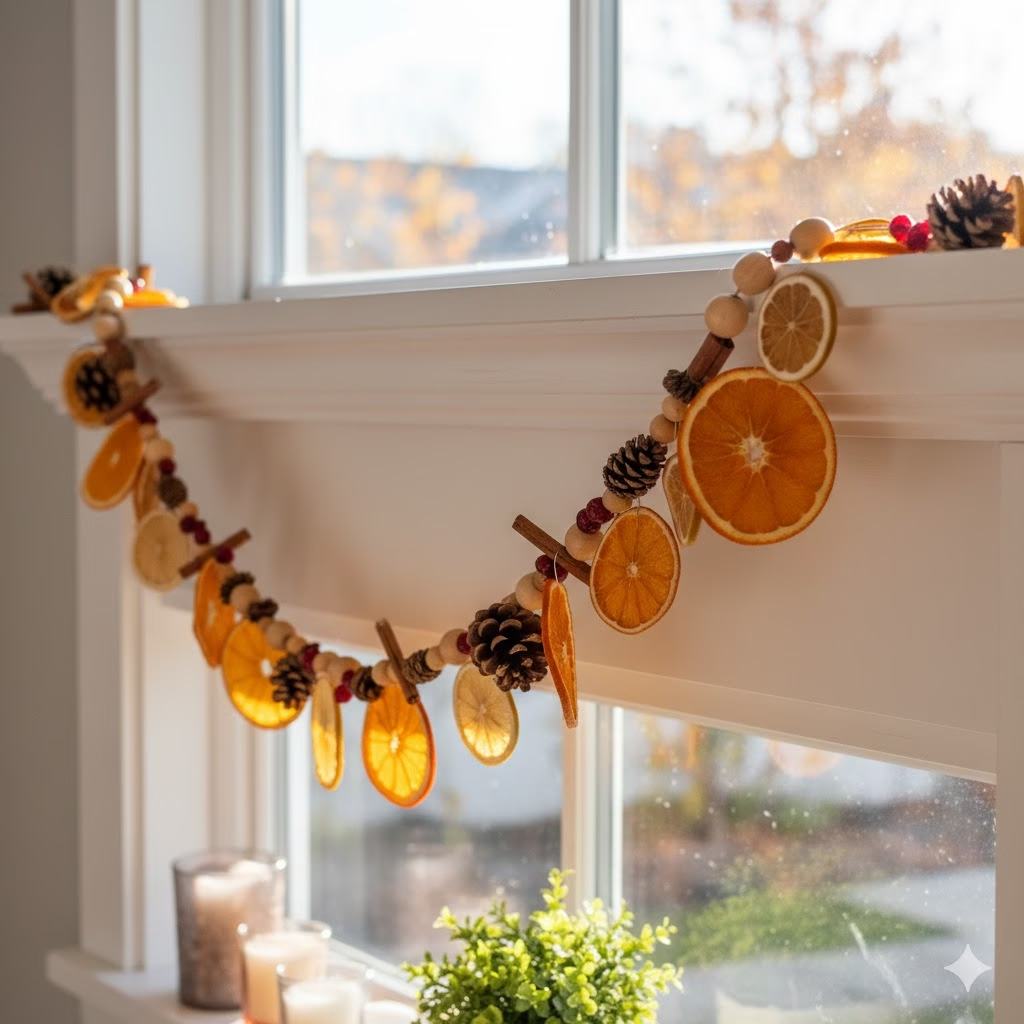
Dried fruit garlands were once a staple of old-time holiday decoration. They are now popular again. Homeowners look for décor that is sustainable, charming, and vibrant. These garlands are not just for the holidays. When made right, Dried Fruit Garlands offer color and texture all year long. They make any room look warm with their translucent glow and light scent.
The appeal of a dried fruit garland is its simple, natural feel. Making one is relaxing. The final product is a stunning display of nature’s palette. You see deep cranberry reds and translucent orange citrus slices. They catch and reflect light in a way artificial items cannot. This gives your home a warm, inviting, and handcrafted feel.
Why Use Dried Fruit Garlands?
- Natural Brightness: Drying makes the color stronger. This creates a stained-glass effect when light shines through.
- Eco-Friendly Decor: They use natural, safe materials. This makes them a green choice for decorating.
- Pleasant Scent: The light smell of citrus, apple, or spice adds a gentle, welcoming aroma to your home.
- Easy to Match: They fit any style, from country rustic to sleek modern. It depends on the fruits and string you choose.
The Art of Drying: Good Prep Works Wonders
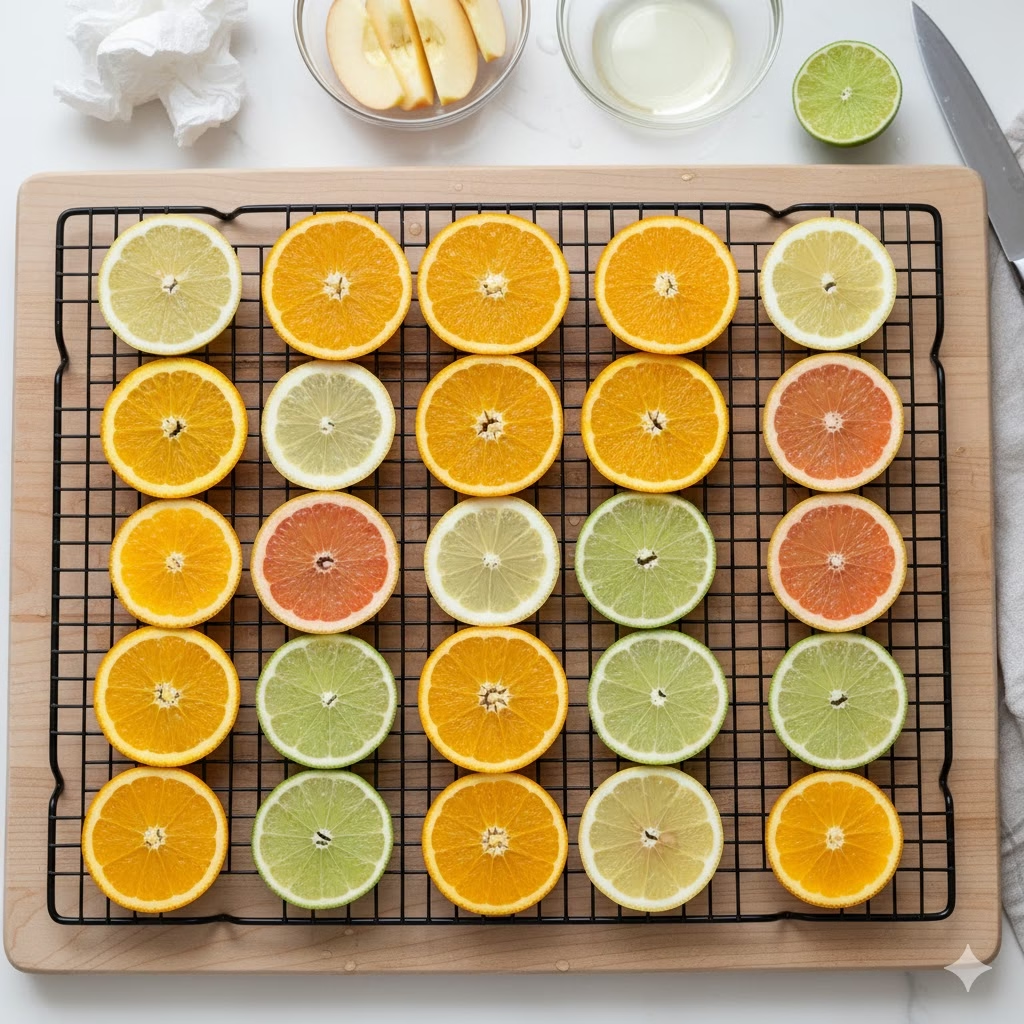
Perfectly dried fruit is the start of any beautiful Dried Fruit Garland. Rushing this step can cause problems. You might see mold, color change, or brittle slices that break easily. The goal is simple: remove all moisture. You must also keep the slice’s shape and color intact.
Step-by-Step Drying Guide
Choose and Slice:
Pick firm, undamaged fruit. Citrus fruits (oranges, lemons, limes, grapefruit) are the best choices. They have striking color and catch light well. Apples and pears also look nice, but their color darkens. You can use a special soak to fix this.
- Slice Evenly: Use a sharp knife or a slicer (be careful!) to cut slices. Aim for 1/8 to 1/4 inch thick. Cutting them all the same size is vital for quick, even drying. Thinner slices dry faster but break easier. Thicker ones need more time.
- Press Out Water: Lay the slices on paper towels. Gently blot them. This removes water from the surface. It stops sticking and speeds the process.
- Soak Apples/Pears (Optional): To keep apples and pears from turning brown, dip them briefly. Use a mix of equal parts water and lemon juice before drying.
Drying Methods:
| Method | Temp. | Time (Approx.) | Best For | Tips |
| Oven Drying | 170−200∘F | 4−8 hours | Citrus, Apples | The easiest and most common way. Turn slices every hour. |
| Dehydrator | 135∘F | 8-12 hours | All fruits | Requires a machine. Offers the most control and speed. |
| Air Drying | N/A | 3-7 days | Thin slices, Berries | Only works well in places with low moisture. Put on a mesh rack. |
The Ready Test:
The fruit is done when it feels dry. It should be leathery and slightly hard, but not burnt. It must not feel cold or sticky. Press it firmly. No water should appear. Once fully dry, let the fruit cool fully before you start stringing.
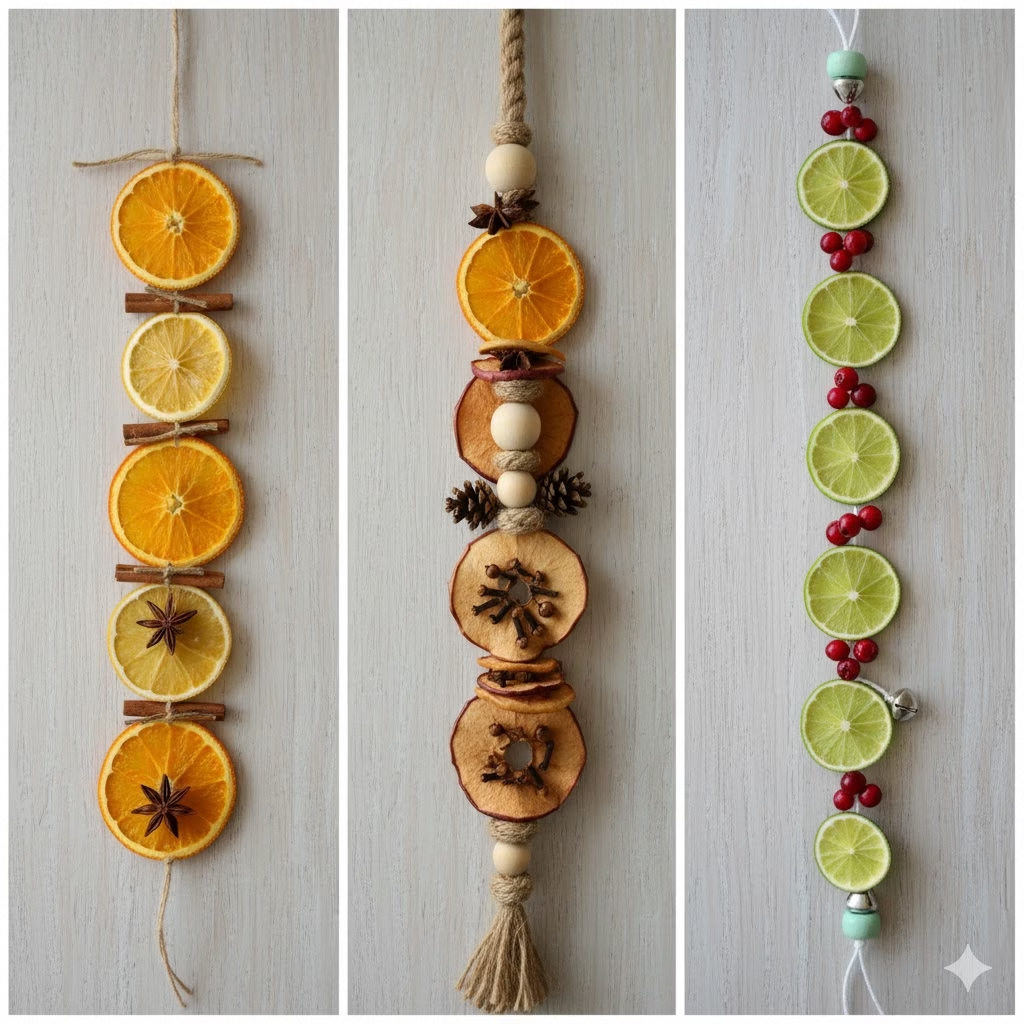
Design Ideas: Beautiful Garland Examples
The true beauty of Dried Fruit Garlands comes from mixing different textures, colors, and materials. Here are several great ideas for your own craft project:
Concept A: Bright Citrus Shine
This is the classic dried fruit garland. It offers the most light and color.
- The Look: Warm, bright, and glowing. Perfect for windows, shelves, or doorways.
- Contents: Alternate slices of dried oranges and dried lemons.
- Added Pieces: Whole cinnamon sticks (tied with brown string) and small bunches of dried bay leaves or star anise.
- String Material: Thin natural jute twine or clear fishing line for a floating look.
Concept B: Cozy Apple and Spice
A nice, darker garland with a warm, country feel.
- The Look: Earthy, textured, and with a soft, nice smell. Great for a kitchen or dining area.
- Contents: Dried apple slices (keep the skin on for a rustic style) and dried orange rounds.
- Added Pieces: Small pinecones, wooden beads, and small groups of whole cloves pressed into a few apple slices before they dry.
- String Material: Thick, natural hemp rope or rustic ribbon woven into the top.
Concept C: Red Cranberry and Lime
A brighter, more festive garland. It has nice flashes of red and green.
- The Look: Lively, colorful, and great for a party or celebration.
- Contents: Dried lime slices and whole, air-dried cranberries (poke them with a needle first).
- Added Pieces: Small silver or gold bells and wooden pieces painted a light mint green color.
- String Material: Simple cotton string or thin wire for a drape that holds its shape well.
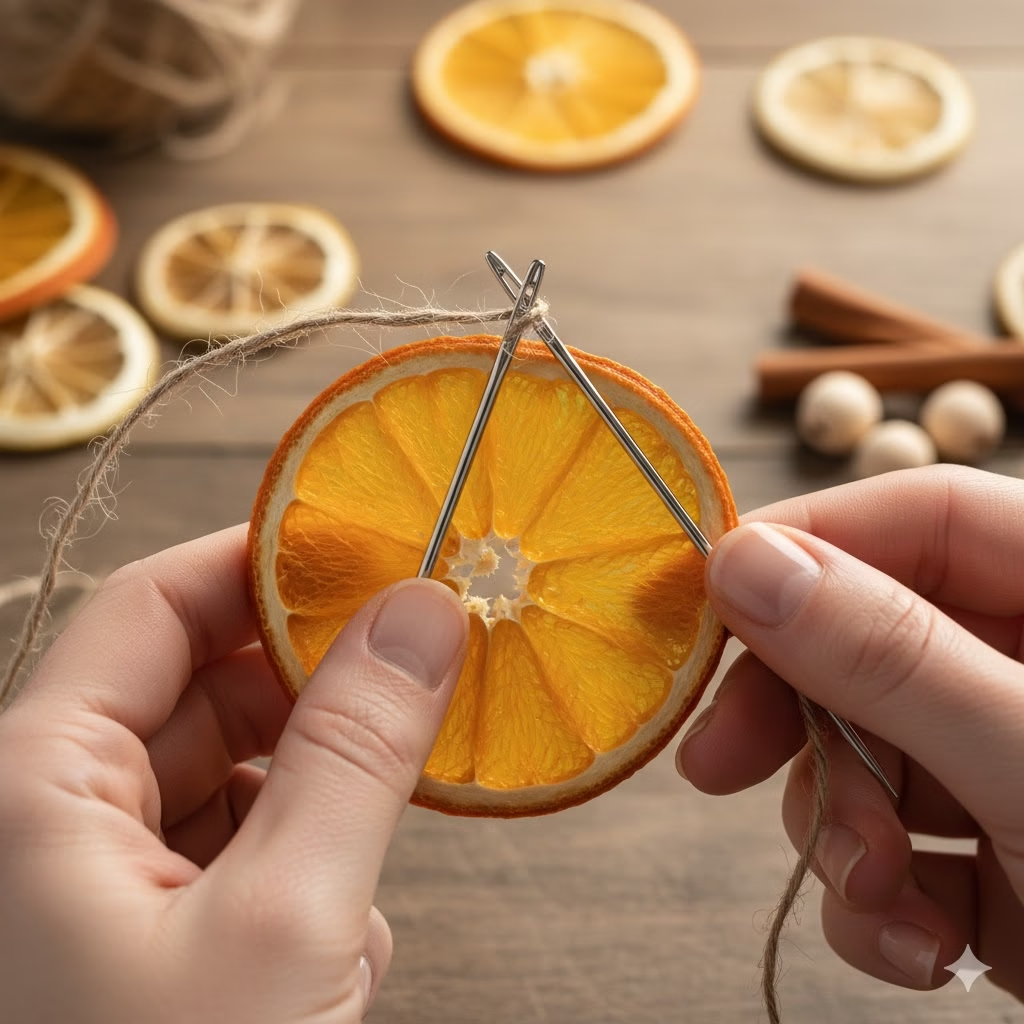
The Stringing Process: Making the Garland
Your fruit is dry and cool now. Next, you begin to put the pieces together. This stage needs patience and the right simple tools.
Tools You Will Need
- Needle: A long needle with a large opening (a weaving or doll needle works best).
- String: Your choice of twine, wire, or clear line.
- Small Poke Tool (Optional): A thin awl or skewer. Use it to pre-poke holes in fruit that is thick or very hard.
- Scissors
- Accent Pieces (beads, cinnamon sticks, etc.)
How to String a Garland
- Measure the Length: Check the space where the garland will hang. Add extra length for loops and knots at the ends. Cut your string long enough. It’s best to start too long than too short.
- Tie the Start: Tie a large knot. Or, tie on a small bead at one end. This stops the fruit from sliding off.
- Go Through the Fruit: Thread your needle. Gently push the needle through the center of the dried fruit slice. For the best look and strength, pierce the fruit in two spots near the top edge. Keep the holes about an inch apart. This two-point threading helps the slice lay flat. It keeps it from spinning on the string.
- Add Spacers: Add an accent piece between each fruit slice. This could be a wooden bead, a small cinnamon stick, or a simple knot. This keeps the slices from crowding together. The pattern of fruit and spacer makes the final look of the garland.
- Keep it Gentle: Pull the string to keep it neat, but do not pull too tight. Too much force could tear the dried fruit.
- Secure the End: When you reach the length you want, tie a strong final knot. Make a loop for hanging, or tie on another accent piece to secure all items.
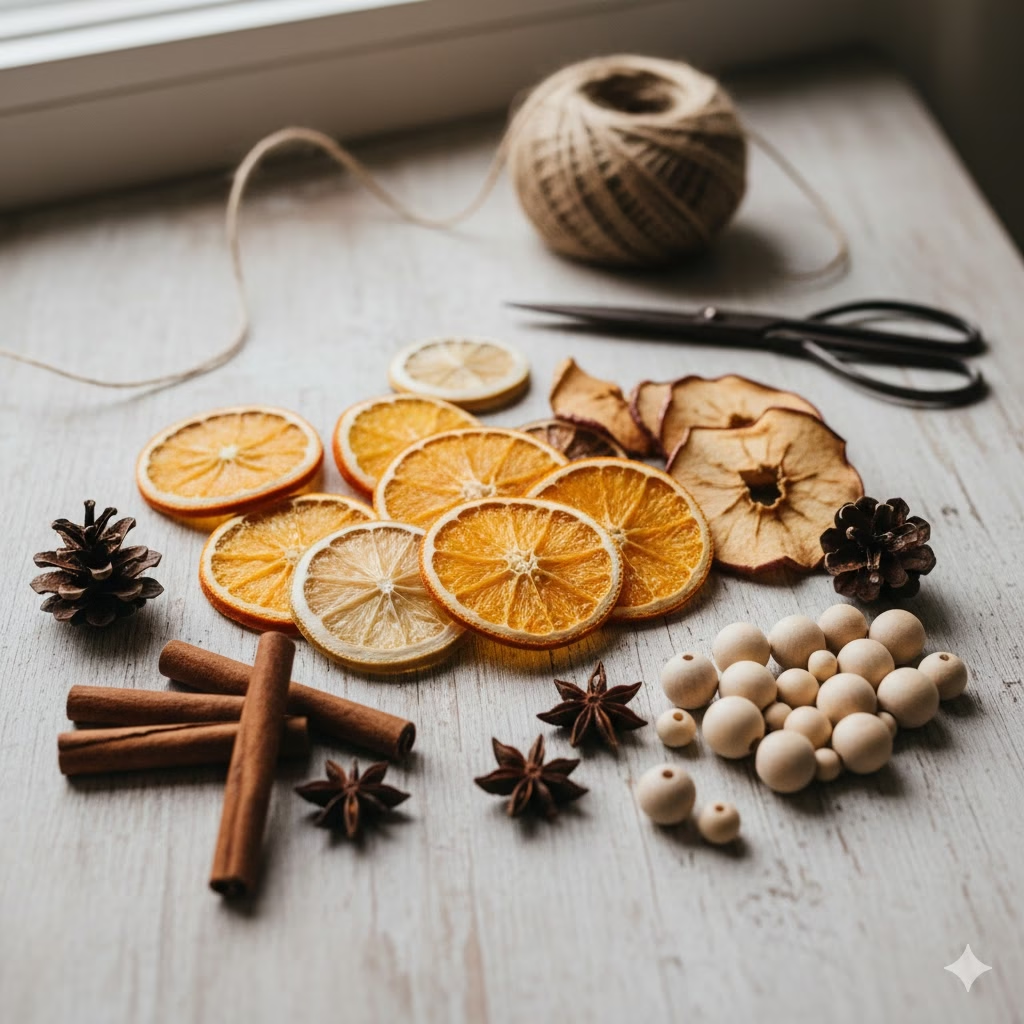
Beyond Fruit: Adding Natural Elements
Dried fruit is the main star. However, the other natural items you add give your garland depth and texture.
| Natural Element | What It Does | How to Attach |
| Cinnamon Sticks | Adds a rich scent and dark, woody look. | Tie it to the string using thin twine. Or, push the string through the stick’s center hole. |
| Bay Leaves | Brings a soft green color and a different shape. | Push the stringing needle through the stem end. |
| Star Anise | Beautiful, pointed shape and spicy smell. | Tie with fine thread. Or, use a small dab of hot glue to fix them to the string. |
| Popcorn/Cranberries | Adds bright color and light bulk. | String them one by one with the same needle. Make sure the popcorn is fully popped and cool. |
| Wooden Beads | Good, even spacers that give a rustic feel. | Simply thread them onto the string between the fruit pieces. |
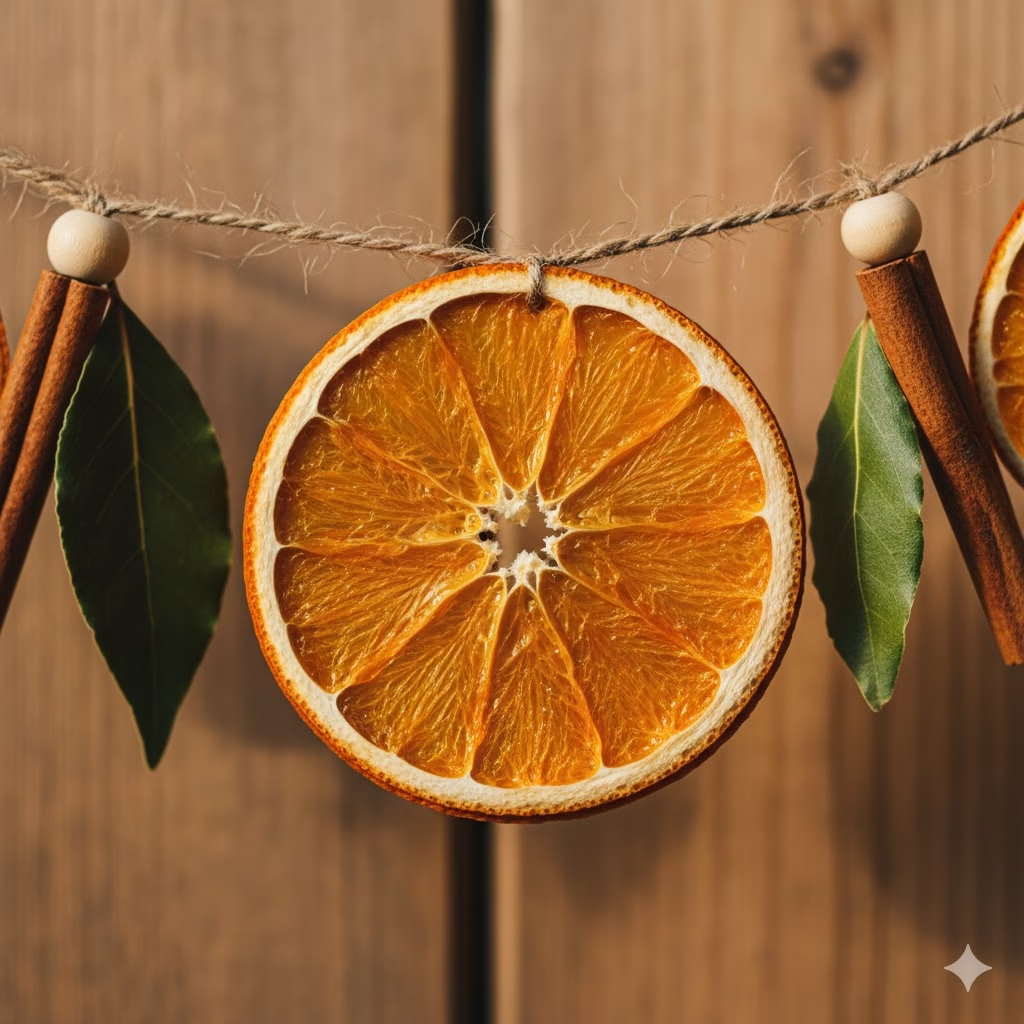
Keeping Garlands for a Long Time
Everyone asks: how long can my Dried Fruit Garlands last? With good care, they can last for many seasons, maybe even years. The worst threats are moisture, which causes mold, and bugs.
Tips for Long-Term Care
- Dry Fully: This is the most important step. The garland will not last if any water remains inside the fruit. This is why drying slowly at a low heat is best.
- The Clear Coat Choice: You can brush both sides of the dried fruit with a clear craft sealant. Use a kind that will not yellow. This seal keeps out moisture and insects. This does make the natural scent disappear.
- Pick the Right Spot: Hang your garlands inside. Keep them away from high moisture areas (sinks, baths) and direct heat. A fireplace mantel or a sunny window works well. The sunlight helps keep them dry.
- How to Store: When you take it down, store the garland in a cool, dark, dry place. Wrap it loosely in thin paper, not plastic. Plastic can trap water. Place the wrapped garland in a strong cardboard box.
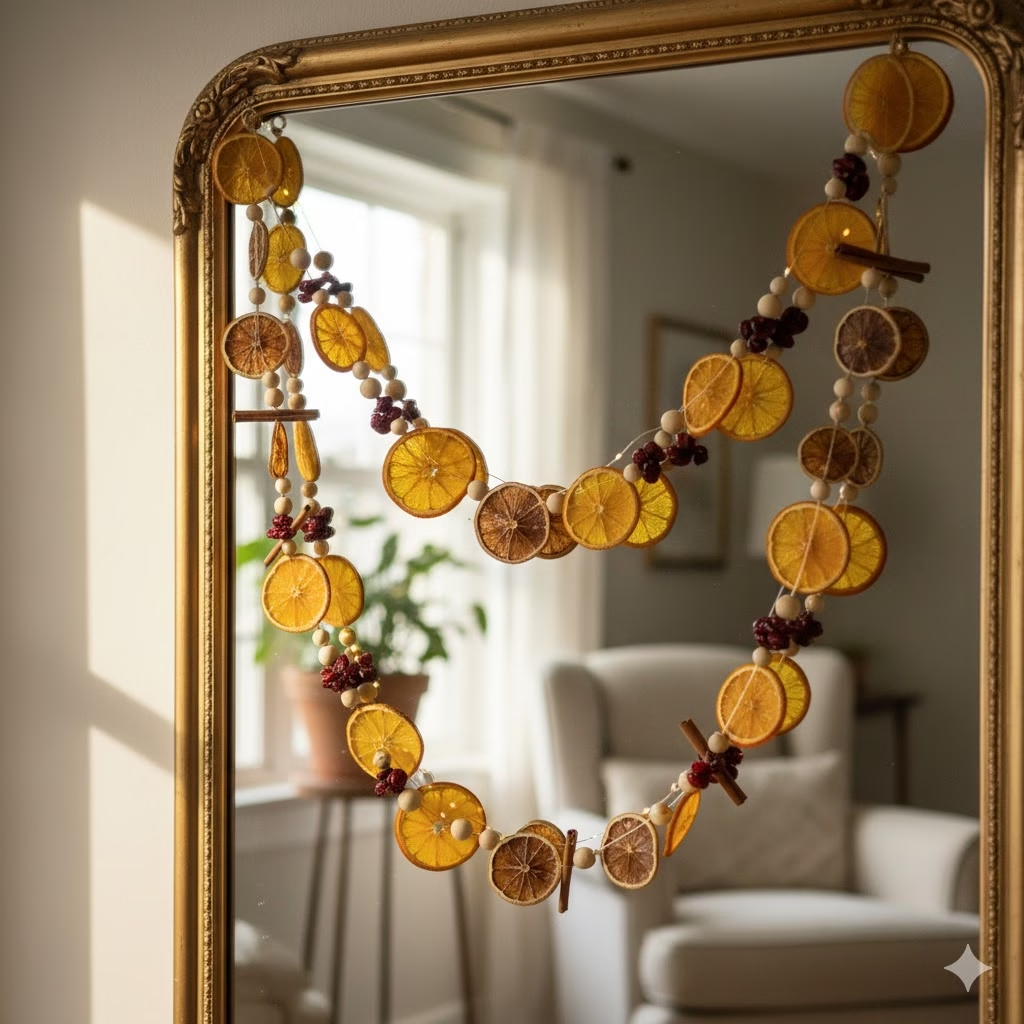
More Than Standard: Creative Display Ideas
Draping a garland over a door or shelf is lovely. However, Dried Fruit Garlands can be used in many new ways.
- Window View: Hang a garland right in a window. The sun will shine through the fruit, giving it a stained glass look.
- Table Center: Weave a shorter garland along the middle of a table. Mix it with candles and green branches.
- Gift Wrap: Use a small length of the garland instead of a ribbon on a present. This adds a unique, natural flair.
- Light Fixture: Gently wrap a light garland around the arms of a hanging light. This adds a soft, warm, festive glow to the room.
- Curtain Tie-Backs: Use short sections to hold back curtains. This adds a decorative touch to your window.
Frequently Asked Questions
Q: Can I use fresh fruit to make my garland?
A: No, you must dry the fruit completely first. Fresh fruit will rot quickly and become moldy. Also, the water inside will be too heavy and tear the slices apart.
Q: Why is my dried fruit turning brown or dark?
A: Apples and pears often turn brown. This is due to air exposure. You can slow this down by soaking the slices in lemon water before you dry them. Also, too much oven heat can cause the fruit to burn and darken. Use a very low oven heat, below 200∘F.
Q: How do I keep bugs away from my Dried Fruit Garlands?
A: Bugs like water and leftover sugar. The best defense is to make sure the fruit is 100% dry. Hang it in a low-moisture area. If you see any bugs, take the garland down right away. Throw away any pieces with bugs. You can wipe the rest with a cloth barely wet with white vinegar before you re-hang them.
Q: What is the best type of string to use?
A: Natural materials like jute, cotton, or hemp work well for a rustic look. Use clear line or a thin wire for a floating, invisible look. Choose a string that looks good with your garland’s style.
Reference Section
- WebMD – Dehydrating Food: Is It Good for You?
- Healthline – How to Dehydrate Food: Methods
- Health Harvard – Dried fruit: Healthy snack
Recent Posts
