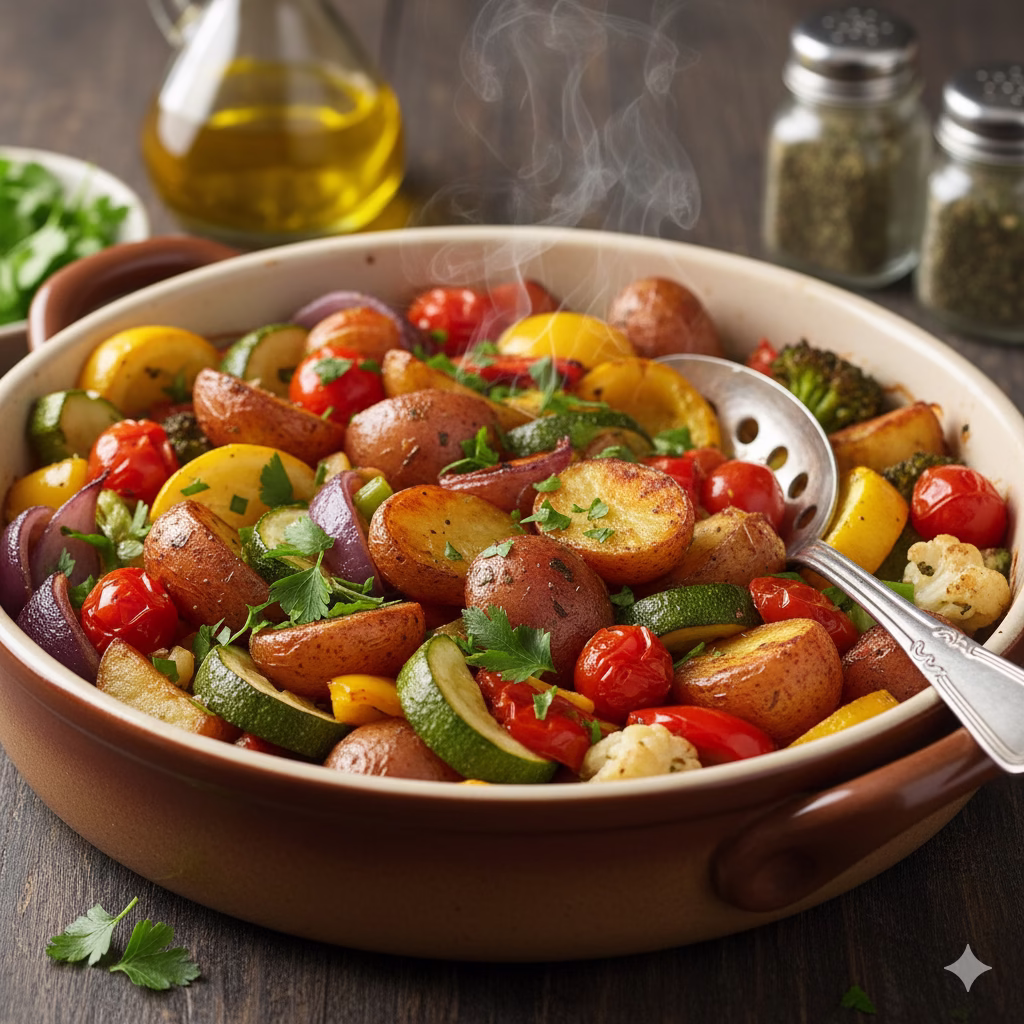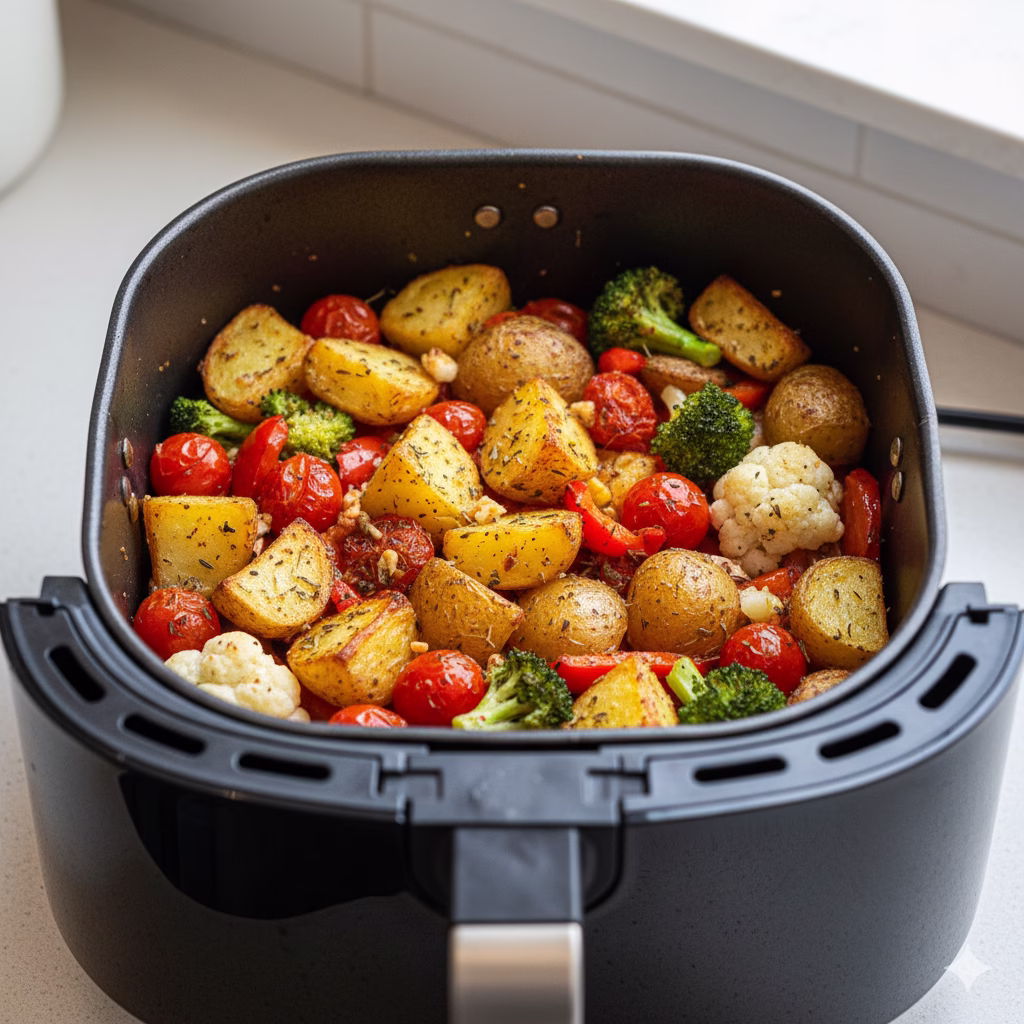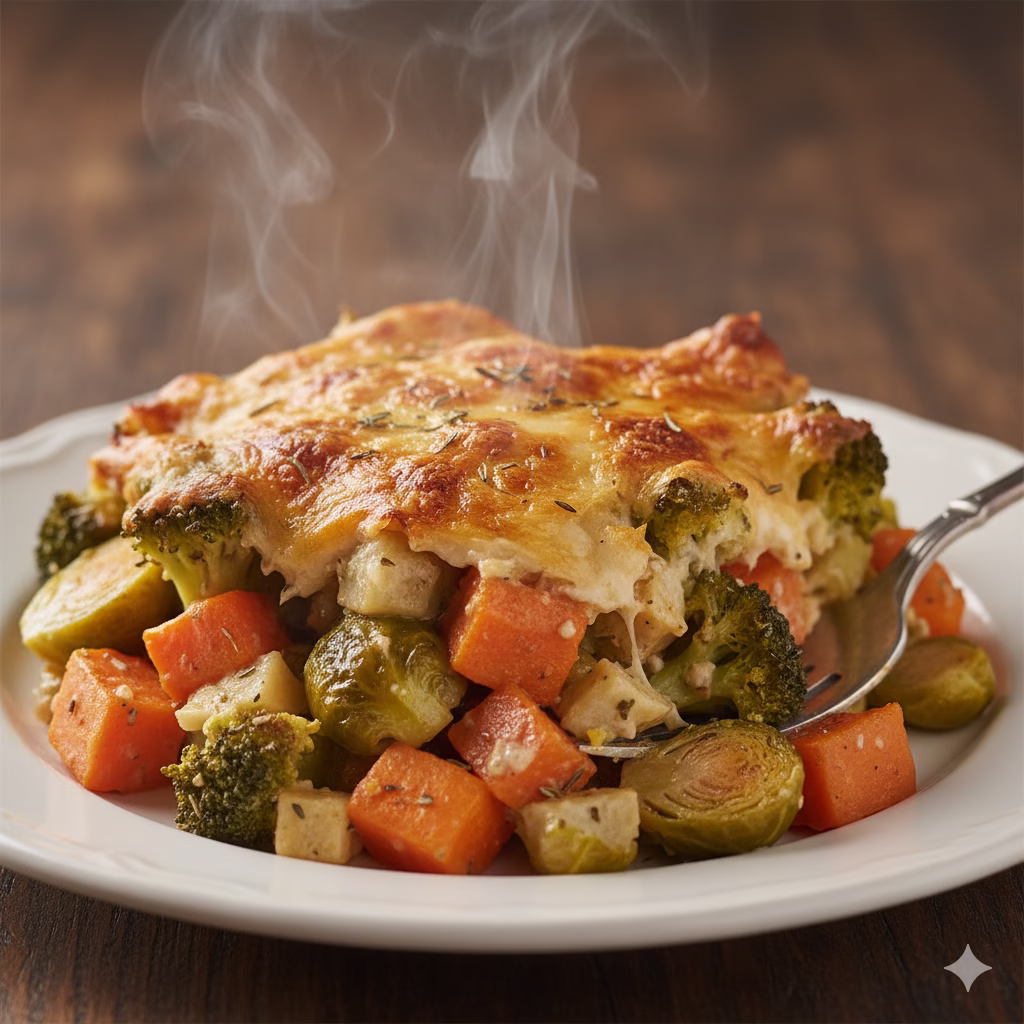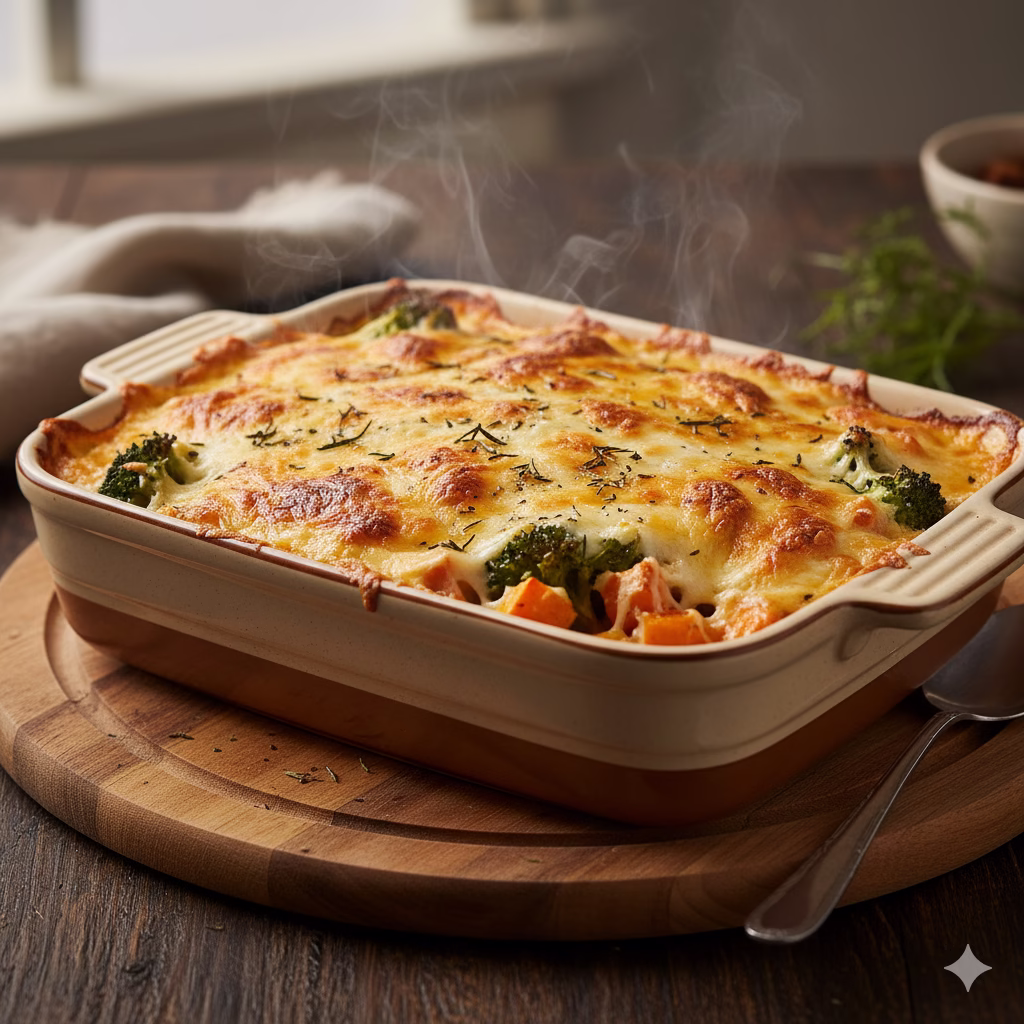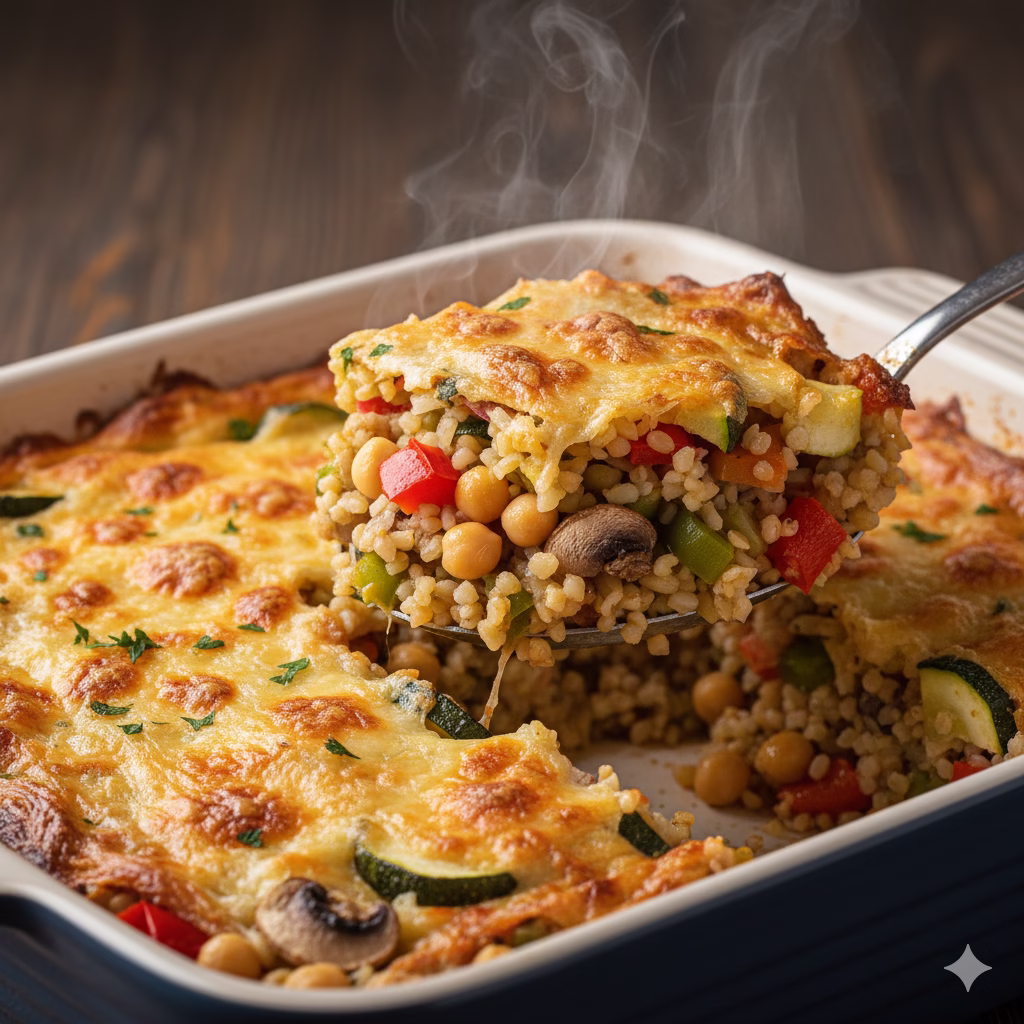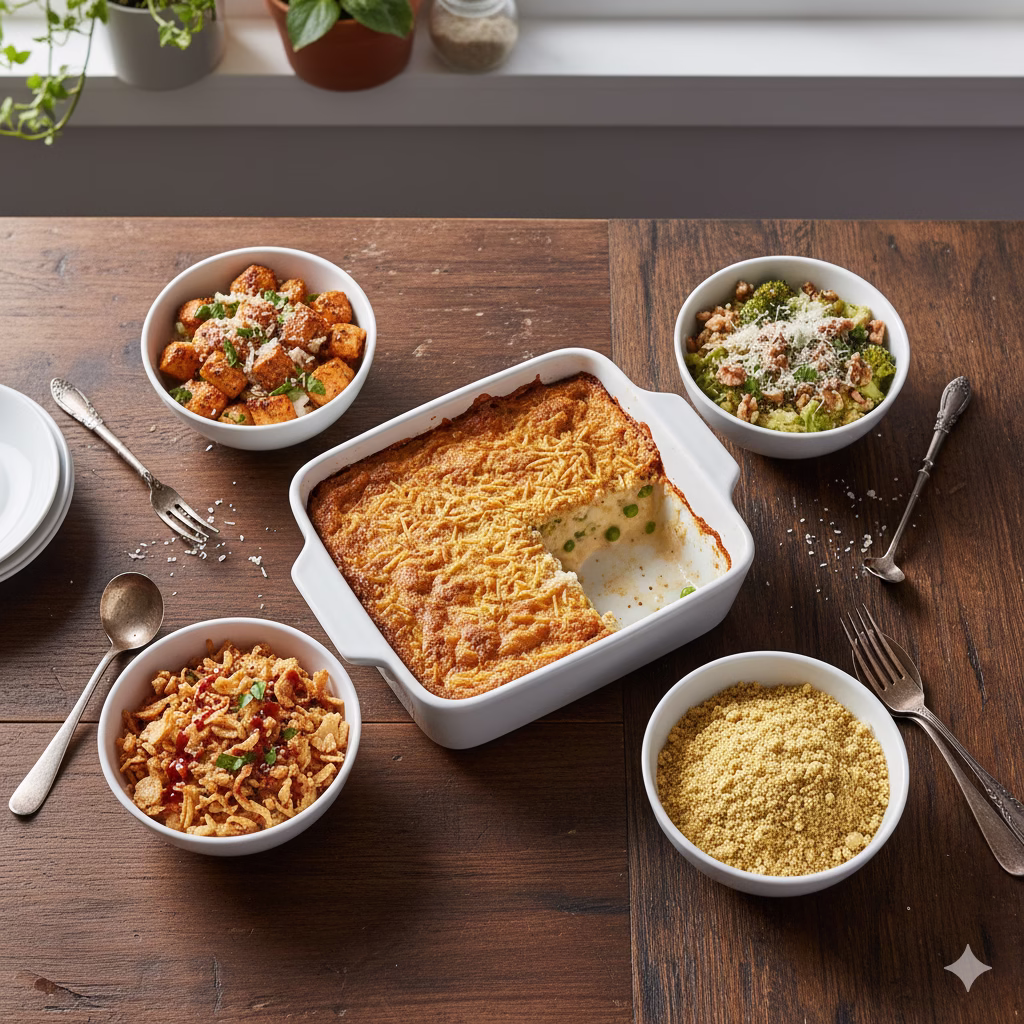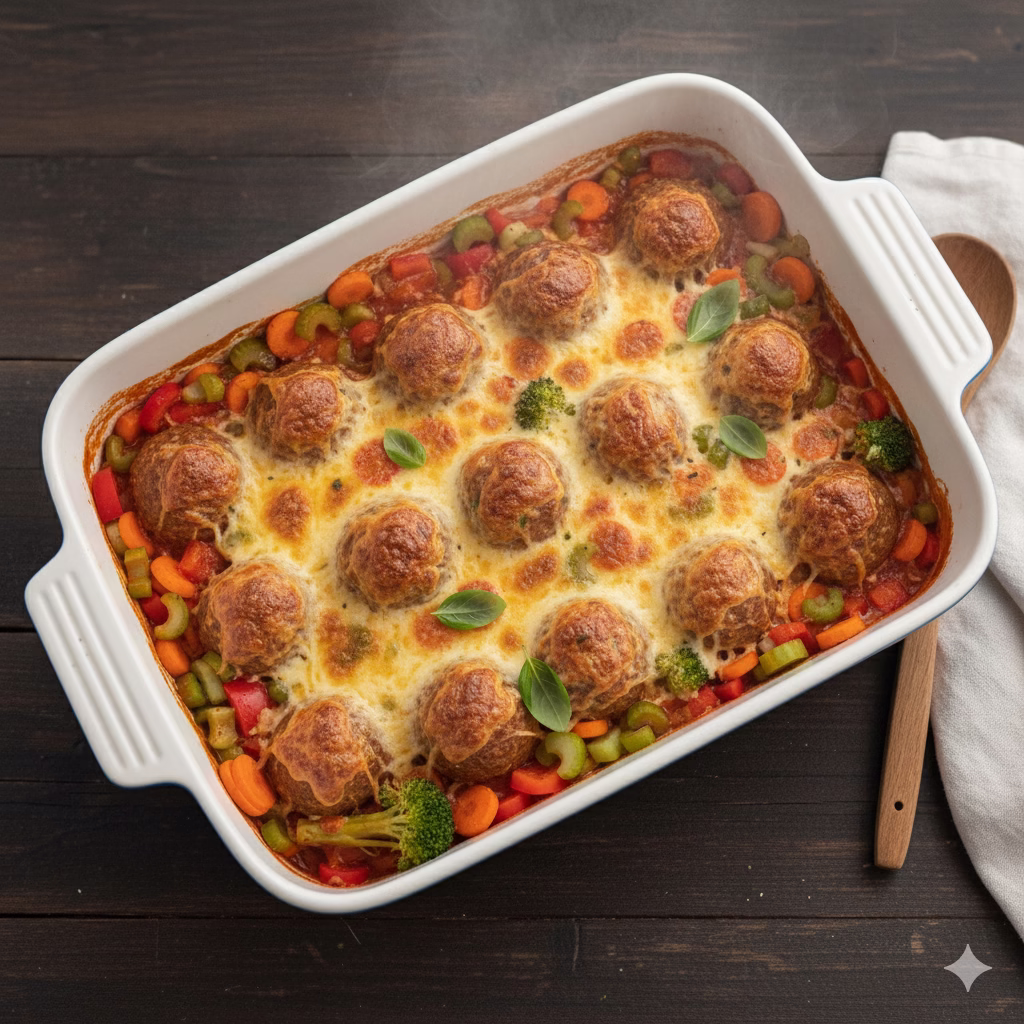
Discover the ultimate comfort food that’s both nutritious and incredibly simple to prepare. This Vegetables With Meatball Casserole recipe is designed for busy weeknights, offering a complete meal in one dish. Get ready to impress your family with a hearty and healthy dinner!
The Ultimate Family Meal: Simple and Vegetables With Meatball Casserole
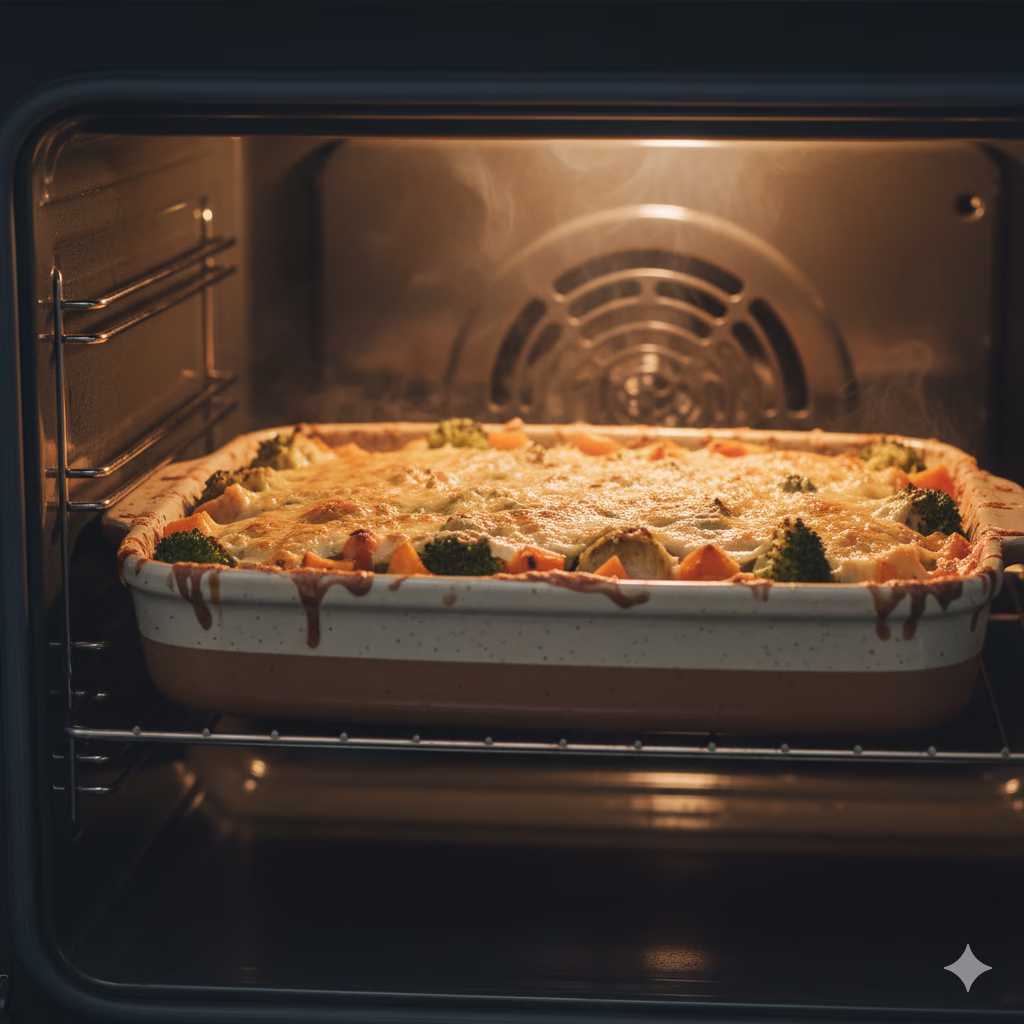
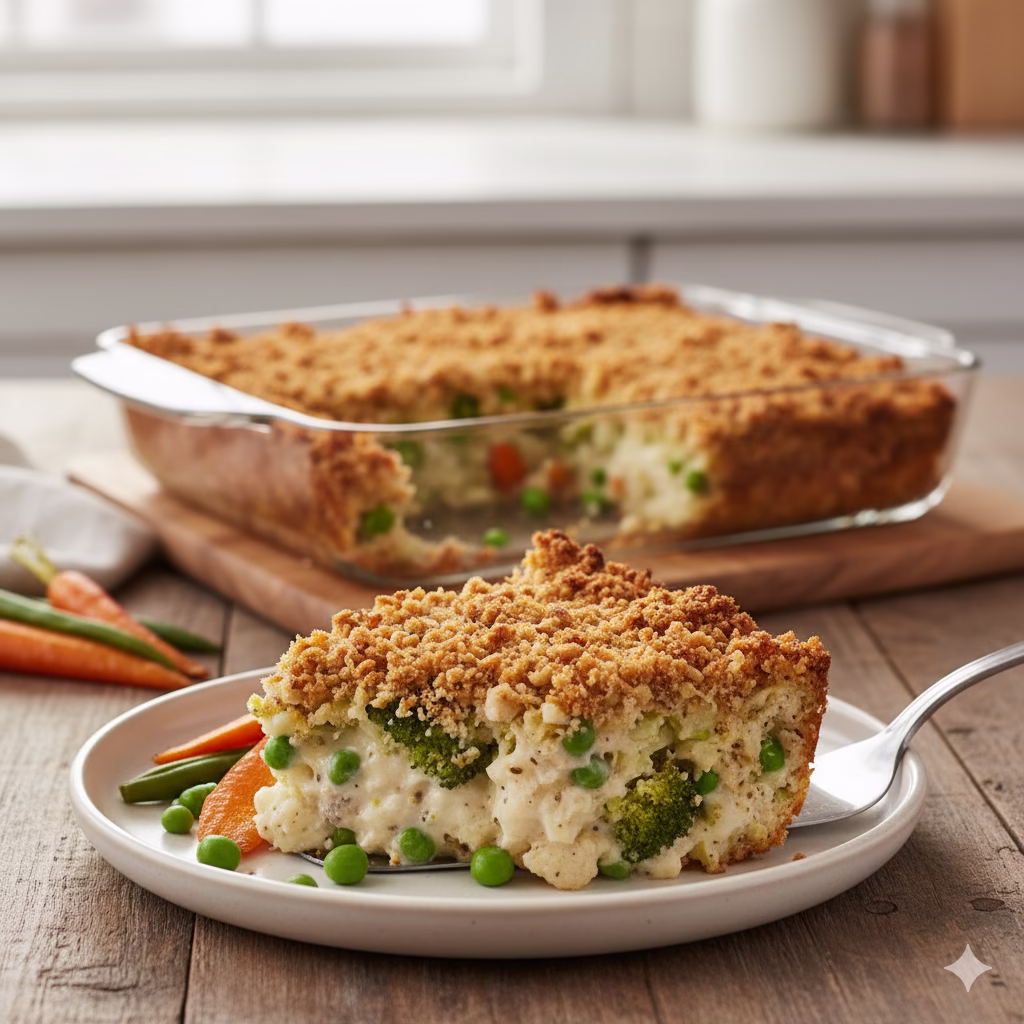
A Comforting Classic Made Easy
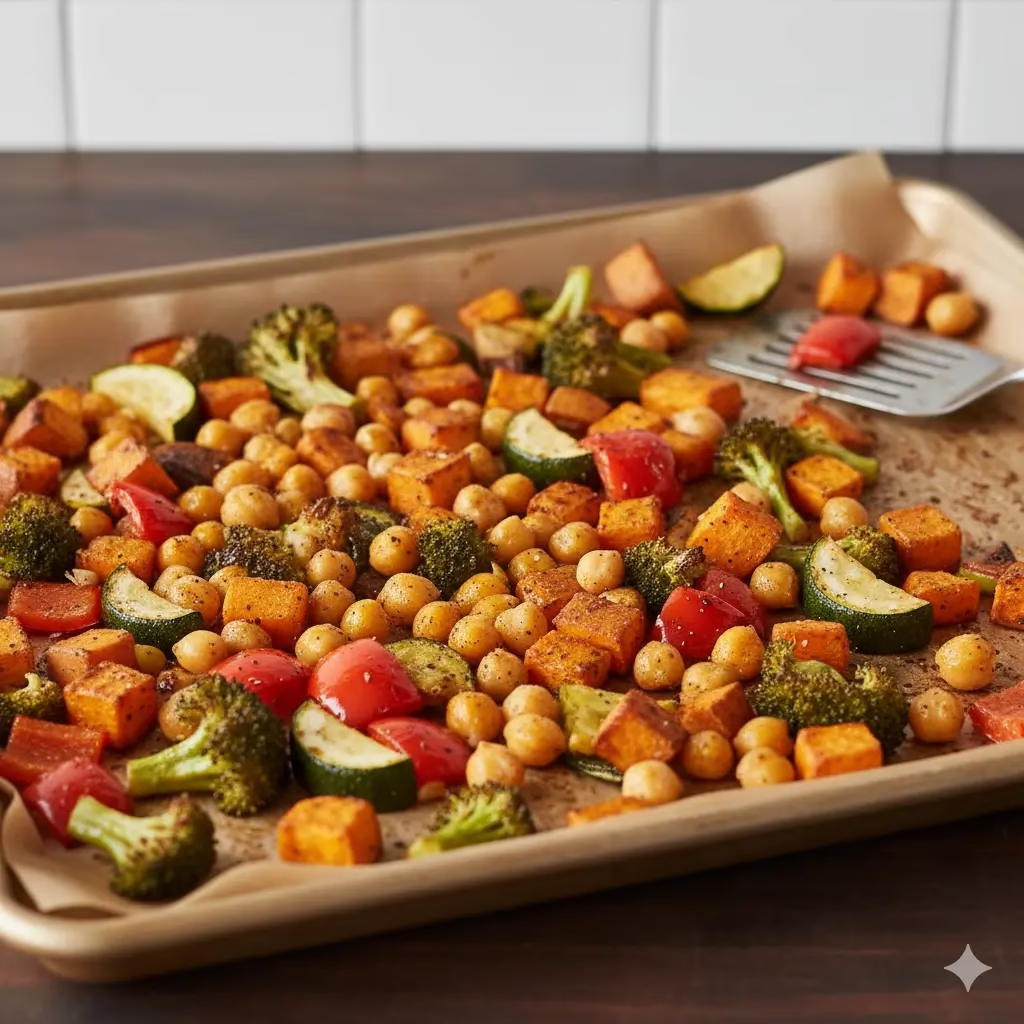
There is nothing better than a warm casserole. It bubbles with flavor straight from the oven. A casserole feels like a hug. It makes you think of home and family. But what if you could make that comfort food healthier? What if you could make it super easy, too? That is what we are doing today. We are sharing our great Vegetables With Meatball Casserole. This is more than just dinner. It is a simple, tasty, and healthy meal.
In our busy lives, finding time to cook a good meal can be hard. We want food that tastes great. And it must also be easy to make. It should not take too much time. It needs to be healthy, too! This recipe fits all those needs. It is very simple. It uses ingredients you can find easily. The oven does most of the hard work for you.
Why You Will Love This Vegetables With Meatball Casserole
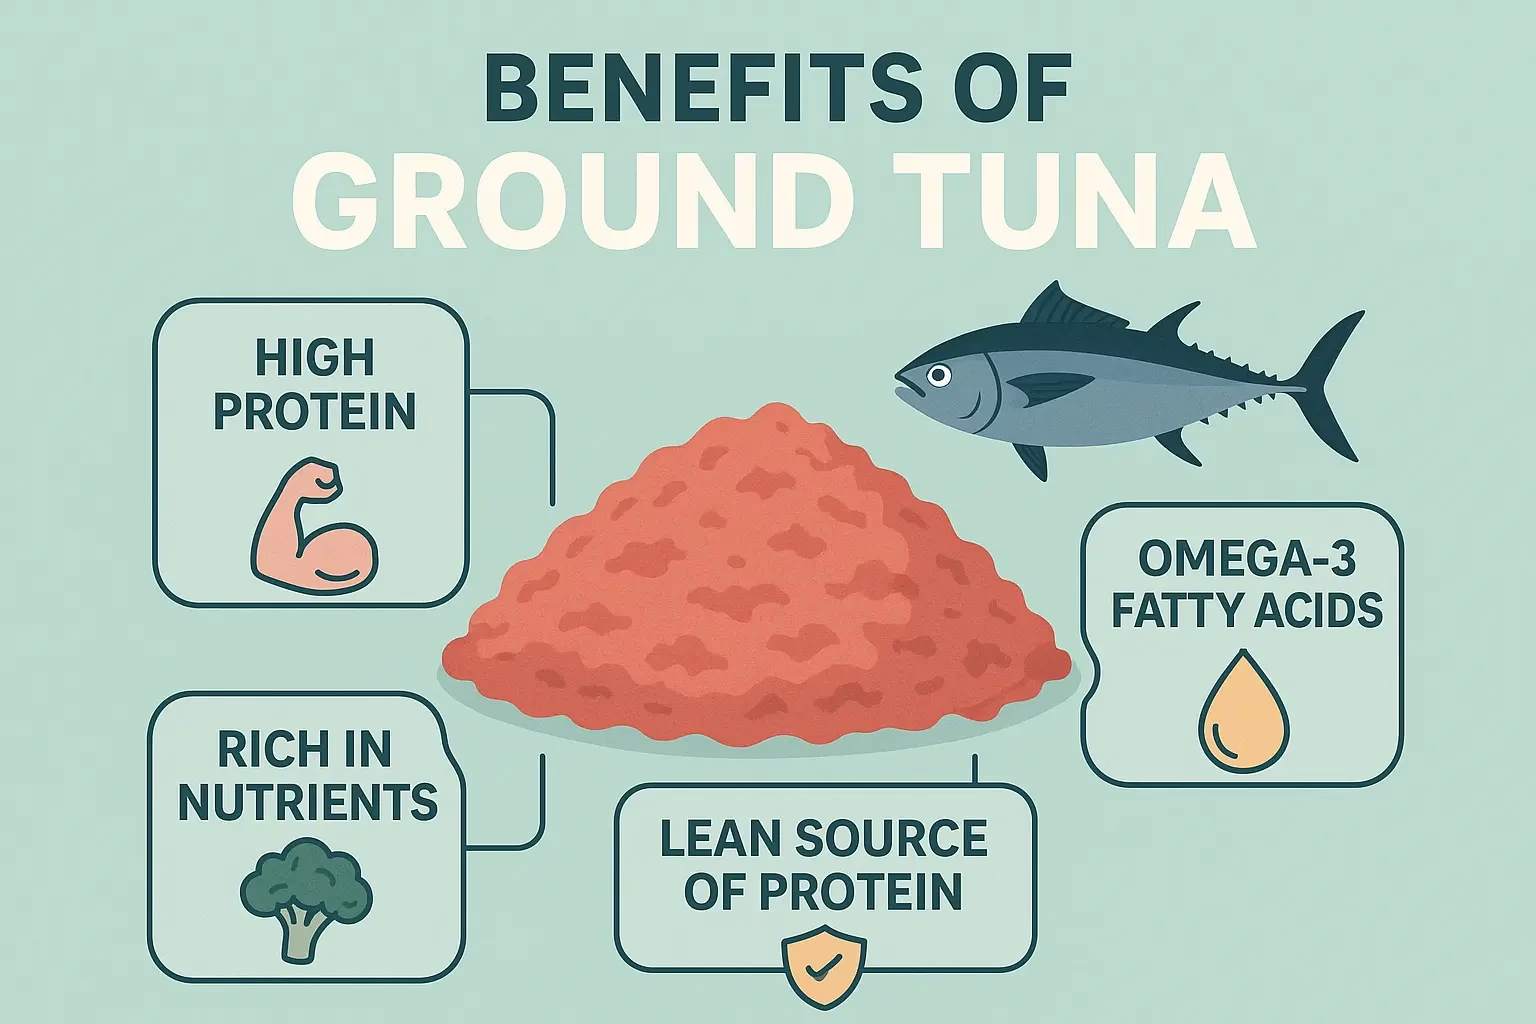
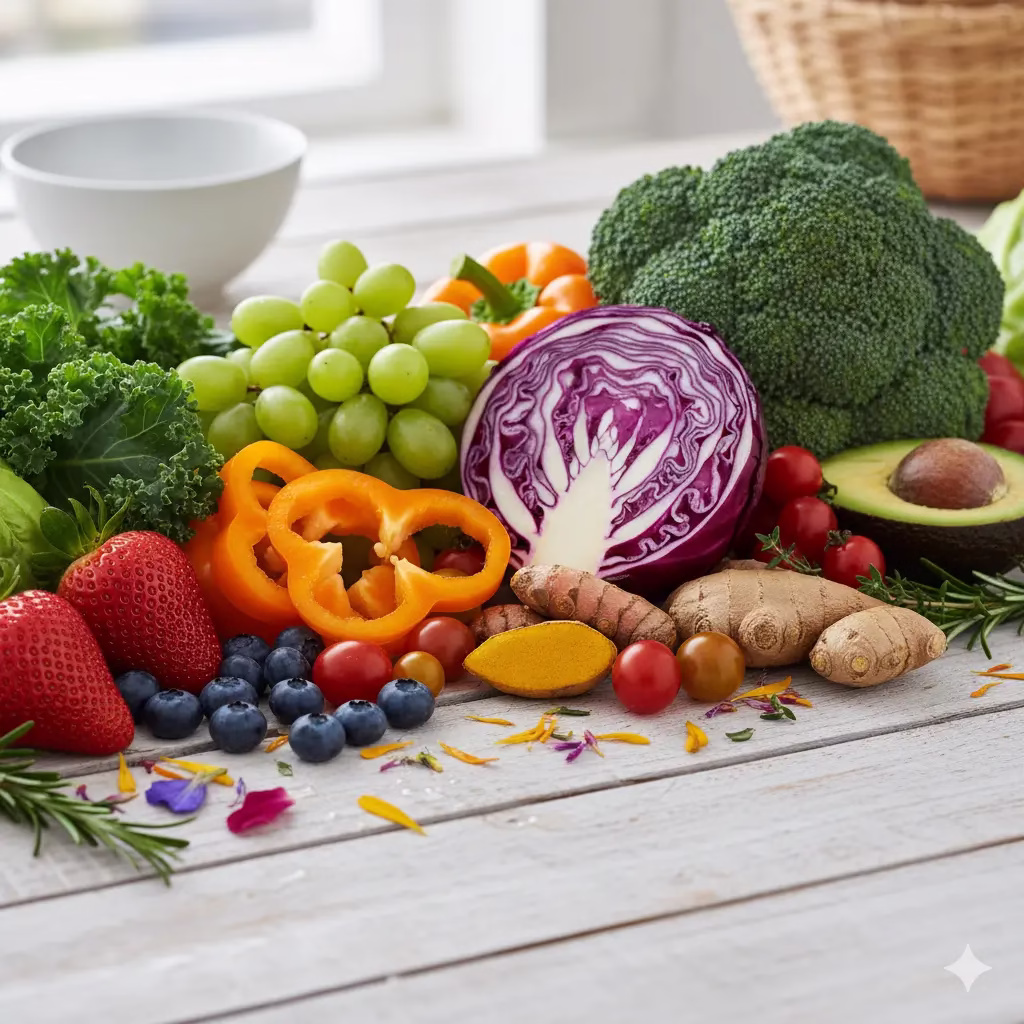
The best part of this Vegetables With Meatball Casserole is how flexible and healthy it is. We mix lean protein from the meatballs with many bright, fresh vegetables. This creates a meal that is complete and balanced. It is great for a healthy lifestyle. This dish has a lot of fiber, vitamins, and minerals. It is a smart way to eat more vegetables. You get all the good things from plants while eating a classic comfort food.
Forget using many pots and pans! This casserole is a one-dish meal. This means less cleaning for you. You get more time to relax and enjoy your night. It is perfect for cooking ahead of time. Leftovers taste wonderful the next day. This casserole is perfect if you have a big family. It is also great if you need easy, healthy meals for the week. This recipe is about to become your favorite.
So, get ready to cook! This recipe is truly easy. We will turn simple items into a meal everyone will love. Get ready for a dinner that has flavor, health, and ease all in one dish.
Preparation & Cooking Times
- Time to Prepare: 25 minutes
- Cooks (Oven Baked): 30-35 minutes
- Time to Cook (Air Fryer): 20-25 minutes (at 350°F/175°C)
- Time to Cook (Slow Cooker): 3-4 hours on high, or 6-8 hours on low
This recipe makes 6 to 8 servings.
Nutritional Highlights
This Vegetables With Meatball Casserole is a balanced meal. Each serving gives you lean protein. You get key vitamins like A and C from the vegetables. It also has dietary fiber. We use lean meat to keep it low in saturated fats. We use little added sugar. This makes it a heart-healthy choice. It will give you energy. The exact nutrition facts will change based on your ingredients.
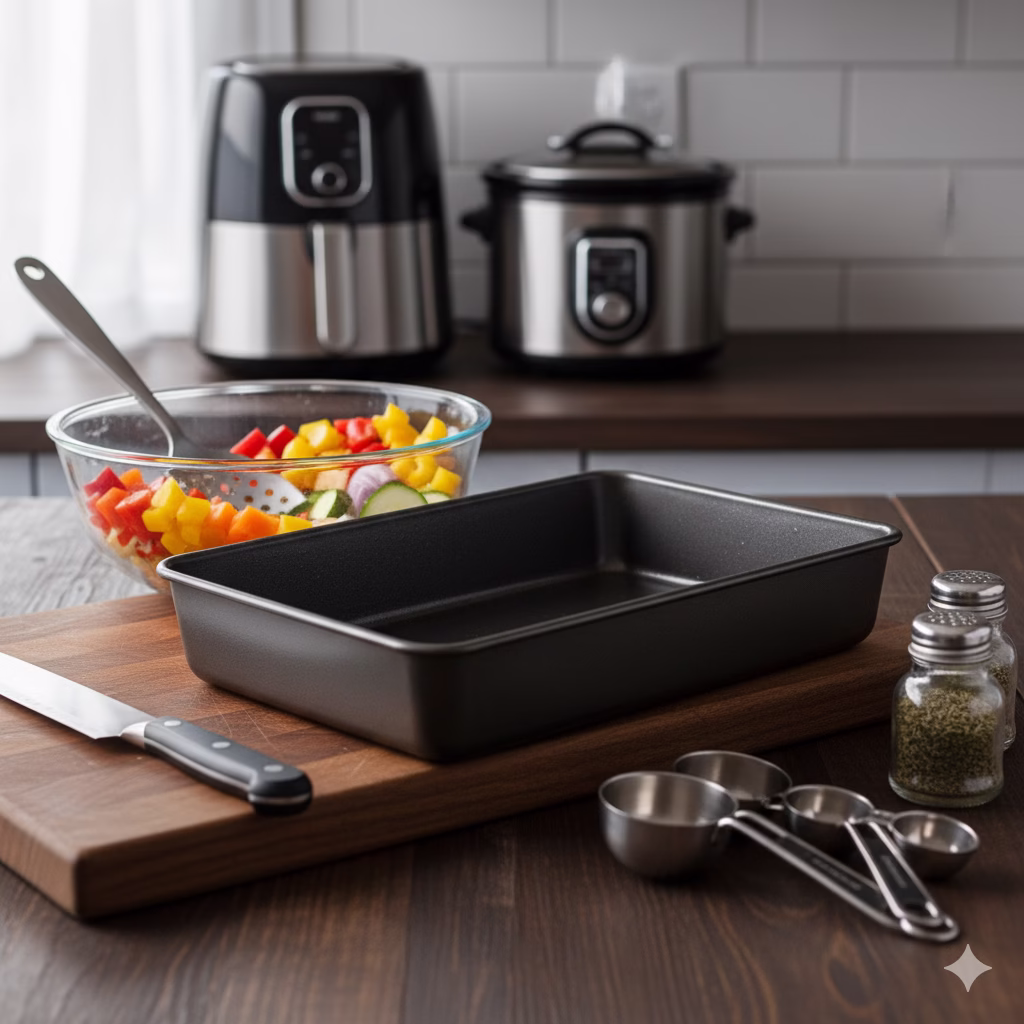
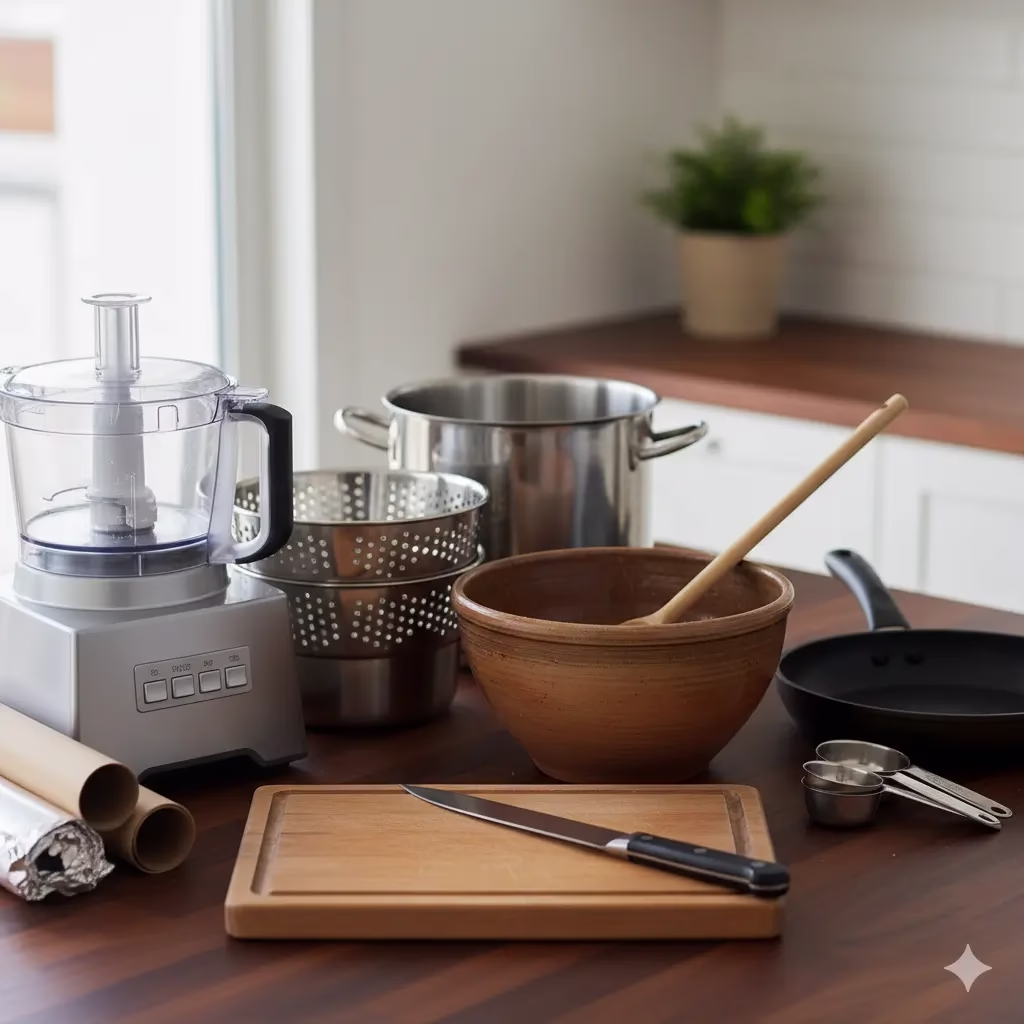
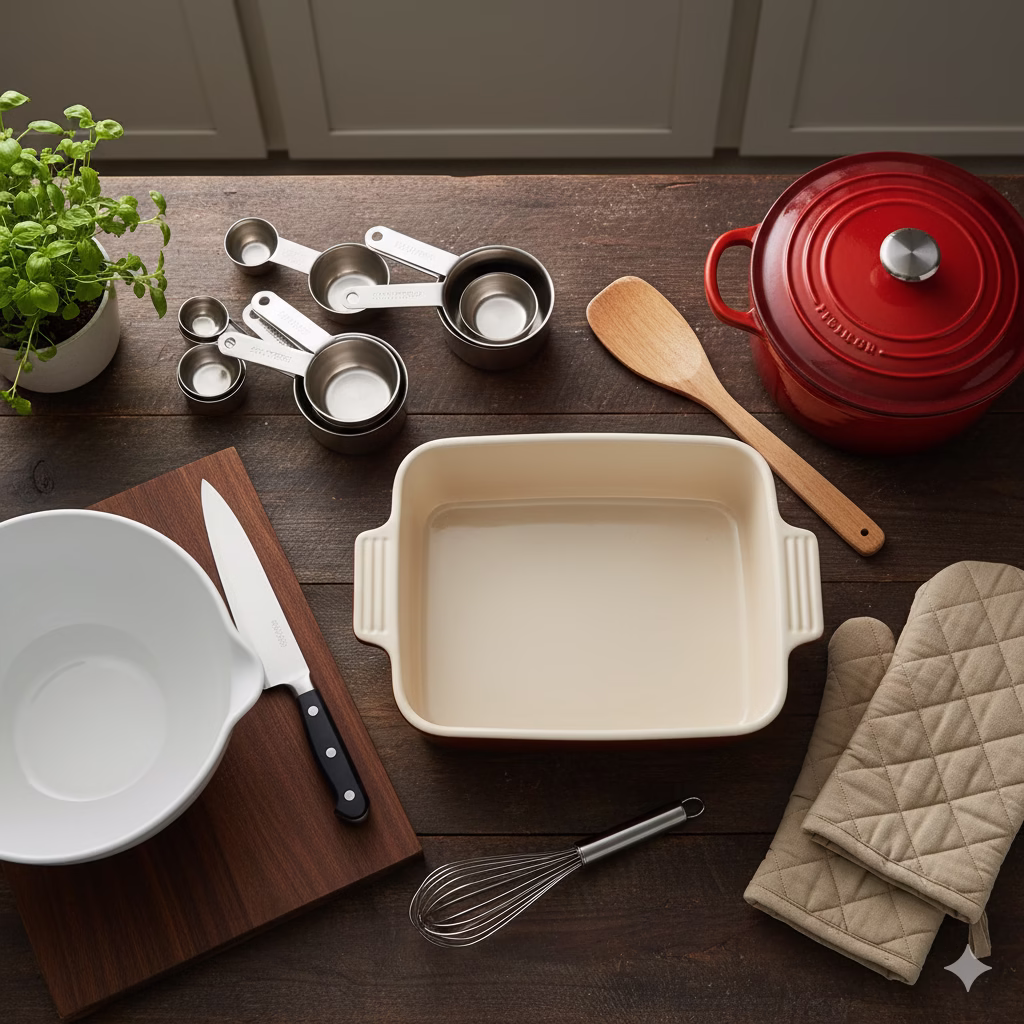
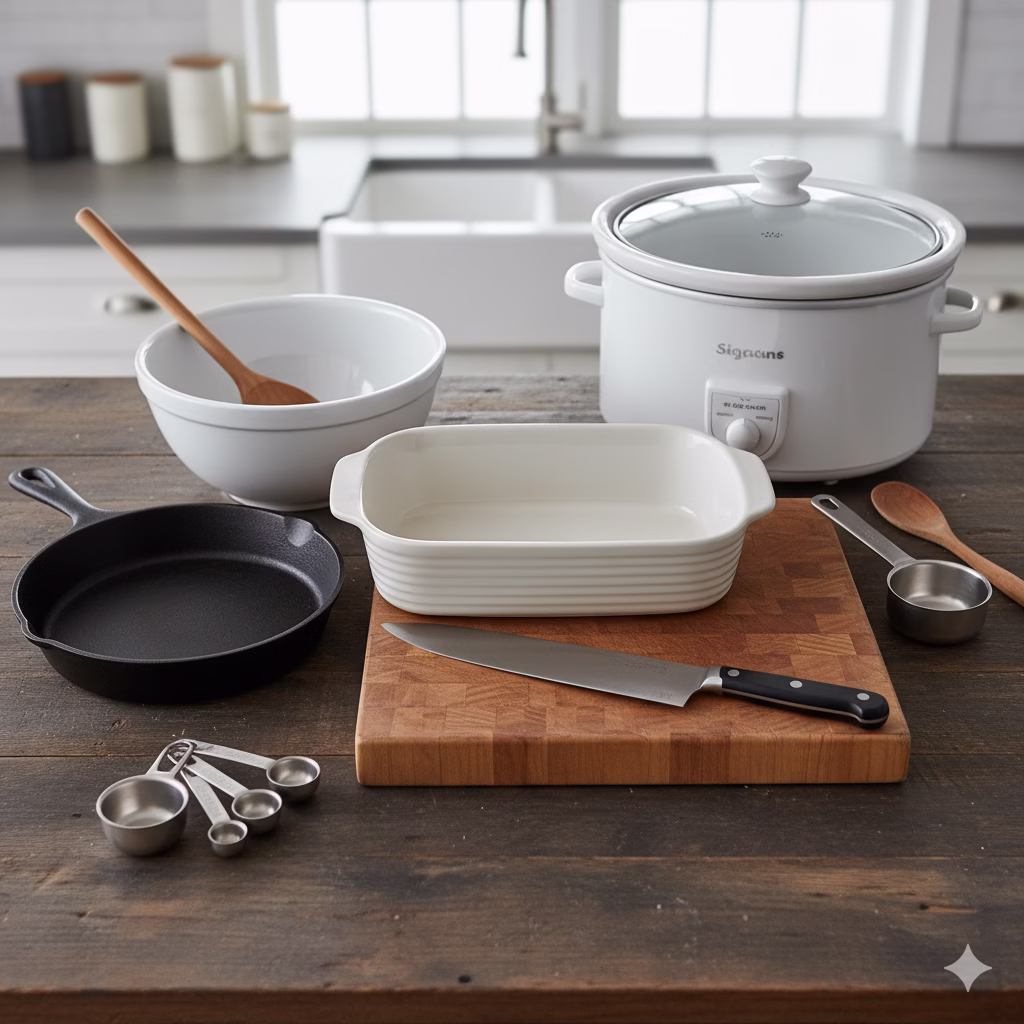
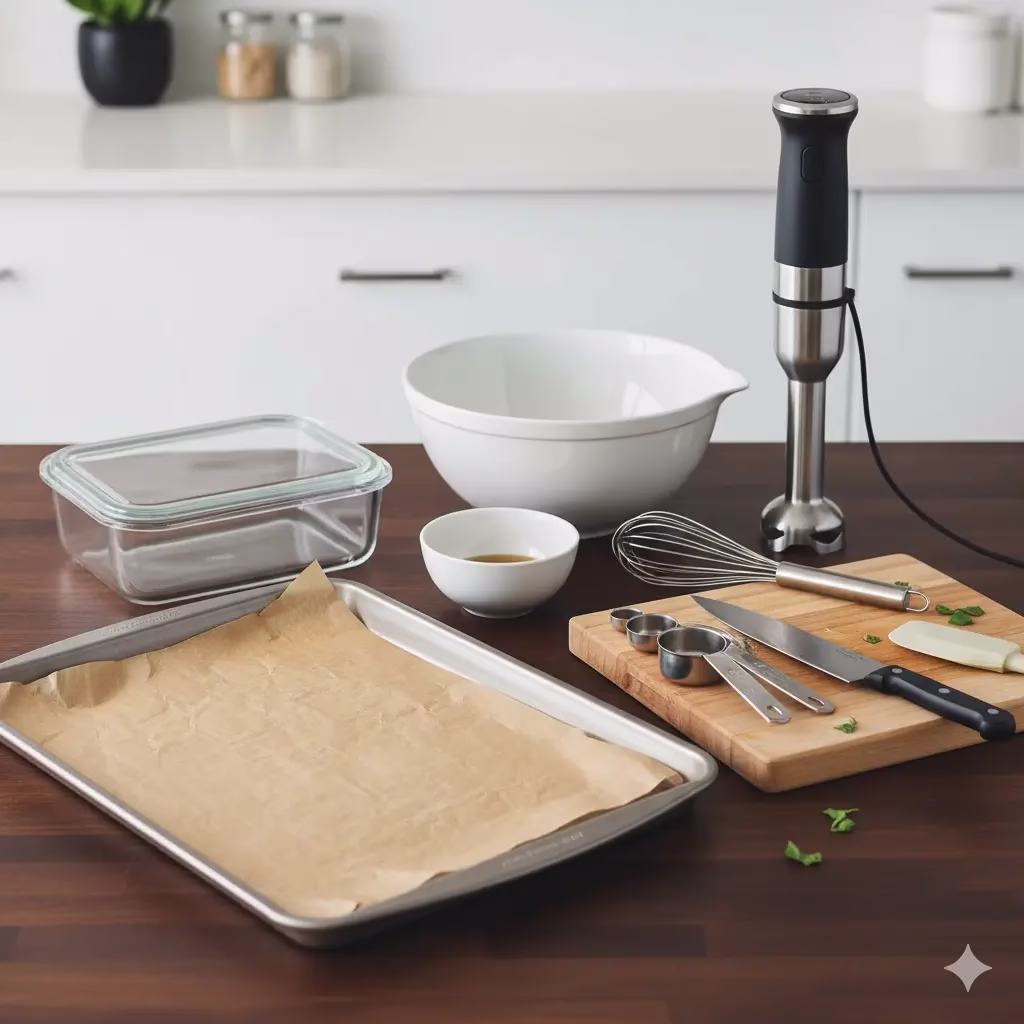
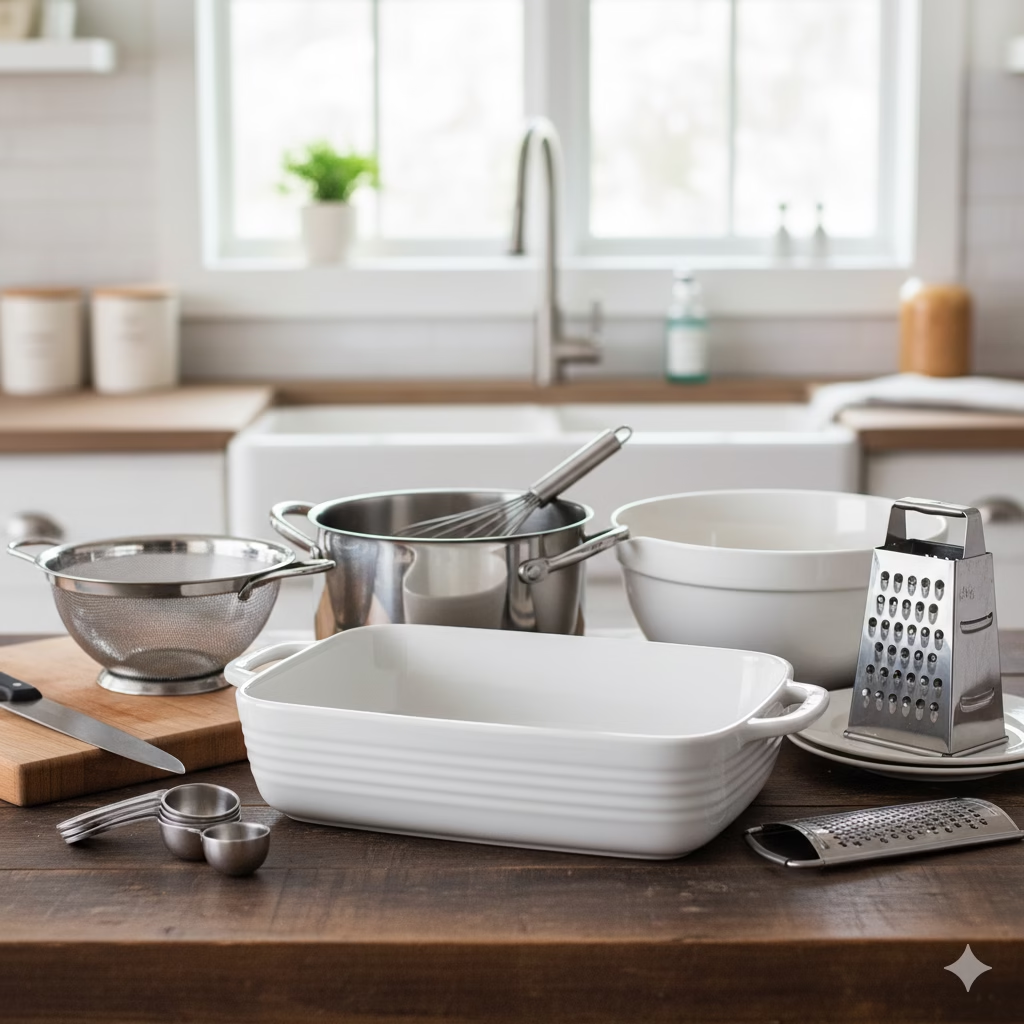
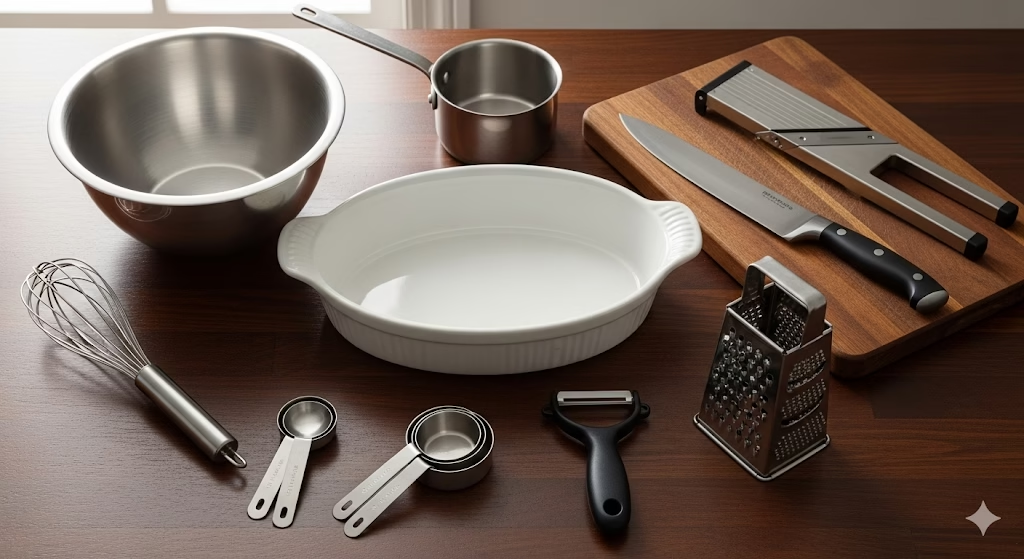
Equipment for Your Vegetables With Meatball Casserole
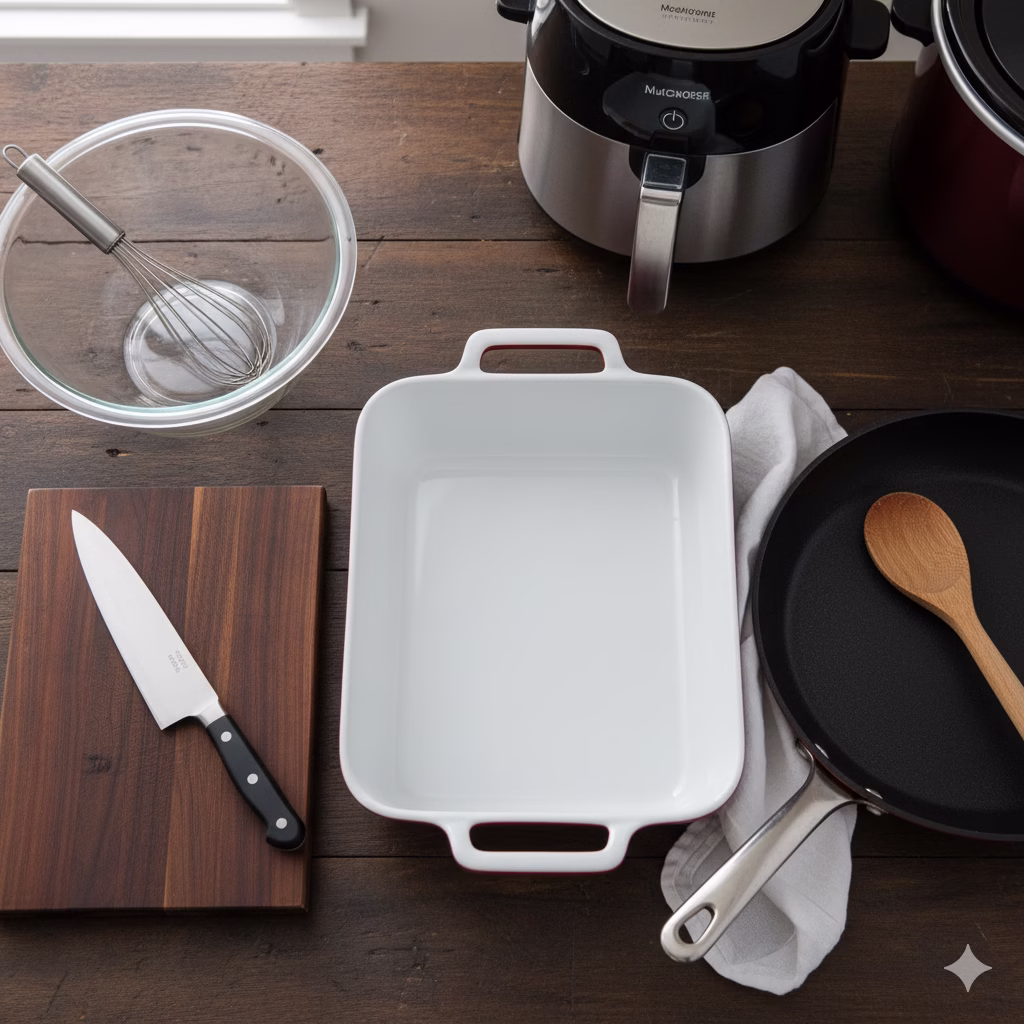
- Large mixing bowl
- 9×13 inch casserole dish (for oven baking)
- Cutting board
- Sharp knife
- Large skillet or non-stick pan (optional, for browning meatballs)
- Air fryer (optional, for air fryer method)
- Slow cooker (optional, for slow cooker method)
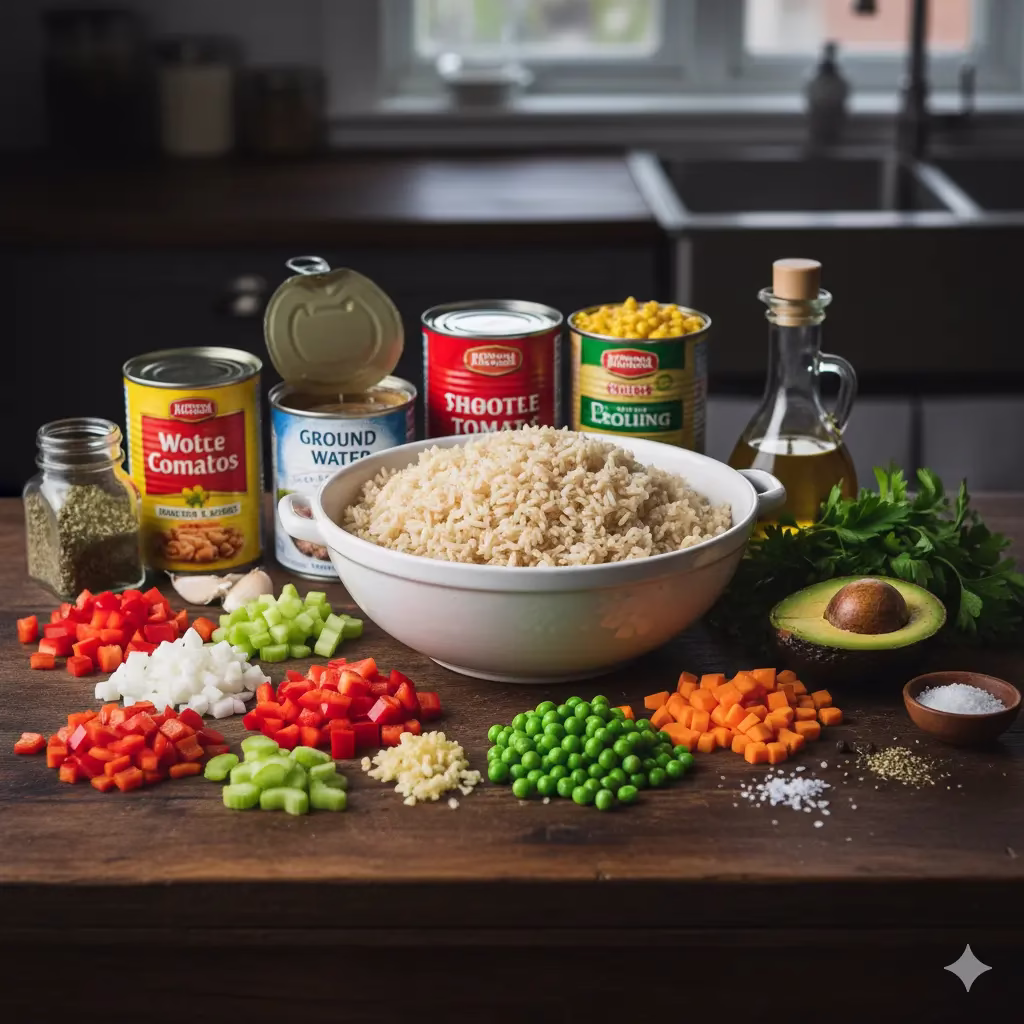
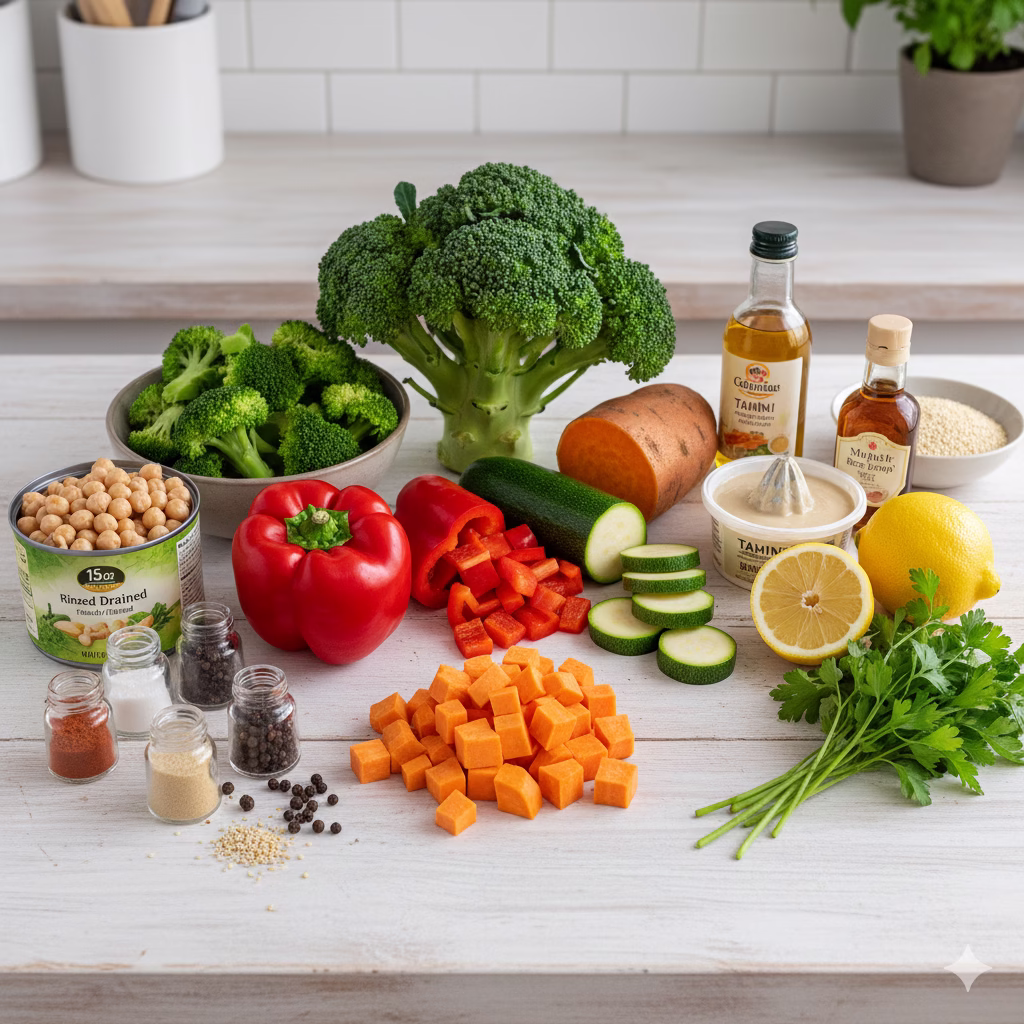
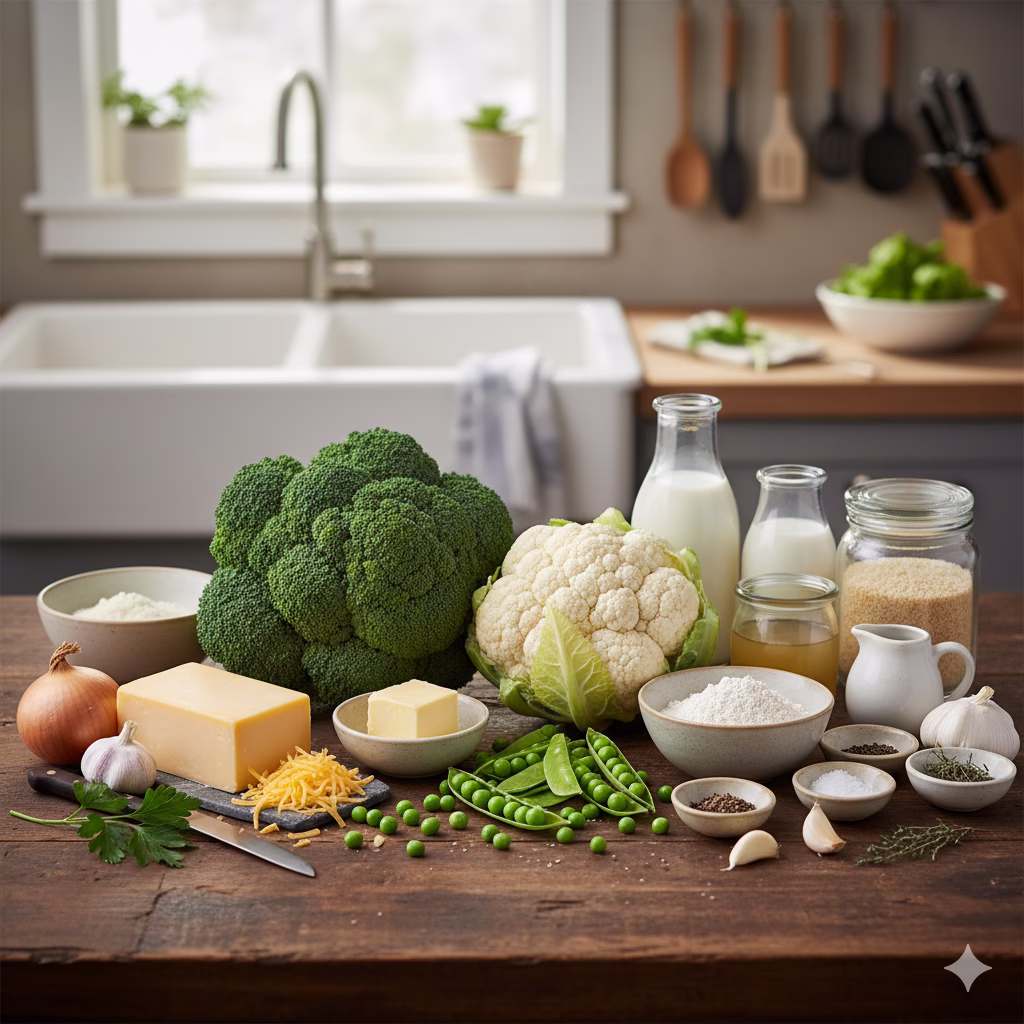
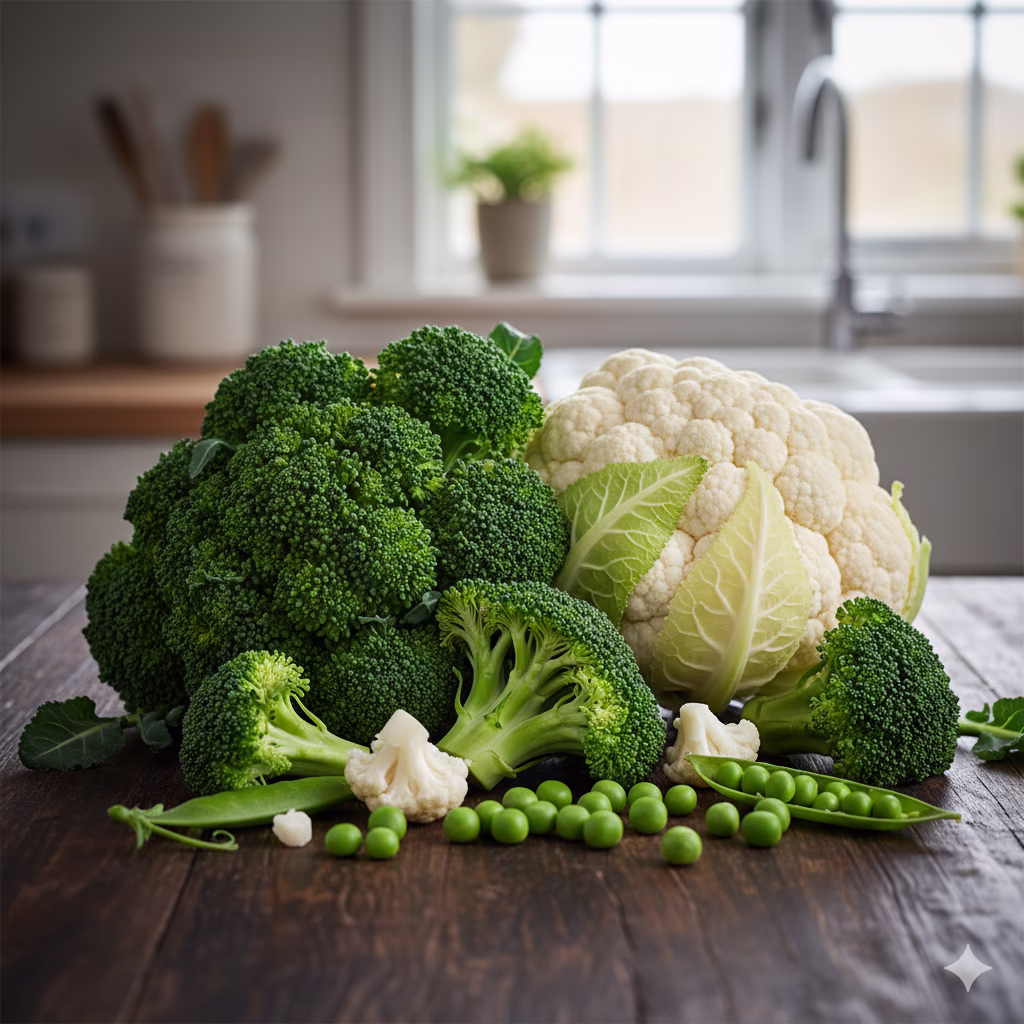
Wholesome Ingredients for Vegetables With Meatball Casserole
For the Meatballs:
- 1 lb (450g) lean ground turkey or very lean ground beef
- ½ cup whole wheat breadcrumbs
- ¼ cup grated Parmesan cheese (use for flavor, if you like)
- 1 large egg
- 2 cloves garlic, chopped very small
- 1 teaspoon dried oregano
- ½ teaspoon onion powder
- Salt and black pepper to taste
- 1 tablespoon olive oil (for browning, if you choose)
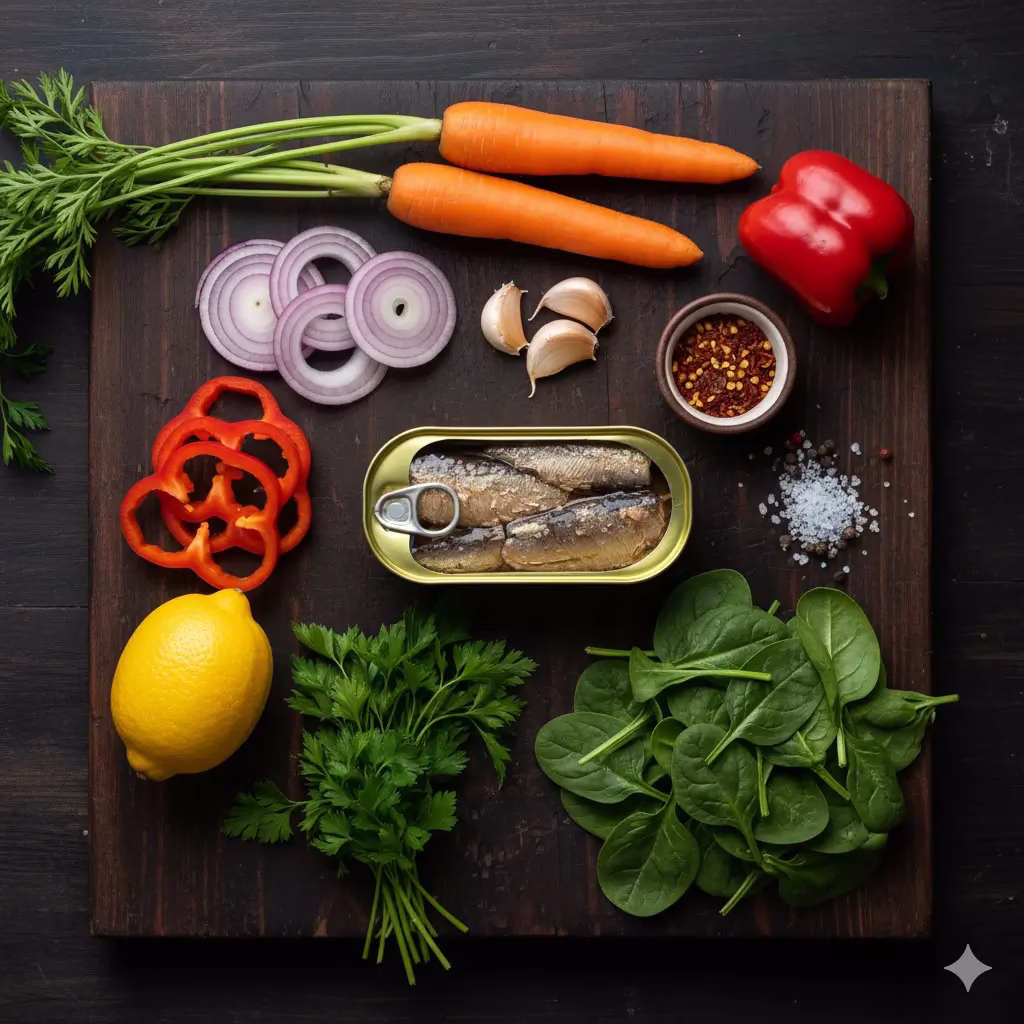
For the Vegetables and Sauce:
- 1 tablespoon olive oil
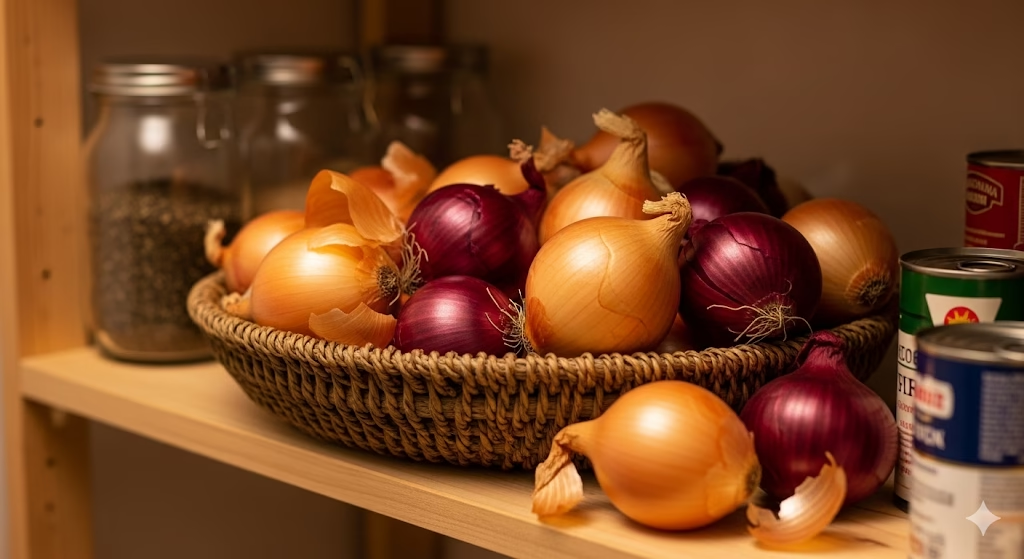
- 1 medium yellow onion, chopped
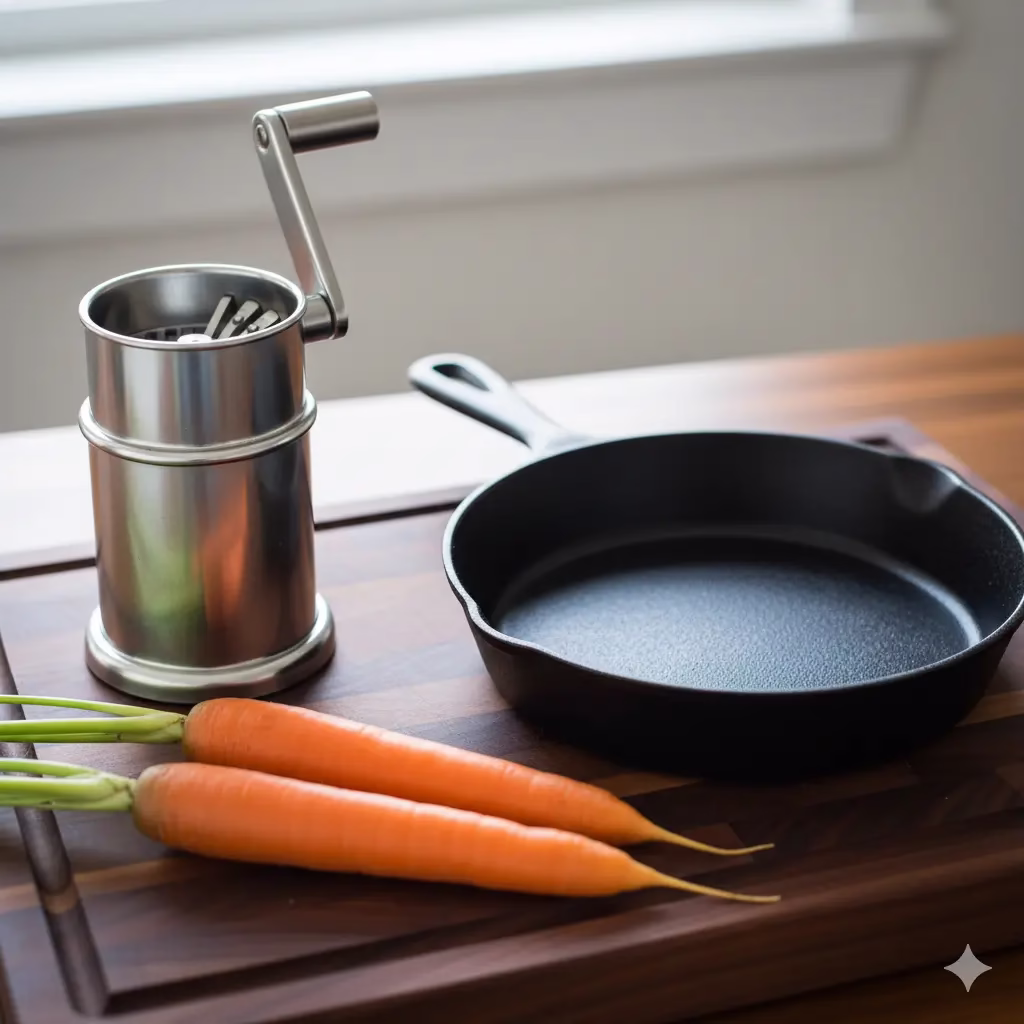
- 2 medium carrots, peeled and cut into ½-inch rounds
- 2 stalks celery, sliced
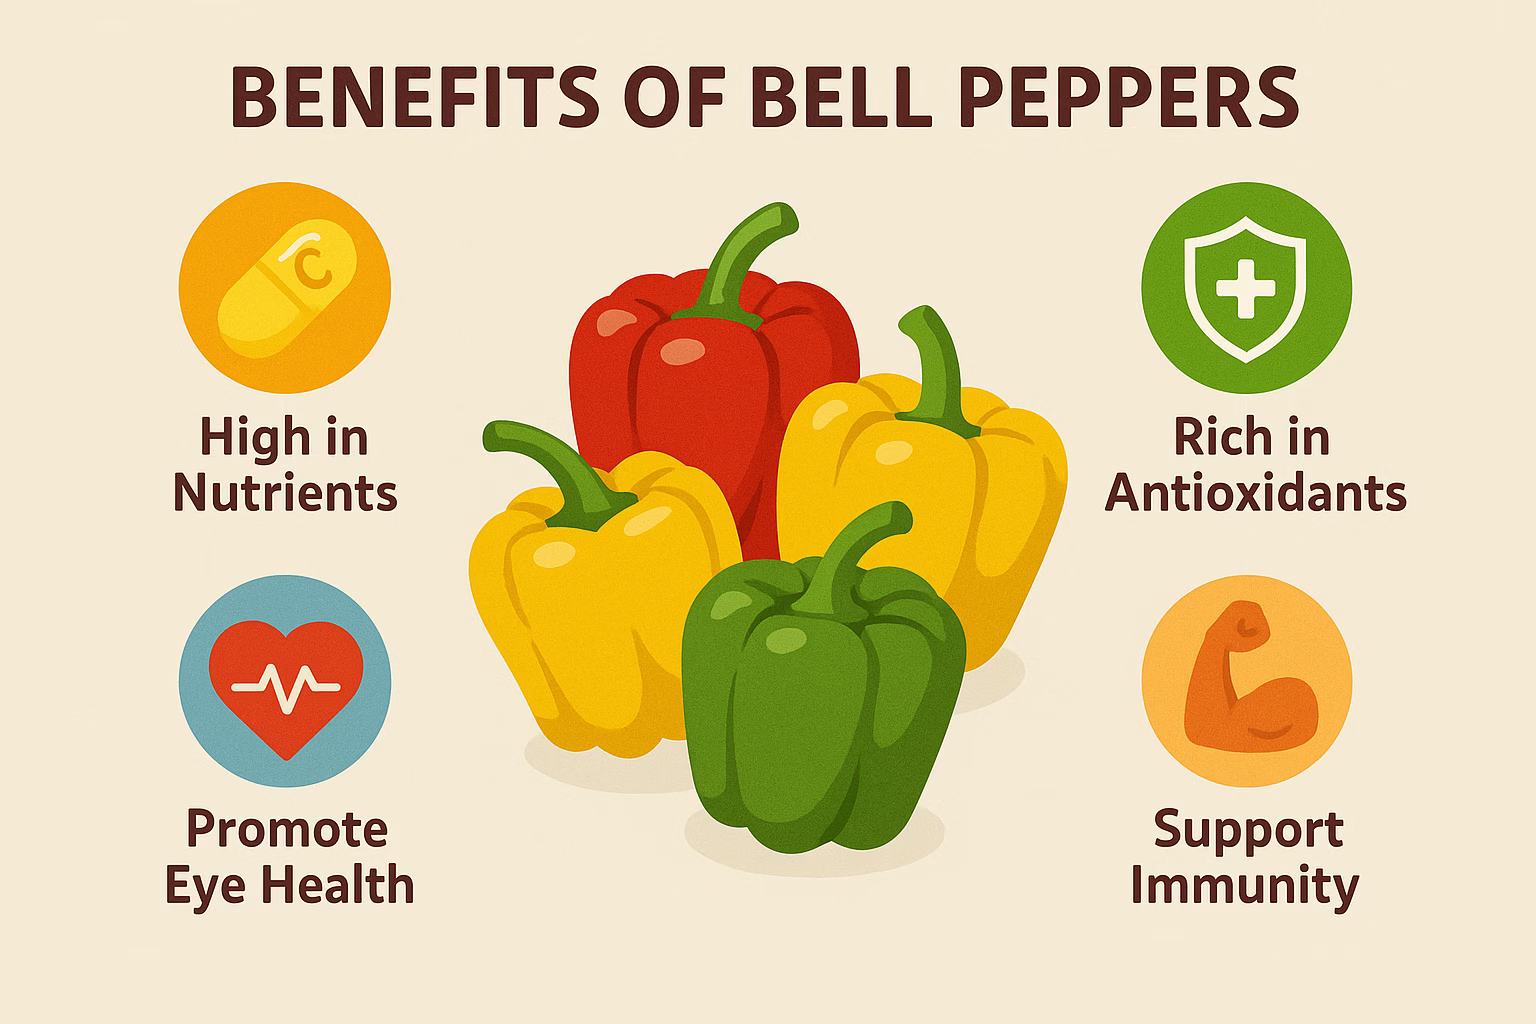
- 1 red bell pepper, cut into 1-inch pieces
- A cup broccoli florets, cut small
- 1 (28 oz) can crushed tomatoes (no sugar added)
- 1 (15 oz) can tomato sauce (no sugar added)
- ½ cup vegetable broth or water
- 1 teaspoon dried basil
- ½ teaspoon dried thyme
- Salt and black pepper to taste
- ½ cup shredded mozzarella cheese (part-skim, for the top, if you like)
- Fresh parsley, chopped (to sprinkle on top, if you like)
Step-by-Step Instructions: Creating Your Vegetables With Meatball Casserole
Get ready to make a healthy and filling meal. Follow this guide. It will make sure your Vegetables With Meatball Casserole is perfect.
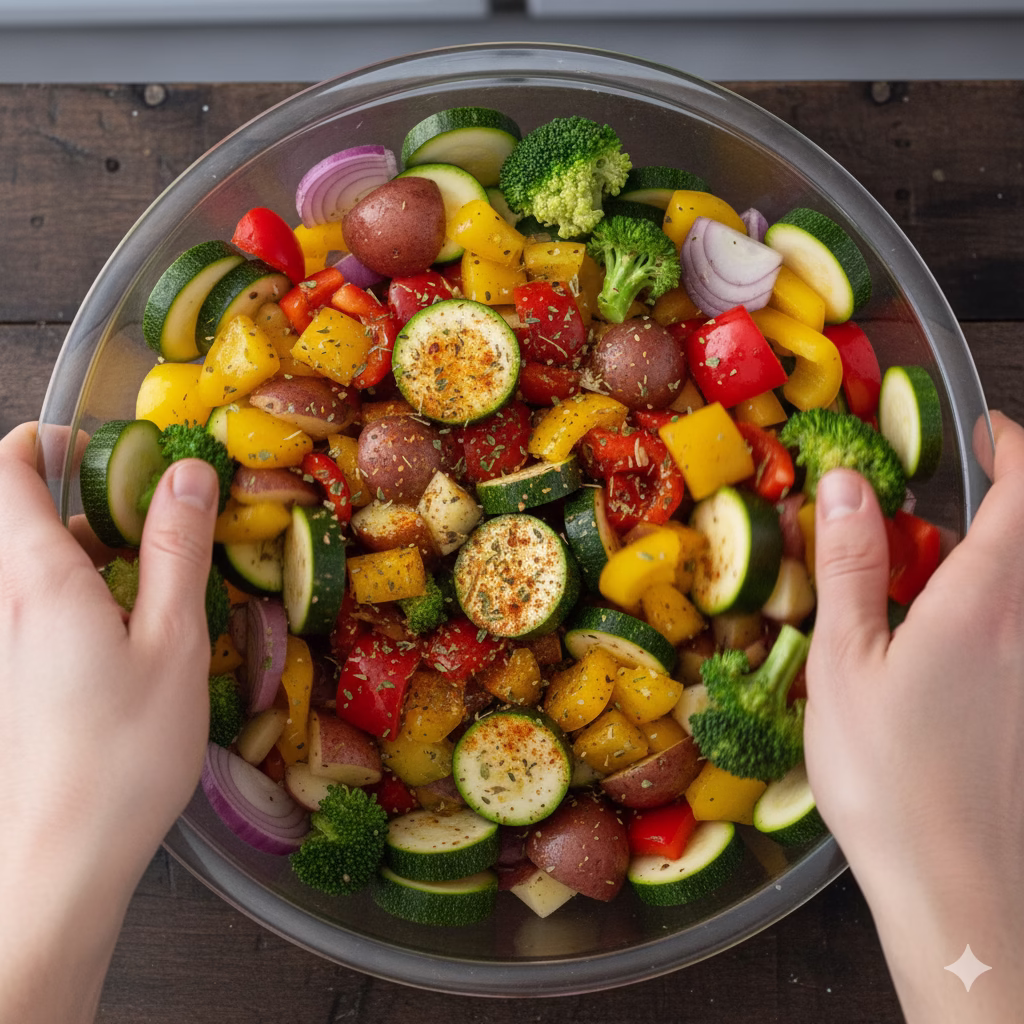
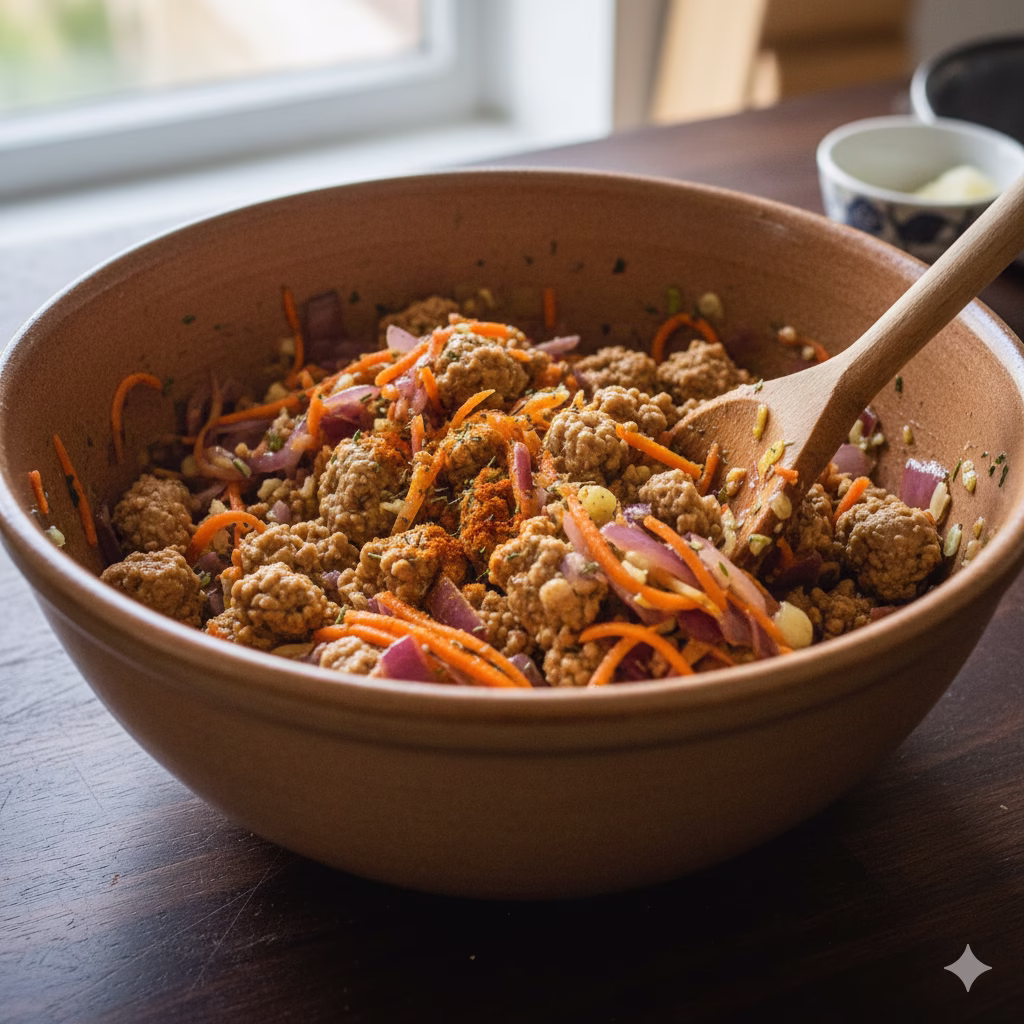
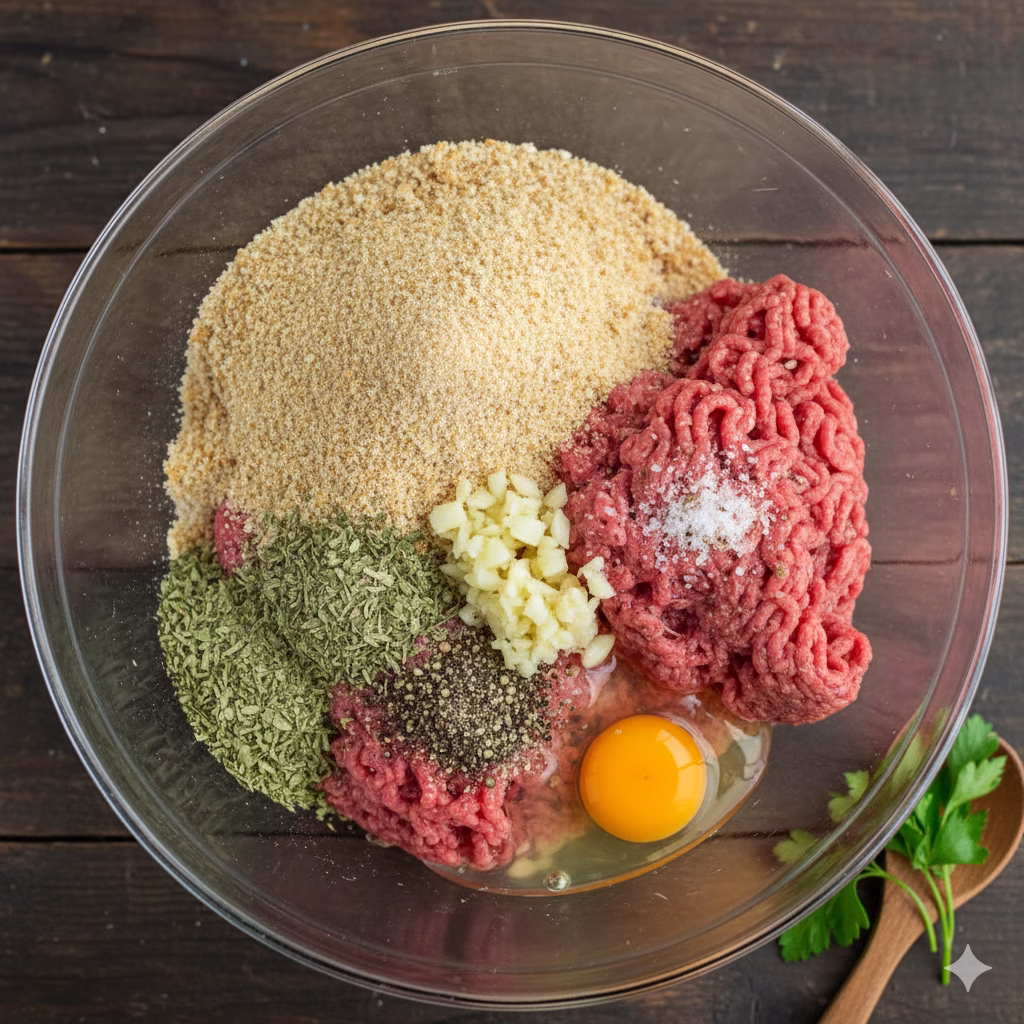
Step 1: Make the Meatball Mixture
Take a large mixing bowl. Put in the lean ground meat, whole wheat breadcrumbs, Parmesan cheese (if you use it), egg, chopped garlic, dried oregano, onion powder, salt, and black pepper. Use your hands to mix it gently. Stop mixing as soon as it is just blended. Do not mix it too much. That can make the meatballs tough.
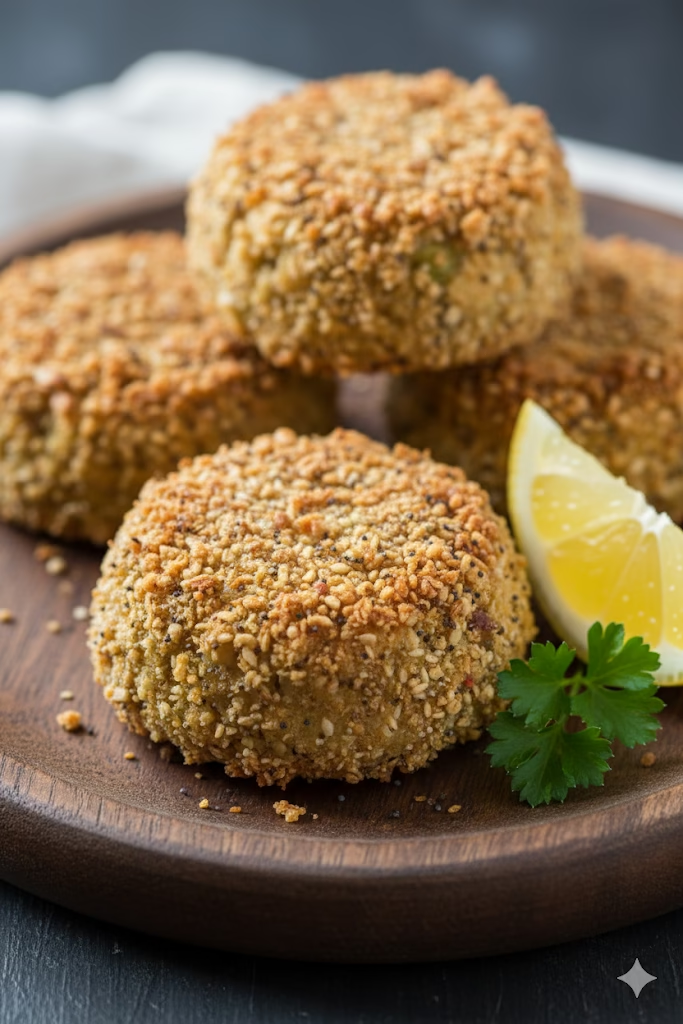
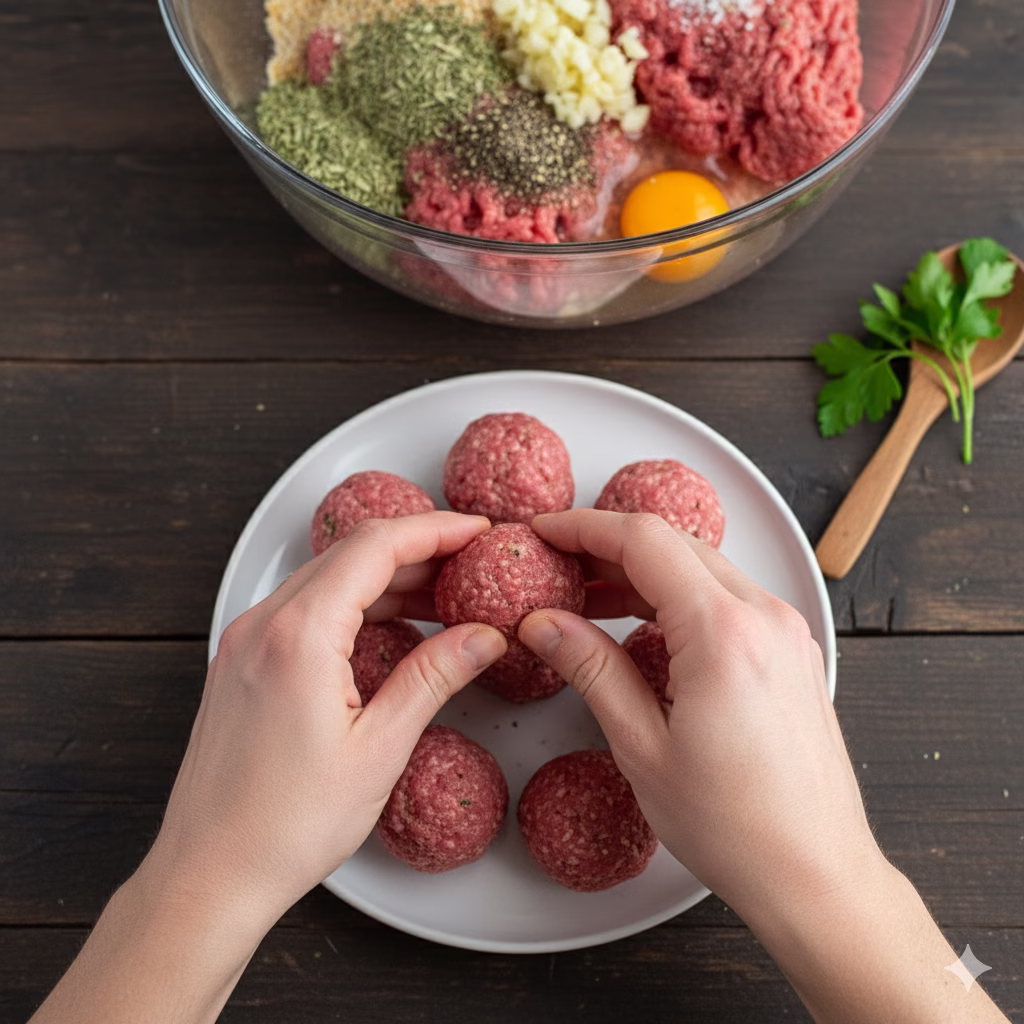
Step 2: Roll the Meatballs
Your meat mix is ready. Now, roll it into small balls. They should be about 1 to 1.5 inches wide. This is about the size of a golf ball. This recipe will make about 20 to 24 meatballs. Place them on a plate as you make them.
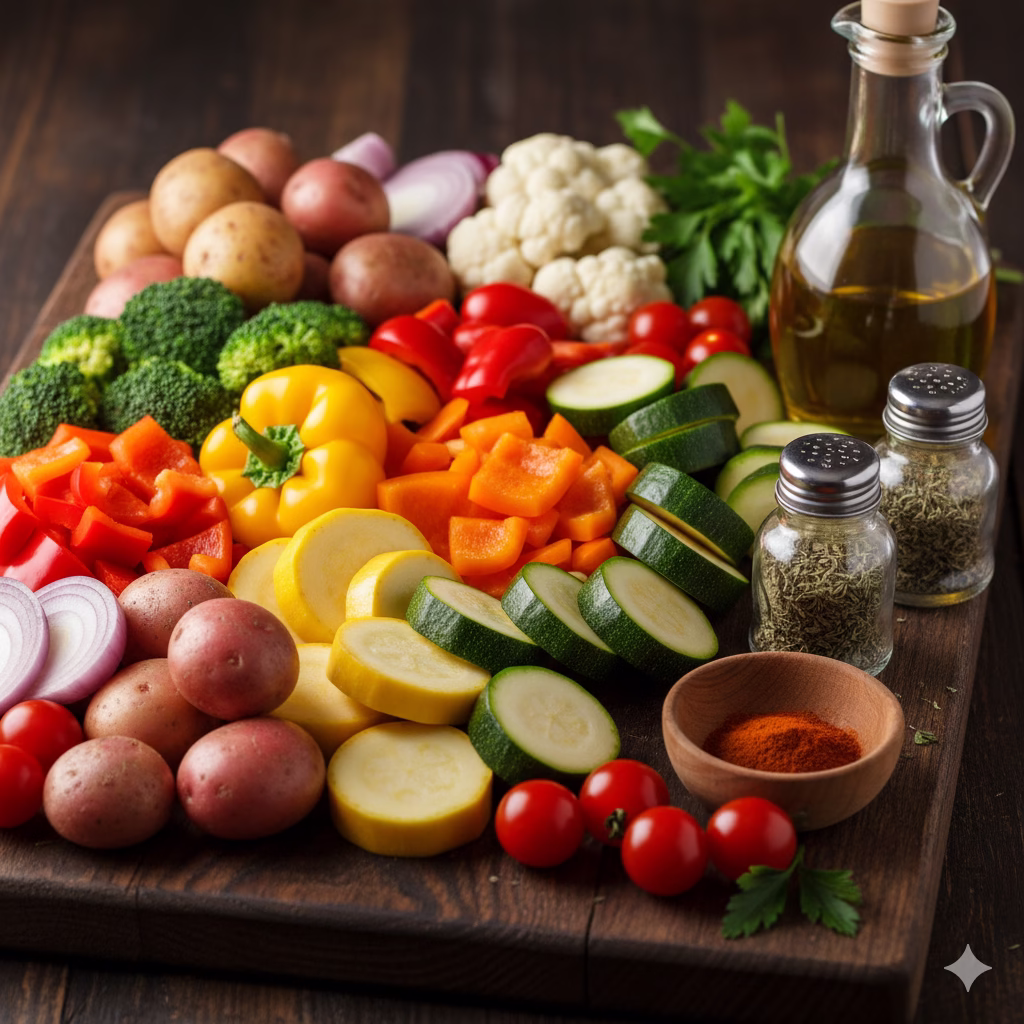
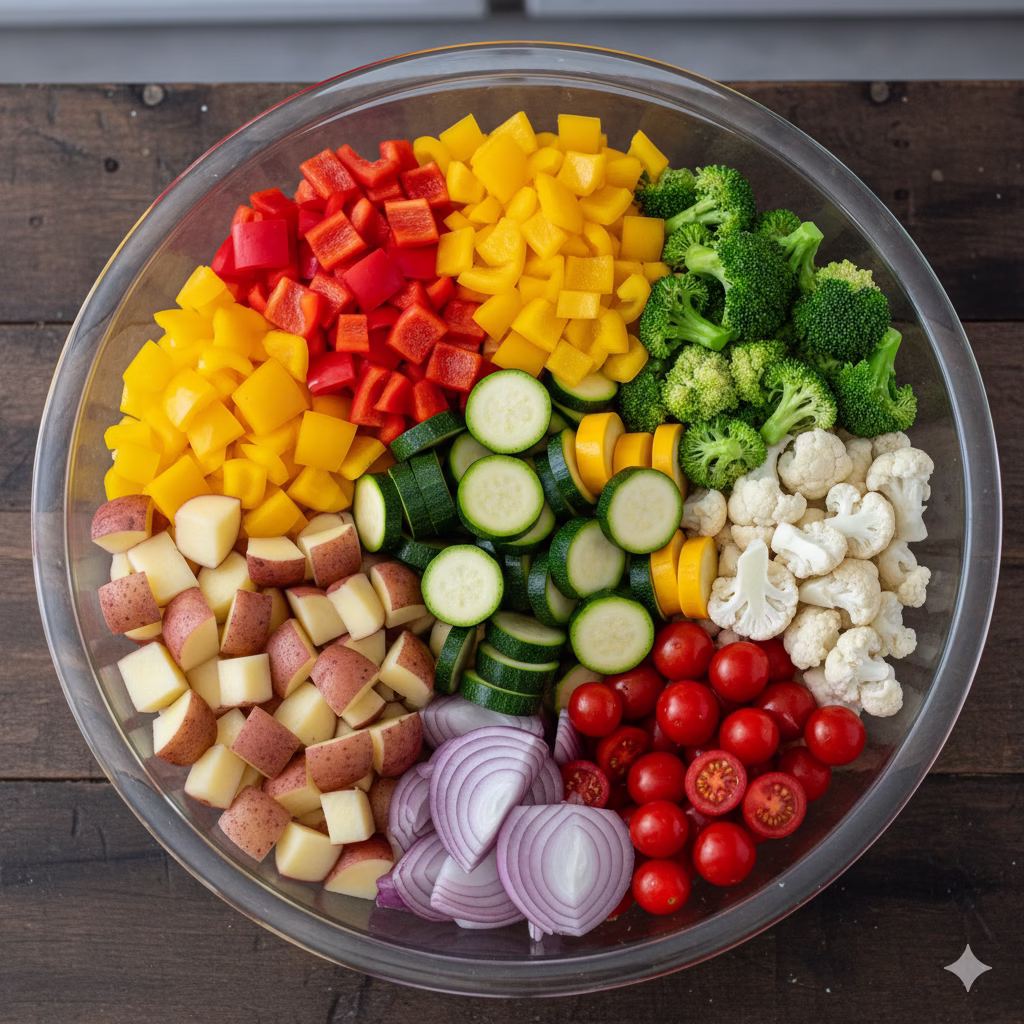
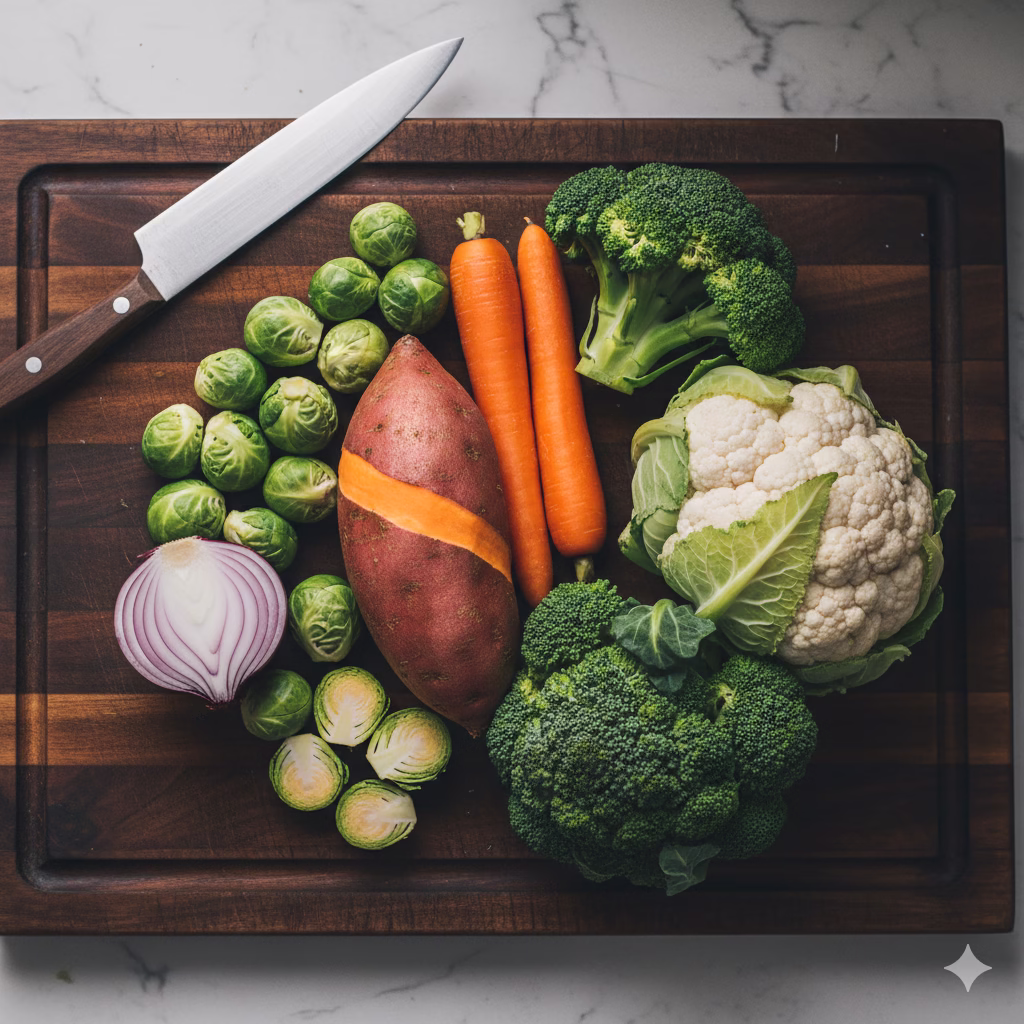
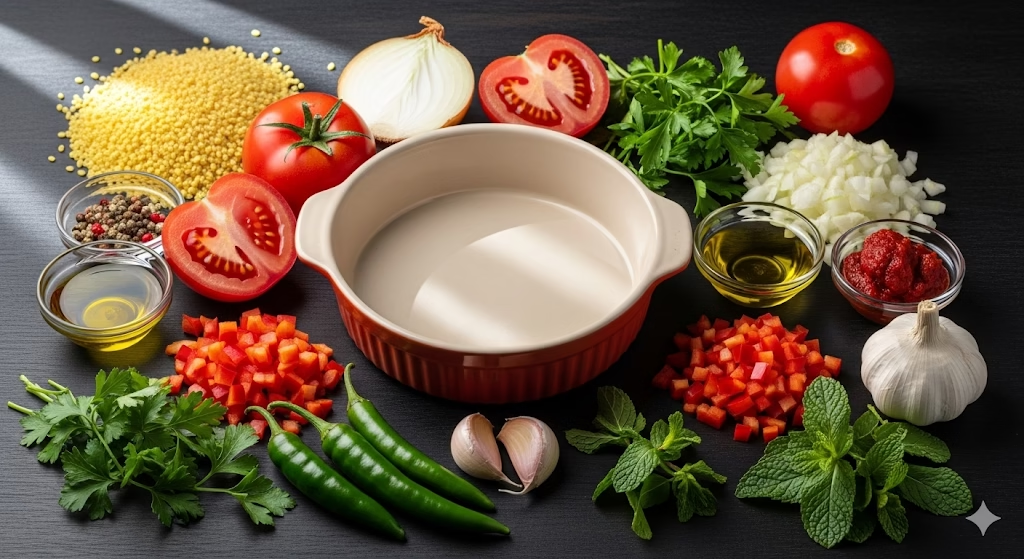
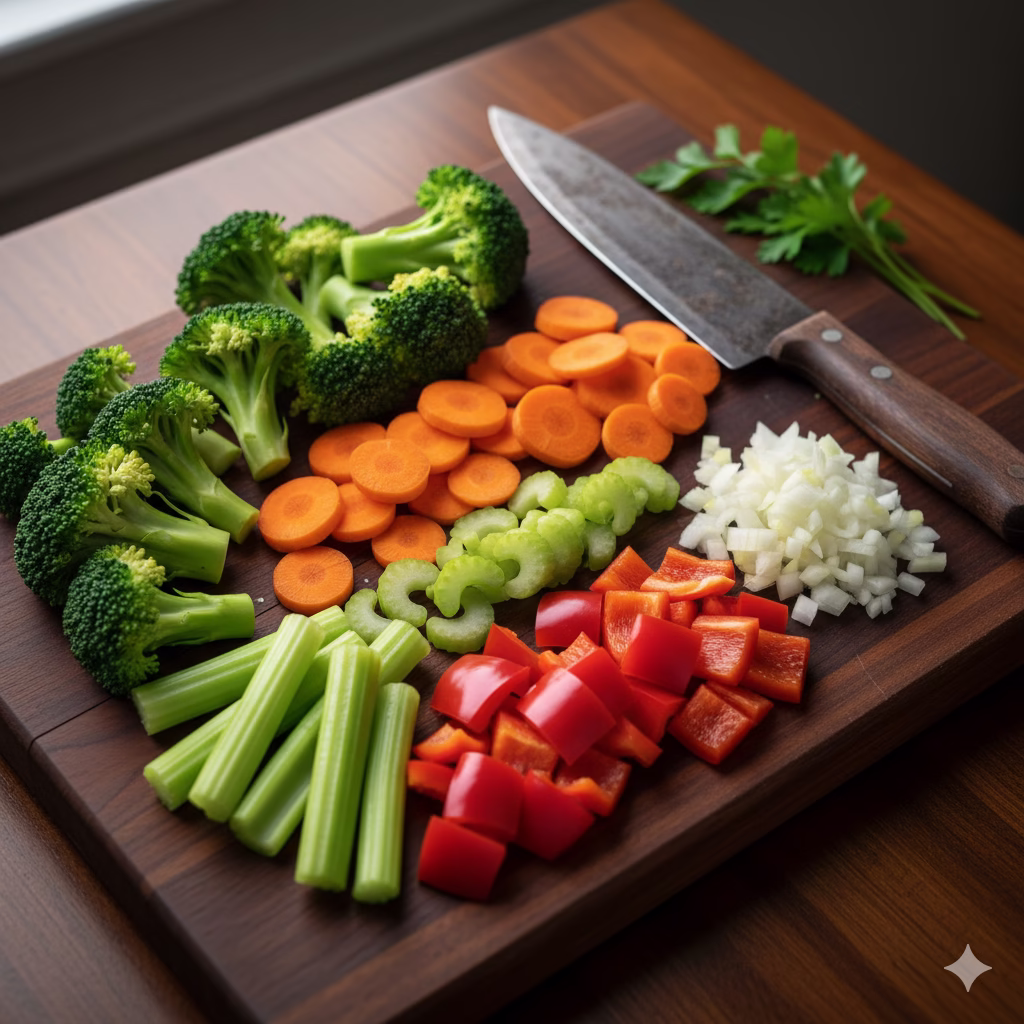
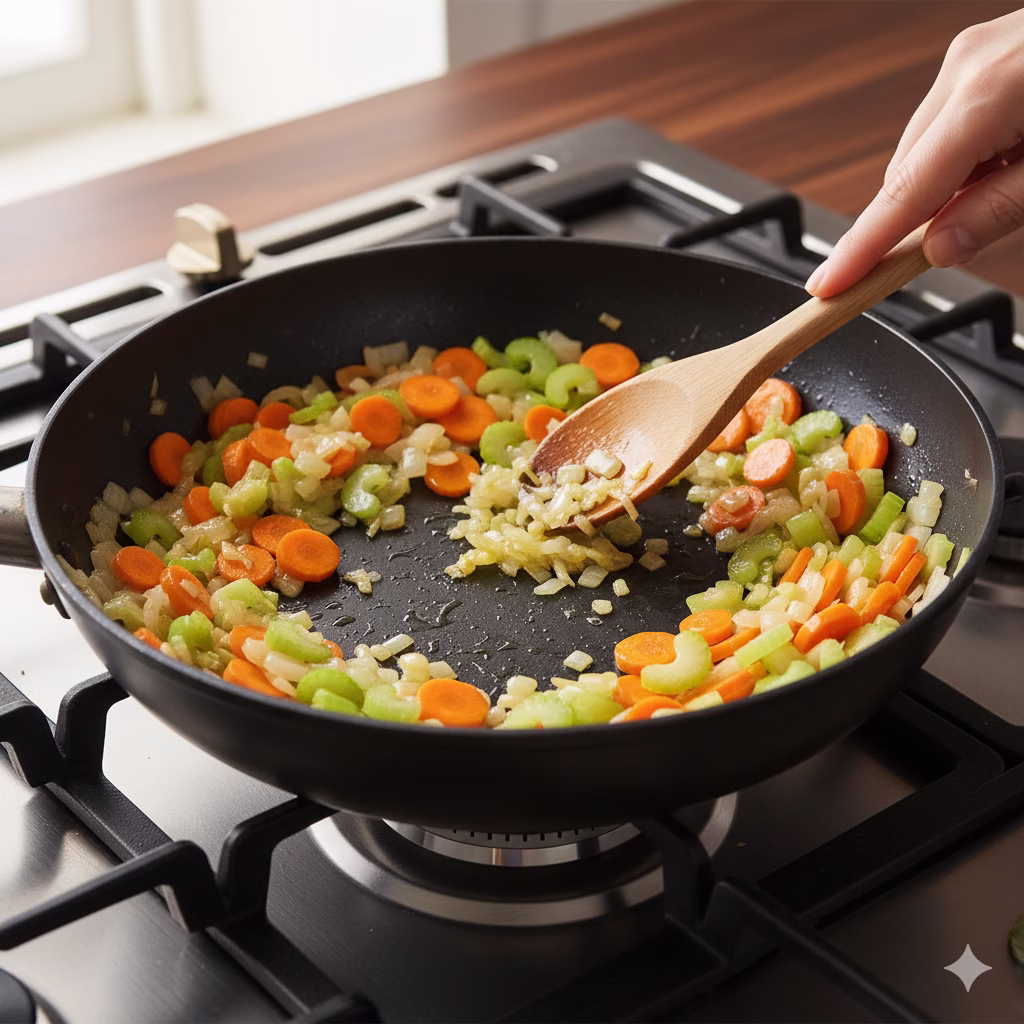
Step 3: Cut the Vegetables
Time to cut our healthy vegetables. Take your cutting board. Chop the yellow onion. Slice the carrots and celery. Cut out the seeds and chop the red bell pepper. Cut the broccoli into small pieces. Having all your vegetables ready makes cooking simple and fun.
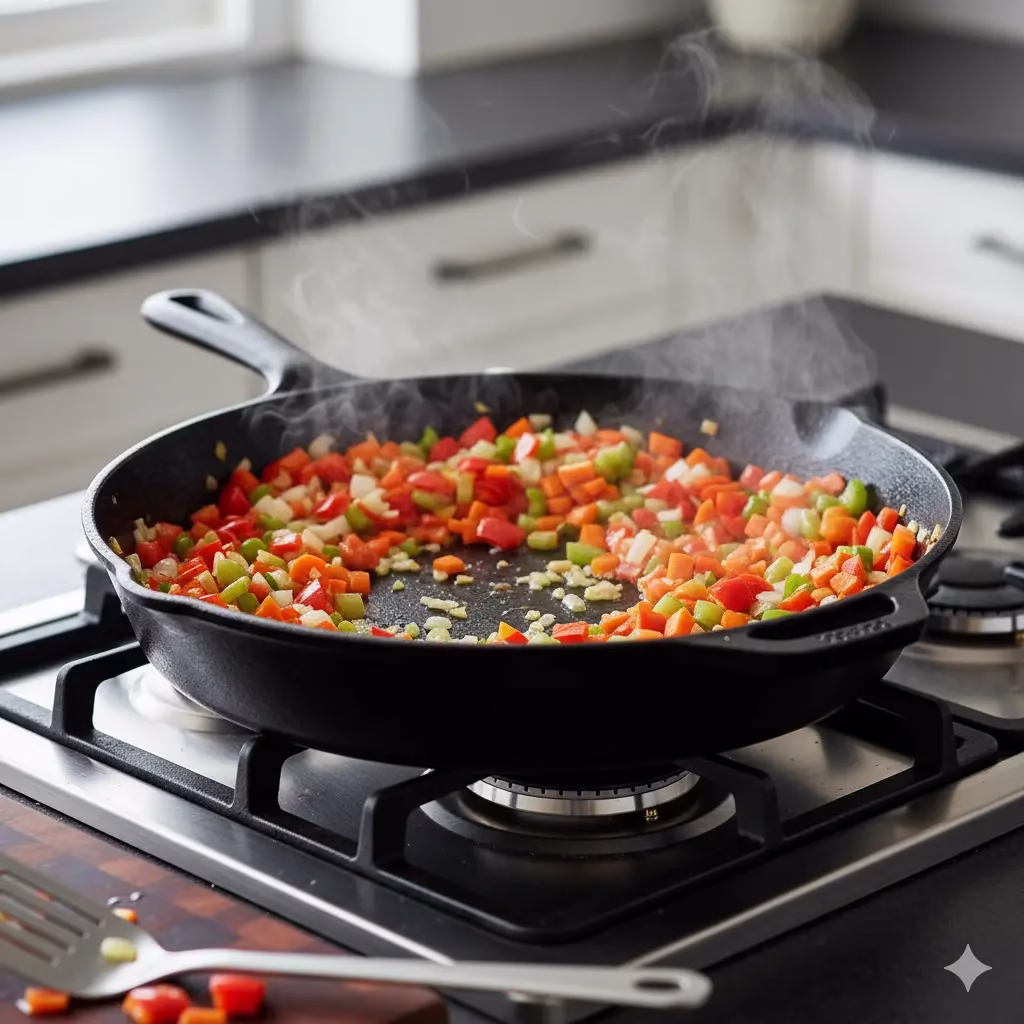
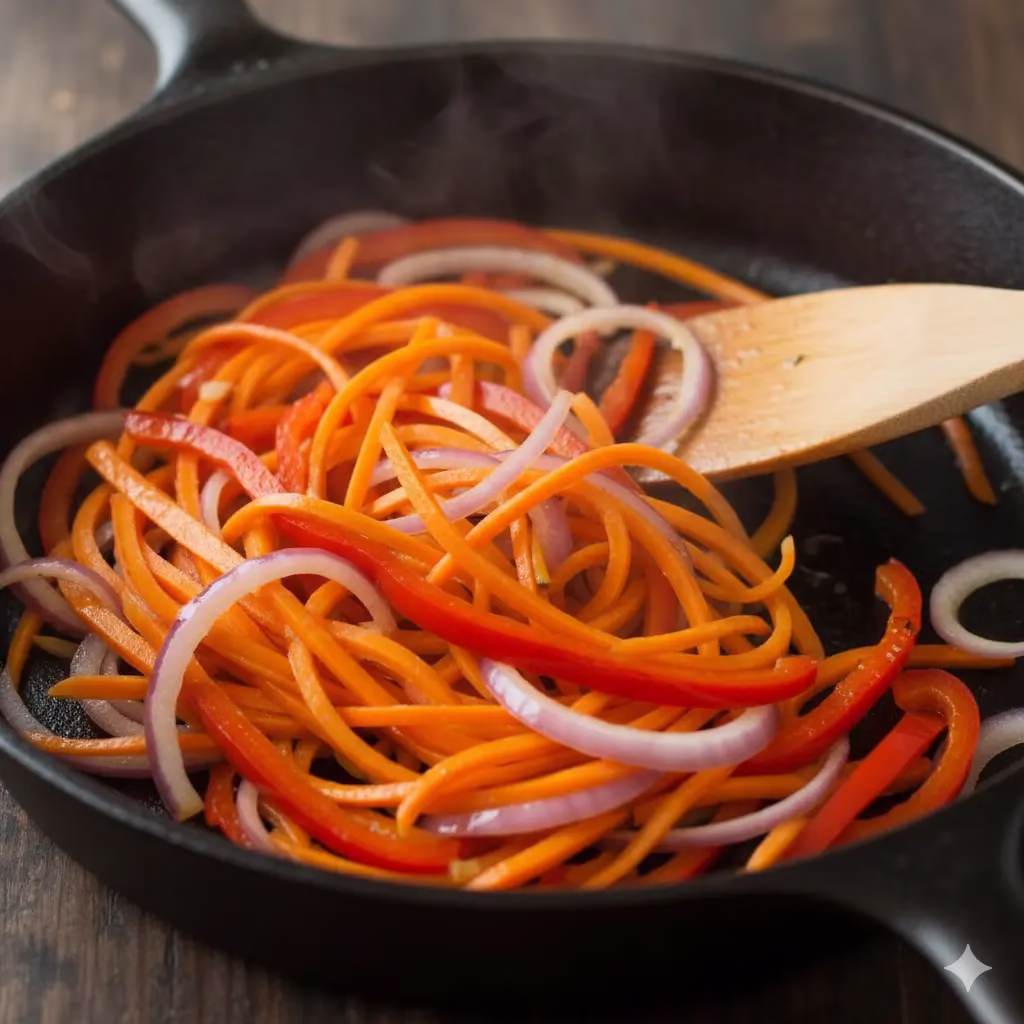
Step 4: Cook Aromatics and Brown Meatballs (Optional)
Heat 1 tablespoon of olive oil in a large pan or skillet. Use medium heat. If you want to brown your meatballs, do it now. Cook them for 2-3 minutes on each side. They should be lightly brown. Take them out of the pan and set them aside. Next, in the same pan, add the chopped onion, carrots, and celery. Cook them for about 5-7 minutes. The onion will become soft and clear. This step gives the casserole great flavor.
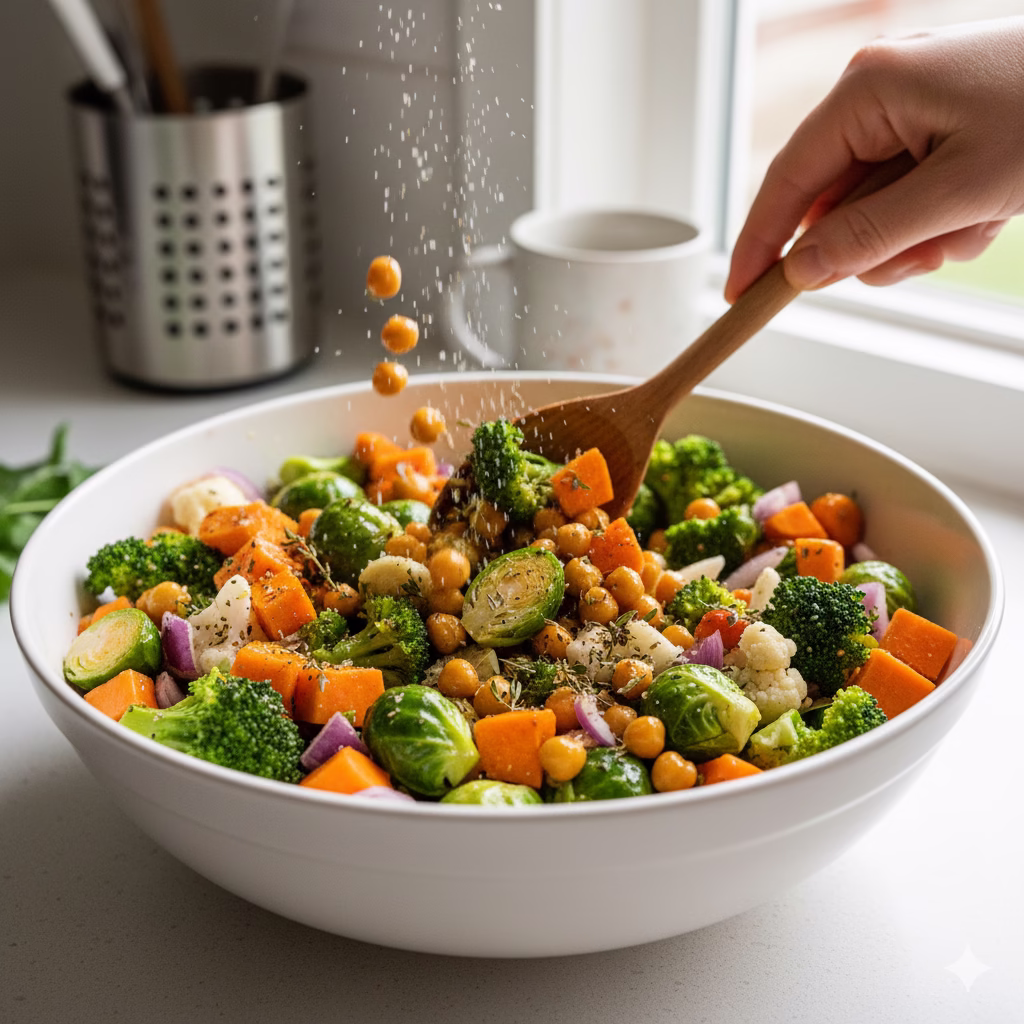
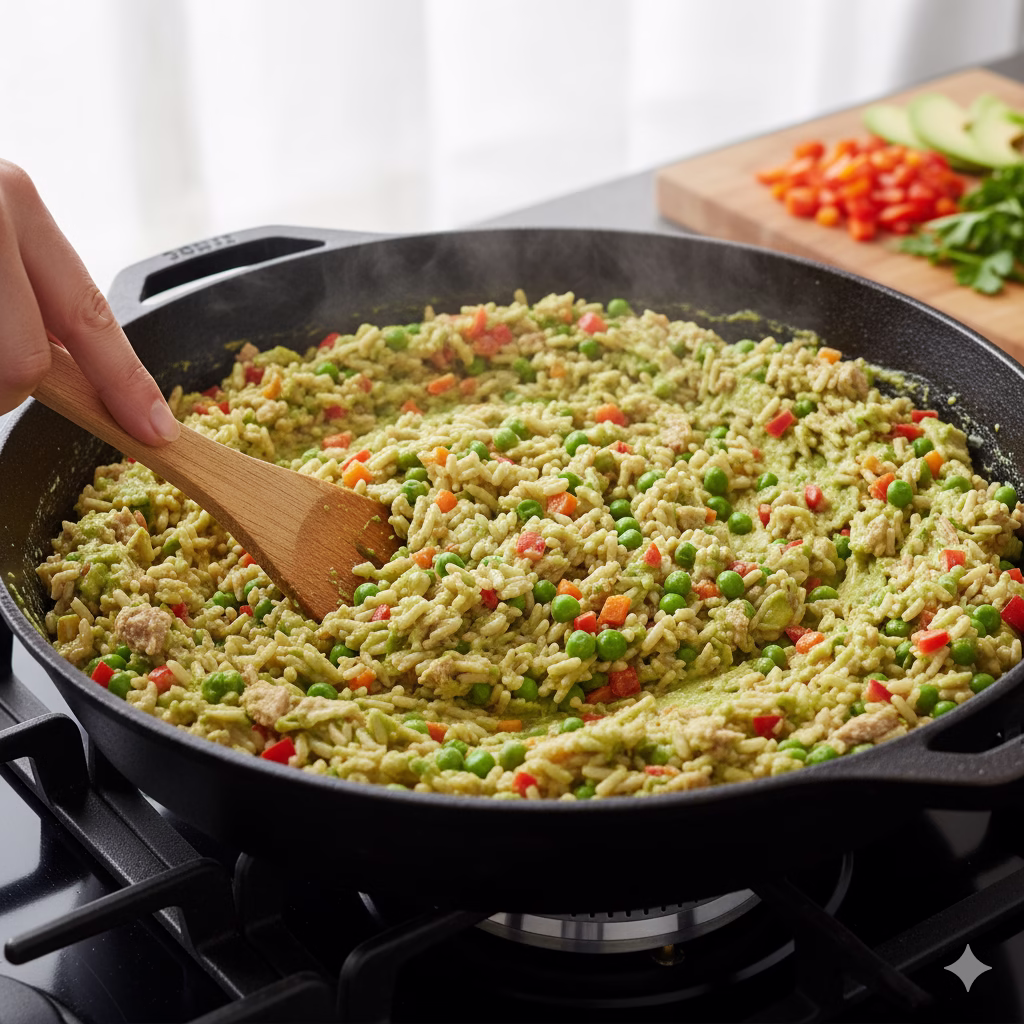
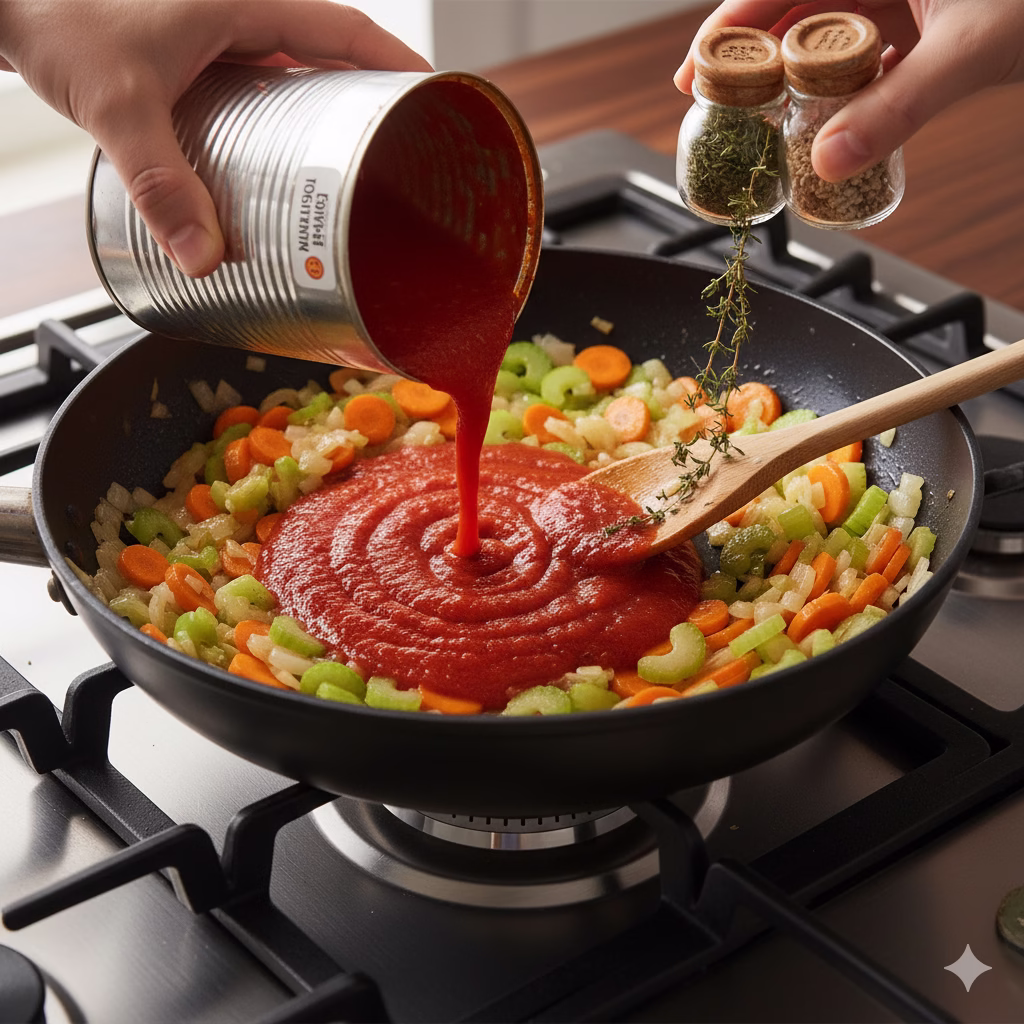
Step 5: Mix the Sauce
Now, add the sauce to the cooked vegetables. Pour in the crushed tomatoes, tomato sauce, vegetable broth (or water), dried basil, and dried thyme. Stir everything well until it is all mixed. Add salt and black pepper to make it taste right. If you are using a skillet, let the sauce bubble softly for a moment.
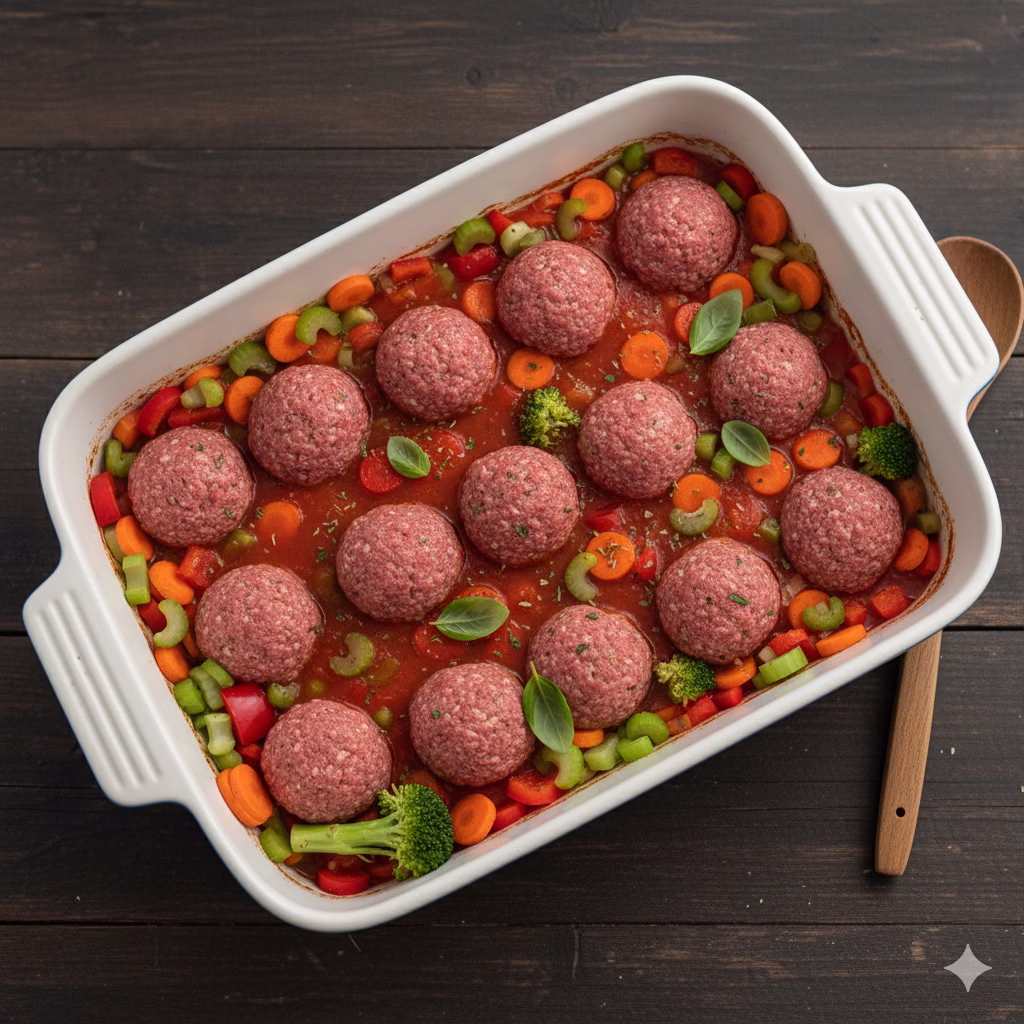
Step 6: Put the Casserole Together (Oven Method)
If you made the sauce in a skillet, pour it into your 9×13 inch casserole dish. If you did not use the skillet, mix all the sauce items and vegetables (carrots, celery, onion, bell pepper, broccoli) right in the casserole dish. Gently place the raw or browned meatballs into the sauce. Make sure they are partly covered by the sauce. Put the chopped red bell pepper and broccoli pieces around the meatballs.
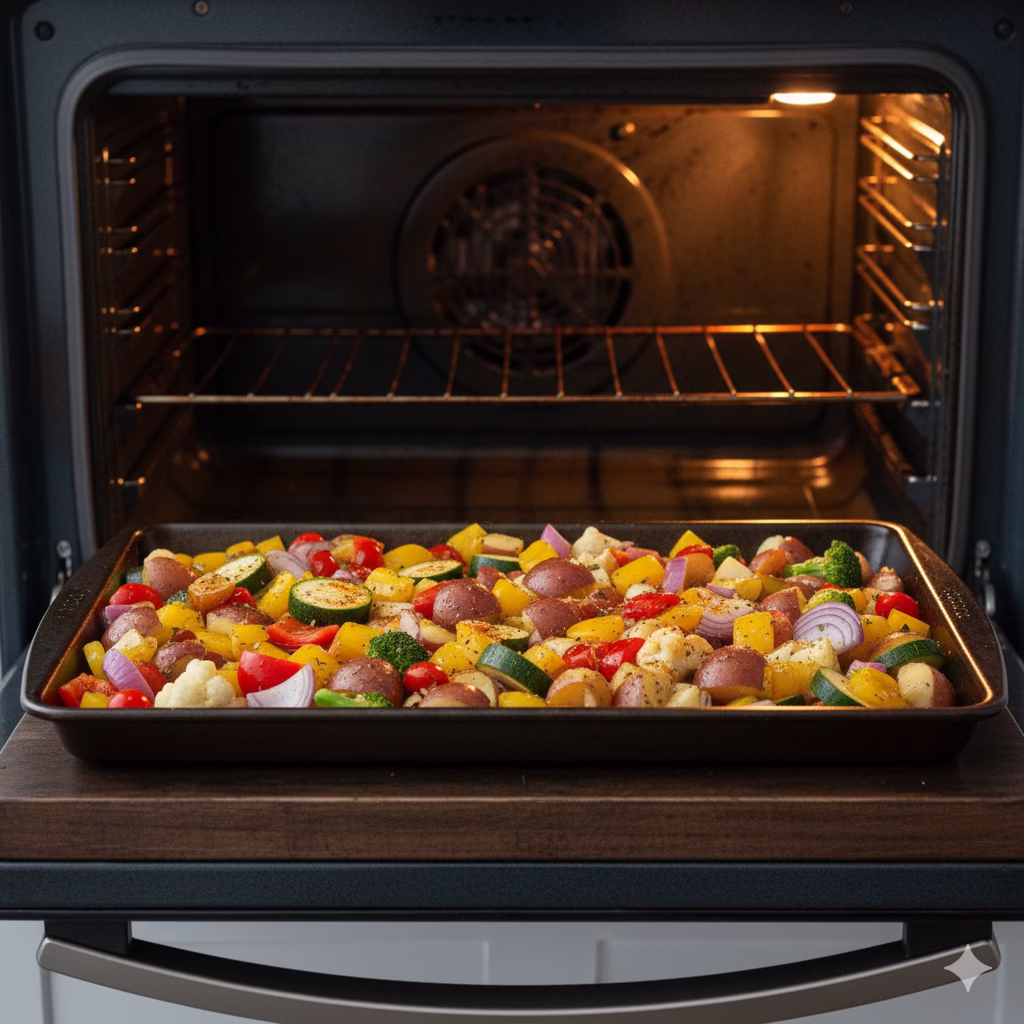
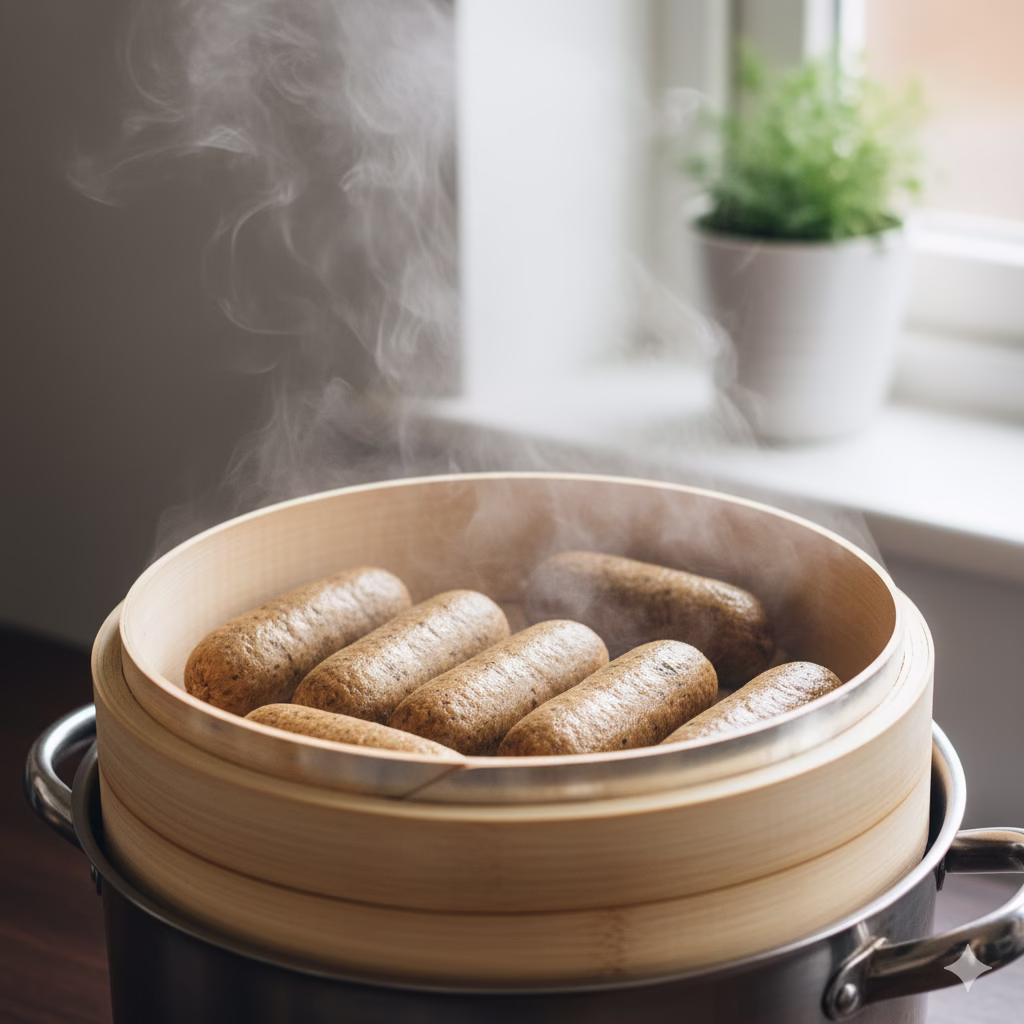
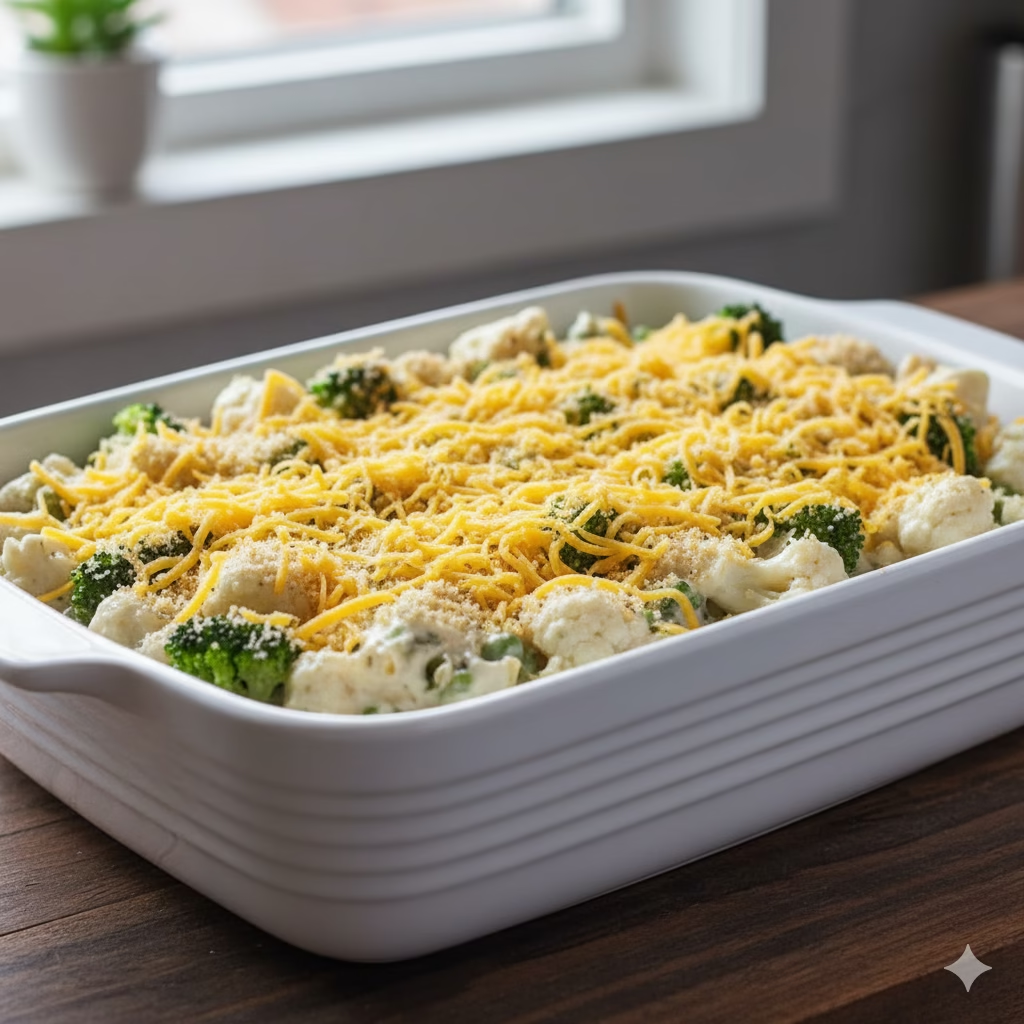
Step 7: Bake It Until Perfect
Cover the casserole dish loosely with aluminum foil. Put it in your oven that you preheated to 375°F (190°C). Bake it for 20 minutes. After 20 minutes, take off the foil. Sprinkle the shredded mozzarella cheese over the top (if you use it). Bake for another 10-15 minutes. The meatballs must be fully cooked. They need to reach a heat of 165°F (74°C) inside. The cheese will be melted and bubbly.
Alternative Cooking Methods for Vegetables With Meatball Casserole
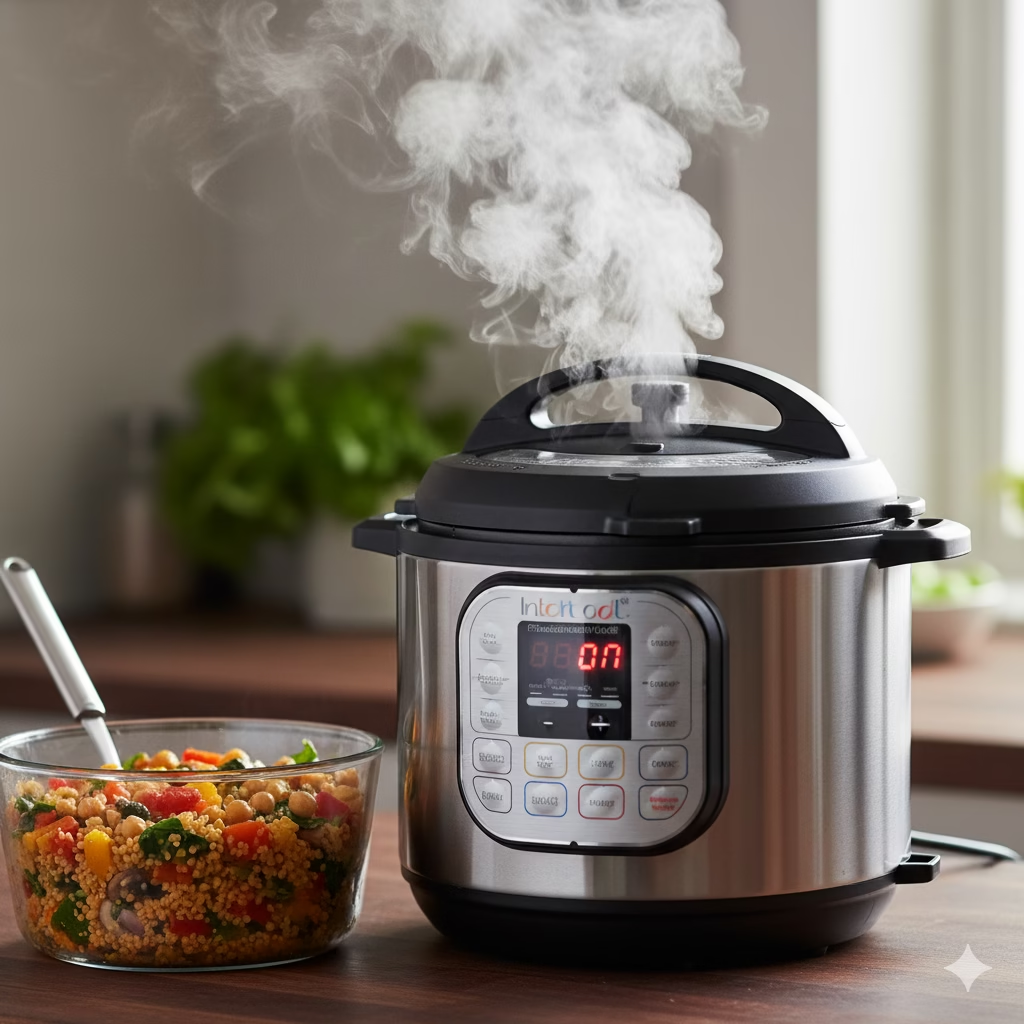
- Air Fryer Method: You can cook the meatballs in the air fryer first. Cook the raw meatballs at 375°F (190°C) for 10-12 minutes. Shake the basket halfway through. Make sure they are cooked all the way. While they cook, mix the sauce and vegetables in a small, air-fryer safe pan. Put the cooked meatballs, sauce, and vegetables together. Air fry at 350°F (175°C) for 10-15 minutes. Cook until it is hot and bubbling. Add the cheese for the last 5 minutes.
- Slow Cooker Method: This method is very easy. Make your meatballs. You can brown them in a pan first or use them raw. Put all the sauce items, vegetables (carrots, celery, onion, bell pepper, broccoli), and meatballs into your slow cooker. Cook on high for 3-4 hours. Or, cook on low for 6-8 hours. The meatballs should be cooked through. The vegetables should be soft. Stir it sometimes if you can. Add cheese to the top 30 minutes before it is done. Or, just sprinkle it on each plate when you serve.
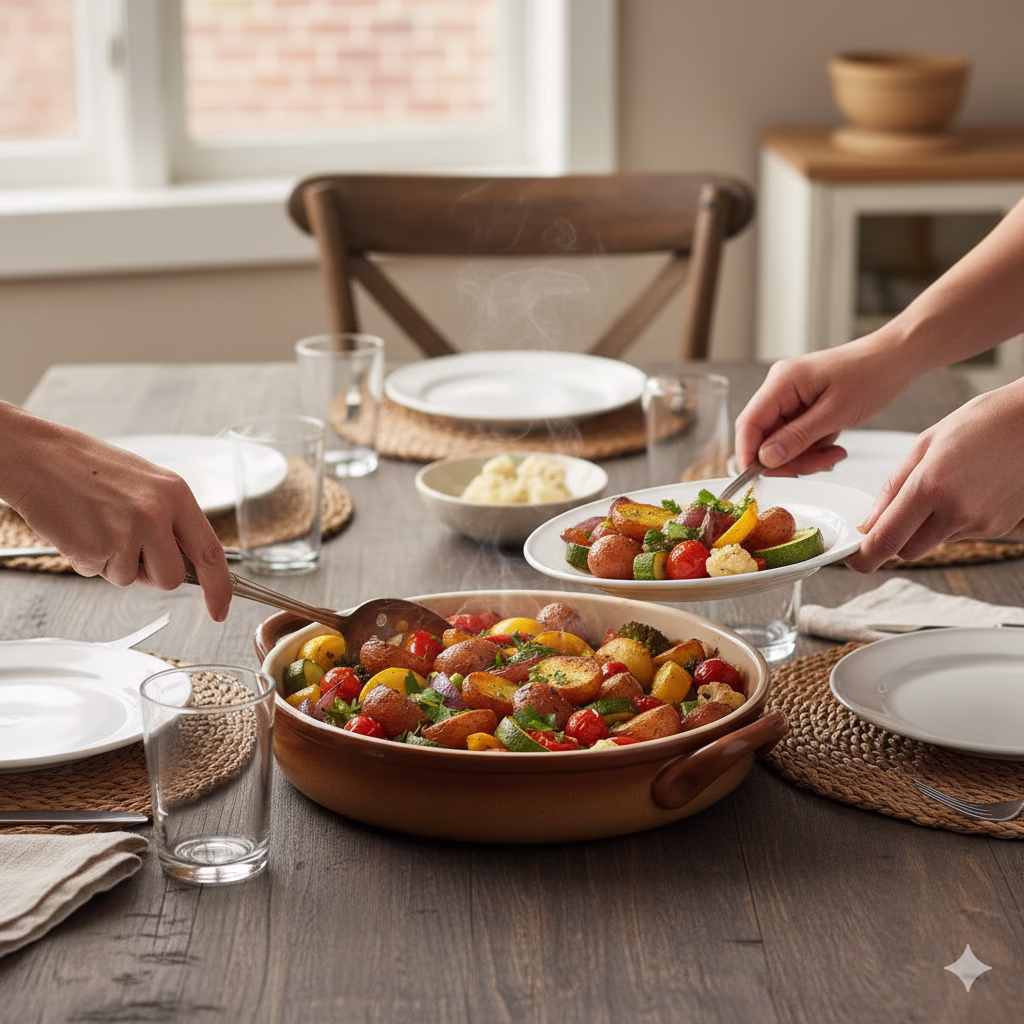
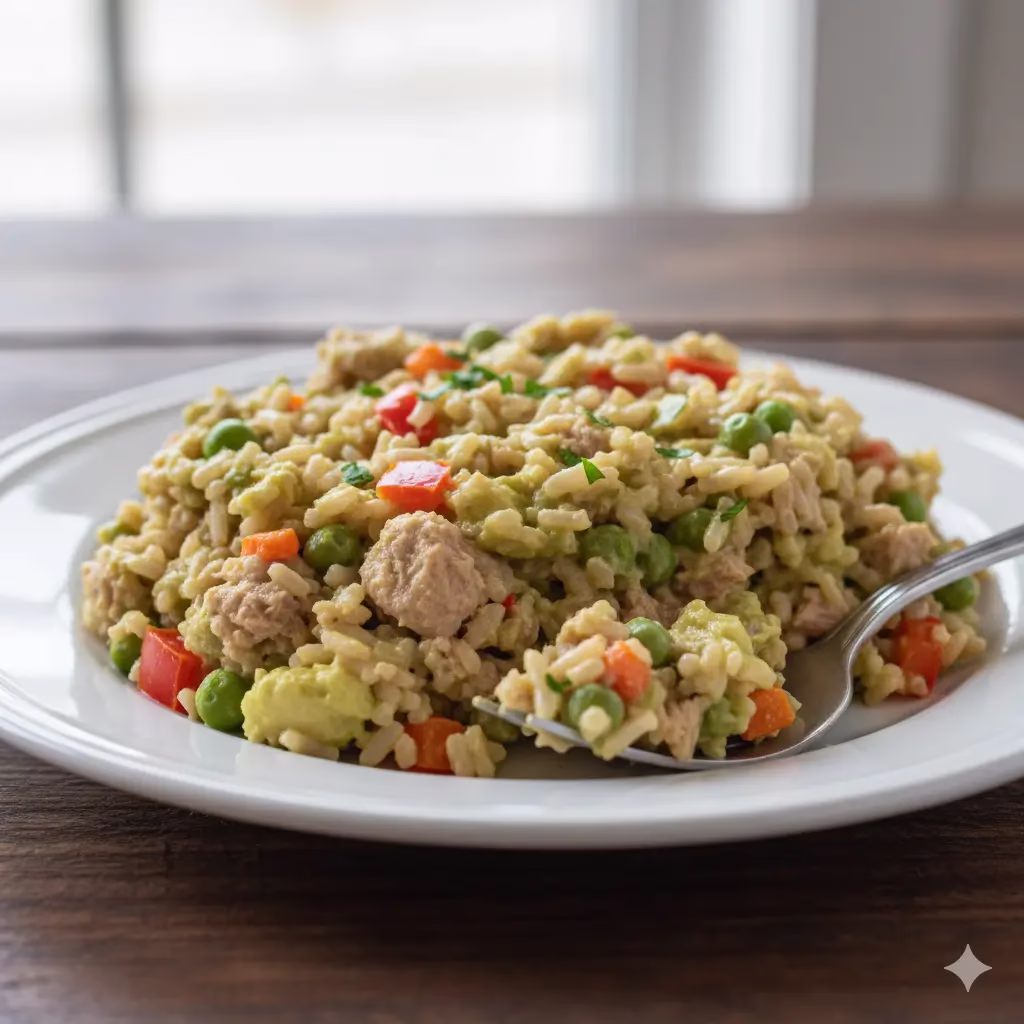
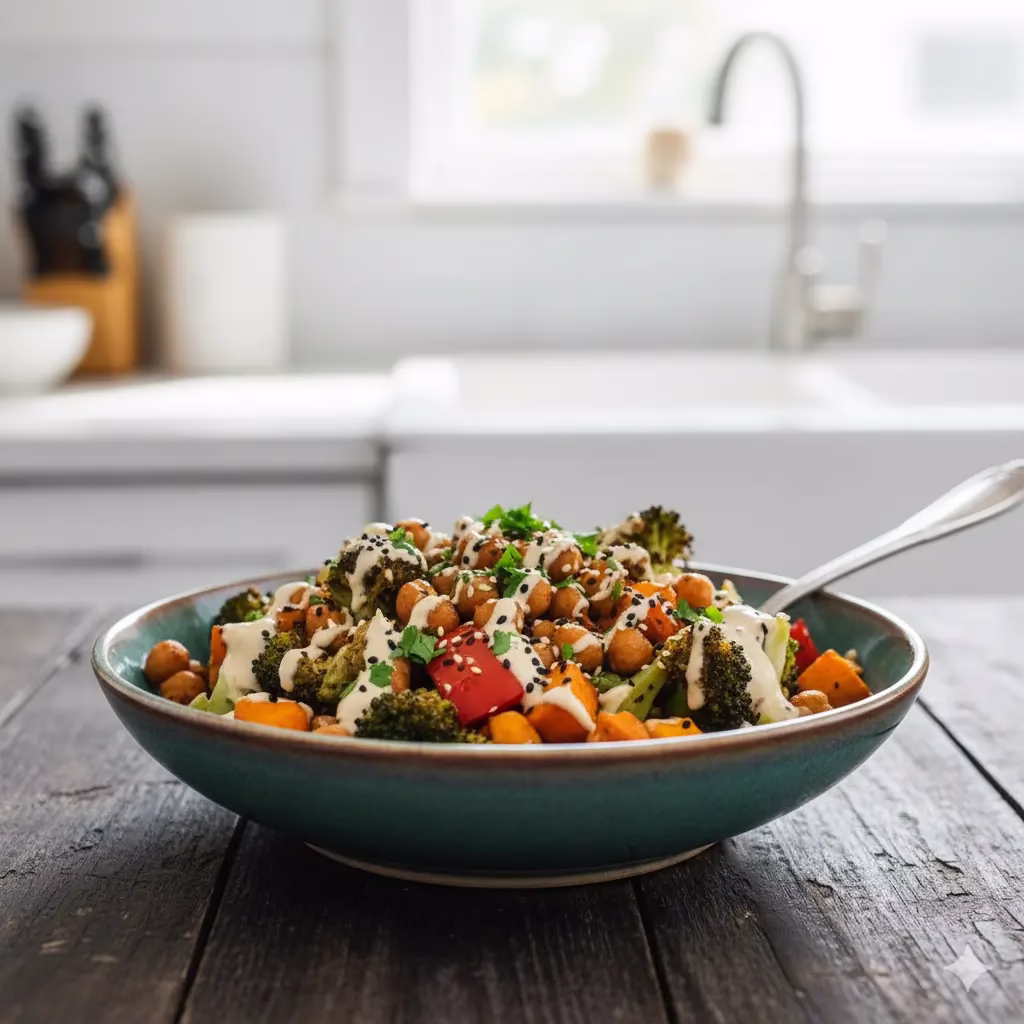
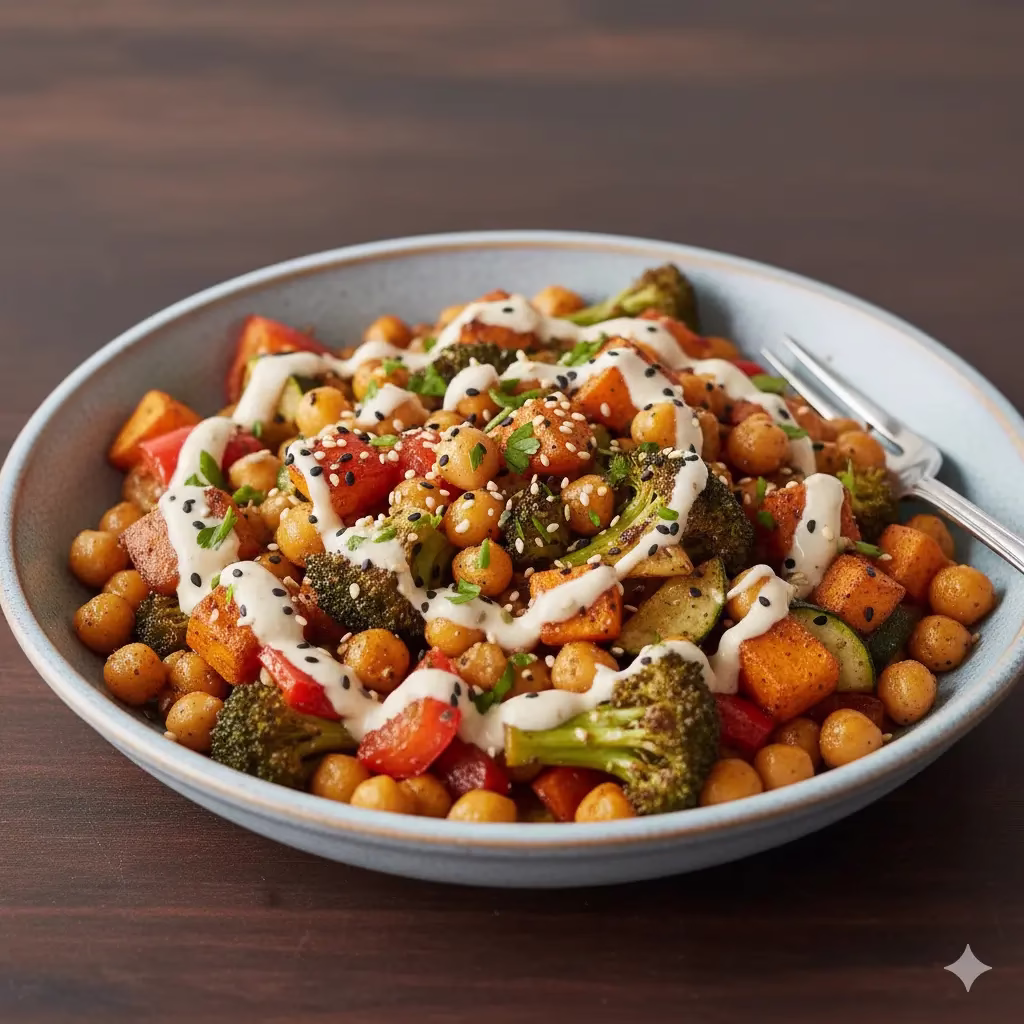
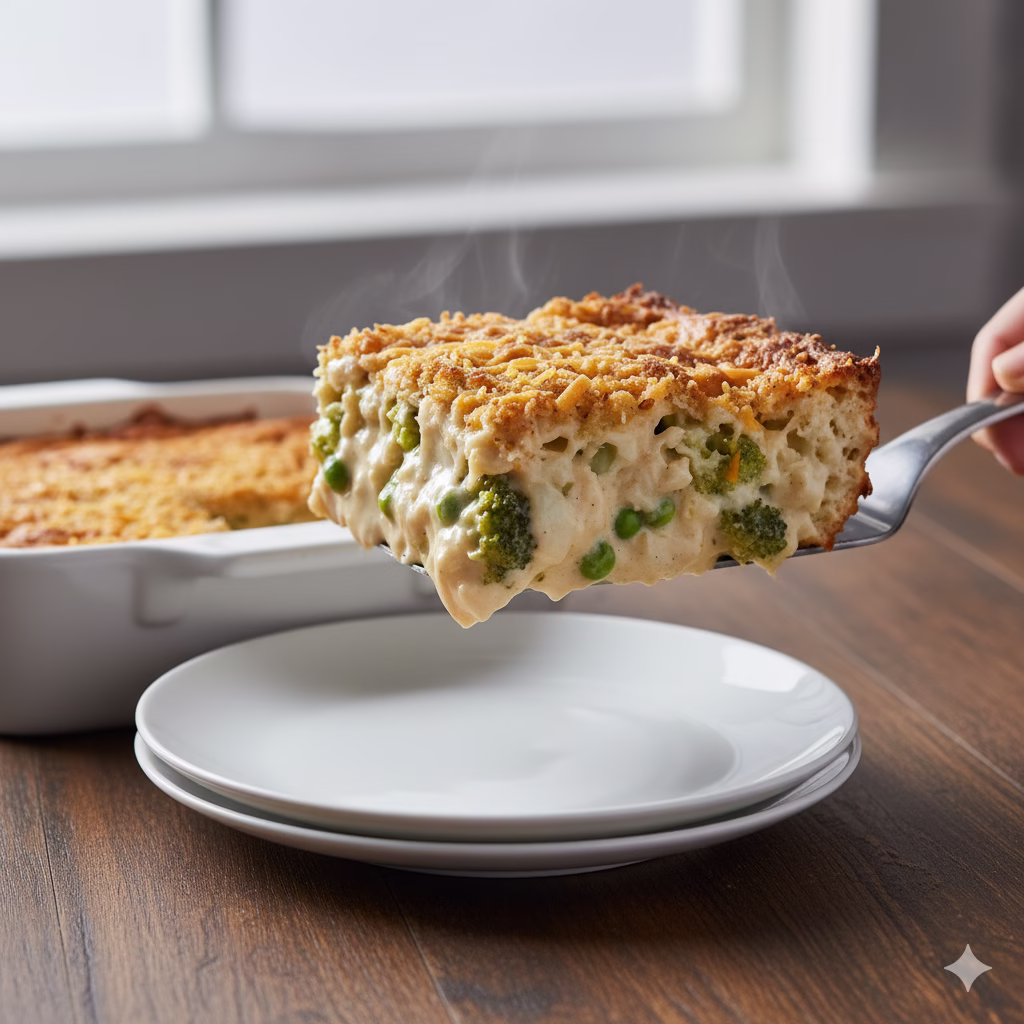
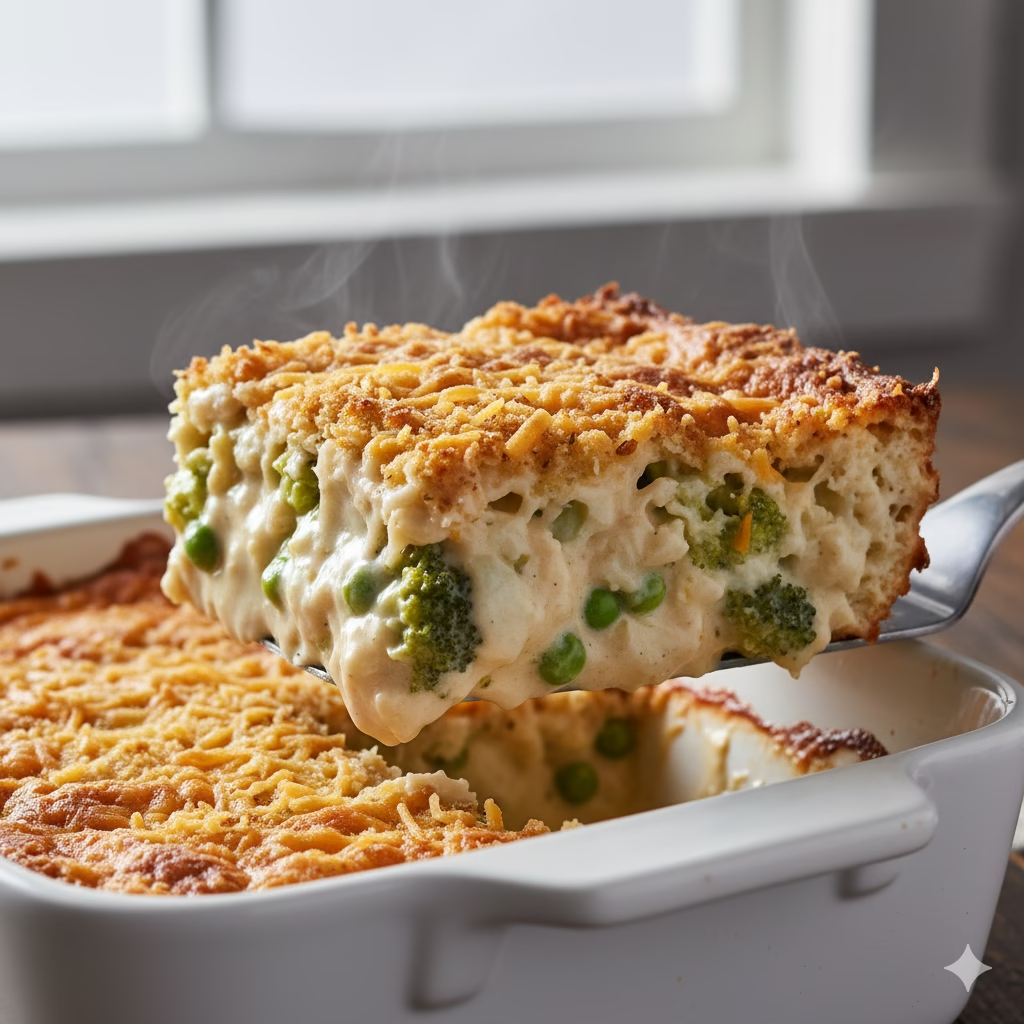
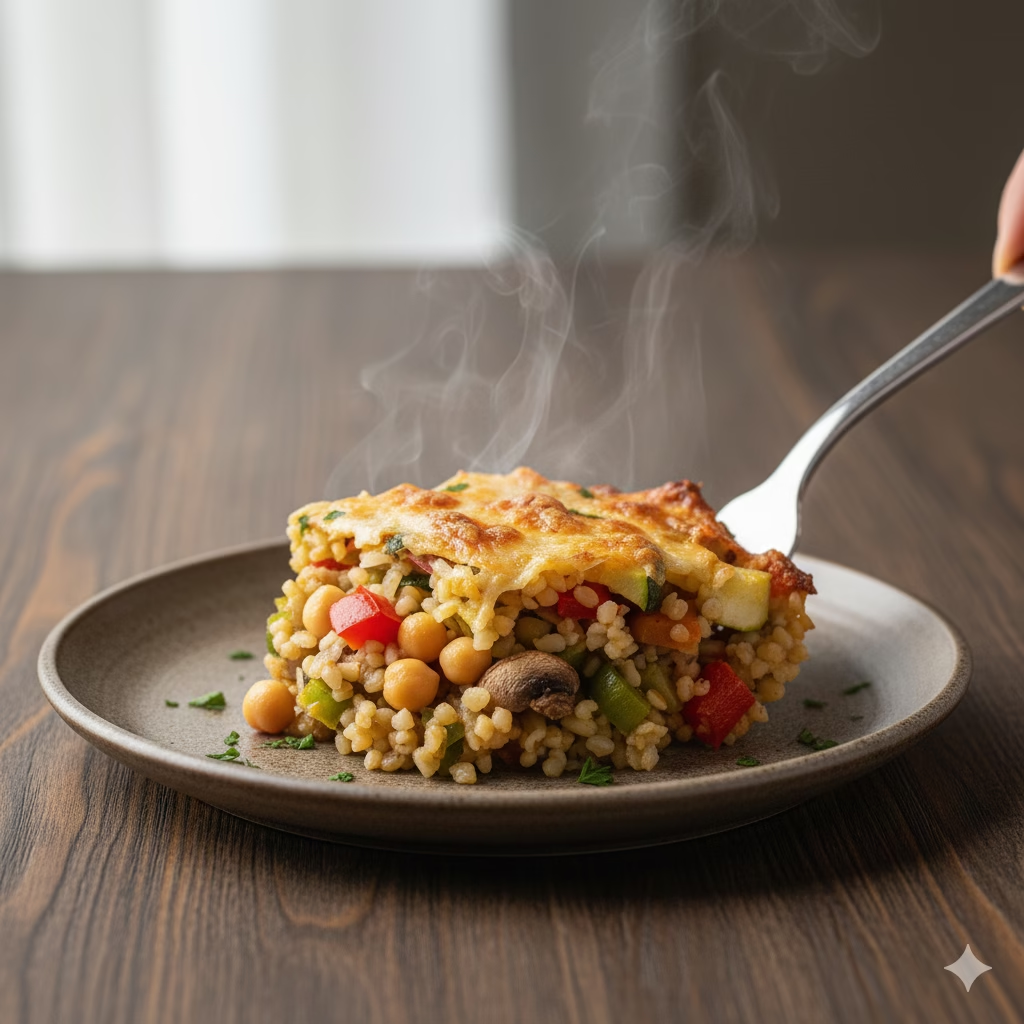
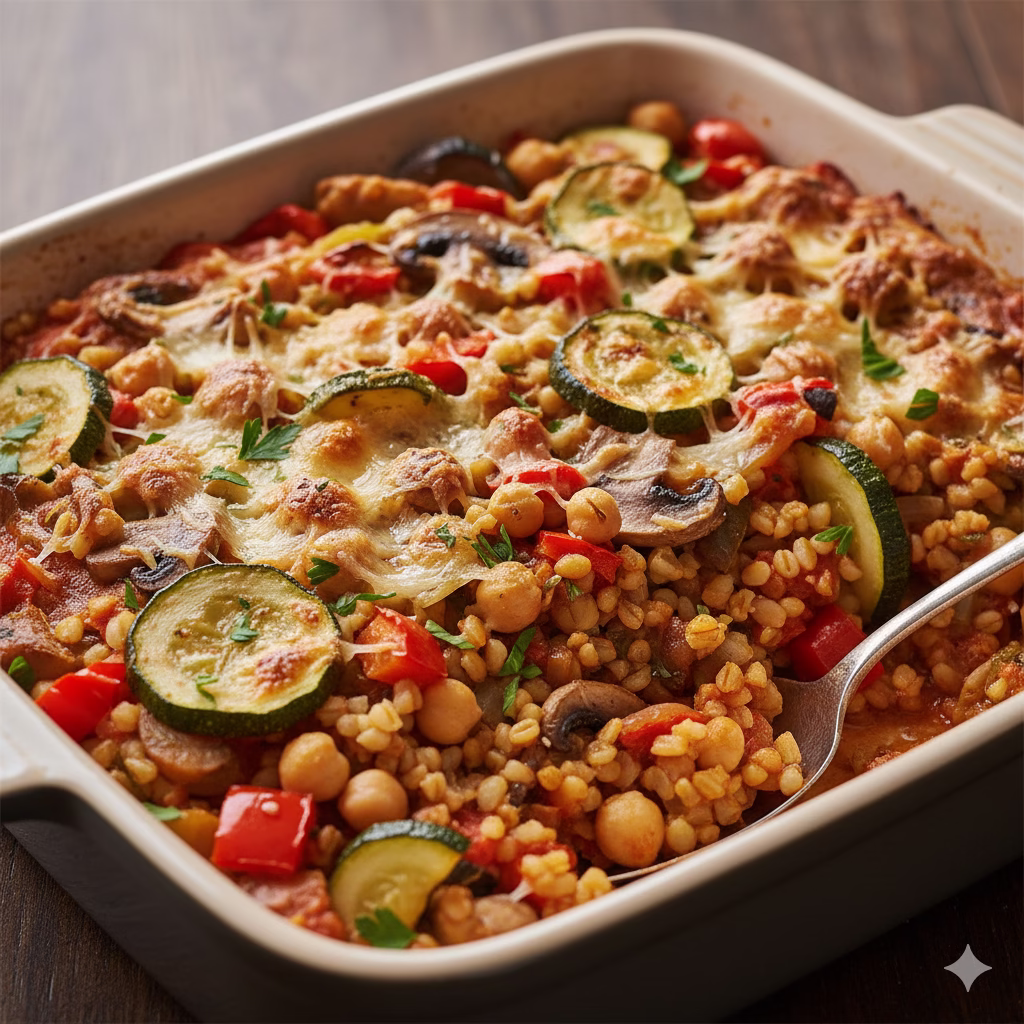
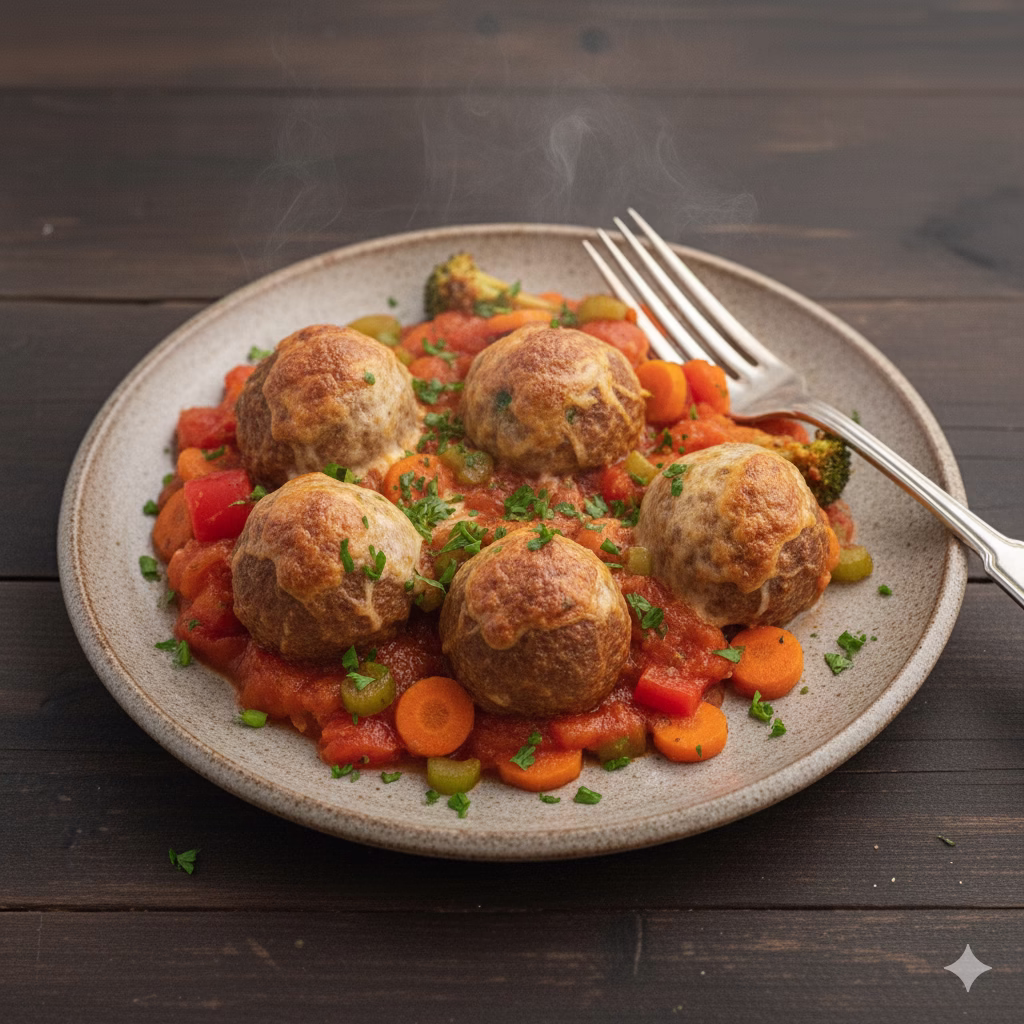
Step 8: Serve and Garnish
Take the casserole out of the oven. Let it sit for 5-10 minutes before you serve it. This lets the flavors mix well. It also helps the sauce get a little thicker. Put fresh chopped parsley on top if you want. Serve it hot! Enjoy your homemade, healthy Vegetables With Meatball Casserole!
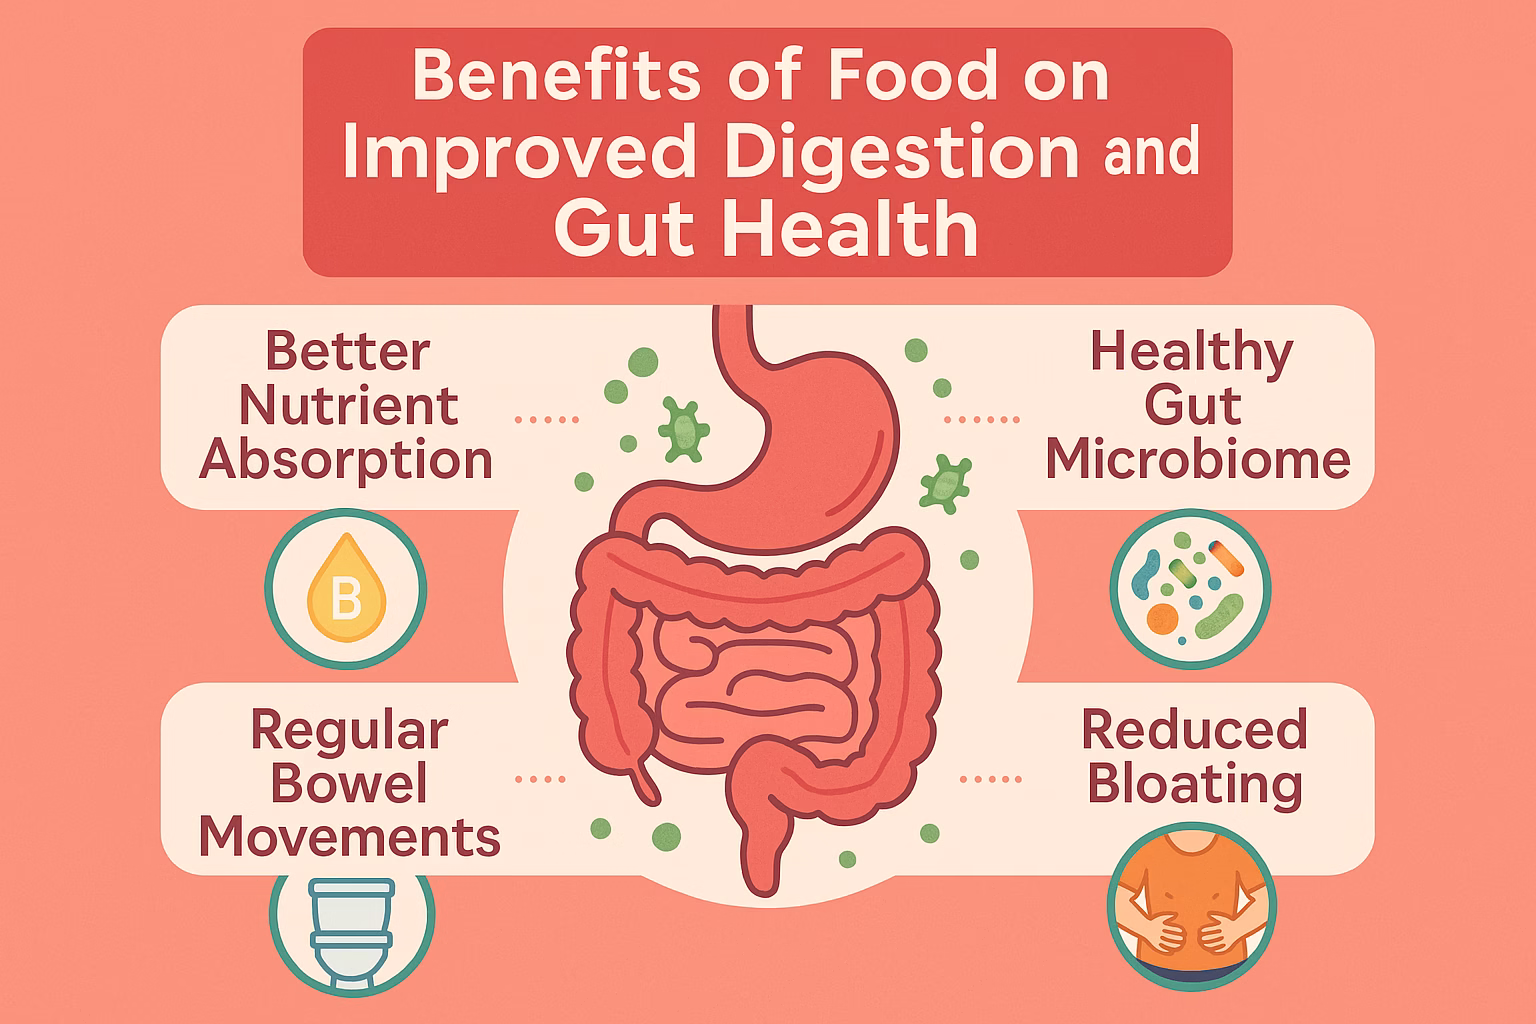
Benefits of This Vegetables With Meatball Casserole

This Vegetables With Meatball Casserole is tasty. It also gives you many health benefits. It is a smart choice for any healthy meal plan.
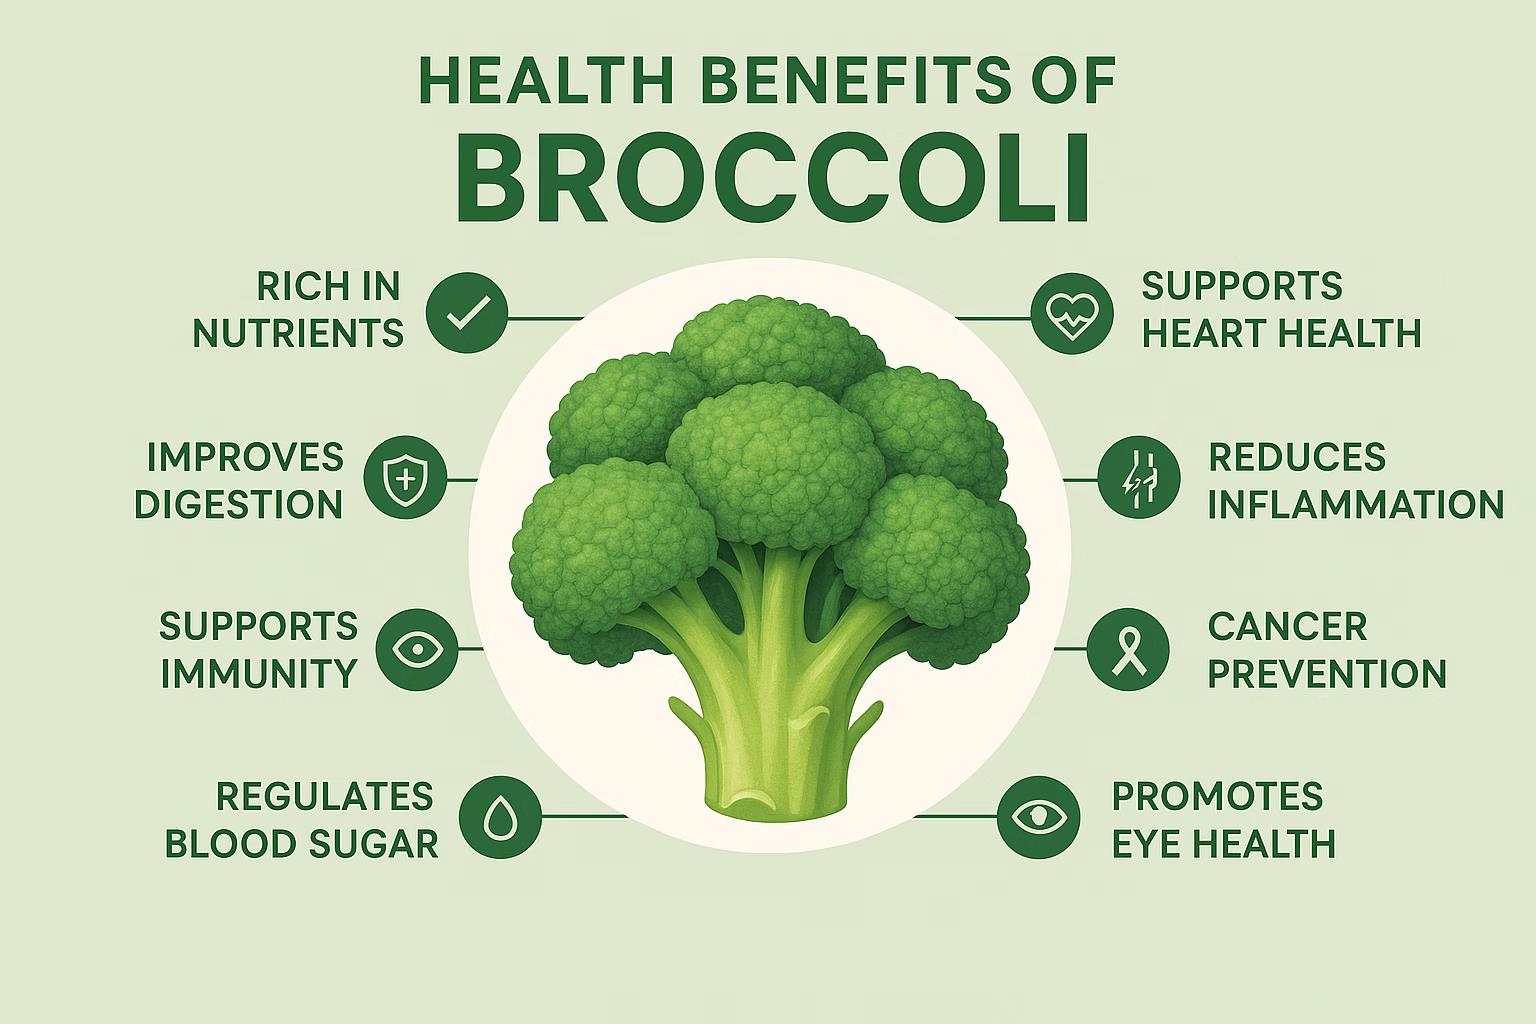
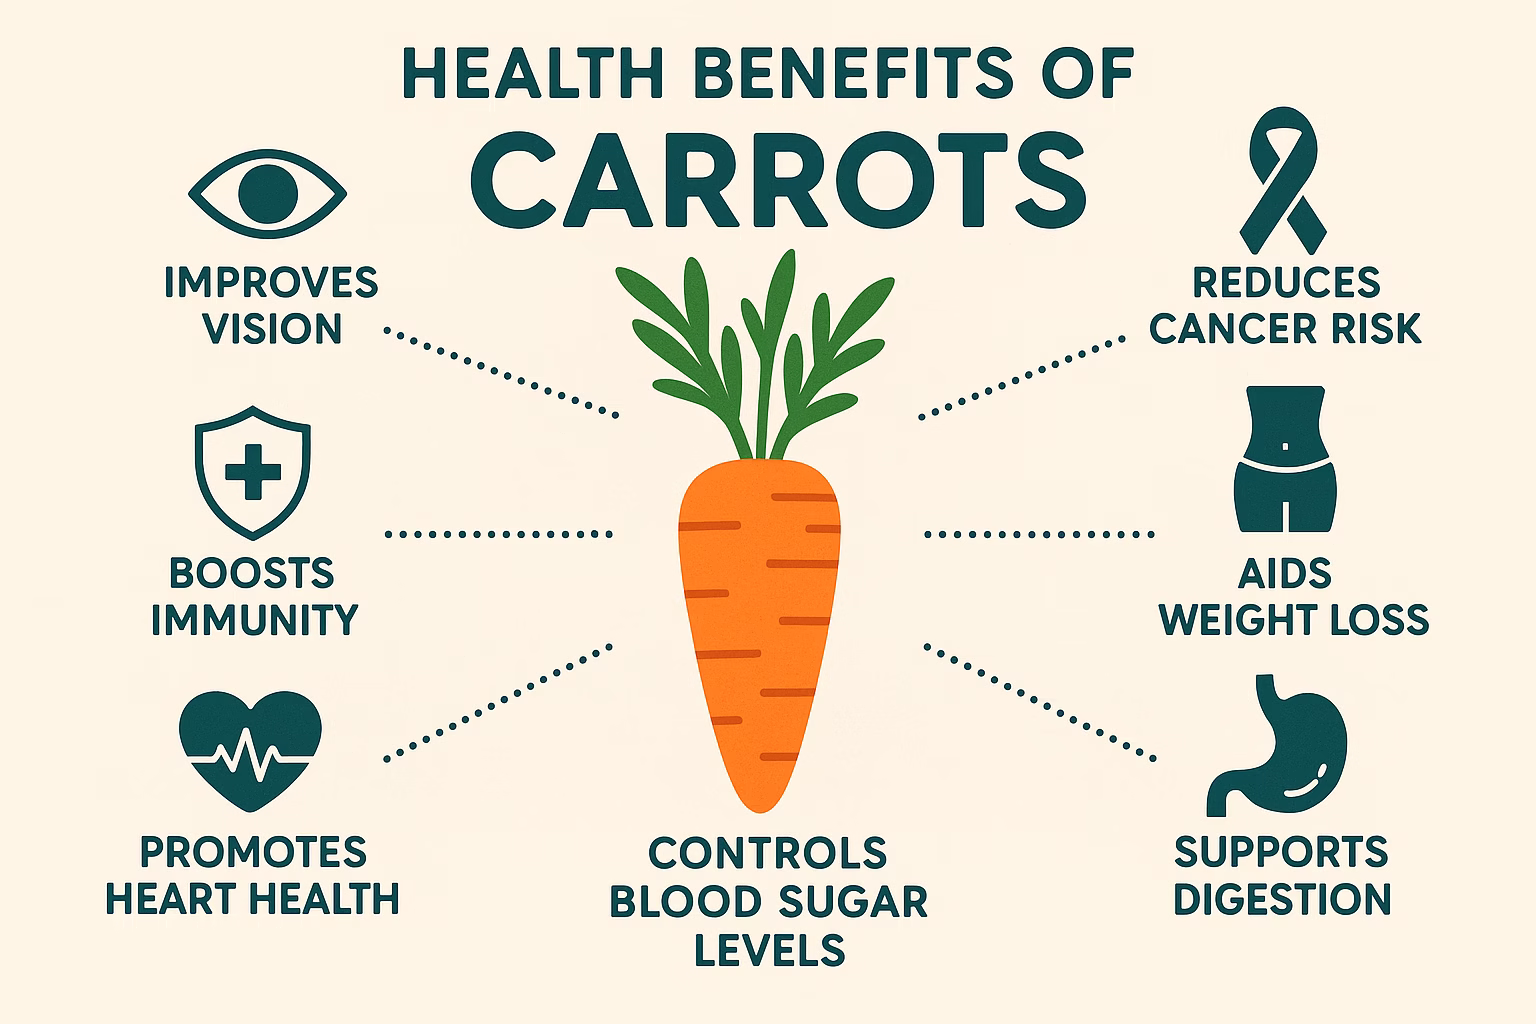
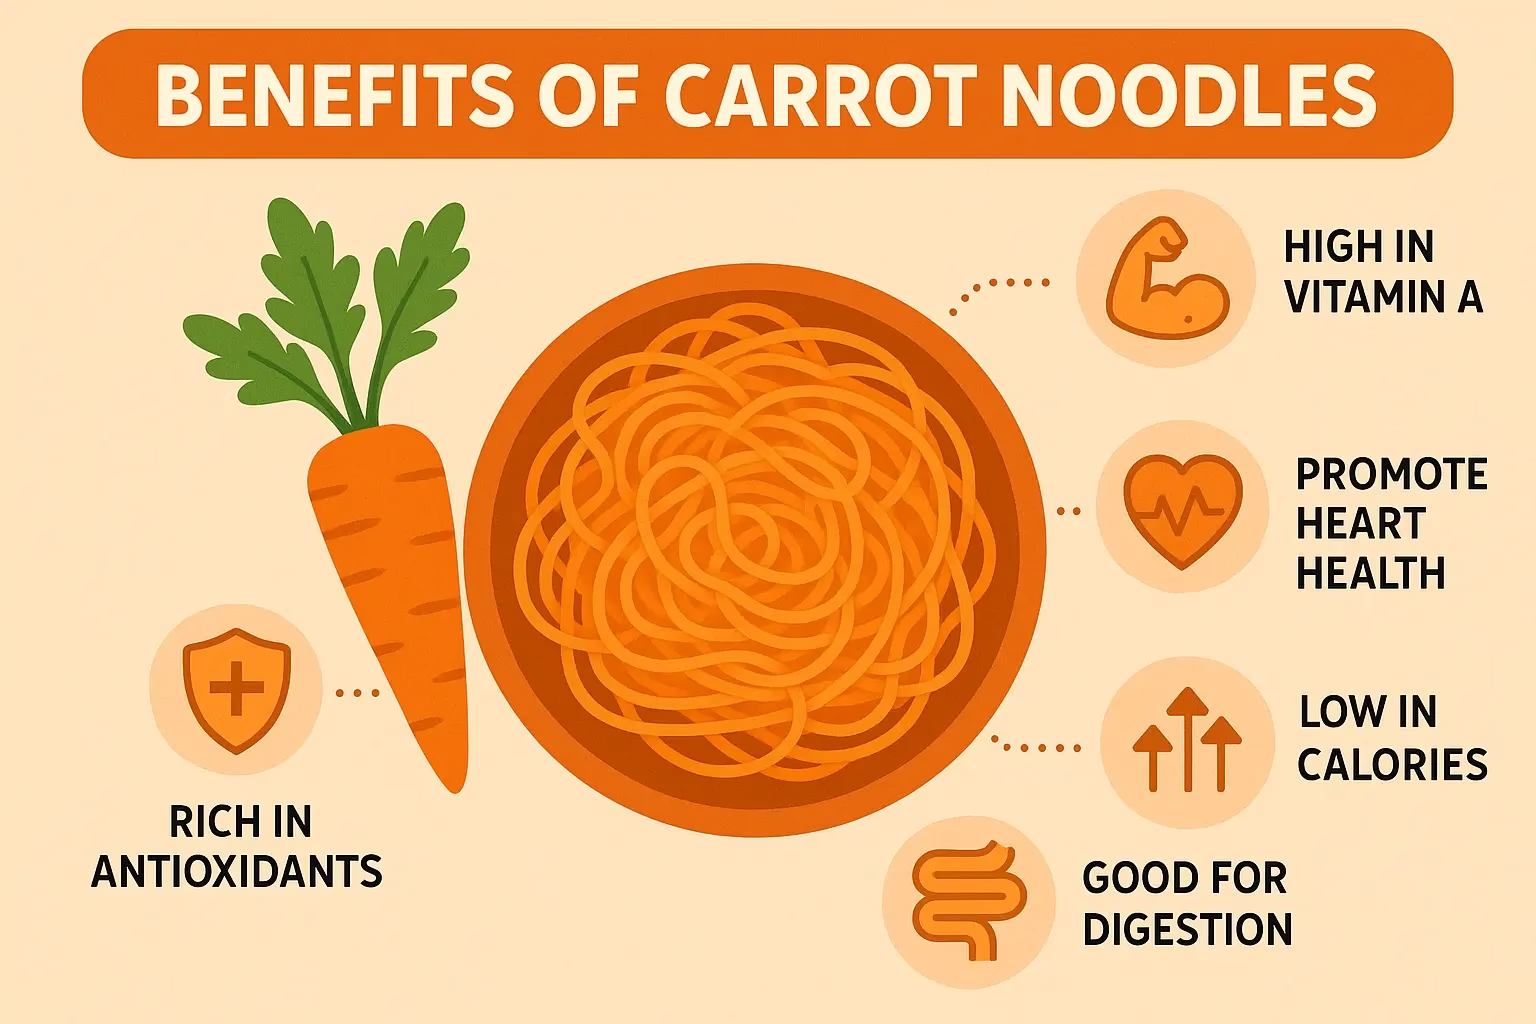
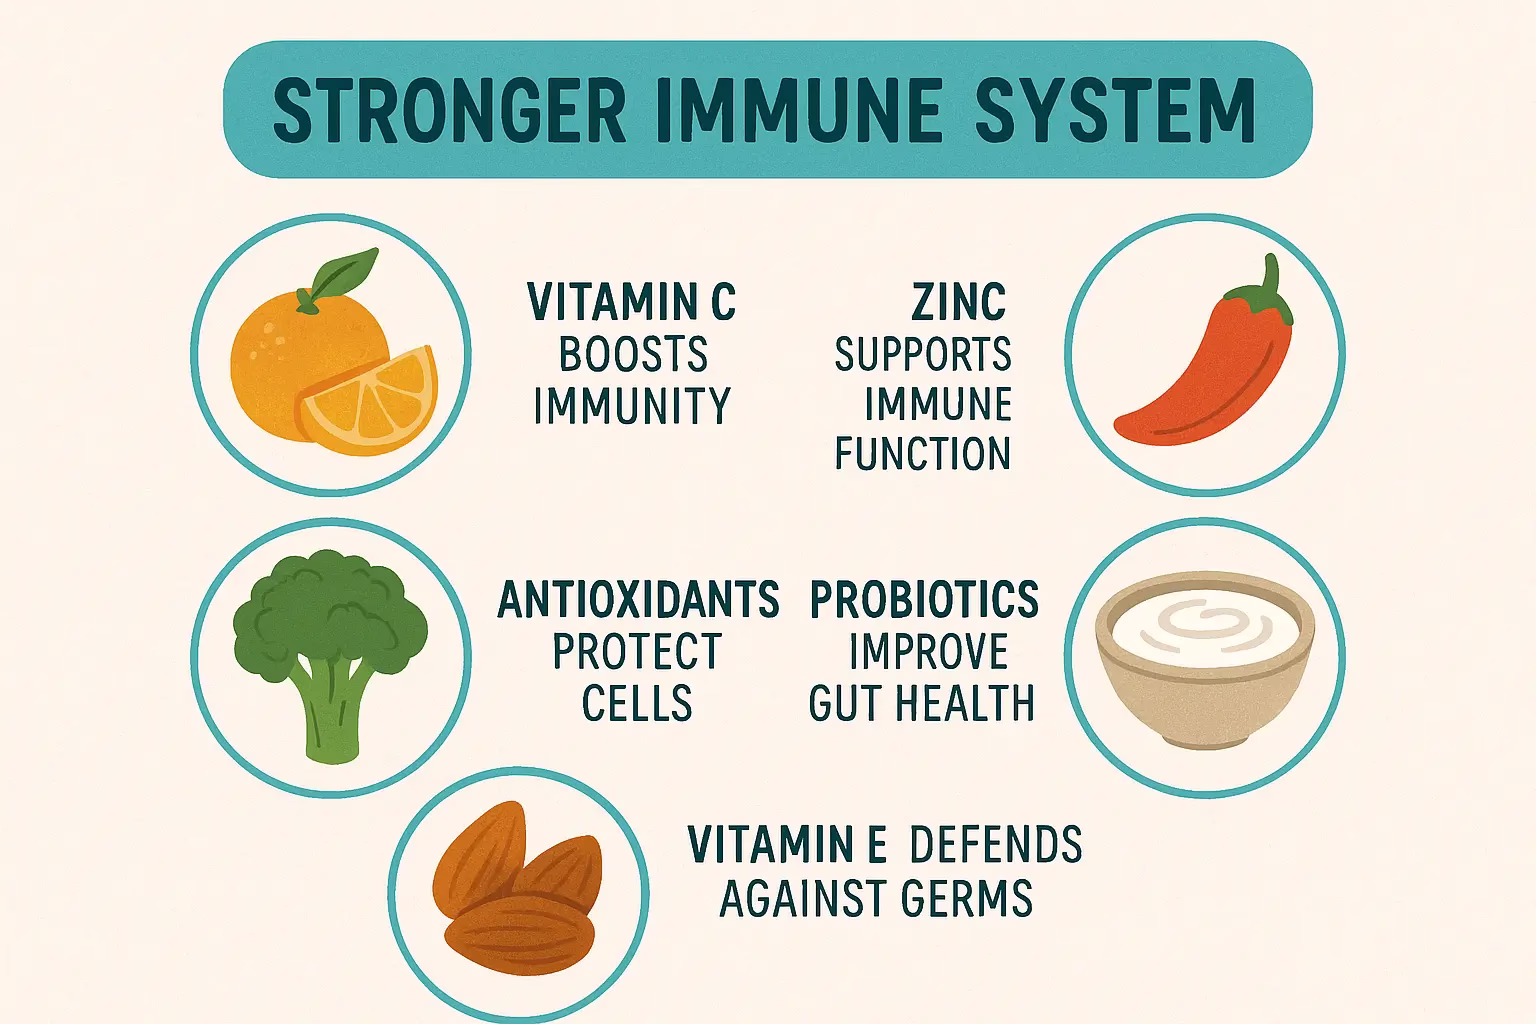
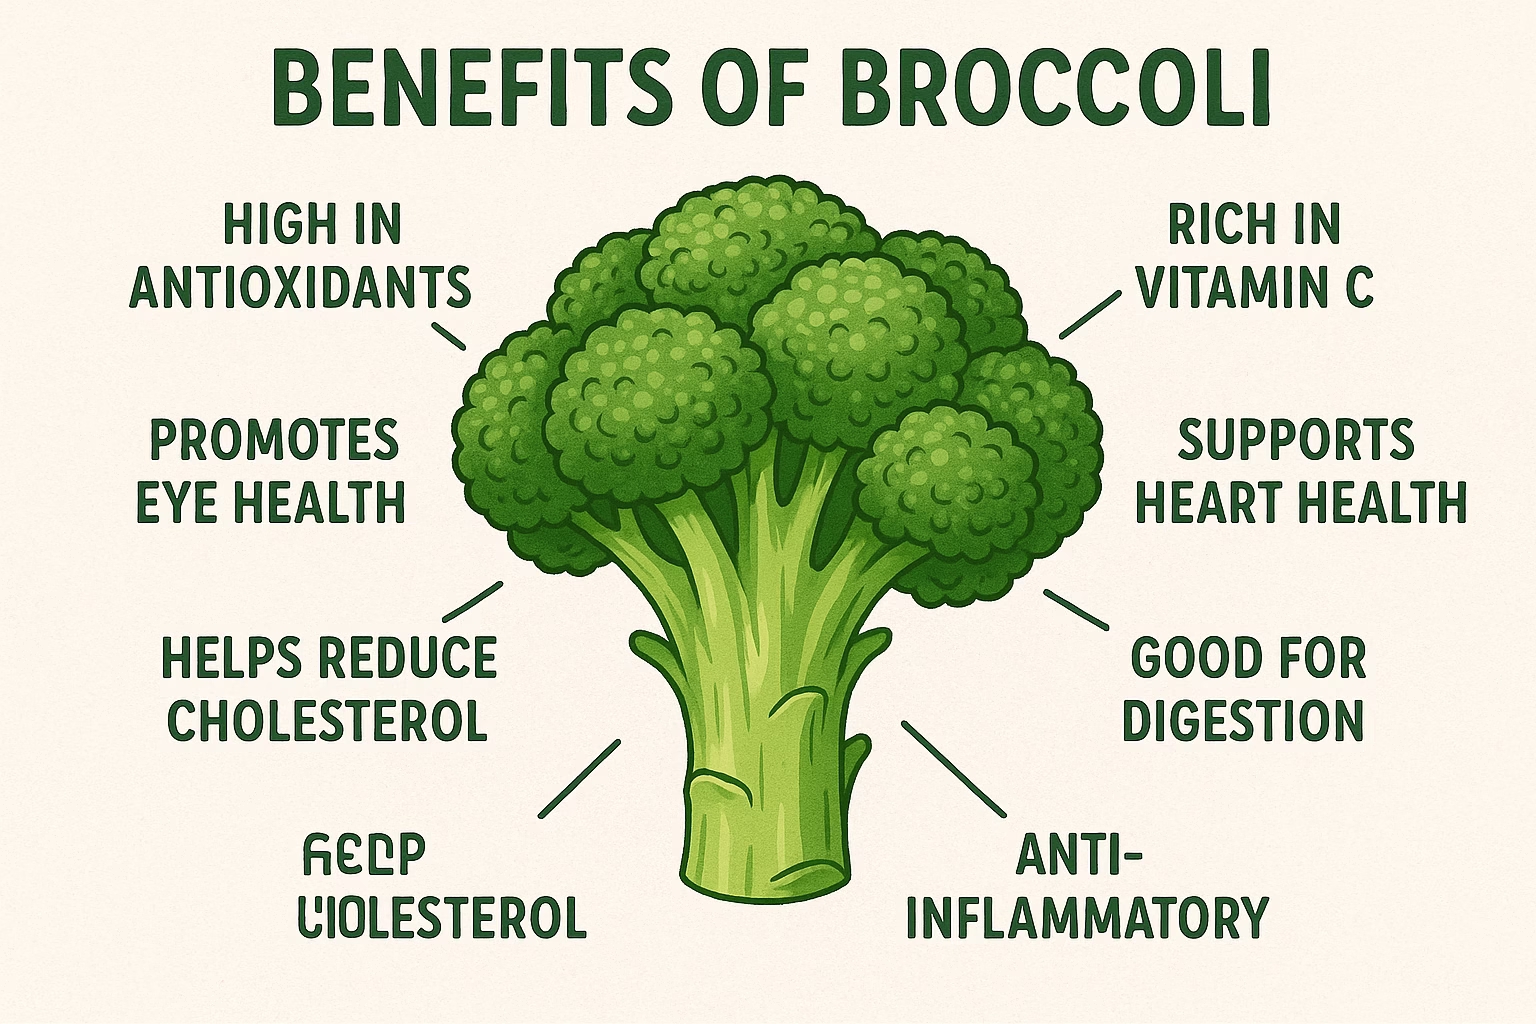
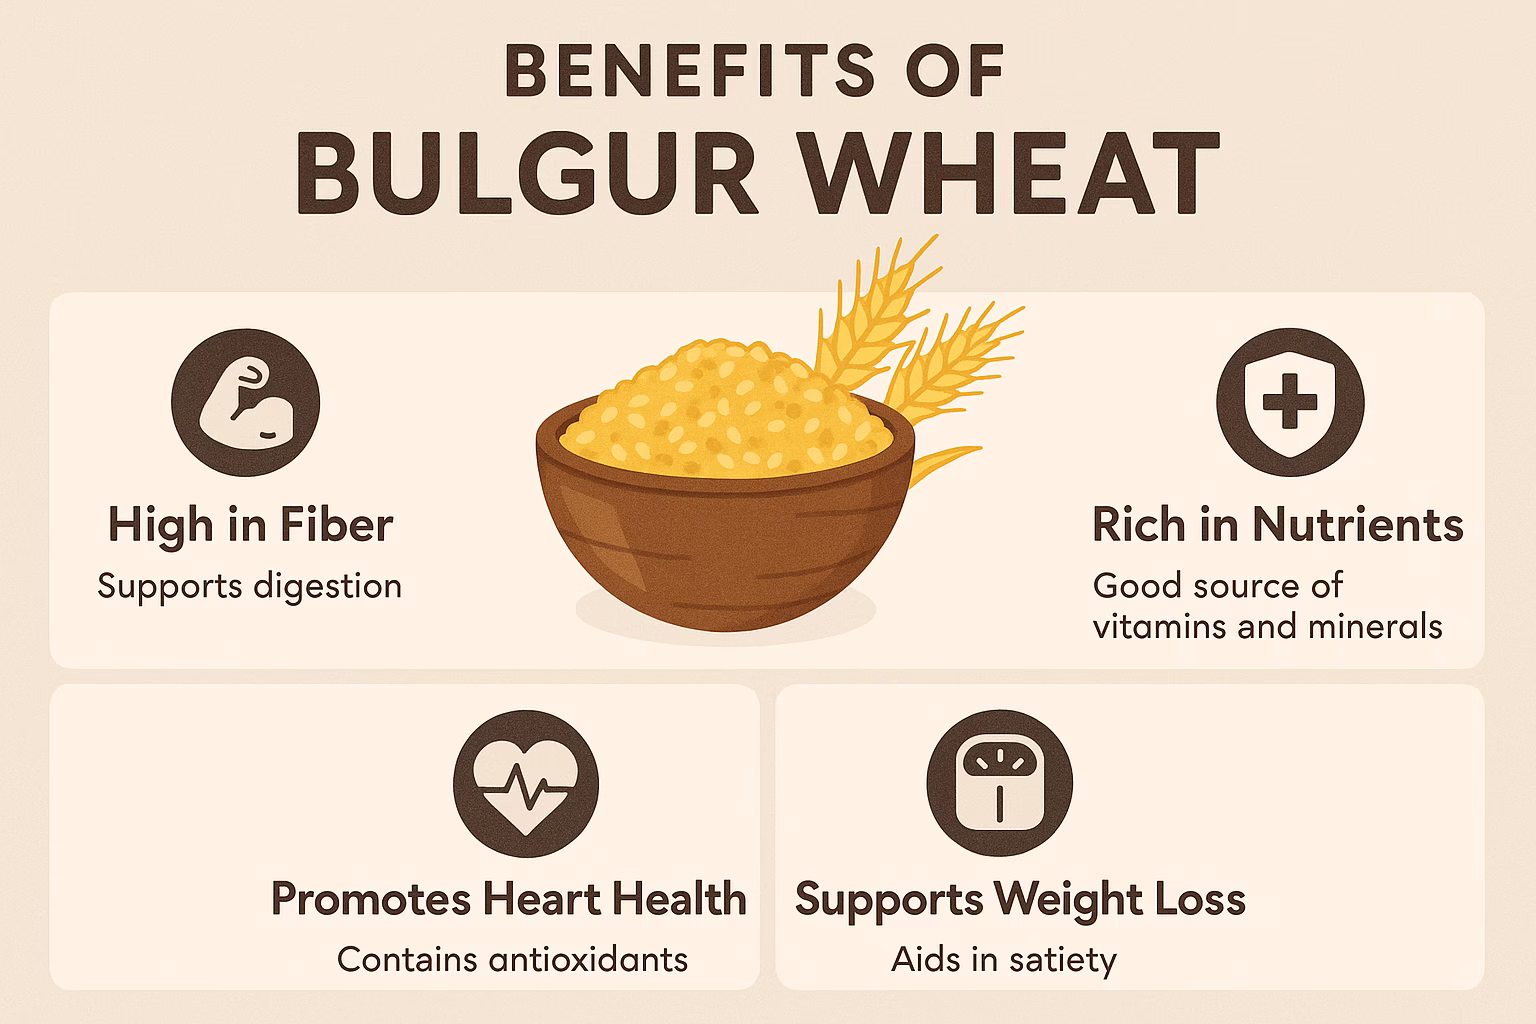
Full of Nutrients: You get lean protein from the meatballs. You get many vitamins (A, C, K) and minerals from the vegetables. Carrots, celery, bell peppers, and broccoli are full of good things. You also get lots of fiber. This is great for your health and digestion.
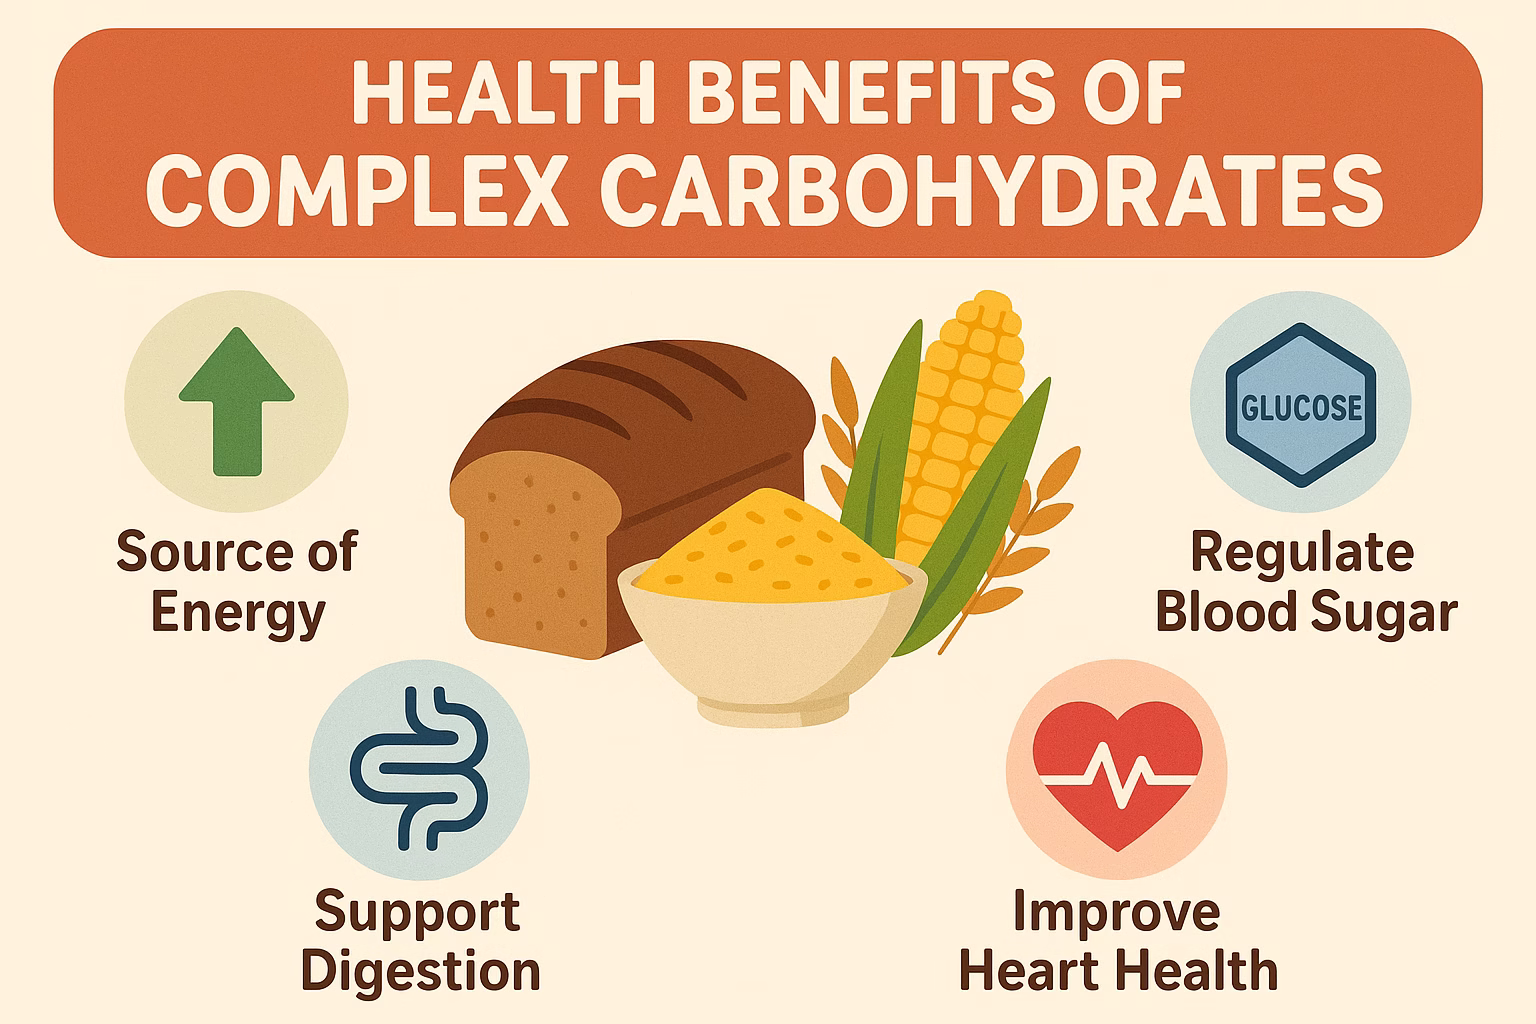
A Complete Meal: You do not need to cook side dishes. This casserole has protein, carbs (from veggies), and healthy fats. It is all in one pan. This makes meal planning and cooking much simpler.
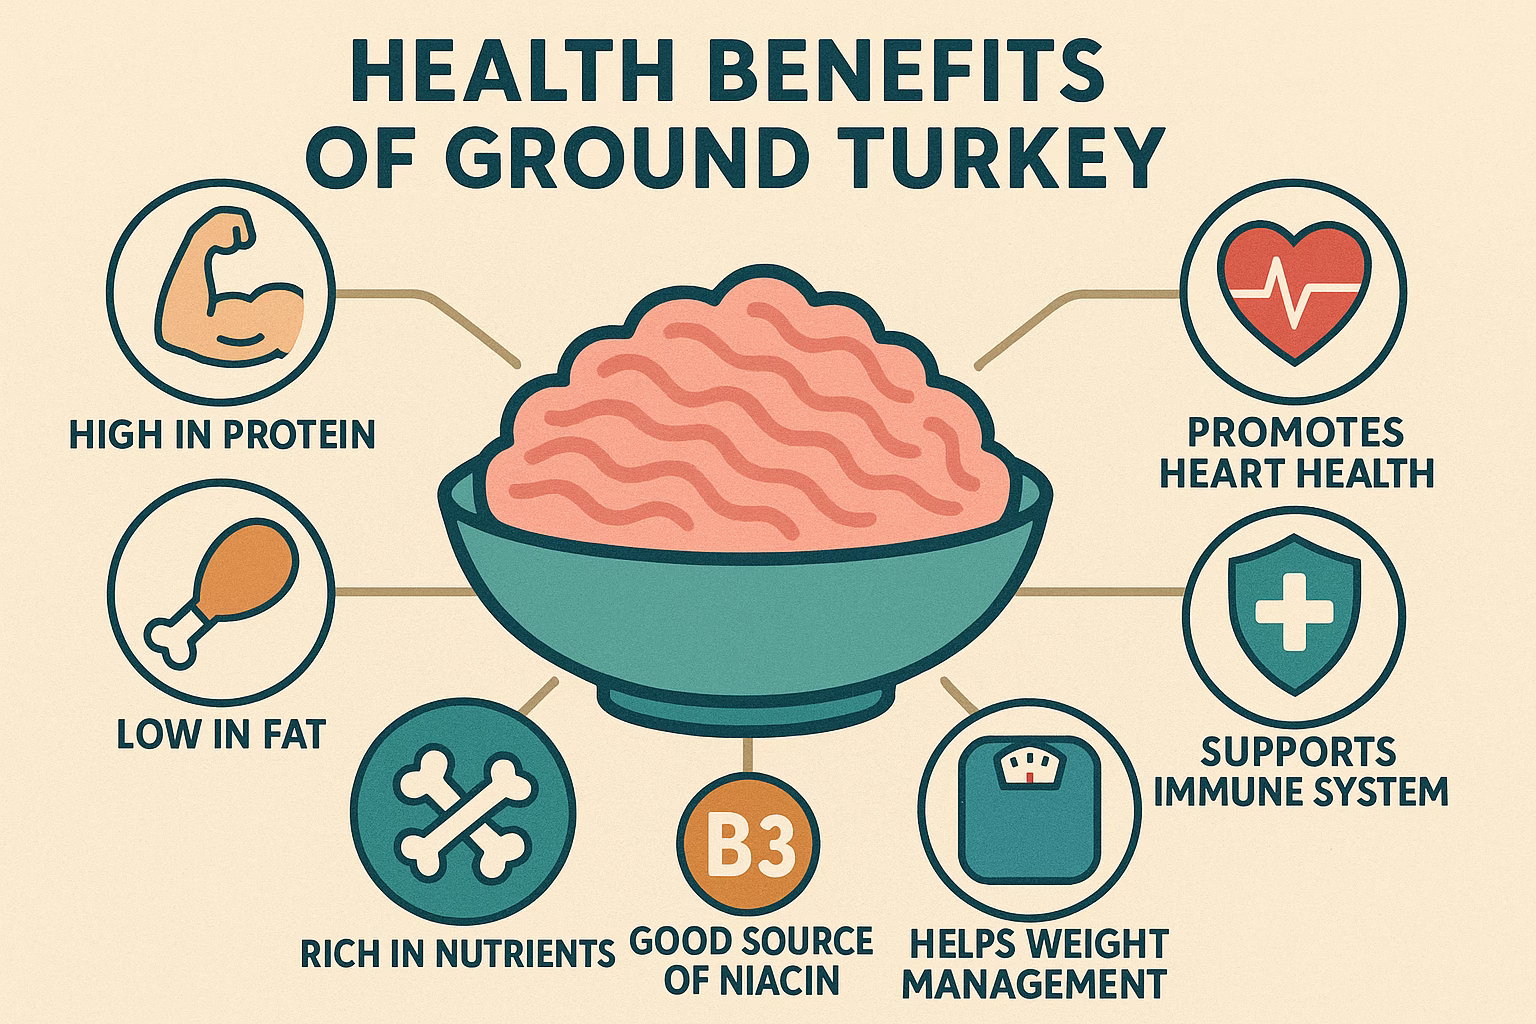
Good Protein Source: Using lean ground turkey or beef gives you high-quality protein. Protein helps repair muscles. It makes you feel full. It gives you energy. This is done without too much saturated fat.
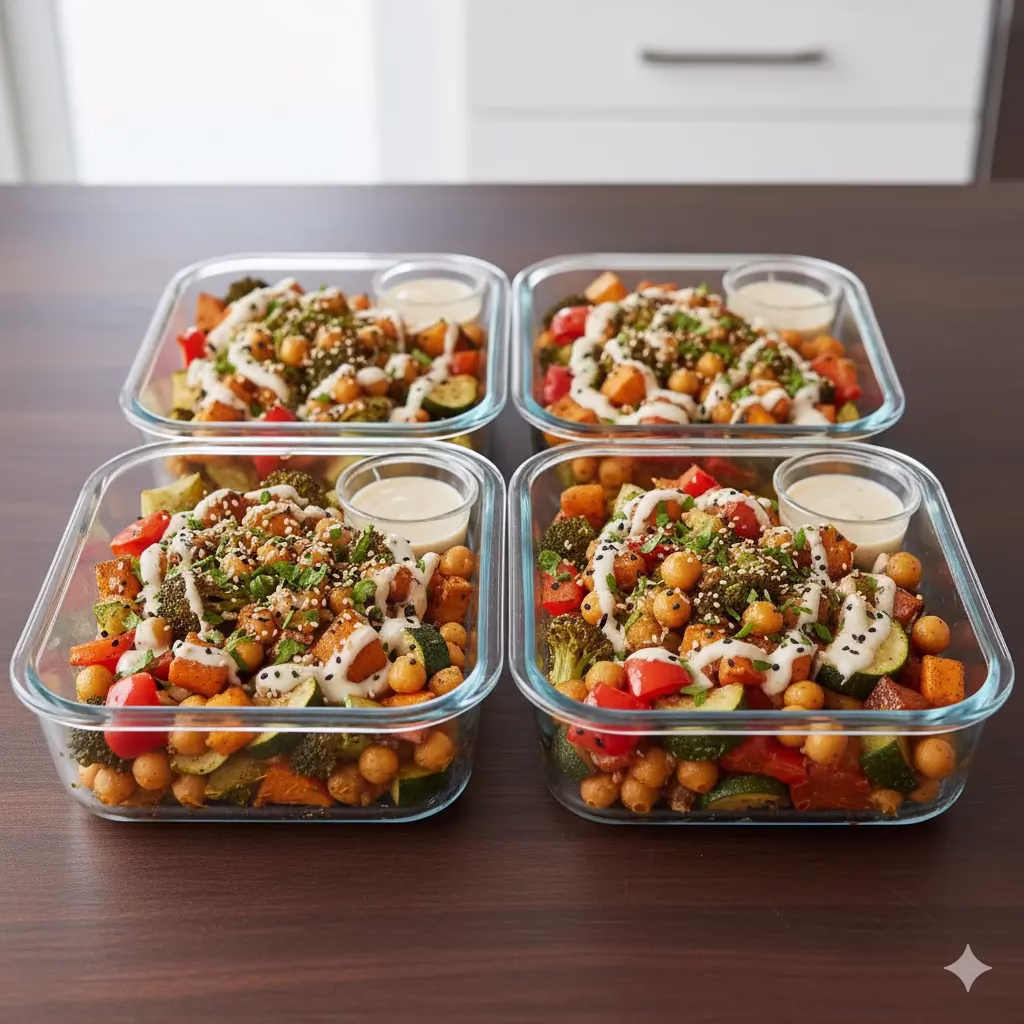
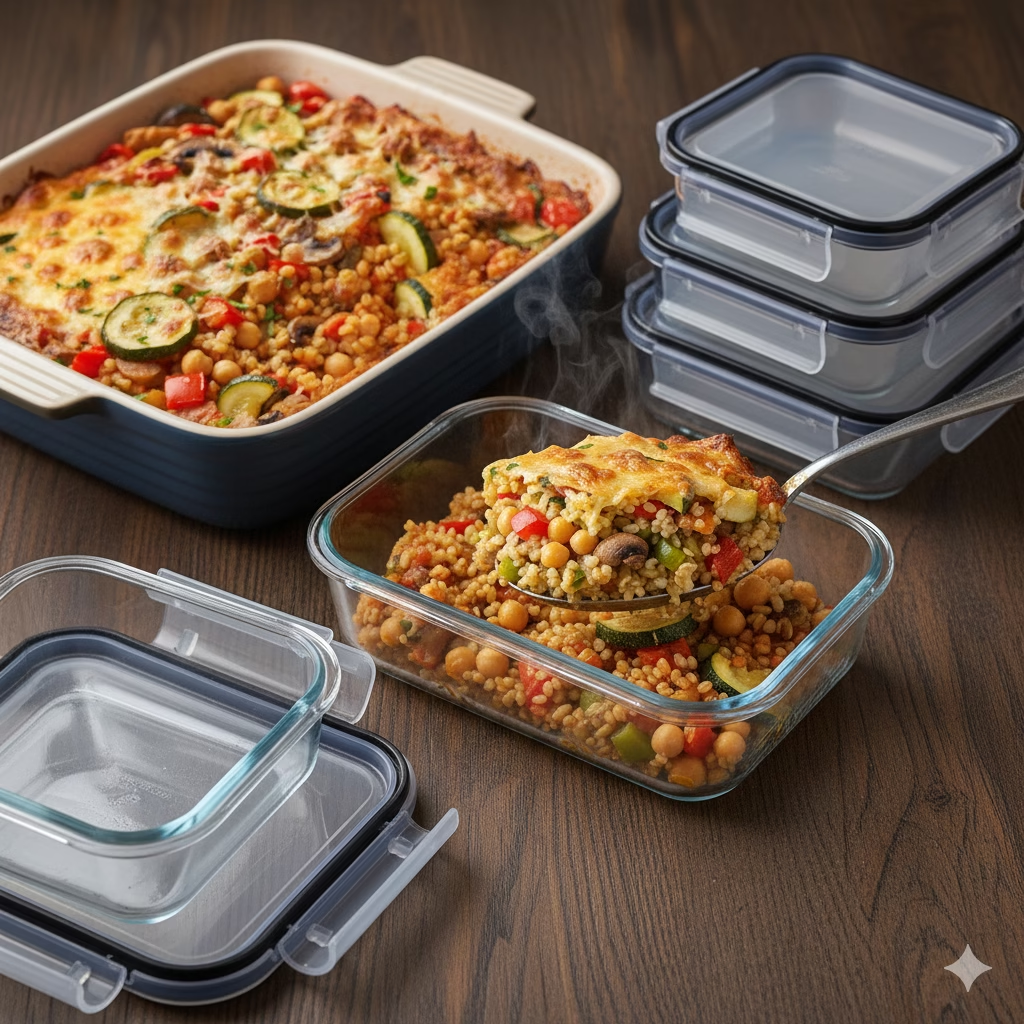
Great for Meal Prep: This casserole tastes just as good the next day. Cook a large batch on the weekend. You will have healthy, quick meals for many days. This saves you time and worry.
Kids Love It: The yummy meatballs and mild tomato sauce are a hit with children. The vegetables are soft. This is a fun way to get kids to eat more veggies. They will not even notice!
You Can Change It: This recipe is easy to change for your diet needs. Do you need it to be gluten-free? Use gluten-free breadcrumbs. Do you not eat dairy? Do not add the Parmesan and mozzarella. This means everyone can enjoy it.
Less Cleanup: This is a one-pan meal. You will spend less time washing dishes. You will have more time to relax after dinner.
Variations: Customize Your Casserole
You can change this Vegetables With Meatball Casserole in many ways. Make it fit your tastes, your diet, or what you have at home!
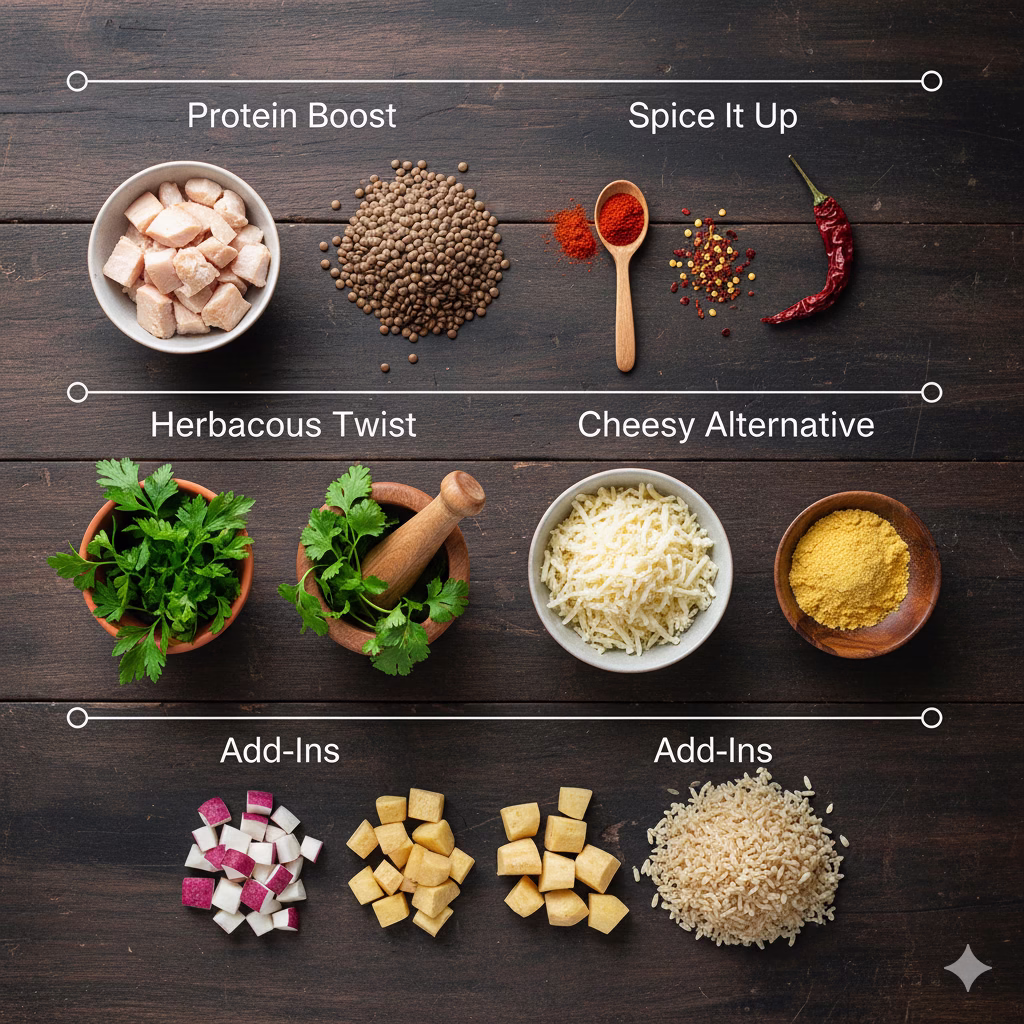
| Variation Type | Ideas for Customization |
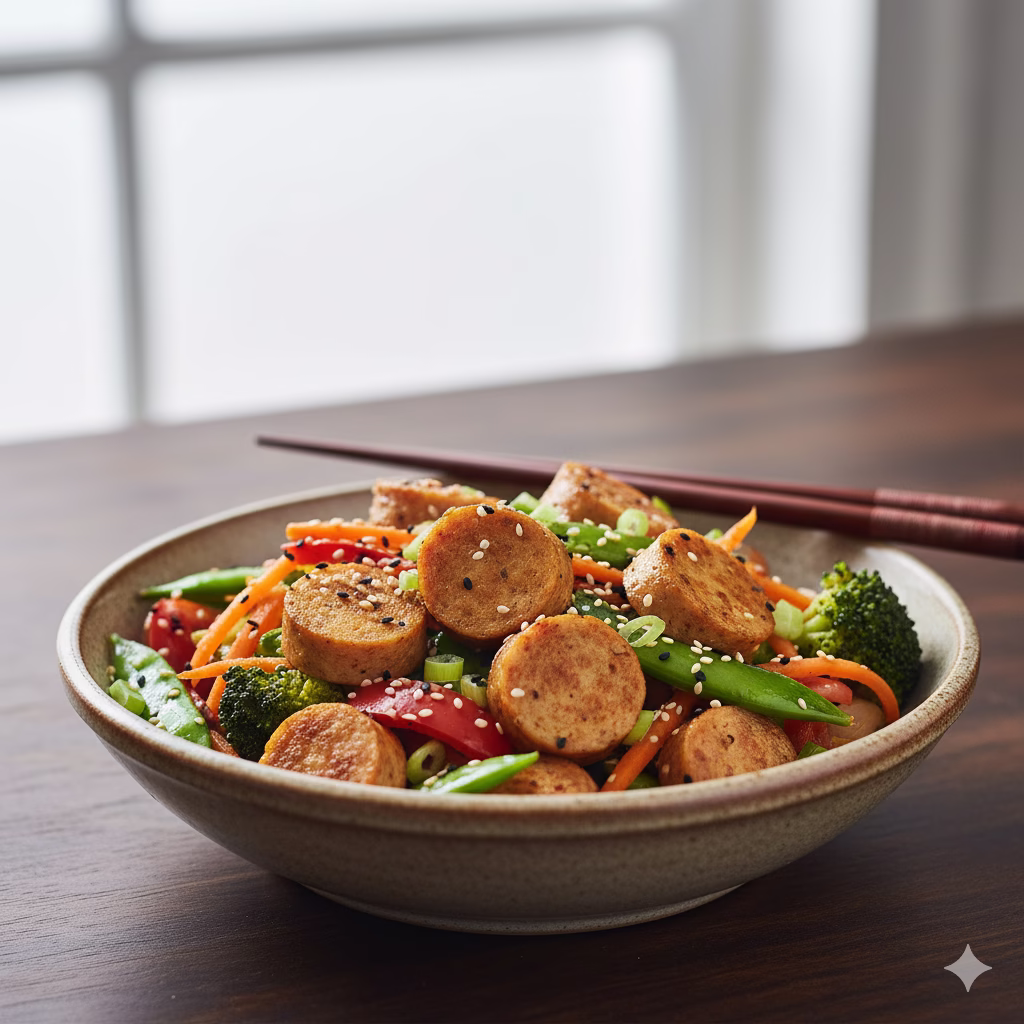
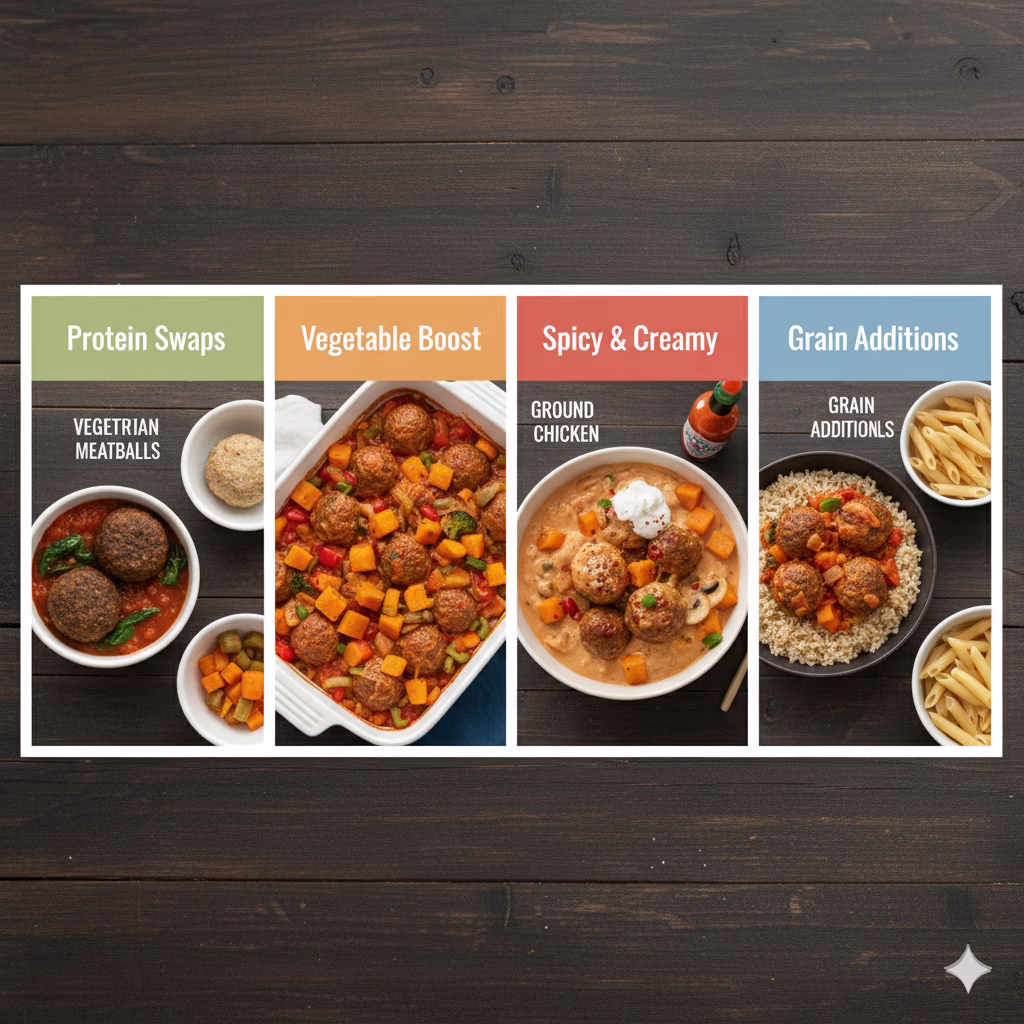
| Protein Swaps | Ground Chicken/Pork: Use lean ground chicken or pork for a new taste. Meatless Meatballs: Use store-bought veggie balls. Or, make them from lentils or mushrooms. |
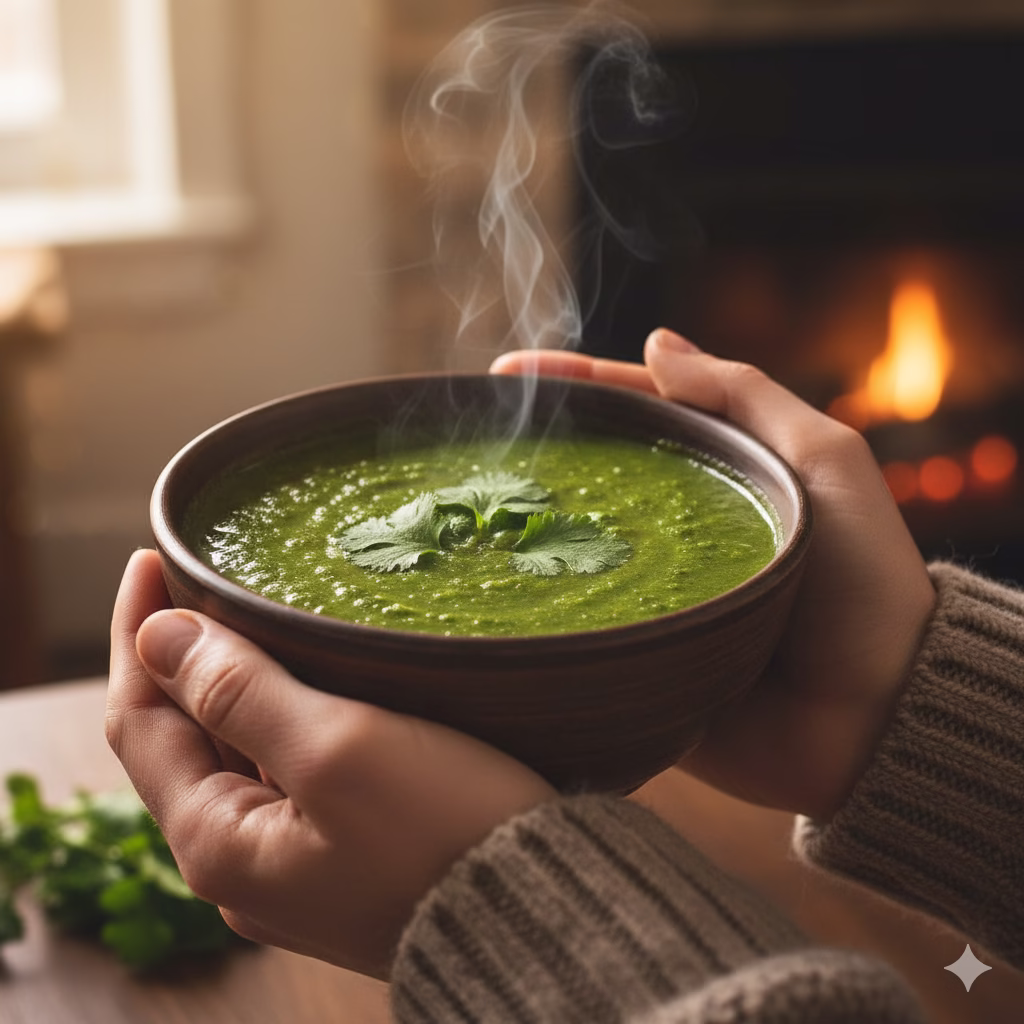
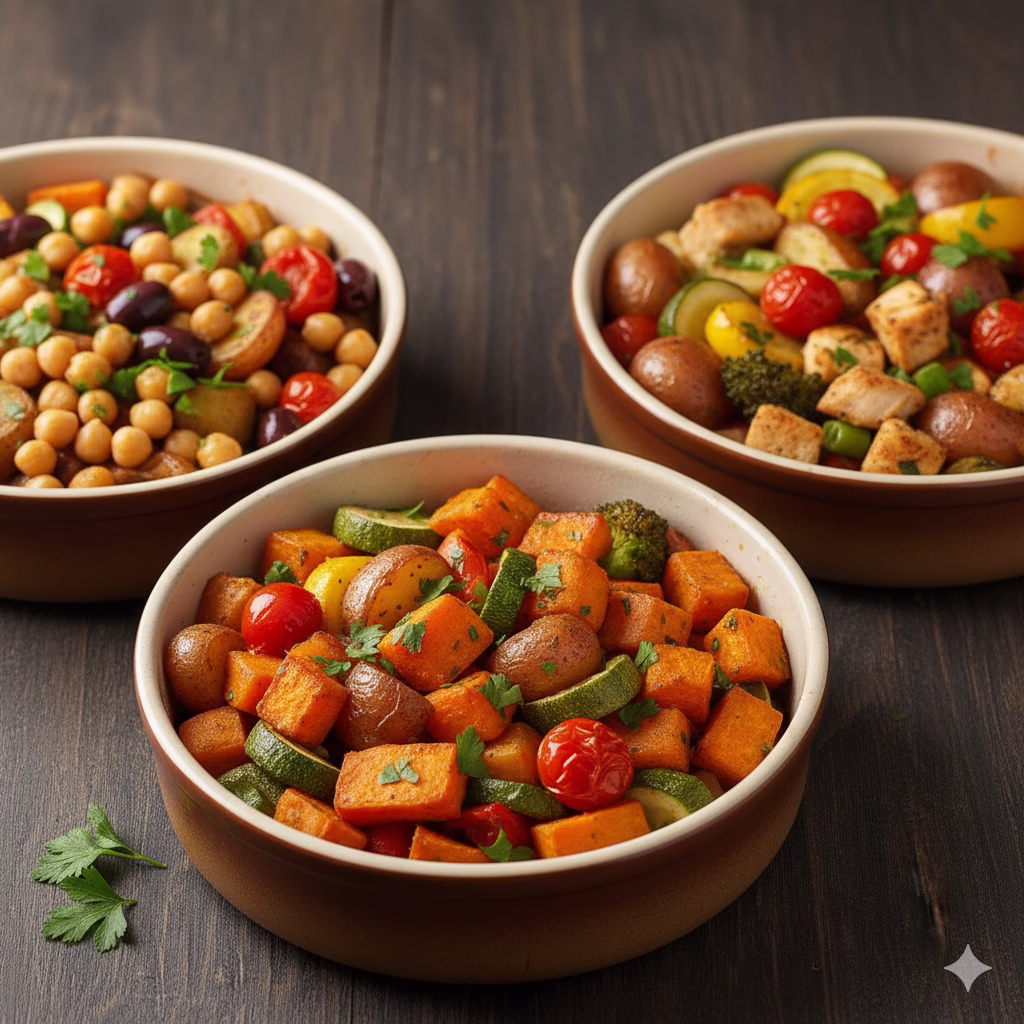
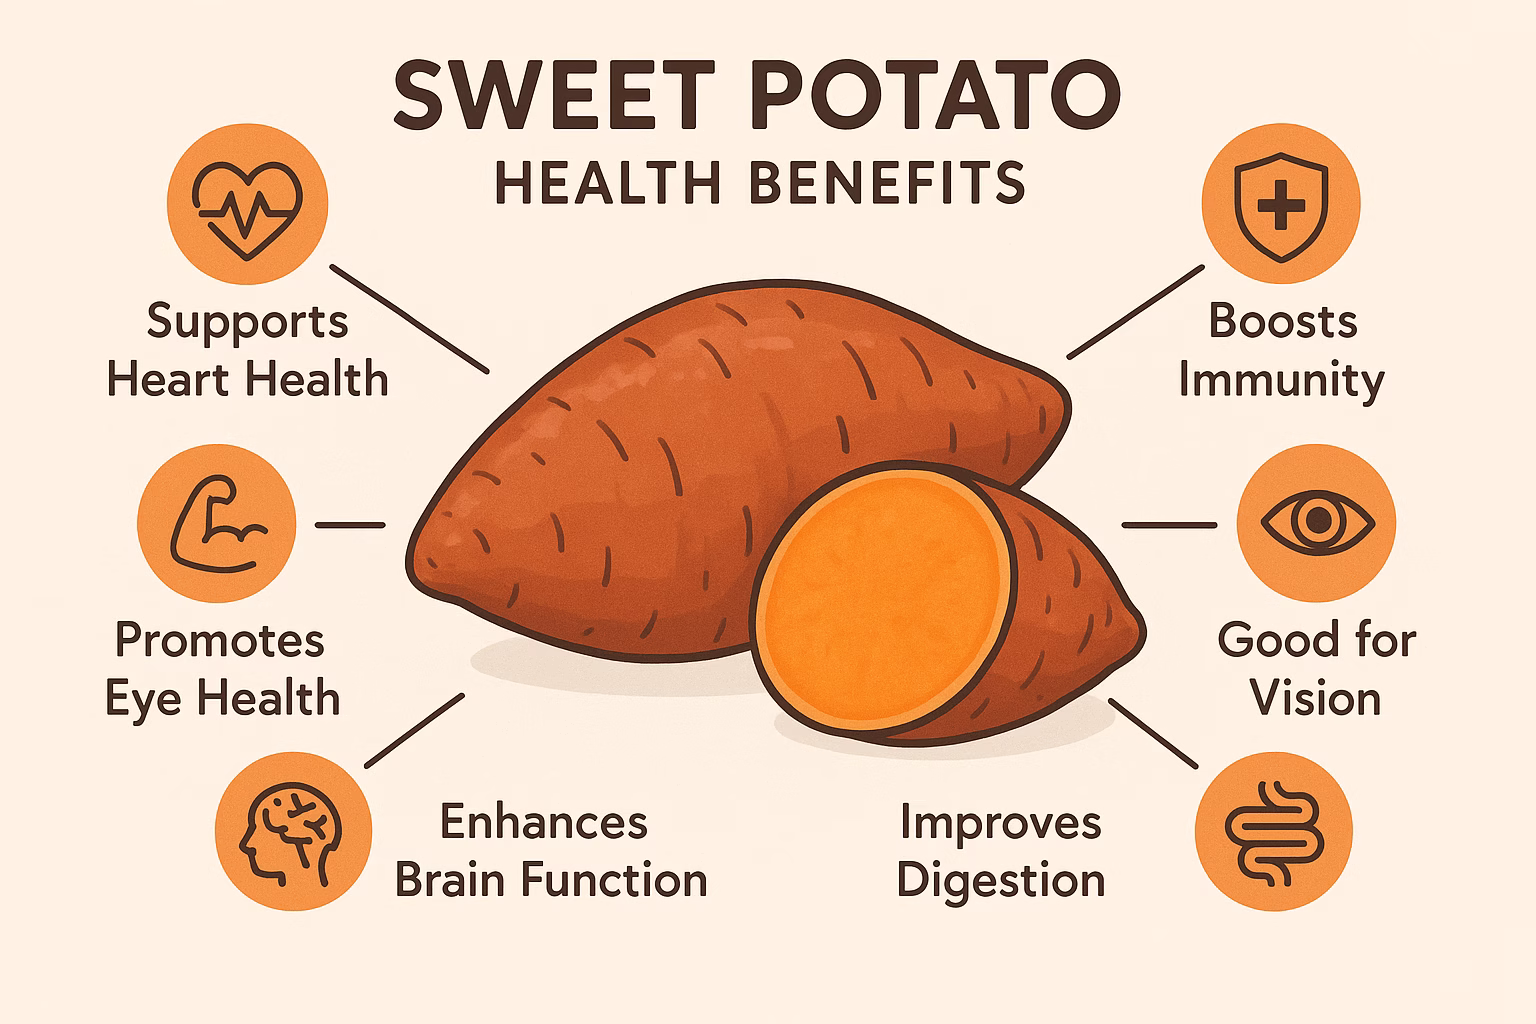
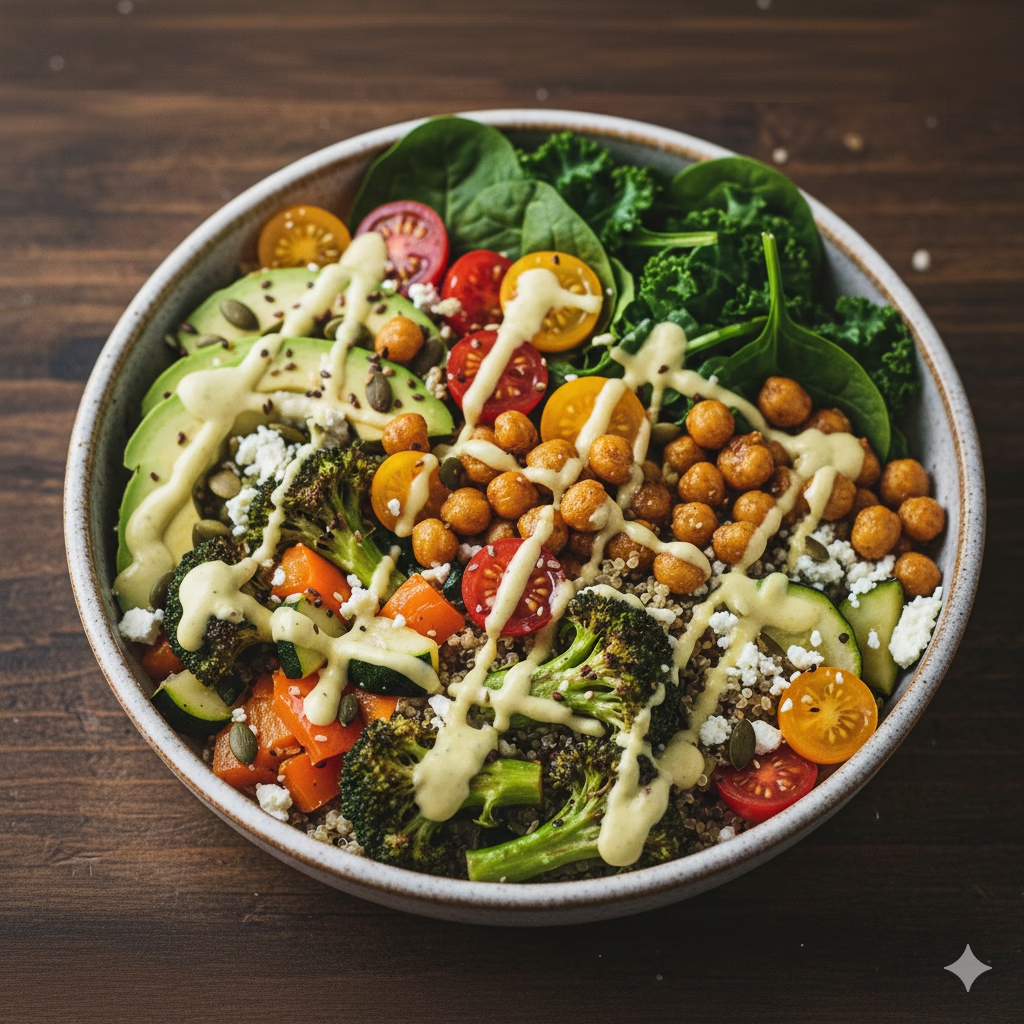
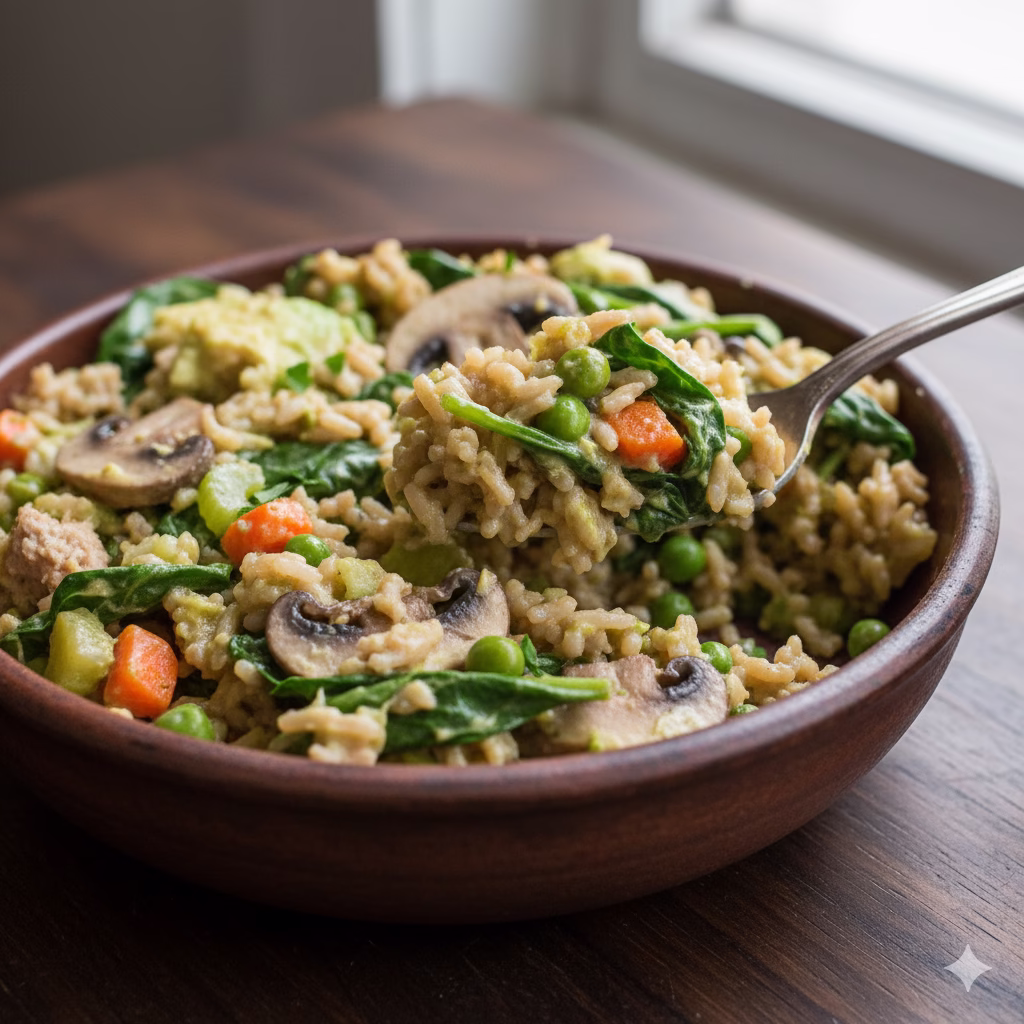
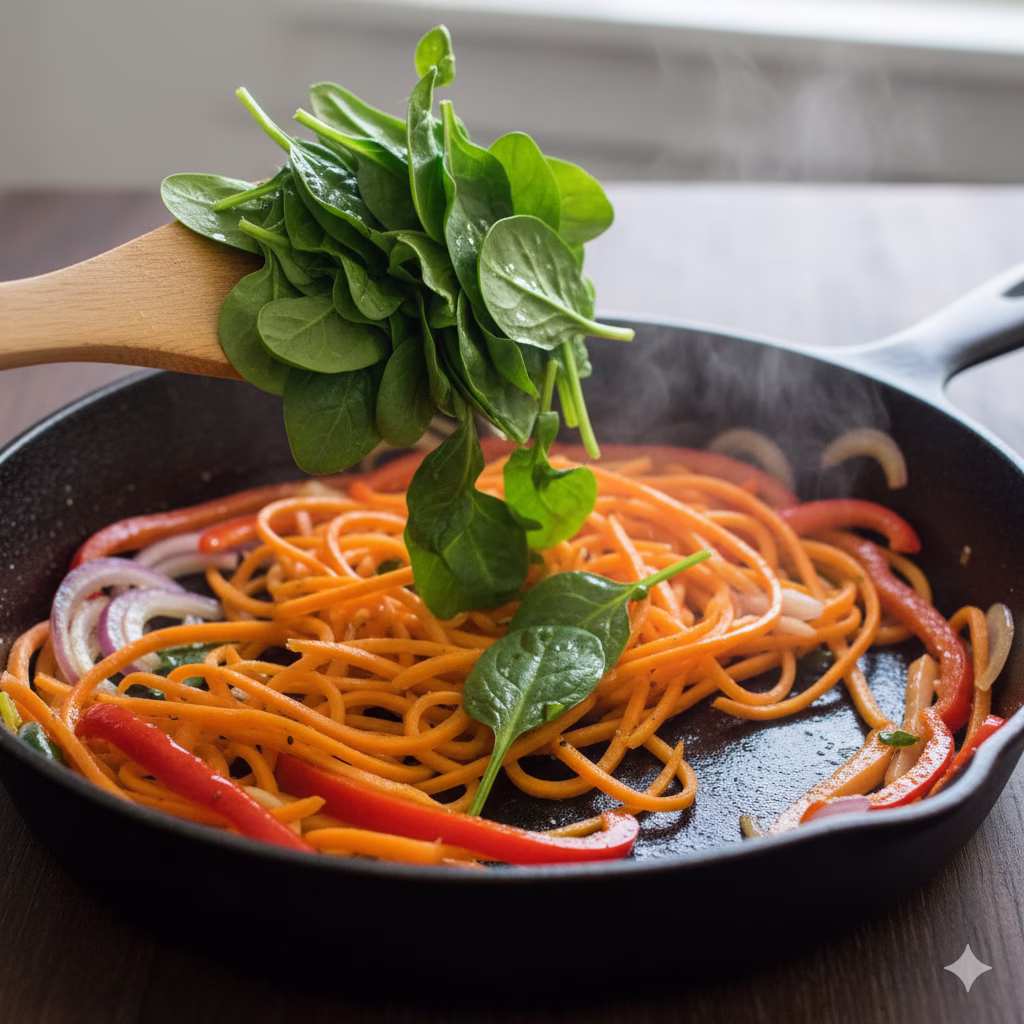
| Vegetable Boost | Leafy Greens: Stir in some spinach or kale in the last 10 minutes. Root Veggies: Add diced sweet potatoes or squash. They add sweetness and extra nutrients. Mushrooms: Sliced mushrooms add an earthy, savory flavor. |
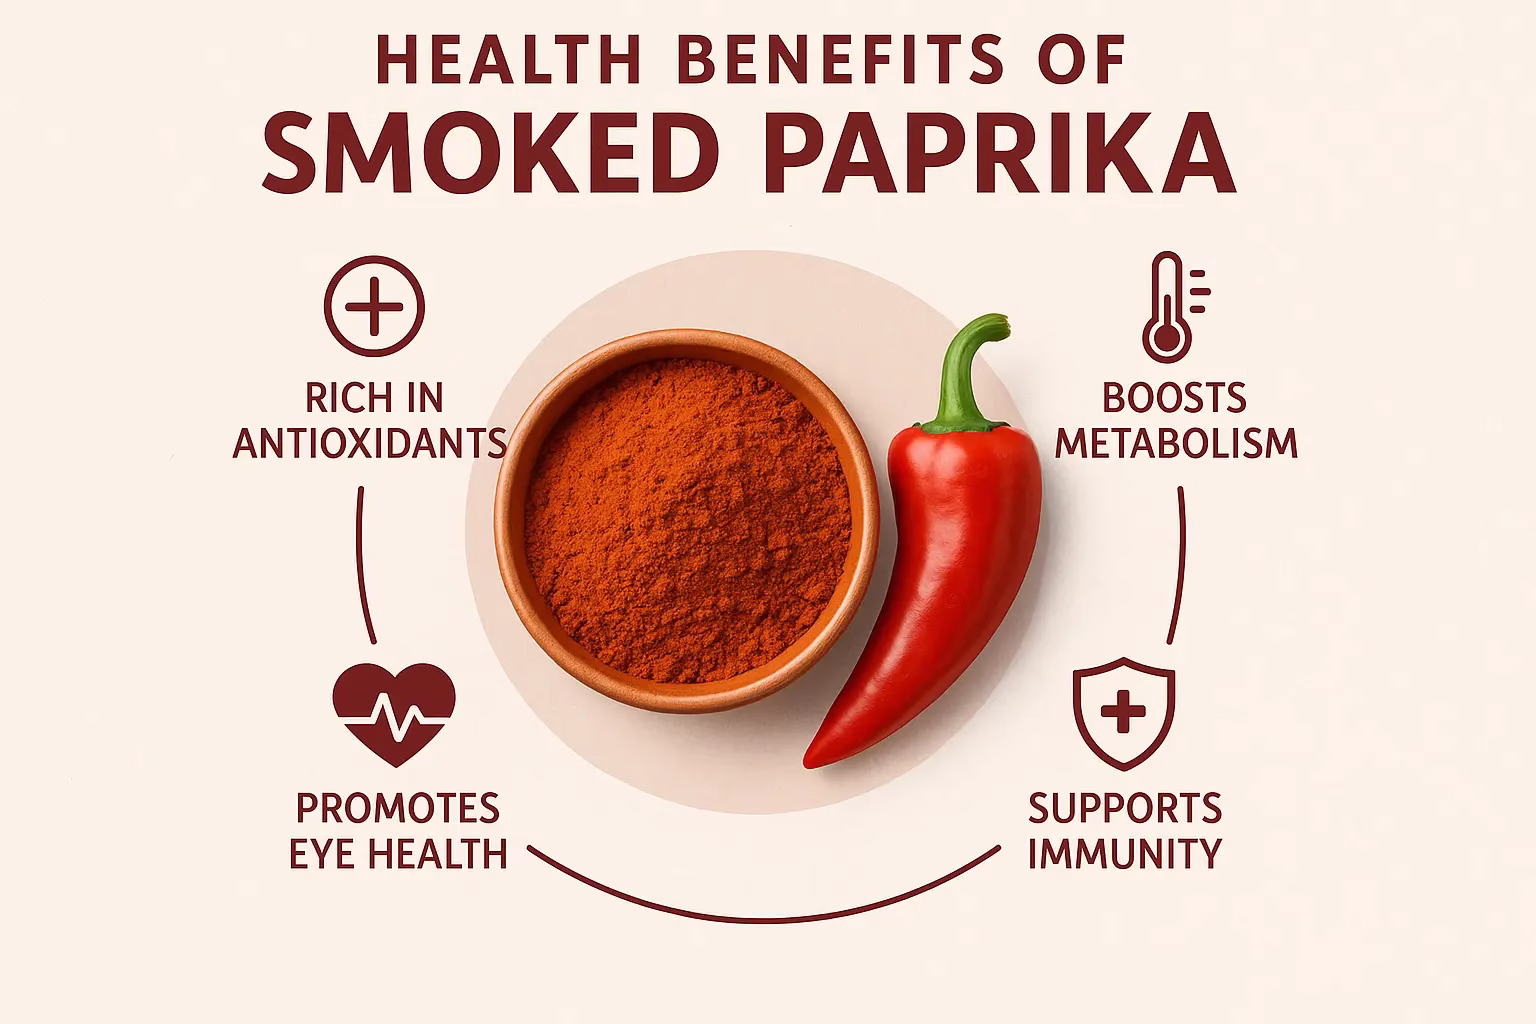
| Spice & Flavor | A Little Heat: Add a small pinch of red pepper flakes to the sauce. Fresh Herbs: Try fresh rosemary or sage. Smoky Taste: A teaspoon of smoked paprika adds depth. Extra Savory: Add a little Worcestershire sauce to the meatballs. |
| Cheese Alternatives | Dairy-Free: Skip the cheese. Or, use a shredded cheese that is dairy-free. Different Cheeses: Try provolone, cheddar, or an Italian cheese blend for the topping. |
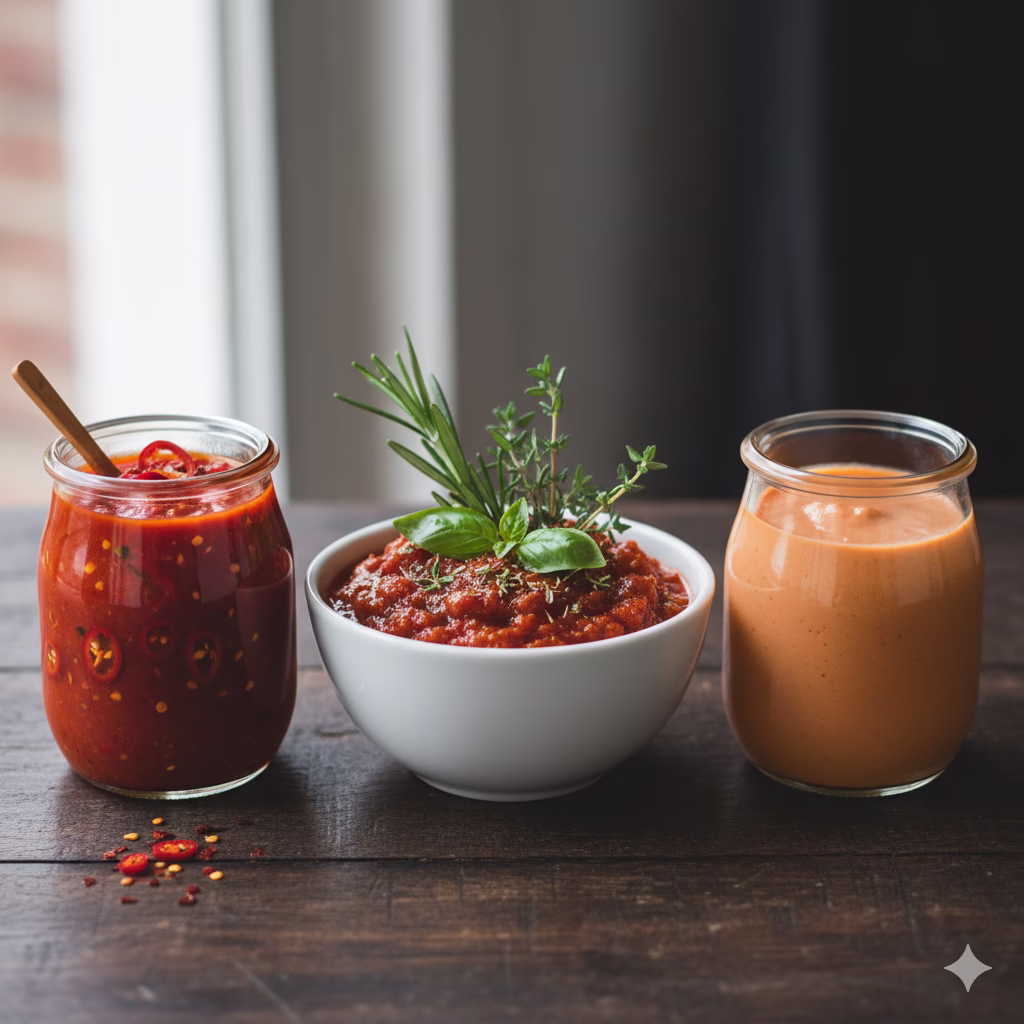
| Sauce Changes | Creamy Sauce: Stir in a splash of heavy cream or coconut milk at the end. Herb Twist: Swirl a tablespoon of pesto into the sauce. It tastes fresh and bright. |
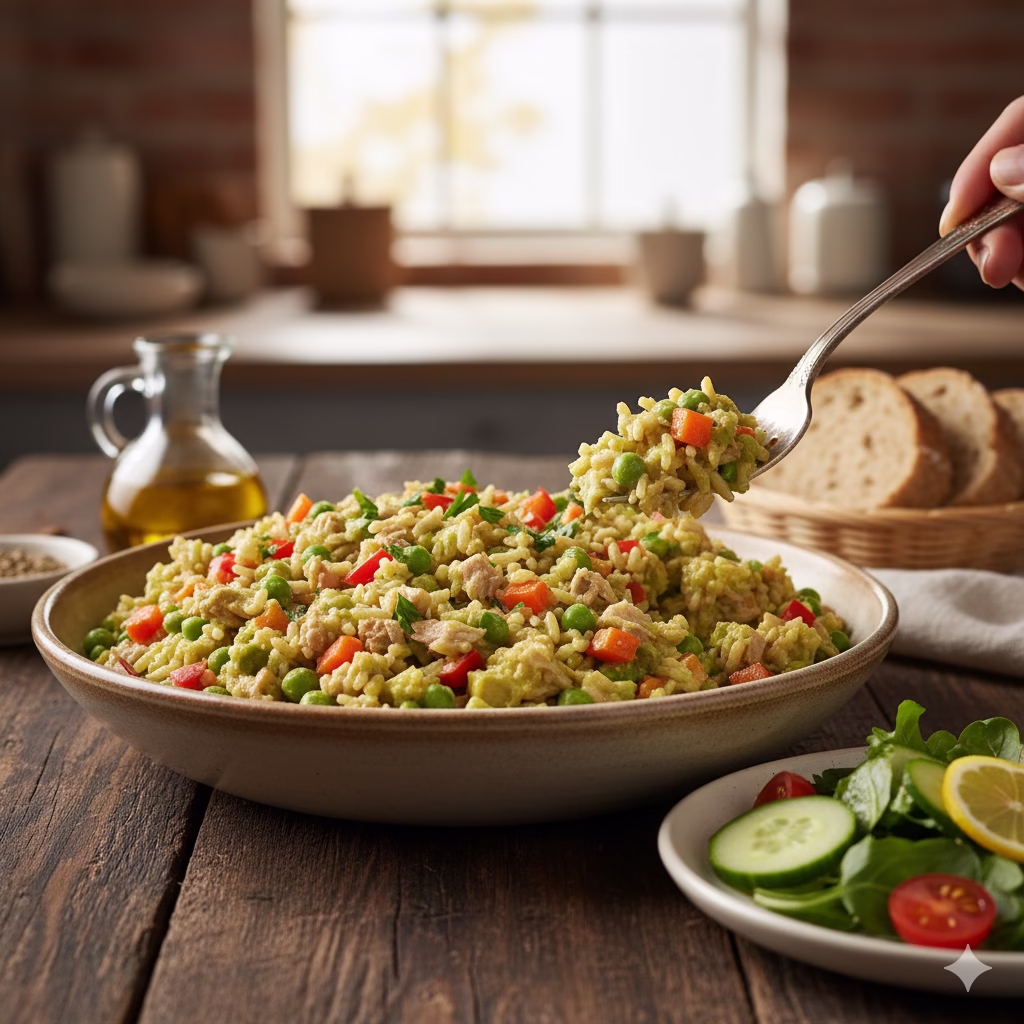
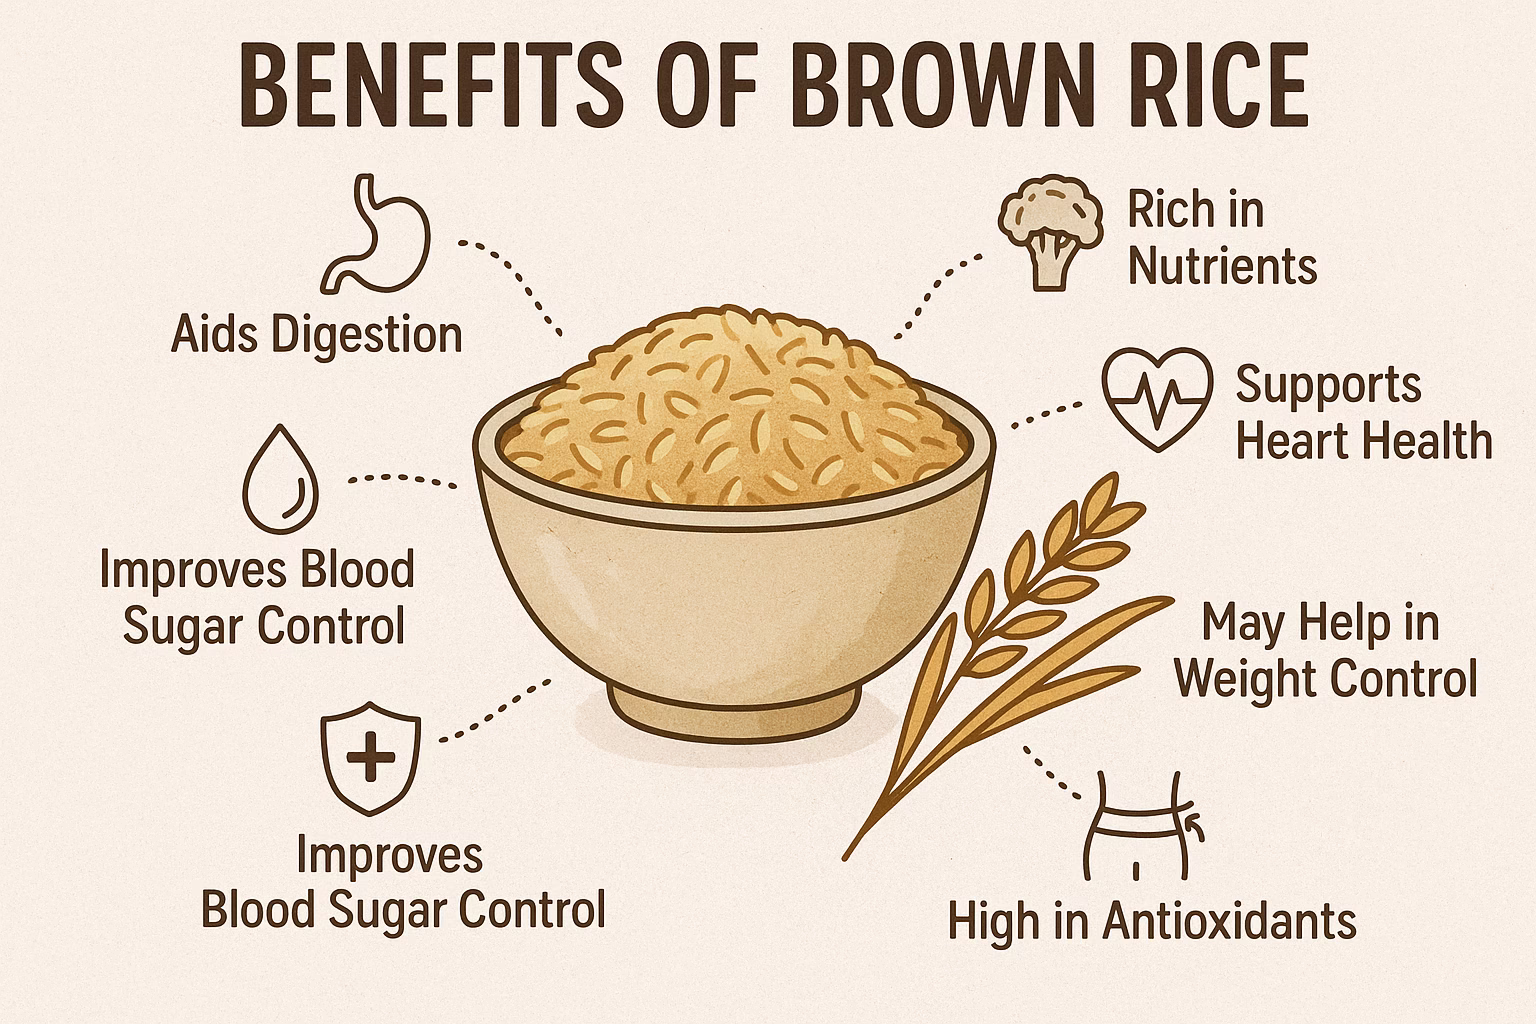
| Grain Additions | Pasta: Serve the casserole over whole wheat pasta. Quinoa/Rice: Serve it with fluffy quinoa or brown rice. This adds more fiber. |
| Toppings | Crunchy Onions: Sprinkle with baked crispy onions for a nice crunch. Fresh Basil: Use fresh basil leaves on top for a burst of fresh flavor. |
Final Thoughts for Vegetables With Meatball Casserole

We have shared a truly great and very easy recipe for Vegetables With Meatball Casserole. This dish shows that healthy food can be simple. It does not have to be boring. It is a wonderful example of simple, healthy food creating a special, filling meal.
We hope this recipe helps you want to cook. Make a meal that tastes good and makes you feel great. This casserole will be a favorite. It is perfect for family dinners. It is great for meal prepping. Or, you can make it when you want a simple comfort food. Feel free to try the variations. Make the recipe your own! Happy cooking!
Frequently Asked Questions (FAQs), on Vegetables With Meatball Casserole
Q1: Can I make this casserole ahead of time?
A1: Yes, you absolutely can! You can put the whole Vegetables With Meatball Casserole together up to one day before you bake it. Cover it tightly. Keep it in the fridge. When you are ready to bake, add about 10-15 minutes to the cooking time. Bake it until it is fully hot and bubbling. You can also cook it completely, then warm up single servings later.
Q2: What are some good side dishes to serve with this casserole?
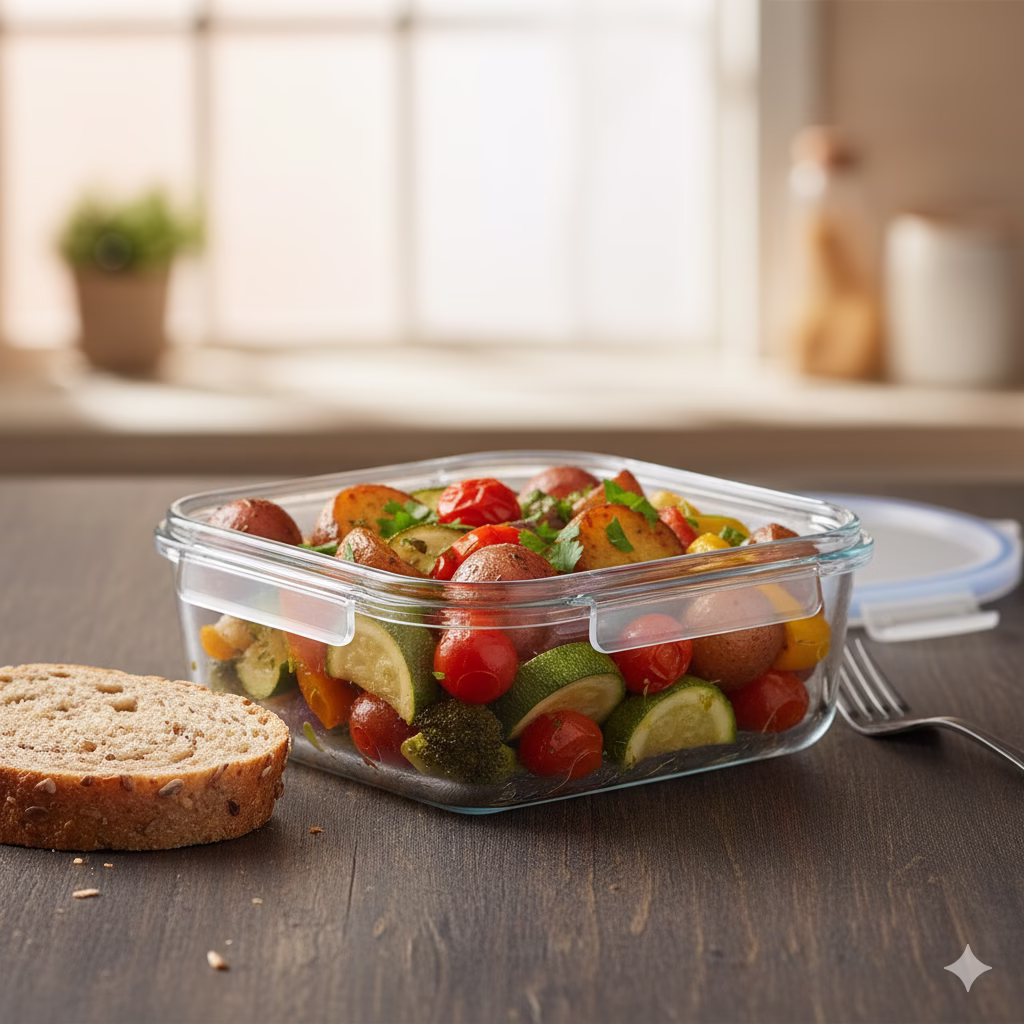
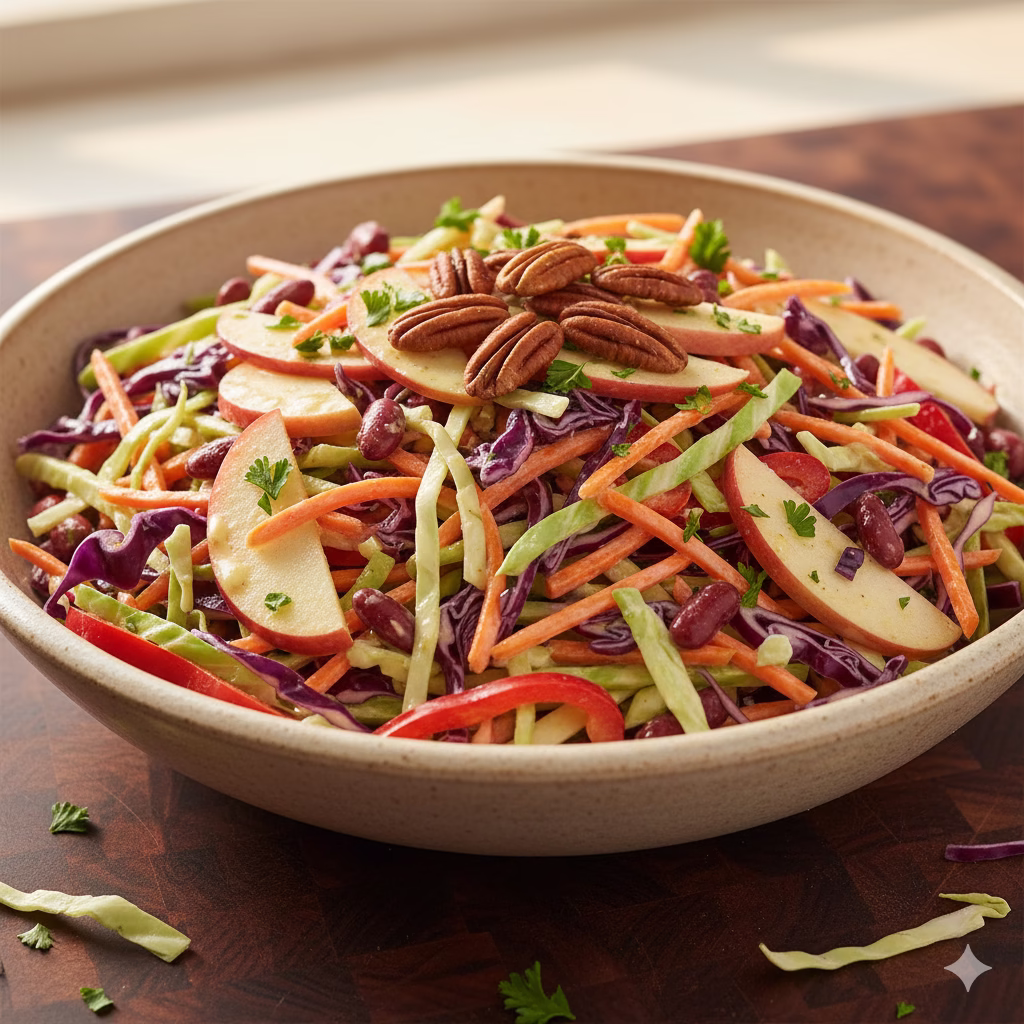
A2: This casserole is a full meal. But, if you want a side dish, a simple green salad is a great choice. Use a light dressing on the salad. A piece of crusty whole-grain bread is also good. For extra vegetables, you can serve steamed green beans or asparagus.
Q3: Can I freeze leftovers of the Vegetables With Meatball Casserole?
A3: Yes, this casserole freezes well! Let the casserole cool down all the way. Then, put it into containers that are safe for the freezer. You can freeze it for up to 3 months. Let it thaw overnight in the refrigerator. Then, heat it up in the oven or microwave until it is hot.
References
- The Nutrition Source – Vegetables and Fruits
- Heart – Is turkey healthy for you?
- WebMD – Health Benefits of Vegetables
Recent Posts