This article unveils a simple yet incredibly flavorful tofu recipe that will transform skeptics into believers. Discover how to create crispy, saucy tofu with vibrant broccoli, perfect for a healthy and satisfying meal. Get ready for your new go-to tofu recipe!
Are you ready to discover a tofu recipe that will genuinely excite your taste buds and become a staple in your meal rotation? For many, tofu can be a mystery, often associated with blandness or complicated preparation. However, with the right approach and a burst of vibrant flavors, tofu transforms into a culinary star, proving its incredible versatility and nutritional prowess. This guide is dedicated to introducing you to “Your New Favorite Tofu Recipe,” a dish designed to convert even the most skeptical eaters into enthusiastic tofu lovers.
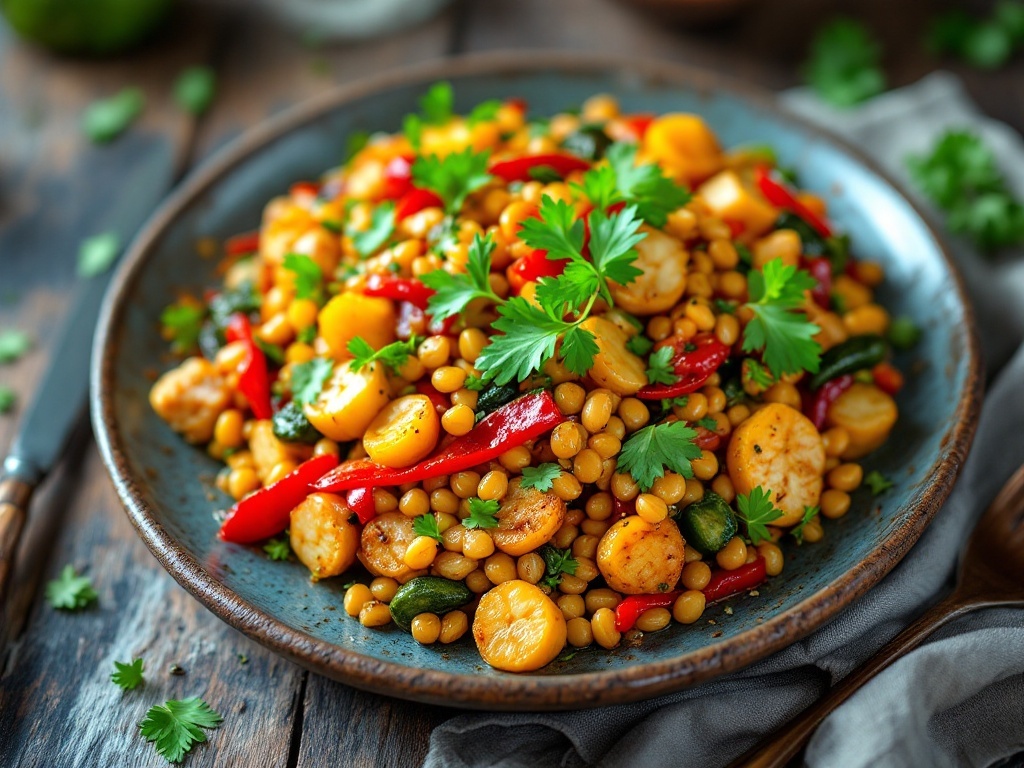
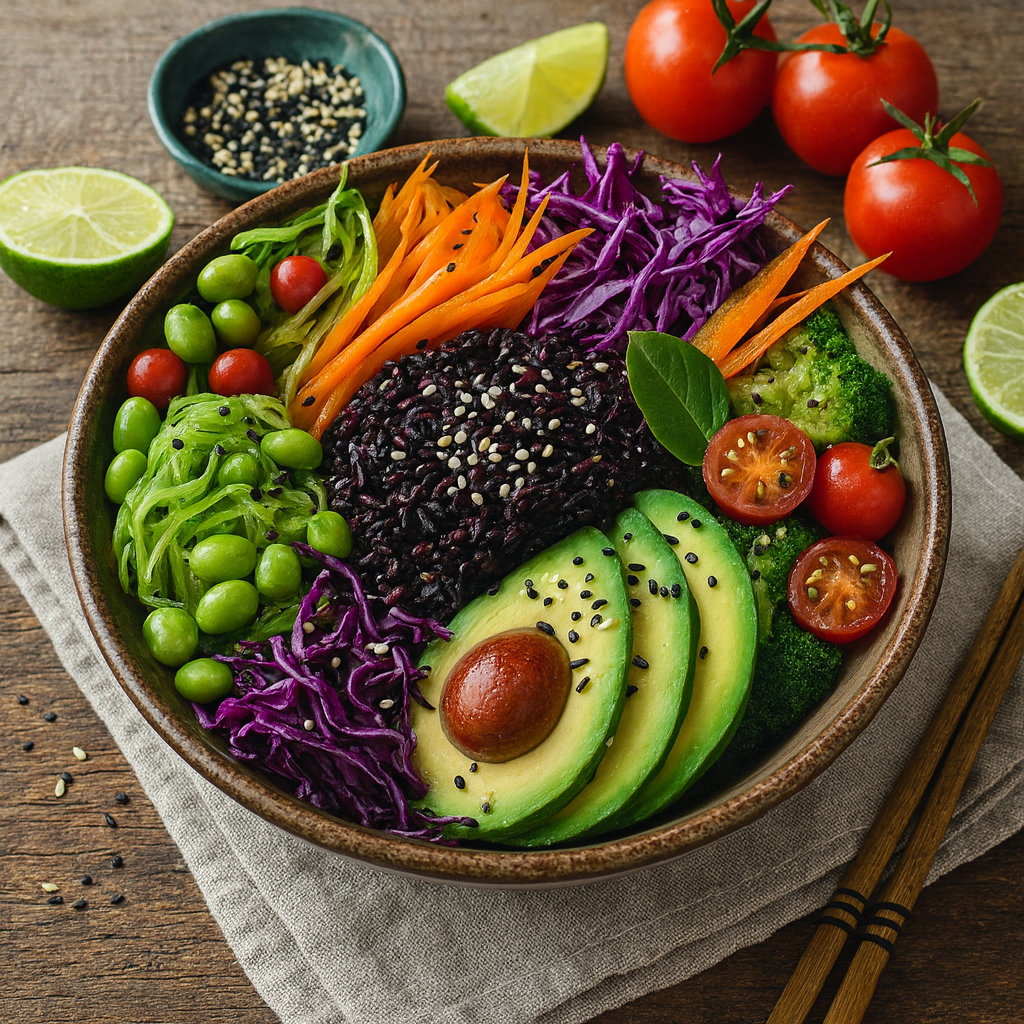
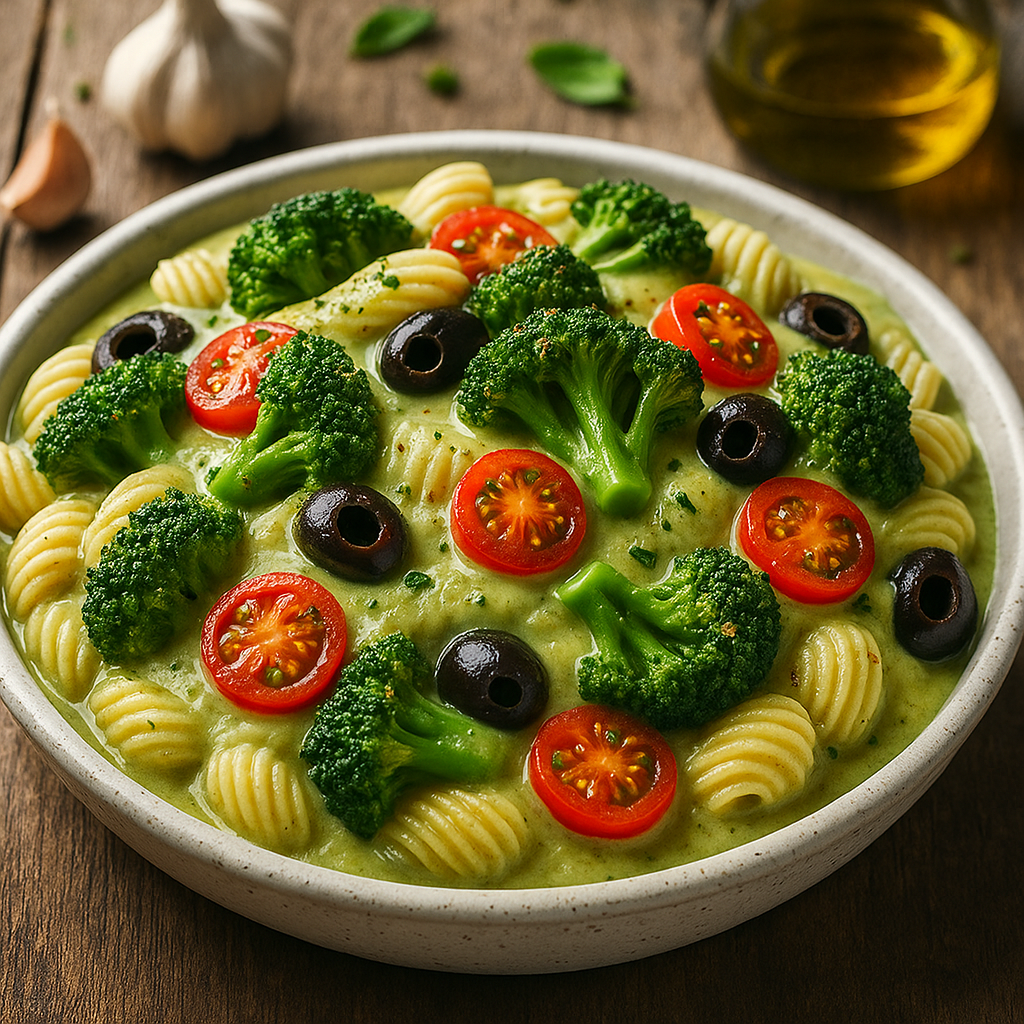
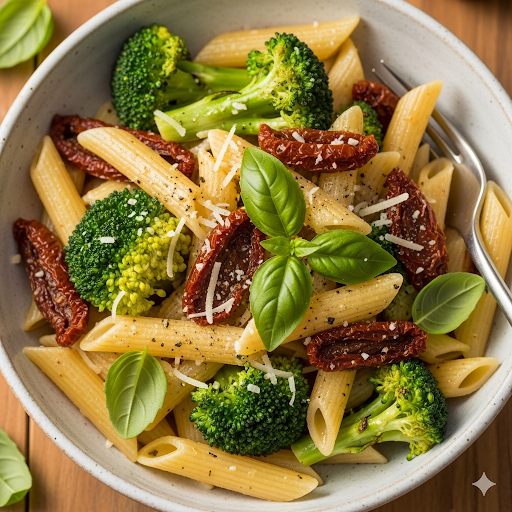
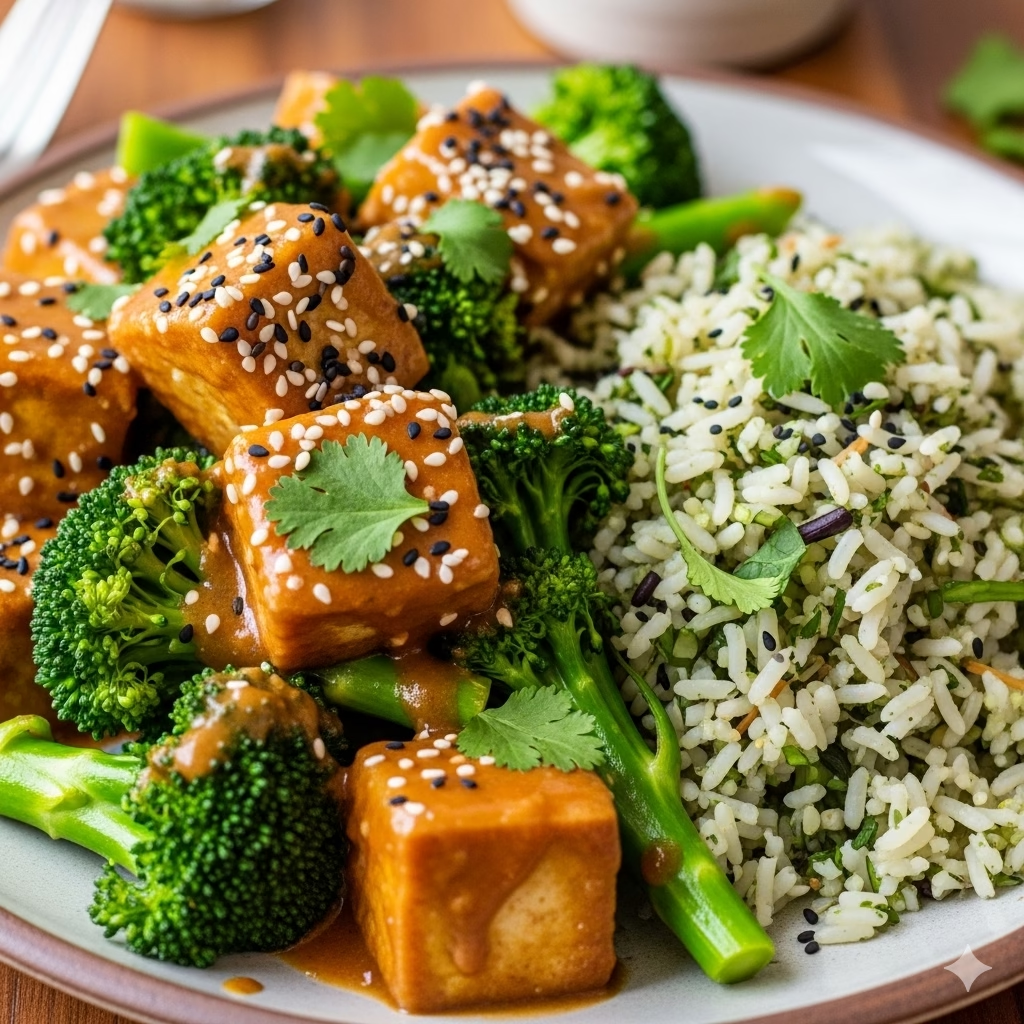
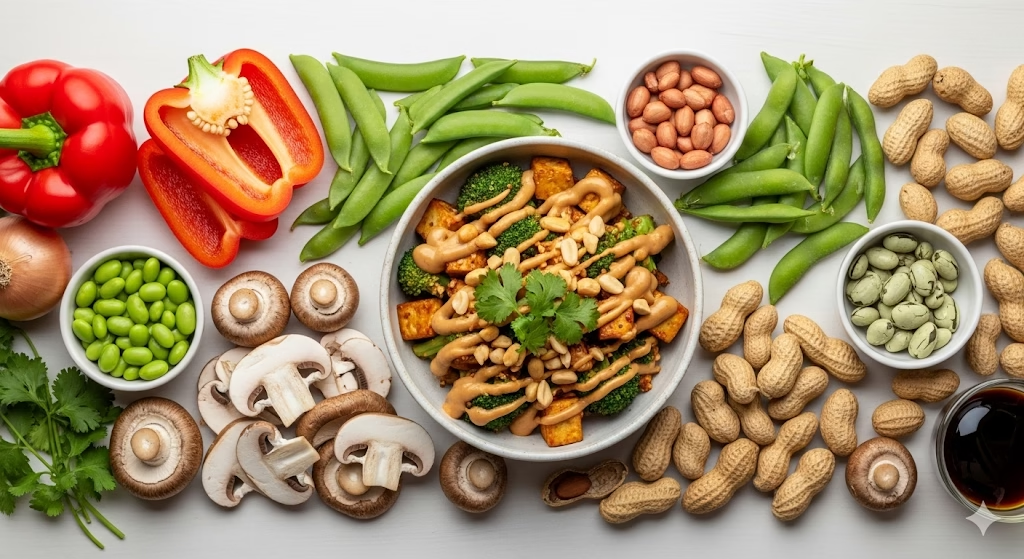
Our featured tofu recipe combines perfectly crispy tofu, tender-crisp broccoli, and a rich, spicy peanut sauce that coats every ingredient with irresistible flavor. It’s a testament to how simple ingredients can come together to create a profoundly satisfying and wholesome meal. Forget everything you thought you knew about tofu; this recipe is here to redefine your expectations and elevate your plant-based cooking.
A Tofu Recipe That Redefines Your Expectations
This isn’t just another tofu recipe; it’s an invitation to explore the delicious potential of plant-based eating. Whether you’re a seasoned vegan, a curious flexitarian, or simply looking to incorporate more healthy meals into your diet, this dish offers a perfect balance of protein, fiber, and incredible taste. It’s quick enough for a weeknight dinner but impressive enough to serve to guests.
We’ll guide you through each step, from pressing the tofu to perfecting the peanut sauce, ensuring that even novice cooks can achieve restaurant-quality results. We’ll also dive into the numerous health benefits of tofu and broccoli, highlighting why this meal is not just delicious but also incredibly good for you.
So, get ready to preheat your pan and gather your ingredients. By the end of this article, you’ll have a fantastic new tofu recipe under your belt, brimming with flavor and nourishment, proving once and for all that healthy eating can be both easy and utterly delicious.
Crafting Crispy Tofu: The Ultimate Tofu Recipe

Tofu, a versatile plant-based protein, takes center stage in this vibrant and flavorful dish. Often misunderstood, when prepared correctly, tofu can achieve a wonderfully crispy texture that perfectly soaks up rich sauces. This recipe focuses on maximizing flavor and texture to deliver a truly unforgettable meal.
Prep Time: 25 minutes
Cook Time: 25 minutes
Servings: 4
Equipment:

- Tofu press (optional, but highly recommended)
- Large non-stick skillet or wok
- Medium mixing bowls (2)
- Small saucepan (for rice)
- Whisk
- Sharp knife and cutting board
- Measuring cups and spoons
Nutritional Information (per serving, estimated):
- Calories: 480-520 kcal
- Protein: 25-30g
- Fat: 30-35g
- Carbohydrates: 35-40g
- Fiber: 8-10g
(Please note: Nutritional values are approximate and can vary based on specific ingredient brands and preparation methods.)
Ingredients for Your Spicy Peanut Tofu with Broccoli
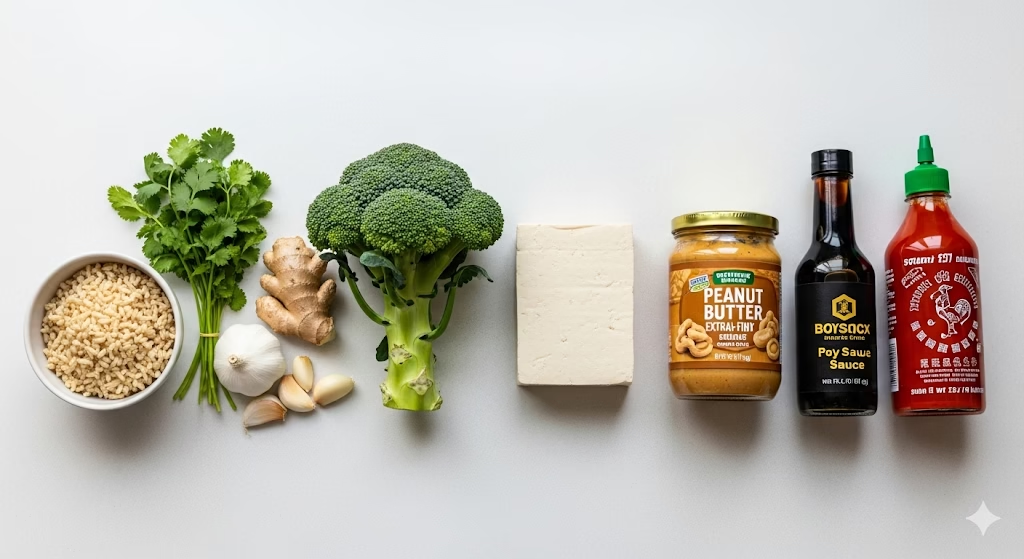
For the Crispy Tofu:
- 1 block (14-16 oz) extra-firm tofu, pressed and cubed into 1-inch pieces
- 2 tablespoons cornstarch
- 1 tablespoon soy sauce (or tamari for gluten-free)
- 1 tablespoon olive oil (for frying)
For the Spicy Peanut Sauce:
- ½ cup creamy peanut butter
- 3 tablespoons soy sauce (or tamari for gluten-free)
- 2 tablespoons rice vinegar
- 1 tablespoon maple syrup or agave nectar (for sweetness)
- 1-2 tablespoons sriracha or chili garlic sauce (adjust to your spice preference)
- 1 tablespoon fresh ginger, grated
- 2 cloves garlic, minced
- ¼ cup warm water (to thin, as needed)
For the Broccoli:
- 1 large head of broccoli, cut into bite-sized florets
- 1 tablespoon olive oil
- Pinch of salt
For the Healthy Herby Rice (Side Dish):
- 1 cup brown rice, rinsed
- 2 cups vegetable broth or water
- ¼ cup fresh cilantro, chopped
- 2 tablespoons fresh parsley, chopped
- 1 tablespoon fresh lime juice
- 1 teaspoon black sesame seeds (for garnish)
- 1 teaspoon white sesame seeds (for garnish)
Optional Garnishes:
- Extra cilantro, chopped
- Chopped peanuts
- Lime wedges
Step-by-Step Instructions: Mastering This Tofu Recipe
1. Press the Tofu (Important for Crispy Tofu!):
* Carefully remove the block of extra-firm tofu from its packaging and drain any excess water.
* To achieve truly crispy tofu, it’s crucial to press out as much moisture as possible. You can use a dedicated tofu press, or create your own by wrapping the tofu in a few layers of paper towels or a clean kitchen towel. Place it on a plate, then put something heavy on top (like a stack of cookbooks or a cast-iron skillet).
* Let the tofu press for at least 20-30 minutes, or up to an hour if time allows. The longer you press, the firmer and crispier your tofu will become.
* Once pressed, unwrap the tofu and cut it into 1-inch cubes.
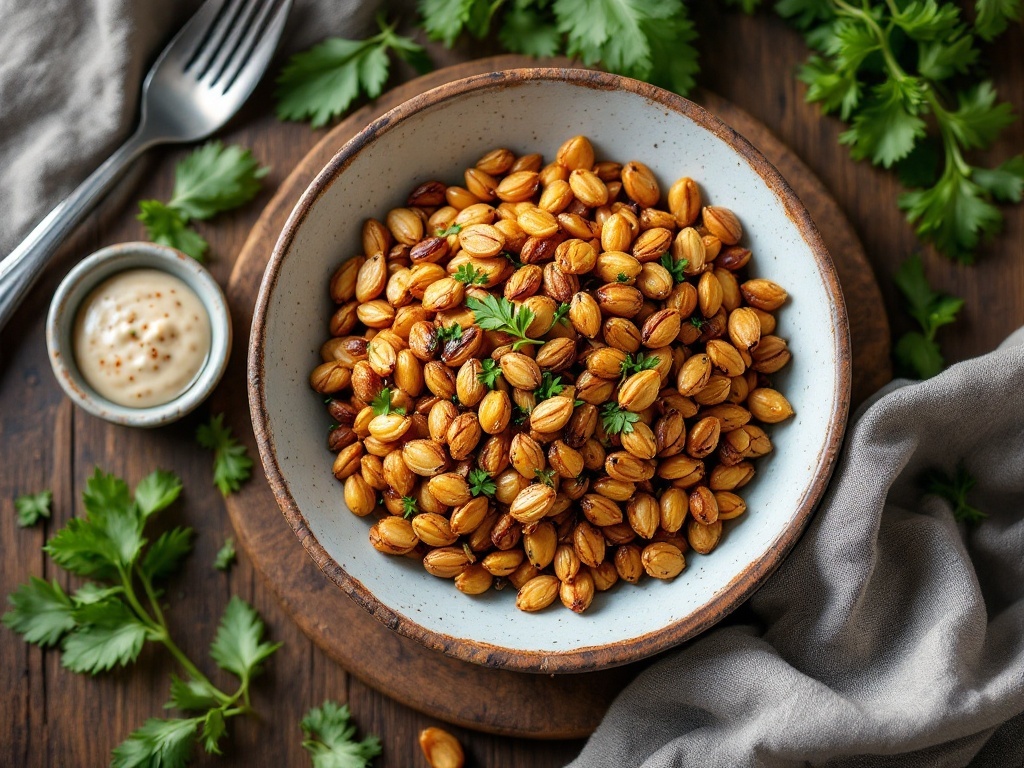
2. Prepare the Crispy Tofu:
* In a medium mixing bowl, gently toss the cubed tofu with 2 tablespoons of cornstarch and 1 tablespoon of soy sauce. Ensure all the tofu pieces are lightly coated. The cornstarch is key to creating a crispy exterior.
* Heat 1 tablespoon of olive oil in a large non-stick skillet or wok over medium-high heat. You want the oil to be shimmering, but not smoking.
* Carefully add the coated tofu cubes to the hot skillet in a single layer. Avoid overcrowding the pan; if necessary, cook the tofu in two batches. Overcrowding can lower the pan temperature and prevent crisping.
* Cook for 5-7 minutes, turning occasionally, until all sides are golden brown and crispy.
* Once crispy, remove the tofu from the skillet and set it aside on a plate lined with a paper towel to absorb any excess oil.
Alternative Cooking Methods for Crispy Tofu:
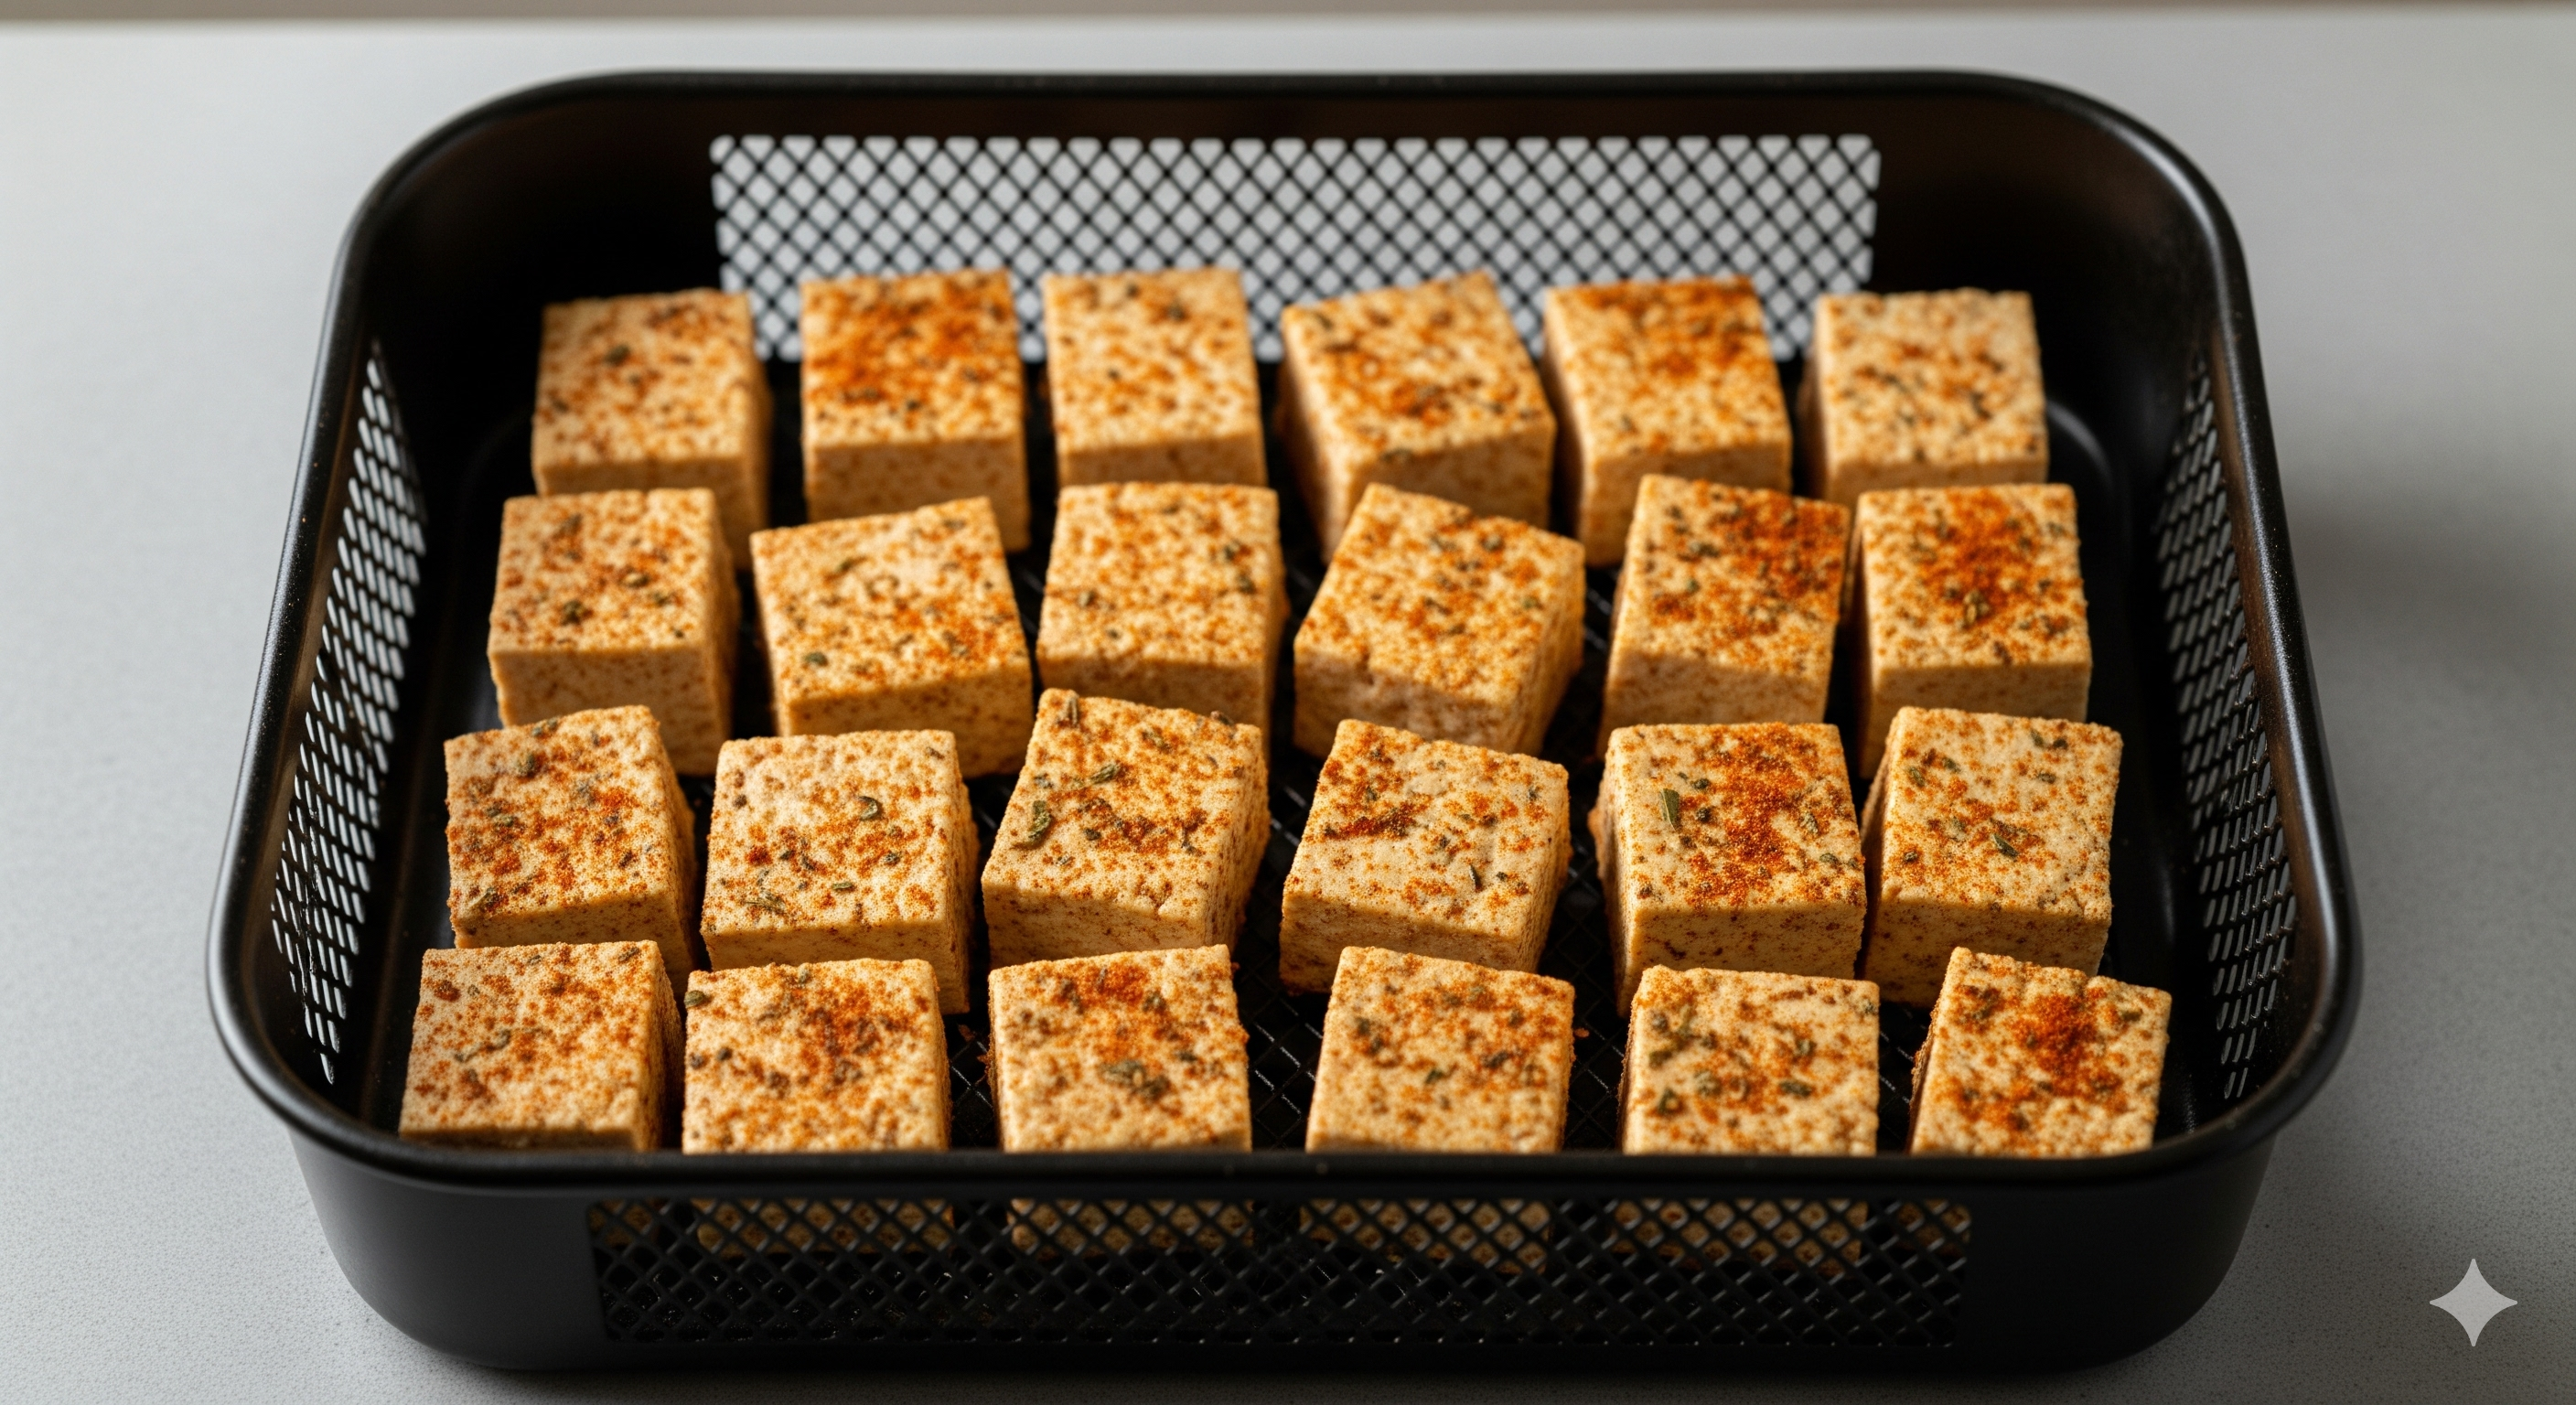
- Air Fryer Method: After pressing and coating the tofu, arrange the cubes in a single layer in your air fryer basket. Air fry at 400°F (200°C) for 15-20 minutes, shaking the basket halfway through, until golden and crispy.
- Baked Tofu Method: Preheat oven to 400°F (200°C). After pressing and coating the tofu, spread the cubes in a single layer on a baking sheet lined with parchment paper. Bake for 25-30 minutes, flipping halfway, until golden and firm.
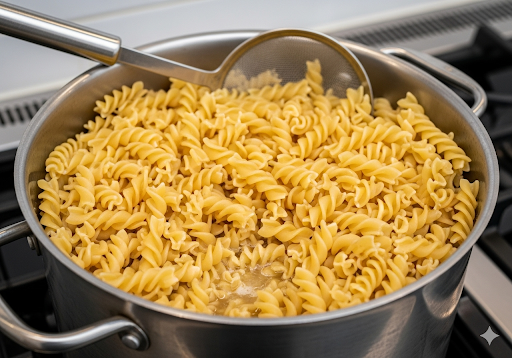
3. Cook the Healthy Herby Rice:
* While the tofu is cooking, combine the rinsed brown rice and vegetable broth (or water) in a small saucepan.
* Bring to a boil, then reduce heat to low, cover, and simmer for 40-45 minutes, or until all the liquid is absorbed and the rice is tender.
* Once cooked, remove from heat and let stand, covered, for 5 minutes.
* Fluff the rice with a fork, then stir in the chopped fresh cilantro, fresh parsley, and fresh lime juice.
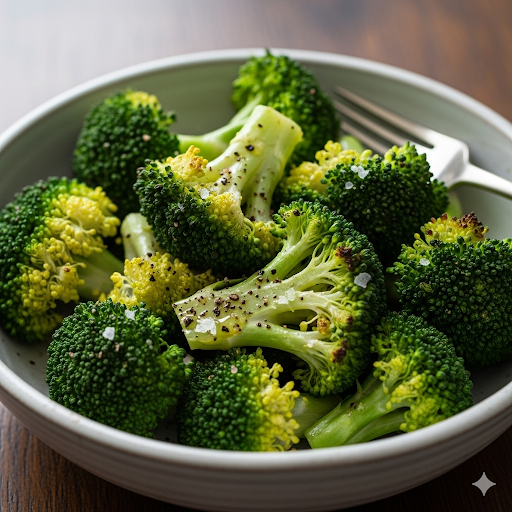
4. Prepare the Broccoli:
* In the same skillet you used for the tofu (no need to clean it thoroughly), add 1 tablespoon of olive oil.
* Add the broccoli florets and a pinch of salt. Sauté over medium-high heat for 5-7 minutes, stirring occasionally, until the broccoli is tender-crisp and bright green. You want it cooked through but still with a slight bite.
* Remove the broccoli from the skillet and set it aside with the crispy tofu.

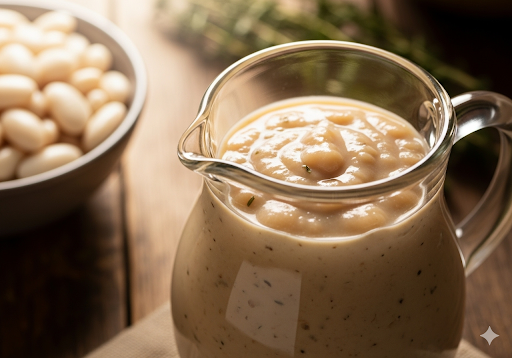
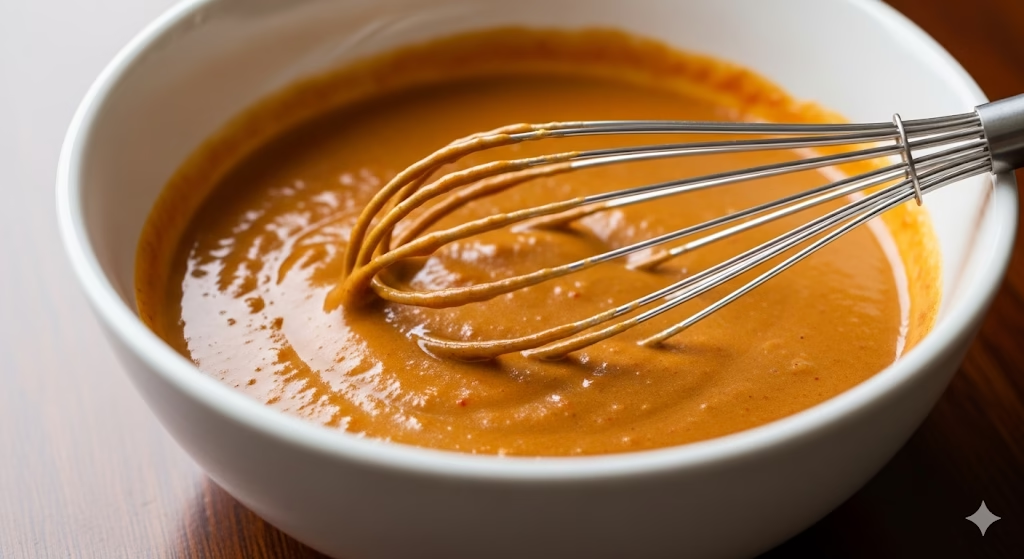
5. Make the Spicy Peanut Sauce:
* In a medium mixing bowl, whisk together the peanut butter, soy sauce, rice vinegar, maple syrup (or agave), sriracha (start with 1 tablespoon and add more if you like extra heat), grated ginger, and minced garlic.
* Gradually add the warm water, 1 tablespoon at a time, whisking continuously, until the sauce reaches a smooth, pourable consistency. You might not need all the water, or you might need a little more, depending on your peanut butter’s thickness.
* Taste the sauce and adjust seasonings if necessary – add more sriracha for spice, soy sauce for saltiness, or maple syrup for sweetness.
6. Combine and Serve:
* Return the crispy tofu and cooked broccoli to the large skillet over medium heat.
* Pour the prepared spicy peanut sauce over the tofu and broccoli.
* Toss gently but thoroughly to coat all the ingredients evenly with the rich sauce. Heat for 2-3 minutes, just until the sauce is warmed through and clinging to the tofu and broccoli.
* Serve the Spicy Peanut Tofu with Broccoli immediately, alongside the healthy herby brown rice.
* Garnish each serving with a sprinkle of black and white sesame seeds, extra fresh cilantro, and a lime wedge for a fresh squeeze of citrus.
The Health Power of This Tofu Recipe
This isn’t just a delicious tofu recipe; it’s a nutritional powerhouse. Each component brings significant health benefits to your plate, contributing to a well-balanced and energizing meal.
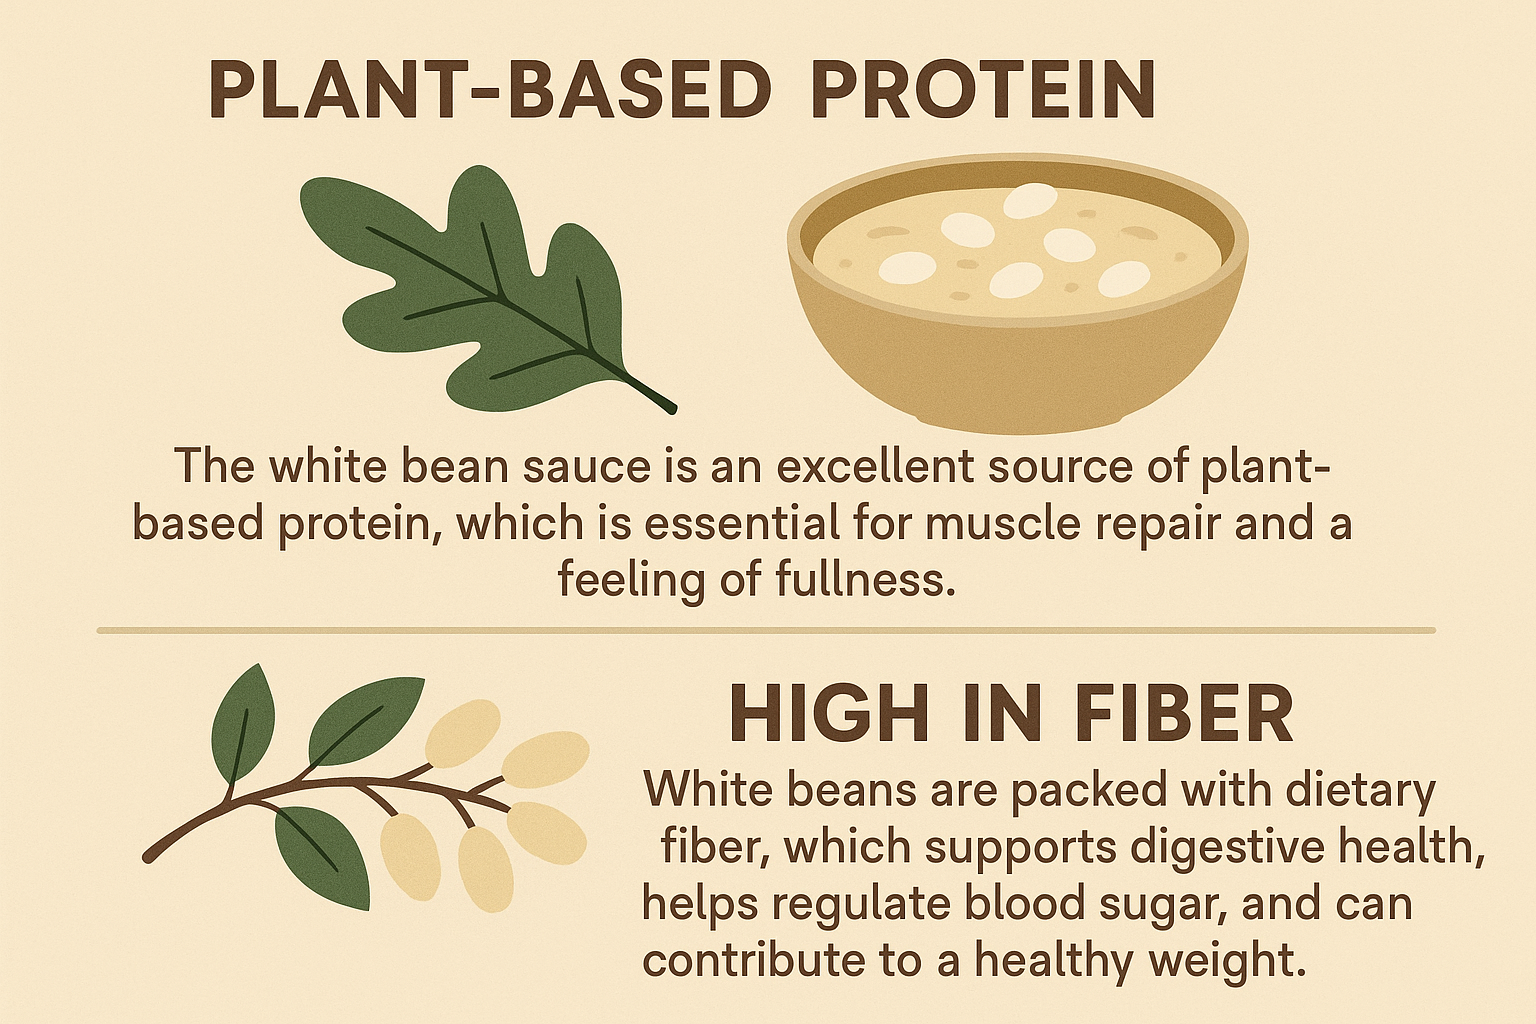
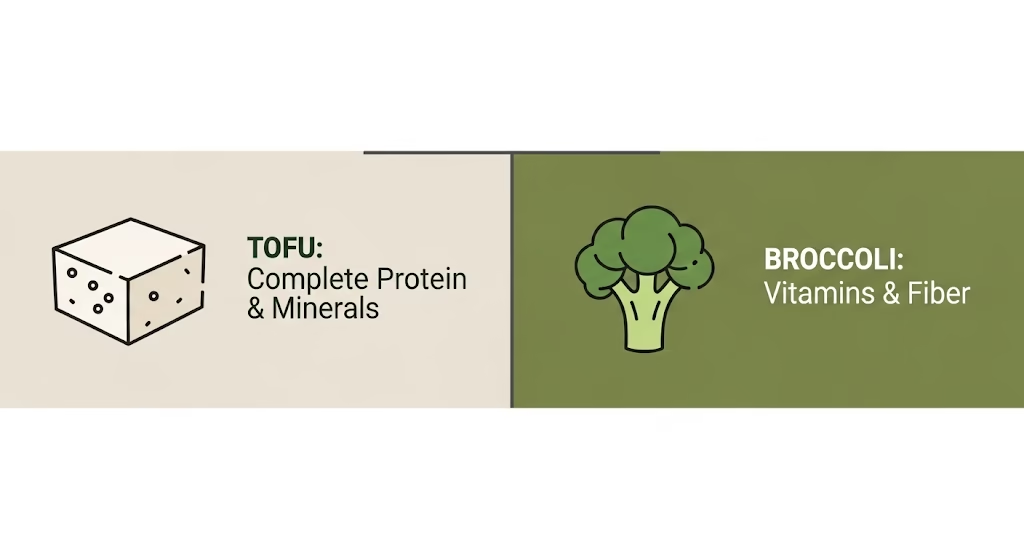
Tofu: A Complete Plant-Based Protein: Tofu is an excellent source of plant-based protein, making it ideal for vegetarians, vegans, and anyone looking to reduce their meat intake. It contains all nine essential amino acids, making it a complete protein. Tofu is also rich in iron, calcium, manganese, selenium, and phosphorus, and a good source of magnesium, copper, zinc, and vitamin B1. Its compounds, particularly isoflavones, are studied for their potential benefits in heart health, bone density, and reducing the risk of certain cancers.
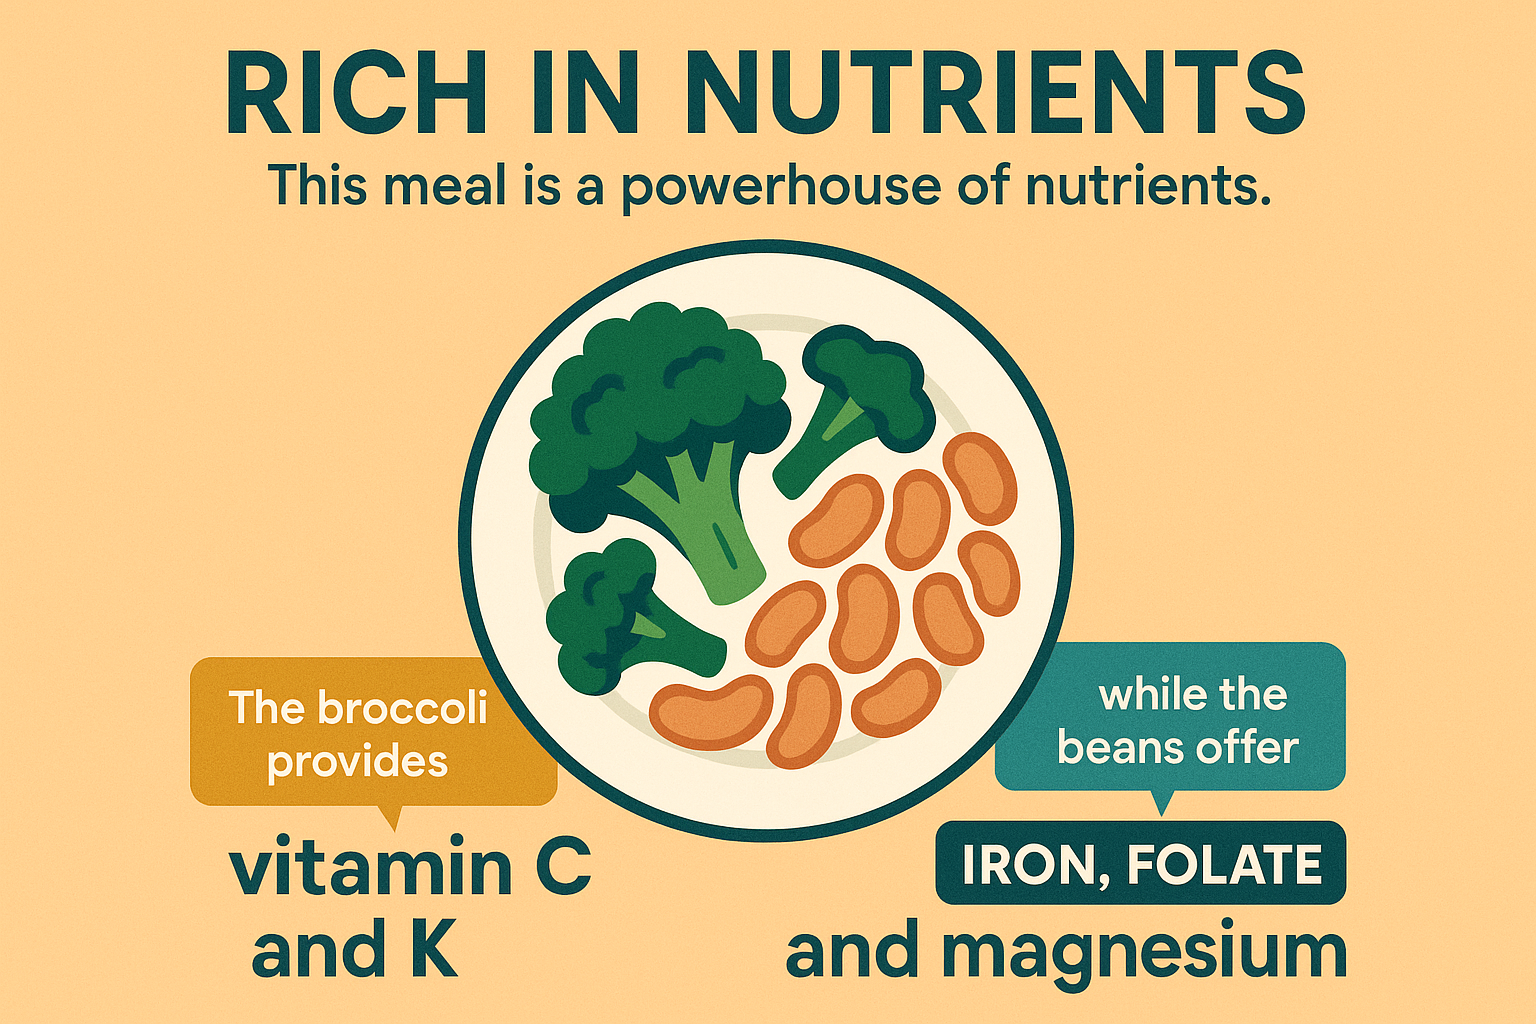
Broccoli: The Nutrient-Dense Green: Broccoli is a superstar vegetable, loaded with vitamins, minerals, and antioxidants. It’s particularly high in Vitamin C (for immune health), Vitamin K (for bone health and blood clotting), and folate. Its fiber content aids digestion, and it contains compounds like sulforaphane, which are recognized for their anti-inflammatory and anti-cancer properties.
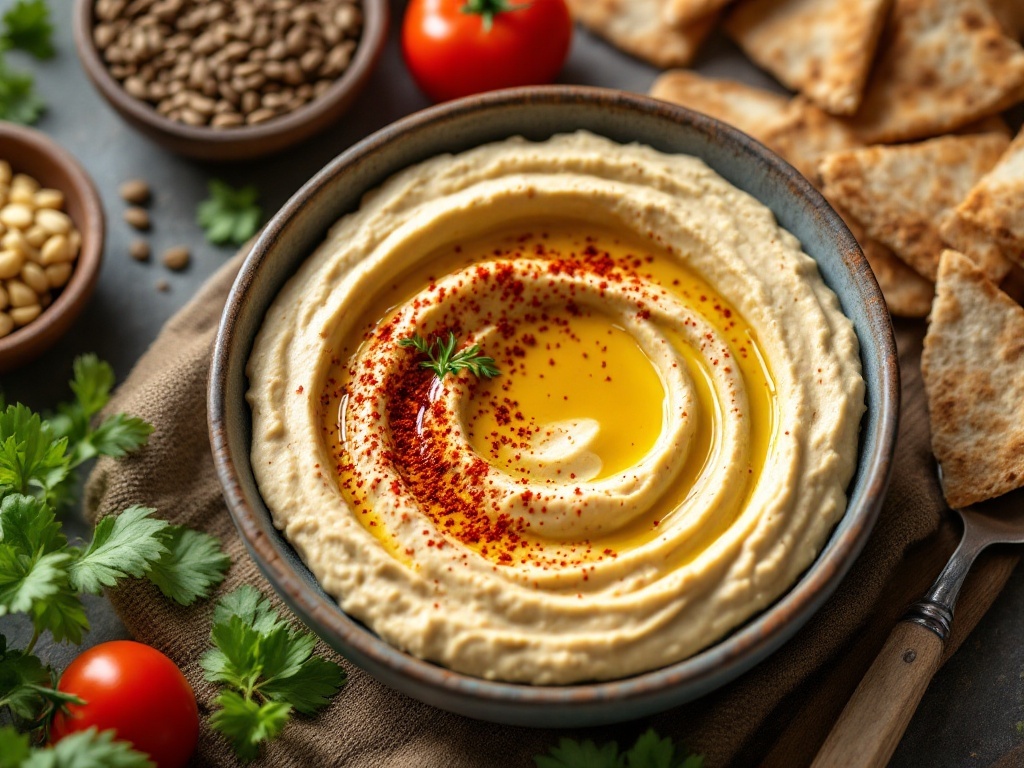
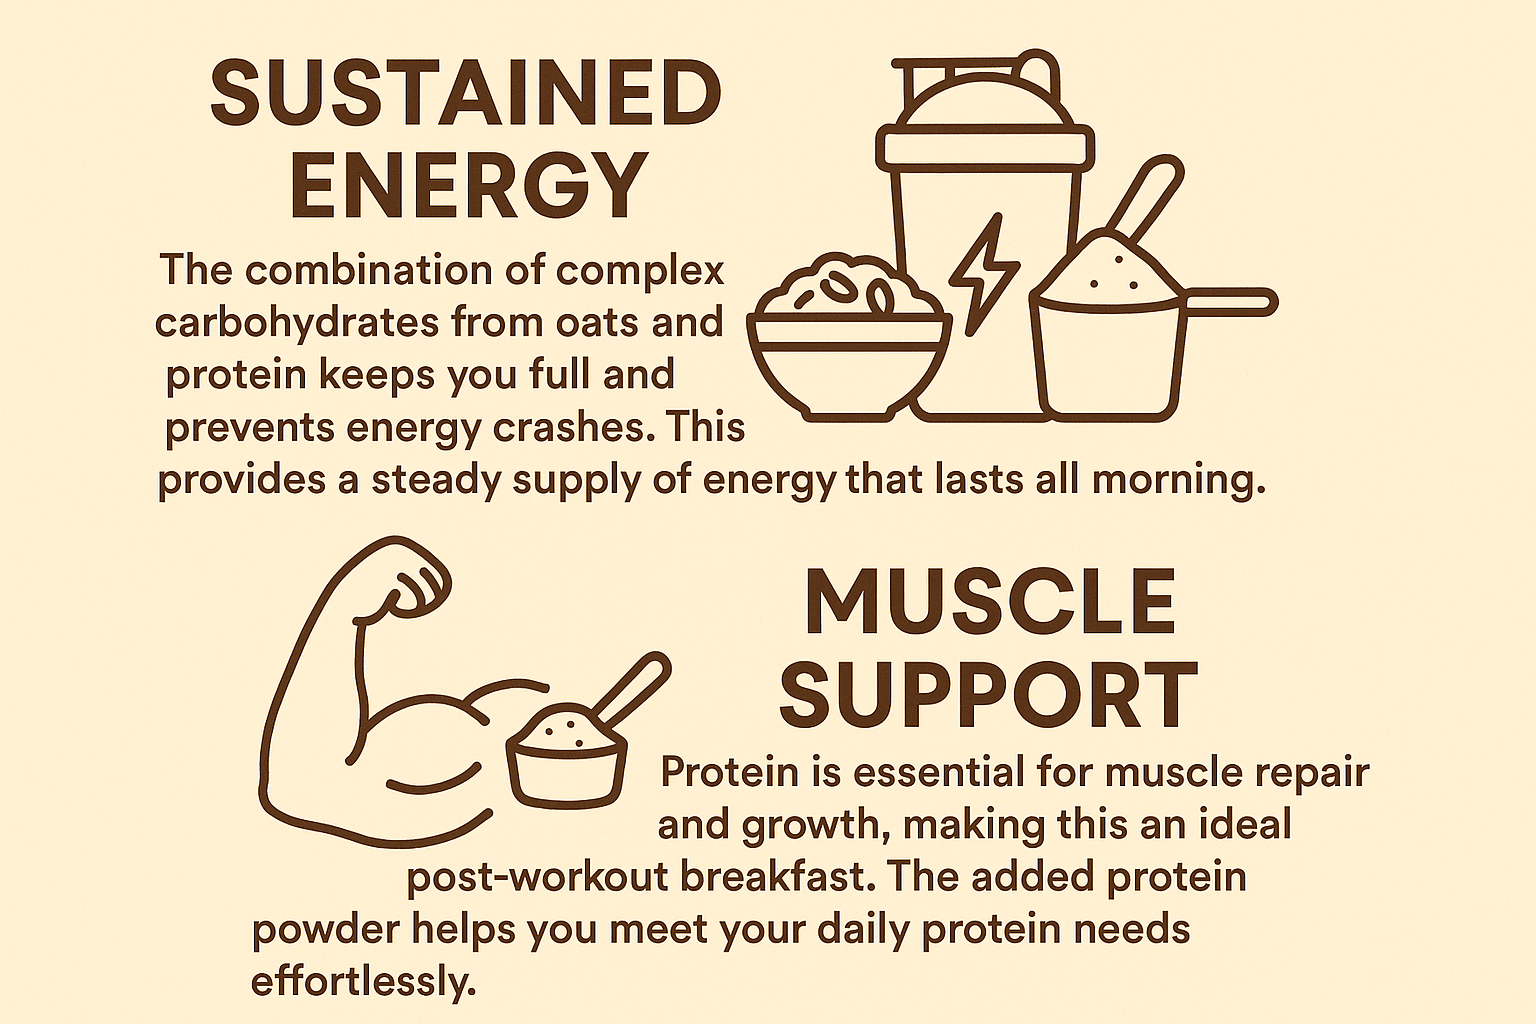
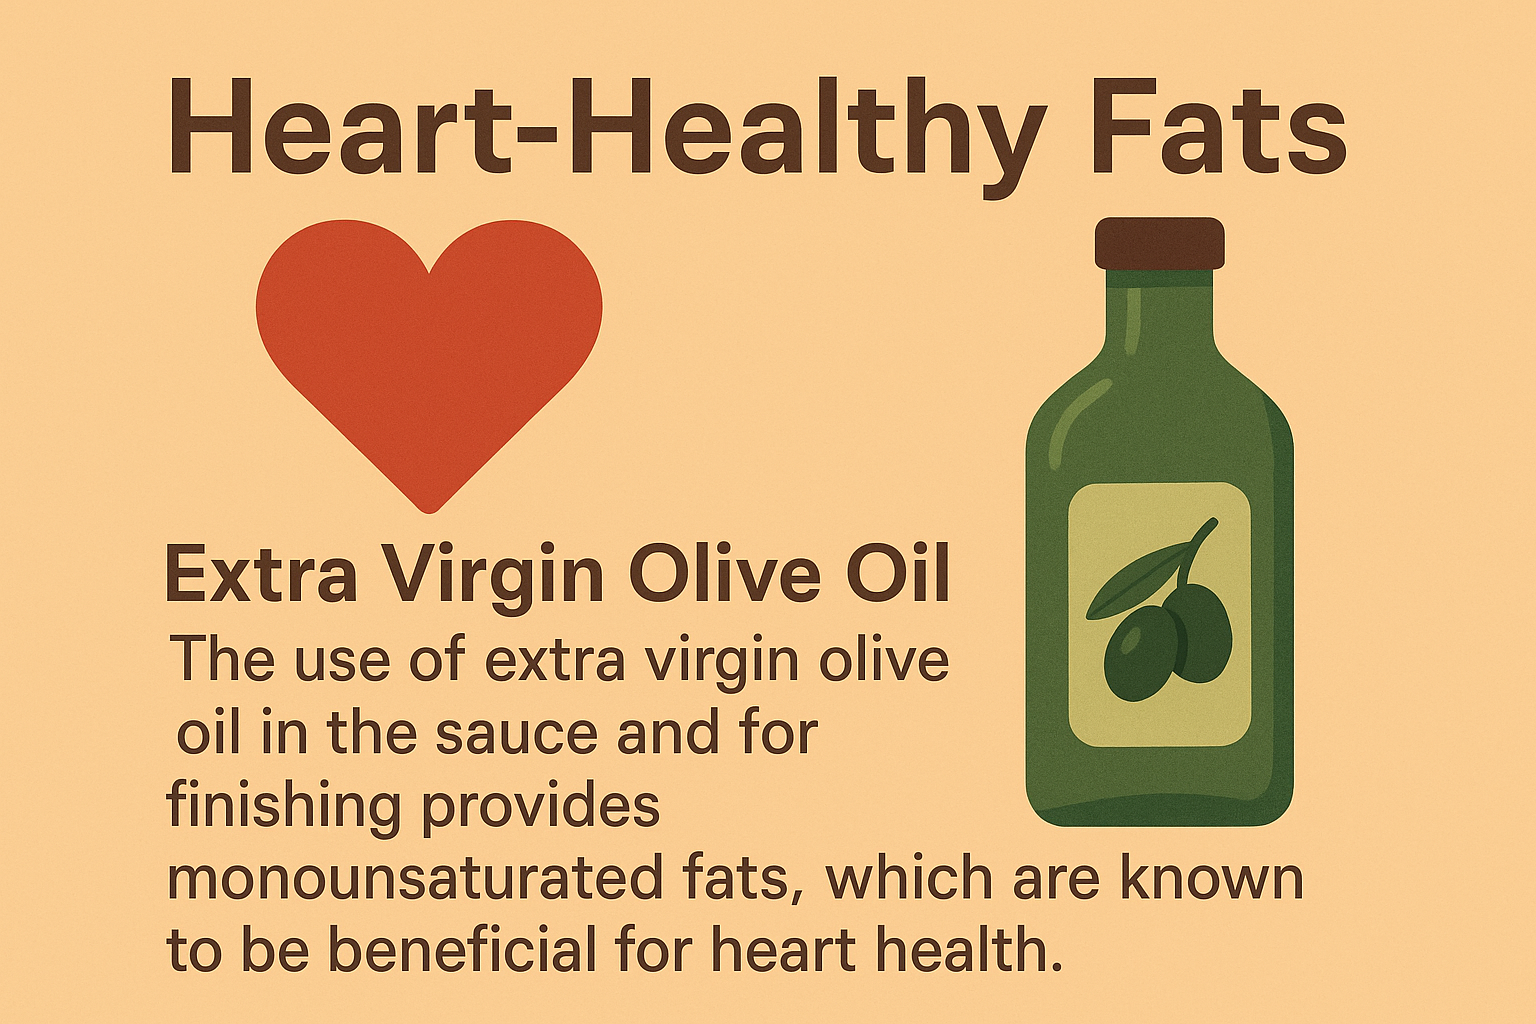
Peanut Butter: Healthy Fats and Protein: While calorically dense, peanut butter provides healthy monounsaturated fats, which are good for heart health. It’s also a source of protein and fiber, contributing to satiety and sustained energy. When choosing peanut butter, opt for natural varieties with minimal added sugar and oils.
Brown Rice: Complex Carbohydrates and Fiber: Brown rice is a whole grain that offers complex carbohydrates, providing sustained energy without the sharp blood sugar spikes associated with refined grains. It’s rich in fiber, which supports digestive health, and contains essential minerals like magnesium and selenium.
Ginger and Garlic: Immune Boosters and Flavor Enhancers: These aromatic ingredients do more than just add incredible flavor. Both ginger and garlic possess powerful anti-inflammatory and antioxidant properties, and are known for their immune-boosting benefits.
Variations for Your Tofu Recipe
This tofu recipe is incredibly flexible! Feel free to customize it based on your preferences or what you have available.
| Variation Category | Suggestions |
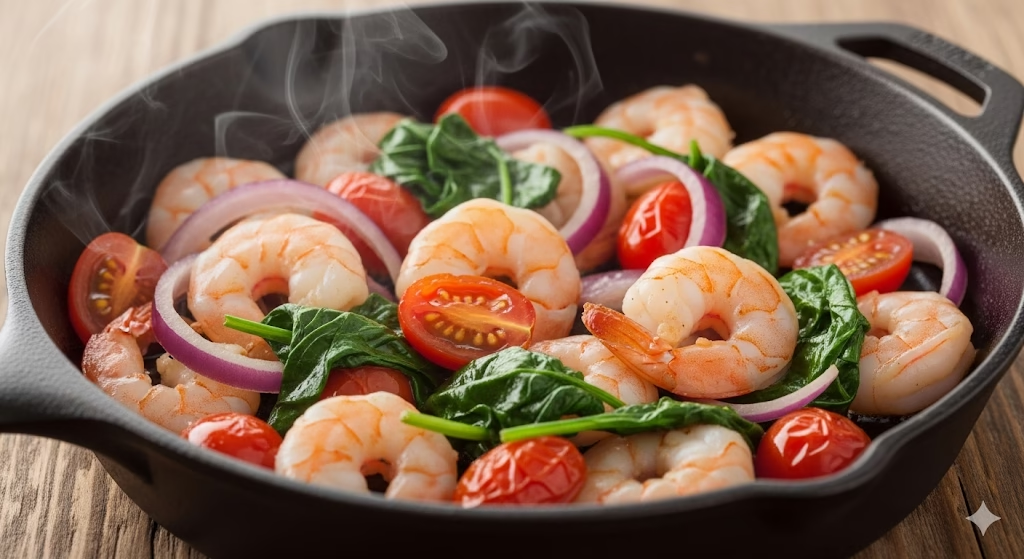
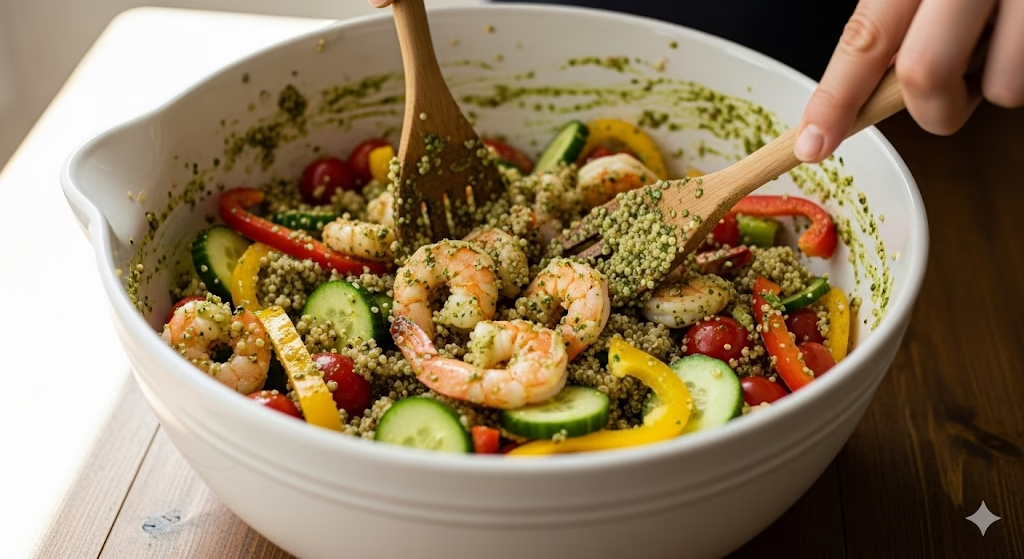
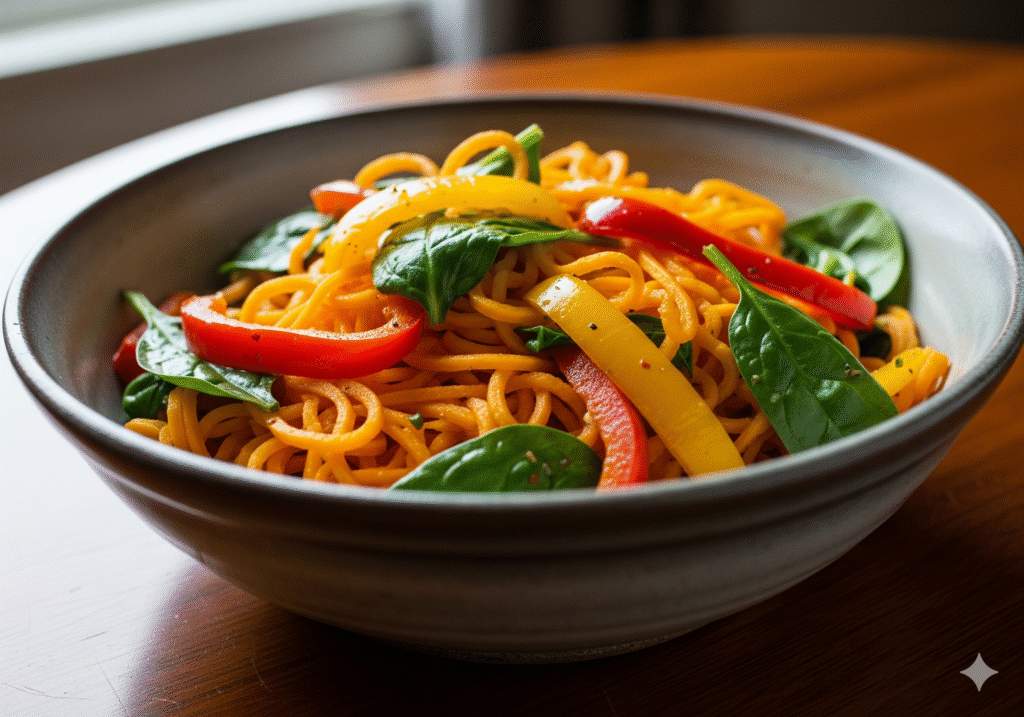
| Vegetables | Add bell peppers (red, yellow, orange), snap peas, carrots (sliced thinly), mushrooms, or spinach (stir in at the very end). For extra spice, add thinly sliced fresh chilies. |
| Protein | For an extra protein boost, add edamame (shelled, cooked) to the sauce with the tofu and broccoli. If you’re not vegetarian, cooked chicken or shrimp can be added at the end. |
| Spice Level | Adjust the amount of sriracha or chili garlic sauce to your liking. For milder, use less; for extra heat, add more or a pinch of red pepper flakes. |
| Nut-Free | If you have a peanut allergy, substitute peanut butter with sunflower seed butter (SunButter) or almond butter. Note that the flavor profile will change slightly but will still be delicious. |
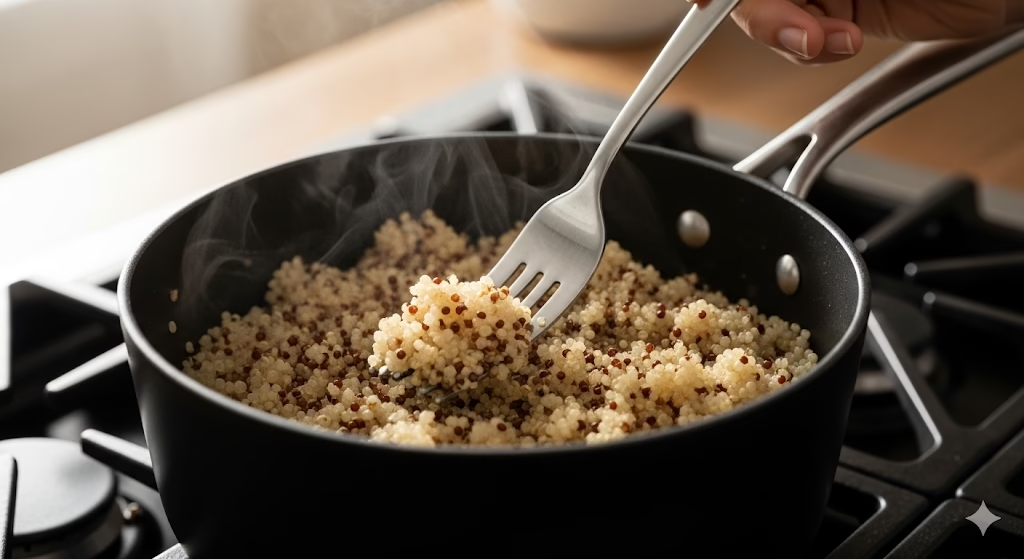
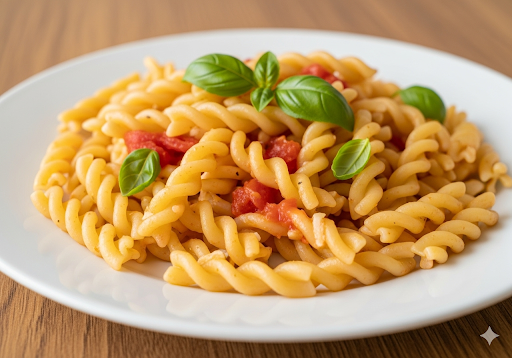
| Grain Swaps | Instead of brown rice, serve with quinoa, farro, or even cauliflower rice for a lower-carb option. |
| Sauce Flavor | For a touch of citrus, add a squeeze of fresh orange juice to the peanut sauce. For a richer, umami flavor, a tiny bit of miso paste can be whisked into the sauce. |
Final Thoughts: Your Tofu Transformation Awaits!

Congratulations! You’ve just discovered (or rediscovered) a tofu recipe that’s sure to impress. This Spicy Peanut Tofu with Broccoli and Herby Rice is more than just a meal; it’s a testament to how flavorful, satisfying, and wholesome plant-based cooking can be. By following these simple steps, you’ve unlocked the potential of tofu, transforming it into a crispy, saucy delight that perfectly complements vibrant vegetables and aromatic rice.
We encourage you to make this tofu recipe your own. Experiment with the variations, adjust the spice level, and savor every bite. Whether you’re aiming for healthier eating, exploring new cuisines, or simply looking for a fantastic new dinner idea, this dish delivers on all fronts. Don’t let this be just a one-time culinary adventure; let “Your New Favorite Tofu Recipe” become a regular feature in your kitchen, inspiring you to embrace the delicious possibilities of plant-based meals.
Frequently Asked Questions (FAQs)
Q1: How can I make my tofu extra crispy?
A1: The key to extra crispy tofu lies in three main steps:
1. Pressing: Ensure you press out as much moisture as possible from the tofu. This is the most crucial step.
2. Cornstarch: Coating the tofu evenly with cornstarch creates a thin, crispy shell.
3. Hot Oil & Single Layer: Cook the tofu in hot oil (or an air fryer/oven) without overcrowding the pan/basket. This allows for even browning and prevents steaming.
Q2: Can I prepare the peanut sauce ahead of time?
A2: Yes, absolutely! The spicy peanut sauce can be made up to 3-4 days in advance and stored in an airtight container in the refrigerator. If it thickens too much, simply whisk in a little warm water or vegetable broth until it reaches your desired consistency before using. This makes meal prep even easier!
References
- National Library – Nutritional and health benefits of soy protein
- Oregan State University – Cruciferous Vegetables
- Healthline – Tofu: Health Benefits and Risks
Recent Posts