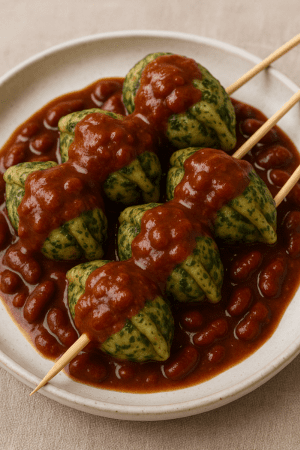
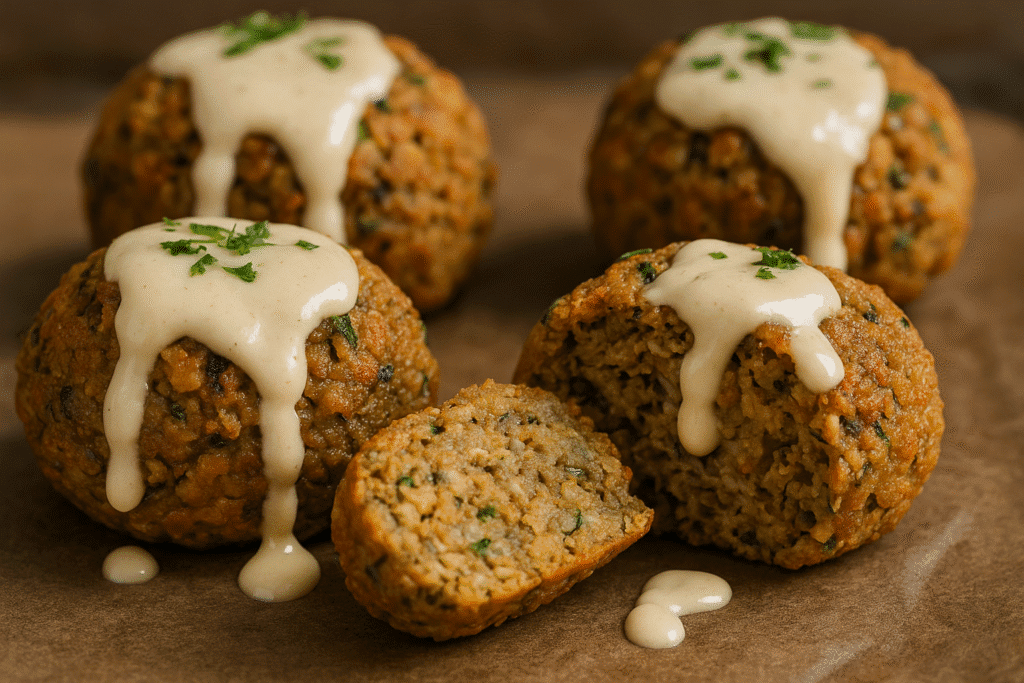
This recipe shows how easy it is to turn classic comfort food into a modern, healthier twist. These Meatloaf Skewers offer balance, variety, and plenty of flavor. Perfect for weeknight meals or gatherings, they’ll quickly become a staple in your kitchen.
Why Meatloaf Skewers Are a Fun Twist on Classic Comfort Food
Meatloaf is one of those nostalgic dishes many of us grew up eating at family tables. It’s hearty, filling, and often passed down through generations with little tweaks and secret ingredients. But while a traditional loaf has its place, sometimes you want to enjoy the comfort without the wait or heavy portions. That’s where Meatloaf Skewers come in—a creative upgrade that transforms the ordinary into something fun, flavorful, and family-friendly.
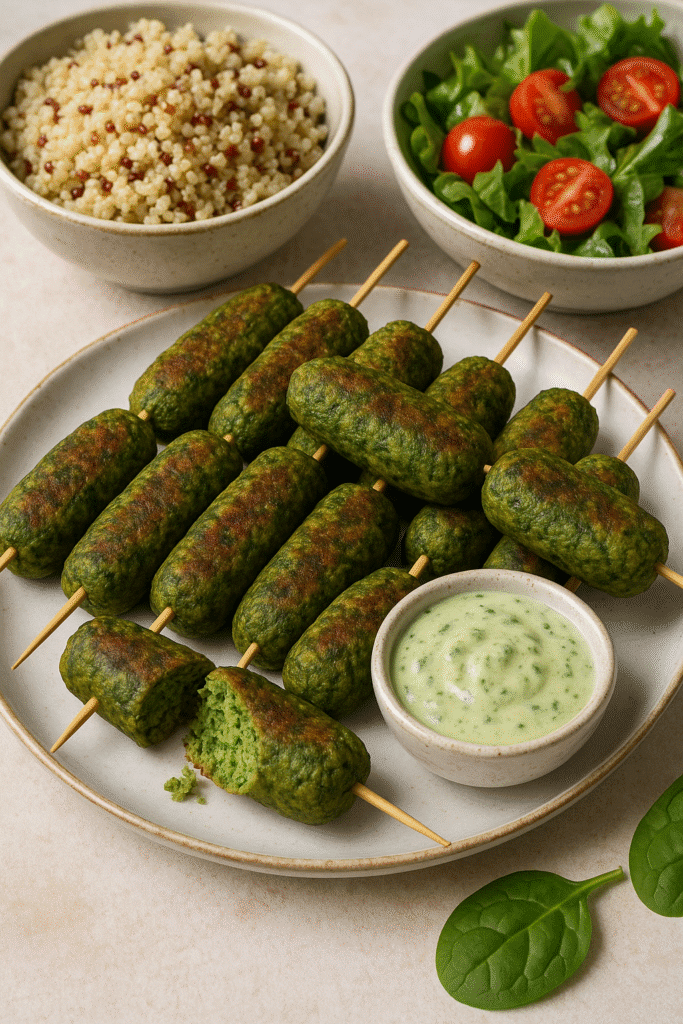
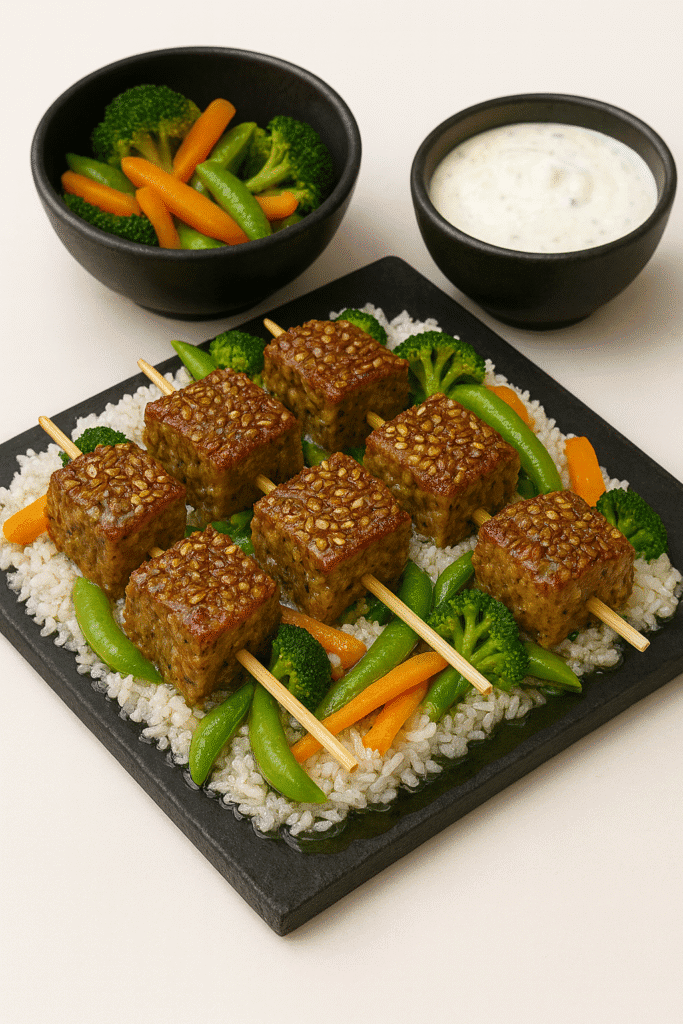
These skewers are all about versatility. Instead of waiting an hour or more for a full loaf to bake, you get perfectly portioned cubes that cook in a fraction of the time. The sesame seed crust adds a satisfying crunch, while the presentation—served on skewers over a bed of fluffy rice and vibrant vegetables—makes dinner feel special, even on a busy weeknight.
Another bonus is how well these skewers pair with dipping sauces. From tangy yogurt dips to smoky barbecue or even spicy aioli, the options are endless. That makes this dish an easy crowd-pleaser since each person can customize their meal to match their taste.
And let’s not forget: the skewers can be baked, grilled, or even air-fried for a healthier spin. This flexibility means you can enjoy them year-round, whether you’re in the mood for a cozy oven-baked dinner or a sunny weekend barbecue.
In this recipe, you’ll learn exactly how to prepare Meatloaf Skewers step by step, along with tips for making them even healthier, variations for different diets, and creative serving ideas. By the end, you’ll have a meal that’s balanced, protein-packed, and ready to impress.
Time to Prepare
- Prep Time: 20 minutes
Time to Cook/Blend
- Cook Time: 30 minutes
- Total Time: 50 minutes
Equipment Needed
- Mixing bowl
- Baking tray or grill pan
- Wooden or metal skewers
- Measuring cups and spoons
- Sharp knife and cutting board
- Steamer or saucepan (for rice and vegetables)
Nutritional Information (Per Serving)
- Calories: ~420
- Protein: 28g
- Carbohydrates: 35g
- Dietary Fiber: 4g
- Sugars: 4g
- Total Fat: 16g
- Saturated Fat: 4.5g
- Cholesterol: 95mg
- Sodium: 680mg
Key Nutritional Takeaways:
Rich in Micronutrients: Vegetables add fiber, vitamins A and C, and essential minerals.
High in Protein: Supports muscle repair and keeps you fuller for longer.
Balanced Carbs: Rice and vegetables provide steady energy without a heavy feeling.
Healthy Fats: Olive oil and sesame seeds contribute heart-healthy fats.
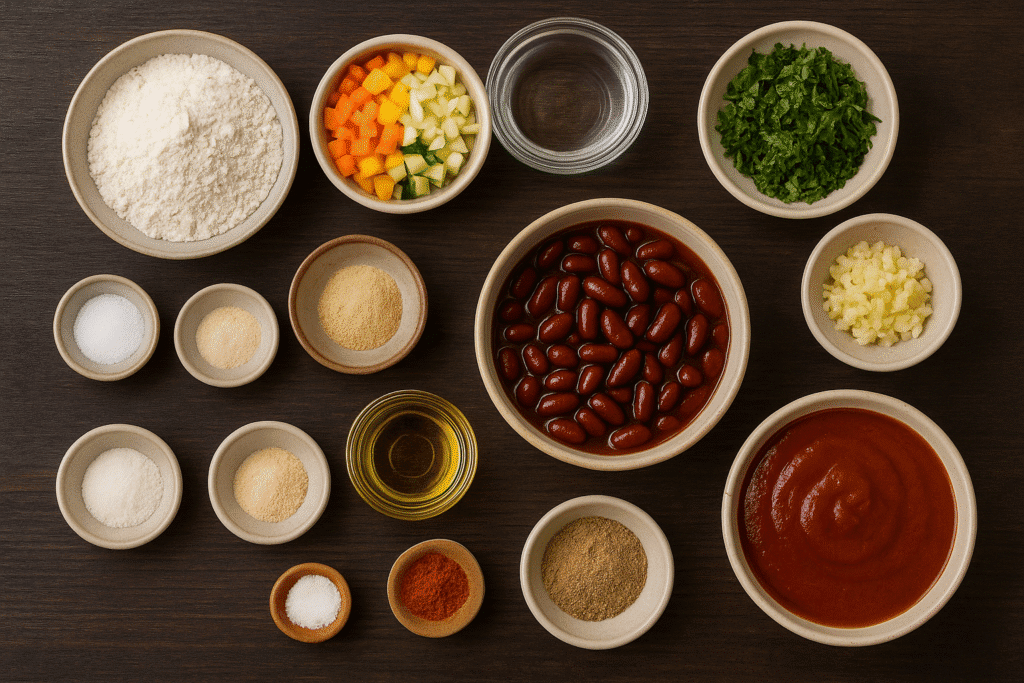
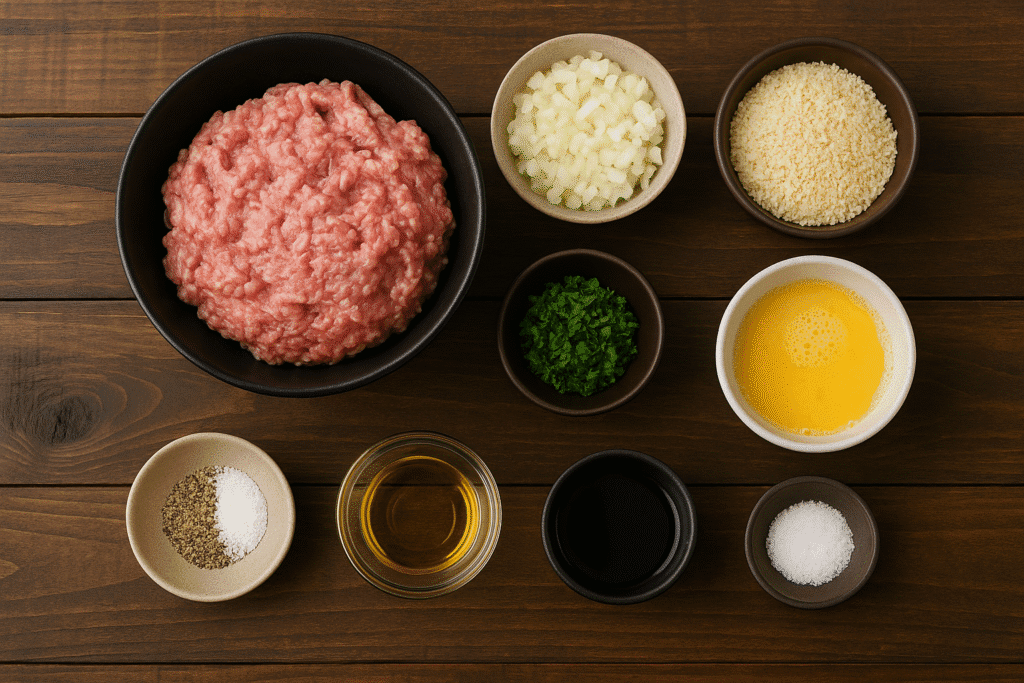
Ingredients
- 1 lb (450g) lean ground beef or turkey
- 1 small onion, finely chopped
- 2 cloves garlic, minced
- 1 egg
- ½ cup breadcrumbs (whole grain or gluten-free if preferred)
- 2 tbsp soy sauce
- 1 tbsp olive oil
- 1 tbsp Worcestershire sauce
- 2 tsp dried Italian herbs
- Salt and pepper to taste
- 3 tbsp sesame seeds (for coating)
- 2 cups cooked rice (white, brown, or jasmine)
- 2 cups steamed vegetables (broccoli, carrots, snap peas)
- ½ cup Greek yogurt or sour cream (for dipping sauce base)
- 1 tbsp lemon juice
- 1 tsp fresh dill or parsley, chopped
Instructions For Meatloaf Skewers
Step 1: Preheat your cooking equipment
- Oven method: Set oven to 375°F (190°C).
- Grill method: Preheat to medium-high heat and lightly oil the grates.
- Air fryer method: Set temperature to 360°F (180°C).
Step 2: Prepare the meat mixture
- In a large bowl, combine ground meat, onion, garlic, egg, breadcrumbs, soy sauce, olive oil, Worcestershire sauce, herbs, salt, and pepper.
- Mix gently with clean hands or a spoon until just combined. Tip: Avoid overmixing to keep your Meatloaf Skewers tender.
Step 3: Shape the meatloaf cubes
- Scoop out even portions (about 2 tablespoons each).
- Firmly press into cube shapes to ensure they cook evenly and hold together.
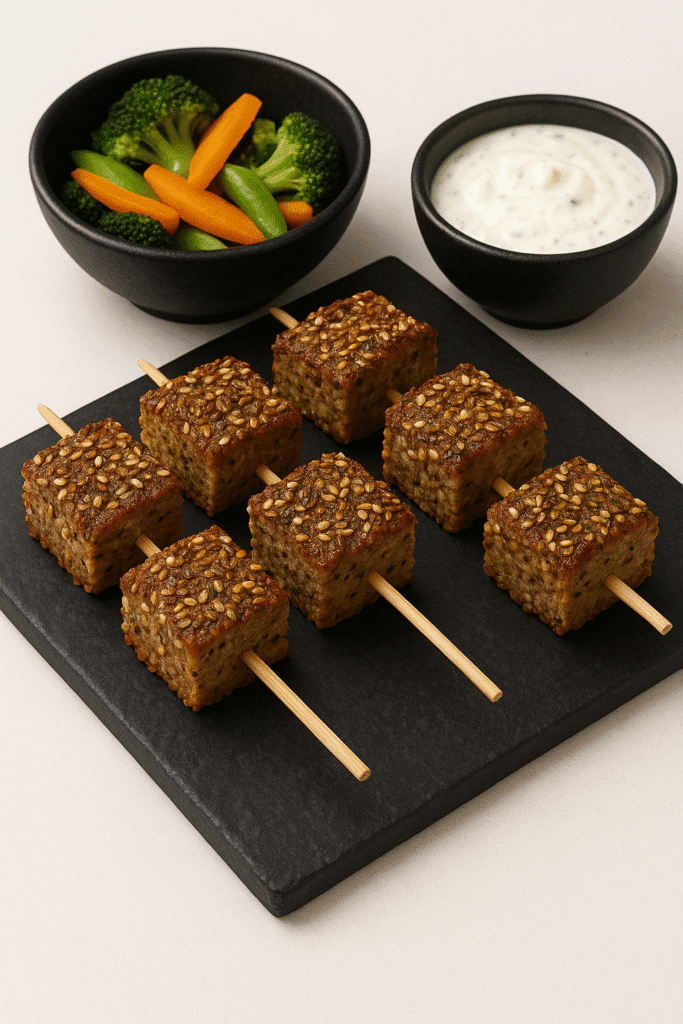
Step 4: Coat with sesame seeds
- Place sesame seeds on a plate.
- Roll each cube gently to coat the outside.
- This creates a crunchy, golden crust once cooked.
Step 5: Thread onto skewers
- Insert the cubes carefully onto wooden or metal skewers.
- Leave space between each cube for even cooking.
- If using wooden skewers, soak them in water for 20 minutes first to prevent burning.
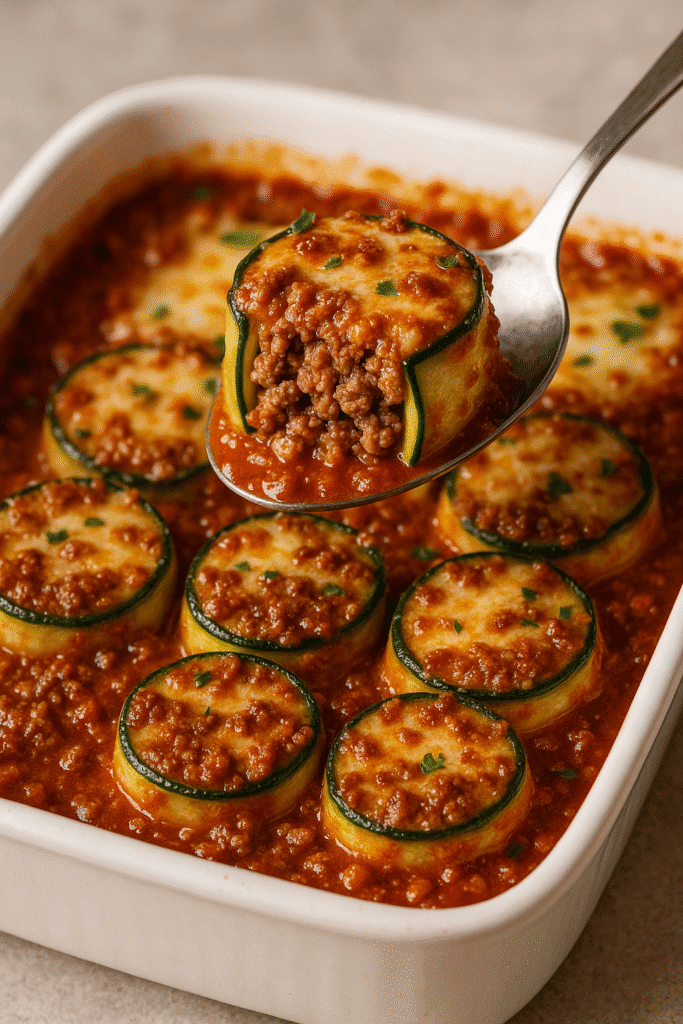
Step 6: Cook the Meatloaf Skewers
- Oven method: Place skewers on a parchment-lined tray. Bake for 25–30 minutes, turning once halfway. Skewers should be golden brown and cooked through.
- Grill method: Cook skewers for 10–12 minutes, rotating occasionally for even browning.
- Air fryer method: Arrange skewers in the basket. Cook for 15–18 minutes, flipping halfway. This gives a crisp crust with minimal oil.
Step 7: Prepare rice and vegetables
- While skewers cook, steam vegetables until tender-crisp.
- Cook rice according to package directions. For added flavor, use broth instead of water and add a drizzle of olive oil.
Step 8: Mix the dipping sauce
- In a small bowl, stir together Greek yogurt, lemon juice, fresh dill (or parsley), and a pinch of salt.
- Whisk until smooth and creamy.
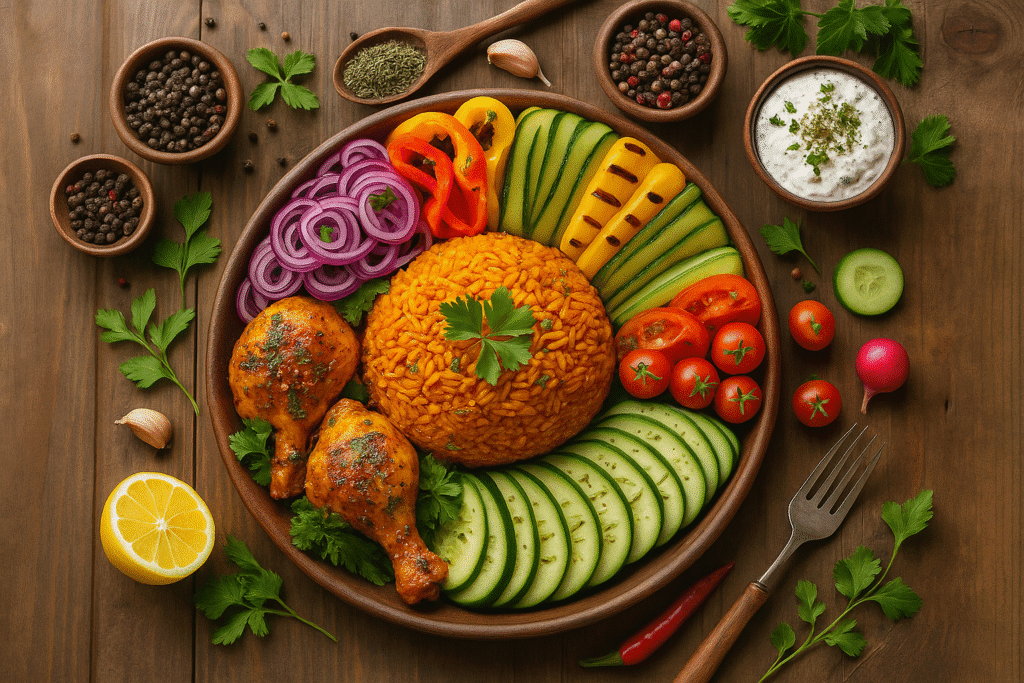
Step 9: Assemble and serve
- Place rice and vegetables on a serving platter.
- Arrange the Meatloaf Skewers on top.
- Serve with dipping sauce on the side and garnish with fresh herbs.
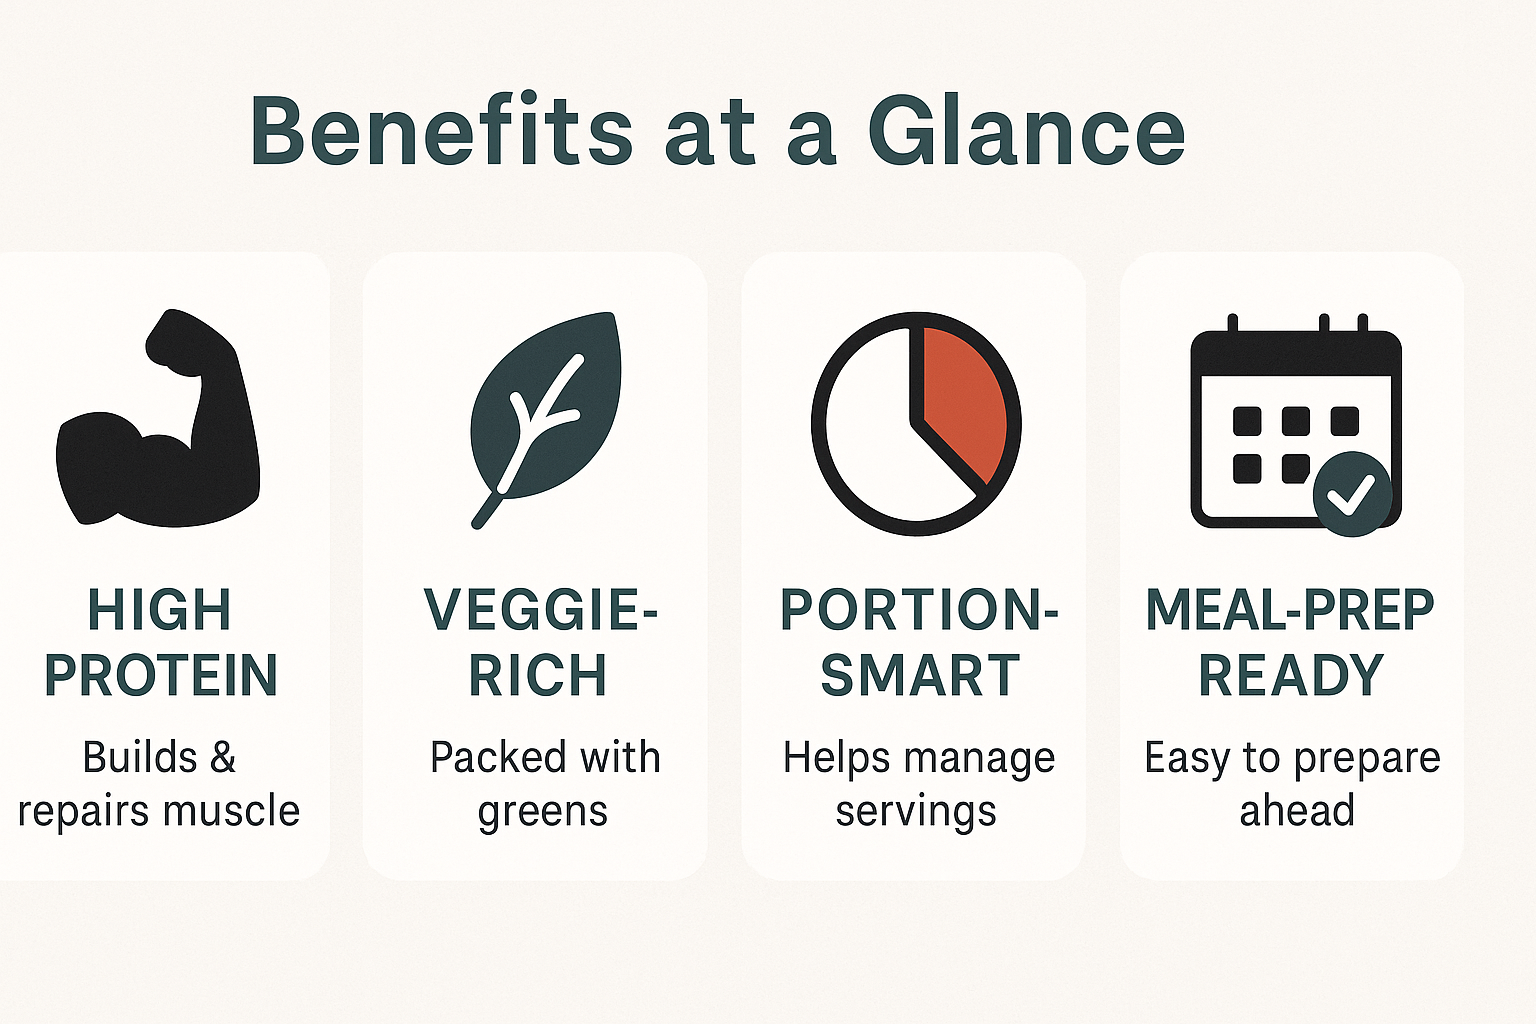
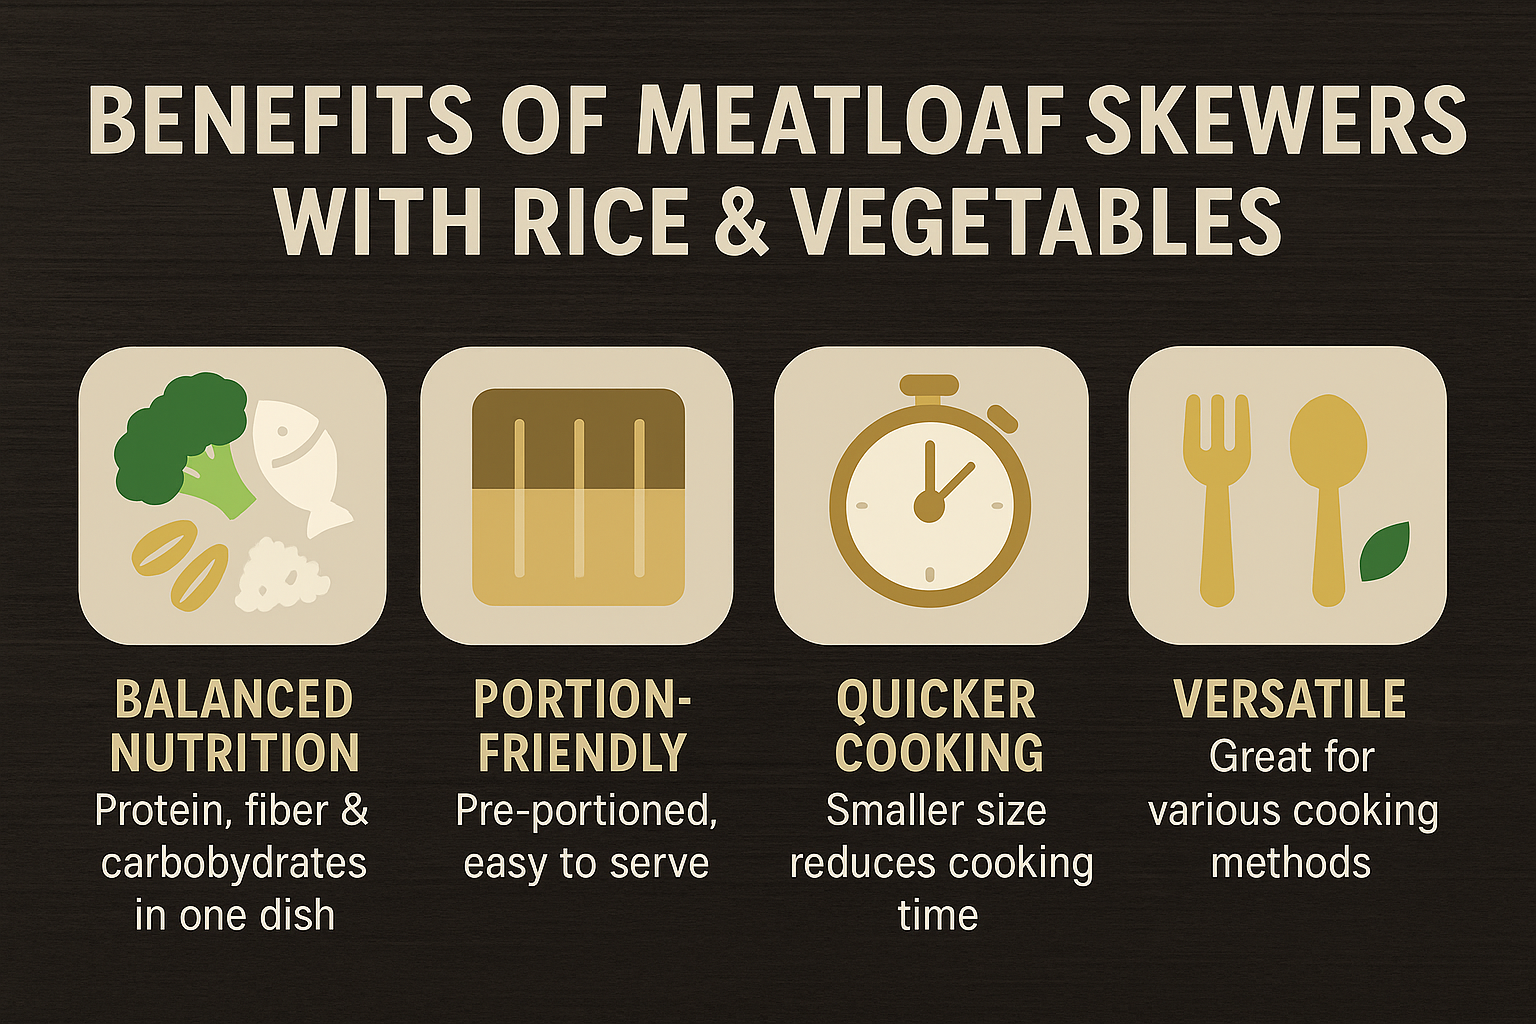
Benefits For Meatloaf Skewers
- Balanced Nutrition: Meatloaf skewers provide lean protein, fiber-rich vegetables, and energy-giving carbohydrates from rice. This combination keeps you fuller for longer while fueling your body with essential nutrients.
- Portion-Friendly: Serving meatloaf in skewer form allows for better portion control than a traditional loaf. Each skewer can be counted easily, making it simple to manage servings.
- Quicker Cooking: Since the cubes are smaller, they cook faster than a full loaf, saving both time and energy.
- Versatility: The recipe adapts easily for different dietary needs. Use turkey for a leaner version, lentils for vegetarian, or cauliflower rice for low-carb.
- Kid-Friendly: The fun, bite-sized presentation makes it easier for kids to enjoy a nutrient-dense meal. Plus, dipping sauces always encourage picky eaters to dig in.
- Meal Prep Ready: These skewers store well and can be reheated for lunches or dinners, making them ideal for busy schedules.
- Flavor Variety: With endless seasoning and sauce combinations, you can make this dish Mediterranean, Asian-inspired, or even BBQ-style depending on your mood.
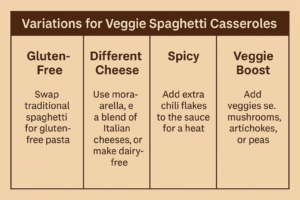
Variations
| Variation | Swap/Addition | Notes |
|---|---|---|
| Spicy Kick | Add chili flakes or hot sauce to the mix | Pairs well with sriracha mayo dip |
| Cheesy | Add shredded cheddar into the mixture | Melts inside for gooey flavor |
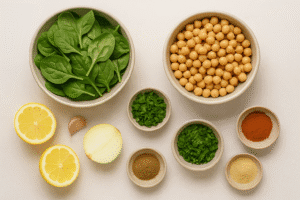
| Vegetarian | Use lentils, beans, or tofu instead of meat | Keep texture firm with breadcrumbs/egg |
| Low-Carb | Serve with cauliflower rice instead of rice | Lightens the dish for low-carb eaters |
| Asian-Inspired | Add ginger and soy glaze while cooking | Top with sesame seeds and scallions |
Final Thoughts On Meatloaf Skewers
These Meatloaf Skewers are a fresh, fun way to enjoy a timeless comfort dish. By combining protein-packed cubes with rice, vegetables, and a creamy dipping sauce, you create a balanced and flavorful meal that feels both indulgent and nourishing.
What makes them stand out is their adaptability. Whether you prefer the oven, grill, or air fryer, these skewers fit seamlessly into any cooking style. Add your favorite spices, swap in different proteins, or experiment with sauces—the possibilities are endless.
So next time you’re looking for an easy, family-friendly dinner that’s both healthy and delicious, give these skewers a try. They’ll quickly become a go-to in your kitchen, and you may never look at classic meatloaf the same way again.
Frequently Asked Questions (FAQs)
1. Can I freeze Meatloaf Skewers?
Yes! Cooked skewers can be frozen in an airtight container for up to 3 months. To reheat, thaw overnight in the fridge and bake or air fry until warmed through.
2. Can I use ground chicken instead of beef or turkey?
Absolutely. Ground chicken works well but tends to be softer, so add an extra tablespoon of breadcrumbs to help the skewers hold shape.
3. What’s the best way to keep skewers juicy?
Avoid overcooking and always leave a little space between cubes on the skewer. Adding a splash of olive oil or a spoonful of Greek yogurt to the mixture also helps lock in moisture.
References
- Harvard T.H. Chan – High protein foods
- USDA FoodData Central – Ground Beef
- Mayo Clinic – Portion Control
Recent Posts