Cookie Consent by Free Privacy Policy Generator Update cookies preferences

Your New Favorite Sheet Pan Gochujang Chicken

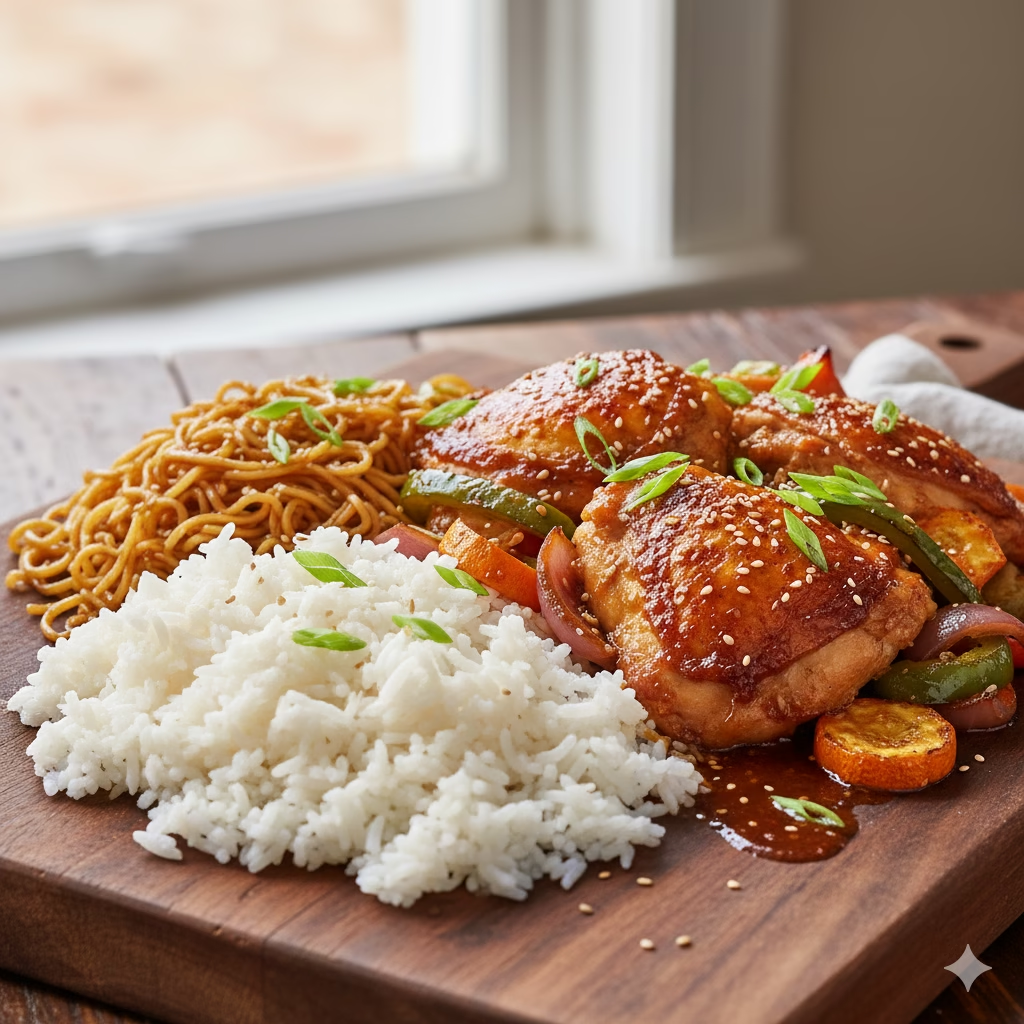
A close-up, image of Gochujang Chicken thighs and vibrant sliced vegetables (red peppers, zucchini, and red onions) roasting together on a single dark metal sheet pan. The chicken pieces are glazed a glossy reddish-brown, sprinkled with sesame seeds and chopped green onions, and the sheet pan is resting on a dark wooden countertop near a window.

This Sheet Pan Gochujang Chicken is an incredibly flavorful and easy-to-make dish that combines tender chicken with the spicy, savory notes of authentic Korean chili paste. Forget complicated weeknight meals—this recipe streamlines dinner preparation by cooking everything on a single pan, delivering maximum taste with minimum cleanup. It’s the perfect solution for busy cooks looking for a vibrant, satisfying, and quick dinner solution.

The undeniable allure of this meal lies in its unique blend of sweet, spicy, and umami flavors, which are characteristic of classic Korean cuisine. We use succulent chicken thighs, which stay wonderfully juicy under the heat, marinated in a bold mixture featuring the star ingredient, Gochujang Chicken. This paste is deeply complex, lending a richness and depth of character that transforms simple roasted chicken into an exotic culinary experience with every bite.

Sheet Pan Gochujang Chicken Recipe

Beyond the flavor, this recipe is designed for modern convenience. The ‘sheet pan’ method is a cooking hero, allowing you to combine your protein and your sides—tender chicken and colorful, roasted vegetables—onto one surface. As the dish roasts, the savory juices from the chicken and the spicy marinade infuse the vegetables, creating a harmonious blend of flavors that is both satisfying and visually appealing. This not only makes for an easier cooking process but also simplifies the dreaded post-dinner cleanup.

Whether you are a seasoned home chef or a beginner looking to expand your weeknight rotation, this Gochujang Chicken recipe is an excellent choice. It provides a wholesome meal that is high in protein and rich in vegetables, all while introducing exciting new flavors to your table. Get ready to impress your family and friends with a dish that is guaranteed to become a new, requested favorite.


Ingredients for Gochujang Chicken

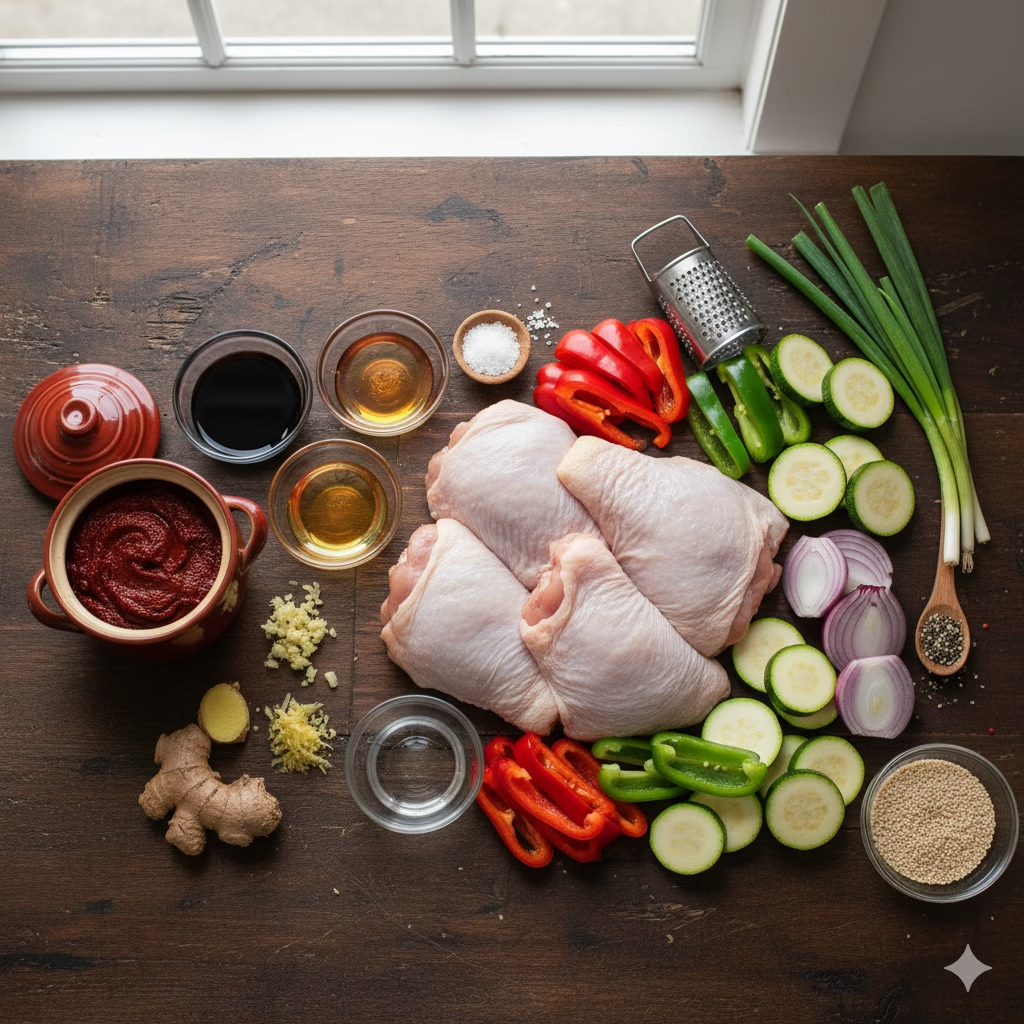
  • 4 chicken thighs, bone-in and skin-on
  • 3 tablespoons gochujang
  • 2 tablespoons soy sauce
  • 2 tablespoons honey
  • 1 tablespoon sesame oil
  • 1 tablespoon rice vinegar
  • 2 cloves garlic, minced
  • 1 teaspoon grated ginger
  • A bell pepper, sliced
  • 1 zucchini, sliced
  • 1 red onion, cut into wedges
  • Salt and pepper to taste
  • Chopped green onions and sesame seeds for garnish

Instructions

1. Prepare the Marinade

In a bowl, whisk together the gochujang, soy sauce, honey, sesame oil, rice vinegar, garlic, and ginger.

2. Marinate the Chicken

Place the chicken thighs in a large bowl or zip-top bag and pour the marinade over them. Let it marinate for at least 15 minutes, or up to overnight in the refrigerator for more flavor.

3. Prepare the Vegetables

Preheat your oven to 425°F (220°C). On a large sheet pan, arrange the sliced bell pepper, zucchini, and red onion. Drizzle with olive oil, season with salt and pepper, and toss to coat.

4. Arrange and Roast

Place the marinated chicken thighs on top of the vegetables, skin-side up. Bake in the preheated oven for 25-30 minutes, or until the chicken is cooked through and reaches an internal temperature of 165°F (75°C).

5. Serve

Remove from the oven and let rest for a few minutes. Garnish with chopped green onions and sesame seeds before serving.


Cook & Prep Times for Gochujang Chicken

Time TypeDuration
Prep Time15 minutes
Cook Time30 minutes
Total Time45 minutes

Serving Suggestions

Gochujang Chicken pairs wonderfully with a variety of sides.

  • Steamed rice or noodles will soak up the delicious juices from the chicken and vegetables for a complete, satisfying meal.
  • For a lighter option, serve it alongside a fresh salad to contrast the warm, roasted flavors.

Nutrition Information

This dish offers a good balance of protein from the chicken and vitamins from the vegetables, making for a wholesome meal.

  • Servings: 4 servings
  • Calories: 320kcal
  • Fat: 18g
  • Protein: 25g
  • Carbohydrates: 15g

The combination of flavors, colors, and textures will surely make this sheet pan Gochujang Chicken a new favorite in your household!


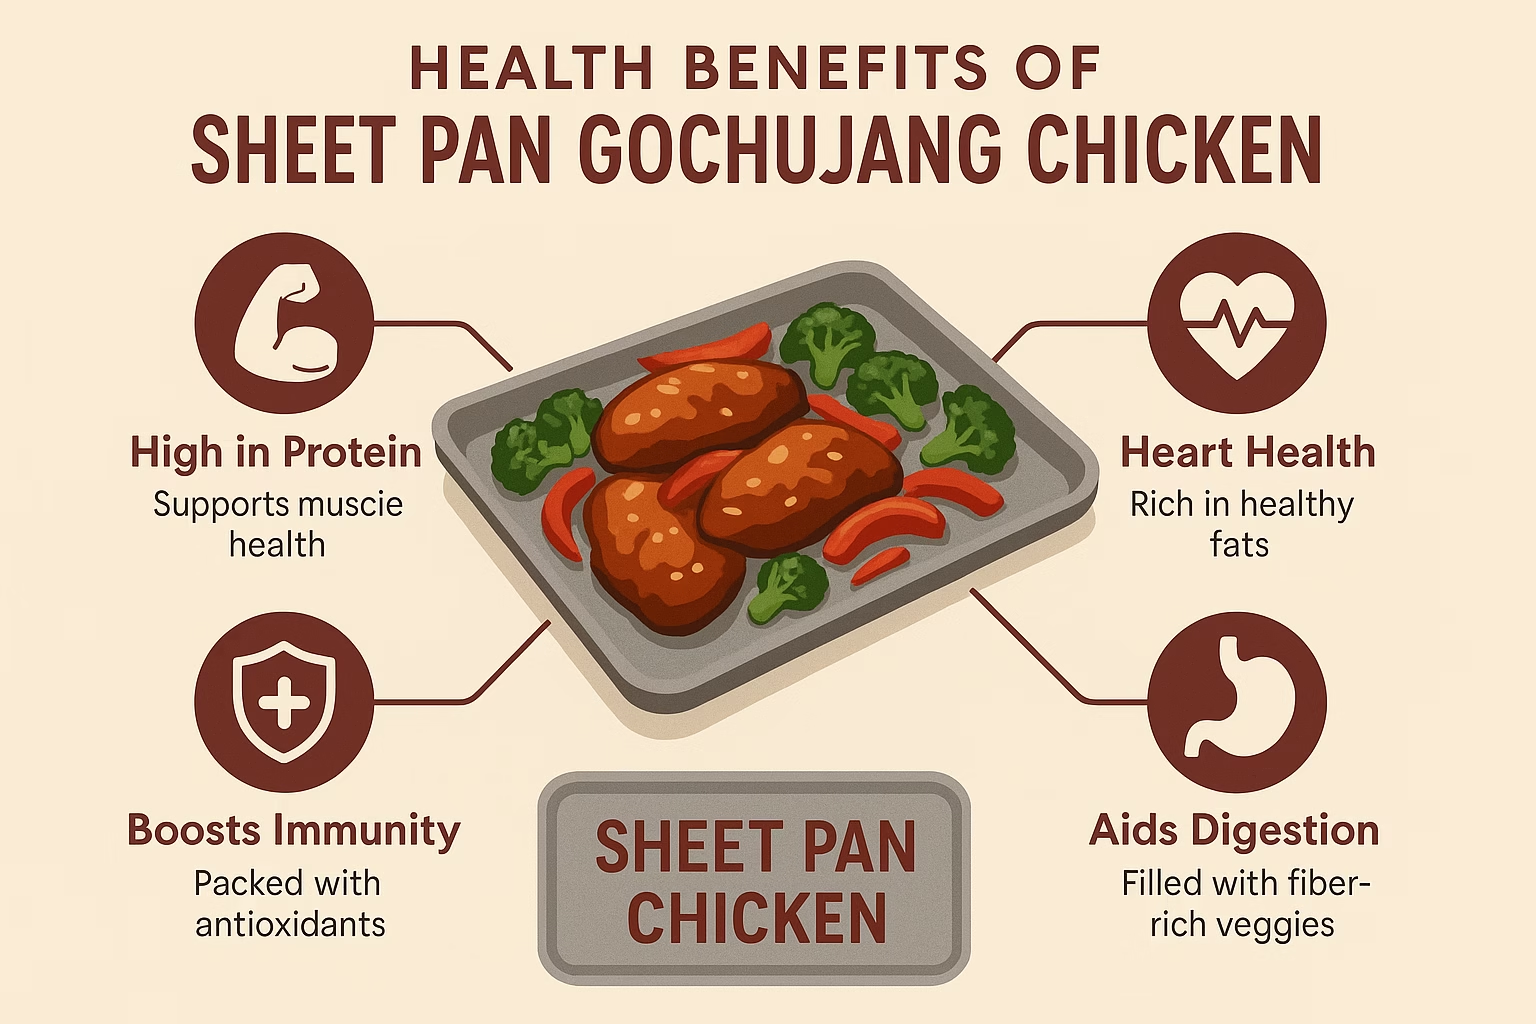
Health Benefits for Gochujang Chicken


This Sheet Pan Gochujang Chicken is not only delicious but also offers several nutritional advantages:

  • High in Protein: Chicken thighs are an excellent source of lean protein, which is essential for muscle repair, growth, and prolonged satiety, helping you feel fuller for longer.
  • Rich in Vitamins and Minerals: The colorful vegetables (bell peppers, zucchini, and red onions) provide a good dose of vitamins (like Vitamin C and A), antioxidants, and dietary fiber, supporting immune function and digestive health.
  • Nutrient-Dense Flavoring: While gochujang is a paste, ingredients like garlic and ginger in the marinade contribute anti-inflammatory properties and immune-boosting compounds.
  • Balanced Meal: The combination of protein, healthy fats, and complex carbohydrates (when served with rice or vegetables) makes this a well-rounded and energizing meal.

Variations for this Recipe

Feel free to customize this recipe based on your preferences or what you have on hand:

VariationChange/SubstitutionNotes
Protein SwapUse boneless, skinless chicken breasts, firm tofu, or pork tenderloin slices.Adjust cooking time; chicken breasts may cook faster. Tofu should be pressed and marinated well.
Vegetable MixSwap out bell peppers/zucchini for broccoli florets, carrots, mushrooms, or cubed potatoes.Denser vegetables like potatoes and carrots may need to be cut into smaller pieces or started on the pan 5-10 minutes before the chicken.
Heat LevelLower Heat: Reduce the amount of gochujang and replace it with a sweet paprika or tomato paste. Higher Heat: Add a pinch of red pepper flakes or a dash of sriracha to the marinade.Adjust to suit your family’s spice tolerance.
Extra FlavorAdd a squeeze of fresh lime juice after roasting, or a teaspoon of fish sauce to the marinade.Brightens the flavor profile and adds umami depth.
Gluten-FreeEnsure you use a certified gluten-free soy sauce or substitute with Tamari.All other ingredients are typically naturally gluten-free.

Final Thoughts

The Sheet Pan Gochujang Chicken is more than just a recipe; it’s a game-changer for weeknight dining. It perfectly balances the complex, fiery-sweet flavor of gochujang with the ease of sheet pan cooking, making a restaurant-quality meal accessible even on your busiest days. With minimal prep and quick cleanup, you can spend less time in the kitchen and more time enjoying this vibrant, satisfying meal with your loved ones. This dish is proof that healthy, homemade food doesn’t have to be complicated—it just needs to be delicious. Give this recipe a try; you’ll quickly understand why it deserves a permanent spot in your regular rotation.


Frequently Asked Questions (FAQ)

Q: Can I prepare this ahead of time?

A: Yes! You can marinate the chicken for up to 24 hours in the refrigerator for maximum flavor. You can also chop all the vegetables ahead of time and store them separately.

Q: How do I store leftovers?

A: Store any leftovers in an airtight container in the refrigerator for up to 3-4 days.

Q: Can I use frozen chicken?

A: For best results, it’s recommended to use thawed chicken. If using frozen, ensure it is completely thawed before marinating and roasting. Frozen chicken will release too much water, preventing a good sear.

Q: Why do I need to let the chicken rest after cooking?

A: Resting allows the juices in the meat to redistribute throughout the chicken. This prevents them from escaping when you cut into it, ensuring the chicken remains tender and moist.


References


Recent Posts


Make This Simple Pomegranate chicken with almond couscous

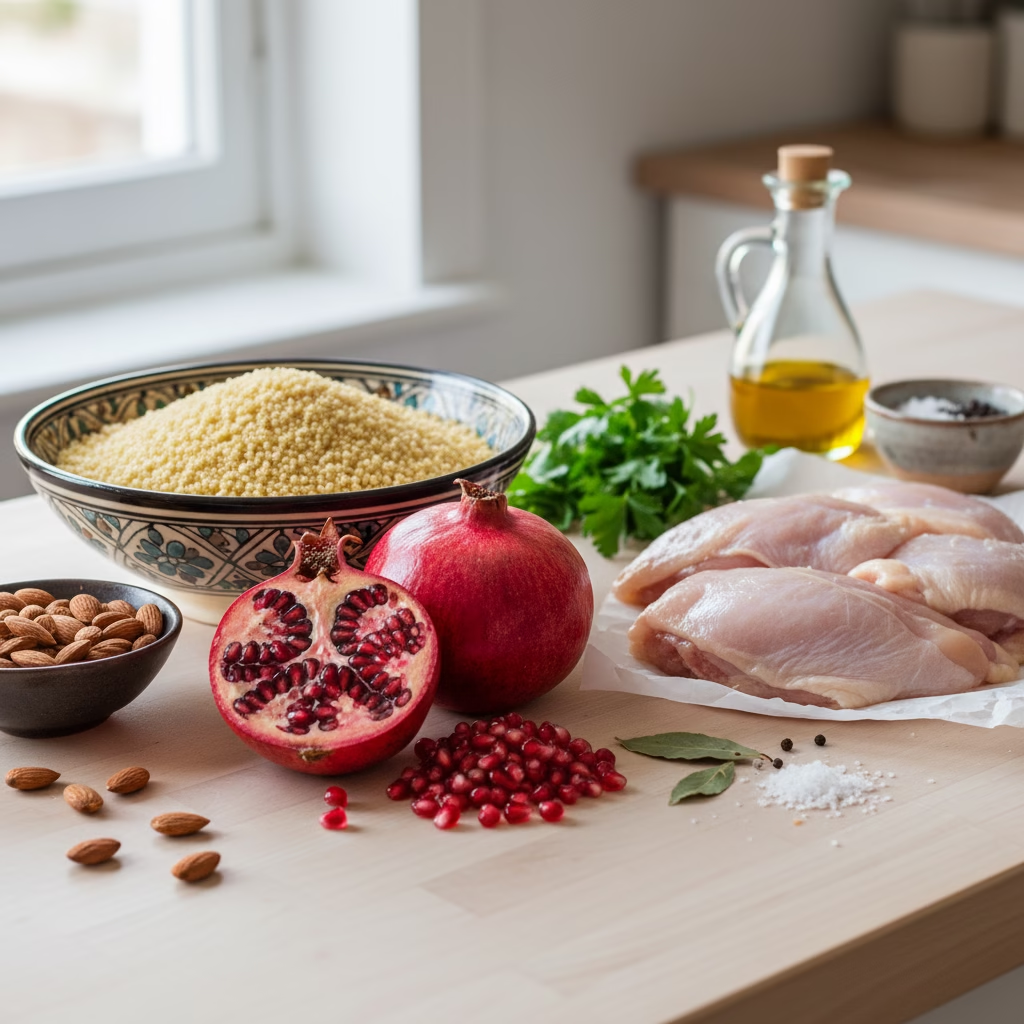
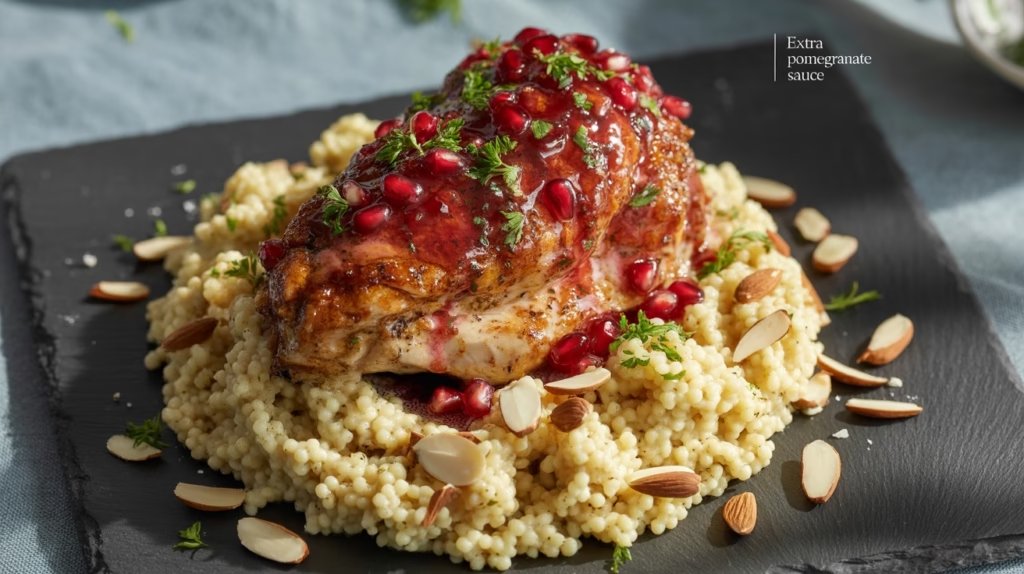
Two glazed Pomegranate Chicken thighs served on a bed of fluffy almond couscous, garnished generously with fresh pomegranate seeds and chopped parsley, presented on a dark gray plate with a spoonful of extra glaze on the side.

This pomegranate chicken recipe features tender chicken breasts glazed with a sweet and tangy pomegranate sauce, paired with nutty almond couscous. It’s a delightful dish that combines vibrant flavors and textures, perfect for a weeknight dinner or a special occasion.

The recipe is easy to follow and can be prepared in under an hour, making it a great option for busy cooks. The almond couscous adds a lovely crunch and complements the juicy chicken beautifully.


Vibrant Presentation of Pomegranate Chicken

The dish of pomegranate glazed chicken is a feast for the eyes, showcasing a stunning contrast of colors and textures. The chicken, coated in a glossy red pomegranate sauce, glistens invitingly on the plate.

Garnished with fresh parsley, it adds a touch of greenery that enhances the overall appeal. This vibrant presentation makes it an excellent choice for both casual dinners and special occasions, capturing attention before the first bite is even taken.


Cook and Prep Times

  • Prep Time: 10 minutes
  • Cook Time: 35 minutes
  • Total Time: 45 minutes

Nutrition Information

  • Servings: 4 servings
  • Calories: 350kcal
  • Fat: 12g
  • Protein: 30g
  • Carbohydrates: 30g

Ingredients for Pomegranate chicken

  • 4 boneless, skinless chicken breasts
  • 1 cup pomegranate juice
  • 2 tablespoons honey
  • 2 tablespoons soy sauce
  • 1 tablespoon olive oil
  • Salt and pepper to taste
  • 1 cup couscous
  • 1/4 cup sliced almonds, toasted
  • 2 cups chicken broth
  • 1/4 cup chopped fresh parsley for garnish

Instructions

  1. Prepare the Chicken: Season the chicken breasts with salt and pepper on both sides.
  2. Make the Glaze: In a small saucepan, combine pomegranate juice, honey, and soy sauce. Bring to a simmer over medium heat and cook until slightly thickened, about 5-7 minutes.
  3. Cook the Chicken: In a large skillet, heat olive oil over medium-high heat. Add the chicken breasts and cook for 6-7 minutes on each side, or until cooked through. Brush the pomegranate glaze over the chicken during the last few minutes of cooking.
  4. Prepare the Couscous: In a separate pot, bring chicken broth to a boil. Stir in couscous, cover, and remove from heat. Let it sit for 5 minutes, then fluff with a fork and stir in toasted almonds.
  5. Serve: Plate the almond couscous and top with the glazed chicken. Drizzle any remaining pomegranate glaze over the chicken and garnish with chopped parsley.

Flavorful Almond Couscous

Accompanying the pomegranate chicken is a bed of fluffy almond couscous, which brings a delightful crunch to the dish.

The couscous, prepared with chicken broth, absorbs rich flavors while remaining light and airy. Toasted almonds scattered throughout provide a nutty contrast that complements the sweetness of the pomegranate glaze beautifully.


Quick Preparation for Busy Cooks

This pomegranate chicken recipe is designed for those who appreciate quick and flavorful meals.

With a total preparation time of just 45 minutes, it fits perfectly into a busy weeknight schedule. The straightforward steps ensure that even novice cooks can create an impressive dish without feeling overwhelmed.


Perfect for Any Occasion

Whether it’s a family dinner or a gathering with friends, this dish is versatile enough to suit various occasions.

The combination of succulent chicken and nutty couscous makes it a crowd-pleaser. Its vibrant colors and appealing presentation can elevate any dining experience, making it a memorable meal for all.


Healthful and Satisfying Pomegranate chicken

Not only is this pomegranate chicken visually appealing, but it also offers a nutritious option for those looking to enjoy a balanced meal.

With a good source of protein from the chicken and healthy fats from the almonds, it provides a satisfying dish without compromising on flavor. Each serving is designed to be both filling and nourishing, making it a great addition to any meal plan.


Serving Suggestions and Pairings

To enhance the dining experience, consider serving the pomegranate chicken with a side of seasonal vegetables or a fresh salad.

The crispness of the vegetables will complement the rich flavors of the chicken and couscous. For those who enjoy a bit of heat, a sprinkle of chili flakes can add an exciting twist to the dish.


Quick and Flavorful Pomegranate Chicken Recipe

This dish showcases succulent chicken coated in a rich pomegranate glaze, served alongside fluffy almond couscous. The recipe takes about 45 minutes to prepare and serves 4 people.


    Final Thoughts on Pomegranate chicken

    Making this Pomegranate Chicken with almond couscous is an easy way to bring vibrant, exotic flavor to your dinner table. The sweet and tangy glaze perfectly complements the tender, caramelized chicken, while the almond couscous provides a light, nutty base to soak up all those delicious juices. This recipe proves that you don’t need a lot of complex steps to create a truly memorable meal. Whether you’re entertaining guests or just looking to elevate a simple weeknight dinner, this dish is sure to impress.


    Frequently Asked Questions (FAQs)

    Q: Can I substitute chicken thighs for chicken breasts in this Pomegranate Chicken recipe?

    A: Yes, absolutely! While the recipe calls for boneless, skinless chicken breasts, you can easily substitute them with boneless, skinless chicken thighs. Chicken thighs typically require a few more minutes of cooking time (check for an internal temperature of 165∘F), but they will become equally tender and absorb the pomegranate chicken glaze beautifully.

    Q: How can I make the pomegranate glaze thicker?

    A: If you prefer a thicker glaze, simmer the mixture of pomegranate juice, honey, and soy sauce for an extra 2-3 minutes. Alternatively, you can mix 1 teaspoon of cornstarch with 1 tablespoon of cold water and whisk the slurry into the simmering glaze. Continue to cook for another minute until the glaze thickens to your desired consistency.


    References

    Healthline – 10 Health Benefits of Pomegranate

    WebMD – Health Benefits of Chicken

    WebMD – Health Benefits of Couscous


    Recent Posts


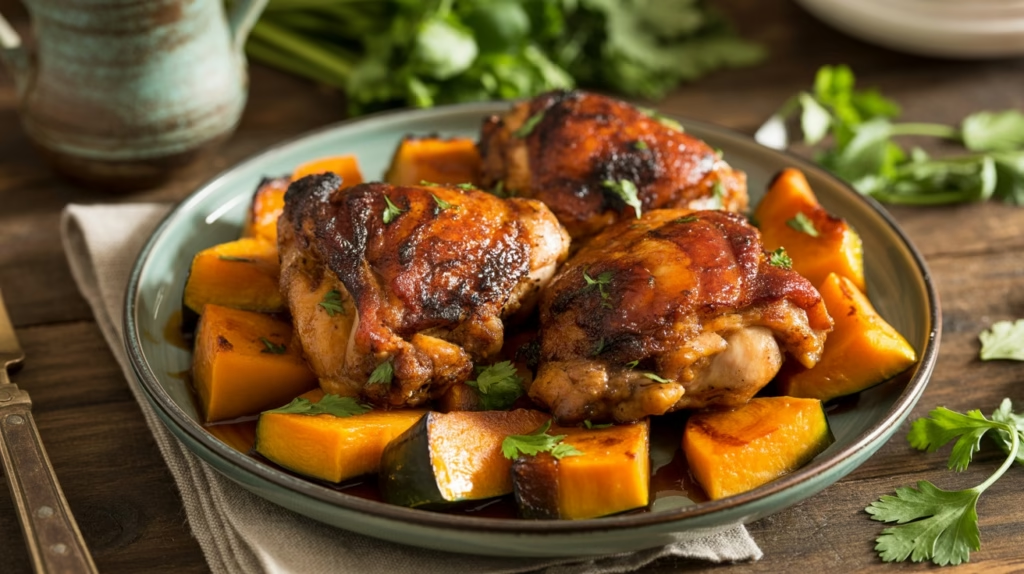
    Your New Favorite: Honey Harissa Chicken and Squash

    A savory dish of three richly glazed Harissa Chicken thighs with crispy skin, served on a bed of roasted butternut squash cubes, garnished with fresh cilantro, and presented on a rustic wooden table.
    Flavorful Honey Harissa Chicken

      This Honey Harissa Chicken with Roasted Squash is a delightful dish that combines sweet and spicy flavors for a satisfying meal. We marinate the harissa chicken in a blend of honey and spices, which creates a deliciously sticky glaze that pairs perfectly with tender roasted squash. The recipe is simple, and you can prepare it in under an hour, making it an excellent option for a weeknight dinner or a special occasion.


        Flavorful Honey Harissa Chicken

        Honey harissa chicken is a delightful dish that brings together sweet and spicy notes, making it a perfect choice for any meal. The chicken thighs, marinated in a rich blend of honey and harissa paste, develop a sticky glaze that enhances their juiciness.

        When paired with roasted butternut squash, this dish not only satisfies the palate but also pleases the eyes. The vibrant colors of the chicken and squash create an appetizing presentation that is sure to impress guests or family alike.

        Preparation Steps for Harissa Chicken

        To create this dish, begin by preheating your oven to a high temperature, which is essential for achieving that perfect roast. The chicken thighs should be coated in the honey harissa marinade, allowing the flavors to penetrate the meat.

        Meanwhile, the butternut squash cubes are tossed with spices and olive oil, ensuring they are well-seasoned before roasting. This step is crucial for bringing out the natural sweetness of the squash, which complements the spicy chicken beautifully.

        Cooking Techniques

        Roasting is the key technique used in this recipe. By placing the marinated chicken and seasoned squash on a baking sheet, they can cook together, allowing their flavors to meld. The high heat of the oven caramelizes the sugars in both the chicken and squash, resulting in a deliciously sticky texture.

        Monitoring the cooking time is important; the chicken should be cooked through while the squash becomes tender and slightly caramelized. This balance ensures that both components of the dish are perfectly cooked.


        Serving Suggestions

        Once cooked, the honey harissa chicken and roasted squash can be plated beautifully. A sprinkle of fresh herbs like cilantro or parsley adds a pop of color and freshness to the dish. This garnish not only enhances the visual appeal but also adds a layer of flavor that brightens the overall meal.

        Serving this dish on a rustic wooden table setting enhances the warmth and inviting nature of the meal, making it an excellent choice for gatherings or cozy dinners at home.


        Nutritional Benefits

        This honey harissa chicken with roasted squash is not just delicious; it also offers a balanced nutritional profile. Each serving provides a good amount of protein from the chicken, while the butternut squash contributes essential vitamins and minerals.

        With approximately 350 calories per serving, this dish is a satisfying option for those looking to enjoy a hearty meal without overindulging. The combination of healthy fats from olive oil and the natural sweetness of honey makes it a wholesome choice.


        Flavorful Honey Harissa Chicken Recipe

        Honey harissa chicken thighs with roasted butternut squash on a rustic plate, garnished with fresh herbs.

        This dish features juicy chicken thighs marinated in a honey harissa sauce, roasted alongside seasonal squash until caramelized. It serves 4 people and takes about 45 minutes from start to finish.


        Ingredients

        • 4 chicken thighs, bone-in and skin-on
        • 1/4 cup harissa paste
        • 2 tablespoons honey
        • 2 tablespoons olive oil
        • 1 teaspoon salt
        • 1/2 teaspoon black pepper
        • 1 medium butternut squash, peeled and cubed
        • A teaspoon ground cumin
        • 1 teaspoon smoked paprika
        • Fresh cilantro or parsley for garnish

        Instructions

        1. Preheat the Oven: Preheat your oven to 425°F (220°C).
        2. Prepare the Marinade: In a bowl, mix the harissa paste, honey, olive oil, salt, and black pepper.
        3. Marinate the Chicken: Coat the chicken thighs in the marinade and let them sit for at least 15 minutes.
        4. Prepare the Squash: In a separate bowl, toss the cubed butternut squash with olive oil, cumin, smoked paprika, and a pinch of salt.
        5. Arrange on a Baking Sheet: Place the marinated chicken thighs on one side of a baking sheet and the seasoned squash on the other side.
        6. Roast: Bake in the preheated oven for about 25-30 minutes, or until the chicken is cooked through and the squash is tender and caramelized.
        7. Serve: Garnish with fresh cilantro or parsley before serving. Enjoy your honey harissa chicken with roasted squash hot.

        Cook and Prep Times

        • Prep Time: 15 minutes
        • Cook Time: 30 minutes
        • Total Time: 45 minutes

        Nutrition Information

        • Servings: 4 servings
        • Calories: 350kcal
        • Fat: 20g
        • Protein: 25g
        • Carbohydrates: 20g

        Final Thoughts on Harissa Chicken

        Honey harissa chicken thighs paired with roasted butternut squash create a dish that is both visually stunning and packed with flavor. The simplicity of the preparation, combined with the rich taste, makes it a standout option for any occasion.

        Whether you are cooking for a special gathering or a weeknight dinner, this recipe is sure to impress and satisfy. Enjoy the delightful blend of sweet and spicy flavors, and savor every bite of this vibrant meal.


        References


        Recent Posts


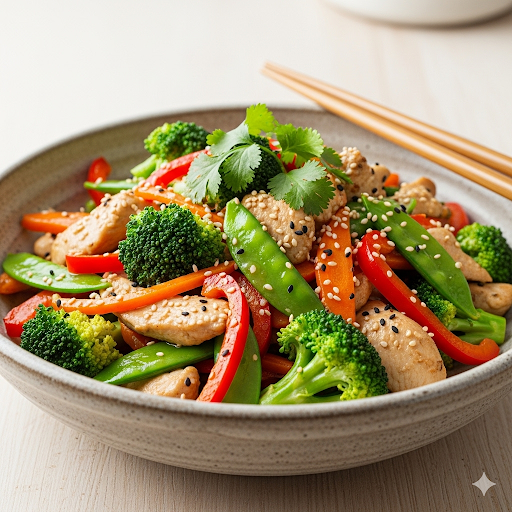
        Quick Chicken & Veggie Stir-Fry You’ll Make on Repeat


        Are you tired of staring into your fridge at the end of a long day, wondering what to make for dinner? Do you dream of a meal that’s not only delicious and satisfying but also comes together in a flash? We’ve all been there. The desire for healthy, home-cooked food often clashes with the reality of busy schedules and dwindling energy. This is where the magic of a quick chicken and veggie stir-fry truly shines.


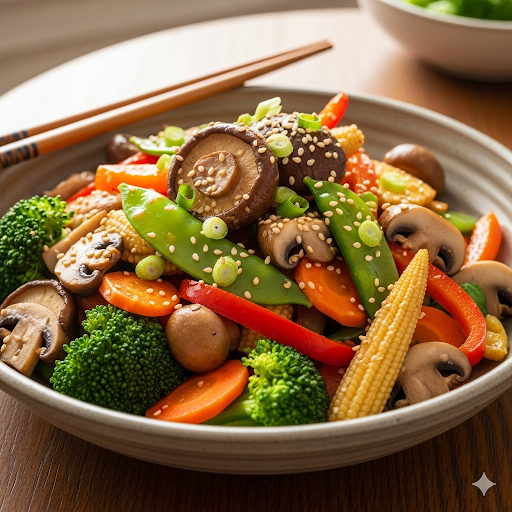
        The image shows a Quick Chicken & veggie Stir Fry loaded with broccoli, carrots, red peppers and topped with a sprinkle of sesame seeds.

        A Healthy, Delicious Quick Chicken Dinner in Minutes

        Imagine a vibrant plate filled with tender pieces of chicken, crisp-tender vegetables, and a savory sauce, all ready to enjoy in less time than it takes to order takeout. This isn’t just a fantasy; it’s a culinary reality waiting to transform your weeknights. A good stir-fry isn’t just a meal; it’s a testament to efficiency and flavor working in perfect harmony. It’s the kind of dish that makes you feel like a kitchen wizard, even on your most exhausted days.

        What makes this particular quick chicken stir-fry so special? It’s the perfect blend of lean protein, fiber-rich vegetables, and a customizable sauce that hits all the right notes. It’s designed to be effortlessly adaptable, allowing you to use whatever vegetables you have on hand, making food waste a thing of the past. Plus, it’s a fantastic way to ensure you and your family are getting a bounty of nutrients without feeling like you’re sacrificing taste or convenience.

        Quick Chicken Dinner Simplicity

        This recipe is more than just instructions; it’s an invitation to reclaim your evenings and enjoy nourishing meals without the stress. We’ll walk you through every step, from selecting the freshest ingredients to mastering the art of the perfect stir-fry technique. You’ll discover how simple it is to create a dish that’s bursting with flavor, incredibly healthy, and endlessly repeatable. Get ready to add a new staple to your weekly rotation – a delicious, quick chicken stir-fry that you’ll be eager to make again and again.

        So, let’s dive in and unlock the secrets to this amazing dish. Whether you’re a seasoned chef or a kitchen novice, this guide will empower you to create a restaurant-quality meal right in your own home. Get ready to chop, stir, and savor your way to a healthier, happier dinner routine!


        Your Go-To Weeknight Wonder

        Time to Prepare: 15 minutes

        Time to Cook: 15 minutes

        Servings: 4


        Nutritional Information (per serving, estimated)

        • Calories: 350-400 kcal
        • Protein: 35-40g
        • Carbohydrates: 25-30g
        • Fat: 10-15g (of which Saturated: 2-3g)
        • Fiber: 5-7g
        • Sodium: 400-500mg (can be reduced with low-sodium soy sauce)

        Essential Equipment for Your Quick Chicken Stir-Fry

        Having the right tools makes all the difference when whipping up a speedy stir-fry. Here’s what you’ll need:

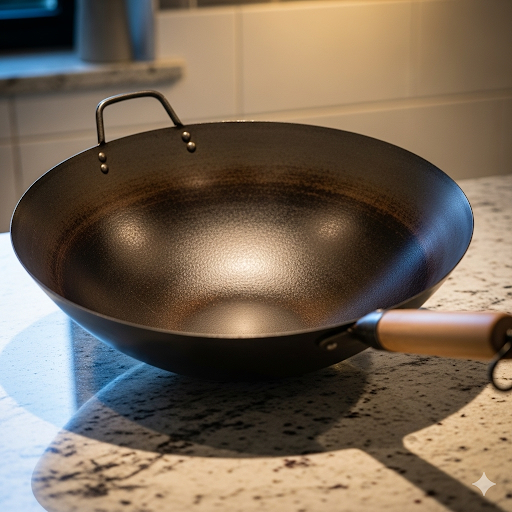
        • Large Wok or Large Skillet: A wok is ideal for stir-frying due to its sloped sides that allow for quick, even cooking and easy tossing of ingredients. If you don’t have a wok, a large, heavy-bottomed skillet will work well.
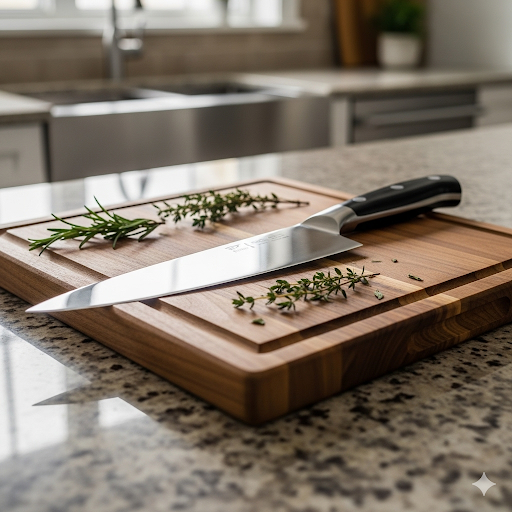
        • Sharp Knife: Essential for efficiently chopping your chicken and vegetables. A sharp knife ensures clean cuts and saves time.
        • Cutting Board: A sturdy surface for all your chopping needs.
        • Small Bowl: For whisking together your stir-fry sauce ingredients.
        • Whisk or Fork: To combine the sauce ingredients smoothly.
        • Spatula or Tongs: For stirring and tossing ingredients in the hot wok or skillet. A spatula with a flat edge is great for scraping up any delicious bits from the bottom of the pan.
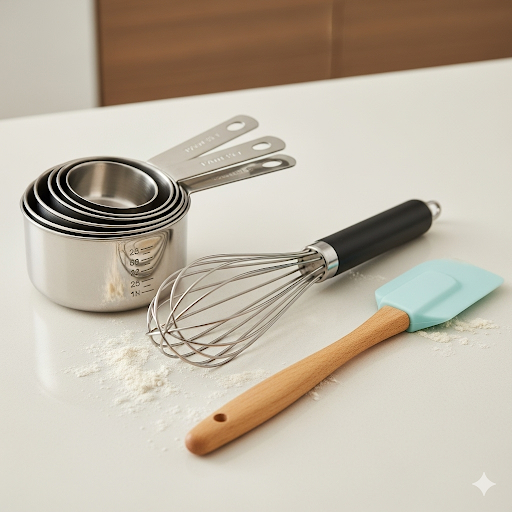
        • Measuring Spoons and Cups: For accurate ingredient measurement, especially for the sauce.


        Ingredients for Your Perfect Quick Chicken Stir-Fry

        Gathering all your ingredients before you start cooking, a practice known as “mise en place,” will make this quick chicken stir-fry even faster and more enjoyable.

        For the Chicken & Vegetables:

        • 1.5 lbs (approx. 680g) boneless, skinless chicken breast or thighs, cut into 1-inch pieces
        • 1 tbsp olive oil or sesame oil (for cooking)
        • 1 head broccoli, cut into bite-sized florets
        • 1 cup sliced carrots (peeled and cut into thin rounds or julienned)
        • 1 red bell pepper, thinly sliced
        • 1 cup snow peas
        • 2 cloves garlic, minced
        • 1-inch fresh ginger, grated (about 1 tbsp)
        • Optional: 1/4 cup sesame seeds (mixture of white and black for garnish)
        • Optional: Fresh cilantro, chopped (for garnish)

        For the Stir-Fry Sauce:

        • 1/4 cup low-sodium soy sauce or tamari
        • 2 tbsp rice vinegar
        • 1 tbsp honey or maple syrup
        • 1 tsp sesame oil
        • 1/2 tsp cornstarch (or arrowroot powder, for thickening)
        • 1/4 tsp red pepper flakes (optional, for a kick)

        Step-by-Step Instructions: Mastering Your Quick Chicken Stir-Fry

        Follow these clear and detailed steps to create a delicious and healthy quick chicken and veggie stir-fry that will impress even yourself!

        Prepare Your Ingredients

        Start by cutting your chicken into uniform 1-inch pieces. This ensures even cooking. Next, wash and chop all your vegetables: cut the broccoli into small florets, slice the carrots thinly, and thinly slice the red bell pepper. Mince your garlic and grate your fresh ginger. Having everything ready before you start cooking is crucial for a fast stir-fry.

        Whisk Up the Sauce

        In a small bowl, combine all the stir-fry sauce ingredients: low-sodium soy sauce (or tamari), rice vinegar, honey (or maple syrup), sesame oil, cornstarch (or arrowroot powder), and red pepper flakes (if using). Whisk thoroughly until the cornstarch is completely dissolved and the sauce is smooth. Set this aside. The cornstarch is vital for thickening the sauce to a perfect consistency later.

        Cook the Chicken

        Heat 1 tablespoon of olive oil or sesame oil in your large wok or skillet over medium-high heat until shimmering. Add the chicken pieces to the hot pan in a single layer, making sure not to overcrowd the pan. If needed, cook the chicken in two batches to ensure it browns properly and cooks evenly. Stir occasionally, cooking for about 5-7 minutes, until the chicken is cooked through and lightly browned on all sides. Once cooked, remove the chicken from the pan and set it aside on a plate.

        Sauté the Aromatics and Harder Vegetables

        Reduce the heat slightly if needed. Add the minced garlic and grated ginger to the same pan. Sauté for about 30 seconds, stirring constantly, until fragrant. Be careful not to burn the garlic. Immediately add the harder vegetables: the broccoli florets and sliced carrots. Stir-fry for 3-4 minutes, tossing them frequently, until they start to become tender-crisp but still retain some bite. You want them to be vibrant in color.

        Add Softer Vegetables

        Now, add the thinly sliced red bell pepper and snow peas to the pan. Continue to stir-fry for another 2-3 minutes, tossing everything together. These vegetables cook more quickly, so add them later to prevent them from becoming mushy. The goal is crisp-tender perfection.


        Return Chicken and Add Sauce

        Once the vegetables are cooked to your liking (still slightly crisp is best!), return the cooked chicken to the pan with the vegetables. Give your prepared stir-fry sauce another quick whisk, as the cornstarch can settle at the bottom. Pour the sauce evenly over the chicken and vegetables in the pan.

        Thicken and Serve

        Continue to stir-fry for another 1-2 minutes, tossing constantly, until the sauce thickens and coats all the ingredients beautifully. The cornstarch will activate with the heat, transforming the liquid sauce into a glossy, clingy glaze. Remove from heat immediately once thickened to prevent overcooking the vegetables.

        Garnish and Enjoy!

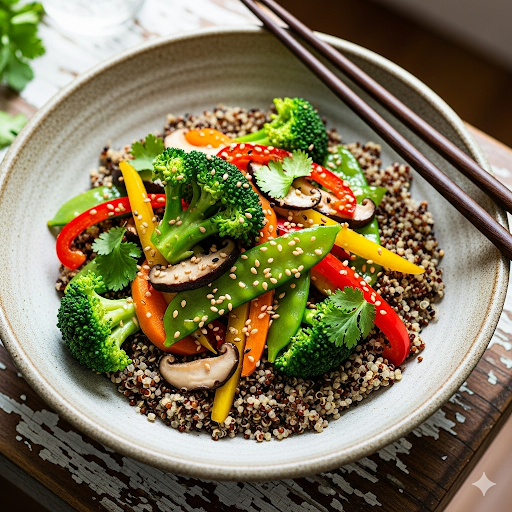
        Transfer the quick chicken and veggie stir-fry to serving bowls. Garnish with sesame seeds and fresh chopped cilantro, if desired. Serve immediately, ideally over a bed of brown rice, quinoa, or even cauliflower rice for a complete and wholesome meal.


        Alternative Cooking Methods

        While a wok or large skillet over high heat is traditional for stir-frying, here are a couple of alternative methods for preparing this quick chicken and veggie dish, if you prefer or if you don’t have the right equipment:

        1. Oven Baked Sheet Pan Stir-Fry (without the “fry”):

        • Prep: Cut chicken and vegetables as directed. Toss the chicken with half of the stir-fry sauce (without the cornstarch) in one bowl. Toss the vegetables with 1 tbsp olive oil and a pinch of salt and pepper in another bowl.
        • Cook: Spread the chicken on one side of a large baking sheet and the vegetables on the other side. Bake at 400°F (200°C) for 15-20 minutes, or until the chicken is cooked through and the vegetables are tender-crisp, flipping halfway.
        • Finish: While the chicken and veggies bake, gently heat the remaining stir-fry sauce (whisked with cornstarch) in a small saucepan over medium heat, stirring until thickened. Once chicken and veggies are done, combine them in a large bowl and toss with the thickened sauce.
        • Pros: Minimal hands-on time, less oil used, easy cleanup.
        • Cons: Not a true “stir-fry” texture, as the ingredients bake rather than sear quickly.

        2. Air Fryer Chicken & Roasted Veggies:

        • Prep: Cut chicken and vegetables as directed. Toss chicken pieces with 1 tsp oil and a pinch of salt and pepper. Toss vegetables (broccoli, carrots, bell pepper) with 1 tsp oil.
        • Cook: Place chicken in a single layer in your air fryer basket. Air fry at 375°F (190°C) for 8-10 minutes, shaking the basket halfway, until cooked through. Remove chicken. Place harder vegetables (broccoli, carrots) in the air fryer. Air fry at 375°F (190°C) for 5-7 minutes. Add softer vegetables (bell pepper, snow peas) and air fry for another 3-5 minutes, until tender-crisp.
        • Finish: While the chicken and veggies air fry, gently heat the stir-fry sauce (whisked with cornstarch) in a small saucepan over medium heat, stirring until thickened. Combine air-fried chicken and vegetables in a bowl and toss with the thickened sauce.
        • Pros: Crispy texture without much oil, good for smaller batches.
        • Cons: Requires cooking in multiple batches, may not be as quick as a wok for larger quantities.

        The Benefits of This Quick Chicken & Veggie Stir-Fry

        This isn’t just a delicious meal; it’s a powerhouse of nutrition designed to support your health goals. Incorporating this quick chicken stir-fry into your rotation offers numerous advantages:

        • Protein-Packed: Chicken breast is an excellent source of lean protein, essential for muscle repair, growth, and keeping you feeling full and satisfied, preventing those unwanted snack cravings.
        • Rich in Vitamins and Minerals: The abundance of fresh vegetables like broccoli, carrots, bell peppers, and snow peas provides a wide array of essential vitamins (A, C, K), minerals (potassium, folate), and antioxidants that support overall health and immunity.
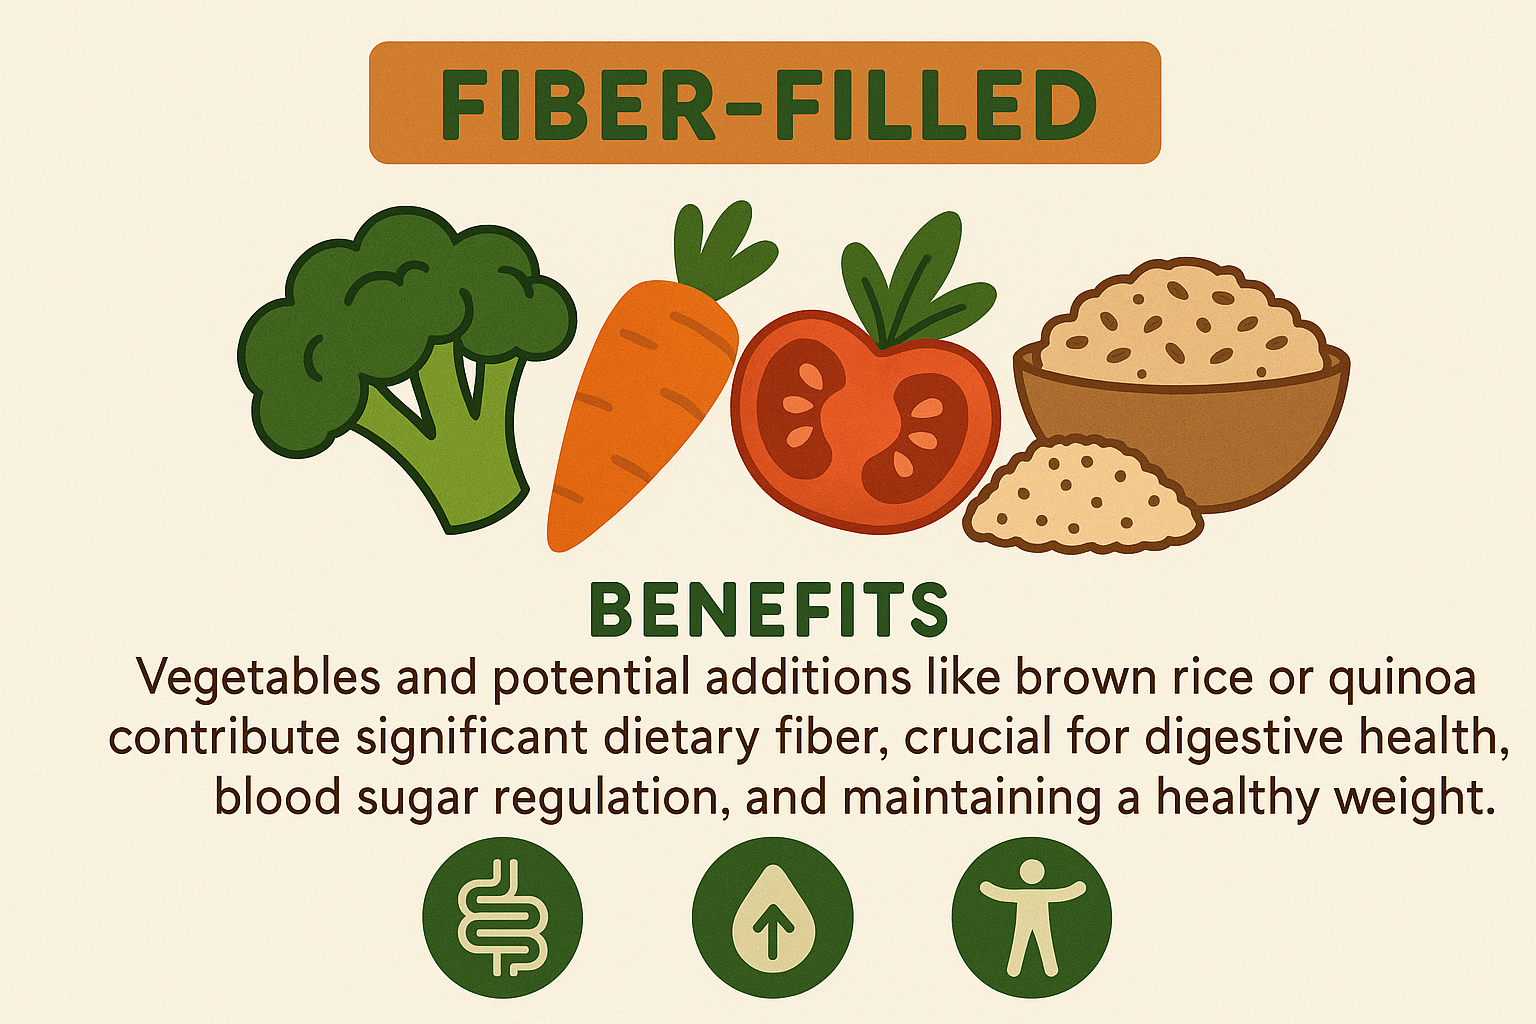
        • Fiber-Filled: Vegetables and potential additions like brown rice or quinoa contribute significant dietary fiber, crucial for digestive health, blood sugar regulation, and maintaining a healthy weight.
        • Low in Saturated Fat: By using lean chicken breast and a controlled amount of healthy oils, this dish keeps saturated fat levels in check, which is beneficial for heart health.
        • Customizable and Versatile: Easily adapt the vegetables to what’s in season or what you have on hand, reducing food waste and ensuring variety in your diet. This flexibility makes it a truly sustainable meal option.
        • Quick and Convenient: As the name suggests, this stir-fry is incredibly fast to prepare and cook, making it the perfect solution for busy weeknights when you want a home-cooked, healthy meal without spending hours in the kitchen.
        • Flavorful and Satisfying: The combination of savory chicken, crisp vegetables, and a well-balanced sauce creates a dish that is not only good for you but also incredibly enjoyable and satisfying to eat, making healthy eating a pleasure.


        Variations: Customize Your Quick Chicken Stir-Fry

        One of the best things about this quick chicken stir-fry is its incredible adaptability. Don’t be afraid to get creative and tailor it to your taste or what you have available.

        Variation CategoryIdeas for Customization
        Protein SwapsTofu/Tempeh: For a vegetarian or vegan option, press and cube firm tofu or tempeh. Pan-fry until golden before adding to the stir-fry.
        Shrimp: Add shrimp during the last 2-3 minutes of cooking, as it cooks very quickly.
        Beef/Pork: Use thinly sliced lean cuts of beef or pork. Marinate briefly for extra tenderness.
        Vegetable BoostsMushrooms: Sliced shiitake, cremini, or button mushrooms add umami flavor. Add them with the harder vegetables.
        Bok Choy/Napa Cabbage: Add these leafy greens towards the end of cooking as they wilt quickly.
        Broccoli Rabe: A slightly bitter green that pairs well with the savory sauce.
        Snap Peas/Sugar Snap Peas: For extra crunch and sweetness.
        Baby Corn/Water Chestnuts: Add texture and a slightly sweet flavor.
        Edamame: Shelled edamame adds protein and a vibrant green color.
        Flavor EnhancersSpicy Kick: Increase red pepper flakes in the sauce, or add a dash of sriracha or chili garlic sauce directly to the pan.
        Citrus Brightness: A squeeze of fresh lime juice at the end can add a refreshing zing.
        Nutty Notes: A tablespoon of peanut butter or almond butter in the sauce can create a richer, satay-style flavor.
        Fresh Herbs: Add fresh mint, cilantro, or Thai basil for an aromatic finish.
        Grain PairingsCauliflower Rice: For a low-carb option, serve over steamed cauliflower rice.
        Quinoa: A high-protein, gluten-free grain that works wonderfully.
        Soba Noodles: Buckwheat noodles for a different texture and flavor profile.
        Whole-Wheat Noodles: For a heartier, traditional pasta experience.
        Sauce AdjustmentsSweeter Sauce: Increase honey/maple syrup to taste.
        More Umami: Add a dash of oyster sauce (if not vegetarian) or a small amount of mushroom powder.
        Gluten-Free: Ensure you use tamari instead of soy sauce.
        Sugar-Free: Use a sugar substitute instead of honey/maple syrup, if desired.


        Final Thoughts on Your Quick Chicken & Veggie Stir-Fry

        There you have it – a comprehensive guide to crafting a quick chicken and veggie stir-fry that is not only incredibly easy to make but also packed with flavor and nutrition. This recipe is designed to be your weeknight hero, rescuing you from the dilemma of “what’s for dinner?” with a satisfying and healthy answer. By keeping the instructions clear and offering various customization options, we hope to empower you to make this dish your own, adapting it to your preferences and whatever fresh ingredients you have on hand.

        Don’t let the simplicity fool you; this stir-fry delivers on taste, texture, and health benefits, making it an ideal choice for anyone looking to eat well without the fuss. We encourage you to give it a try this week and experience firsthand how a truly quick chicken dinner can transform your routine. Share your creations, experiment with new ingredients, and enjoy the journey of delicious, healthy home cooking. Get ready to put this recipe on repeat!


        Frequently Asked Questions (FAQs)

        Q1: Can I make this stir-fry ahead of time for meal prep?

        A1: Yes, absolutely! This quick chicken and veggie stir-fry is an excellent option for meal prep. You can cook a larger batch and divide it into individual portions for quick lunches or dinners throughout the week. Store it in airtight containers in the refrigerator for up to 3-4 days. When reheating, a microwave works fine, or you can gently warm it in a skillet with a splash of water or broth to loosen the sauce. For best texture, keep the vegetables slightly crisp if you plan to reheat.

        Q2: What’s the best way to ensure my vegetables stay crisp and don’t get soggy?

        A2: The key to crisp vegetables in a stir-fry lies in high heat, not overcrowding the pan, and adding vegetables in stages based on their cooking time. Ensure your wok or skillet is very hot before adding any ingredients. Cook vegetables in batches if your pan isn’t large enough to allow them to spread out. Start with harder vegetables (broccoli, carrots), then add softer ones (bell peppers, snow peas). Stir-frying quickly and not overcooking them is crucial. Also, patting washed vegetables dry before adding them to the pan helps prevent steaming, which can lead to sogginess.


        References

        1. Harvard Health Publishing – The good, the bad, and the in-between
        2. Mayo Clinic – Essential for a healthy diet
        3. WebMD – Health Benefits of Vegetables

        Recent Posts


        Roast Chicken Made Better with Figs & Thyme


        Elevate your Sunday roast with this unique and flavorful recipe. This guide will show you how chicken made better is not only possible but delicious. Discover how adding simple ingredients like figs and thyme can transform a classic dish into a culinary masterpiece.


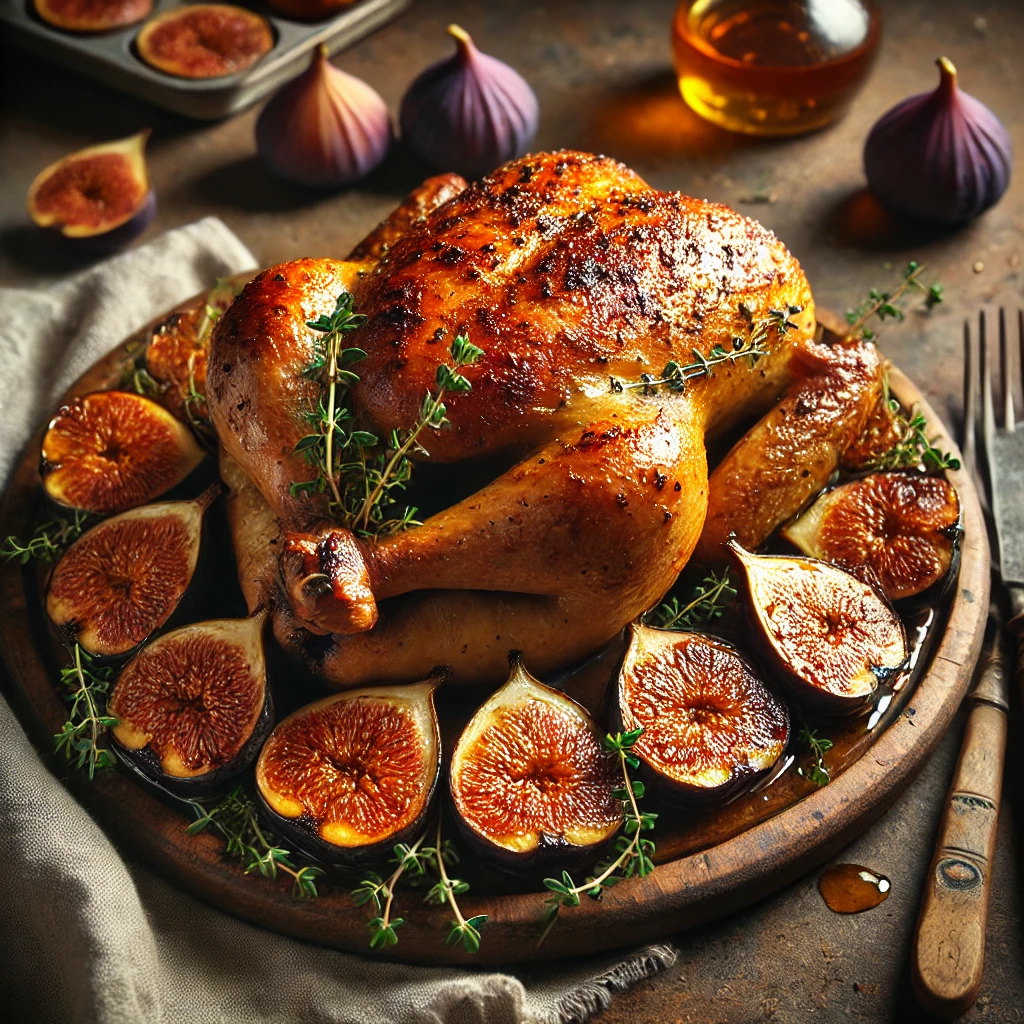
        A beautifully roasted  chicken made better with the addition of roasted and caramelized figs and thyme. This has been placed on a rustic wooden platter.
        Roasted chicken with Figs

        A New Take on a Timeless Tradition for Chicken Made Betterm with Figs

        The roast chicken is a staple in kitchens around the world. It’s a symbol of comfort, warmth, and togetherness, a dish that can be both a simple weeknight meal and the star of a festive gathering. While a classic roast chicken is always a treat, sometimes a simple twist can elevate it to something truly special. This recipe introduces the unexpected yet delightful combination of sweet, caramelized figs and aromatic thyme, creating a dish that is both familiar and exciting. This unique pairing is what makes this chicken made better than your average roast.

        The inspiration for this recipe comes from the perfect harmony of flavors. The figs, when roasted, become jammy and sweet, their natural sugars caramelizing to create a rich, syrupy accompaniment to the savory chicken. The thyme, with its earthy and slightly floral notes, cuts through the richness and adds a layer of sophisticated fragrance. Together, these two ingredients transform the humble roast chicken into a gourmet meal that is simple enough for any home cook to master.

        A Chicken Made Better: The Power of Figs and Thyme

        This article will guide you through the process of creating this exceptional dish, ensuring you achieve a perfectly golden, crispy-skinned chicken and tender, juicy meat every time. We’ll provide detailed instructions, from preparing the chicken to arranging the figs, so you can confidently tackle this recipe no matter your skill level. The result is a meal that will impress your family and friends, proving that sometimes the best improvements come from the most surprising combinations.

        We’ll also explore the nutritional benefits of this recipe, highlighting why chicken, figs, and thyme are not just delicious but also incredibly good for you. This is a dish that proves that healthy eating can be full of flavor and elegance. It’s a testament to the fact that wholesome ingredients, when combined thoughtfully, can create a meal that is both nourishing and deeply satisfying.

        Ultimately, this recipe is about celebrating the joy of cooking and the pleasure of sharing a beautiful meal. It’s an invitation to step outside the box and discover how a classic dish can be re-imagined with just a few simple additions. The chicken made better with figs and thyme is a new tradition in the making, and we can’t wait for you to try it.


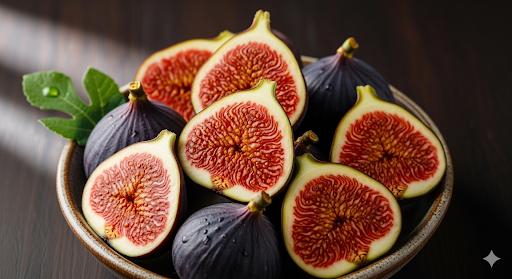
        Then gallery shows figs halved in a bowl, chicken cut in half and thyme in a bowl.


        A Recipe for a Gourmet: Chicken Made better with Fig & Thyme

        This recipe is straightforward, but it requires a few key steps to ensure a delicious, restaurant-quality result. The goal is to get a crispy skin while keeping the meat juicy and flavorful.

        Time to Prepare: 15 minutes

        Time to Cook: 1 hour 30 minutes to 2 hours (depending on the size of the chicken)

        Servings: 4-6


        Nutritional Information

        This dish is a fantastic source of lean protein from the chicken, essential for muscle repair and overall body function. Figs are a great source of dietary fiber, potassium, and antioxidants. Thyme contributes a range of vitamins and minerals and has powerful antimicrobial properties. The olive oil provides heart-healthy monounsaturated fats. This well-rounded meal offers a balance of macronutrients and essential vitamins.


        Equipment

        • Roasting pan or oven-safe skillet (cast iron works well)
        • Kitchen twine (optional, for trussing)
        • Sharp knife
        • Cutting board
        • Small bowl for mixing
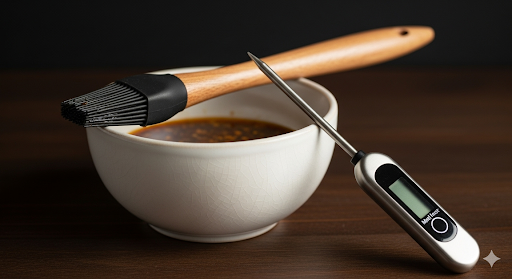
        • Basting brush
        • Meat thermometer (optional, but highly recommended)


        Ingredients for Roast Chicken Made better with figs

        • 1 whole chicken, about 4-5 pounds, rinsed and patted dry
        • 6-8 fresh figs, halved
        • 1 large bunch of fresh thyme, divided
        • 2 tablespoons olive oil
        • 1 tablespoon honey or maple syrup
        • Salt and freshly ground black pepper to taste

        Step-by-Step Instructions for Chicken Made Better with Figs

        Prepare the Chicken

        Before you begin, take the chicken out of the refrigerator and let it sit at room temperature for about 30 minutes. This ensures more even cooking. Preheat your oven to 400°F (200°C). Pat the chicken completely dry with paper towels. This is a critical step for achieving crispy skin. Season the inside cavity of the chicken generously with salt and pepper, and stuff it with a few sprigs of fresh thyme.

        Season the Exterior

        Drizzle the olive oil over the chicken and use your hands to rub it all over, making sure to coat the skin evenly. This will help with browning and flavor. Season the outside of the chicken generously with salt and pepper.

        Arrange and Roast

        Place the seasoned chicken in the center of your roasting pan. Arrange the halved figs around the chicken, cut side up. Drizzle the honey or maple syrup over the figs, which will help them caramelize beautifully as they roast. Scatter the remaining fresh thyme sprigs over the chicken and around the figs.

        Basting During Cooking

        Place the pan in the preheated oven. Roast for 1 hour and 30 minutes, or until the internal temperature of the thickest part of the thigh reaches 165°F (74°C). The timing will vary based on your chicken’s size. About halfway through the cooking time, you can baste the chicken with the pan juices to keep it moist and enhance the flavor.

        Achieve Golden Skin

        If the chicken skin is not yet a deep golden-brown after the recommended cooking time, you can increase the oven temperature to 425°F (220°C) for the last 10-15 minutes of cooking. Keep a close eye on it to prevent burning. The figs may also caramelize further during this time.

        Rest Before Serving

        Once the chicken is cooked, remove it from the oven and transfer it to a cutting board. Cover it loosely with foil and let it rest for at least 10-15 minutes. This allows the juices to redistribute, ensuring the meat is incredibly tender and moist. During this time, the figs can be kept warm in the pan.

        Slice and Serve

        After the chicken has rested, carve it and arrange the pieces on a platter. Surround the chicken with the roasted figs, drizzling any remaining pan juices over the meat and figs for an extra burst of flavor. Serve immediately.


        The Benefits of Chicken Made Better with Figs

        Beyond the incredible flavor, this recipe offers a host of health benefits from its simple and wholesome ingredients.

        High-Quality Protein

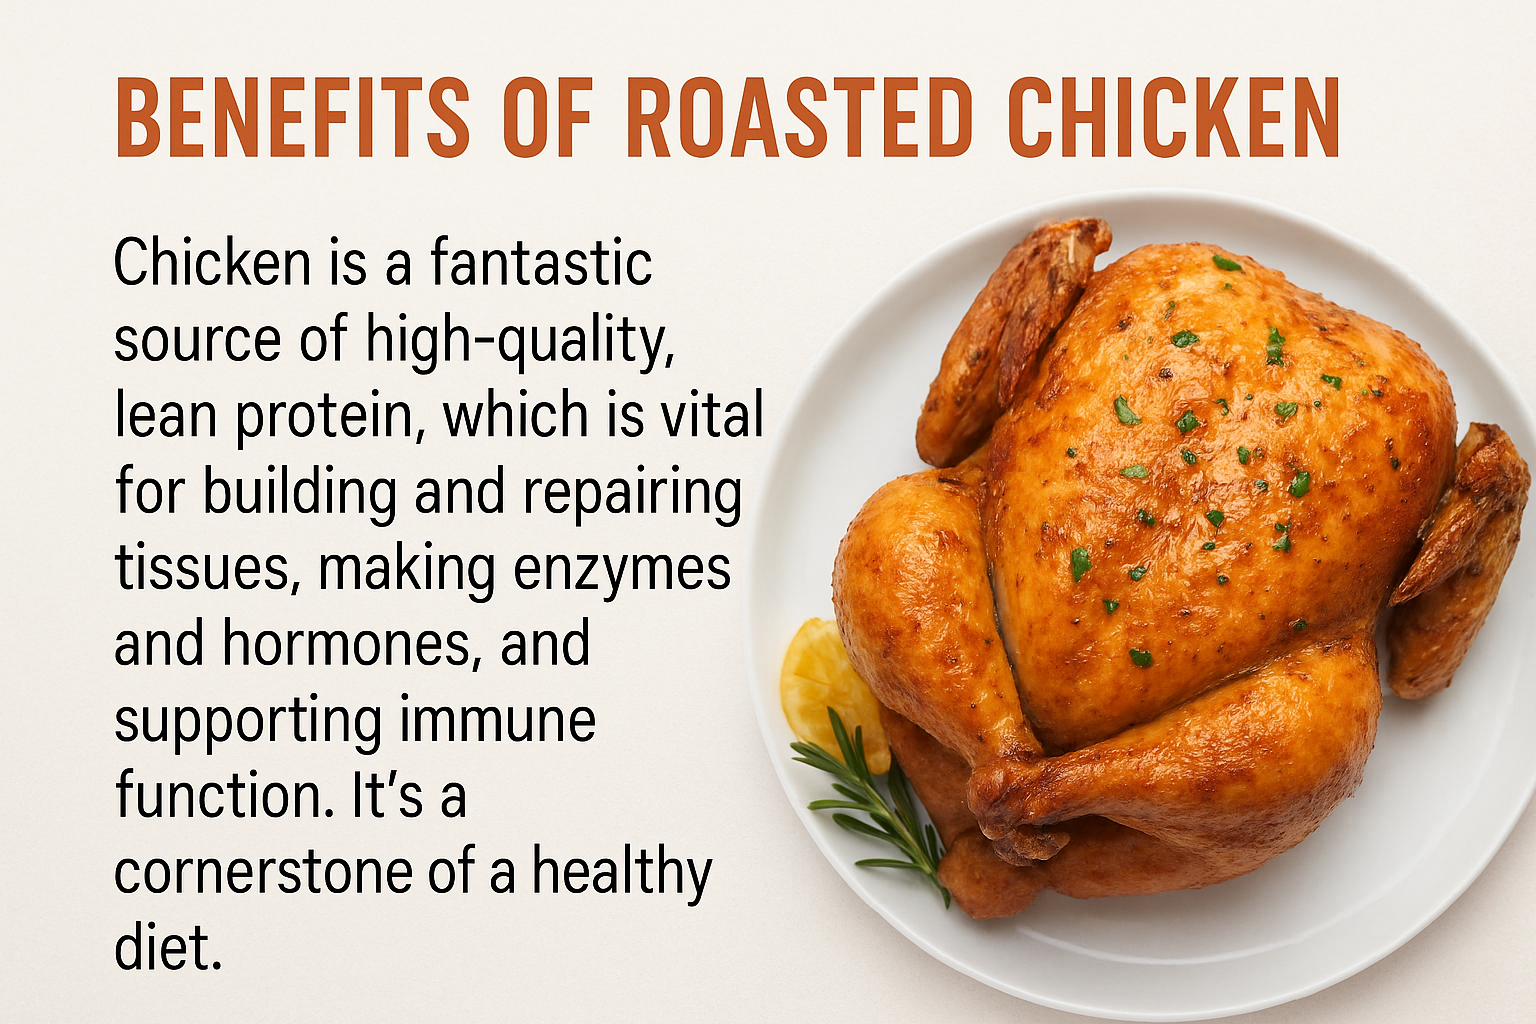
        Chicken is a fantastic source of high-quality, lean protein, which is vital for building and repairing tissues, making enzymes and hormones, and supporting immune function. It’s a cornerstone of a healthy diet.

        Fiber and Antioxidants

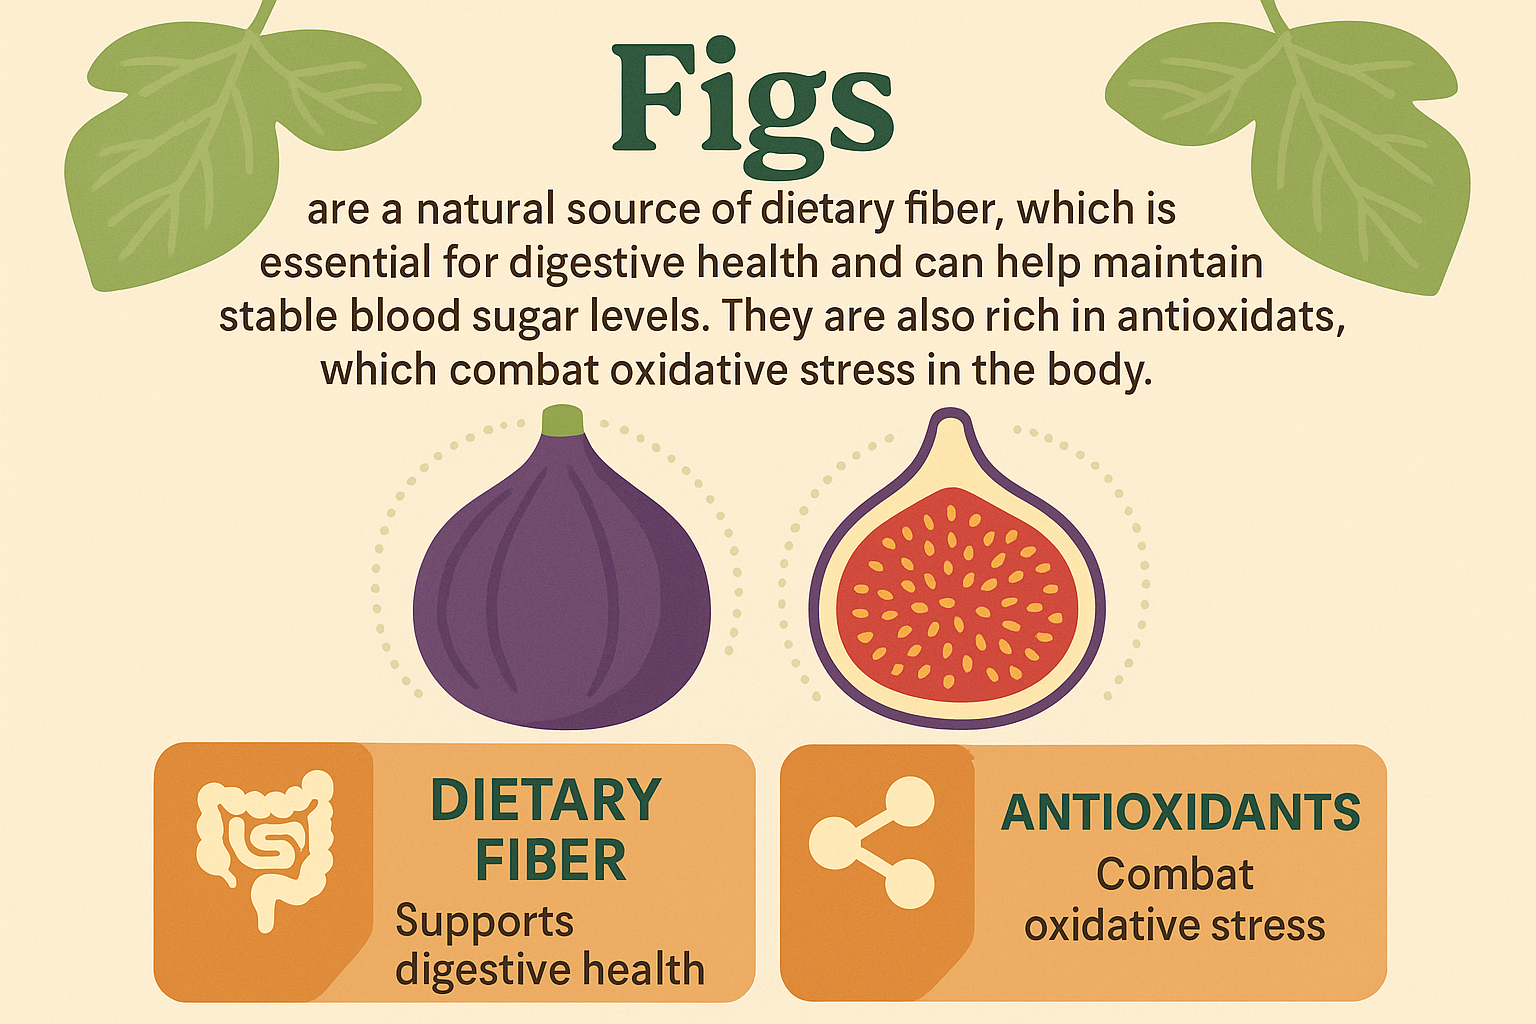
        Figs are a natural source of dietary fiber, which is essential for digestive health and can help maintain stable blood sugar levels. They are also rich in antioxidants, which combat oxidative stress in the body.

        Thyme for Wellness

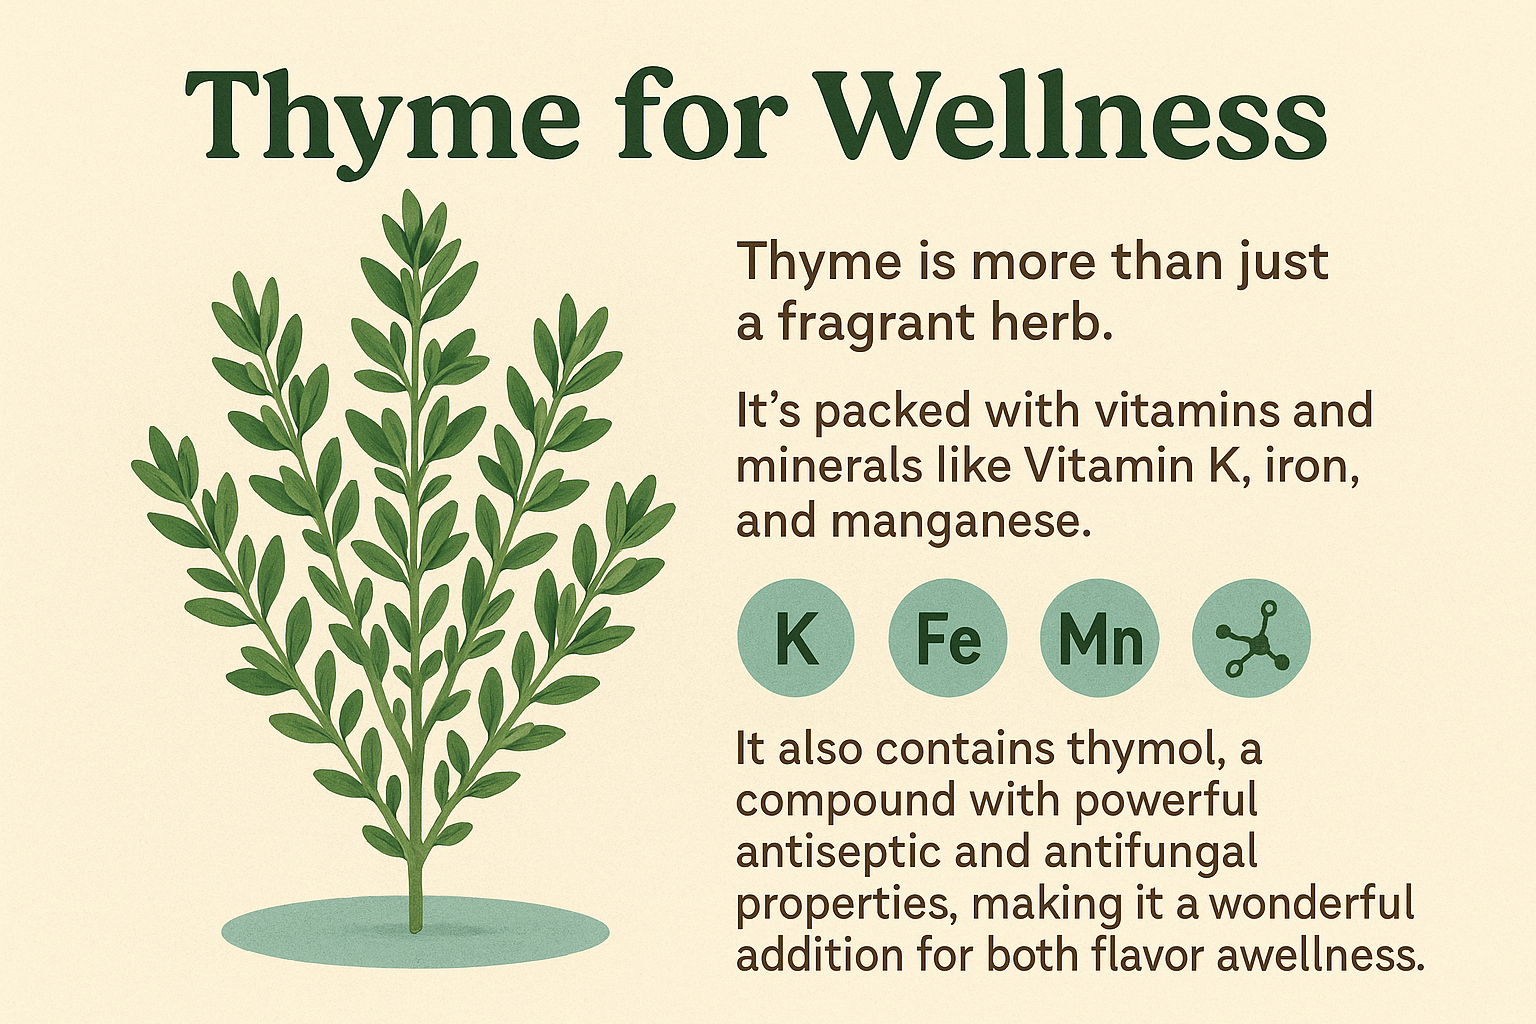
        Thyme is more than just a fragrant herb. It’s packed with vitamins and minerals like Vitamin K, iron, and manganese. It also contains thymol, a compound with powerful antiseptic and antifungal properties, making it a wonderful addition for both flavor and wellness.


        The gallery shows the nutritional benefits of Figs, Roasted chicken and Thyme.


        Alternative Cooking Methods & Variations for Chicken Made Better with Figs

        While roasting is the classic method for this recipe, you can adapt it to other cooking techniques for different results.

        Variation CategorySuggestions
        SpatchcockingFor a quicker cooking time and incredibly crispy skin, try spatchcocking the chicken (removing the backbone so it lays flat). Roasting time will be reduced to about 45-60 minutes. Arrange the figs and thyme around the flattened chicken.
        Ingredient SwapsSubstitute figs with other stone fruits like peaches or plums for a similar sweet and savory flavor profile. Replace thyme with rosemary or sage for a different herby note.
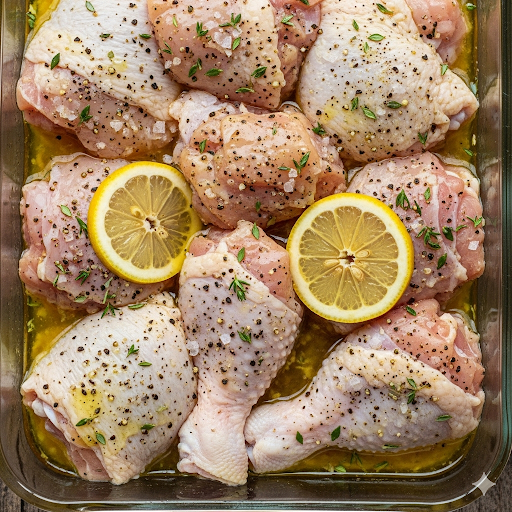
        MarinadeFor deeper flavor, marinate the chicken in a mixture of olive oil, lemon juice, salt, pepper, and finely chopped thyme for a few hours or overnight before roasting.
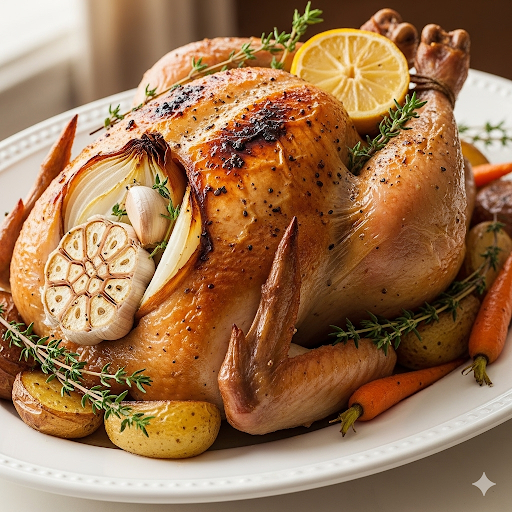
        StuffingFor a richer flavor, stuff the cavity of the chicken with a halved onion, a lemon, and a head of garlic in addition to the thyme sprigs.

        The gallery shows other techinques used to cook chicken. The first image, the chicken has been stuffed. In the second image the chicken has been marinated and in the final image the chicken has been halved.


        Final Thoughts on Chicken Made Better with Figs

        This Roast Chicken with Figs and Thyme is more than a meal; it’s a celebration of simple, wholesome ingredients coming together in a surprisingly sophisticated way. It proves that you don’t need a lot of complicated steps to create a show-stopping dish. By embracing the natural sweetness of figs and the earthy notes of thyme, you can transform a classic into something truly unforgettable.

        We hope this recipe inspires you to try new flavor combinations and to find the joy in elevating your everyday cooking. Whether it’s a special occasion or a simple family dinner, this chicken made better will undoubtedly become a favorite in your household.


        Frequently Asked Questions (FAQs)

        Q: How do I know when the chicken is fully cooked?

        A: The most reliable way to check for doneness is by using a meat thermometer. Insert it into the thickest part of the thigh, making sure not to touch the bone. The chicken is cooked when the internal temperature reaches 165°F (74°C). If you don’t have a thermometer, you can pierce the thigh with a knife; the juices should run clear, not pink.

        Q: Can I use dried figs instead of fresh ones?

        A: While fresh figs are preferred for their jammy texture when roasted, you can use dried figs in a pinch. They will be chewier and less juicy. To soften them, you can soak them in warm water or broth for about 15 minutes before adding them to the pan.


        References


        Recent Posts


        Rainbow Chicken Slaw: Your New Lunch


        Lunchtime just got an upgrade! Say goodbye to bland salads and hello to the most colorful, delicious meal you’ll make all week. This rainbow chicken slaw is a fresh, satisfying, and incredibly easy dish that proves healthy eating can be a feast for the eyes and the taste buds.


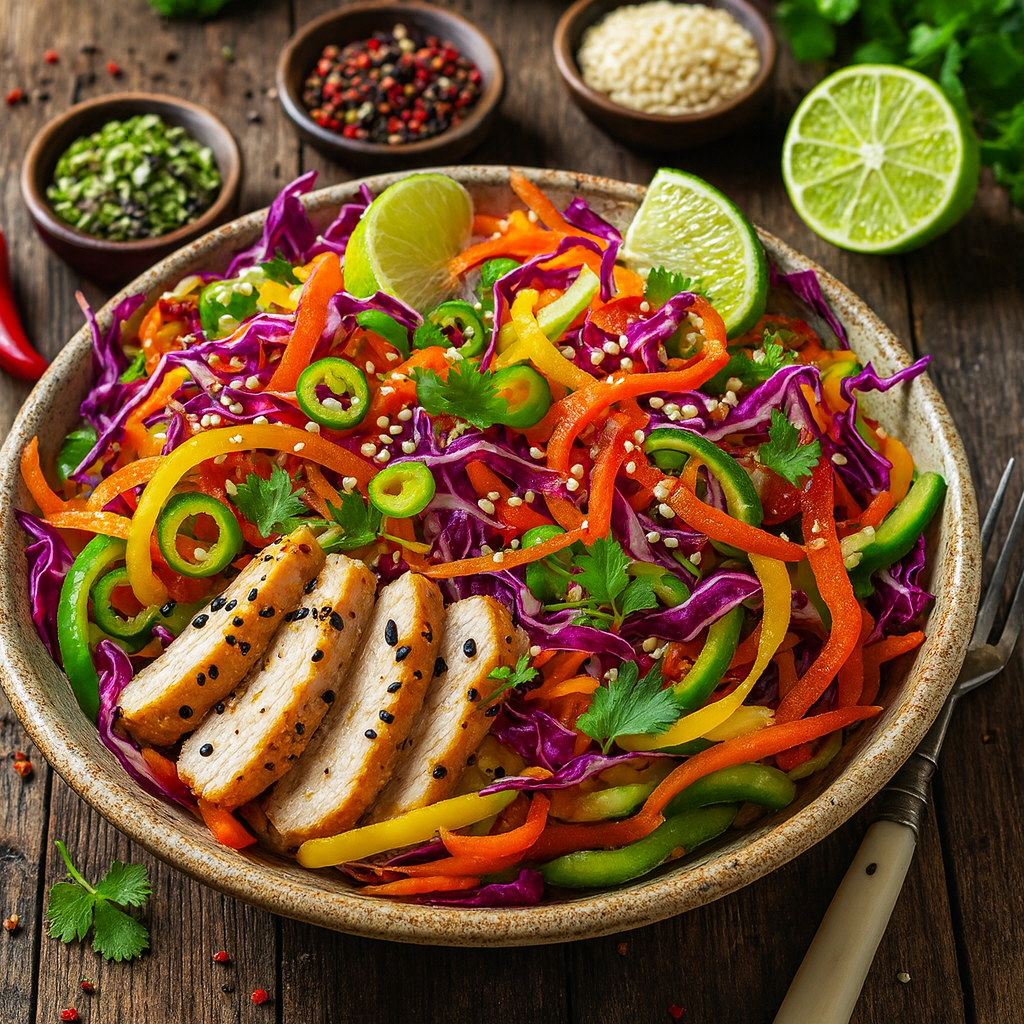
        This image shows Rainbow Chicken Slaw on a plate. Adding are a variety of colourful vegetables.
        Rainbow Chicken Slaw

        A Feast for Your Eyes with Rainbow Chicken Slaw

        In the hustle of a busy day, it’s easy to grab a quick, convenient lunch that isn’t always the healthiest option. But what if you could have a meal that is not only fast and simple but also vibrant, nutritious, and absolutely delicious? This recipe for rainbow chicken slaw is the answer. It’s a complete meal in a bowl, packed with a spectrum of colors that each represents a powerful dose of vitamins and antioxidants. This dish is designed to be the opposite of boring—it’s a fresh, crunchy, and savory experience that will leave you feeling energized and satisfied.

        Traditional slaws often rely on heavy, mayonnaise-based dressings that can add a significant amount of fat and calories. We’ve reimagined this classic by creating a light, zesty vinaigrette that lets the natural flavors of the fresh vegetables and lean chicken shine. This simple, flavorful dressing is a game-changer, transforming the dish into a refreshingly healthy meal that is low in calories but high in flavor. You’ll be amazed at how much taste you can get from just a few simple ingredients.

        Your Guide to a Quick & Easy Meal

        The beauty of this recipe lies in its simplicity and preparation. By using a medley of crunchy, raw vegetables like red cabbage, carrots, and bell peppers, there’s no need for any cooking besides the chicken. This minimal effort means you can have a gourmet-looking, restaurant-quality meal on the table in minutes. It’s the perfect solution for a last-minute lunch or a quick dinner after a long day. The fresh, crisp texture and the pop of vibrant colors make every spoonful a delight.

        This recipe is a meal-prepping hero. You can prepare the vegetables and the dressing ahead of time and store them separately. When you’re ready to eat, simply toss them together with your pre-cooked chicken. This makes it an ideal solution for anyone looking to eat healthier during the week without the hassle of cooking every day. A little prep on a Sunday can guarantee you a week of delicious, healthy lunches.

        So, let’s dive into how you can create this beautiful, nourishing, and incredibly flavorful rainbow chicken slaw. We’ll walk through each step, ensuring you can replicate the vibrant, perfectly plated dish from the hero image.


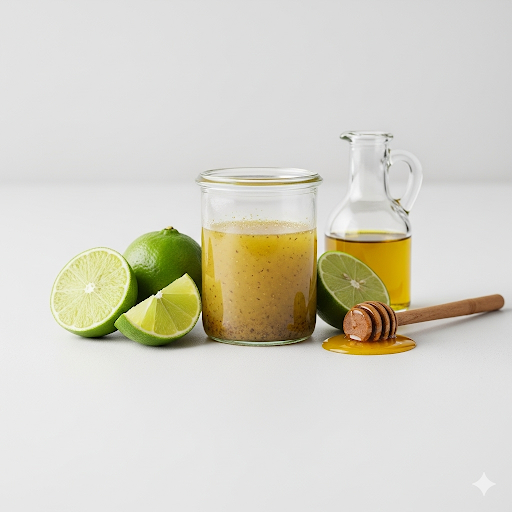
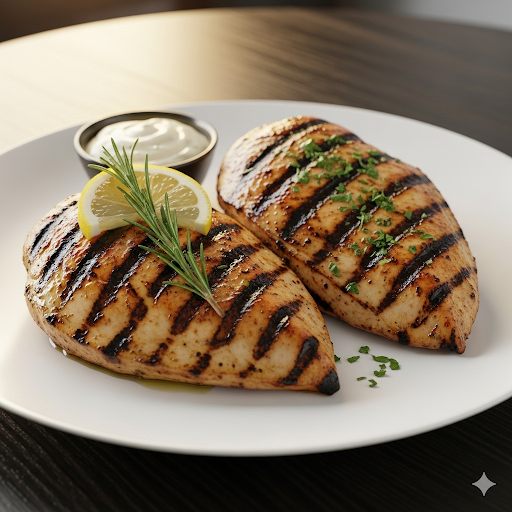
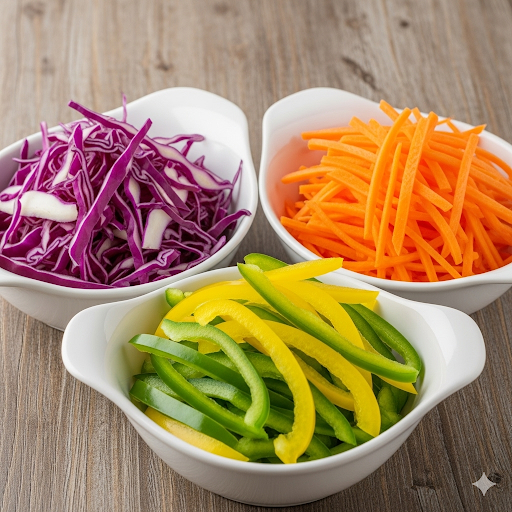
        The gallery shows the vinagrette, grilled chicken and a selection of vegetables used in this recipe.


        Time to Prepare and Cook

        Time to Prepare: 10 minutes

        Time to Cook/Blend: 15 minutes (for the chicken)

        Servings: 4


        Nutritional Information

        This rainbow chicken slaw is a nutritional powerhouse. Each serving is built around lean chicken breast, an excellent source of high-quality protein that is essential for muscle repair, hormone production, and overall body function. The protein in this dish provides sustained energy and helps you feel full, which can be a valuable tool for weight management.

        The recipe’s generous use of fresh, colorful vegetables dramatically increases its nutrient density. Red cabbage, carrots, and bell peppers are all rich in vitamins, minerals, and antioxidants that support a healthy immune system and help protect the body from chronic diseases. Red cabbage, for instance, is packed with Vitamin K and C, while carrots are an excellent source of beta-carotene, and bell peppers provide Vitamin A. These ingredients also contribute a significant amount of dietary fiber, which promotes digestive health and helps maintain stable blood sugar levels.


        Equipment

        • Large mixing bowl
        • Sharp knife and cutting board
        • Grater or mandoline slicer (optional, for the carrots and cabbage)
        • Small bowl or jar for the dressing
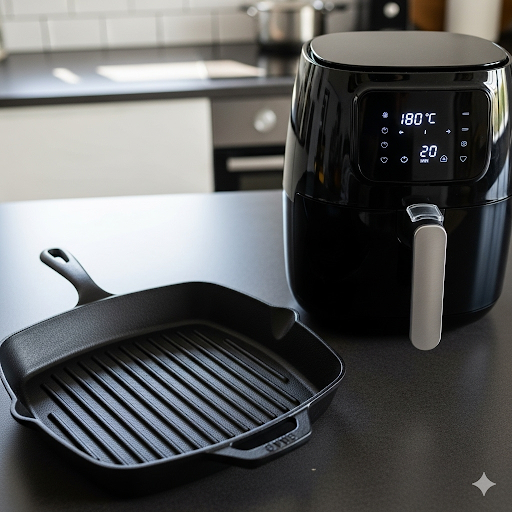
        • Grill pan or air fryer (for the chicken)

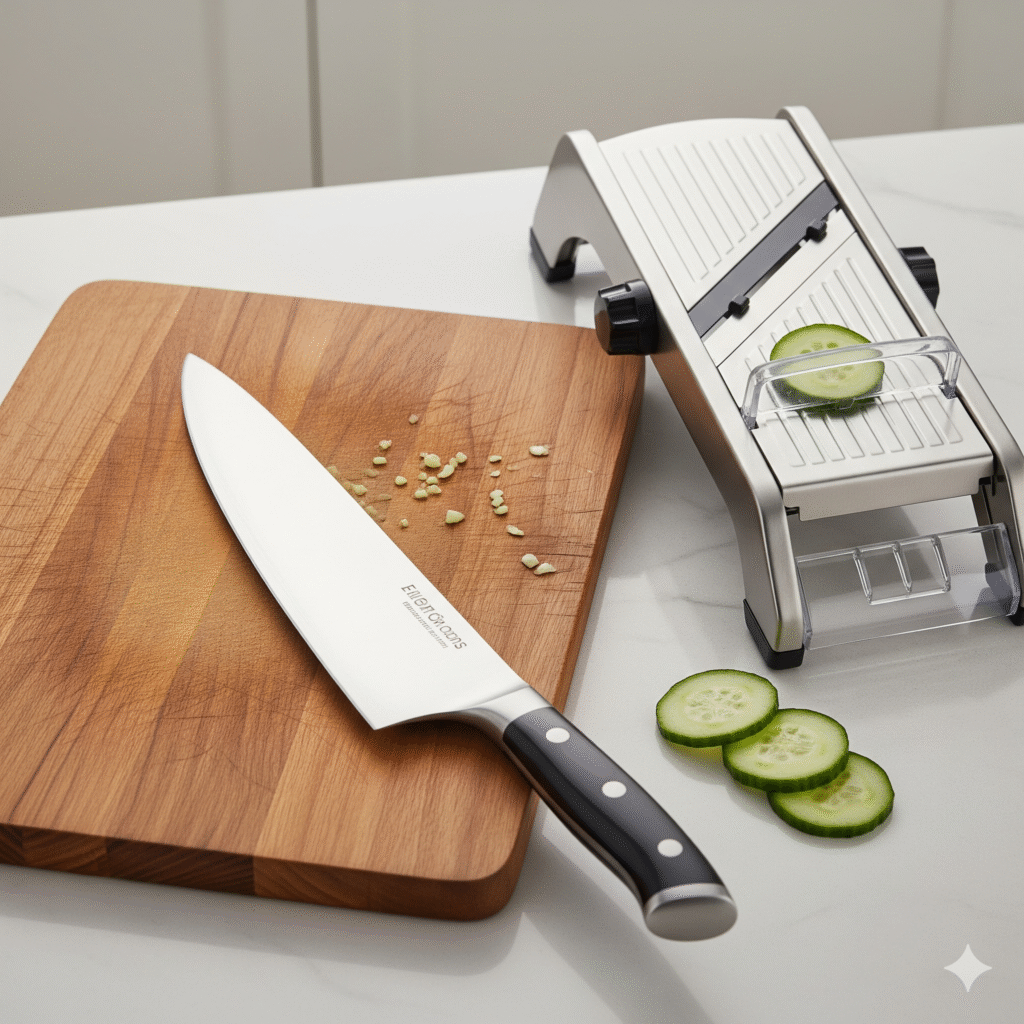
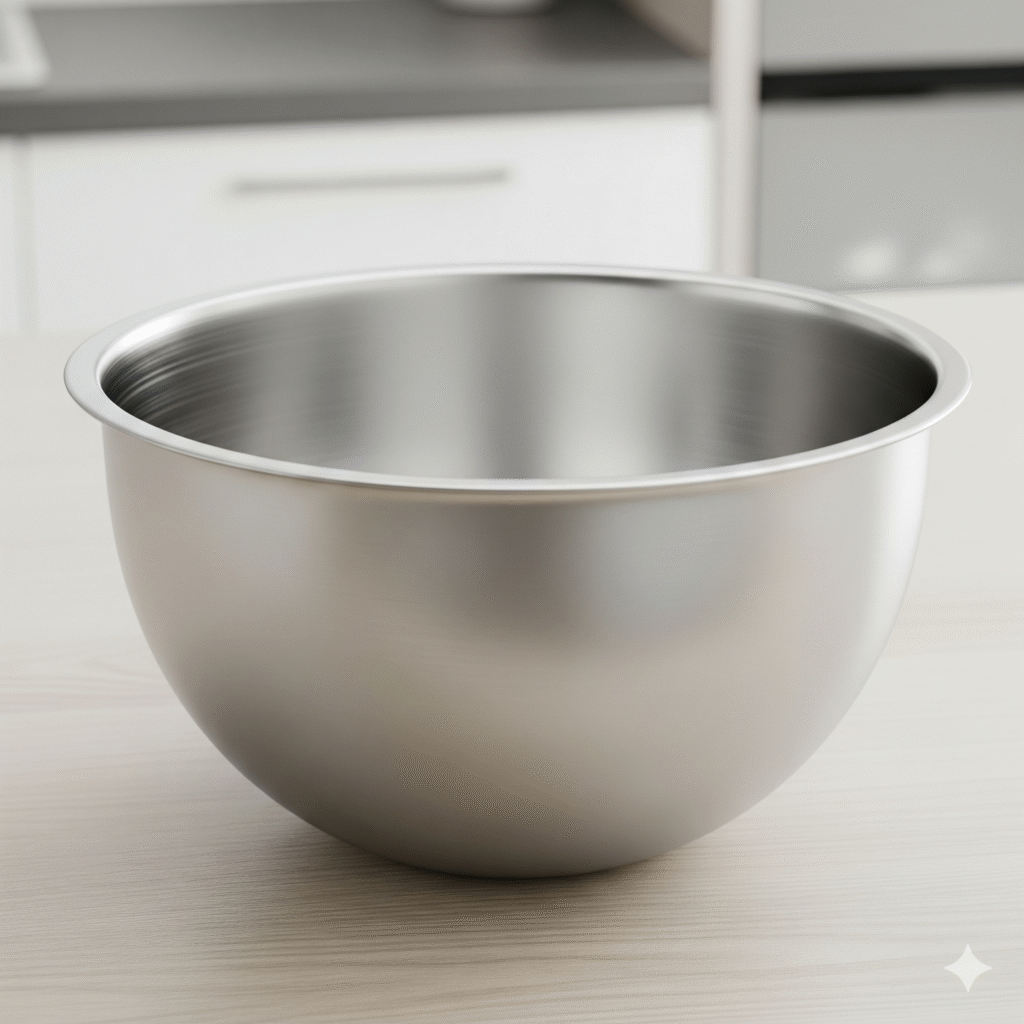
        The gallery shows some of the equipment used for this recipe. These are a frying pan, sharp knife and mixing bowl.


        Ingredients

        For the Slaw & Chicken:

        • 2 large chicken breasts (about 1 lb)
        • 1/2 head red cabbage, finely shredded
        • 1 large carrot, julienned
        • 1 green bell pepper, julienned
        • 1 yellow bell pepper, julienned
        • 1/4 cup fresh cilantro, roughly chopped, plus extra for garnish
        • 1 red chili pepper, thinly sliced (optional)
        • 1 green chili pepper, thinly sliced (optional)
        • Black and white sesame seeds, for garnish
        • 1-2 limes, cut into wedges, for serving

        For the Light Vinaigrette:

        • 3 tablespoons lime juice (from 1-2 limes)
        • 2 tablespoons extra virgin olive oil
        • 1 tablespoon rice vinegar
        • 1 teaspoon honey or maple syrup
        • 1/4 teaspoon garlic powder
        • Salt and black pepper to taste

        Shredded chicken rainbow salad


        Step-by-Step Instructions for Rainbow Chicken Slaw

        Prepare the Chicken

        First, you’ll need to cook the chicken. To keep this recipe healthy, we recommend using a grill pan, a regular non-stick pan with a little cooking spray, or an air fryer. Season the chicken breasts with a pinch of salt, pepper, and garlic powder. Cook them for about 6-8 minutes per side, or until cooked through with a nice sear. Once done, let them rest for a few minutes before slicing them thinly for serving.

        Make the Dressing

        In a small bowl or a jar with a lid, combine the lime juice, olive oil, rice vinegar, honey or maple syrup, garlic powder, salt, and pepper. Whisk or shake vigorously until the dressing is well-emulsified. Taste it and adjust the seasoning as needed.

        Prepare the Vegetables

        In a large mixing bowl, combine the finely shredded red cabbage, julienned carrot, and julienned green and yellow bell peppers. The variety of cuts is what gives the slaw its beautiful, dynamic texture. You can use a mandoline or a grater for a uniform look, or a sharp knife for a more rustic feel.

        Toss the Slaw

        Pour the prepared vinaigrette over the vegetables in the large mixing bowl. Add the chopped cilantro and toss everything together thoroughly until all the vegetables are evenly coated in the dressing.

        Assemble and Garnish

        Transfer the slaw to a serving bowl, arranging it into a beautiful, colorful mound. Lay the thinly sliced chicken on top of the slaw, arranging the slices neatly across the top. Sprinkle generously with a mix of black and white sesame seeds. Garnish with the sliced red and green chili peppers and extra fresh cilantro leaves. Serve immediately with a lime wedge on the side for squeezing over the finished dish.


        Benefits of Rainbow Chicken Slaw

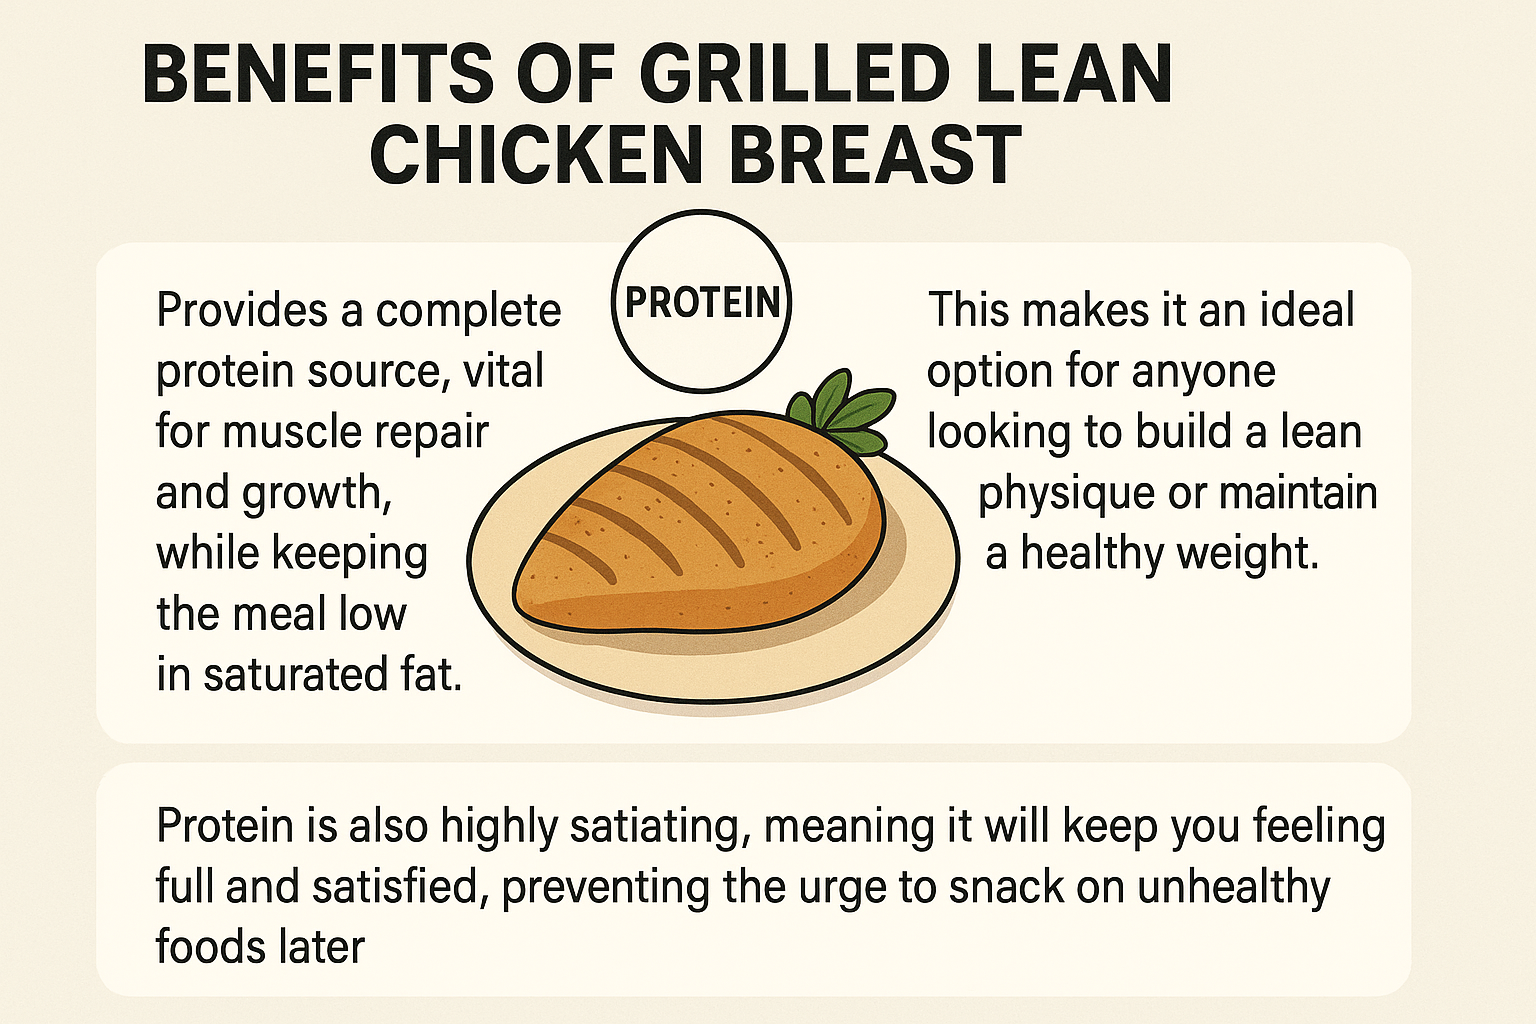
        This rainbow chicken slaw is a delicious and intelligent choice for a health-conscious lifestyle, offering a powerful array of benefits. The use of lean chicken breast provides a complete protein source, vital for muscle repair and growth, while keeping the meal low in saturated fat. This makes it an ideal option for anyone looking to build a lean physique or maintain a healthy weight. Protein is also highly satiating, meaning it will keep you feeling full and satisfied, preventing the urge to snack on unhealthy foods later.

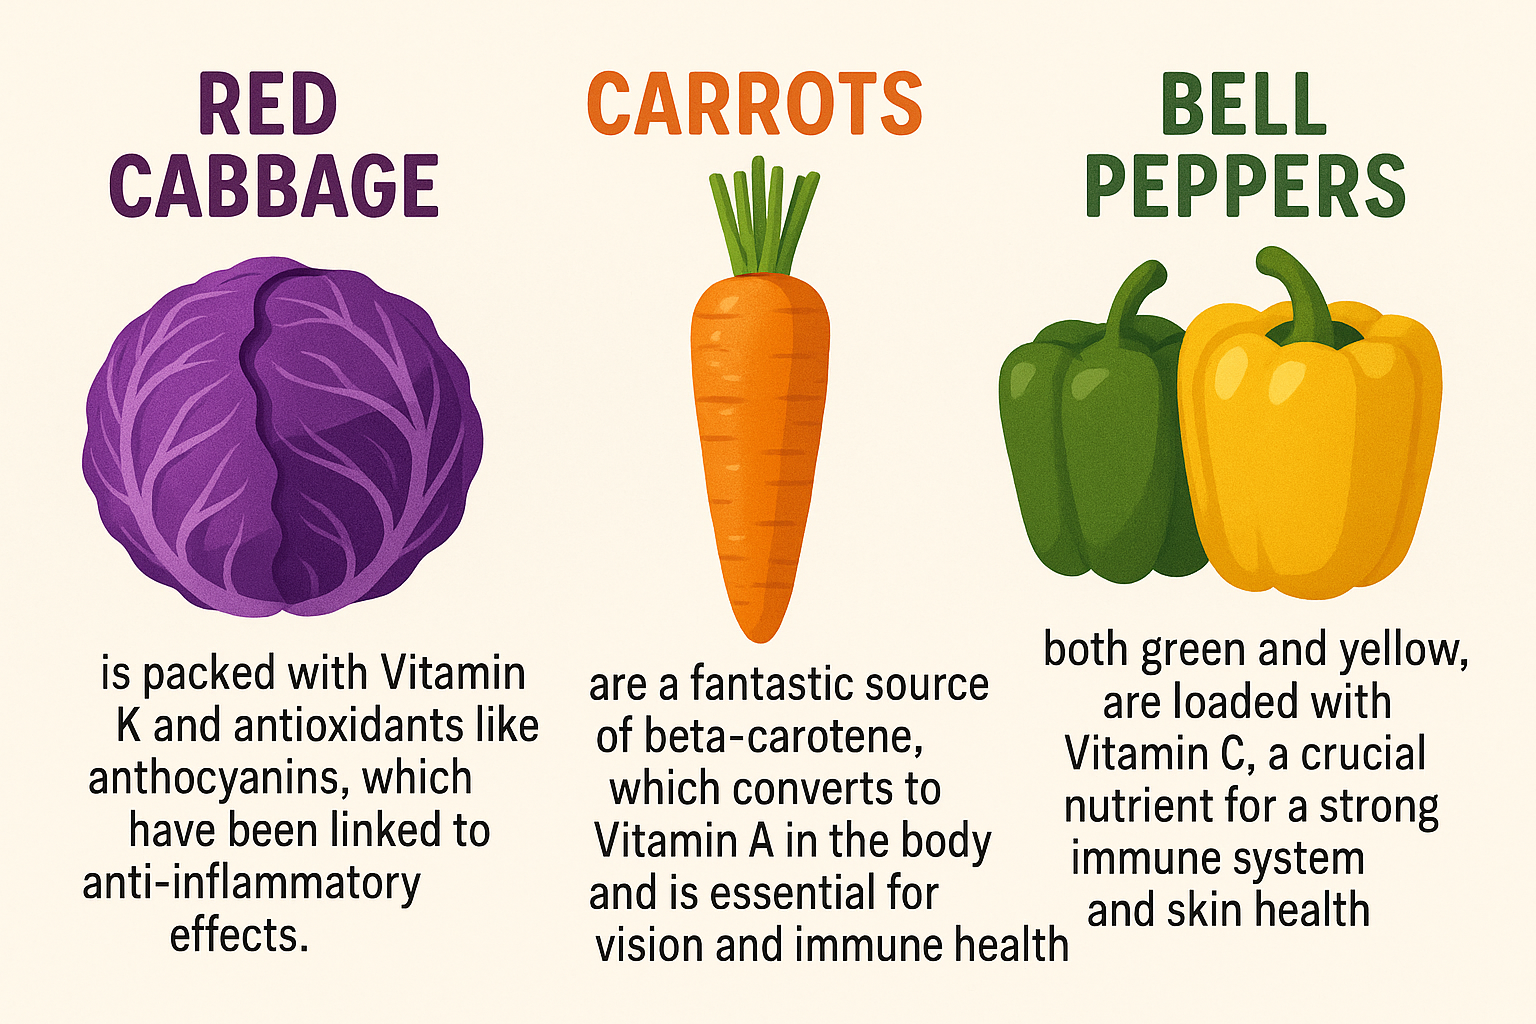
        The vibrant colors in this dish aren’t just for show—they are a direct reflection of its nutritional density. The red cabbage is packed with Vitamin K and antioxidants like anthocyanins, which have been linked to anti-inflammatory effects. Carrots are a fantastic source of beta-carotene, which converts to Vitamin A in the body and is essential for vision and immune health. Bell peppers, both green and yellow, are loaded with Vitamin C, a crucial nutrient for a strong immune system and skin health.

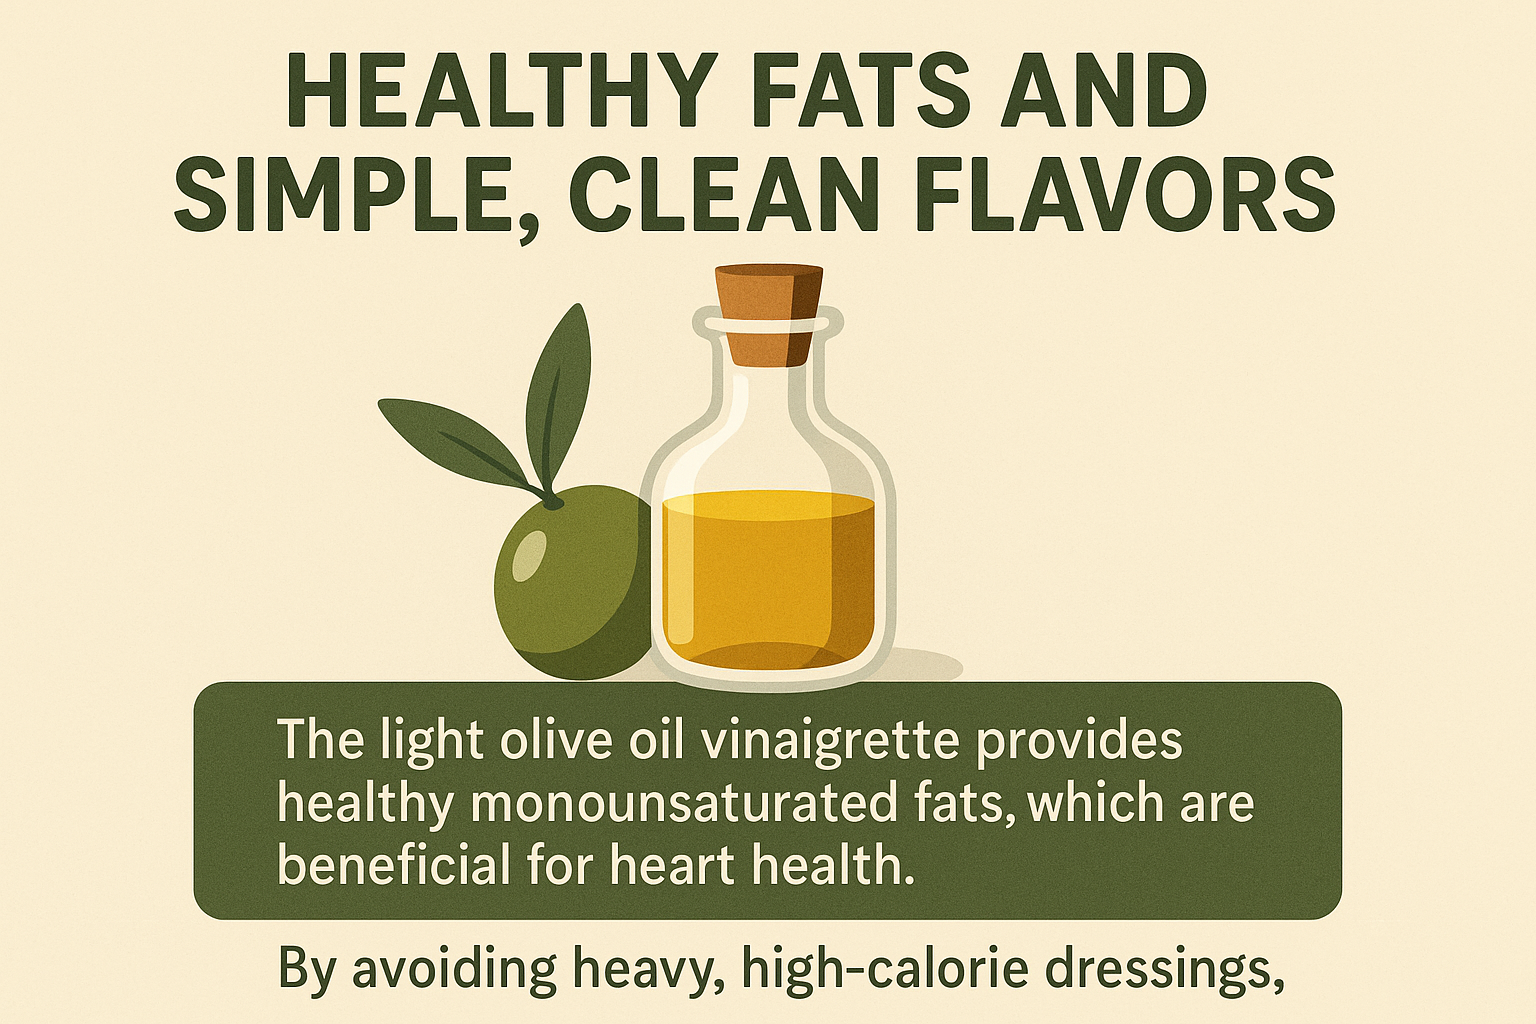
        Furthermore, this recipe champions healthy fats and simple, clean flavors. The light olive oil vinaigrette provides healthy monounsaturated fats, which are beneficial for heart health. By avoiding heavy, high-calorie dressings, this meal keeps your calorie count in check without sacrificing an ounce of flavor. The crunchy, raw vegetables also provide a significant amount of dietary fiber, which is vital for a healthy digestive system and helps regulate blood sugar. This meal is a true testament to how eating a rainbow of whole, unprocessed foods can be both simple and profoundly nourishing.


        The gallery shows the nutritional benefits from vegetable, grilled lean chicken breast and healthy fats.


        Variations for Rainbow Chicken Slaw

        This recipe is incredibly versatile. Feel free to swap ingredients to suit your personal tastes or dietary needs.

        VariationIngredients to Add/Substitute
        A Vegan TwistSubstitute chicken with grilled tofu or chickpeas.
        Different ProteinsUse grilled shrimp, salmon flakes, or a handful of edamame instead of chicken.
        Add More VeggiesAdd julienned jicama, thinly sliced red onion, or grated broccoli stem.
        Gluten-FreeThe recipe is naturally gluten-free. Just ensure your seasonings are certified.
        Spicy DressingAdd a pinch of cayenne pepper or a dash of your favorite hot sauce to the vinaigrette.
        Creamy DressingWhisk in a tablespoon of low-fat Greek yogurt or tahini to the vinaigrette for a creamier texture.

        Final Thoughts: A Wholesome Bowl of Rainbow Chicken Slaw

        This rainbow chicken slaw is more than just a recipe; it’s a strategy for making healthy eating an easy and joyful part of your daily routine. By embracing a few simple, fresh ingredients, you can bring a burst of flavor and color to your plate that will leave you feeling energized and deeply satisfied. It proves that you don’t have to sacrifice flavor for health, and that a truly delicious meal can be prepared in minutes. We hope this becomes your new favorite lunch, inspiring you to fill your plate with the beautiful, nourishing foods you deserve.


        Frequently Asked Questions (FAQs)

        Q: Can I use pre-cooked chicken?

        A: Yes! This recipe is fantastic for using up leftover grilled, roasted, or rotisserie chicken. Simply shred or slice the chicken and add it to the salad. This makes the recipe even faster to prepare.

        Q: How long can I store the slaw?

        A: You can prepare the vegetables and the dressing up to 2-3 days in advance. Store them in separate airtight containers in the refrigerator. To avoid the vegetables getting soggy, only toss the slaw with the dressing and chicken just before you plan to eat it.


        References

        1. Harvard T.H. Chan – Healthy Eating Plate
        2. Healtheline – 9 Impressive Health Benefits of Cabbage
        3. WebMD – Benefits of Protein

        Recent Post


        Quick & Easy Leftover Chicken With A Simple Yogurt Sauce


        Tired of bland, dry reheated chicken? This recipe is your secret weapon for turning uninspired leftover chicken into a satisfying and flavorful meal. Say goodbye to food waste and hello to a delicious, no-fuss dinner that’s ready in minutes.


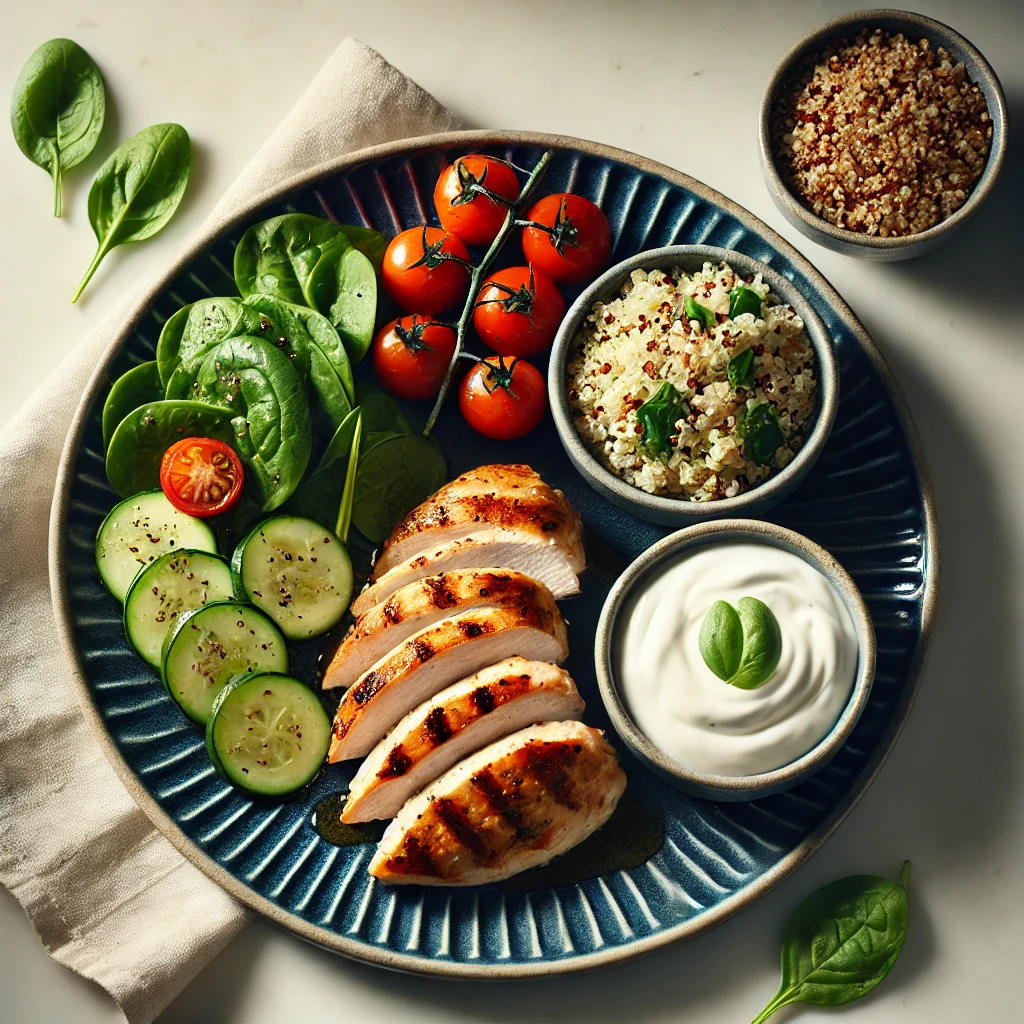
        The image shows grilled chicken breast served with a side of creamy yogurt sauce and fresh vegetables, using leftover chicken.
        Leftover Chicken

        Repurpose Your Leftover Chicken into a Fresh Feast

        We’ve all been there: a perfectly good rotisserie chicken or a few grilled breasts from last night’s dinner sit in the fridge, waiting to be transformed. The challenge is making those leftovers feel new, exciting, and, most importantly, healthy. Simply reheating chicken in the microwave can leave it tough and tasteless, but with a little creativity and a few fresh ingredients, you can turn yesterday’s meal into today’s masterpiece. This recipe is designed to do just that, offering a vibrant, flavorful solution to the age-old problem of what to do with leftover chicken.

        The key to this recipe’s success lies in its simplicity and its focus on fresh, clean flavors. We’ll be pairing the pre-cooked chicken with a light, creamy yogurt sauce that’s both tangy and savory. This sauce not only adds moisture but also a zesty kick that revitalizes the chicken’s flavor profile. The sauce is so easy to make, and it’s a perfect alternative to heavier, high-fat dressings or sauces.

        Building a Fresh and Balanced Plate With Leftover Chicken

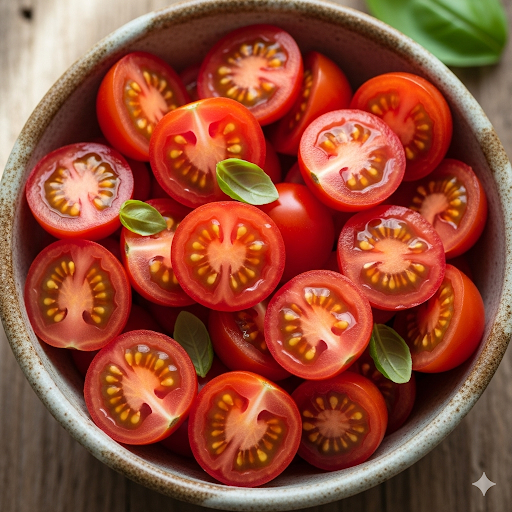
        To complement the chicken and sauce, we’ll build a plate with fresh, crisp vegetables. Juicy cherry tomatoes, cool cucumber slices, and tender spinach leaves provide a beautiful contrast in both color and texture. This combination not only makes the meal visually appealing but also adds essential vitamins, minerals, and fiber, turning a simple plate into a well-balanced and nutritious dinner.

        This meal is a testament to the power of fresh ingredients and smart cooking. It requires minimal effort and no actual “cooking” beyond perhaps a quick toast of the quinoa if you’re serving it warm. Everything comes together in a matter of minutes, making it an ideal choice for busy weeknights, a quick office lunch, or a satisfying post-workout meal. It’s the kind of recipe that makes you feel good about what you’re eating without spending hours in the kitchen.

        Whether you’re a seasoned cook or just starting your culinary journey, this recipe is incredibly forgiving and easy to adapt. It’s a fundamental blueprint that you can customize with different vegetables, grains, or herbs. The beauty of this dish is its flexibility, allowing you to use whatever you have on hand and still create a meal that tastes and feels gourmet. Let’s get started on transforming your leftover chicken!


        The gallery shows images of baby spinach, yoghurt and sliced grilled chicken.


        Time to Prepare and Cook

        Time to Prepare: 10 minutes

        Time to Cook/Blend: 5 minutes

        Servings: 2


        Nutritional Information

        This dish is a powerhouse of lean protein, healthy fats, and micronutrients. Each serving contains approximately 450 calories, 40g of protein, 35g of carbohydrates, and 15g of healthy fats. The chicken provides a complete protein source, while the yogurt adds probiotics and calcium. The vegetables are rich in vitamins A, C, and K, as well as antioxidants. This meal is also low in saturated fat and a great source of fiber.


        Equipment

        • Small mixing bowl
        • Cutting board
        • Sharp knife
        • Serving plates
        • Measuring cups and spoons

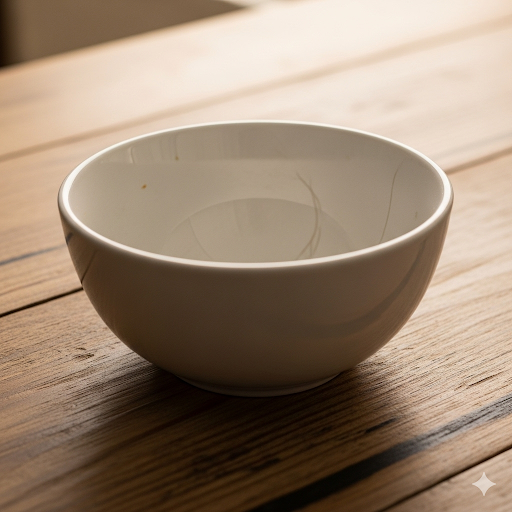
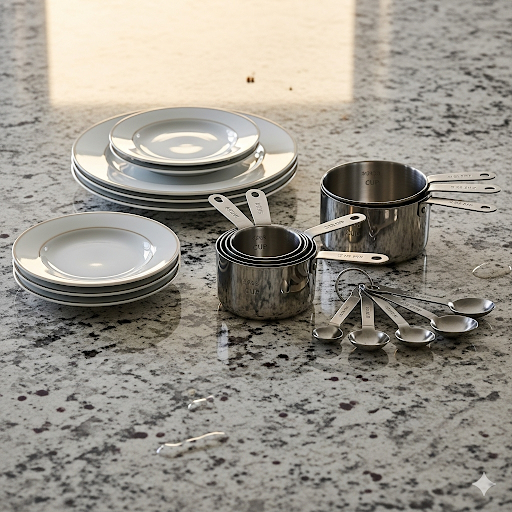
        The gallery shows a picture of a sharp knife, mixing bowl and measuring cups that can be used in this recicpe.


        Ingredients

        For the Leftover Chicken and Vegetables:

        • 2 cups cooked, shredded, or sliced leftover chicken breast
        • 2 cups baby spinach
        • 1 cup cooked quinoa, chilled or warmed
        • 1 cup cherry tomatoes, halved
        • 1 medium cucumber, sliced

        For the Simple Yogurt Sauce:

        • ½ cup plain Greek yogurt (low-fat or full-fat)
        • 1 clove garlic, minced
        • 1 tablespoon fresh dill, finely chopped (or 1 teaspoon dried dill)
        • 1 tablespoon lemon juice
        • Salt and black pepper to taste
        • 1 tablespoon water (optional, to thin the sauce)

        Grilled Chicken


        Step-by-Step Instructions

        Prepare the Yogurt Sauce

        In a small bowl, combine the Greek yogurt, minced garlic, chopped fresh dill, and fresh lemon juice. Whisk all the ingredients together until the sauce is smooth and well-combined. Taste the sauce and season it with salt and black pepper to your liking. If you prefer a thinner consistency, you can stir in one tablespoon of water at a time until it reaches your desired thickness.


        Yoghurt Sauce


        Assemble the Chicken and Quinoa

        If your leftover chicken is cold from the refrigerator, you can gently warm it in a pan over low heat for a few minutes or briefly in the microwave. It’s important not to overcook it, as it’s already cooked. Place the warm or chilled chicken in the center of two serving plates. Next to the chicken, place the cooked quinoa in a separate bowl or directly on the plate.

        Arrange the Fresh Vegetables

        Arrange the fresh, crisp vegetables artfully around the chicken and quinoa. Create a bed of baby spinach on one side of the plate. Scatter the halved cherry tomatoes and the cucumber slices next to the spinach. You can arrange them in a neat line or a more free-form style—the goal is to make the plate look fresh and inviting.

        Plate and Serve

        Drizzle a generous amount of the prepared yogurt sauce over the sliced chicken. You can also put the sauce in a small side bowl for dipping, as shown in the hero image. This allows everyone to add as much or as little as they like. Serve immediately and enjoy a delicious, healthy meal that was prepared in minutes.


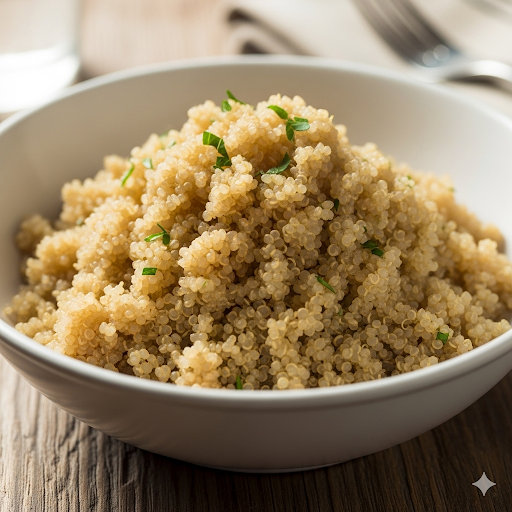
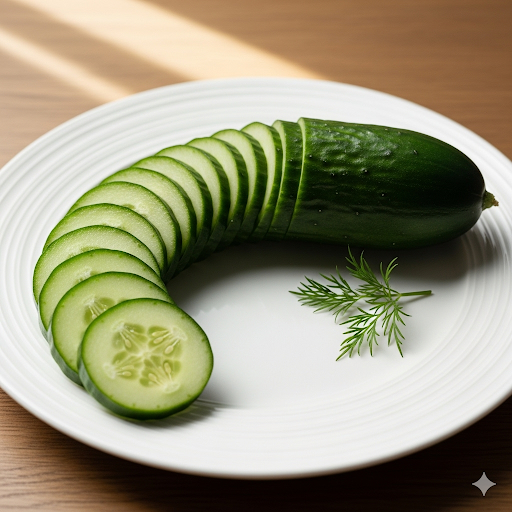
        The gallery shows Cooked quinoa, sliced cucumbers and choped cherry tomatoes.


        Benefits of Leftover Chicken

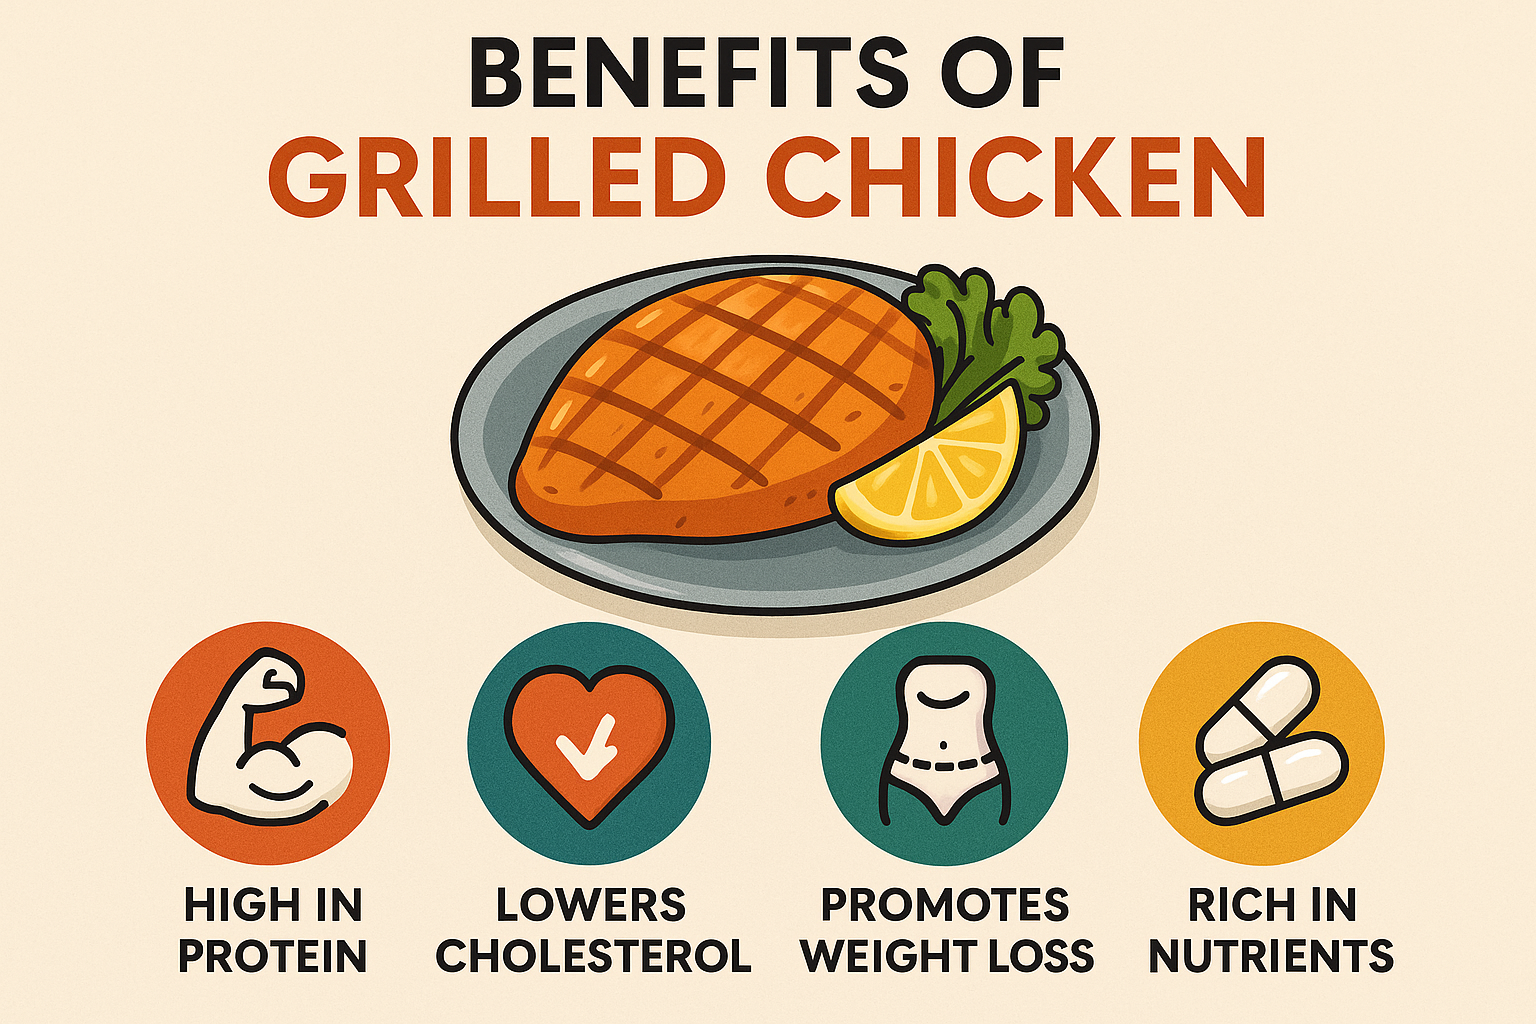
        This recipe isn’t just a delicious way to use up your leftover chicken; it’s a nutritional powerhouse designed to support your health and well-being. The foundation of the meal, leftover chicken, provides a high-quality source of lean protein. Protein is essential for building and repairing muscle tissue, making it an excellent choice for active individuals. It also plays a crucial role in keeping you feeling full and satisfied, which helps to prevent overeating and manage weight. By repurposing cooked chicken, you’re also making a smart and efficient choice that reduces food waste and saves you valuable time in the kitchen.

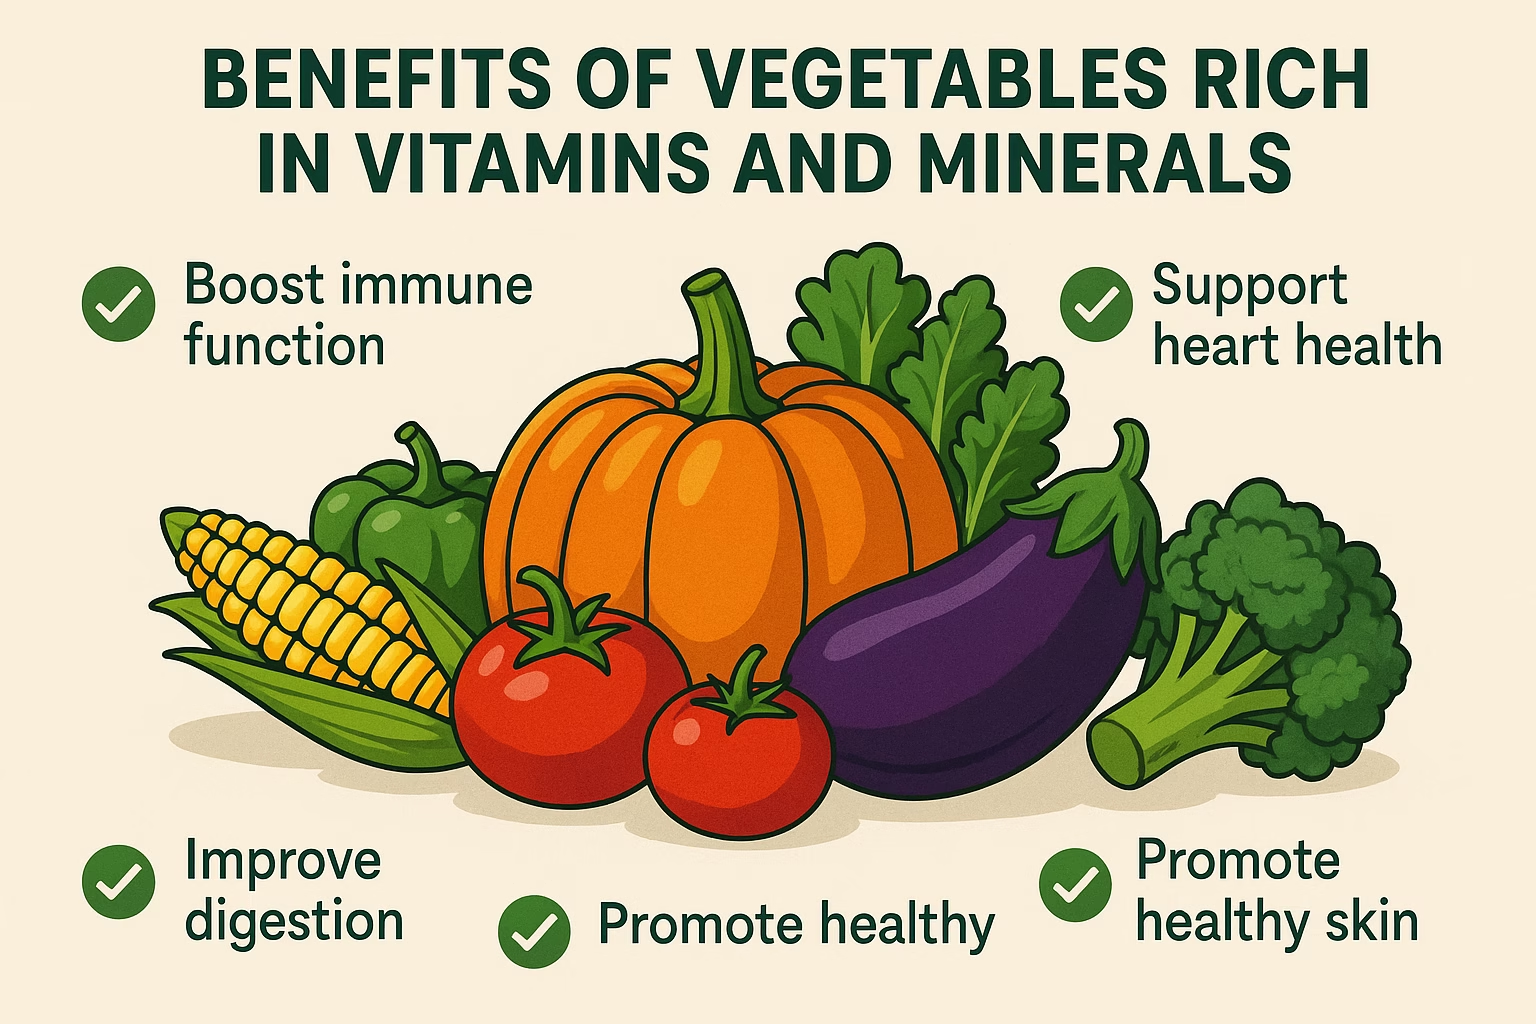
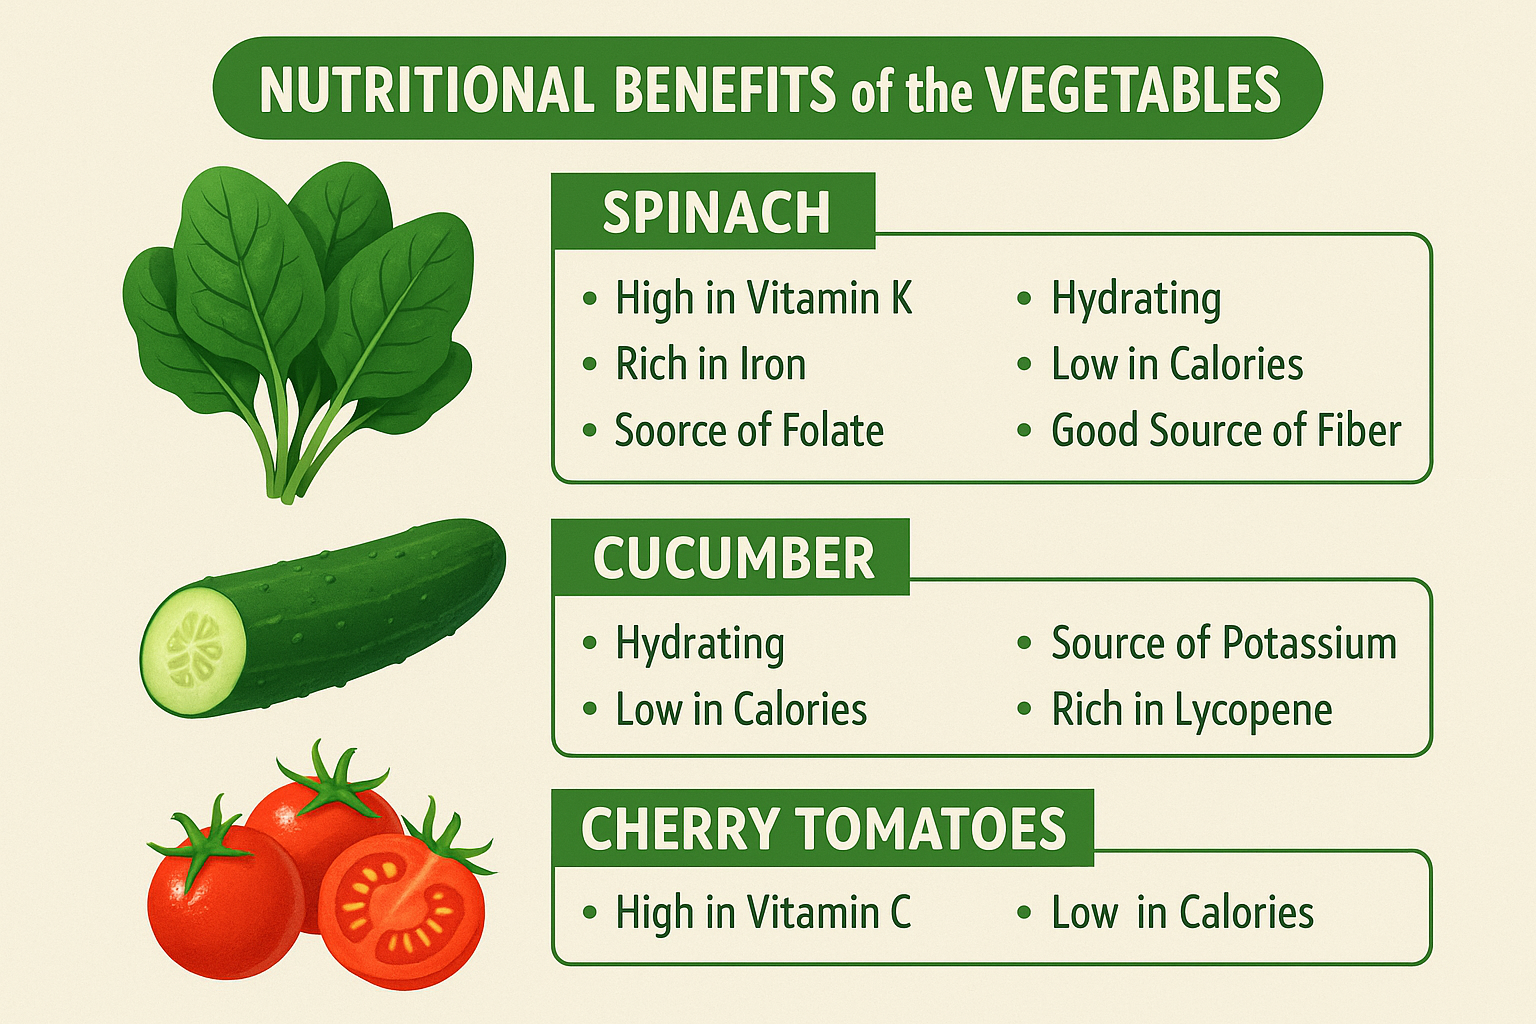
        Beyond the protein, this meal is packed with a wide range of essential nutrients. The fresh vegetables—including vibrant cherry tomatoes, crisp cucumber slices, and leafy baby spinach—are loaded with vitamins, minerals, and antioxidants. Tomatoes are rich in Vitamin C and lycopene, a powerful antioxidant. Cucumbers provide hydration and Vitamin K, while spinach is an excellent source of iron and Vitamin A. Together, these ingredients contribute to a robust immune system and provide the fuel your body needs to thrive. The fiber in the vegetables also aids in healthy digestion and promotes a feeling of fullness.

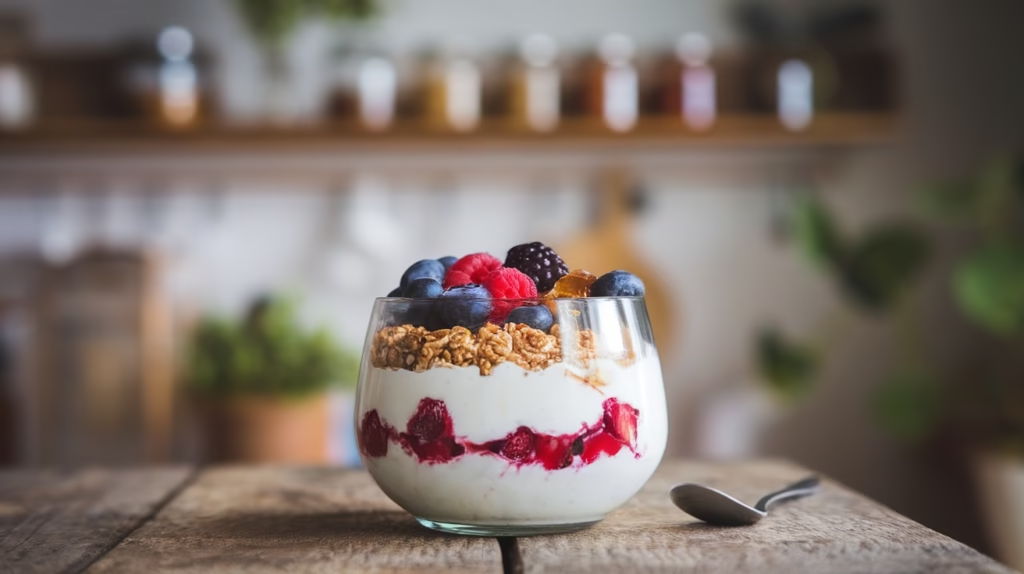
        Finally, the simple yogurt sauce offers its own unique health perks. Greek yogurt is an excellent source of probiotics, which are beneficial bacteria that support a healthy gut microbiome. A balanced gut is linked to improved digestion, better immunity, and even enhanced mood. The sauce also adds a dose of calcium, which is vital for strong bones and teeth. By combining these wholesome components, you’re creating a meal that is not only light and refreshing but also contributes to your long-term health, proving that convenience and nutrition can go hand-in-hand.


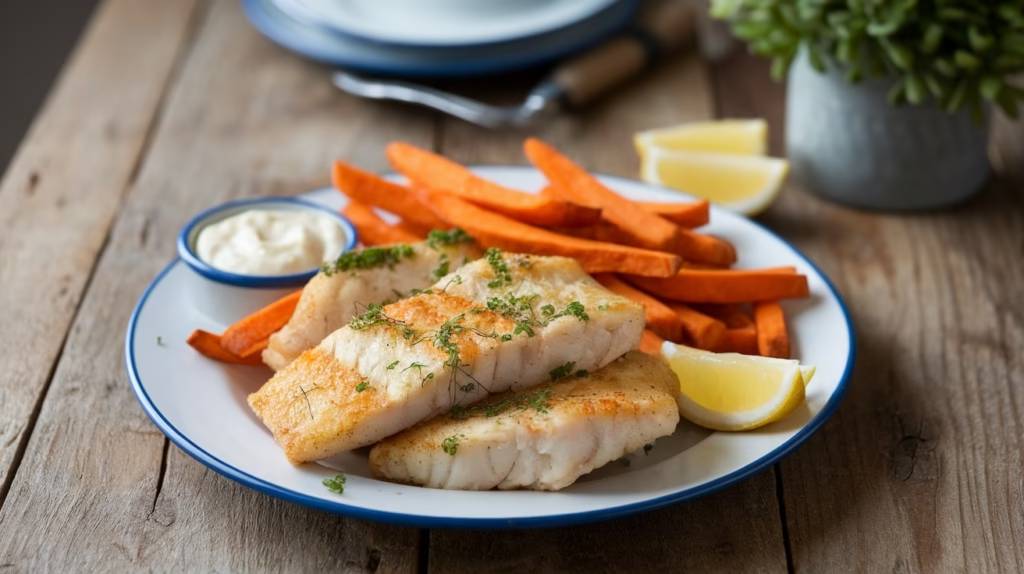
        The images shows the nutritional Benefits of Vegetables and the benefits of grilled chicken.


        Variations to Customize

        This recipe is highly adaptable. Feel free to swap out ingredients based on your personal taste or what you have available.

        VariationIngredients to Add/Substitute
        Mediterranean TwistAdd crumbled feta cheese, kalamata olives, and a sprinkle of dried oregano.
        Spicy KickAdd a pinch of red pepper flakes or a dash of your favorite hot sauce to the yogurt sauce.
        Different GrainsSubstitute quinoa with brown rice, couscous, or a farro salad.
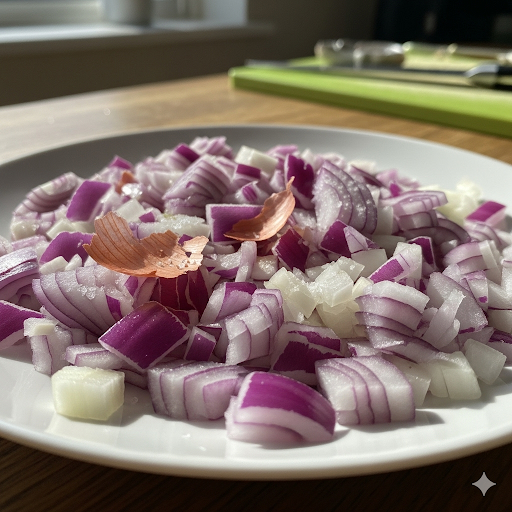
        Different VegetablesUse roasted bell peppers, chopped red onion, or steamed broccoli florets.

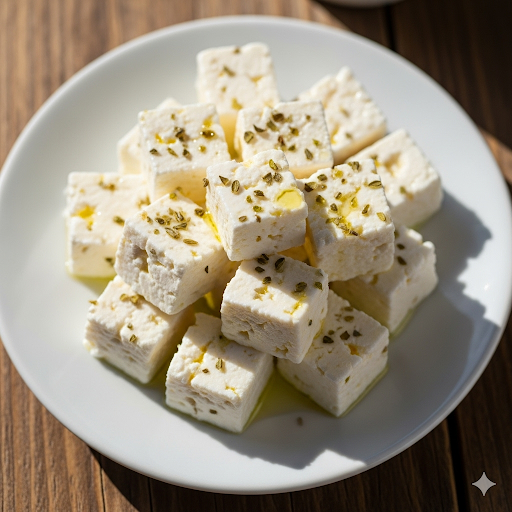
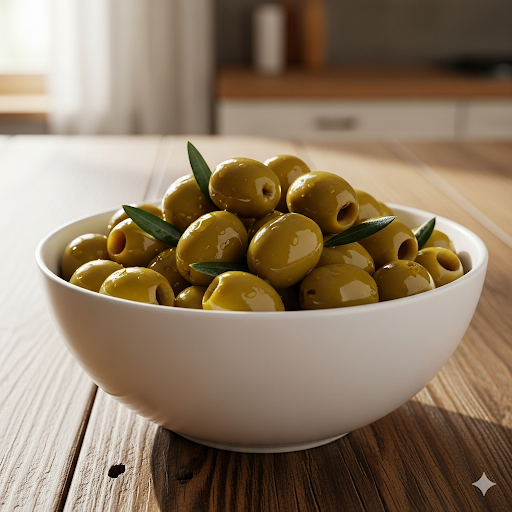
        The gallery shows a plate with chopped onions, feta cheese diced into cubes and a bowl of green olives.


        Final Thoughts: A Smart Way to Eat Well With Leftover Chicken

        This recipe for Quick & Easy Leftover Chicken with a Simple Yogurt Sauce is more than just a meal—it’s a smart strategy for eating healthy, saving time, and reducing food waste. It proves that a truly satisfying and nutritious meal doesn’t have to be complicated or time-consuming. By taking a few minutes to plate your ingredients thoughtfully and add a vibrant, homemade sauce, you can turn the ordinary into something extraordinary. This is a recipe that works for you, giving you back precious time while keeping you on track with your health goals.


        Frequently Asked Questions (FAQs)

        Q: How long can I safely store cooked chicken?

        A: Cooked chicken can be safely stored in an airtight container in the refrigerator for 3 to 4 days. It’s a good practice to use your leftover chicken within that time frame to ensure freshness and safety.

        Q: Can I use a different type of yogurt for the sauce?

        A: Yes, you can. While Greek yogurt is recommended for its thick, creamy texture, you can use regular plain yogurt. You may need to use less water or even skip it altogether to achieve the desired consistency. For a dairy-free option, a plain unsweetened coconut or almond milk yogurt can also work well.


        References

        1. U.S. Department of Agriculture – Chicken
        2. Harvard T.H. Chan – Quinoa
        3. Healthline – 11 Probiotic Foods That Are Super Healthy

        Recent Posts


        Make This Simple Steamed Chicken With Avocado & Nut Sauce


        We are dedicated to crafting simple, delicious recipes that make healthy eating an achievable and enjoyable part of your daily life. We are passionate about creating vibrant, nourishing dishes like this Steamed Chicken With Avocado to show that wholesome food can be both easy and incredibly satisfying. We are committed to empowering you with the knowledge and inspiration to cook with confidence and joy.


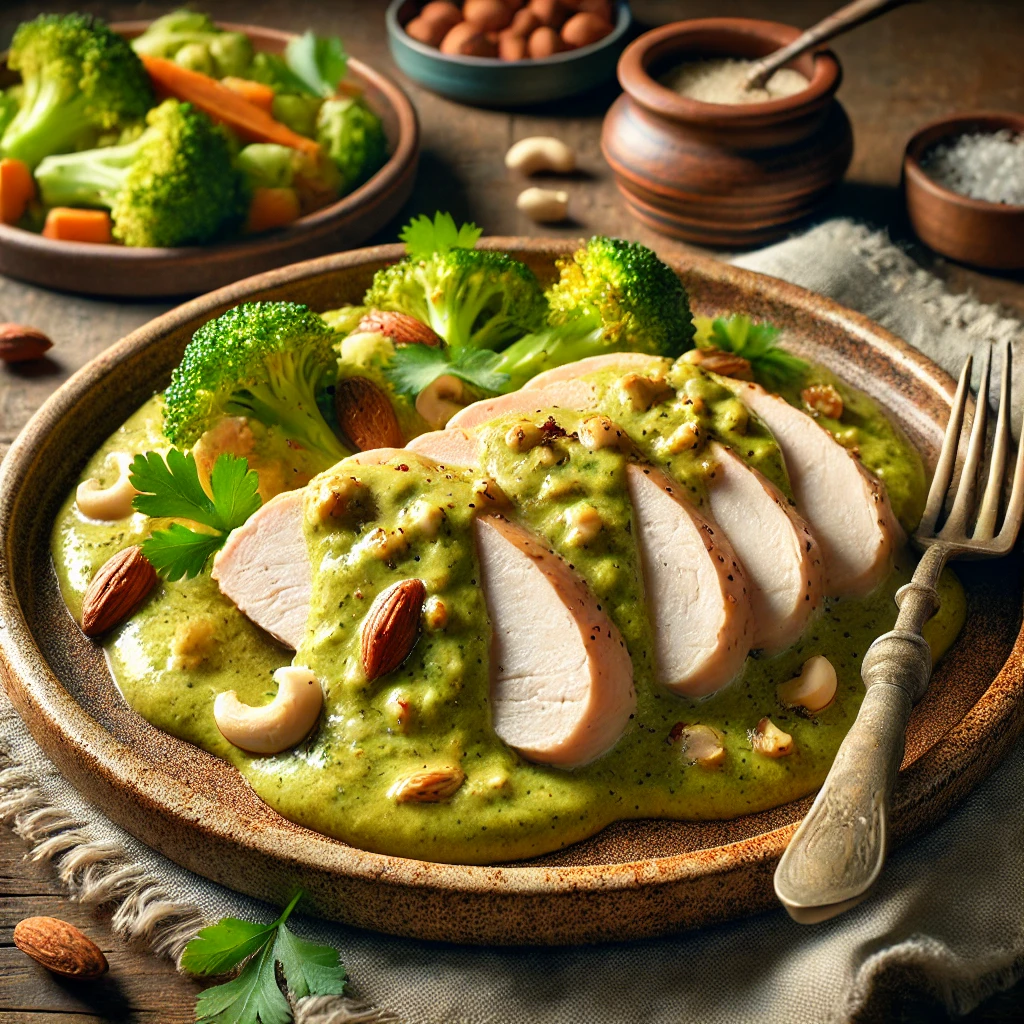
        The Image Shows Steamed chicken with Avocado and Nut sauce in a plate. This meal is surrounded by various side dishes
        Steamed Chicken with Avocado and Nut sauce

        Unlock Flavor and Nutrition with This Simple Steamed Chicken With Avocado & Nut Sauce

        Welcome to a culinary journey that proves healthy eating can be incredibly delicious and satisfying. We’re about to transform simple ingredients into a gourmet-level dish that not only tantalizes your taste buds but also nourishes your body from the inside out. Forget complex cooking methods and long ingredient lists; this recipe is all about simplicity, purity, and flavor. We will explore the art of creating a perfectly moist steamed chicken breast paired with a velvety, rich sauce made from fresh avocado and crunchy nuts. This dish is designed to become a staple in your weekly meal rotation—whether you’re a busy professional, a dedicated home cook, or someone just starting their health and wellness journey.

        This recipe is a true testament to the power of whole, unprocessed foods. The steamed chicken provides a lean protein foundation, ensuring you feel full and energized without the heaviness of fried or heavily processed meats. Steaming is a gentle cooking method that preserves the chicken’s natural moisture and nutrients, locking in flavor and health benefits. It’s a method embraced by chefs and health experts alike for its ability to produce tender results with minimal effort. The real star of the show, however, is the sauce. It’s not your typical dairy-heavy concoction but a vibrant, earthy, and creamy creation born from the magic of ripe avocados and a medley of your favorite nuts.

        This Steamed Chicken With Avocado is a Symphony of Flavor and Texture

        The unique combination of flavors in this Steamed Chicken With Avocado recipe makes it a standout. The mild, clean taste of the steamed chicken provides the perfect canvas for the luxurious sauce.

        The avocado contributes a rich, buttery texture and a healthy dose of monounsaturated fats, while the nuts add a satisfying crunch and a deeper, nutty dimension. This blend of textures and flavors is what makes the dish so comforting and satisfying. It’s a complete meal in one, offering a perfect balance of protein, healthy fats, and fiber.


        Customizing Your Steamed Chicken with Avocado

        This recipe also offers incredible versatility. While the core components are simple, you can easily adapt it to suit your personal preferences or what you have available in your pantry.

        For instance, you can use different types of nuts, add a touch of spice, or pair it with various vegetables to create a new experience each time. We’ll delve into some of these variations later on, providing you with all the tools you need to make this recipe uniquely yours. The beauty of this meal lies in its adaptability and its ability to be a blank canvas for your creativity.

        So, are you ready to elevate your home cooking with a dish that is as healthy as it is delicious? This article will guide you through every step of the process, from gathering your ingredients to plating the final, beautiful meal. We’ll provide detailed instructions, helpful tips, and insights into the nutritional benefits of each component.

        By the end, you’ll have a new favorite recipe that you can confidently prepare and share with family and friends. Get ready to fall in love with the simple elegance of steamed chicken with avocado and nut sauce.


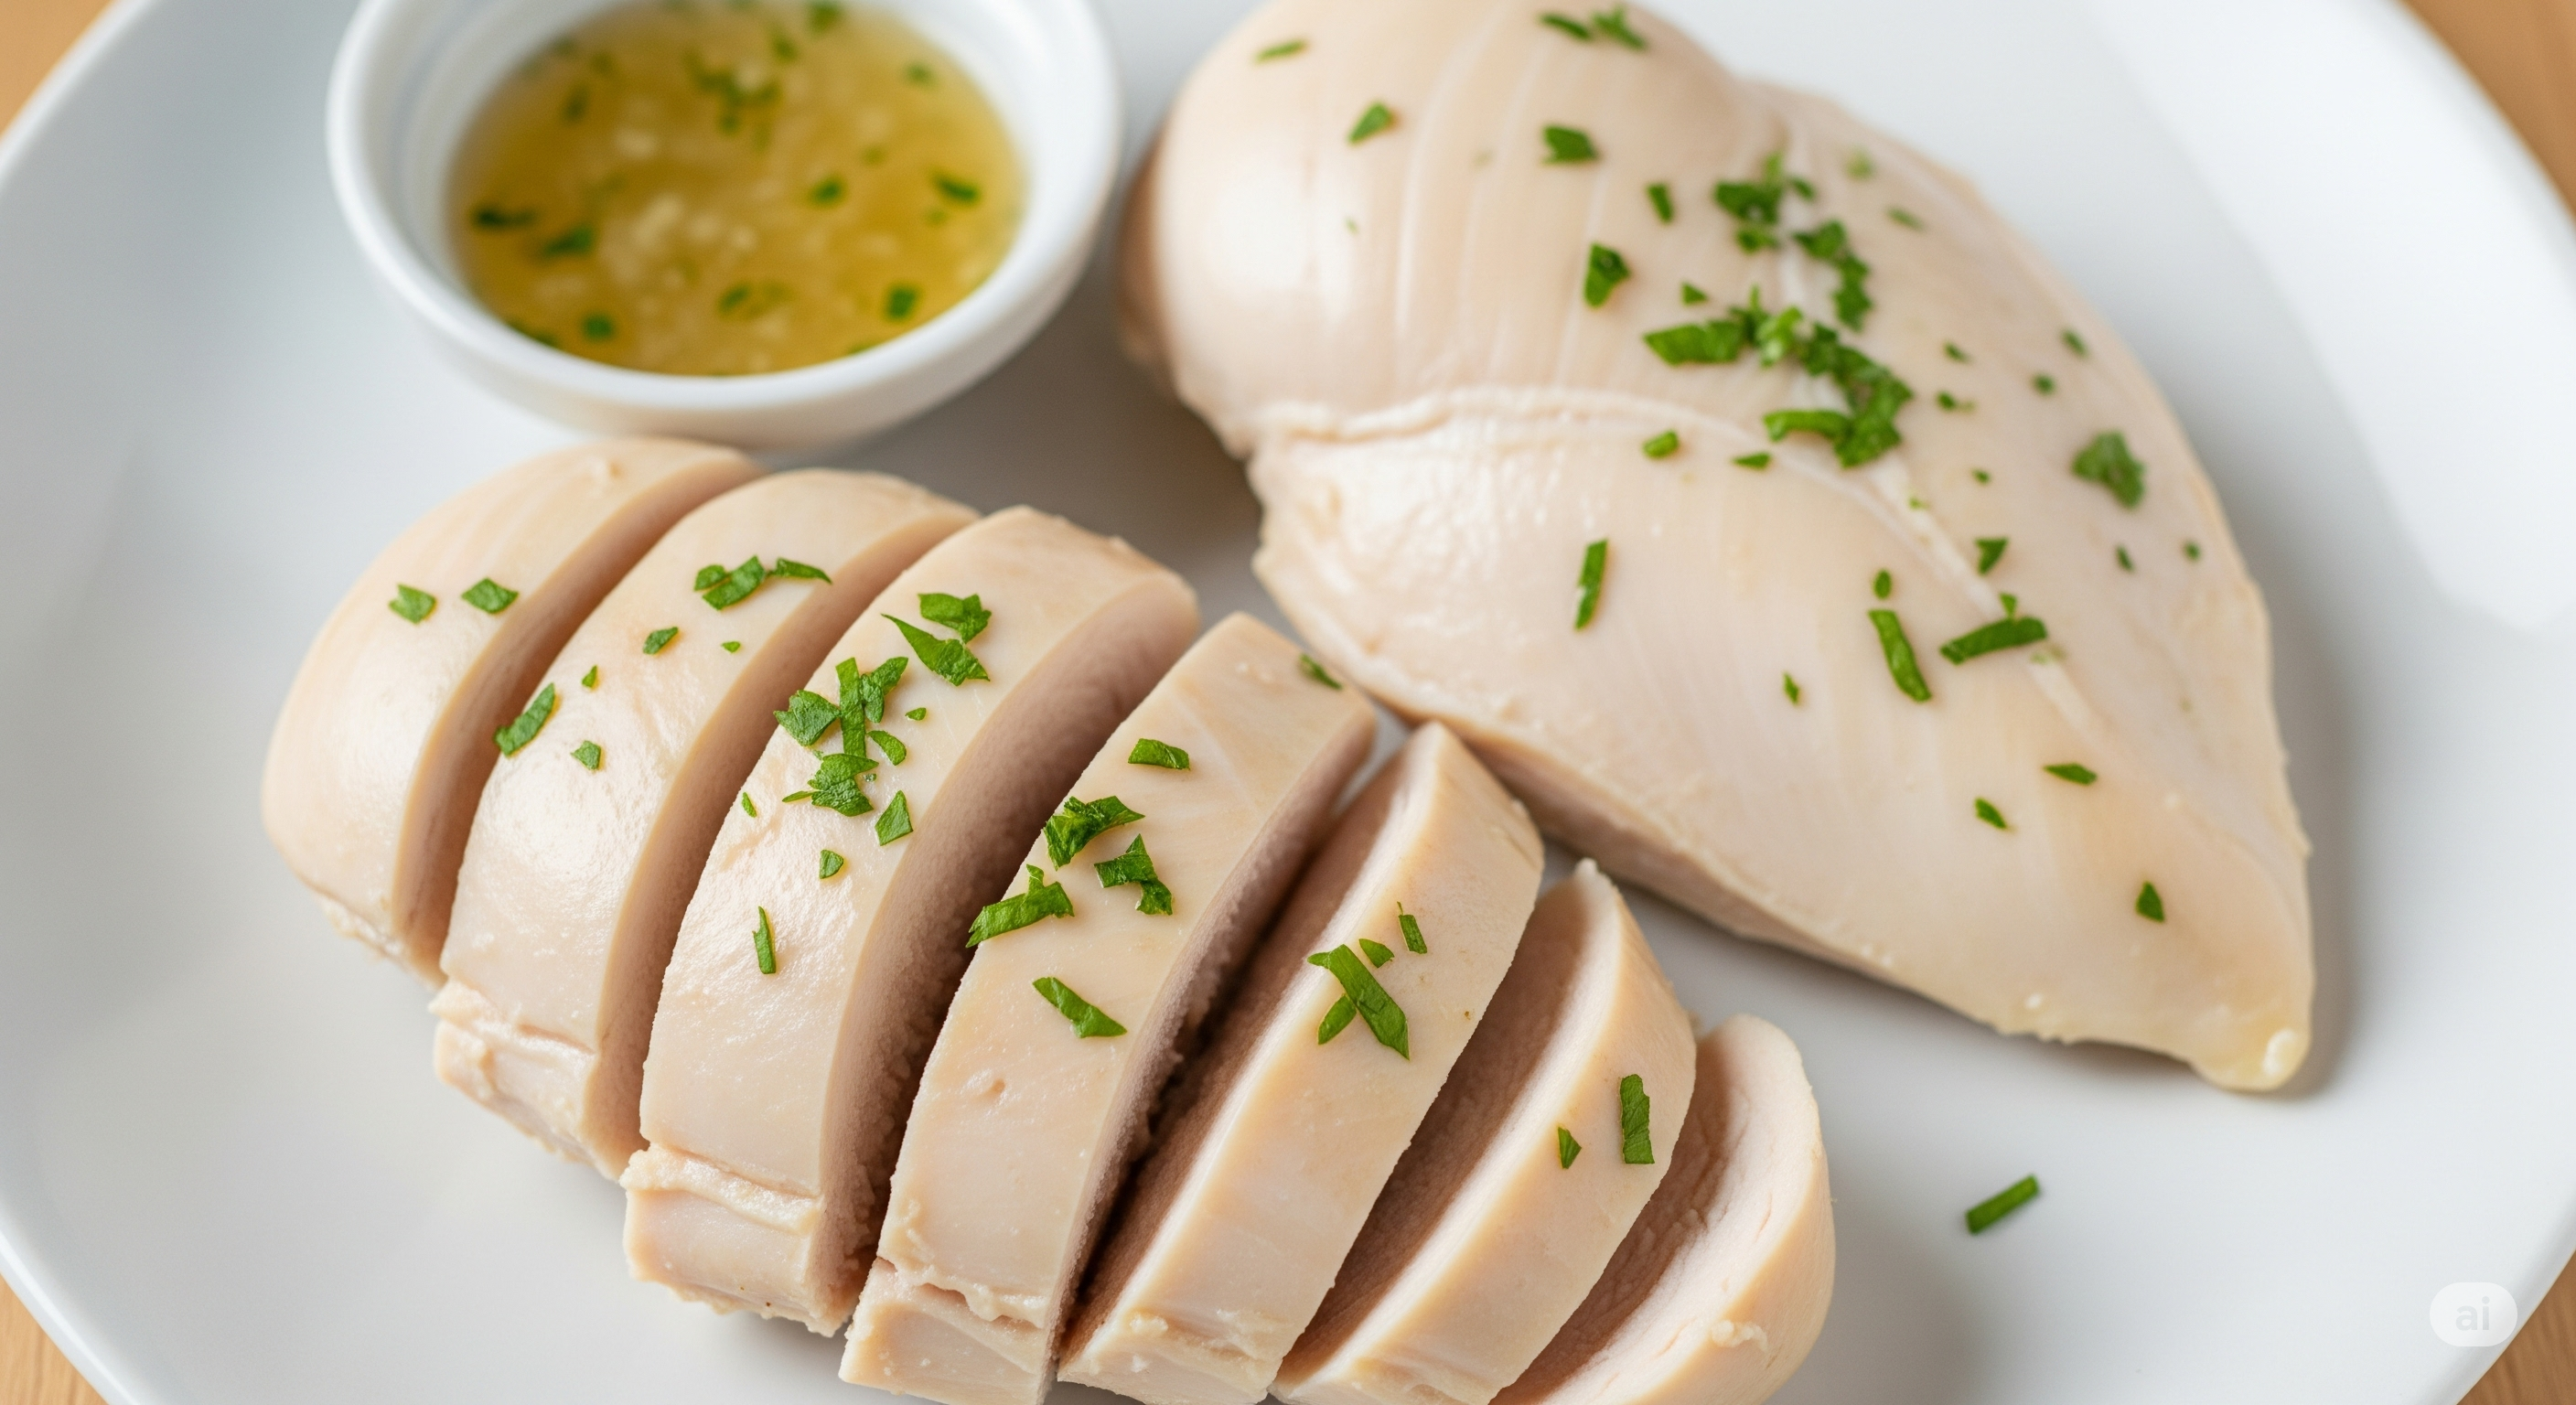
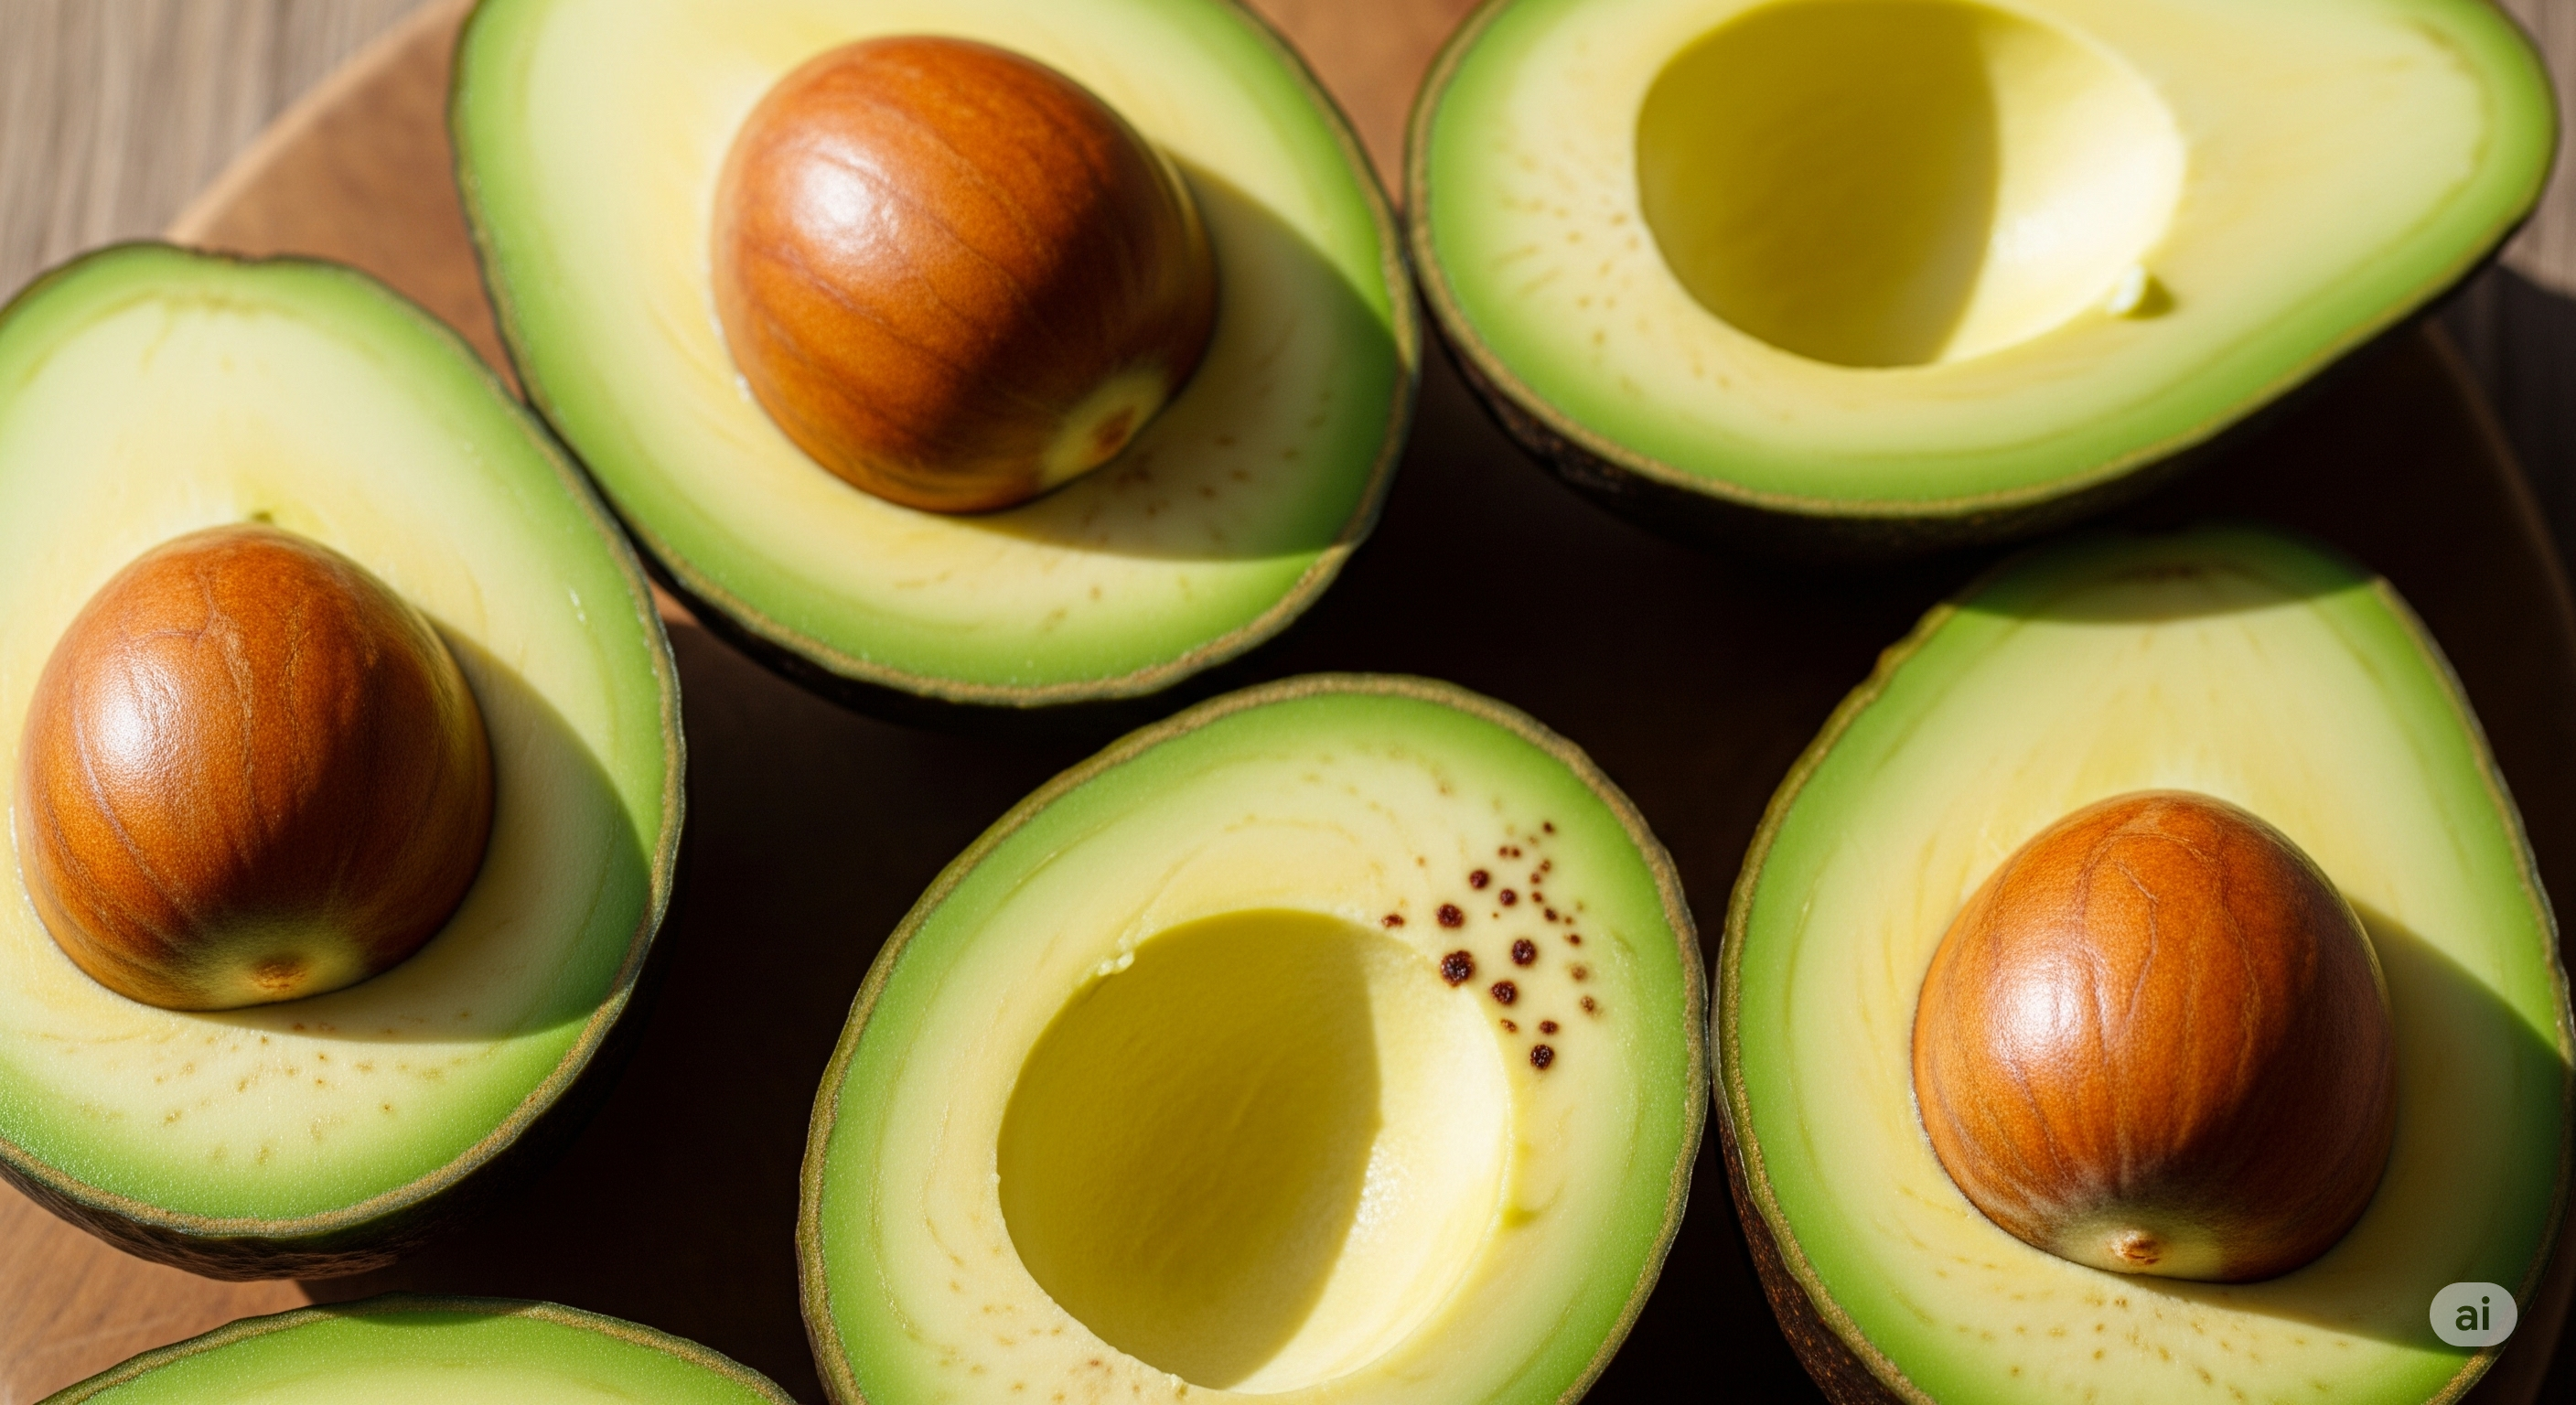
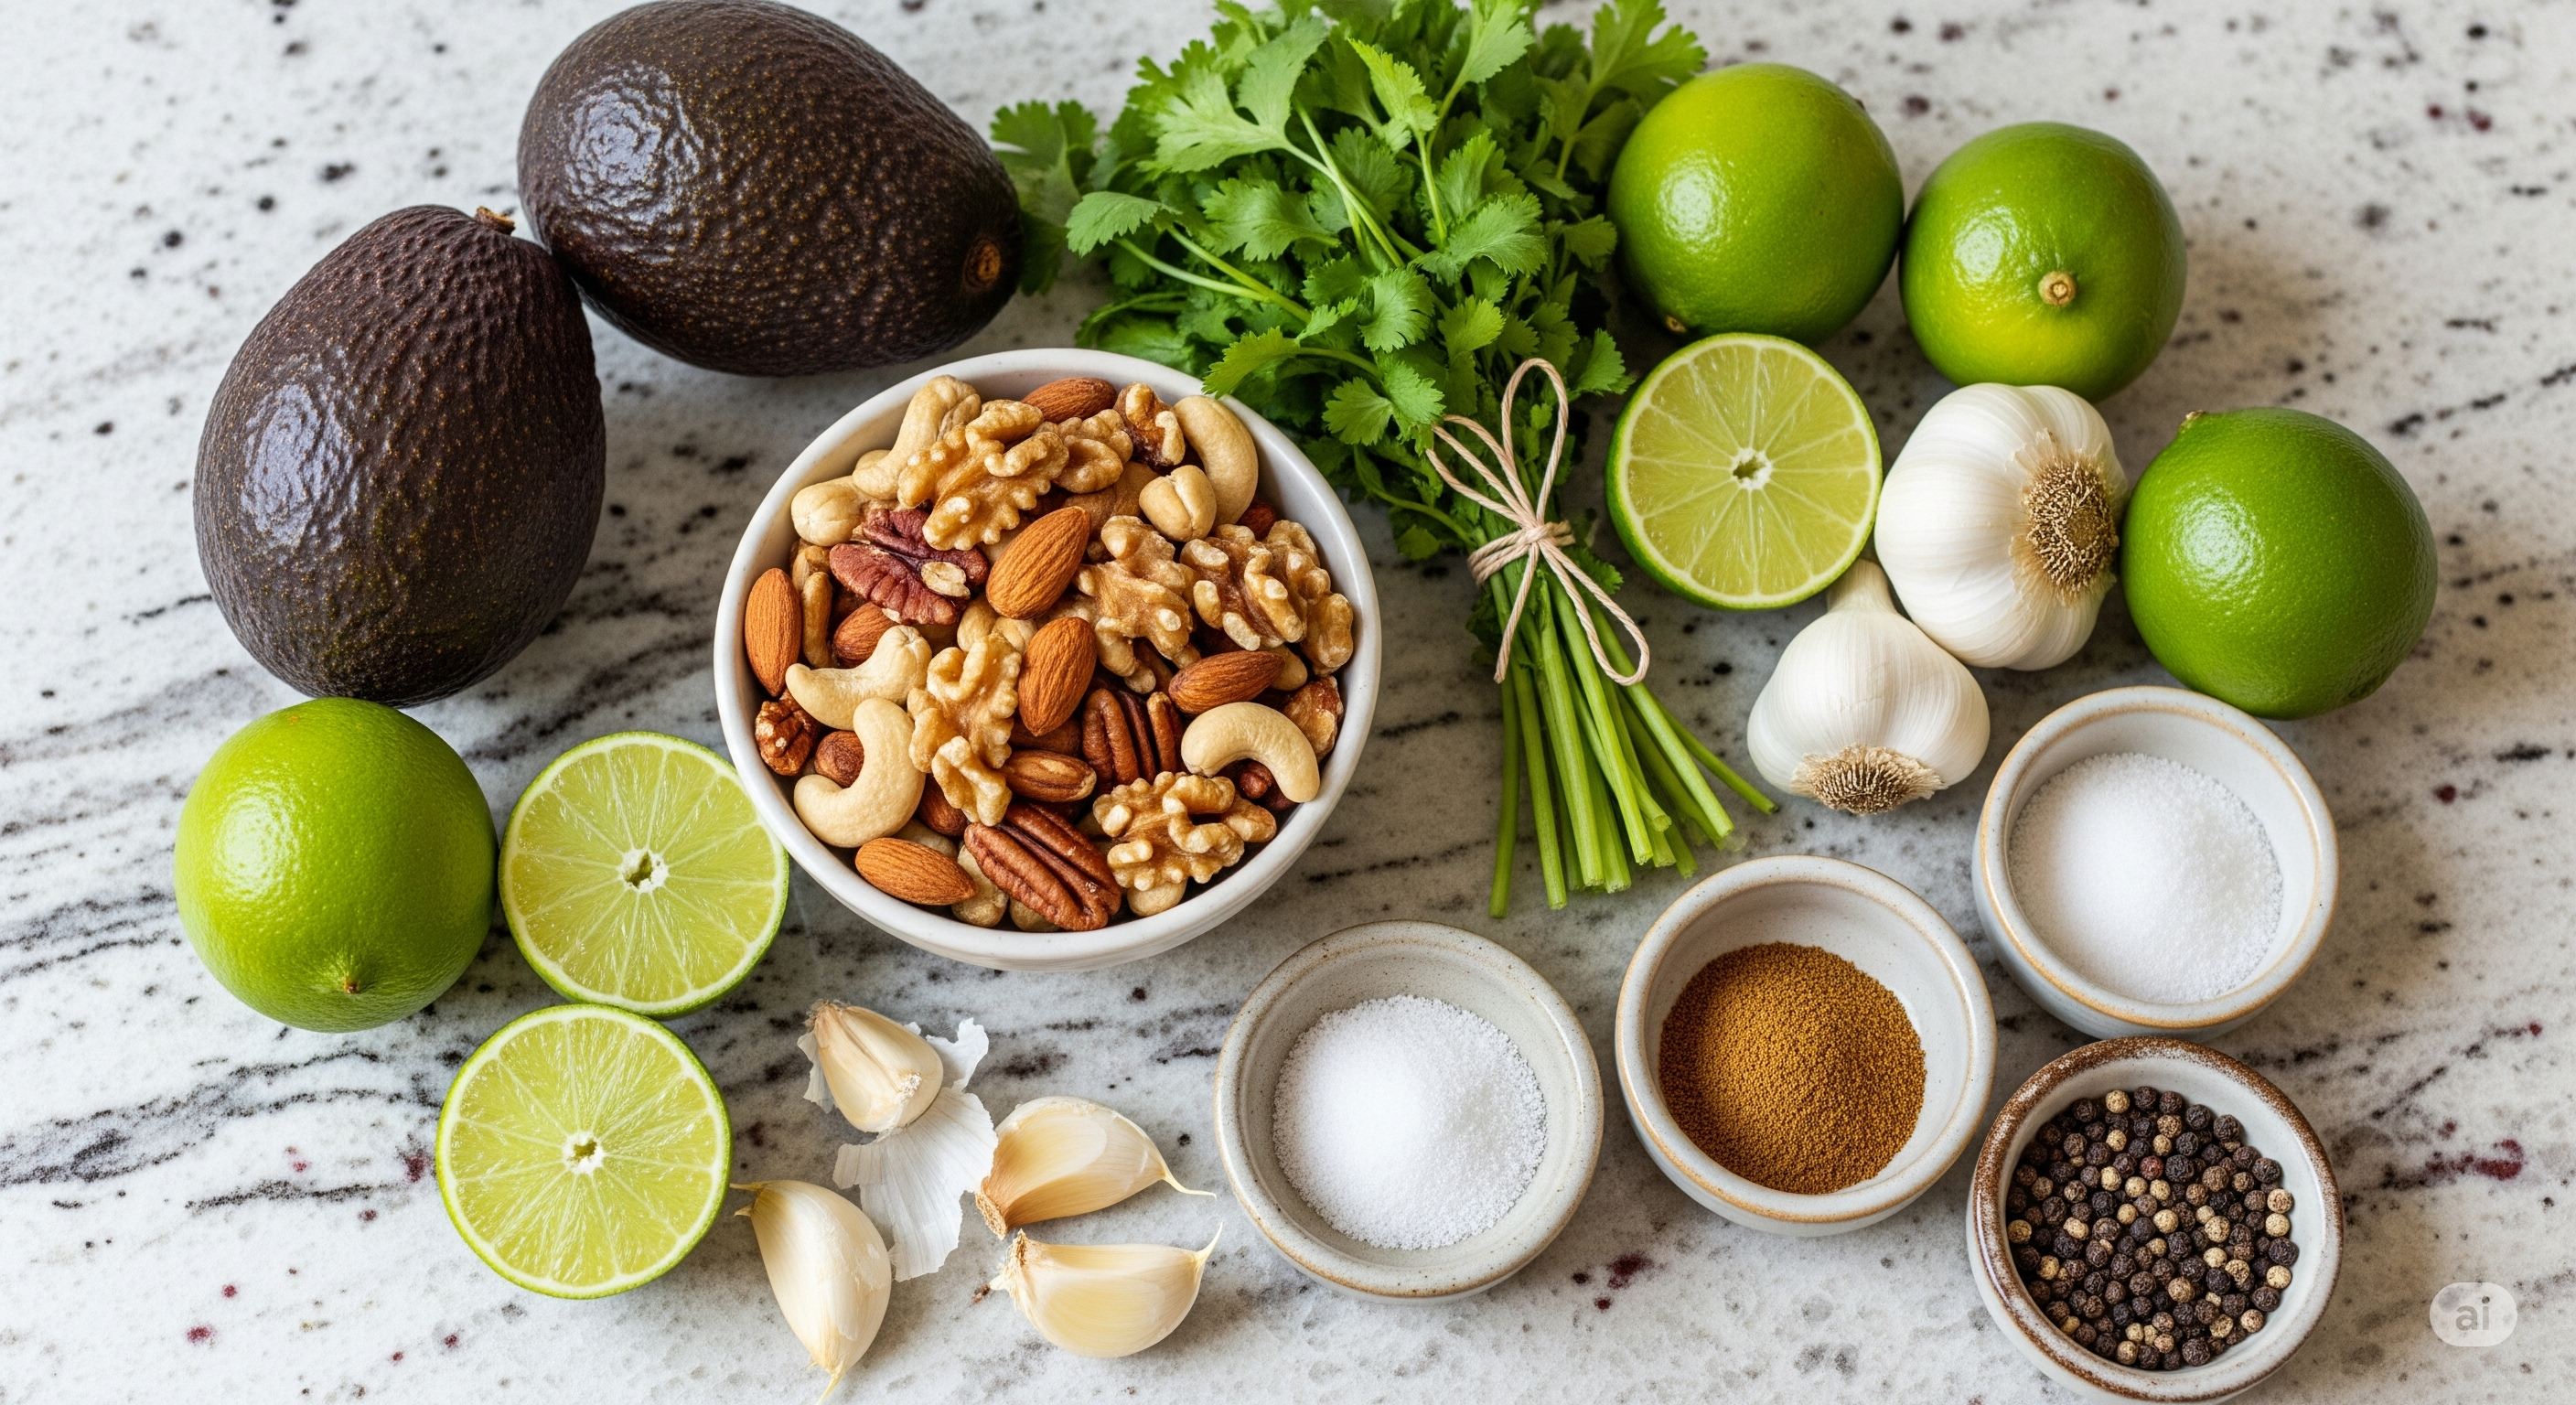
        The gallery shows the steamed chicken with herbs, a variety of nuts that can be used in this recipe and Avocados cut in half.


        The Easiest Way to Prepare Healthy Meals

        Time to Prepare: 10 minutes

        Time to Cook/Blend: 15-20 minutes

        Servings: 2-3


        Nutritional Breakdown (Approximate per serving):

        • Calories: 450-500 kcal
        • Protein: 40-45g
        • Fat: 25-30g (primarily healthy monounsaturated and polyunsaturated fats)
        • Carbohydrates: 5-10g
        • Fiber: 5-7g

        Note: Nutritional values are estimates and can vary based on portion size and specific ingredients.


        Essential Kitchen Equipment

        • A steamer basket or a large pot with a lid and a metal colander
        • Blender or food processor
        • Cutting board and sharp knife
        • Small saucepan or skillet for toasting nuts (optional)
        • Measuring cups and spoons

        Steamed Chicken with Avocado & Nut Sauce Ingredients

        • 2 boneless, skinless chicken breasts (about 6-8 ounces each)
        • 1 ripe avocado
        • 1/2 cup mixed nuts (almonds, cashews, walnuts are great)
        • 1/4 cup fresh cilantro or parsley, chopped
        • 1 tablespoon lime juice
        • 1-2 cloves garlic, minced
        • 1/2 teaspoon ground cumin
        • 1/4 cup warm water (or more for desired consistency)
        • Salt and black pepper to taste
        • Optional: a pinch of red pepper flakes for a little heat

        This gallery shows some of the equipment and ingredients used in this recipe.


        Simple Step-by-Step Instructions

        Prepare the Chicken for Steaming

        Pat the chicken breasts dry with a paper towel. Season them generously on all sides with salt and black pepper. This simple step is crucial for building flavor from the inside out. Prepare your steamer setup: add an inch or two of water to a large pot, place a steamer basket or colander inside, and bring the water to a boil.

        Steam the Chicken

        Carefully place the seasoned chicken breasts in the steamer basket. Cover the pot with a tight-fitting lid to trap the steam. Reduce the heat to a gentle simmer and let the chicken steam for 10-15 minutes, or until cooked through. A good way to check is to insert a meat thermometer into the thickest part; it should read 165°F (74°C). The chicken should be tender and juicy. Once cooked, remove the chicken from the steamer and let it rest on a cutting board for at least 5 minutes before slicing. Resting is key to keeping the juices inside the meat.

        Toast the Nuts (Optional but Recommended)

        While the chicken is steaming, you can toast the nuts. Place the nuts in a dry skillet over medium heat, stirring frequently for 2-3 minutes until they are lightly golden and fragrant. Be careful not to burn them. This step enhances their natural flavor and adds a deeper richness to the sauce. Let them cool slightly before adding to the blender.

        Make the Creamy Avocado Sauce

        While the chicken rests, prepare the sauce. Scoop the flesh of the ripe avocado into your blender or food processor. Add the toasted nuts (reserve a few for garnish), minced garlic, lime juice, cumin, chopped cilantro or parsley, and a pinch of salt and pepper.

        Blend the Sauce to Perfection

        Begin blending the ingredients. As the mixture starts to combine, slowly add the warm water, one tablespoon at a time, while the blender is running. Continue blending until you achieve a smooth, creamy consistency. You can add a little more water if you prefer a thinner sauce. Taste and adjust seasoning with more salt, pepper, or lime juice as needed. The sauce should be rich, tangy, and flavorful.


        The images shows avocado sauce in a blender and the avocado sauce drizzled on the steamed chicken slices.


        1. Slice and Serve: Slice the rested chicken breasts against the grain into thin, uniform pieces. Arrange the slices on a serving plate.
        2. Spoon on the Sauce: Generously spoon the creamy avocado and nut sauce over the sliced chicken. Garnish with the reserved whole nuts, a sprig of fresh cilantro, and a few slices of fresh avocado if you like. Serve immediately while the chicken is still warm.

        The Benefits of This Healthy Steamed Chicken With Avocado Recipe

        This recipe is more than just a delicious meal; it’s a powerhouse of nutritional benefits. Steaming chicken, as opposed to frying, drastically reduces the need for added oils and fats, keeping the calorie count low while retaining essential nutrients. The star of the show, the avocado, is a superfood packed with monounsaturated fats, which are known to support heart health and help lower bad cholesterol. These healthy fats also aid in the absorption of fat-soluble vitamins like A, D, E, and K, making the meal even more beneficial.

        The nuts in the sauce contribute a significant amount of plant-based protein, healthy fats, and fiber, promoting satiety and aiding in digestive health. They are also a great source of minerals like magnesium and potassium. The garlic and cilantro not only add incredible flavor but also provide antioxidants and anti-inflammatory properties. Finally, lime juice is a fantastic source of Vitamin C. This recipe is a perfect example of how a few simple, whole ingredients can come together to create a meal that is both satisfying and incredibly good for you.


        This gallery shows the benefits of Steaming, using plant ingredients in cooking such asNuts, Cilantro and Garlic.


        Variations for Every Palate

        VariationDescription
        Spicy KickAdd a pinch of red pepper flakes to the sauce before blending. You can also add a finely chopped jalapeño or a dash of your favorite hot sauce.
        Herbaceous TwistSwap cilantro for fresh basil, mint, or a combination of herbs.
        Nutty SwapDon’t have almonds? Use walnuts, pecans, or a combination. Sunflower seeds or pumpkin seeds are also great for a nut-free option.
        Vegetable PowerServe the chicken and sauce over steamed broccoli, roasted carrots, or sautéed spinach. This is an excellent way to add more nutrients.
        Grain BowlPlace the chicken and sauce over a bed of quinoa, brown rice, or couscous for a more filling meal.
        Vegan AlternativeSubstitute the chicken with steamed firm tofu or chickpeas. The sauce will still be just as delicious and nutritious.

        The gallery shows all the cooked ingredients for this rceipe.


        Final Thoughts on Steamed Chicken With Avocado

        This recipe for Steamed Chicken With Avocado and nut sauce is a culinary triumph in its simplicity. It’s a dish that respects the natural flavors of its ingredients while offering a wealth of health benefits. By choosing this recipe, you are making a conscious decision to nourish your body with wholesome, satisfying food. It’s a great way to introduce new flavors and textures into your diet and can be a fantastic starting point for exploring more clean-eating recipes. We encourage you to give this recipe a try tonight and discover just how easy and enjoyable healthy cooking can be. Your taste buds—and your body—will thank you!


        Frequently Asked Questions (FAQs)

        Q: Can I make the avocado sauce ahead of time?

        A: It is best to make the sauce right before serving to prevent the avocado from browning. The lime juice in the recipe helps to slow down oxidation, but for the best flavor and vibrant green color, prepare it fresh.

        Q: What is the best way to store leftovers?

        A: Store any leftover chicken and sauce in separate airtight containers in the refrigerator. The chicken will last for 2-3 days. The sauce may brown slightly, but it will still be safe to eat. You can gently reheat the chicken in a microwave or a skillet with a little water.

        Q: Can I use chicken thighs instead of breast meat?

        A: Yes, you can. Chicken thighs are a great alternative and often result in an even more moist and flavorful dish due to their higher fat content. The cooking time may be slightly longer, so be sure to check that the internal temperature reaches 165°F (74°C) before serving.

        Q: Can I freeze the leftover sauce?

        A: Freezing the sauce is not recommended. The high water content in the avocado can cause it to become watery and grainy when thawed. For the best texture and flavor, it’s best to prepare a fresh batch of sauce each time you make the recipe.


        References


        Recent Posts


        Healthy Chicken and Jollof Rice Bowl You’ll Love

        This delicious chicken and Jollof rice bowl combines vibrant flavors with balanced nutrition, making it perfect for a wholesome lunch or dinner. Packed with lean protein, vegetables, and fragrant rice, it’s a complete meal in one.


        The image shows a Chicken and jollof rice. The rice is central in a mound and surrounded by 2 chicken drumsticks and vegetables
        Chicken and Jollof Rice with Veg

        A Flavorful Twist on a Classic Dish

        There’s something irresistible about a bowl meal — perfectly portioned, colorful, and full of flavor. This Healthy Chicken and Jollof Rice Bowl takes inspiration from West Africa’s beloved jollof rice, pairing it with tender, spiced chicken and crisp fresh vegetables for a balanced, nutrient-rich dish.

        Unlike the heavier versions you might find at street parties or large gatherings, this recipe takes a lighter approach without losing the essence of jollof. The sauce is rich in tomato and pepper flavor but cooked with just enough oil to give depth without excess heaviness. Add the lean chicken and a rainbow of vegetables, and you’ve got a dish that’s both satisfying and nourishing.

        Jollof rice is already known for its comfort factor — it’s the kind of dish that makes you feel at home. By serving it as part of a bowl with healthy toppings and sides, you can turn it into a versatile meal that works for busy weeknights, meal prep lunches, or even weekend get-togethers.

        This version keeps everything balanced: carbs from the rice, protein from the chicken, and fiber plus micronutrients from vegetables. The flavors are bold and slightly smoky, with a gentle heat that you can easily adjust to your preference.

        Whether you’re familiar with West African cooking or this is your first foray into it, this chicken and jollof rice bowl is the perfect starting point. It’s colorful, comforting, and easy to customize — you might just find it becoming a new household favorite.


        Raw Ingredients

        Time to Prepare

        15 minutes

        Time to Cook

        40 minutes


        Kitchen Equipment

        • Large sauté pan or skillet with lid
        • Medium saucepan for rice
        • Blender or food processor (for blending the pepper sauce)
        • Sharp chef’s knife and cutting board
        • Wooden spoon or spatula
        • Measuring cups and spoons
        • Mixing bowls

        Instructions For Chicken and Jollof Rice

        1. Prepare the Chicken Drumsticks
          • Pat the drumsticks dry and place in a bowl. Add olive oil, smoked paprika, coriander, garlic powder, salt, and black pepper. Rub well to coat.
          • Place on a baking sheet and roast at 200°C (400°F) for 30–35 minutes until golden brown and fully cooked. Garnish with chopped parsley.
        2. Cook the Jollof Rice
          • Heat oil in a large pan over medium heat. Add chopped onions and sauté until softened.
          • Stir in tomato paste, blended tomato, and red pepper. Cook for 10 minutes, stirring occasionally.
          • Add smoked paprika, thyme, bay leaf, salt, and pepper. Stir well.
          • Pour in chicken stock and bring to a boil. Add the rinsed rice and reduce heat to low. Cover and simmer for 20–25 minutes, or until rice is tender and liquid absorbed.
        3. Prepare the Fresh Vegetables
          • While the rice cooks, wash and slice cucumber, tomatoes, cherry tomatoes, bell peppers, and red onion. Keep them fresh and crisp for plating.
        4. Make the Yogurt Herb Dip (Optional)
          • Mix Greek yogurt with lemon juice, dill, salt, and pepper. Transfer to a small serving bowl.
        5. Assemble the Chicken and Jollof Rice Bowl
          • Place a neat mound of jollof rice in the center of a wide serving plate.
          • Arrange cucumber slices, tomato slices, cherry tomatoes, bell peppers, and onion rings around the rice in colorful sections.
          • Position the roasted chicken drumsticks on one side of the plate.
          • Garnish with fresh parsley and serve with a lemon wedge, radish, and a small bowl of yogurt herb dip


        Benefits of This Healthy Chicken and Jollof Rice Bowl

        This bowl isn’t just delicious — it’s a powerhouse of balanced nutrition:

        • Protein for Muscle Health: Lean chicken breast delivers high-quality protein essential for muscle repair, immune health, and satiety.
        • Complex Carbs for Steady Energy: Jollof rice made with long-grain rice provides slow-release energy that keeps you full for hours.
        • Rich in Antioxidants: Tomatoes, red peppers, and fresh herbs are loaded with antioxidants like vitamin C, lycopene, and beta-carotene, which help fight inflammation and support immune function.
        • Fiber for Digestive Health: Vegetables like green beans, carrots, and cucumber provide soluble and insoluble fiber to promote healthy digestion.
        • Customizable Heat Level: Adjust the chili to suit your spice preference without losing the depth of flavor.
        • Lower Oil Content: This version uses minimal oil compared to traditional recipes, making it heart-friendly while still full of flavor.
        • Meal Prep Friendly: Store portions in airtight containers for up to 3 days in the fridge. Reheat with a splash of water to keep the rice fluffy.
        • Globally Inspired & Kid-Friendly: The smoky-sweet flavor is appealing to adults while still mild enough for children.
        • Nutritional Balance in One Bowl: Each serving gives you a perfect mix of protein, carbs, healthy fats, and fiber — no extra sides required.

        Variations For Chicken and Jollof Rice

        VariationWhat to ChangeWhy Try It
        VegetarianSwap chicken for grilled tofu or chickpeasKeeps the protein without meat
        SpicyAdd extra fresh chili or ½ tsp cayenne to the sauceBoosts metabolism and heat
        Low-CarbReplace rice with cauliflower riceCuts carbs while keeping flavor
        Seafood TwistUse shrimp instead of chickenAdds omega-3 fatty acids
        Extra VeggieAdd zucchini or spinach to the riceIncreases micronutrient content

        Nutritional Value (Per Serving)

        • Calories: 410
        • Protein: 32g
        • Carbohydrates: 48g
        • Fats: 9g

        Serves: 4


        Final Thoughts On Chicken and Jollof Rice

        The Healthy Chicken and Jollof Rice Bowl is proof that you can enjoy deeply comforting flavors without sacrificing nutrition. It’s vibrant, satisfying, and easy enough for weeknight cooking — while still impressive enough for guests. With its mix of textures, colors, and global inspiration, this is one meal you’ll look forward to again and again.

        Frequently Asked Questions

        1. Can I make jollof rice ahead of time?
        Yes! Cook the rice and store it in the fridge for up to 3 days. Reheat with a little broth or water to restore moisture.

        2. How do I make this spicier?
        Add extra chili or a pinch of cayenne pepper while cooking the sauce.

        3. Can I freeze chicken and jollof rice?
        Yes, both freeze well. Store in freezer-safe containers for up to 2 months. Thaw overnight before reheating.

        4. Can I cook this in one pot?
        Absolutely. Cook the chicken first, set aside, then make the jollof in the same pan. Return the chicken to the pot before serving for fewer dishes to wash.


        References

        1. Harvard T.H. Chan – Protein is important
        2. American Heart Association – Healthy Cooking Oils
        3. World Health Organization – Increasing fruit and vegetable

        Recent Posts


        The Ultimate Plate With Greens, Chicken & Roasted Veg

        This hearty recipe featuring chicken & roasted veg is a beautiful blend of color, nutrition, and comfort. It’s perfect for clean eating without sacrificing flavor. Packed with vibrant greens and rich textures, it makes healthy meals feel truly satisfying.


        Showing is a plate with Greens, Chicken & Roasted Veg with a dribble of  herb sauce
        Greens And Chicken

        A colorful, nutrient-rich Chicken & Roasted Veg meal you’ll love.


        Eating healthy doesn’t have to mean eating boring. In fact, some of the most nutritious meals are the ones that burst with color and texture on your plate. This recipe—featuring tender herb chicken, garlicky sautéed greens, creamy cauliflower mash, and sweet roasted red peppers—isn’t just balanced, it’s visually stunning and crave-worthy.

        This dish brings together the best of clean eating with real comfort food satisfaction. Each component is prepared simply, but thoughtfully, to let the natural flavors shine. Whether you’re cooking for yourself, your family, or meal prepping for the week, this meal is designed to be nourishing, impressive, and easy to make.

        More than just a healthy option, this plate represents a shift toward mindful eating. When your meal is colorful, thoughtfully arranged, and full of texture, it invites you to slow down and appreciate each bite. Studies have shown that colorful, well-plated food can enhance mood and even digestion. This recipe embraces that idea, delivering not only nutrients but also joy.


        Time to Prepare & Cook

        Time to Prepare: 20 minutes
        Time to Cook: 35 minutes


        Ingredients For Chicken & Roasted Veg

        For the Herb Chicken:

        • 2 boneless, skinless chicken breasts
        • 1 tablespoon olive oil
        • 1 teaspoon dried Italian herbs
        • 1 clove garlic, minced
        • 1/2 teaspoon salt
        • 1/4 teaspoon black pepper
        • Juice of 1/2 lemon

        For the Greens:

        • 4 cups mixed leafy greens (baby kale, spinach, arugula)
        • 1 teaspoon olive oil
        • 1 clove garlic, minced
        • Pinch of sea salt

        For the Cauliflower Mash:

        • 1 small head cauliflower, chopped
        • 2 cloves garlic, peeled
        • 1 tablespoon olive oil or Greek yogurt
        • Salt and pepper to taste

        For the Roasted Reds:

        • 1 red bell pepper, sliced into strips
        • 1 cup cherry tomatoes
        • 1 teaspoon olive oil
        • Pinch of salt


        Instructions For Chicken & Roasted Veg

        1. Preheat the oven to 400°F (200°C). Line a baking sheet with parchment paper.
        2. Prepare the chicken. In a bowl, mix olive oil, lemon juice, garlic, herbs, salt, and pepper. Coat the chicken breasts in the marinade and set aside.
        3. Roast the vegetables. On the lined sheet, arrange red bell pepper and cherry tomatoes. Drizzle with olive oil and a pinch of salt. Roast for 25–30 minutes or until caramelized.
        4. Bake the chicken. Add the marinated chicken to the same sheet pan or a separate one. Bake for 20–25 minutes until the internal temperature reaches 165°F.
        5. Make the cauliflower mash. Steam the cauliflower and garlic cloves until soft (about 10 minutes). Transfer to a blender or food processor with olive oil or Greek yogurt. Blend until smooth and season to taste.
        6. Sauté the greens. Heat olive oil in a pan over medium heat. Add garlic and greens. Sauté just until wilted—about 2 minutes.
        7. Assemble the plate. Spoon cauliflower mash onto a plate, add a pile of greens, arrange roasted reds, and top with sliced chicken. Garnish with lemon zest or fresh herbs if desired.

        Raw Ingredients on a table in preparatin for cooking
        Fresh Ingredients

        What Makes This Plate So Visually Satisfying?

        This meal isn’t just nutritious—it’s designed to be a feast for the eyes. The vibrant greens, creamy whites, golden chicken, and deep red vegetables create a balanced color palette that instantly draws you in. That’s no accident.

        Eating the rainbow isn’t just trendy—it helps ensure a wide range of nutrients while keeping meals exciting. Plating food with clear sections and varied textures adds a restaurant-quality touch. Use contrasting elements: crisp roasted edges, tender chicken, velvety mash, and bright greens. A sprinkle of fresh herbs, a drizzle of olive oil, or a twist of lemon zest elevates the dish visually and flavor-wise.

        Nutritional Information

        Here’s a breakdown of the approximate nutritional content per serving:

        • Calories: 420 kcal
        • Protein: 38g
        • Carbohydrates: 18g
        • Fiber: 6g
        • Fat: 22g
        • Saturated Fat: 3g
        • Sugar: 6g
        • Sodium: 550mg

        Note: Nutritional values are estimates and can vary based on portion size and exact ingredients used.

        This meal offers a balanced macronutrient profile, making it suitable for high-protein diets, clean eating, or general healthy eating goals.

        Benefits of Chicken & Roasted Veg

        • Balanced macronutrients: Protein, healthy fats, and complex carbs for long-lasting energy.
        • Antioxidant-rich: Tomatoes, greens, and peppers provide immune-boosting antioxidants.
        • Gut-friendly: Cauliflower and leafy greens support digestion.
        • Low-calorie, high-satiety: Filling without heaviness.
        • Visually satisfying: A rainbow plate encourages mindful, enjoyable eating.
        • Easy to meal prep: Each element stores well and holds up in reheating.

        Variations Of Chicken & Roasted Veg

        VariationSwap or Add
        VegetarianReplace chicken with grilled tofu or portobello mushrooms
        Low-carbUse zucchini ribbons instead of cauliflower mash
        SpicyAdd chili flakes to the greens or chicken marinade
        HeartyAdd roasted sweet potatoes or quinoa on the side
        Dairy-FreeUse olive oil instead of yogurt in the mash

        Variation of greens and chicken
        Greens and Chicken

        Frequently Asked Questions (FAQs)

        Can I meal prep this recipe?

        Yes! All components hold up well in the fridge for up to 4 days. Store separately and reheat gently for best texture.

        Can I use frozen vegetables?

        You can substitute frozen cauliflower and spinach in a pinch. Just be sure to drain excess moisture before use.

        Is this recipe gluten-free?

        Yes, this entire recipe is naturally gluten-free as written.

        What herbs work best if I don’t have Italian seasoning?

        Try a mix of rosemary, thyme, parsley, and oregano.


        Final Thoughts For Chicken & Roasted Veg

        This dish is proof that healthy eating can be both beautiful and deeply satisfying. With its stunning color palette, clean flavors, and nutrient-dense ingredients, it’s the kind of recipe you’ll want to return to again and again. Whether you’re cooking for one or preparing for a group, it delivers elegance and ease in every bite.

        So grab a fork and enjoy the balance—your body (and your eyes) will thank you.


        References


        Recent Posts