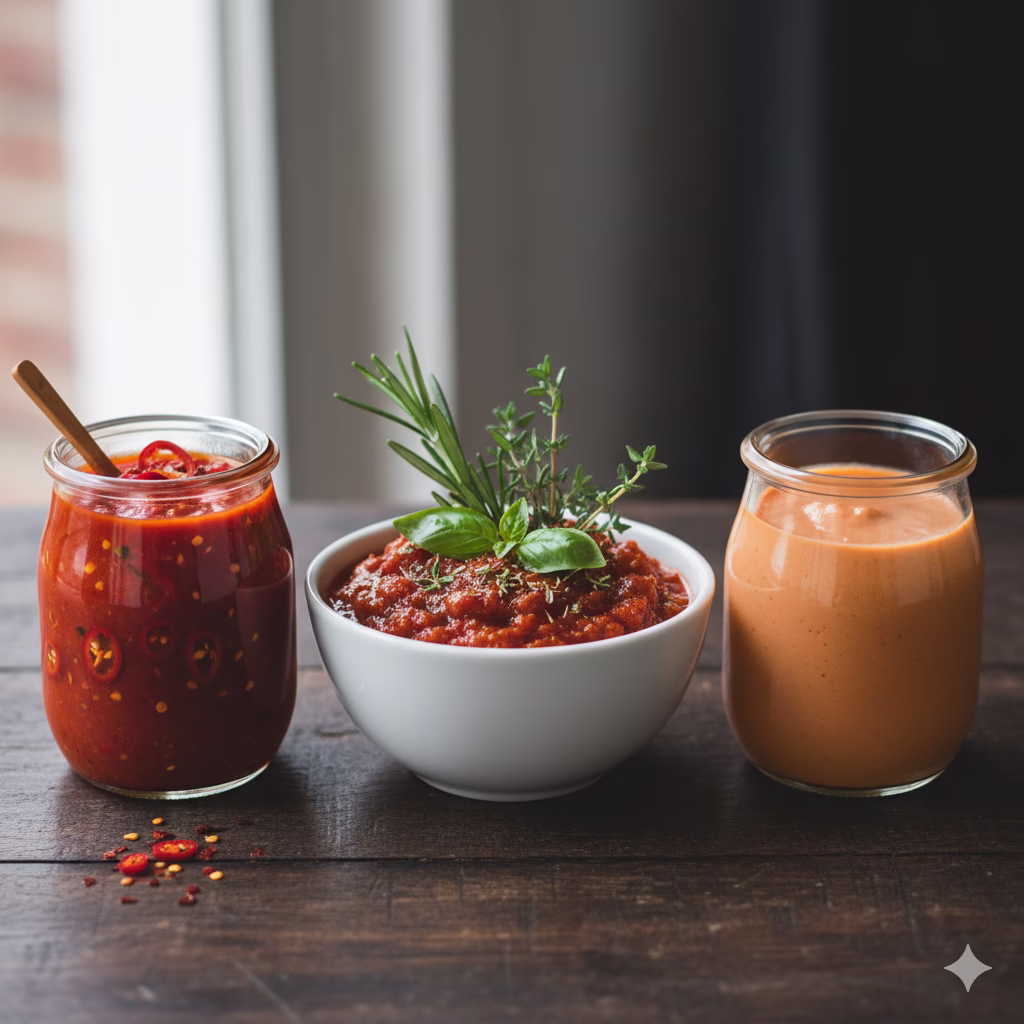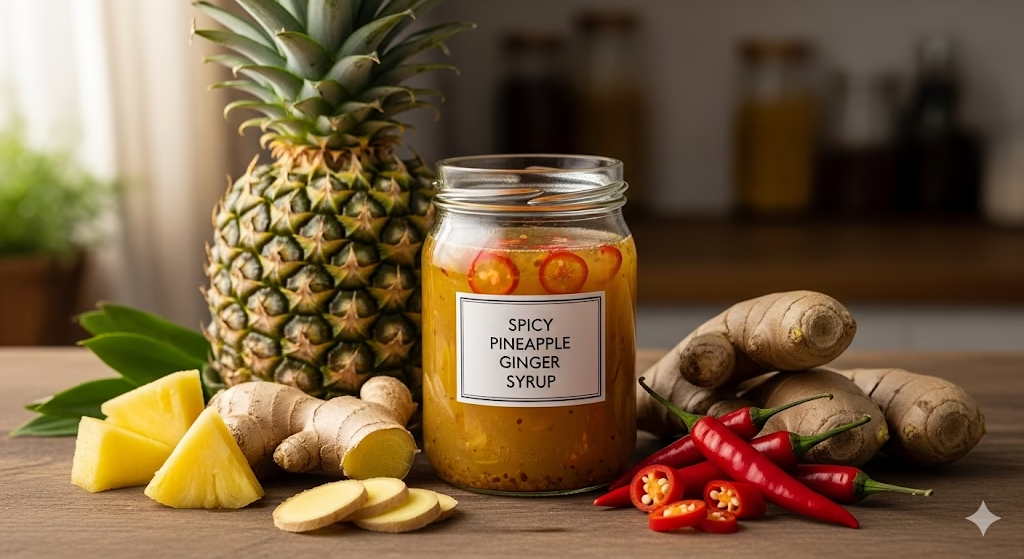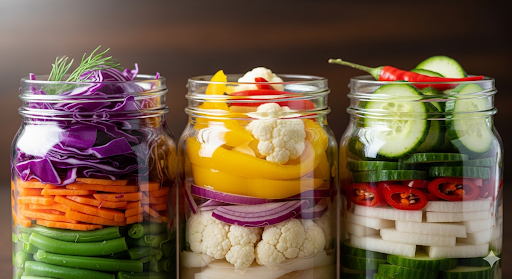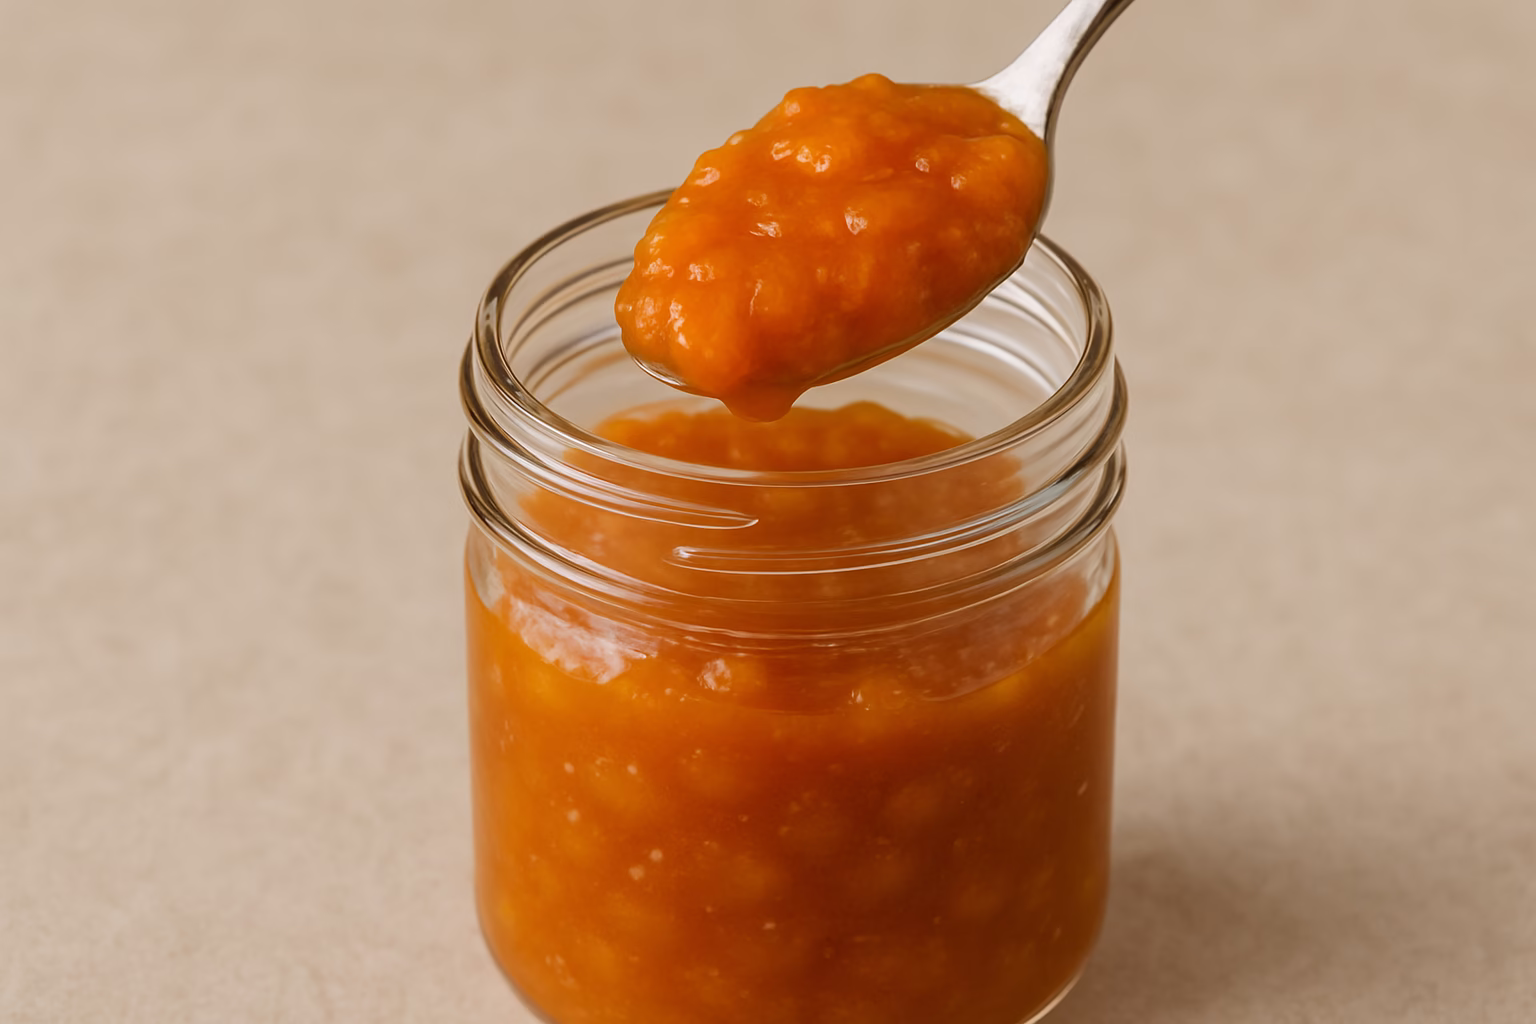
Explore the vibrant world of homemade Pumpkin & Ginger Chutney. This delightful condiment, infused with warm cinnamon, is perfect for enhancing roasted meats, cheese boards, sandwiches, and more.
The Perfect Fall Condiment
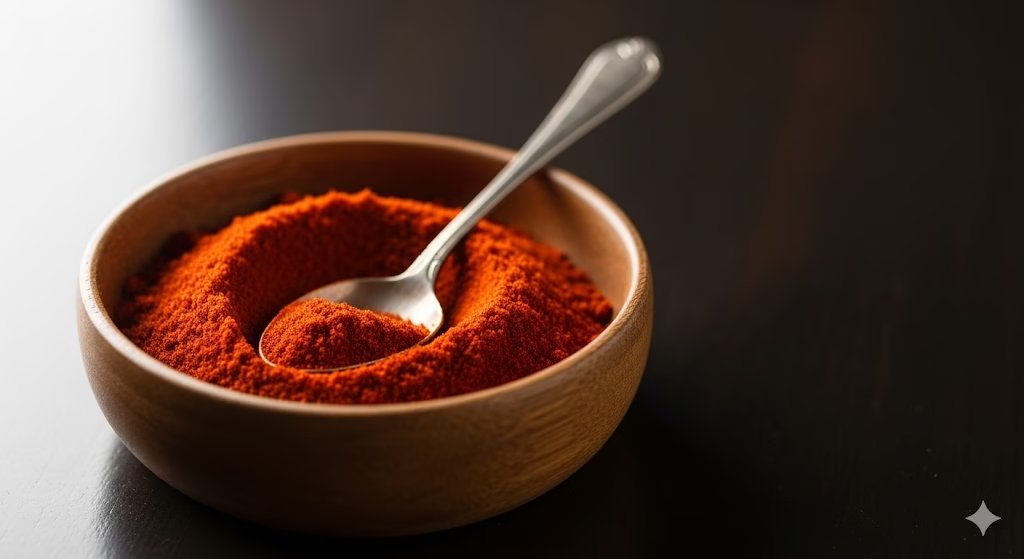
When the weather turns cool, we crave the cozy, warm tastes of autumn. We all love pumpkin spice and roasted squash. But there is another great food that you may not know about: chutney. This bright, tasty sauce comes from South Asia. It brings together sweet, savory, and spicy flavors in a wonderful way. Picture the earthy, sweet taste of pumpkin mixed with the zesty kick of ginger. Add the cozy feeling of cinnamon. It’s truly a perfect flavor mix for the season.
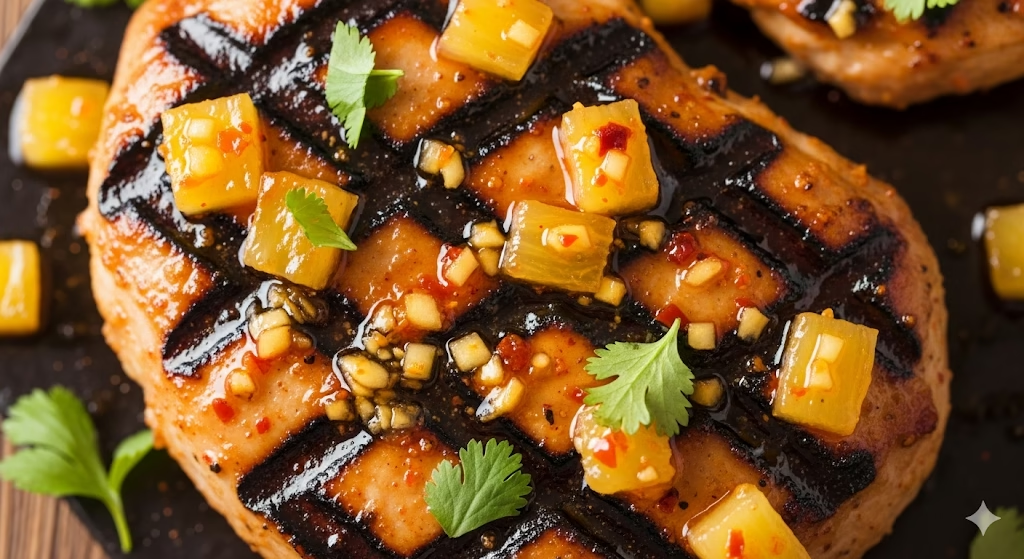
Chutney is a very useful item in the kitchen. It can make a simple sandwich special. And adds a gourmet touch to a cheese board. It can even turn plain grilled chicken into something amazing. The best part of making your own Pumpkin & Ginger Chutney is that you can change the recipe. You decide on the ingredients, the spice level, and the flavors. This makes sure it fits your tastes and diet. This recipe helps you make a healthy and wholesome sauce. It is full of natural goodness.
Pumpkin & Ginger Chutney: A Versatile Culinary Companion
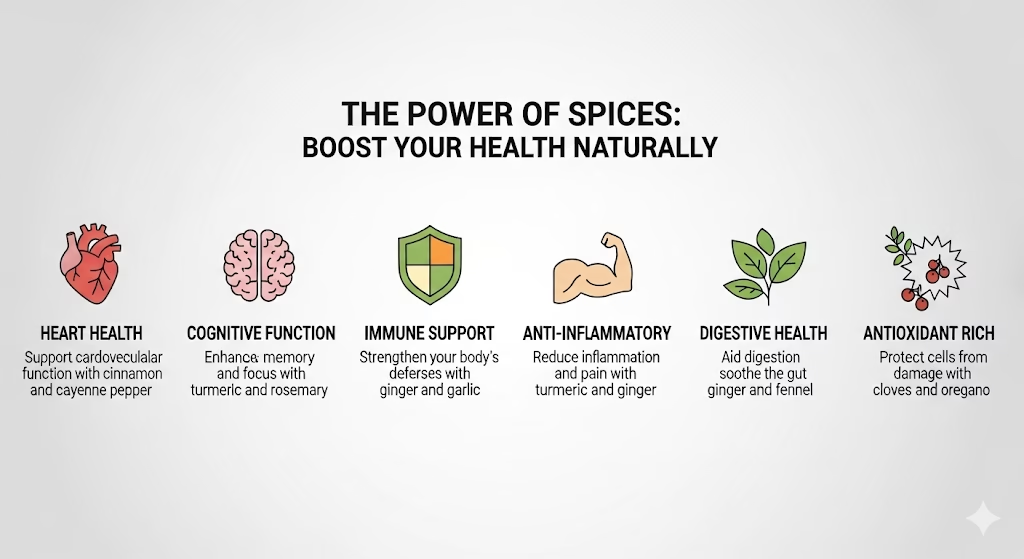
This Pumpkin & Ginger Chutney is more than just tasty. It is a great way to add more vegetables and healthy spices to your diet. Pumpkin is full of good things. It has many vitamins, minerals, and antioxidants. Ginger is famous for helping with digestion and fighting swelling in the body. Cinnamon also helps keep your blood sugar balanced. When these three mix, they make a delicious and nourishing addition to any meal. This chutney is very good for you.
Making your own chutney may seem hard at first. But this recipe is made to be simple and easy to follow. Even if you are new to cooking, you can do this. We will walk you through every step. You will get a perfect, balanced, and delicious result. Forget about boring sauces from the store. You can make a wonderful sauce at home. It will impress your friends and family. It will soon be a must-have in your kitchen.
So, get your ingredients ready. Clear your counter space. Prepare for a fun cooking adventure. This simple pumpkin and ginger chutney with cinnamon is much more than a recipe. It is a chance to enjoy the flavors of the season. It adds warmth, health, and homemade goodness to your food. Get ready to love your new favorite condiment!
Time to Prepare and Cook
Time to Prepare
- Prep Time: 25 minutes (This includes cutting the pumpkin and ginger)
Time to Cook/Blend
- Stovetop Cooking: 45-60 minutes
- Alternative Cooking Method (Slow Cooker): 3-4 hours on high, 6-8 hours on low
Nutritional Information (per serving, estimated)
- Calories: 80-100 kcal
- Total Fat: 1-2g
- Saturated Fat: 0g
- Cholesterol: 0mg
- Sodium: 50-70mg
- Total Carbohydrates: 20-25g
- Dietary Fiber: 2-3g
- Sugars: 15-20g (mostly natural from pumpkin and apple)
- Protein: 1g
- Vitamin A: Excellent source
- Vitamin C: Good source
(Note: These numbers are estimates. They may change based on your exact ingredients and portion sizes.)
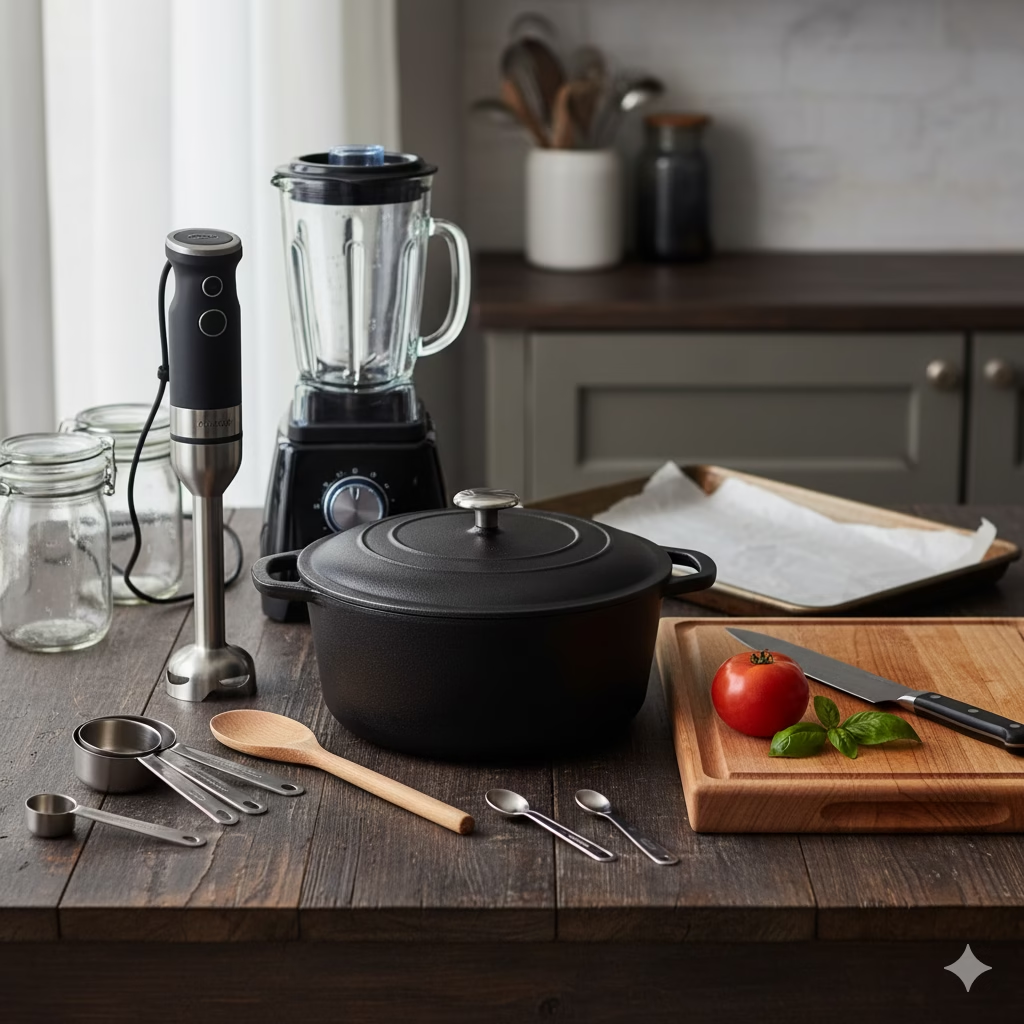
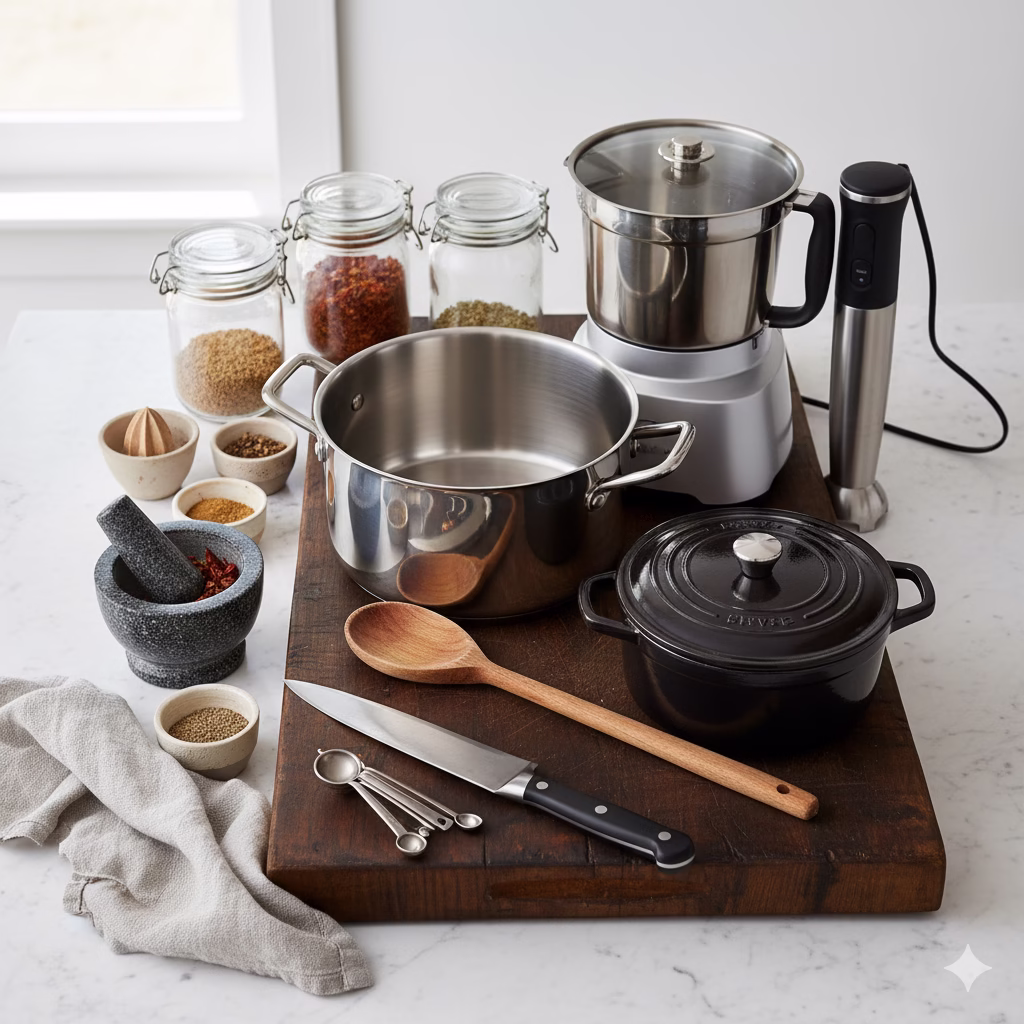
Equipment You’ll Need
- A large, heavy-bottomed pot or Dutch oven
- A cutting board
- A sharp knife
- Measuring cups and spoons
- A vegetable peeler
- A grater (optional, for ginger)
- A stirring spoon
- Sterilized jars for storing the chutney
Servings
- This recipe makes about 4-5 cups of chutney. This is about 20-25 servings (about 2-3 tablespoons per serving).
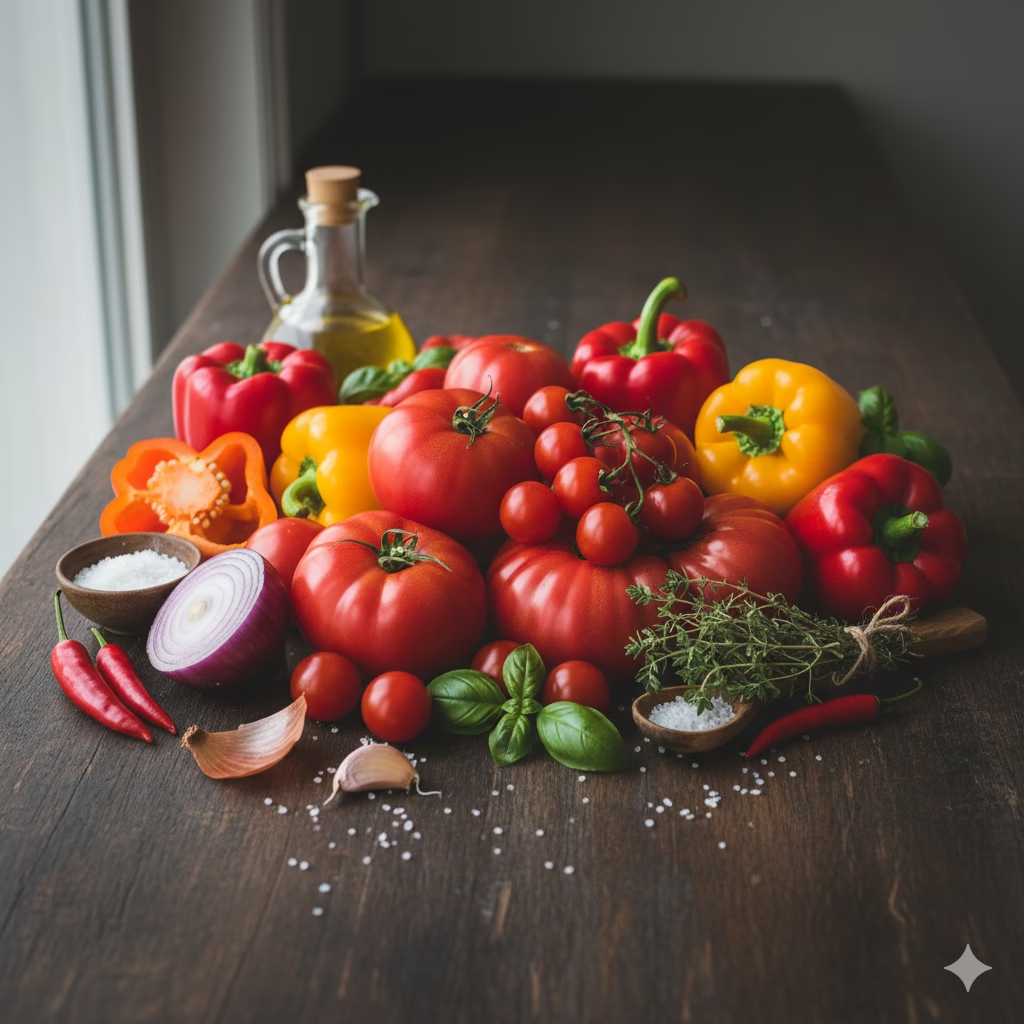
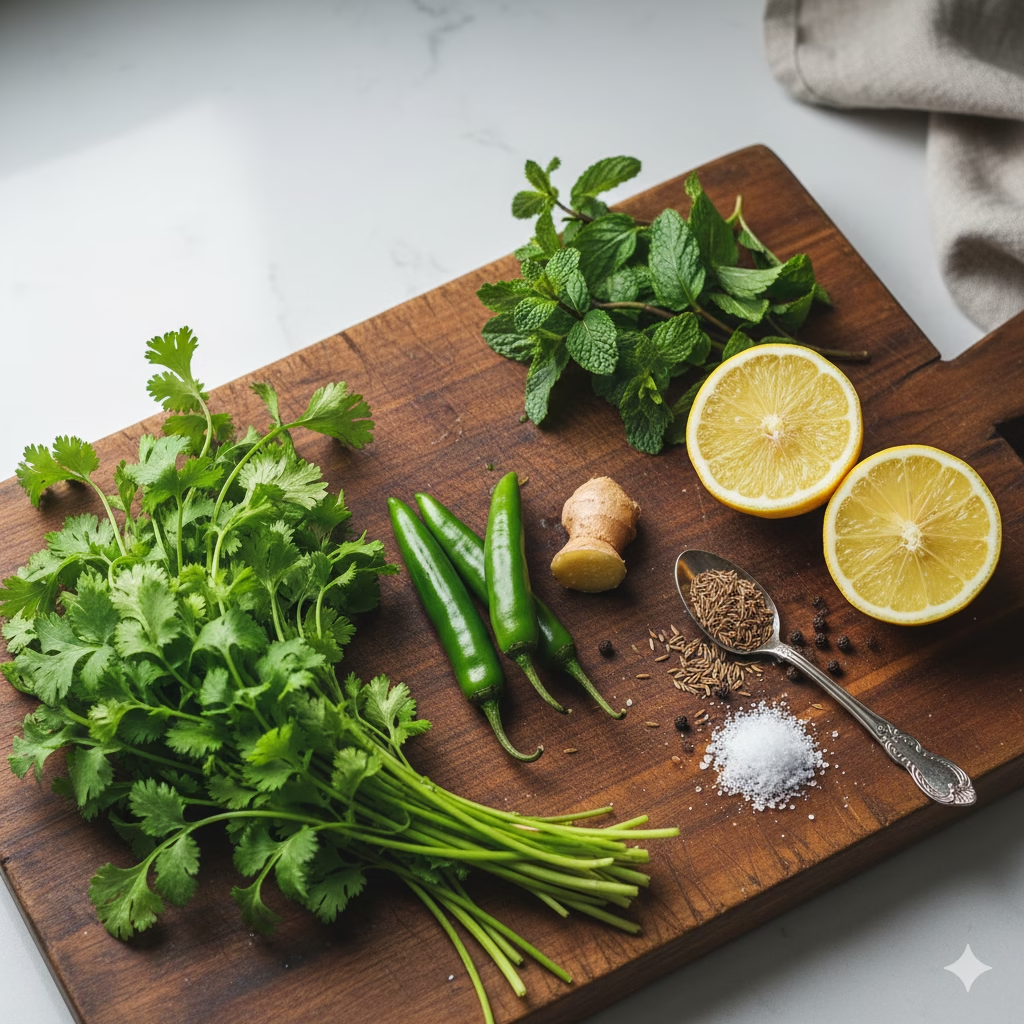
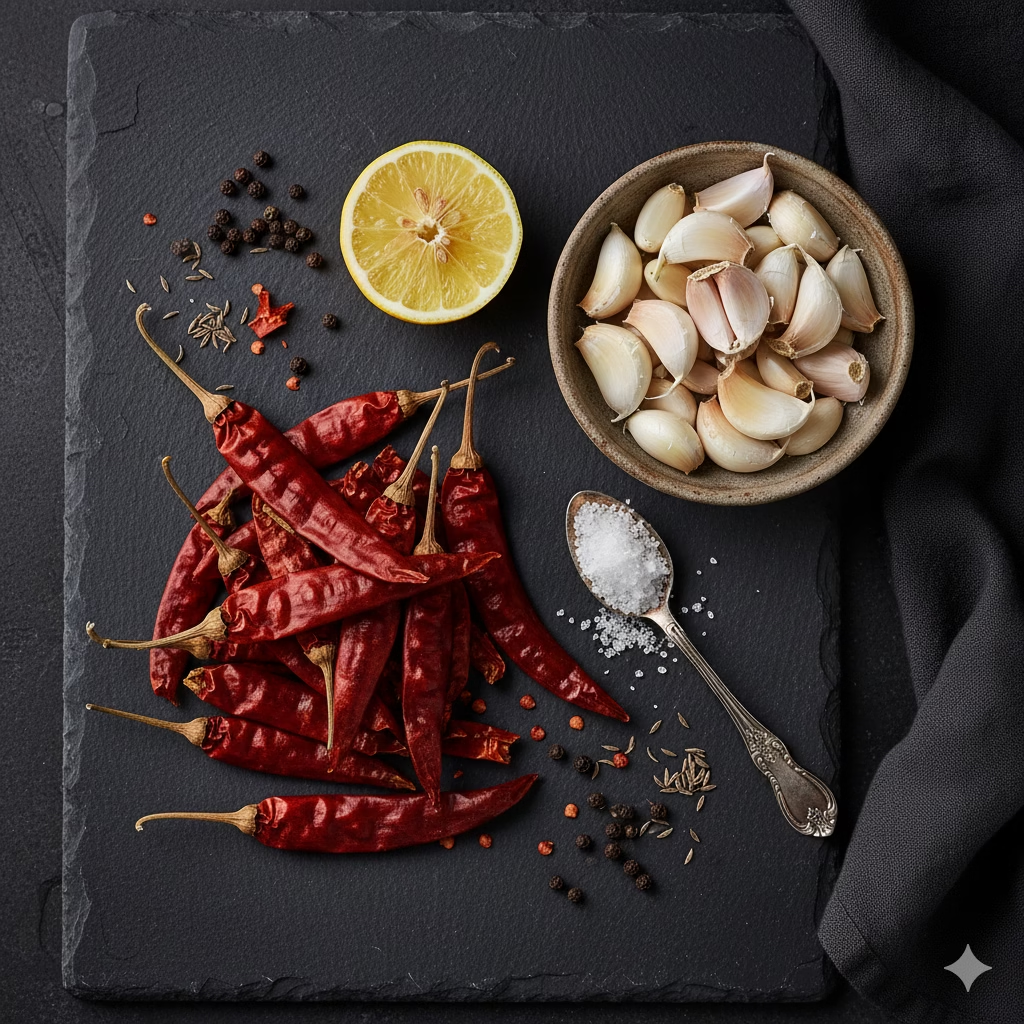
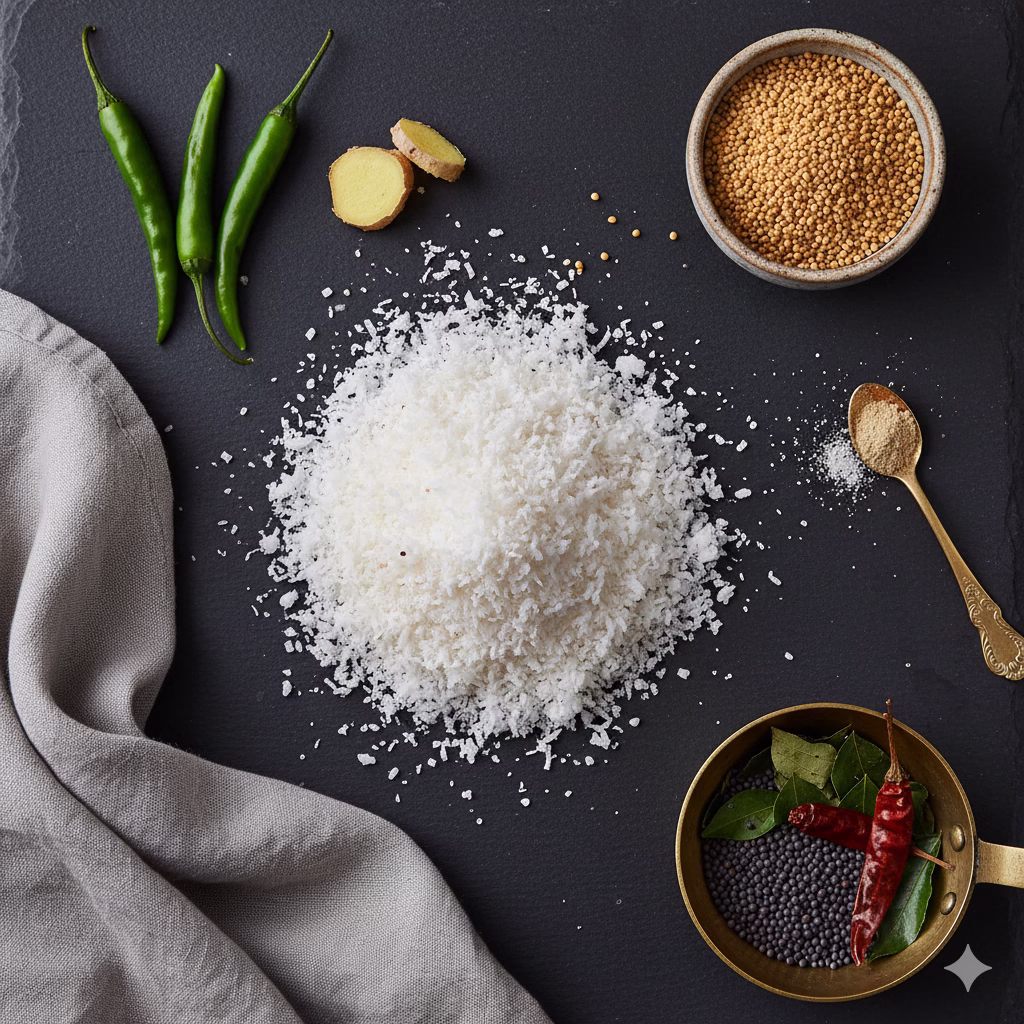
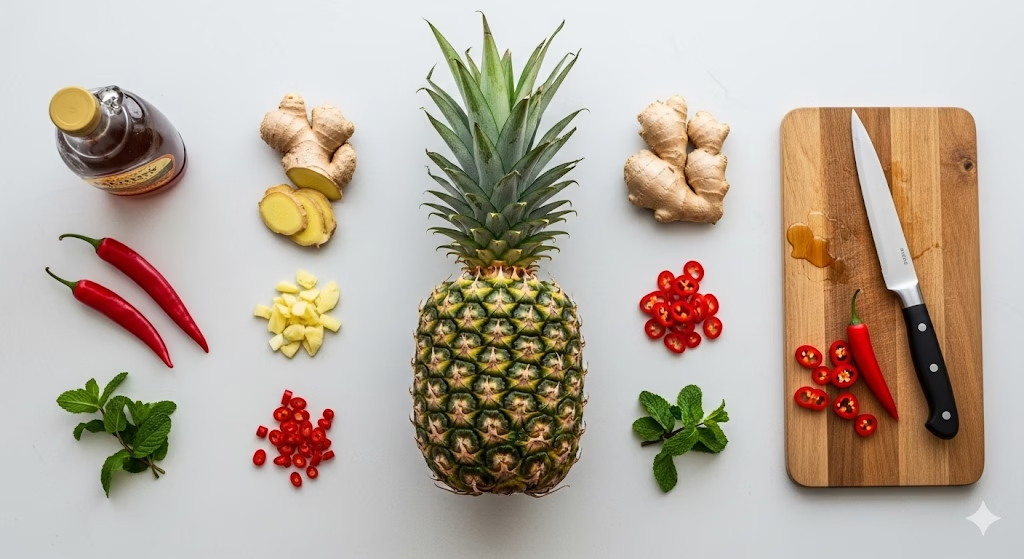
Ingredients for Your Delightful Pumpkin & Ginger Chutney
Here is what you will need. We use fresh, healthy ingredients for the best taste and nutrition.
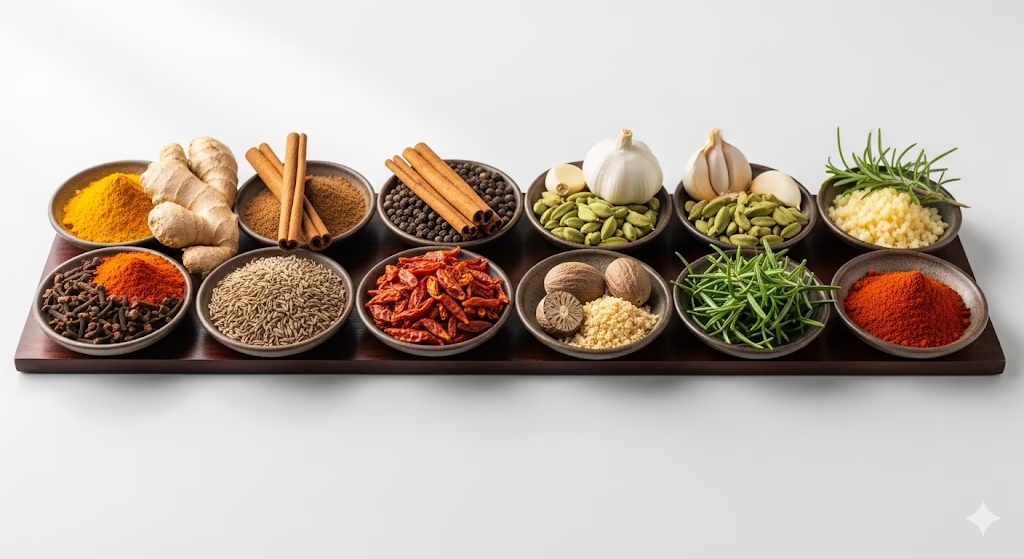
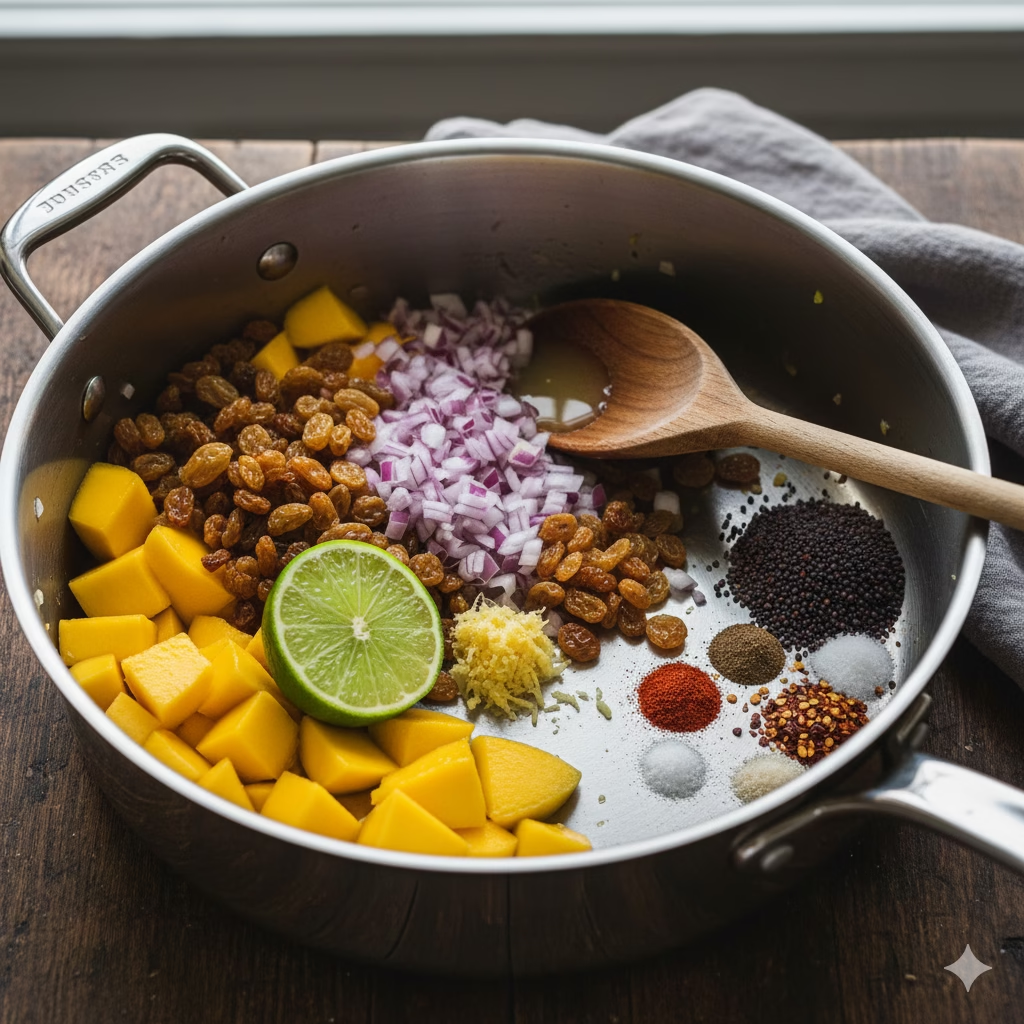
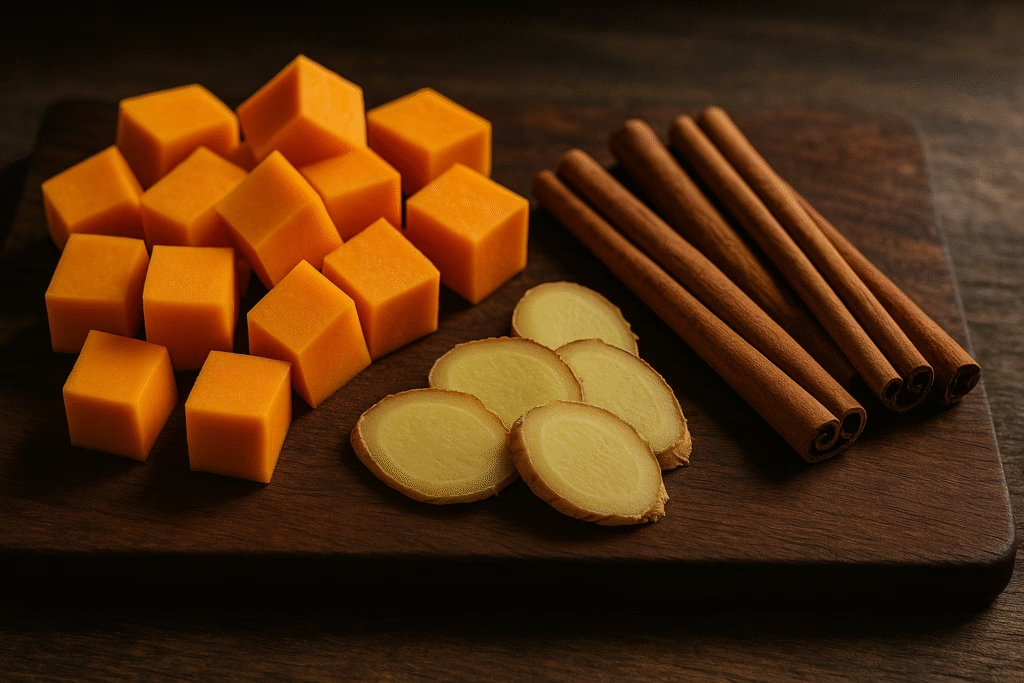
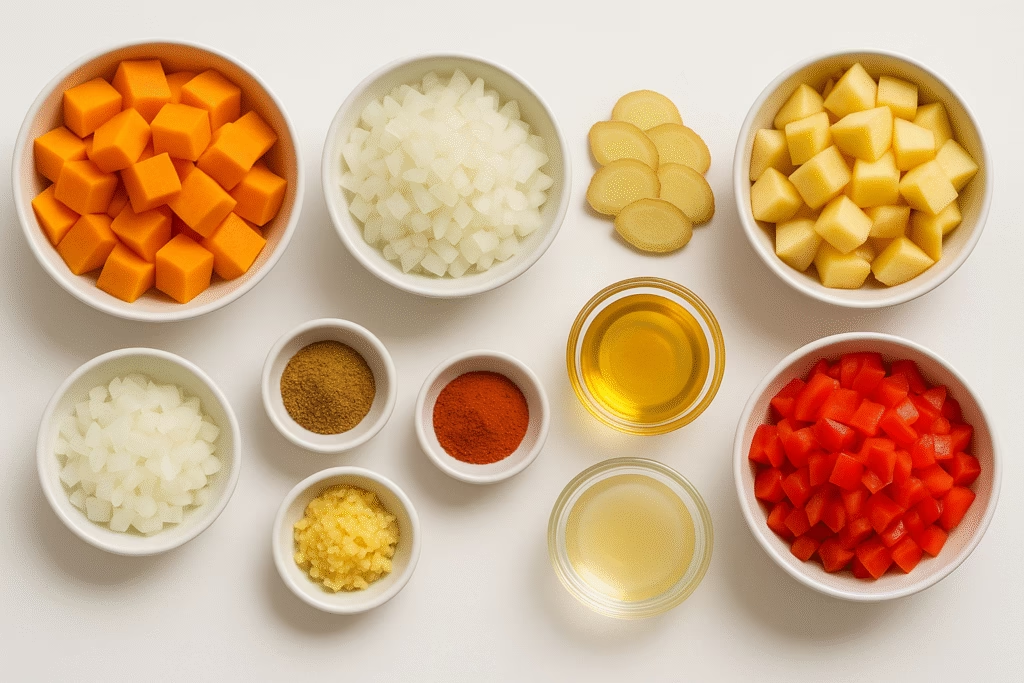
- 2 lbs (about 900g) pumpkin, peeled, seeds removed, and cut into small, ½-inch cubes (Butternut or Hokkaido pumpkin work well)
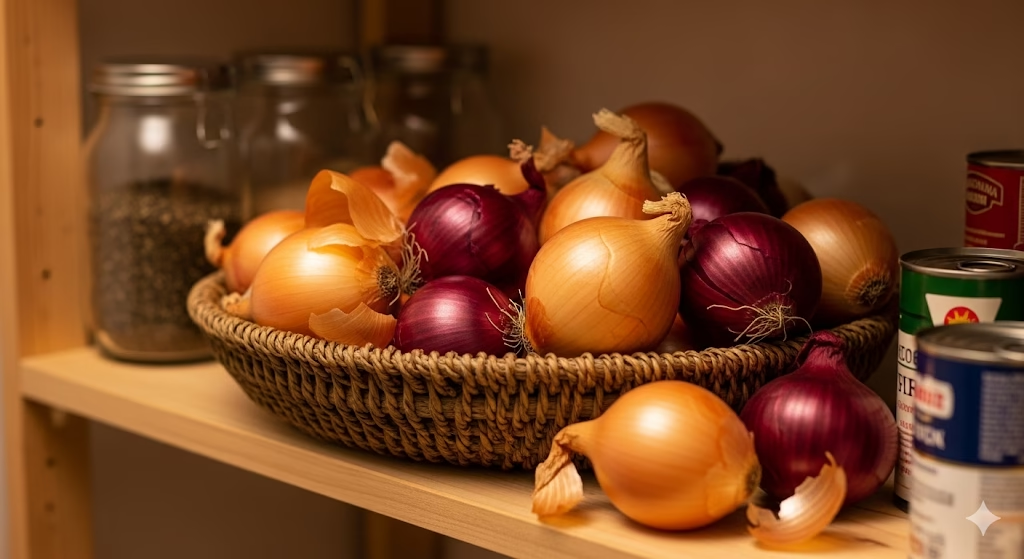
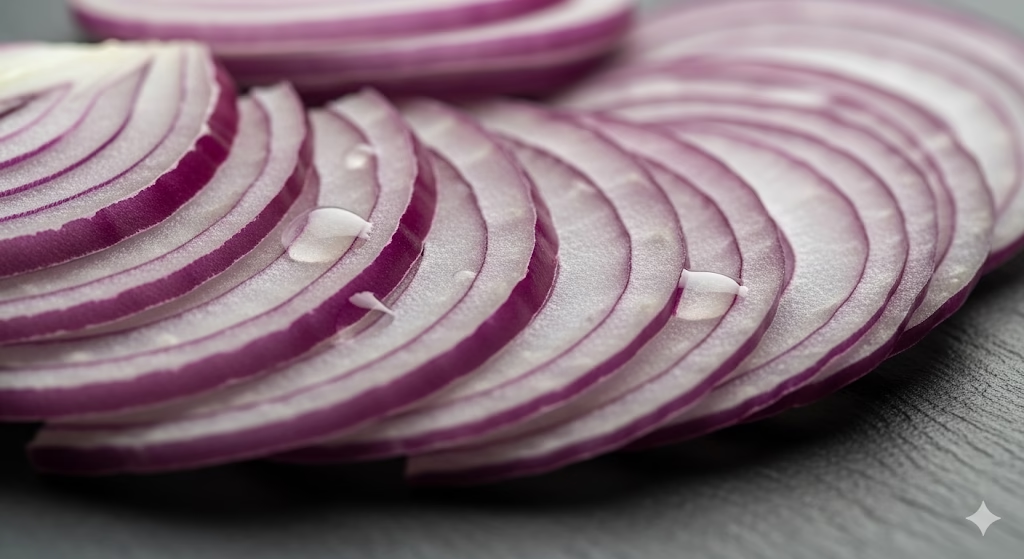
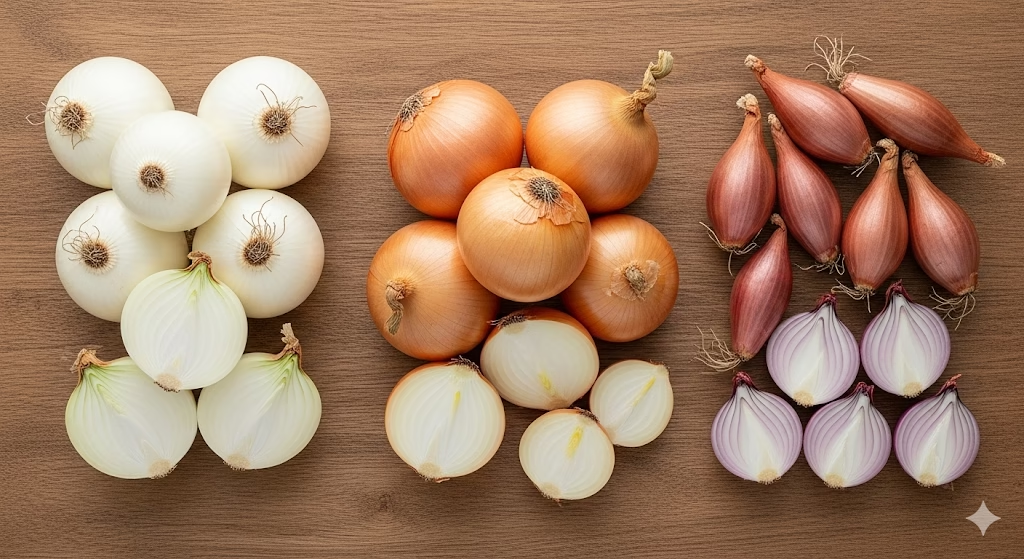
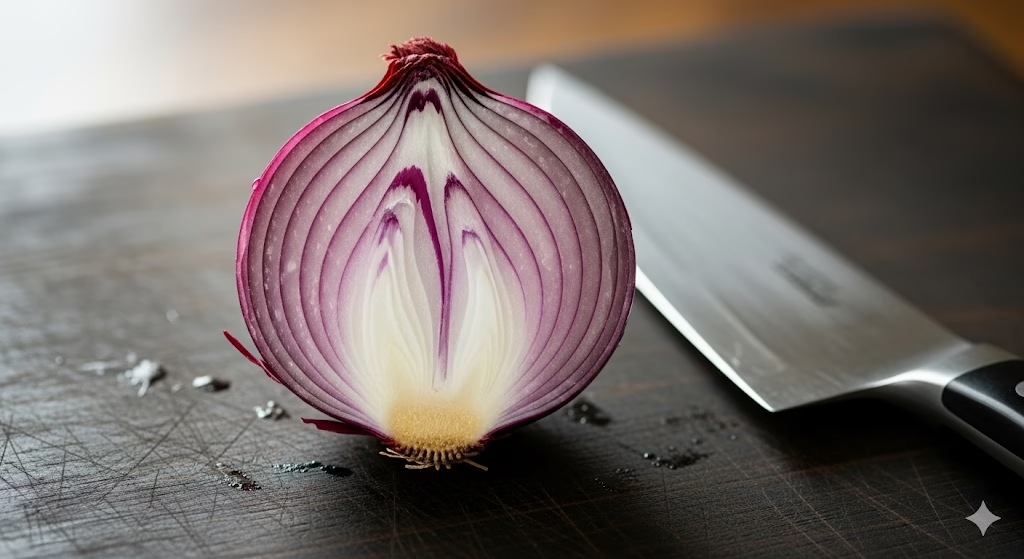
- 1 large red onion, cut into small pieces
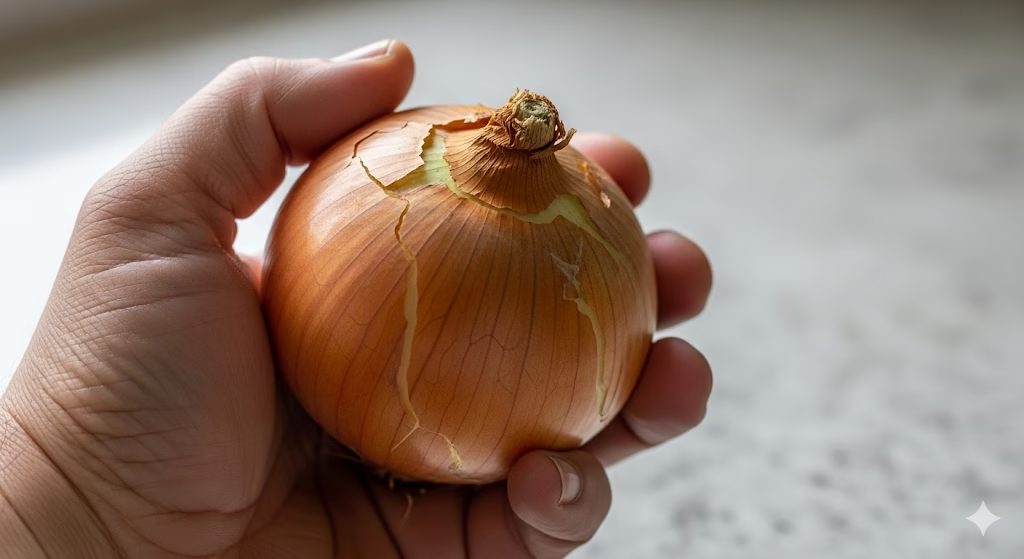
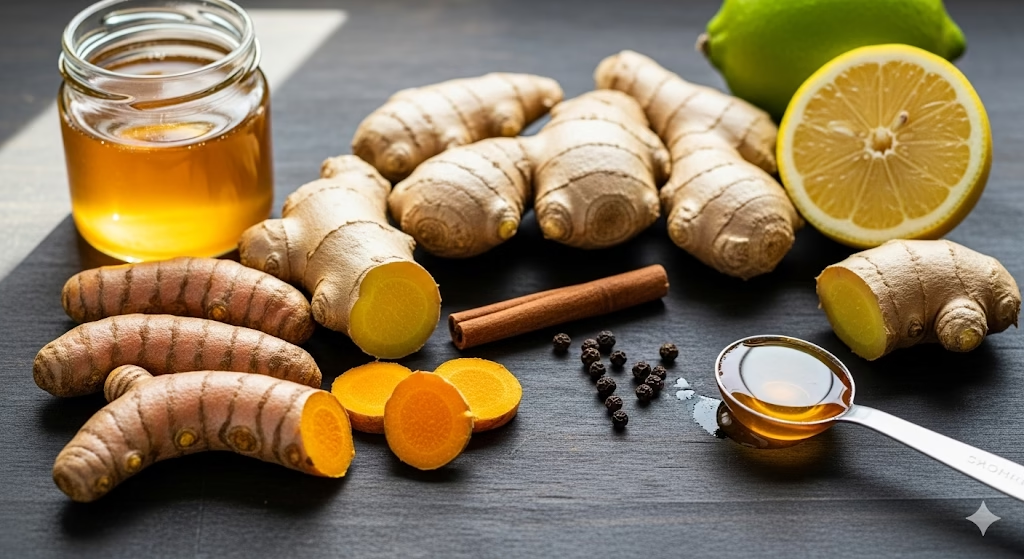
- 4-inch piece fresh ginger, peeled and grated or cut into very small pieces
- 2 medium Granny Smith apples, peeled, cores removed, and cut into small pieces
- 1 red bell pepper, seeds removed and cut into small pieces
- ½ cup apple cider vinegar
- ½ cup brown sugar (You can use less or use maple syrup for a healthier choice)
- ¼ cup water
- 1 tablespoon mustard seeds
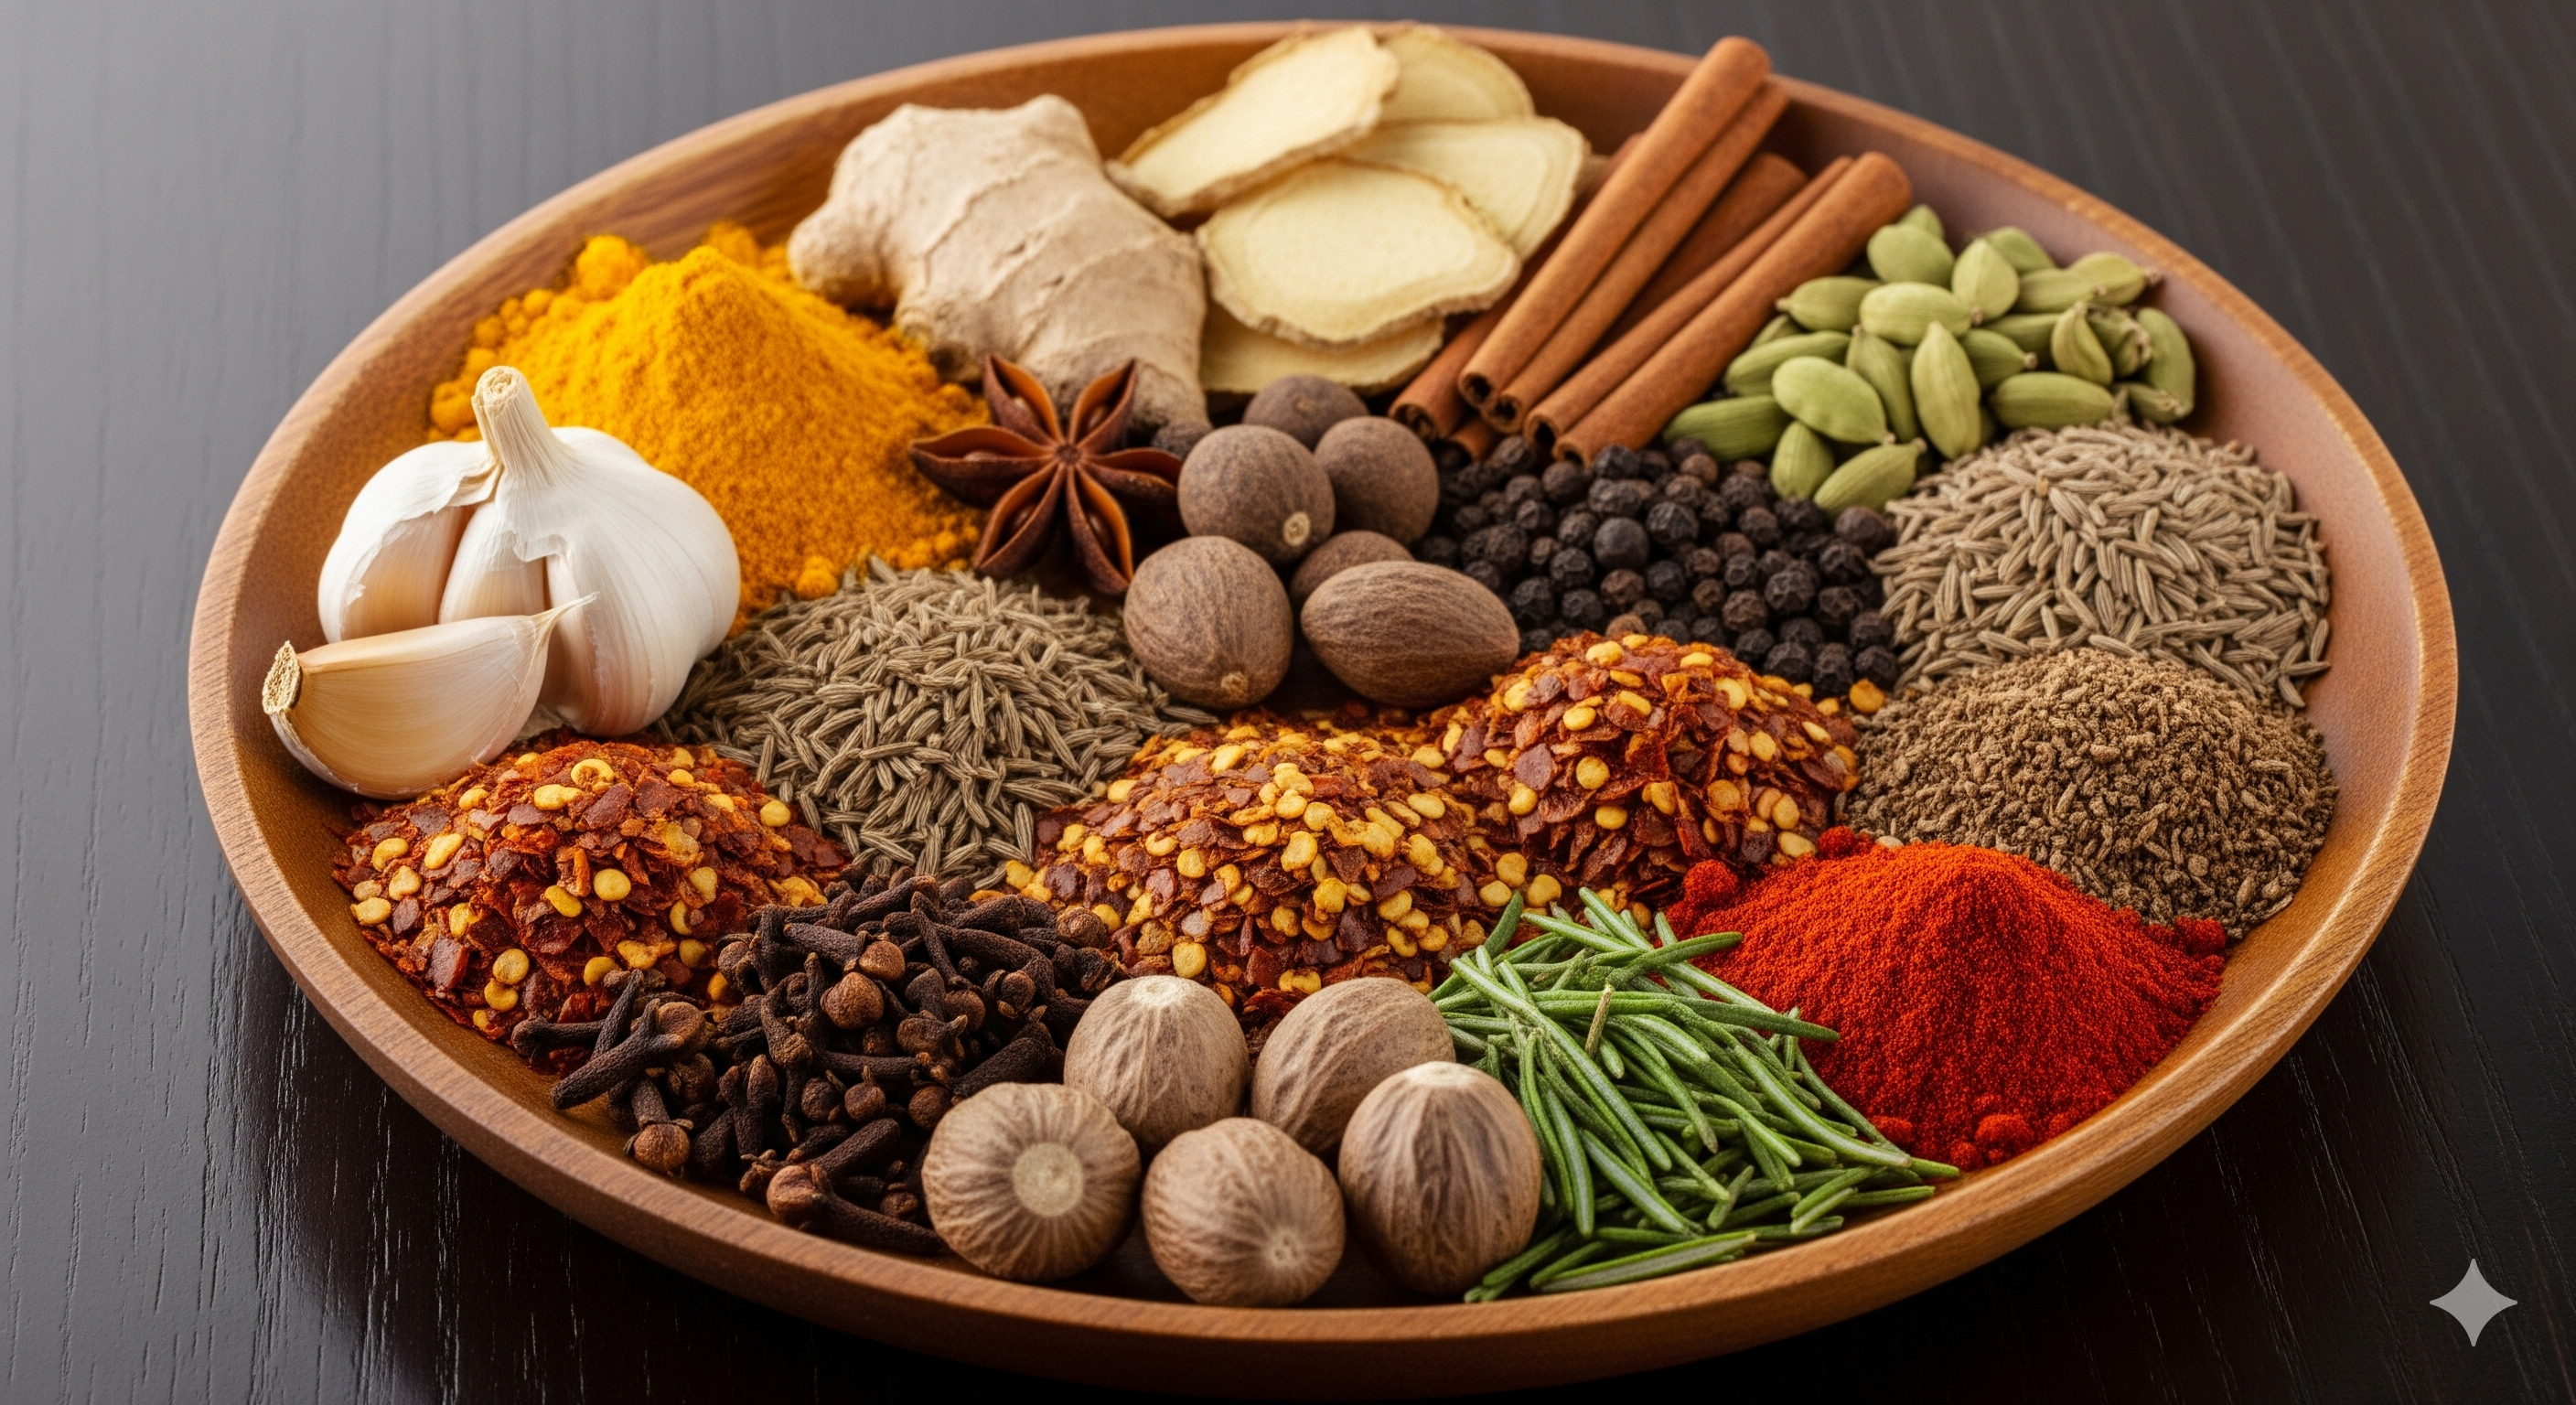
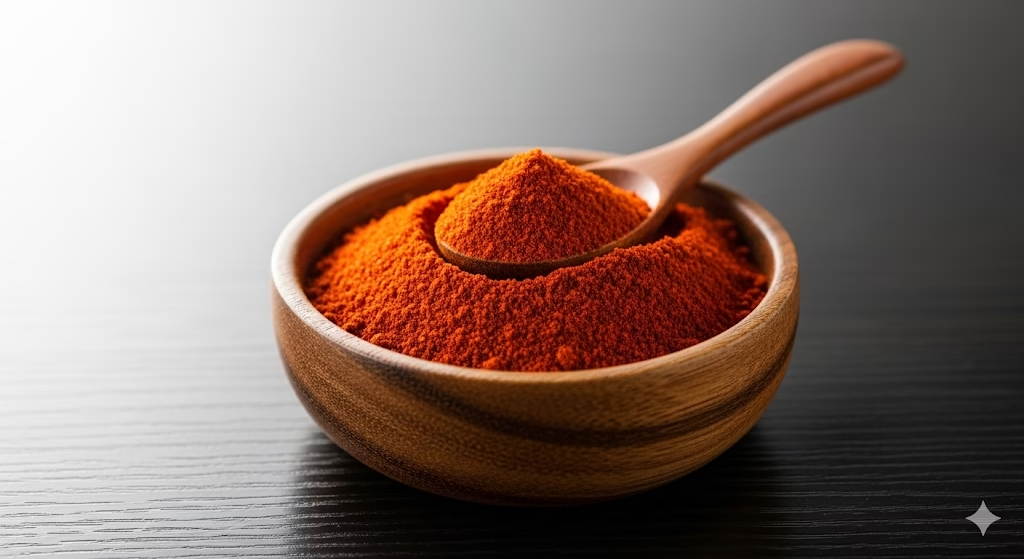
- 1 teaspoon ground cinnamon
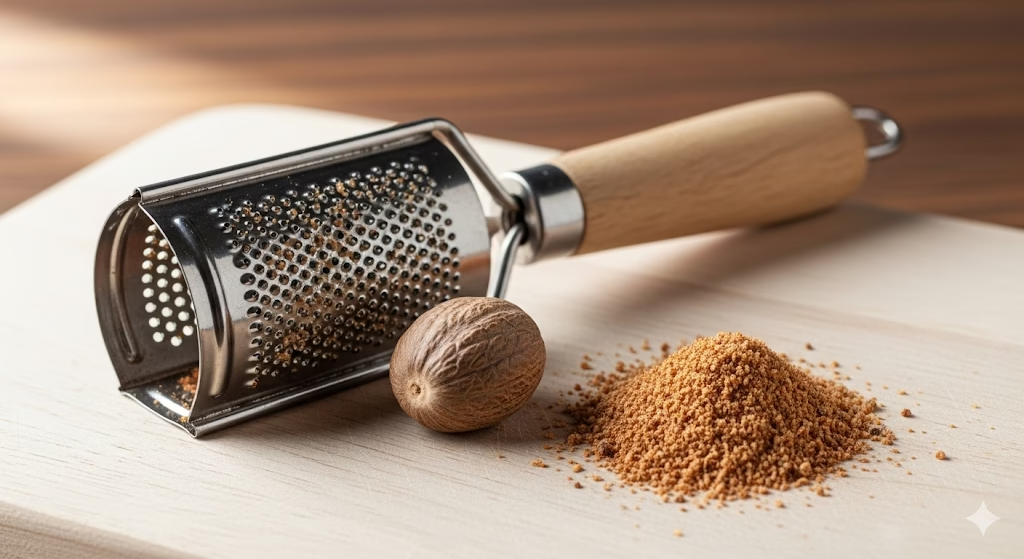
- ½ teaspoon ground nutmeg
- ¼ teaspoon ground cloves
- ¼ teaspoon cayenne pepper (This is optional, for a little heat)
- 1 teaspoon salt
- ½ teaspoon black pepper
- 2 tablespoons olive oil
- Optional: ½ cup dried cranberries or raisins, 2 star anise pods (take these out before putting the chutney in jars)
Step-by-Step Instructions: Making Your Chutney
Follow these easy steps. Your pumpkin and ginger chutney will be perfect and full of flavor.
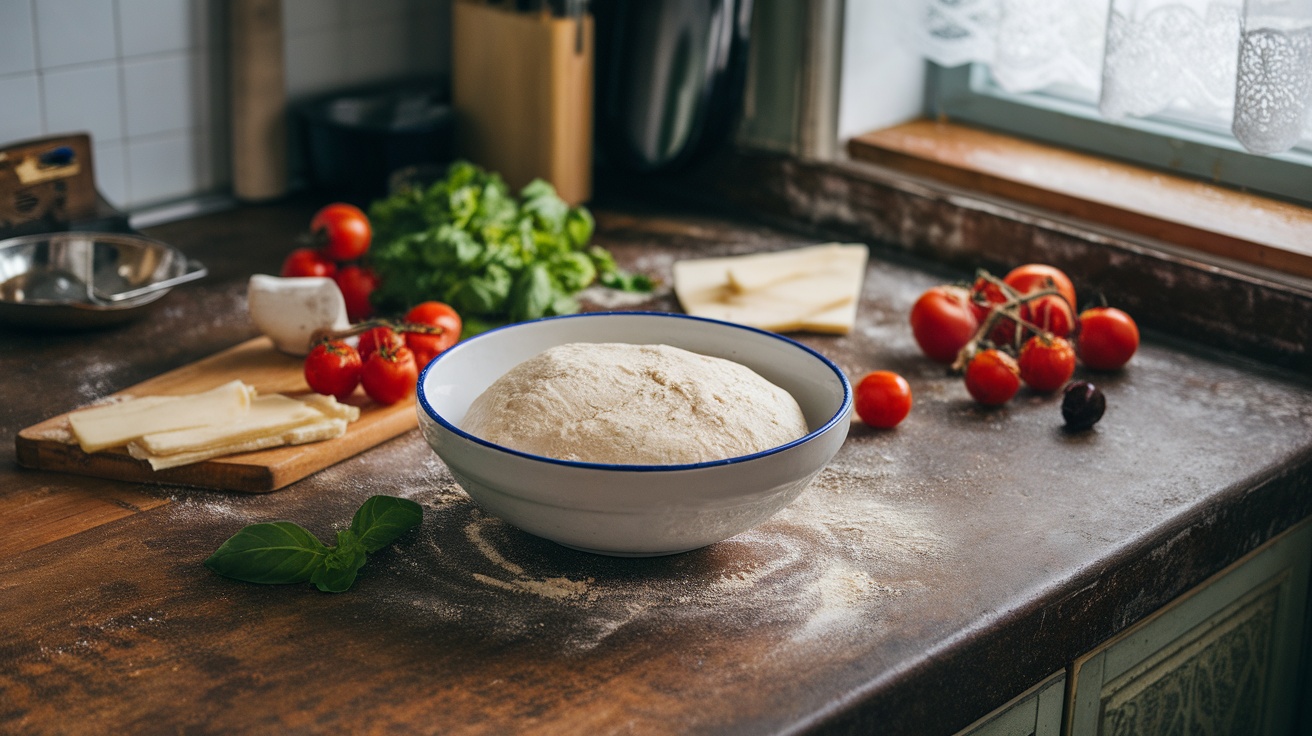
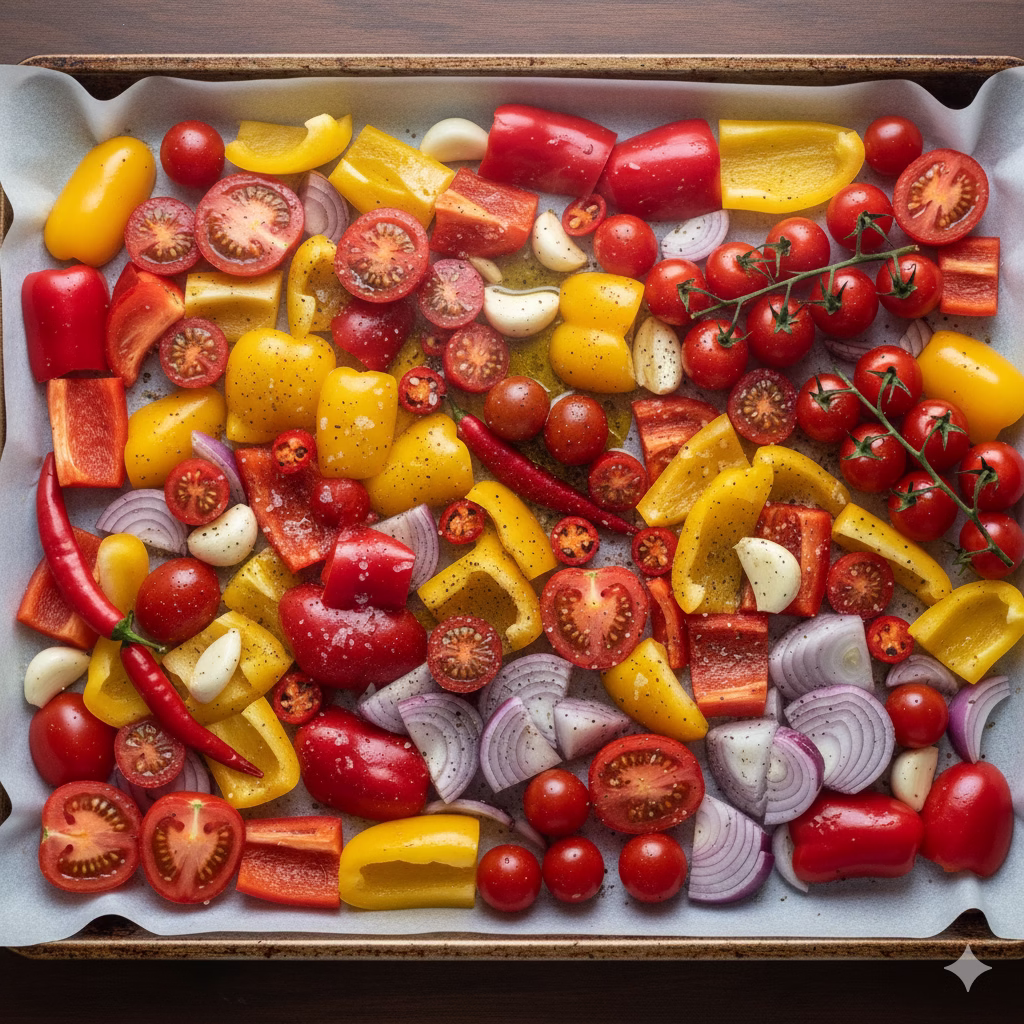
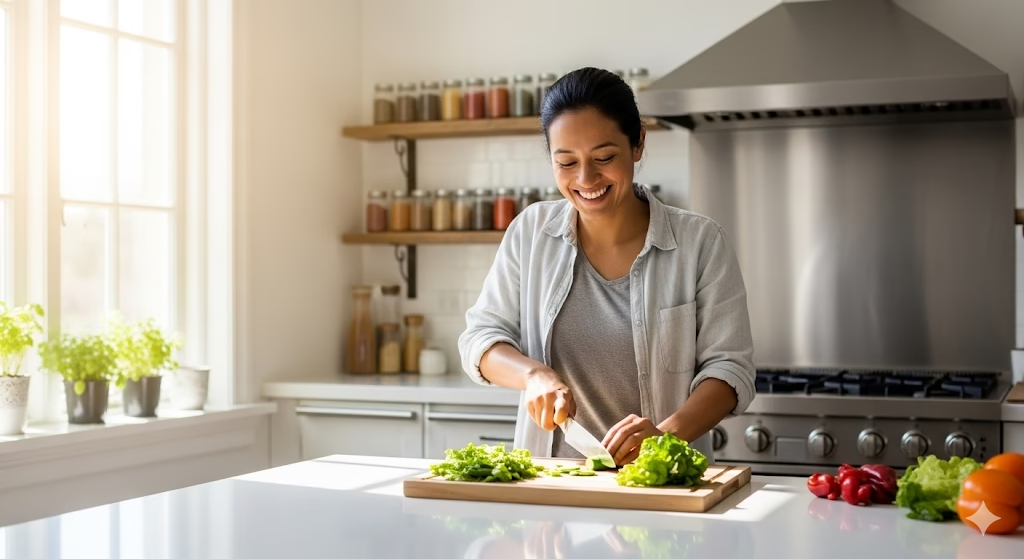
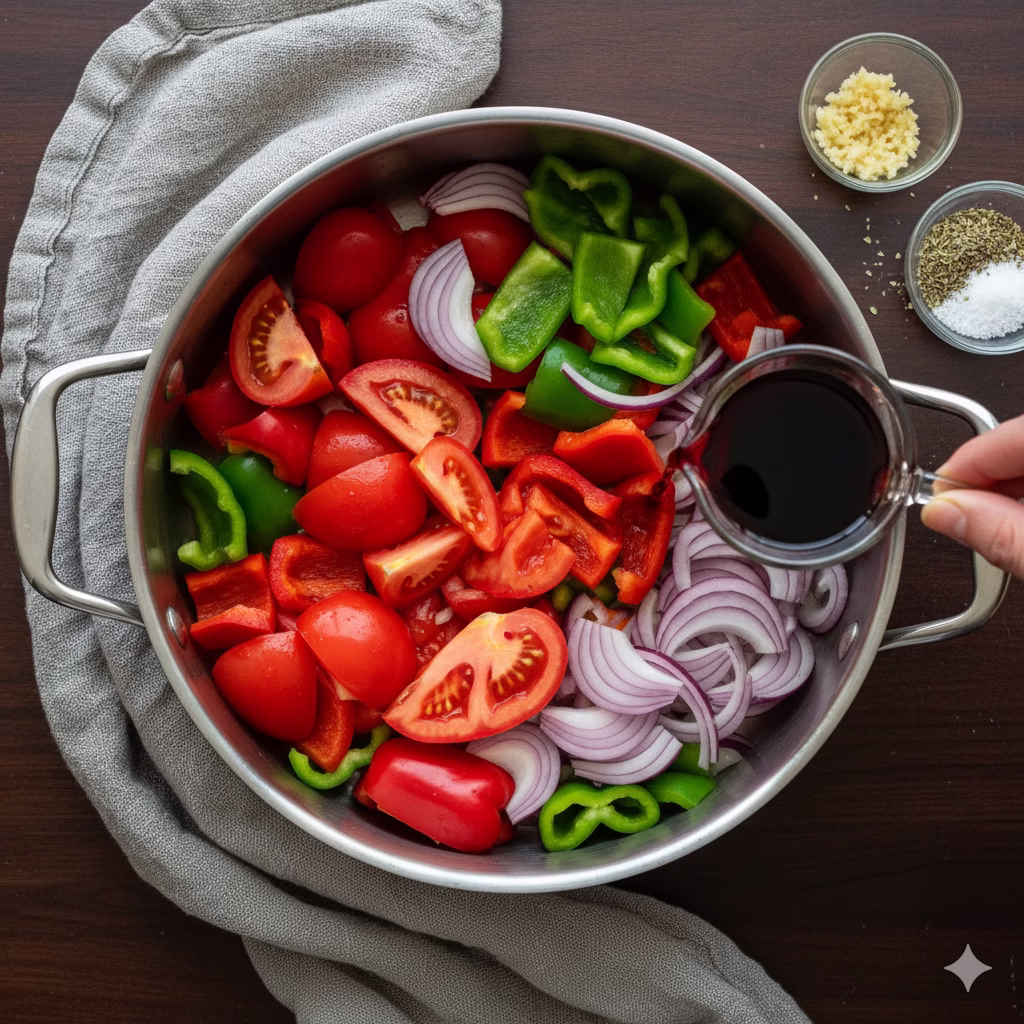
Get Your Ingredients Ready: First, wash all your fresh foods well. Carefully peel the pumpkin and take out the seeds. Cut the flesh into small, even, ½-inch cubes. Peel and chop the red onion finely. Peel the ginger. Then, grate it or cut it into very small pieces. Peel, core, and dice the apples and the red bell pepper into small pieces, too. Preparing everything first makes cooking easier.
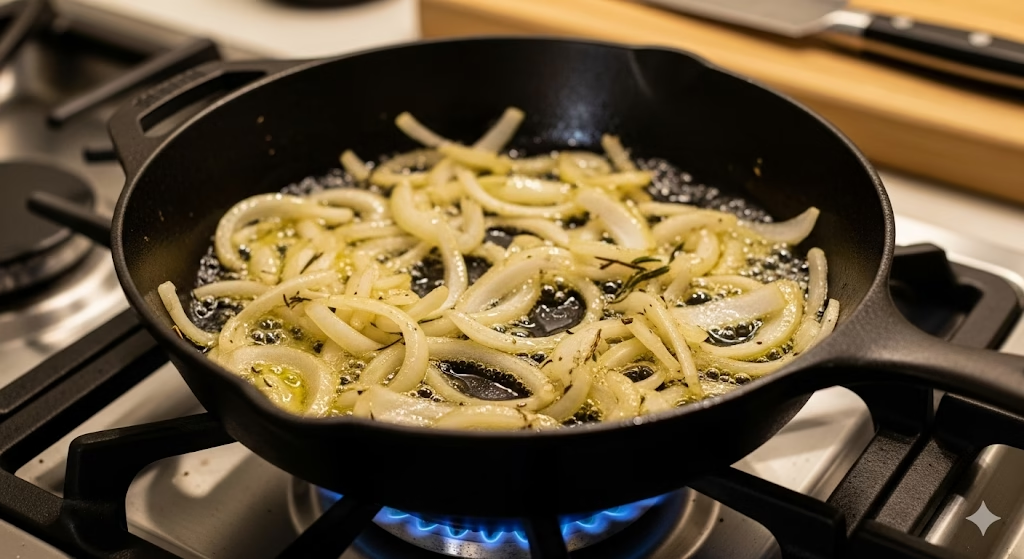
Cook the Onion: Heat the olive oil in your large, heavy pot over medium heat. When the oil is slightly shiny, add the chopped red onion. Cook the onion gently for about 5-7 minutes. Stir it often. Cook until it is soft and clear, but not brown. This step creates the first layer of flavor.
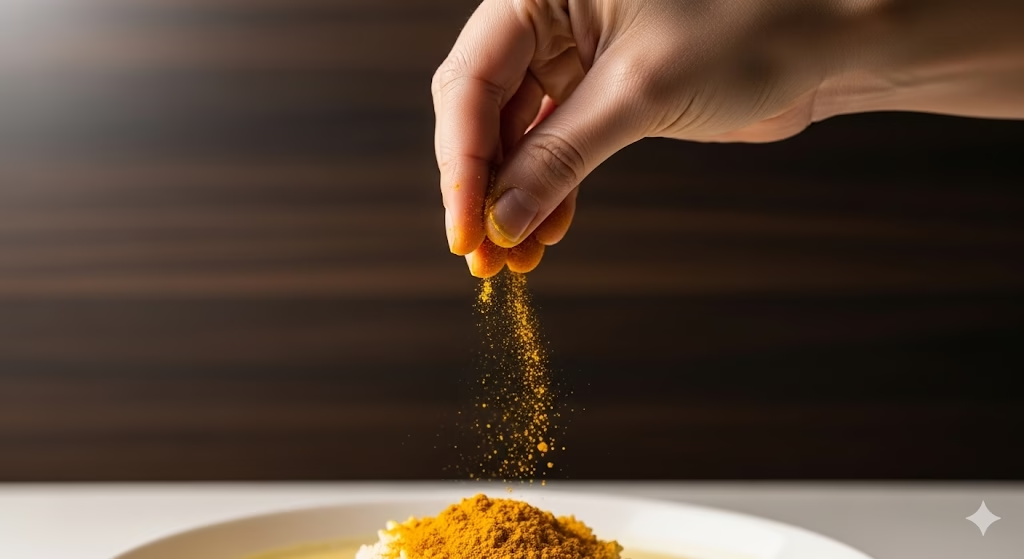
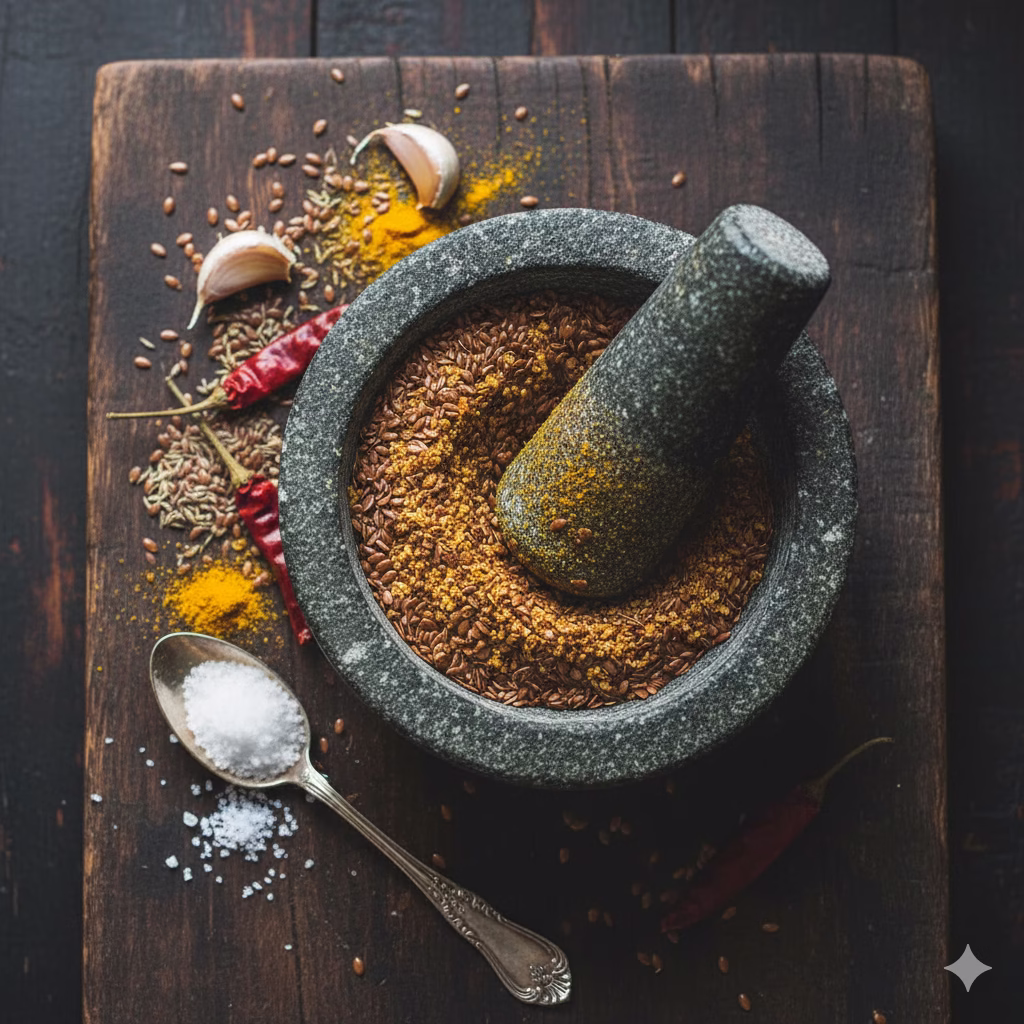
Add Ginger and Spices: Add the grated ginger and the mustard seeds to the soft onions. Cook for 1-2 minutes. Stir all the time. You will hear the mustard seeds start to pop. They will smell very good. Now, stir in the ground cinnamon, nutmeg, cloves, cayenne pepper (if you use it), salt, and black pepper. Cook for one more minute. Let the spices heat up a little. This makes their flavor stronger.
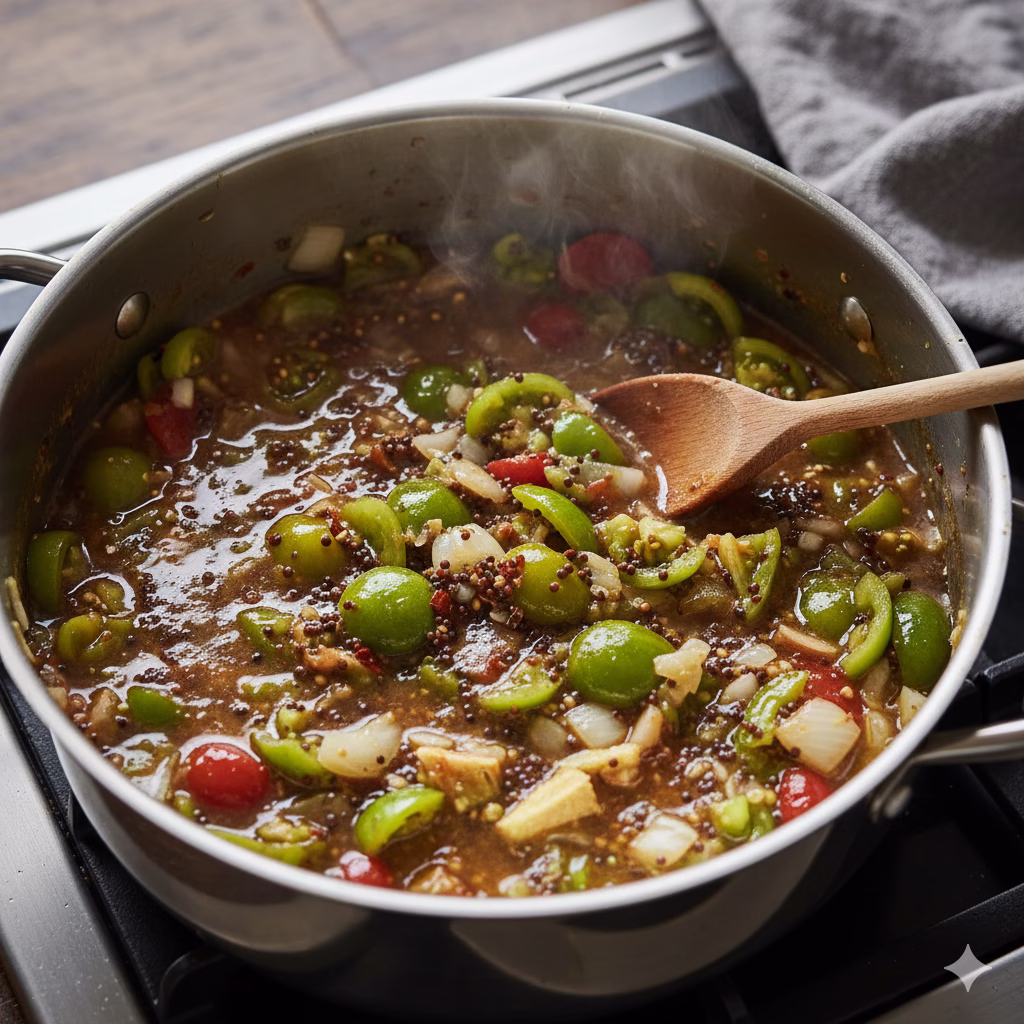
Put in the Main Foods: Add the cubed pumpkin, diced apples, and diced red bell pepper to the pot. Stir well. Make sure all the vegetables are coated with the spice and onion mixture.
Pour in Liquids and Sugar: Pour in the apple cider vinegar and the water. Add the brown sugar. Stir everything well until the sugar disappears. Make sure all the ingredients are mixed. Add the star anise now if you are using it.
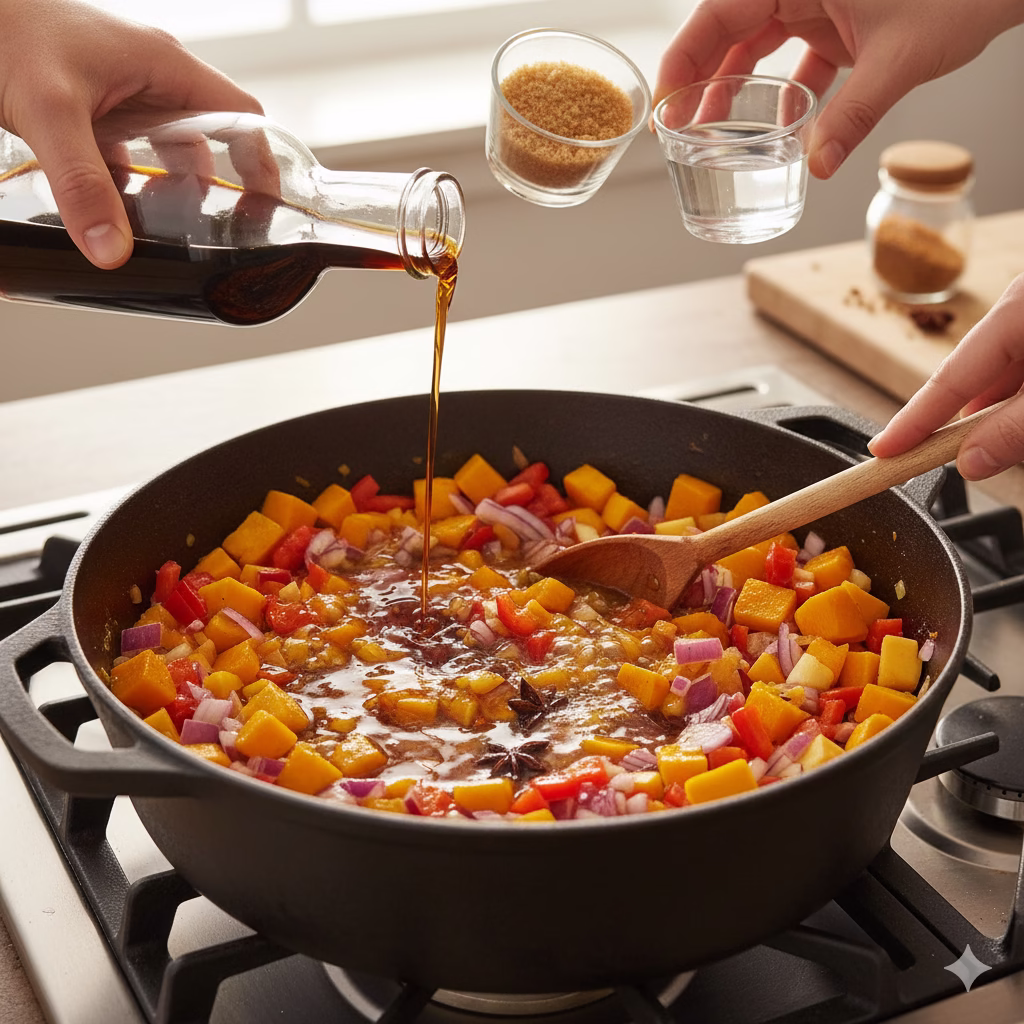
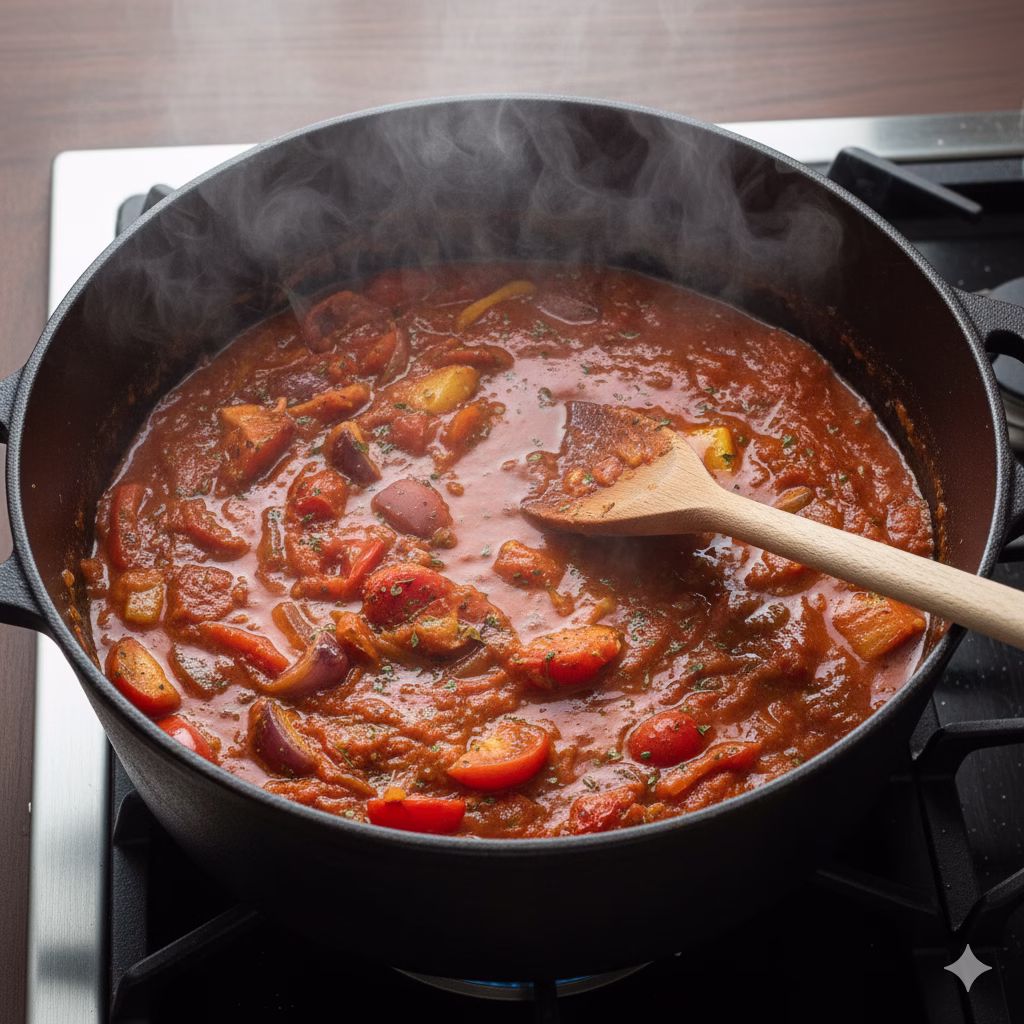
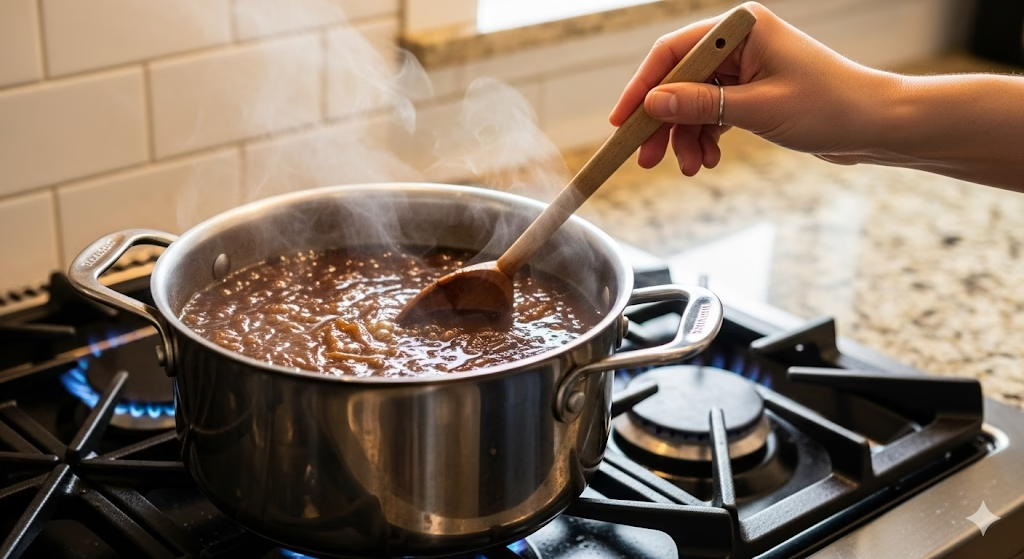
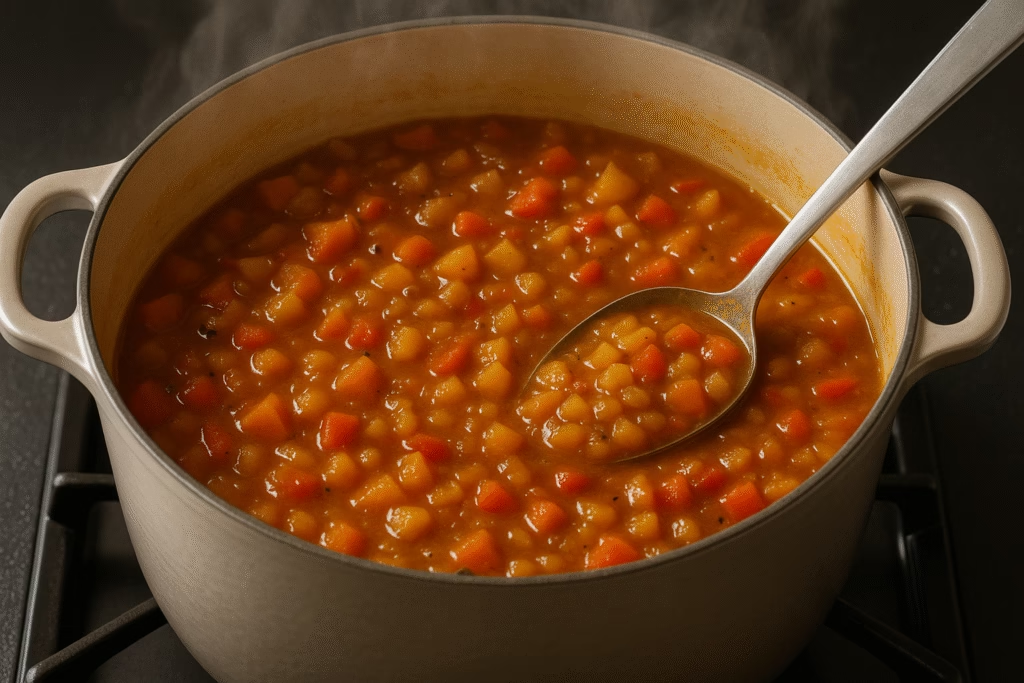
Simmer and Reduce the Chutney: Let the mixture come to a light boil. Then, turn the heat down to low right away. Cover the pot, but leave the lid slightly open. This lets some steam escape. Let the chutney cook gently for at least 45 minutes to 1 hour. It is ready when the pumpkin and apples are very soft and easy to mash. Stir it sometimes so it doesn’t stick to the bottom.
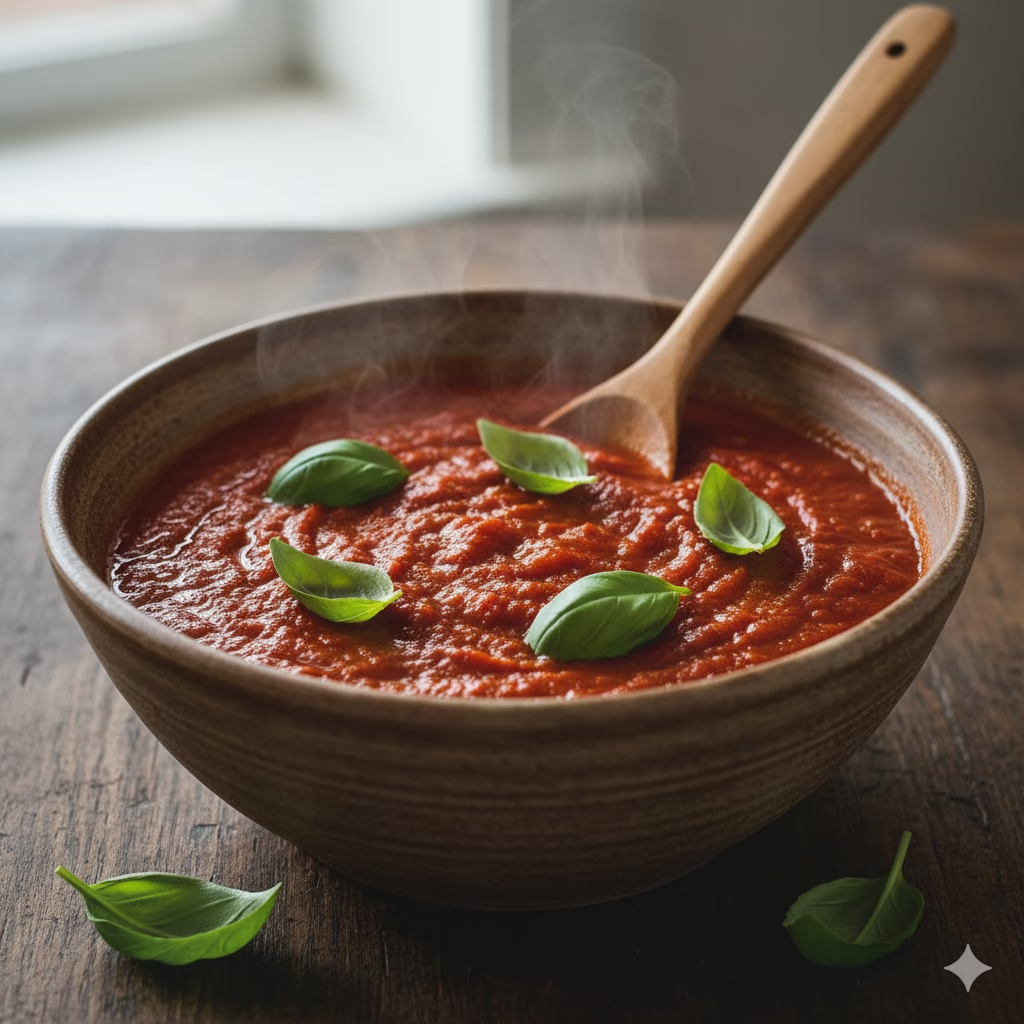
Make it Thicker: When the pumpkin and apples are soft, take the lid off completely. Keep cooking the chutney on low heat for another 15-30 minutes. Stir it more often now. This part is important to make the chutney thick. The extra liquid will go away as it cooks without the lid. The flavors will become stronger. The chutney should look like thick jam. You can press some of the pumpkin cubes against the side of the pot with your spoon. Do this if you want a smoother chutney. Leave some chunks if you like it more rustic.
Add Optional Fruits: If you are adding dried cranberries or raisins, stir them in during the last 10-15 minutes of cooking. This lets them soften a bit.
Taste and Fix: Once the chutney is as thick as you want, taste it carefully. Now is the time to change the flavor. You might need a little more salt, pepper, sugar, or vinegar. Change it until it tastes just right to you. If you used star anise, take the pods out now.
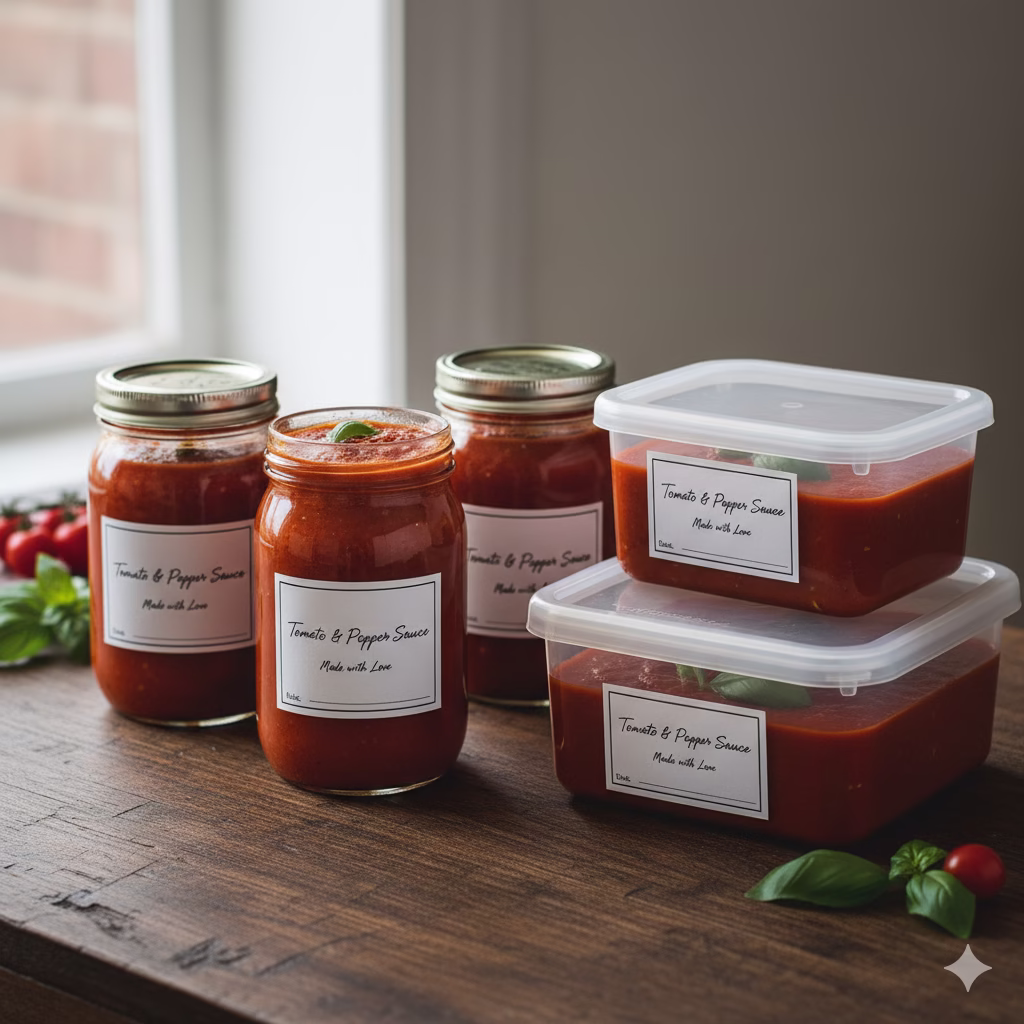
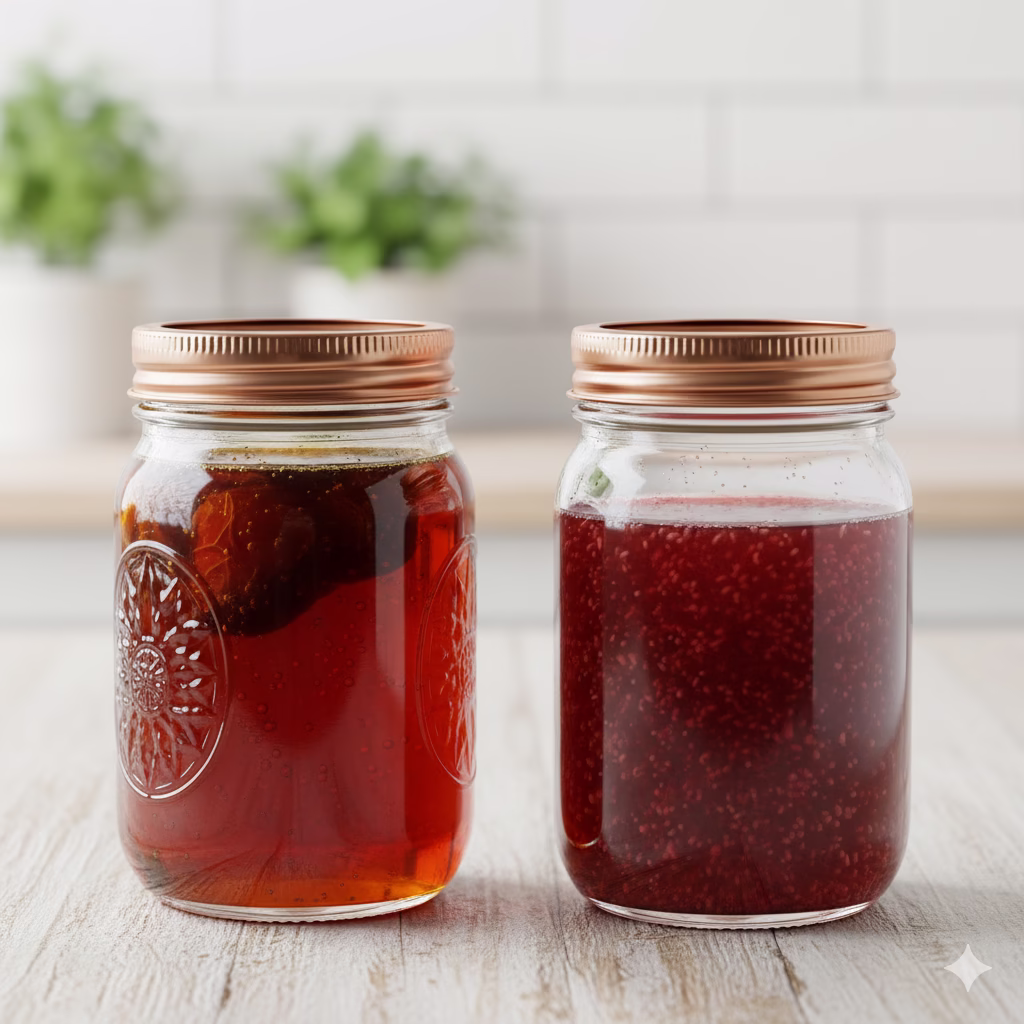
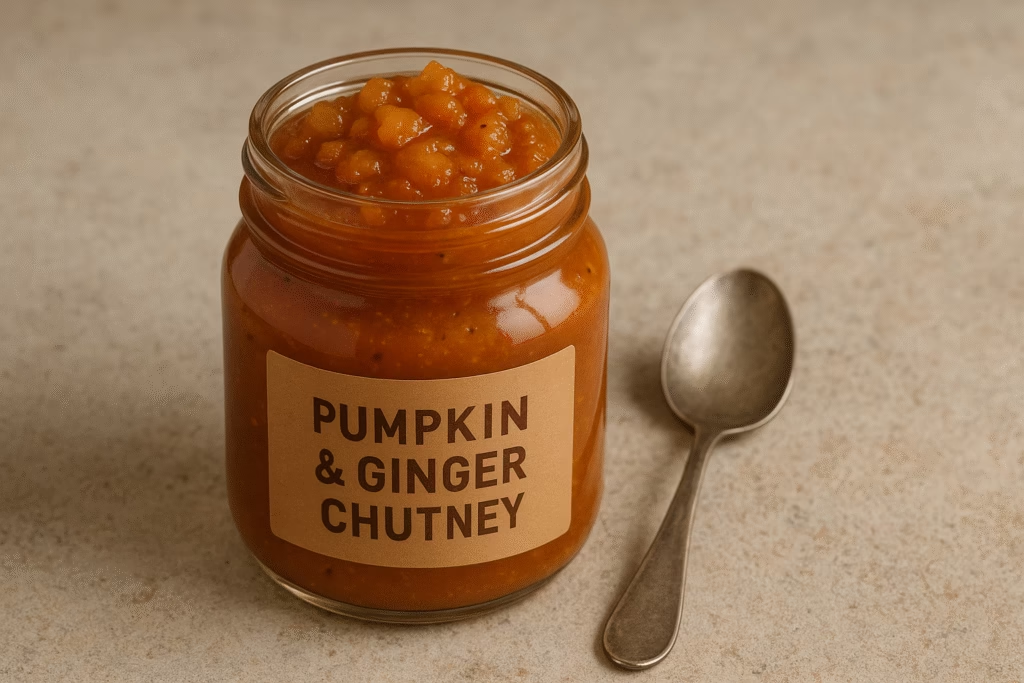
Cool and Store: Take the pot off the heat. Let the chutney cool down all the way. It will get even thicker as it cools. When it is cool, spoon the chutney into clean, sterilized jars. Make sure there are no air bubbles. Seal the jars tightly.
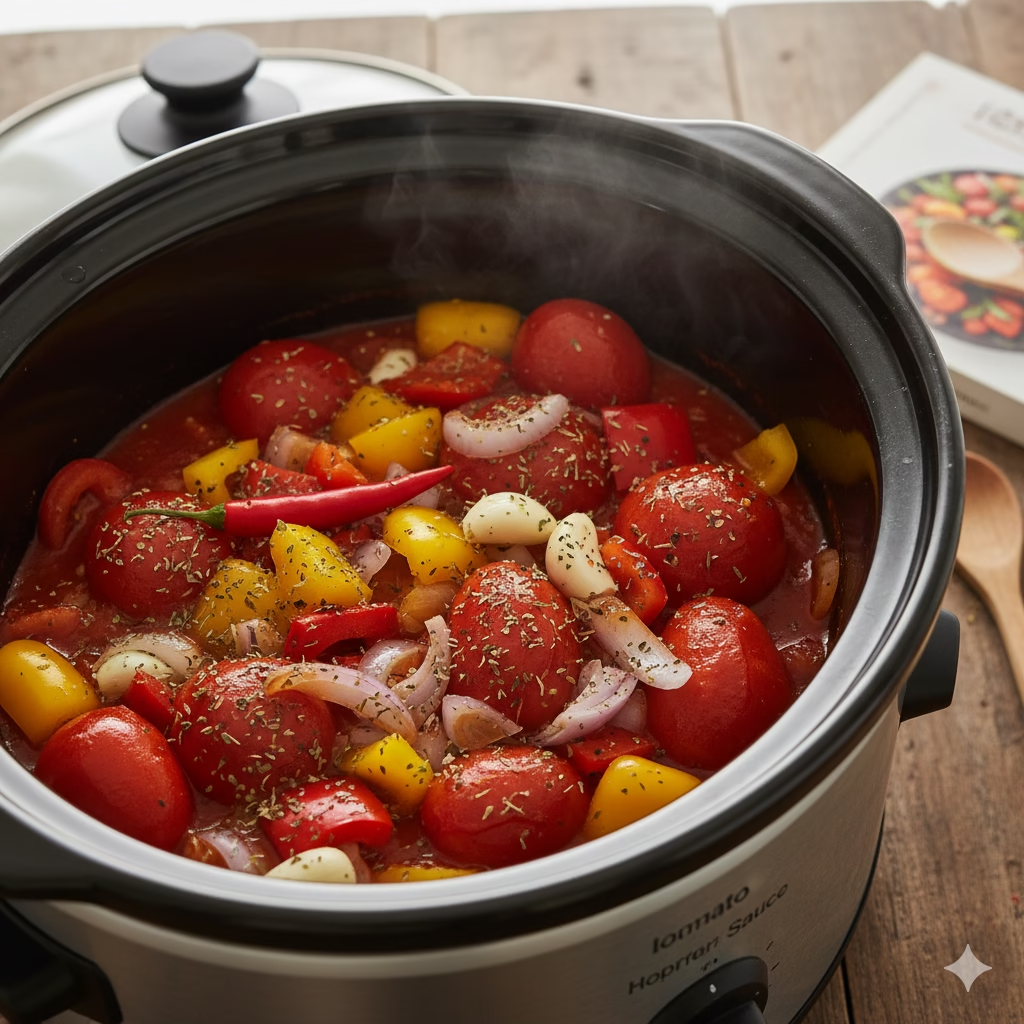
Alternative Cooking Methods
Slow Cooker Method: Very Easy Cooking
You can use a slow cooker for this chutney. It means less work for you.
- Cook Aromatics First (Best Way): You can put everything in the slow cooker. But for better flavor, quickly cook the onion, ginger, and spices in a pan with olive oil first (like steps 2 and 3). Then, put them in the slow cooker.
- Mix Ingredients: Put the cooked onion mix (if you made it), pumpkin, apples, bell pepper, apple cider vinegar, brown sugar, water, salt, pepper, and star anise (optional) into your slow cooker. Stir well.
- Cook Slowly: Cover the cooker. Cook on high for 3-4 hours. Or cook on low for 6-8 hours. Cook until the pumpkin and apples are very soft. Stir it a few times if you can.
- Thicken It Up: When it is cooked, take the lid off. Set the slow cooker to “keep warm” or a low heat setting that won’t boil hard. Cook uncovered for 1-2 more hours. Stir every 30 minutes. Do this until the chutney is as thick as you want it.
- Finish: Add optional dried cranberries/raisins during the last hour. Taste it and adjust the seasoning before you put it in jars.
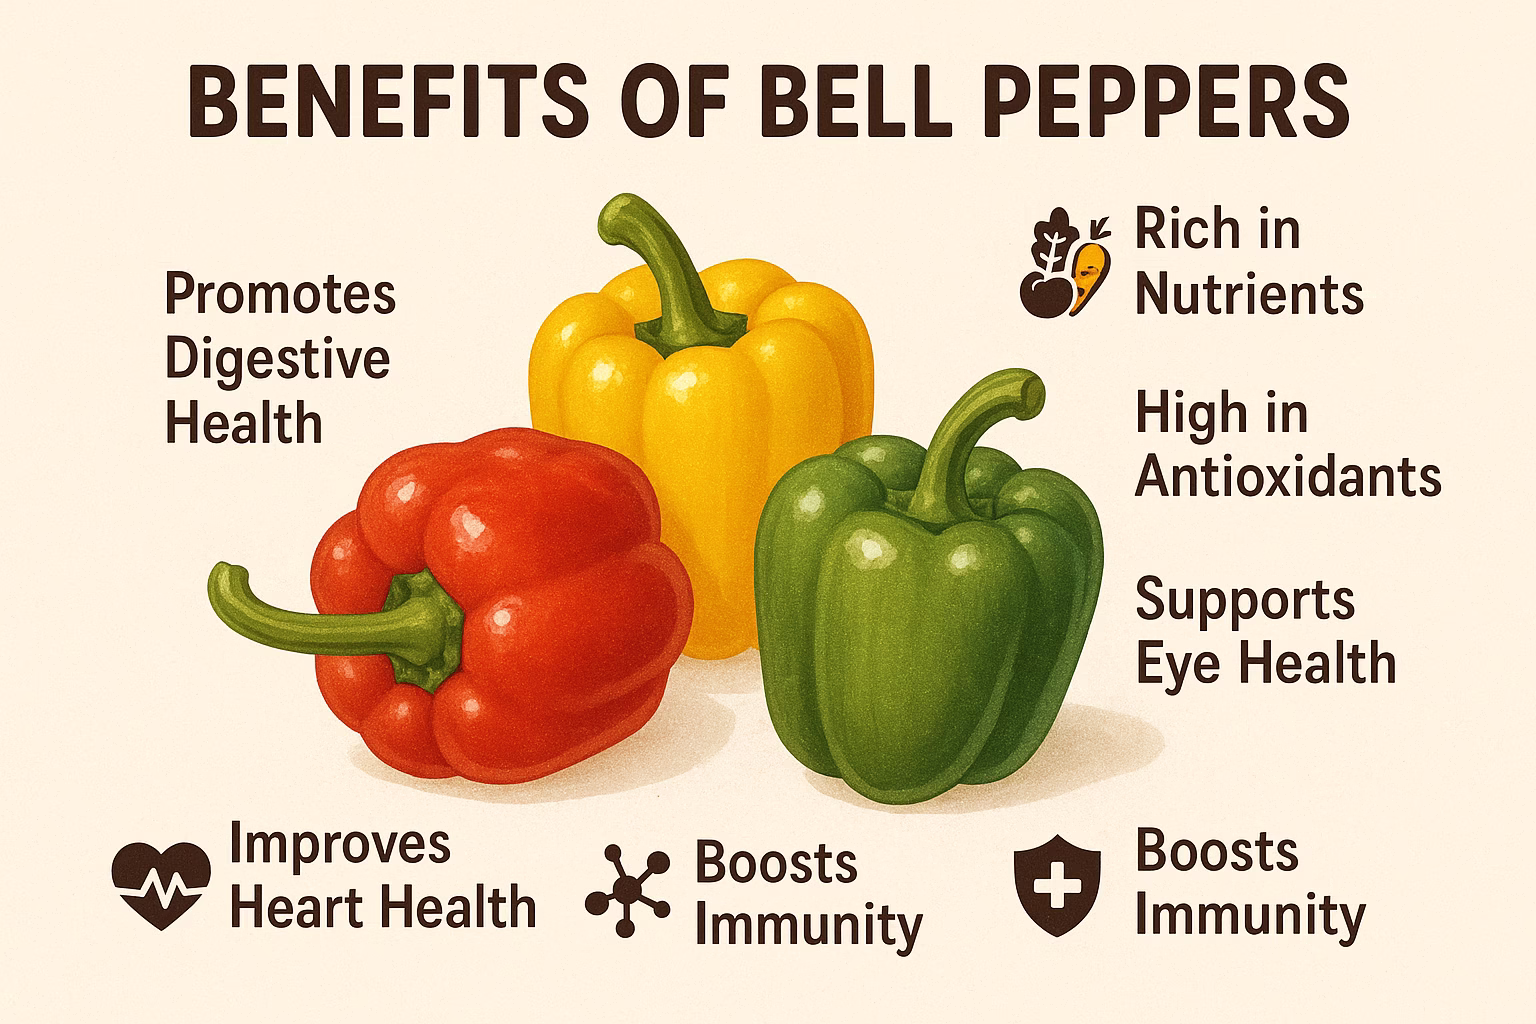
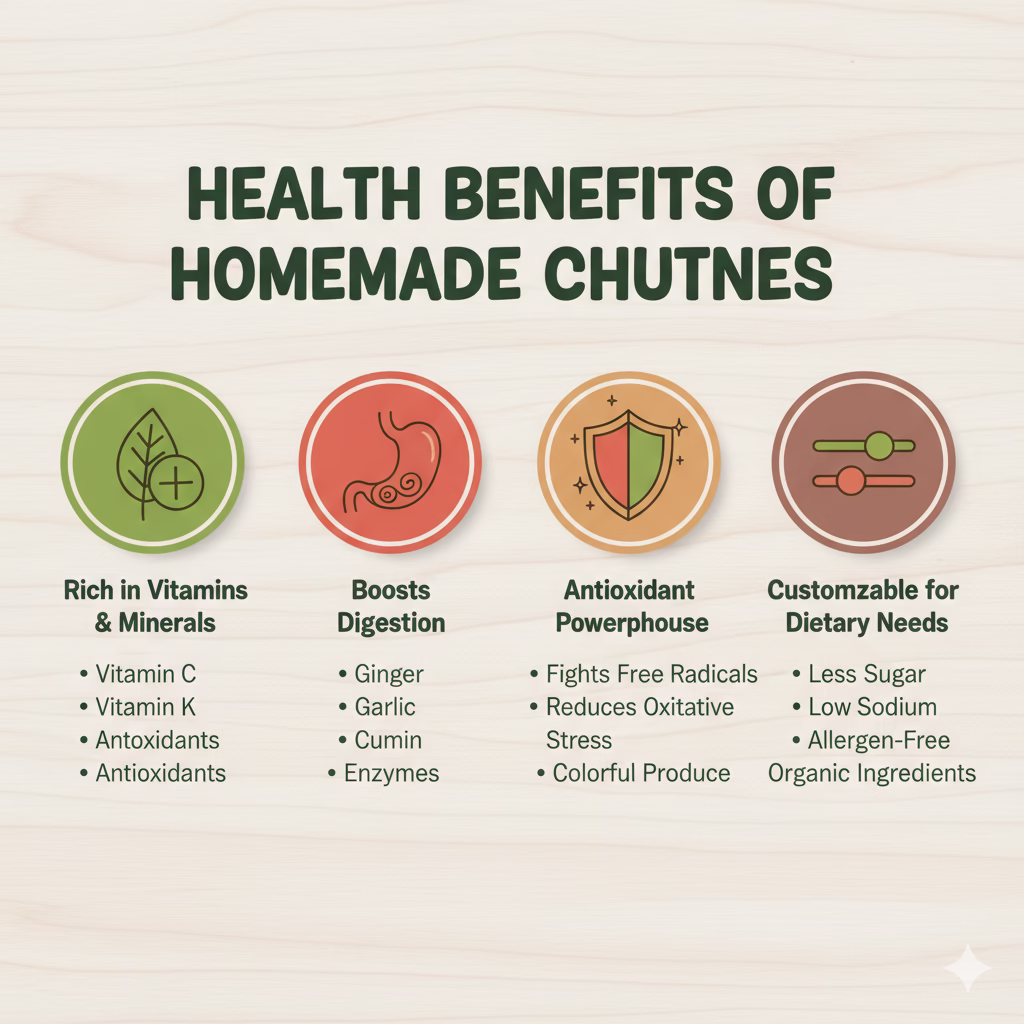
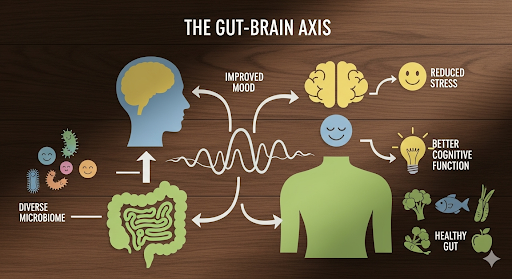
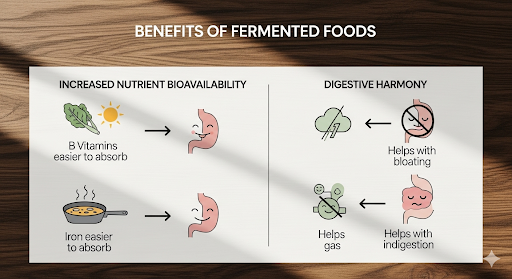
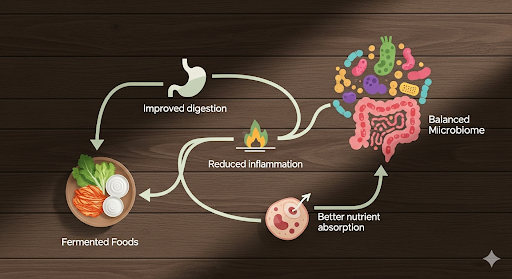
Health Benefits of Pumpkin & Ginger Chutney
This chutney is great-tasting. It is also full of ingredients that help your health in many ways.
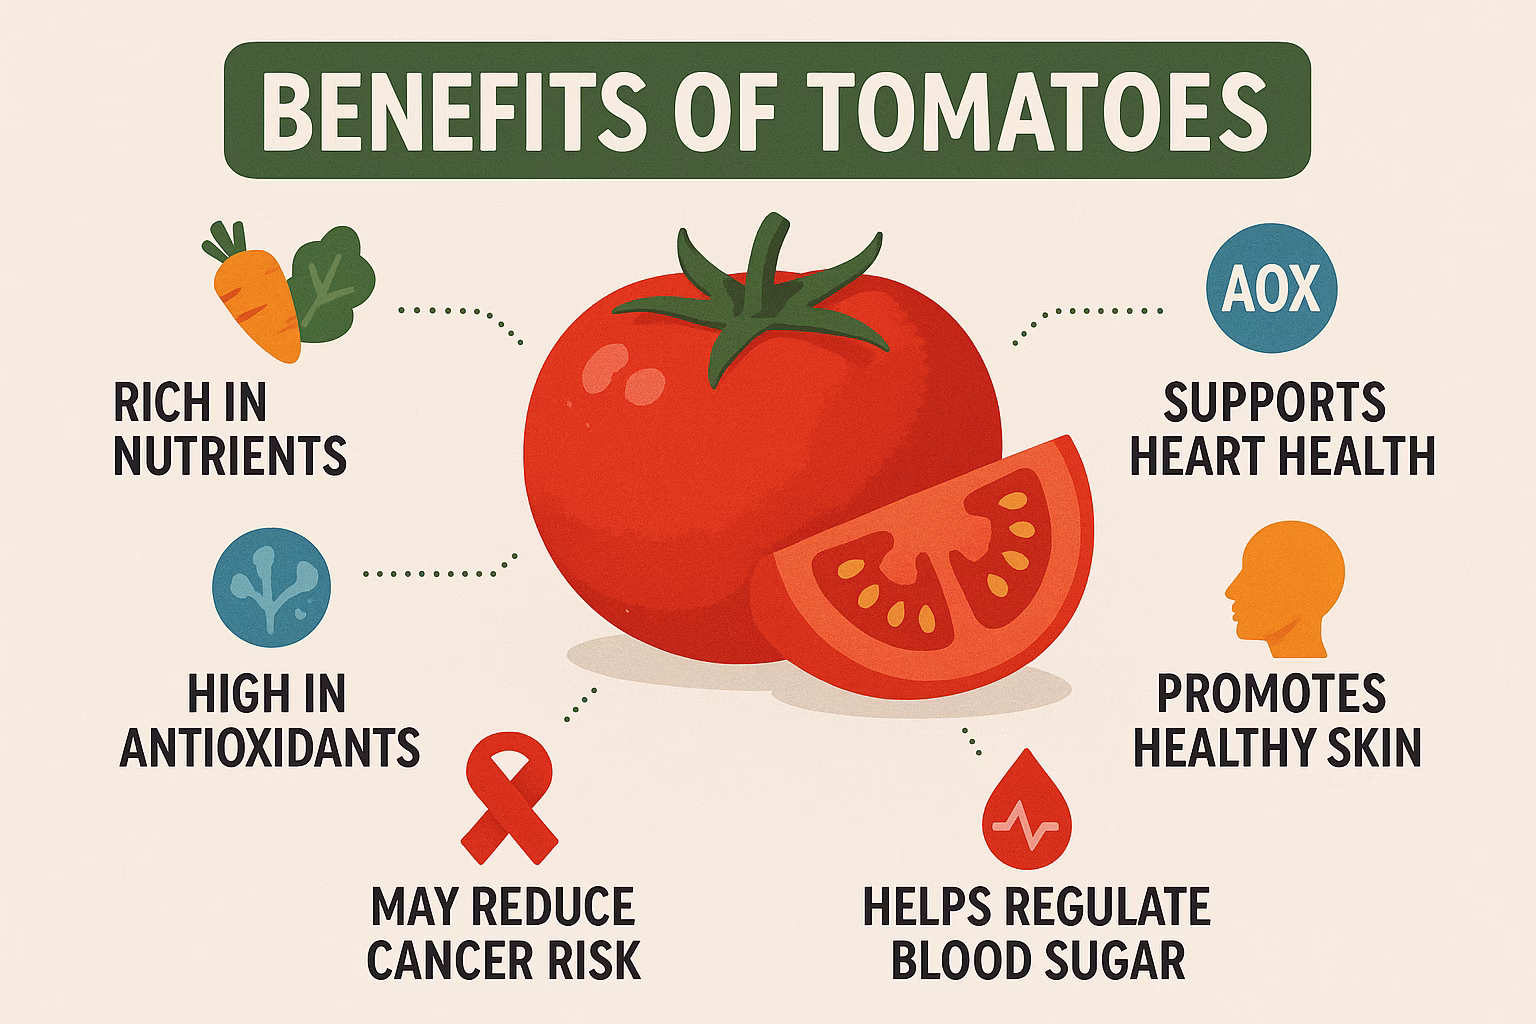
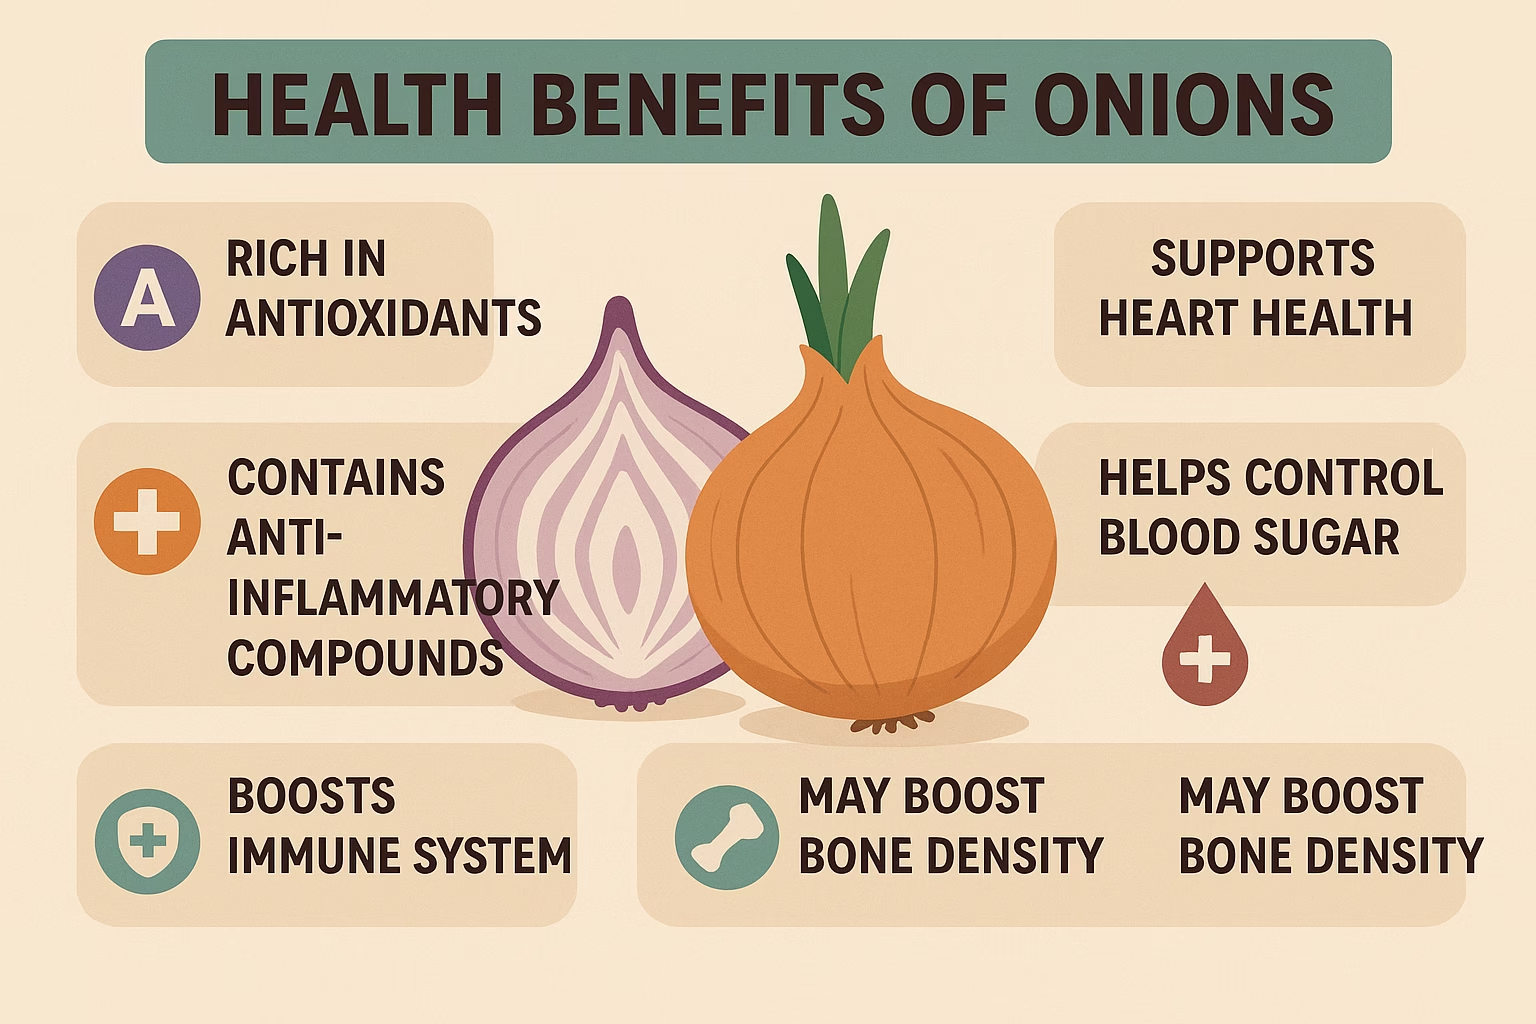
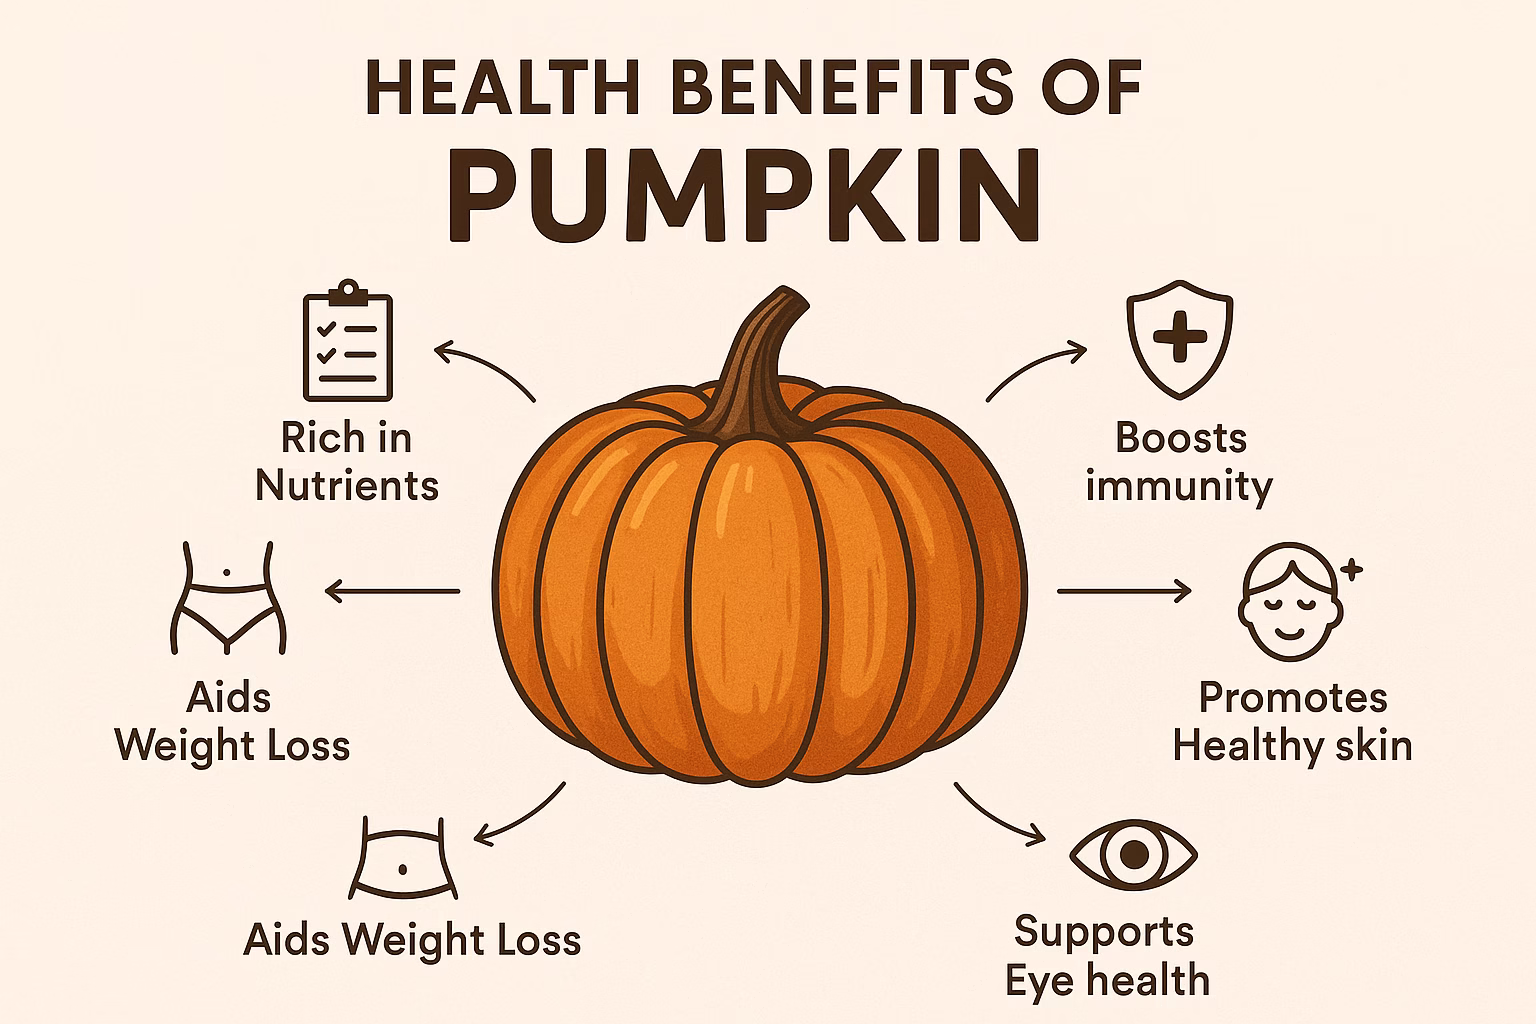
- Lots of Good Nutrients: Pumpkin has lots of Vitamin A (beta-carotene). This is important for good eyesight, a strong immune system, and healthy skin. It also has Vitamin C, Vitamin E, B vitamins, and minerals like iron.
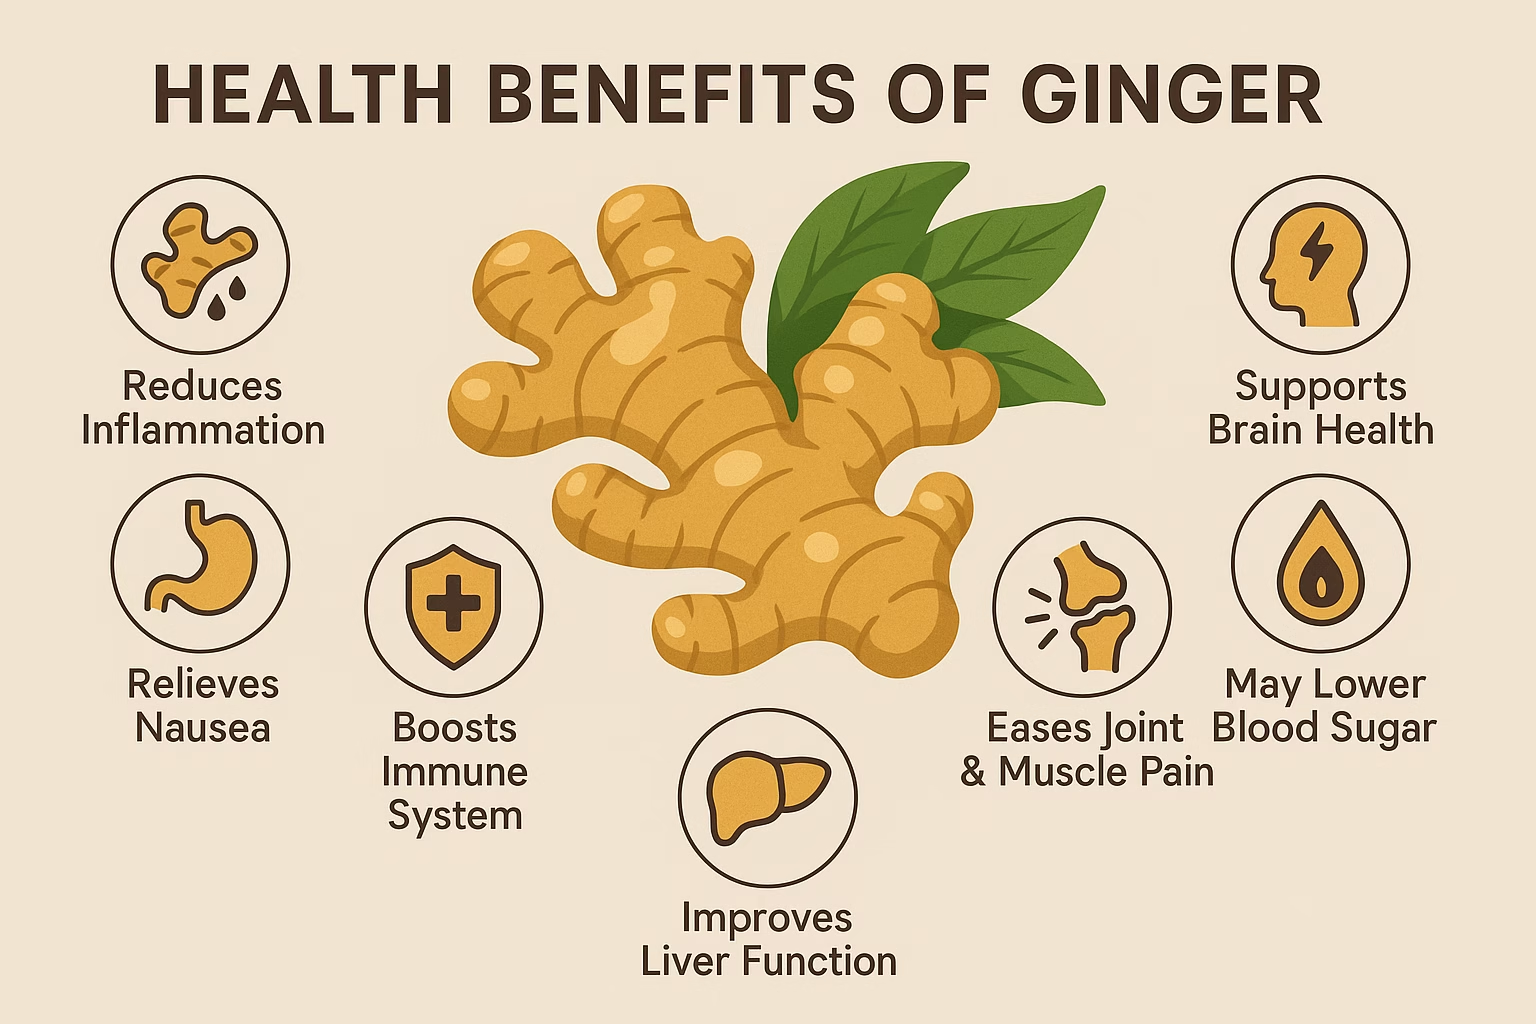
- Helps Digestion: Ginger is well-known for helping your stomach. It can calm an upset tummy and help with overall digestion.
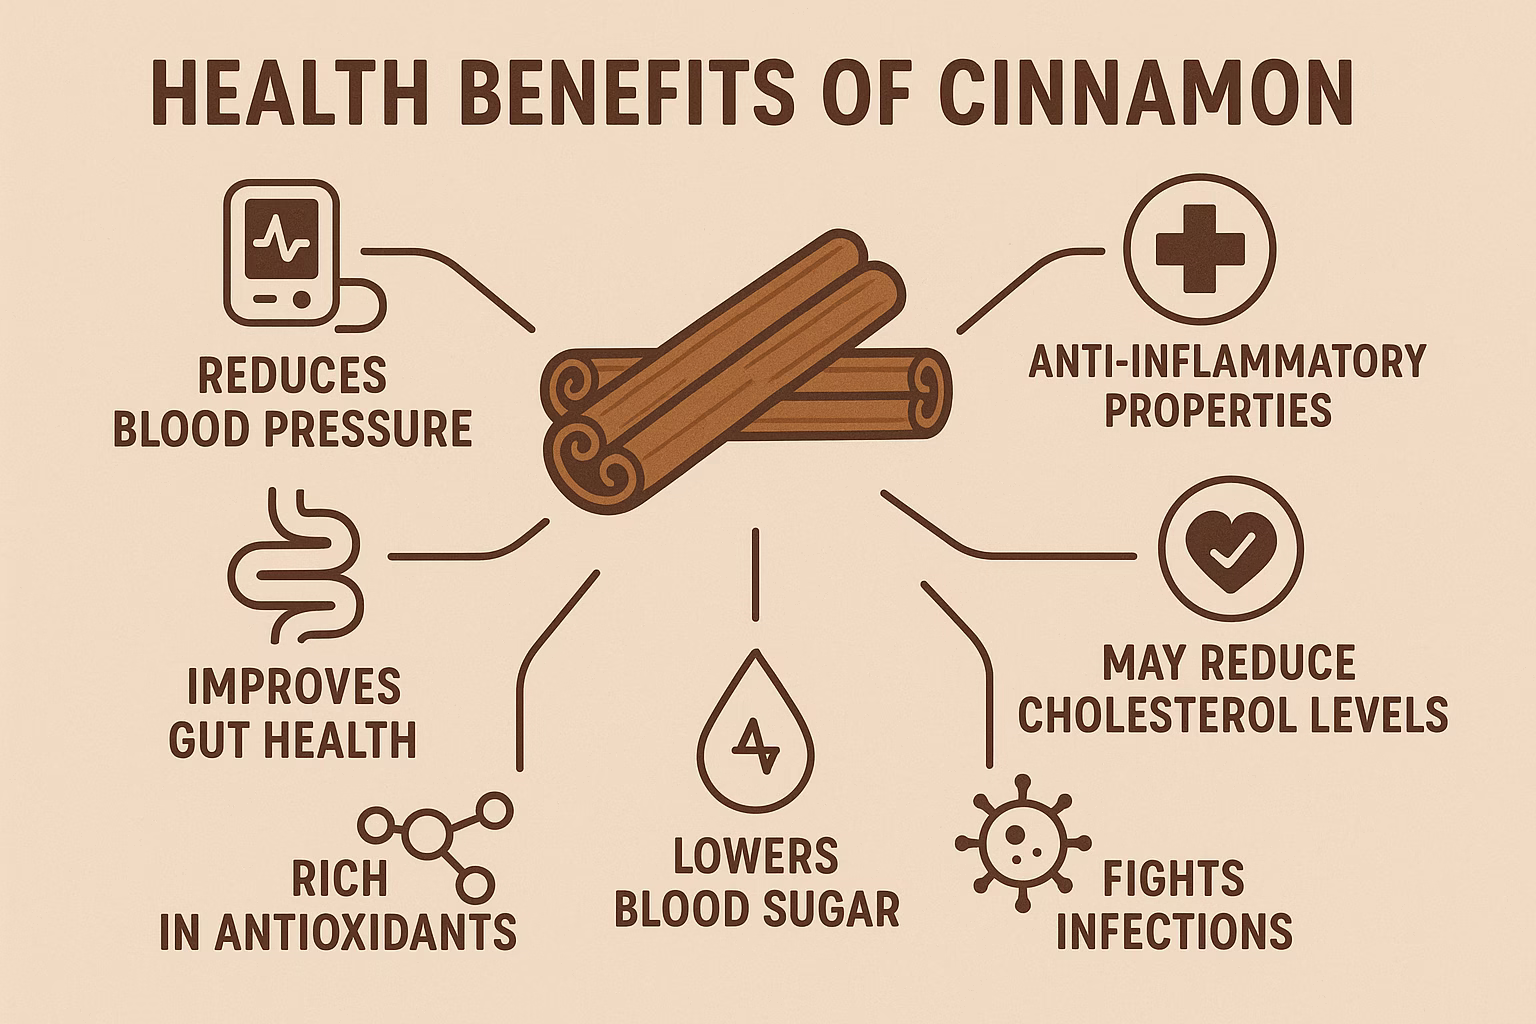
- Fights Swelling: Both ginger and cinnamon have strong parts that can help reduce swelling in the body.
- Full of Antioxidants: Pumpkin, ginger, and cinnamon all have many antioxidants. These help protect your body’s cells from damage. This keeps you healthy and helps prevent sickness.
- Boosts Your Immune System: The high Vitamin C in pumpkin and bell pepper, plus the good things in ginger, help make your immune system stronger.
- Good for the Heart: Apples and pumpkin have fiber. Fiber is known to help keep your heart healthy by managing cholesterol.
- You Control the Sugar: Making your own chutney lets you decide how much sugar to use. This makes it a much healthier choice than many store-bought sauces. They often have too much refined sugar and fake ingredients.
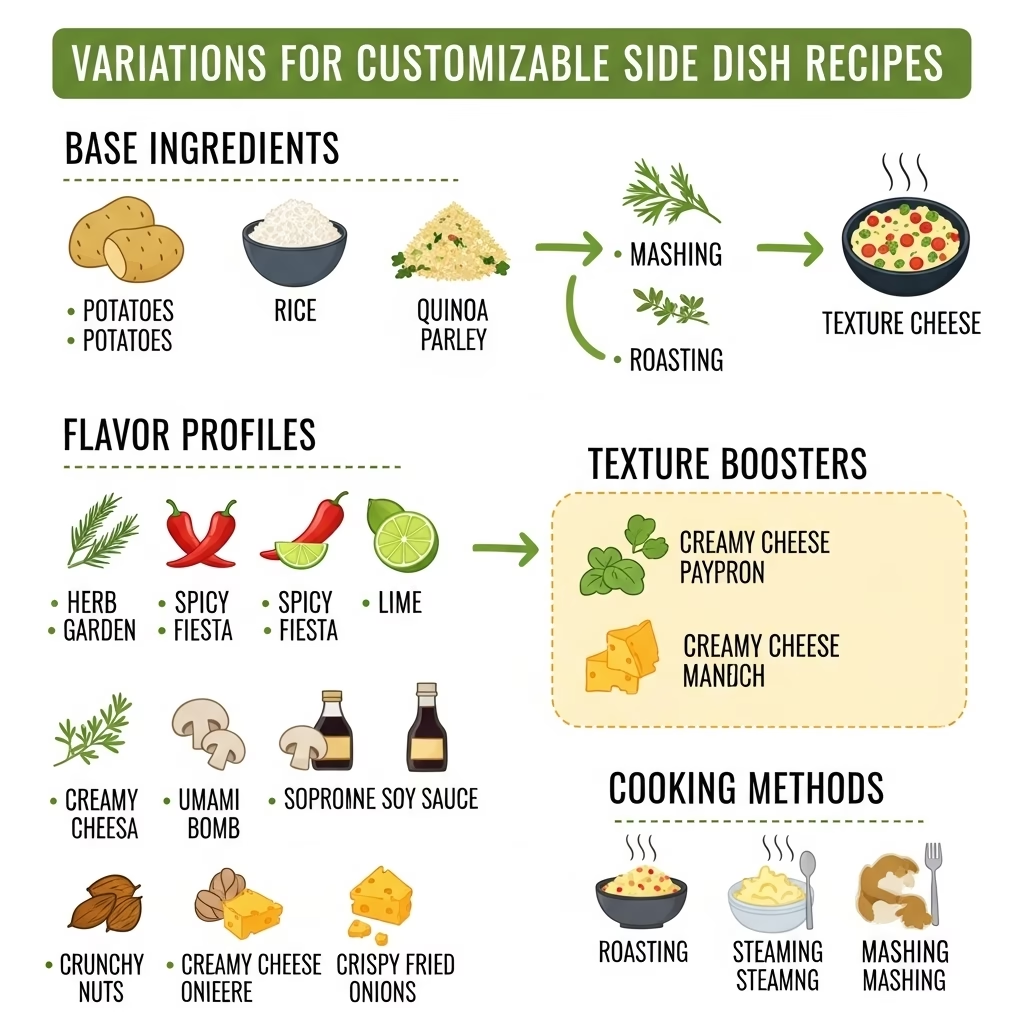
Pumpkin & Ginger Chutney Variations: Make It Your Own
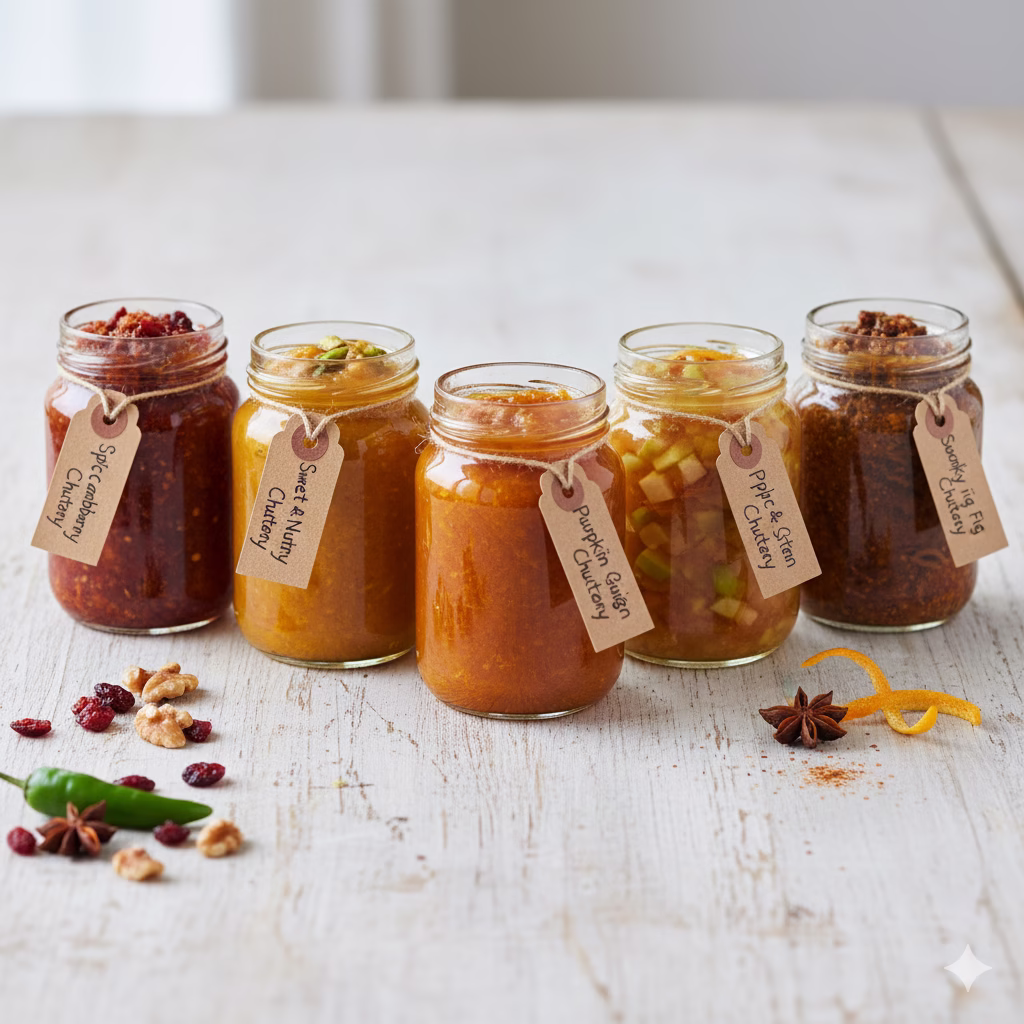
This recipe is a great start. But feel free to try new things! Here are some ways to change your chutney to suit your taste.
| Variation Category | Ideas for Customization |
| Spice Level | Not Hot: Do not use cayenne pepper. Medium Hot: Use ¼ tsp cayenne. Very Hot: Use ½ – 1 tsp cayenne, or add a green chili cut into tiny pieces with the ginger. |
| Sweetness | Less Sweet: Use only ¼ cup brown sugar. Or use a natural sweetener like maple syrup to taste. More Sweet: Use ¾ cup brown sugar. Or add a tablespoon of honey at the end. |
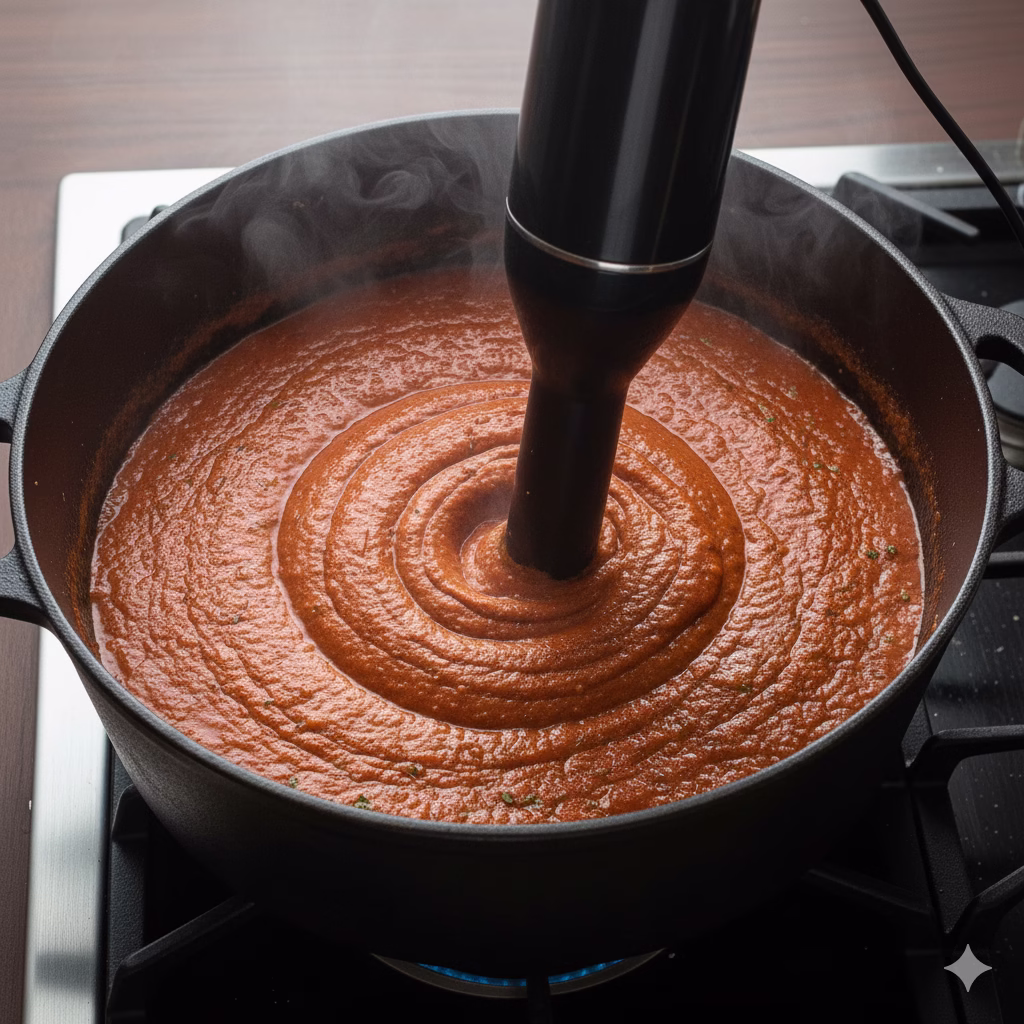
| Texture | Smoother: Use an immersion blender in the pot. You can also use a food processor for a few quick pulses (be careful, the chutney is hot). Chunkier: Cut the pumpkin and apple into slightly bigger cubes. Do not mash as much while it cooks. |
| Flavor Profile | Earthy: Add ½ tsp smoked paprika with the other spices. More Tart: Add 1-2 more tablespoons of apple cider vinegar. Or add the peel of half an orange. Fruity: Use a pear instead of one apple. Or add some dried apricots or figs (chopped) with the cranberries. Nutty: Stir in 2 tablespoons of chopped pecans or walnuts right at the end. |
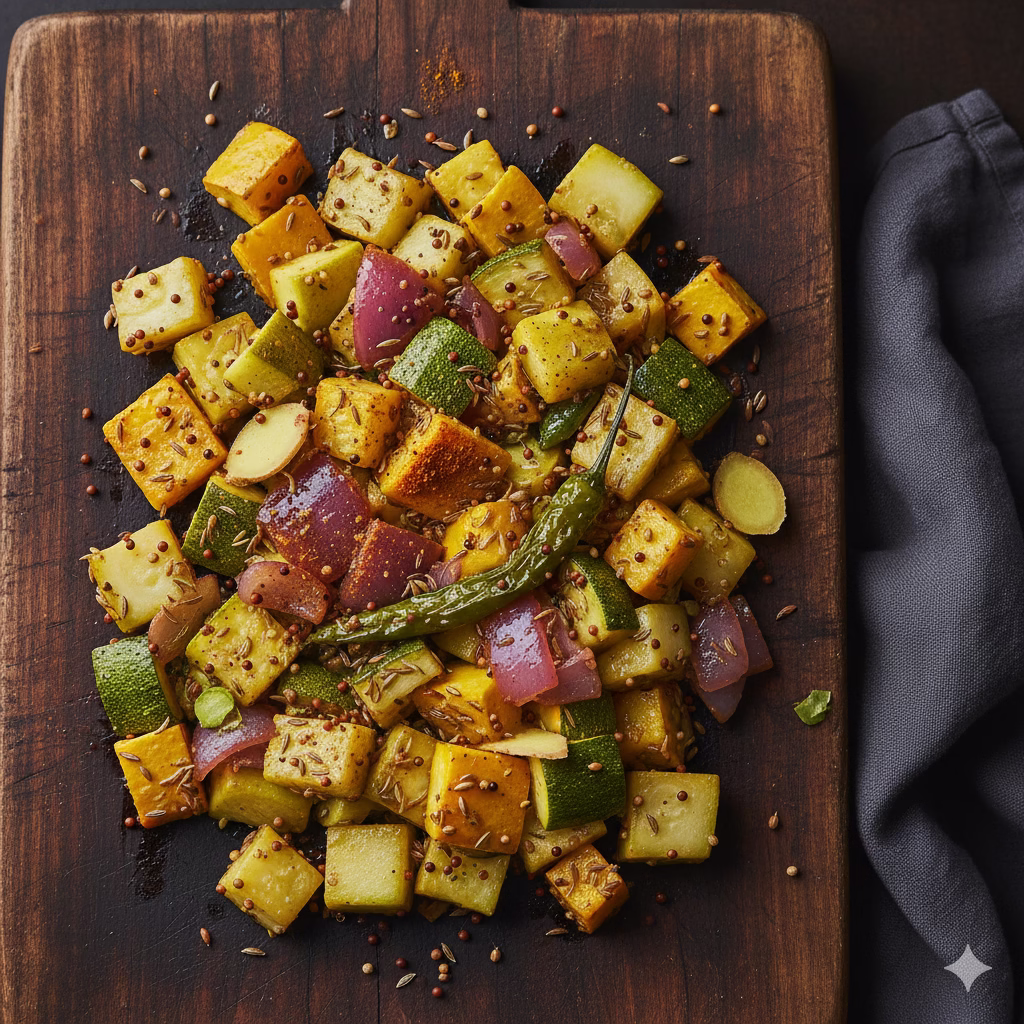
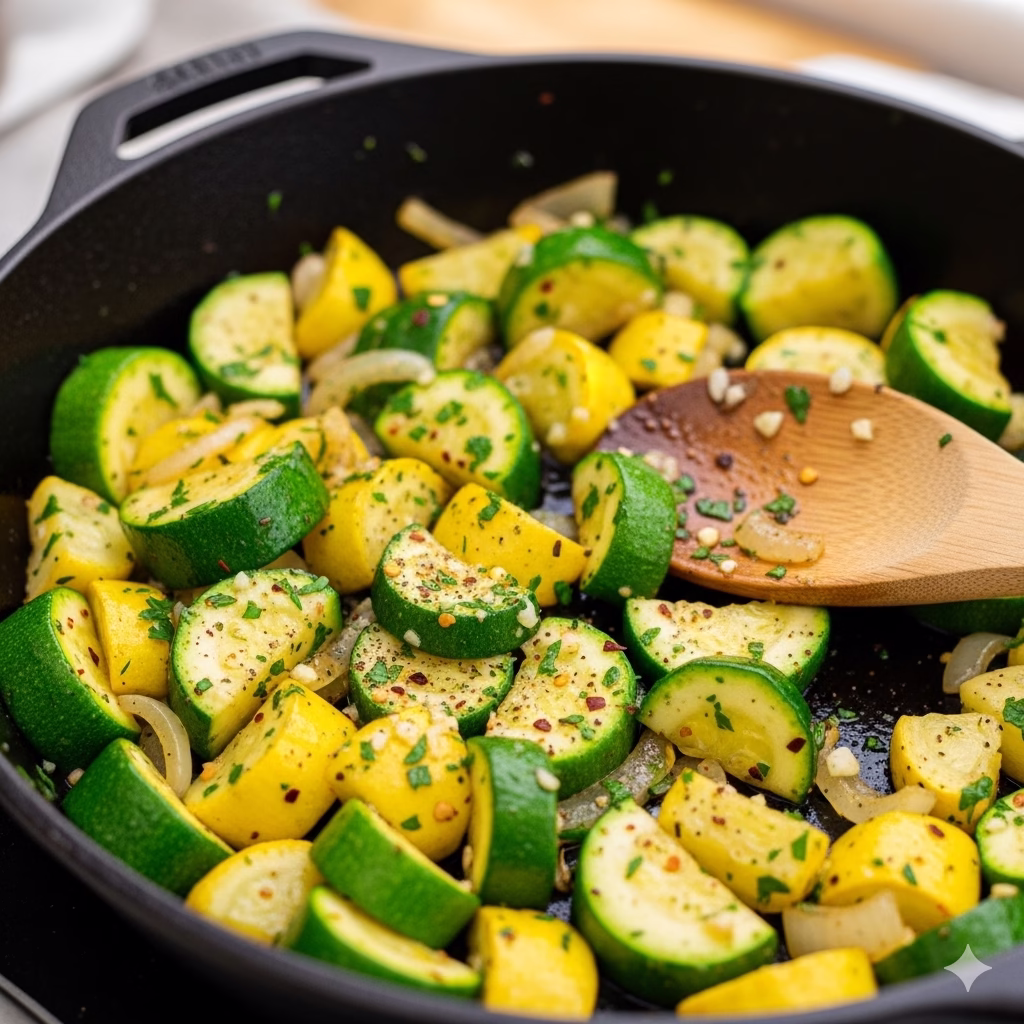
| Extra Veggies | Carrot: Add ½ cup of finely diced carrots with the pumpkin for extra sweetness and vitamins. Zucchini: Add ½ cup of finely diced zucchini during the last 20 minutes of cooking. |
Final Thoughts on Pumpkin & Ginger Chutney
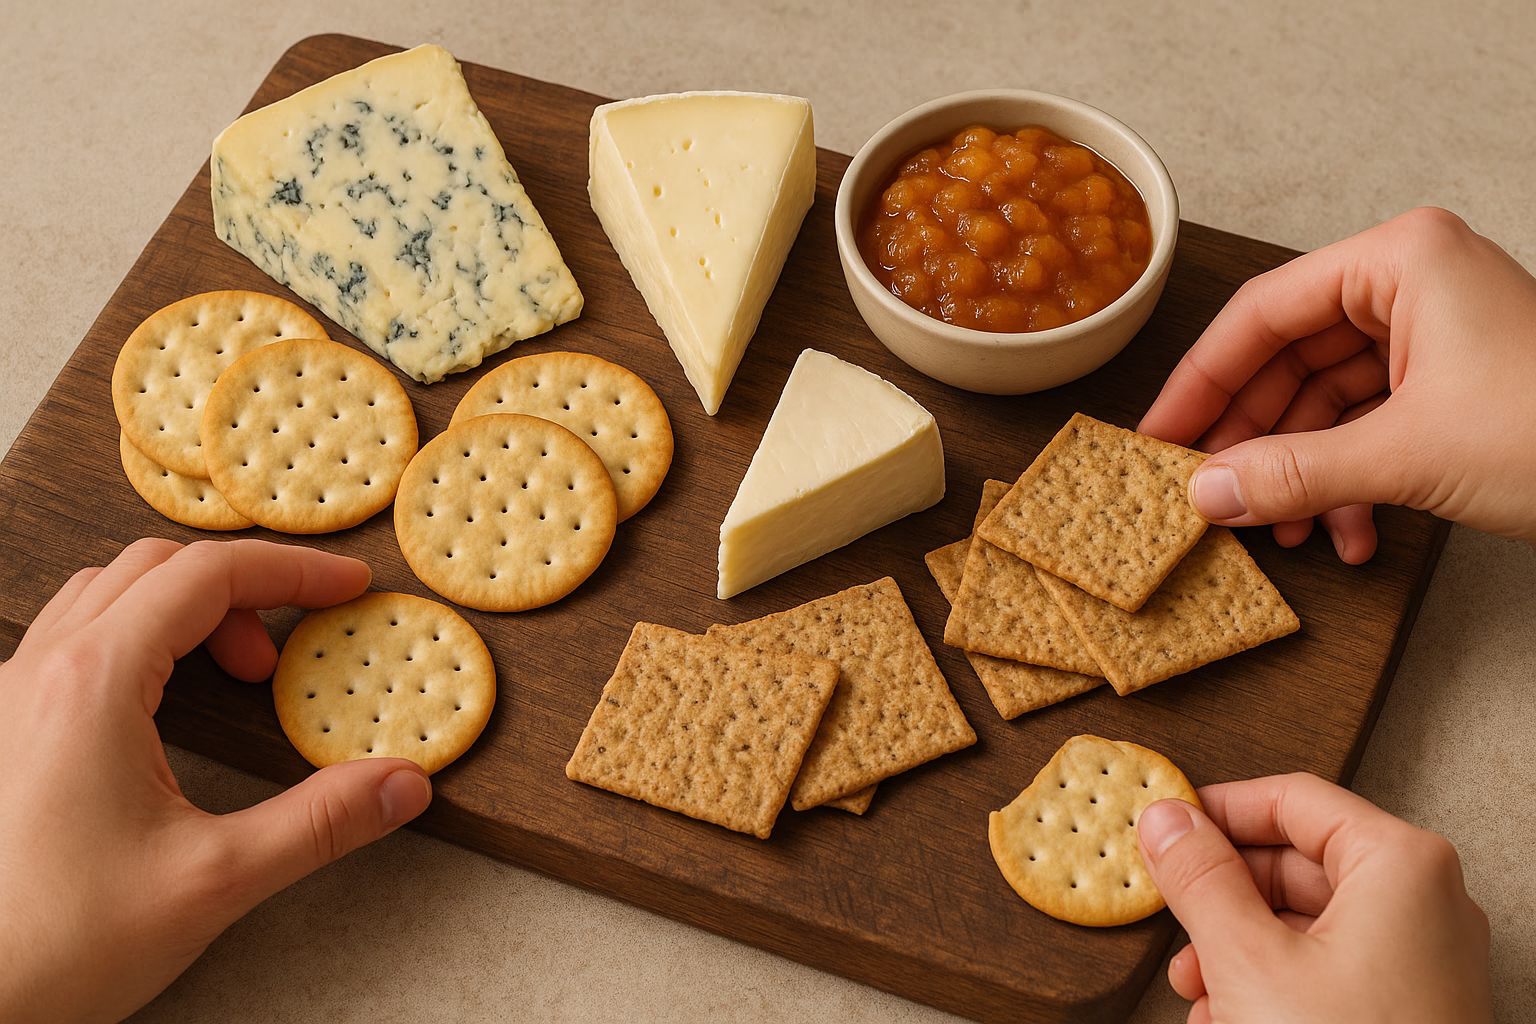
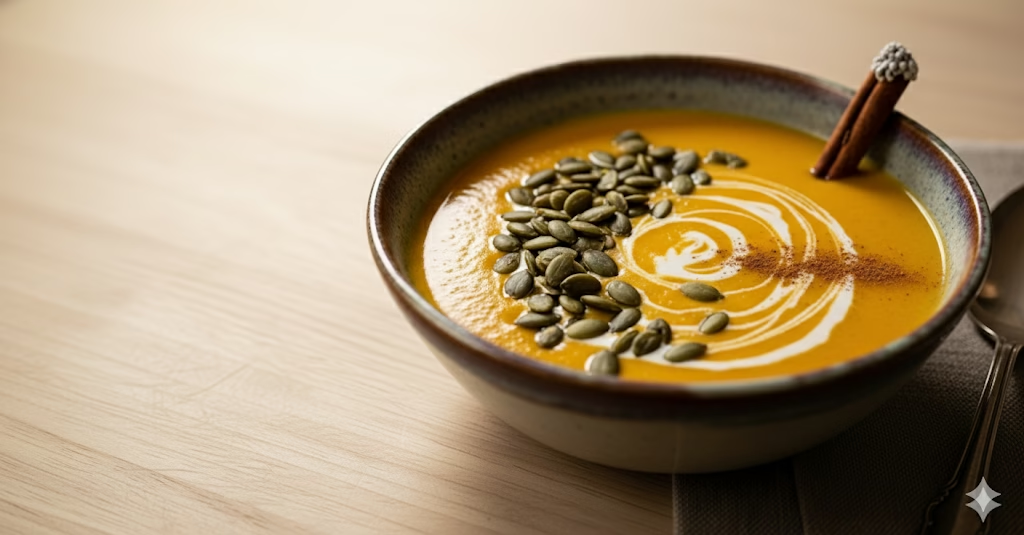
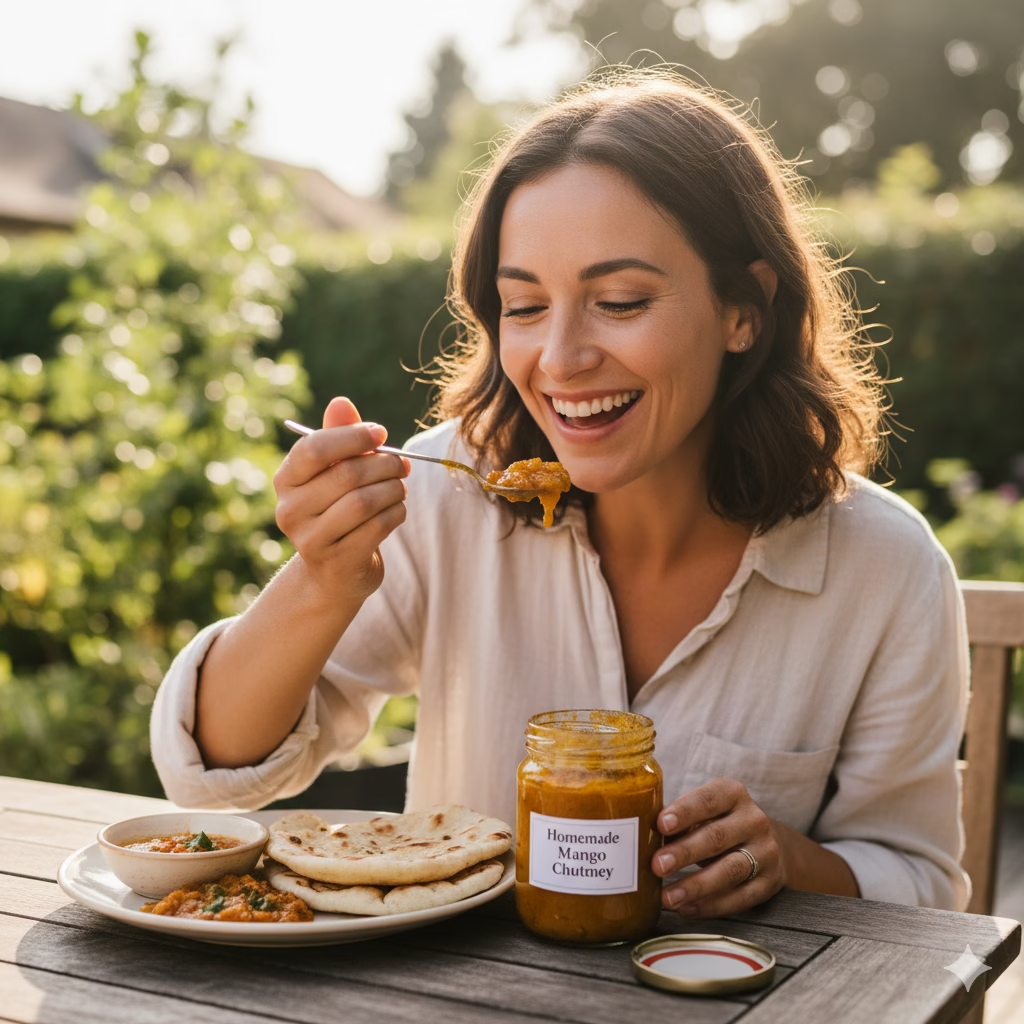
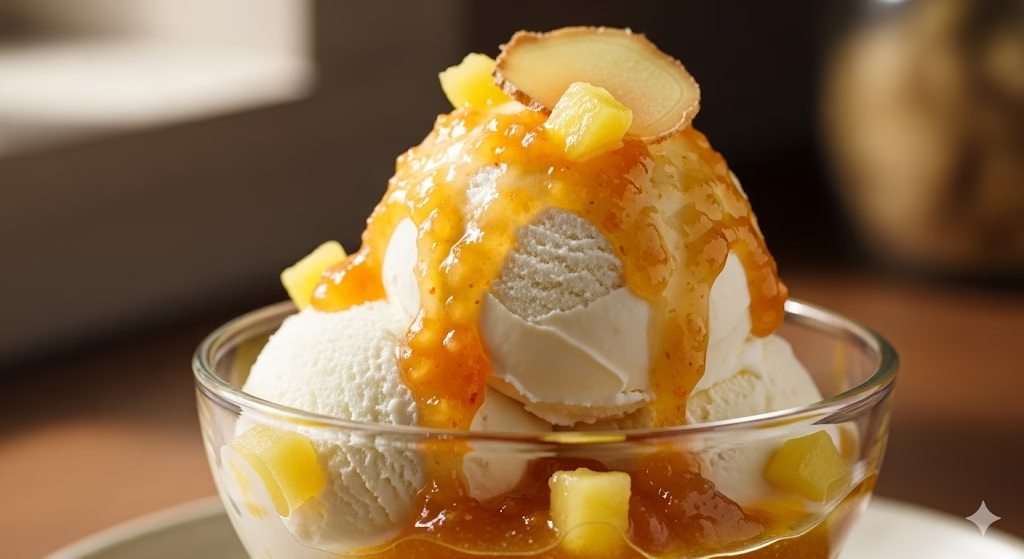
Making your own Pumpkin & Ginger Chutney with Cinnamon is more than just cooking. It is a great experience. You create something truly special and delicious from scratch. The rich, warm tastes of pumpkin, the zip of ginger, and the comfort of cinnamon all come together. They form a sauce that is both useful and very healthy. Imagine putting this bright chutney on a slice of bread. Serve it with a holiday roast. Or just eat it with your favorite cheese and crackers. Its homemade feel and rich flavor will impress everyone.
When you take the time to make this chutney, you are adding health and seasonal magic to your meals. This recipe encourages you to enjoy cooking. It invites you to try new flavors. It lets you enjoy the simple joy of a homemade food. We hope you will try this recipe. Change it with our ideas to make it perfect for you. Share the delicious results with those you love. Let this Pumpkin & Ginger Chutney become a favorite food in your kitchen!
Frequently Asked Questions (FAQs)
Q1: How long can I keep this homemade Pumpkin & Ginger Chutney?
A1: If you keep it in sterilized, airtight jars in the refrigerator, this chutney will last for up to 3-4 weeks. If you properly can the chutney using a water bath method, it can last for up to 1 year in a cool, dark place. Always make sure your jars are clean and sealed well.
Q2: Can I use fresh ginger instead of ground ginger?
A2: Yes, you should! This recipe asks for fresh ginger. Fresh ginger gives a much brighter and zestier taste than ground ginger. The amount listed (4-inch piece, grated) is for fresh ginger. If you only have ground ginger, you could use about 1-1.5 teaspoons. However, the flavor will not be the same. For the best taste, use fresh ginger.
Q3: What foods go well with Pumpkin & Ginger Chutney?
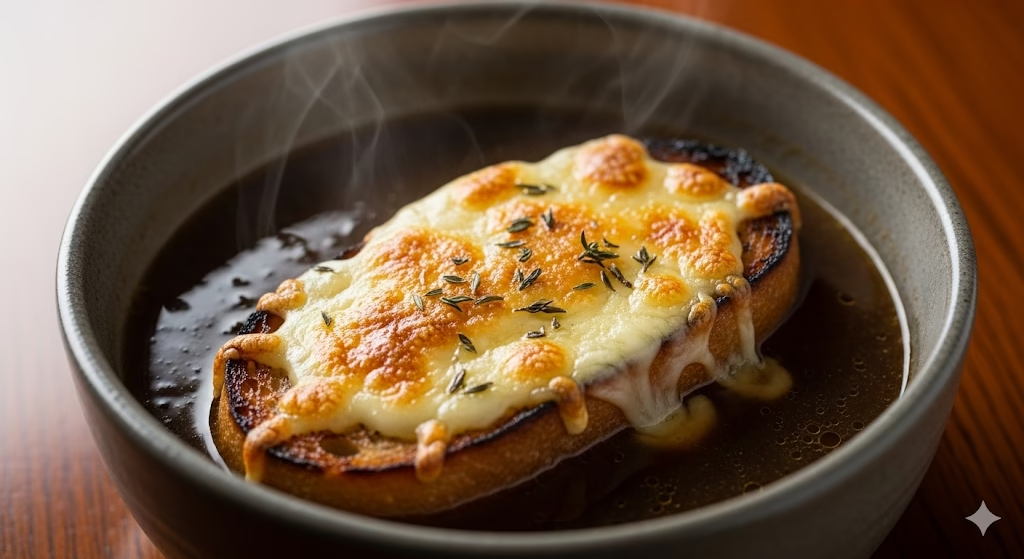
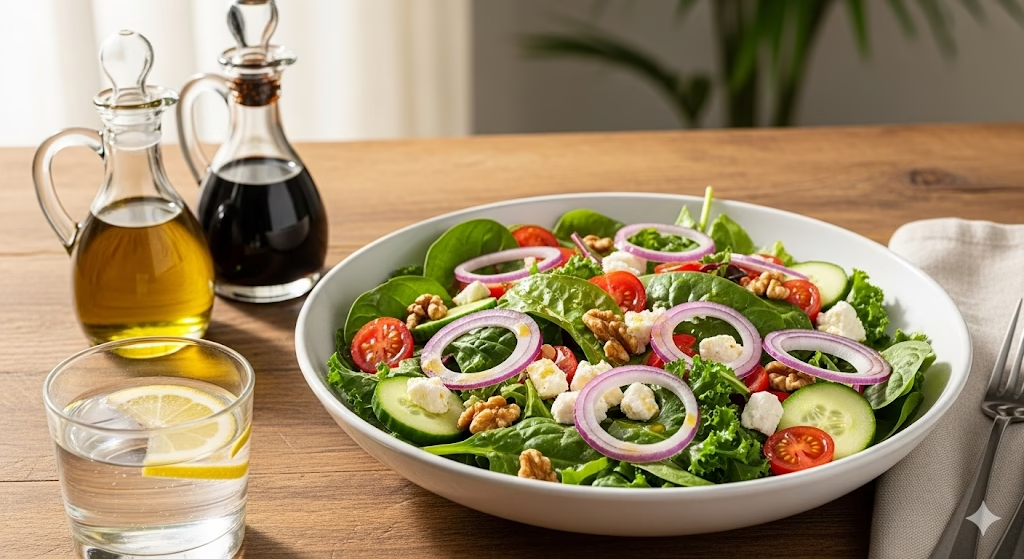
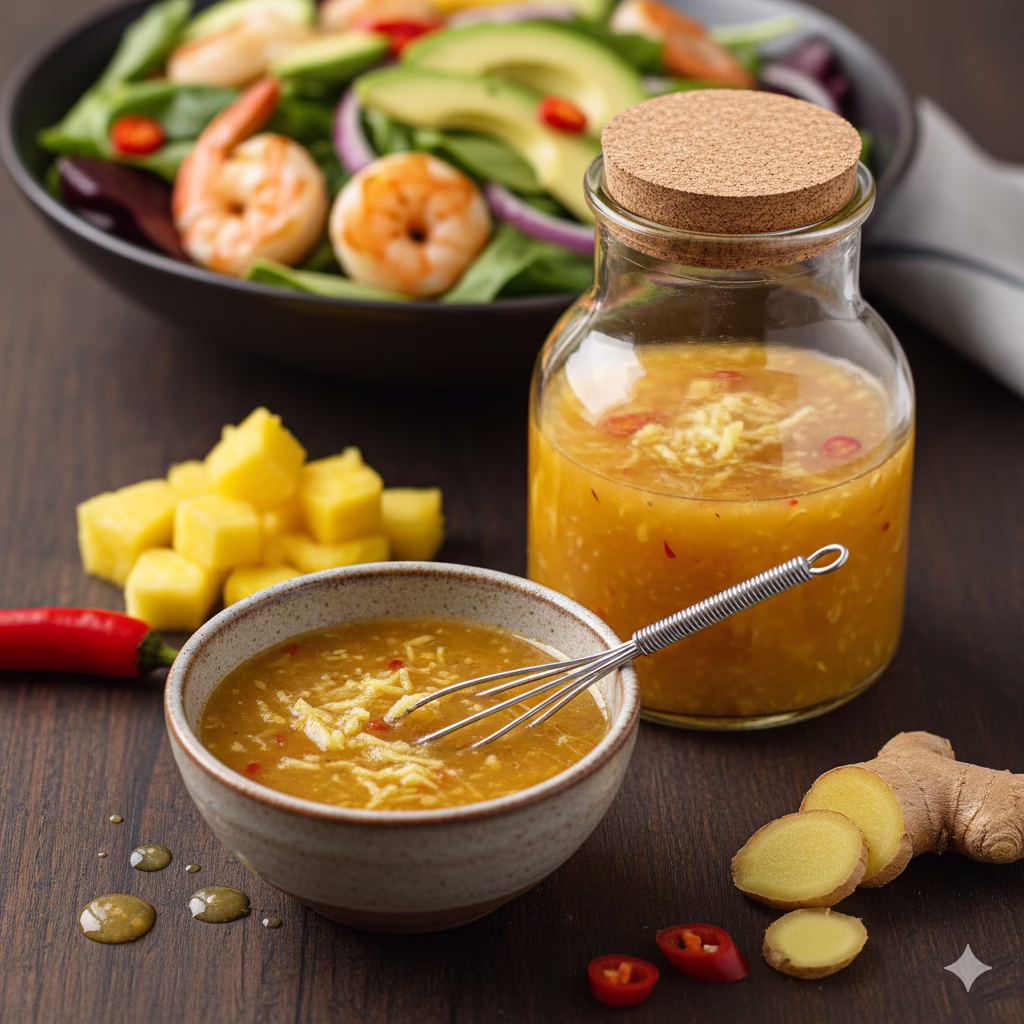
A3: This chutney is great with many different foods! And is wonderful with cheese boards (especially sharp cheddar or goat cheese). It is great with roasted meats like chicken, pork, or turkey. And even goes well with grilled fish. You can put it in sandwiches. Use it as a glaze for vegetables. You can even mix it into salad dressing for a new flavor. It is also good mixed into plain yogurt for breakfast!
References
- Healthline – 9 Impressive Health Benefits of Pumpkin
- Harvard Health – Health benefits of ginger
- WebMD – Cinnamon: Health Benefits
Recent Posts