As someone who loves the festive season but often feels overwhelmed by the endless parade of sugary treats, I’ve spent years perfecting healthier alternatives that don’t compromise on flavor or fun. This dedication led me to create the ultimate Healthy Christmas Bark. I believe that enjoying holiday traditions shouldn’t mean sacrificing your well-being or feeling sluggish. Join me as I share my passion for making wholesome, joyful food accessible to everyone, ensuring your celebrations are both delicious and nutritious.
Remember that even though this is a healthier option, it’s still an treat, so practice moderation and enjoy small, mindful portions of your delicious Healthy Christmas Bark.
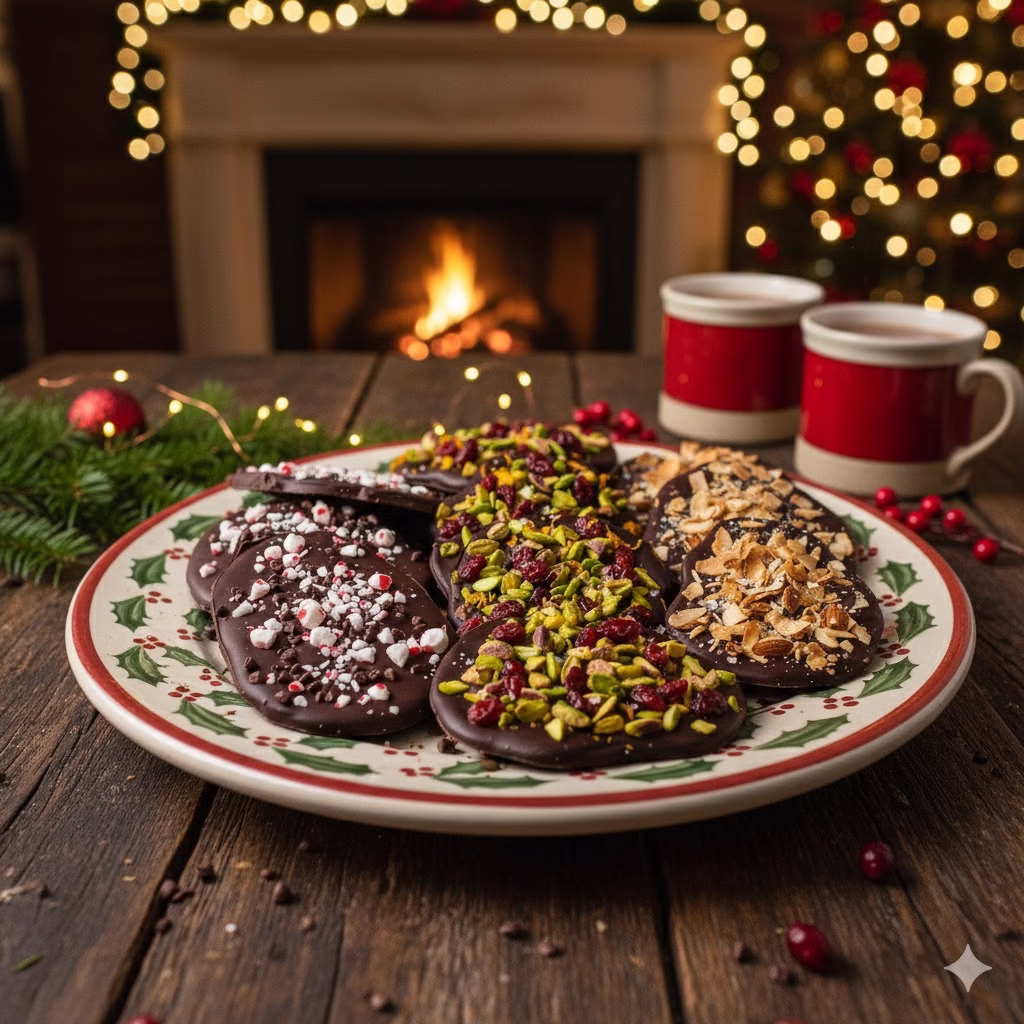
How To Make Healthy Christmas Bark
The holiday season is a magical time. It’s filled with warmth, joy, and, let’s be honest, a lot of delicious treats. We see frosted cookies and rich fruitcakes. The festive table often groans under the weight of these sweet foods. Enjoying these traditional delights is fine, but many of us look for options that offer the same festive spirit without a sugar crash. We want to avoid the feeling of overdoing it. Enter Healthy Christmas Bark—a delightful, versatile, and surprisingly simple candy. It lets you enjoy the tastes of the season with a wholesome twist.
This article is more than just a recipe. It’s a guide to creating a healthier holiday tradition. We will dive deep into how to craft tasty bark that fits your diet. And will explore countless variations. We will also discuss how to make this a fun, family activity. So, roll up your sleeves, put on some festive tunes, and let’s start making your most impressive, guilt-free holiday treat yet!
Why Choose Healthy Christmas Bark?
Before we get to the details of making it, let’s talk about the ‘why.’ Why bother with a healthy version? The traditional kind is so easy to find.
- Mindful Indulgence: The holidays are about enjoying life. Food is a huge part of that. Healthy Christmas Bark lets you indulge mindfully. You can enjoy the flavors without the heavy feeling that often follows eating too much sugar.
- Dietary Needs: More people are adopting specific diets. Think keto, paleo, vegan, or gluten-free. Traditional treats can be off-limits. Healthy bark is easy to change. It can fit a wide range of dietary needs. This makes it a perfect treat for everyone at your holiday party.
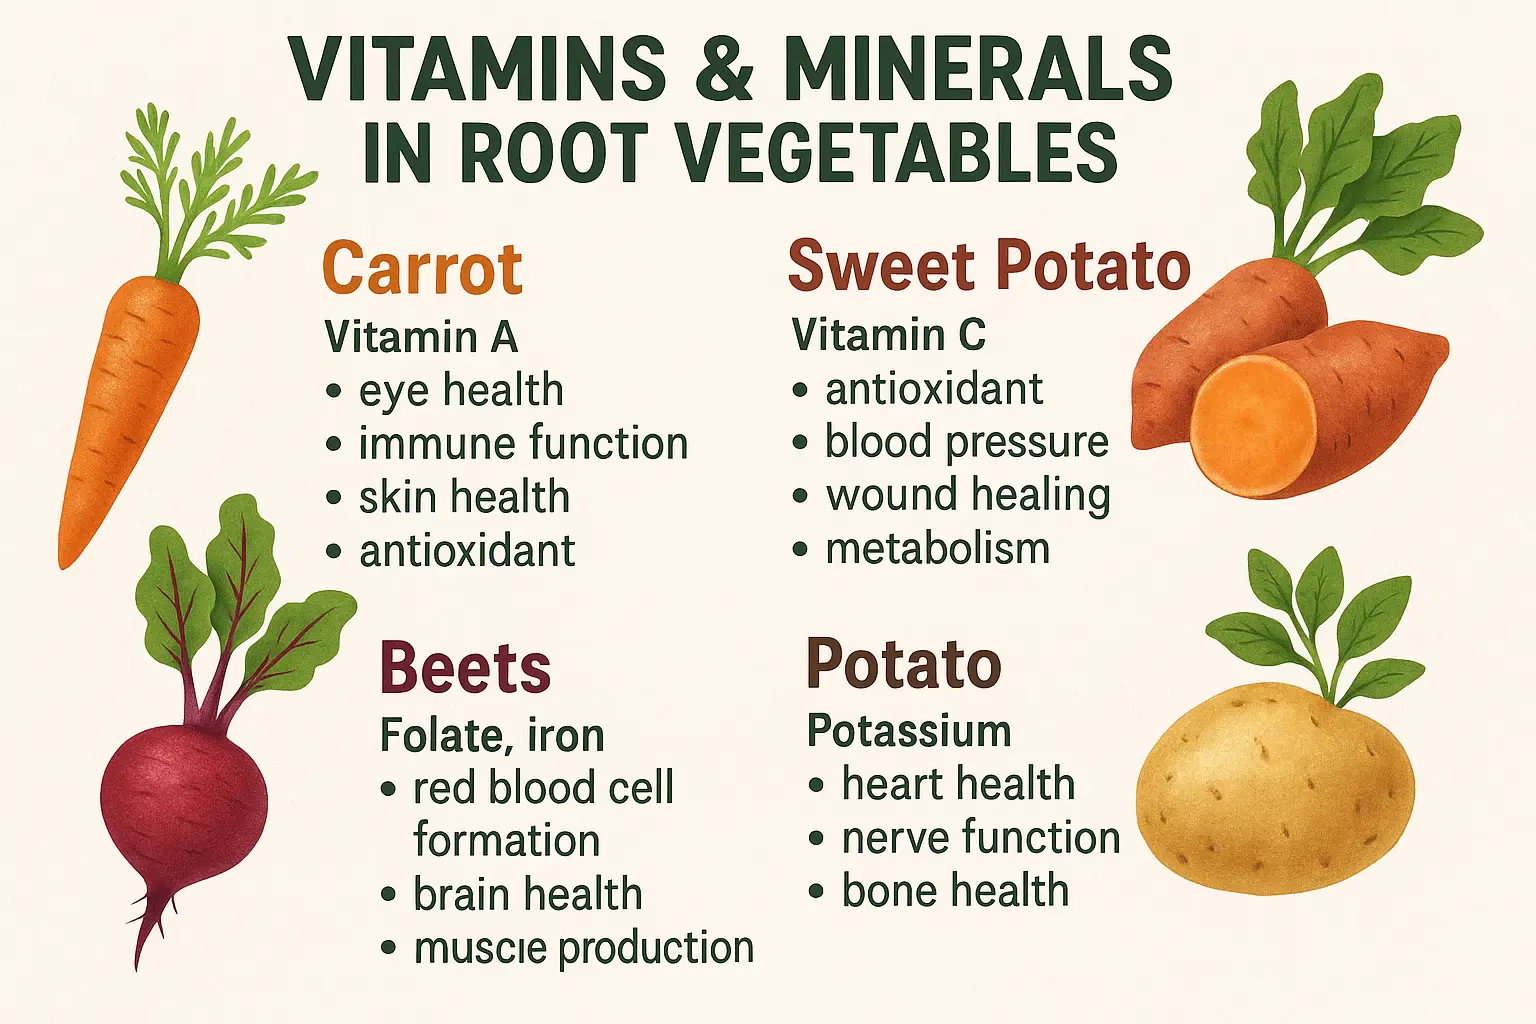
- Nutrient Boost: Swap out refined sugars and processed ingredients. Use whole foods instead. This way, you can put good nutrients, fiber, and healthy fats into your holiday treat.
- Easy to Change: This is maybe the best part. Bark is very forgiving and easy to adapt. You can truly make it your own. You can try out different flavors, textures, and toppings. This lets you create something unique.
- Great for Gifts: Hand-made treats are always nice. A batch of beautifully wrapped Healthy Christmas Bark makes a thoughtful and impressive gift.
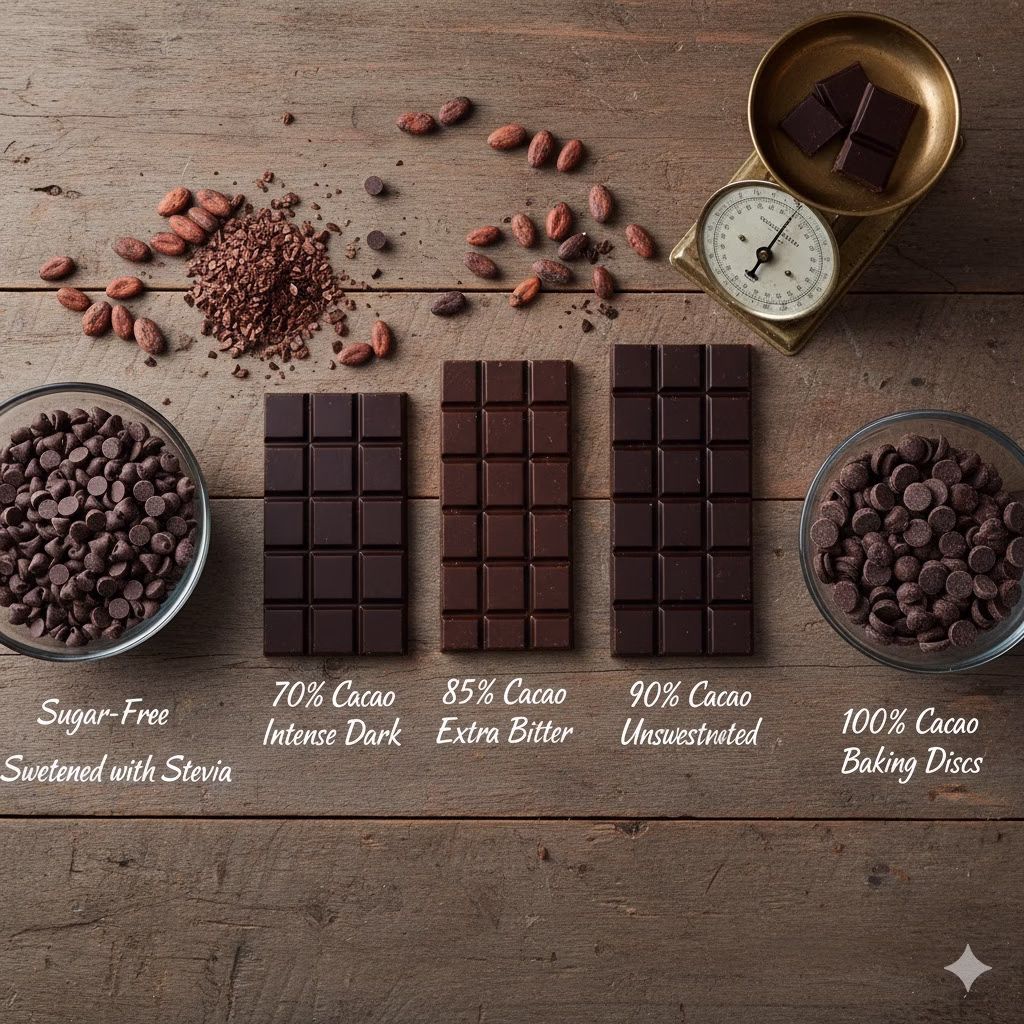
The Base: Choosing Your Chocolate
Chocolate is the heart of any bark. The type of chocolate you pick will greatly change how healthy your Healthy Christmas Bark is. It will also change the flavor.
- Dark Chocolate (70% Cacao or Higher): This is your best choice for a healthy bark. High-cacao dark chocolate has many antioxidants. It has less sugar than milk chocolate. It also offers a deep, complex flavor. Look for brands that list cacao as the first ingredient. They should also have very little added sugar or fake ingredients.
- How to choose: Look at the percentage. 70%, 80%, or even 90% cacao are great choices. Read the ingredient list carefully.
- Example brands: Ghirardelli Intense Dark, Lindt Excellence, Hu Kitchen (for paleo and vegan options).
- Unsweetened Chocolate (100% Cacao): This is an option for people who are really strict about limiting sugar. Unsweetened chocolate is very bitter on its own. You will need to add your own sweetener. Use things like stevia, erythritol, or maple syrup to make it taste good.
- Sugar-Free or Low-Sugar Chocolate Chips: Many brands now sell chocolate chips. They use different sweeteners like stevia, erythritol, or xylitol. These are an easy choice, especially for baking. Just check the sweeteners used if you have any issues with them.
- How to choose: Check the nutrition label for net carbs and the type of sweetener.
- Example brands: Lily’s Sweets, ChocZero.
- Cacao Butter: Do you want to make your own “white chocolate” base? Or do you want a raw bark? Then use cacao butter. This is the pure fat taken from the cacao bean. You will melt this. Then mix it with a sweetener and powdered superfoods (like matcha) or flavorings.
- Avoid: Stay away from milk chocolate and white chocolate. Do not use highly processed chocolate candies. These usually have high amounts of refined sugar, bad fats, and fake ingredients.
The Method: Melting Your Chocolate Like a Pro
Melting chocolate the right way is key for a smooth, shiny bark. Here are the two best and easiest ways to do it:
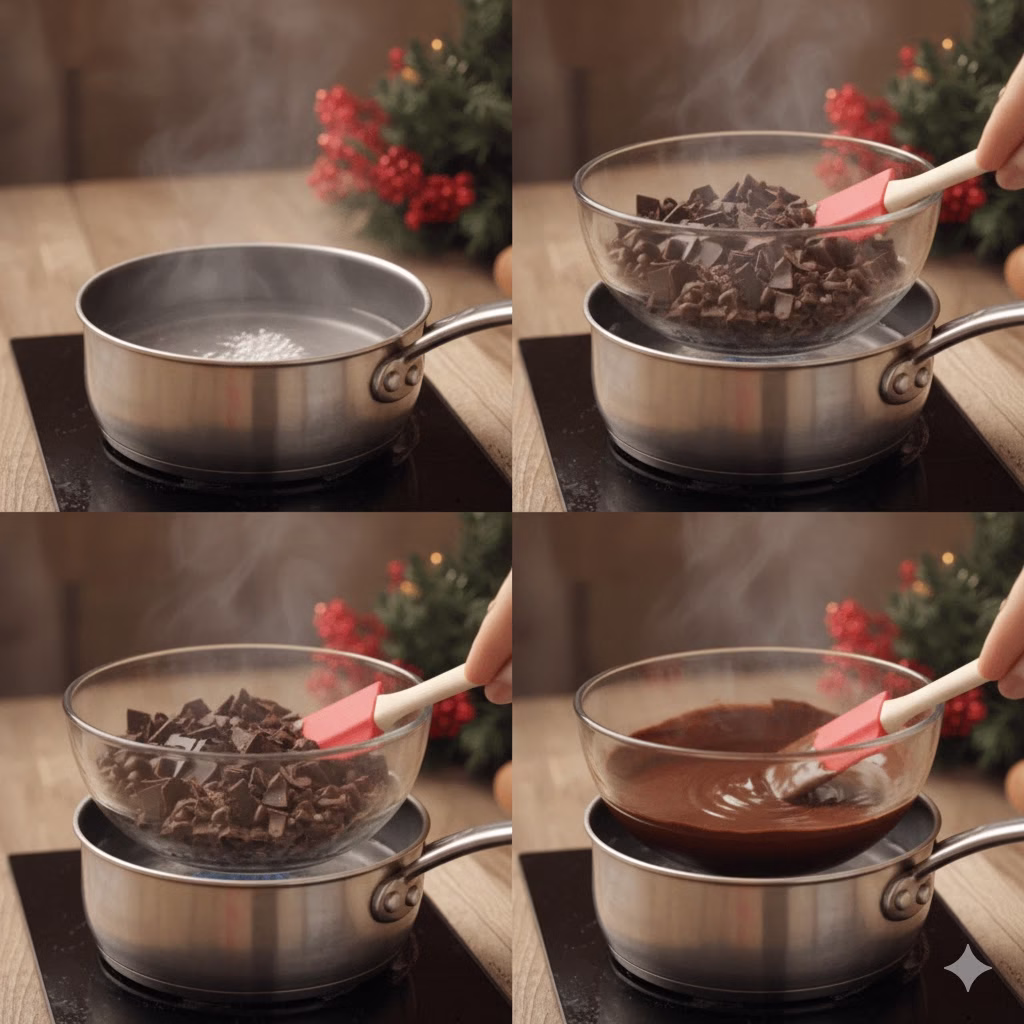
Method 1: Double Boiler (Bain-Marie)
This method is the gentlest. It is best for delicate chocolates or when you need exact temperature control.
- How to do it:
- Get your tools: You need a heatproof bowl. It should be glass or stainless steel. It must fit tightly over a saucepan without touching the water. You also need a saucepan.
- Prepare the water: Fill the saucepan with about one or two inches of water. Bring the water to a gentle simmer. Do not let it boil fast.
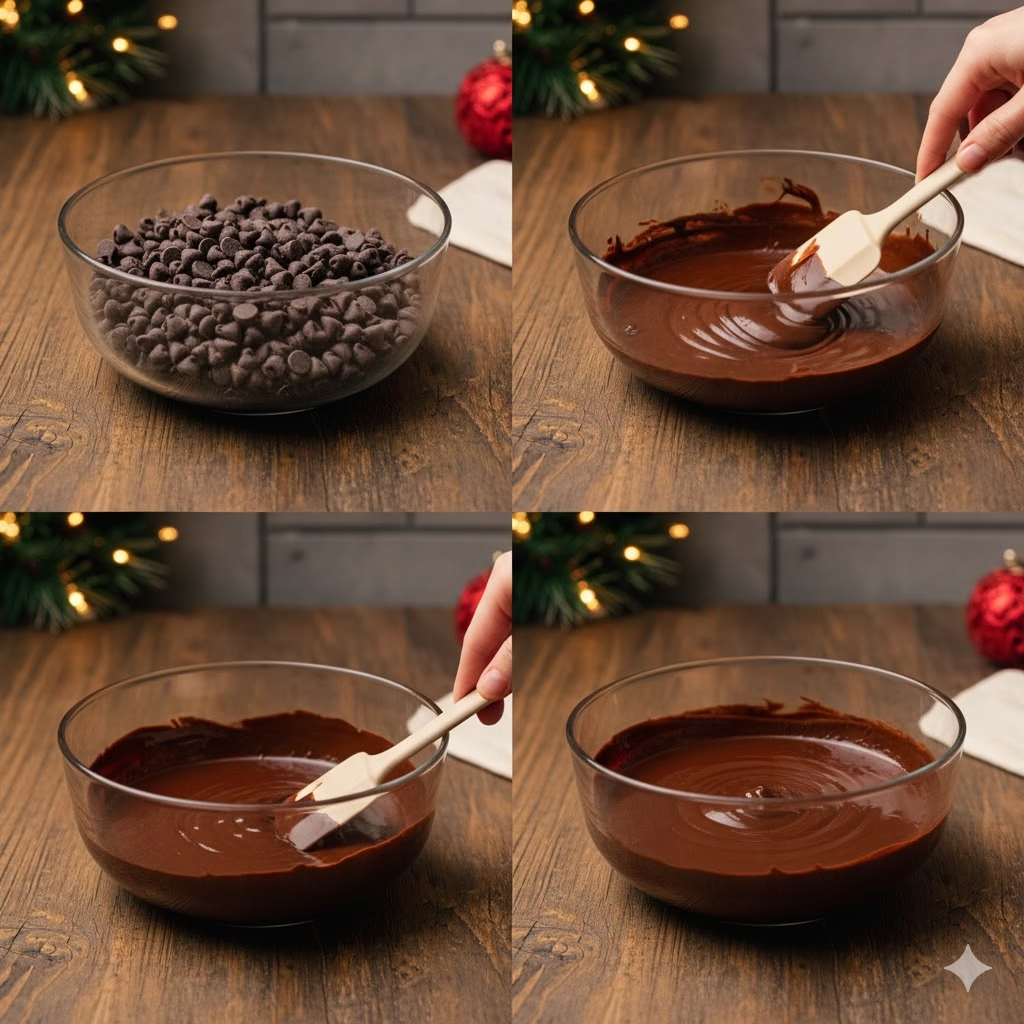
- Add chocolate: Put your chopped chocolate or chocolate chips in the heatproof bowl.
- Melt it: Place the bowl over the simmering water. The steam will gently heat the bottom of the bowl. This will melt the chocolate.
- Stir often: Use a rubber spatula or spoon to stir the chocolate all the time as it melts. This stops it from burning. It also helps it melt evenly.
- Take it off the heat: Once 80-90% of the chocolate is melted, take the bowl off the saucepan. The heat already in the bowl will keep melting the rest of the pieces as you stir. This stops it from getting too hot.
- Keep water out: It is very important that no water or steam gets into the chocolate. If it does, the chocolate can seize. This means it will thicken and get grainy.
Method 2: Microwave
This is the fastest method. However, you must watch it closely to avoid burning the chocolate.
- How to do it:
- Choose a safe bowl: Use a glass or ceramic bowl that is safe for the microwave.
- Add chocolate: Put your chopped chocolate or chocolate chips in the bowl.
- Heat in short bursts: Heat it on medium power (50-70%). Do this for 30 seconds at a time.
- Stir between bursts: Take the bowl out after each time and stir the chocolate well. Stir it to spread the heat, even if it doesn’t look melted yet.
- Keep going until smooth: Repeat the 30-second heating and stirring until the chocolate is smooth and totally melted. For the very last bits, you might only need 15-second bursts.
- Don’t overheat: Stop heating once most of the chocolate is melted. Let the heat already in the bowl finish the job with stirring.
Spreading Your Bark Base
Your chocolate is perfectly melted. Now it’s time to create the surface for your healthy toppings!
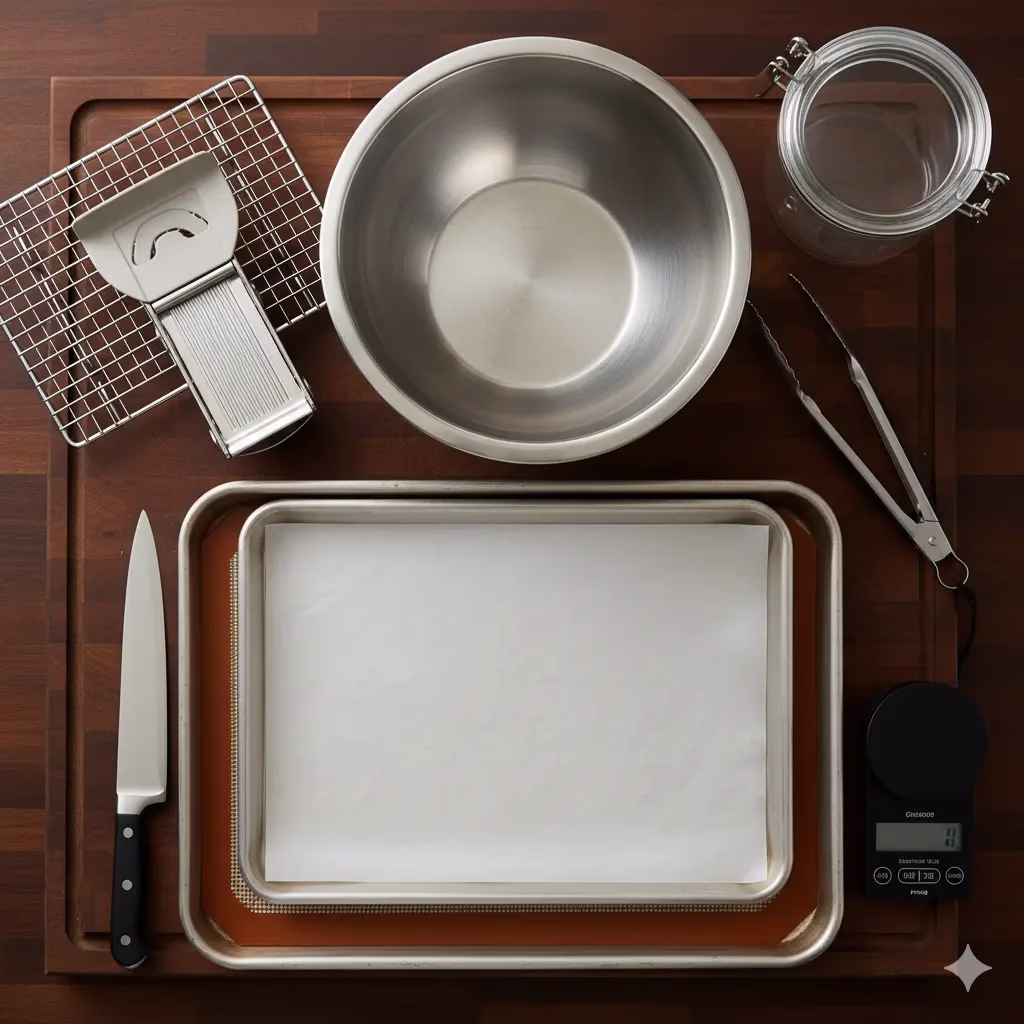
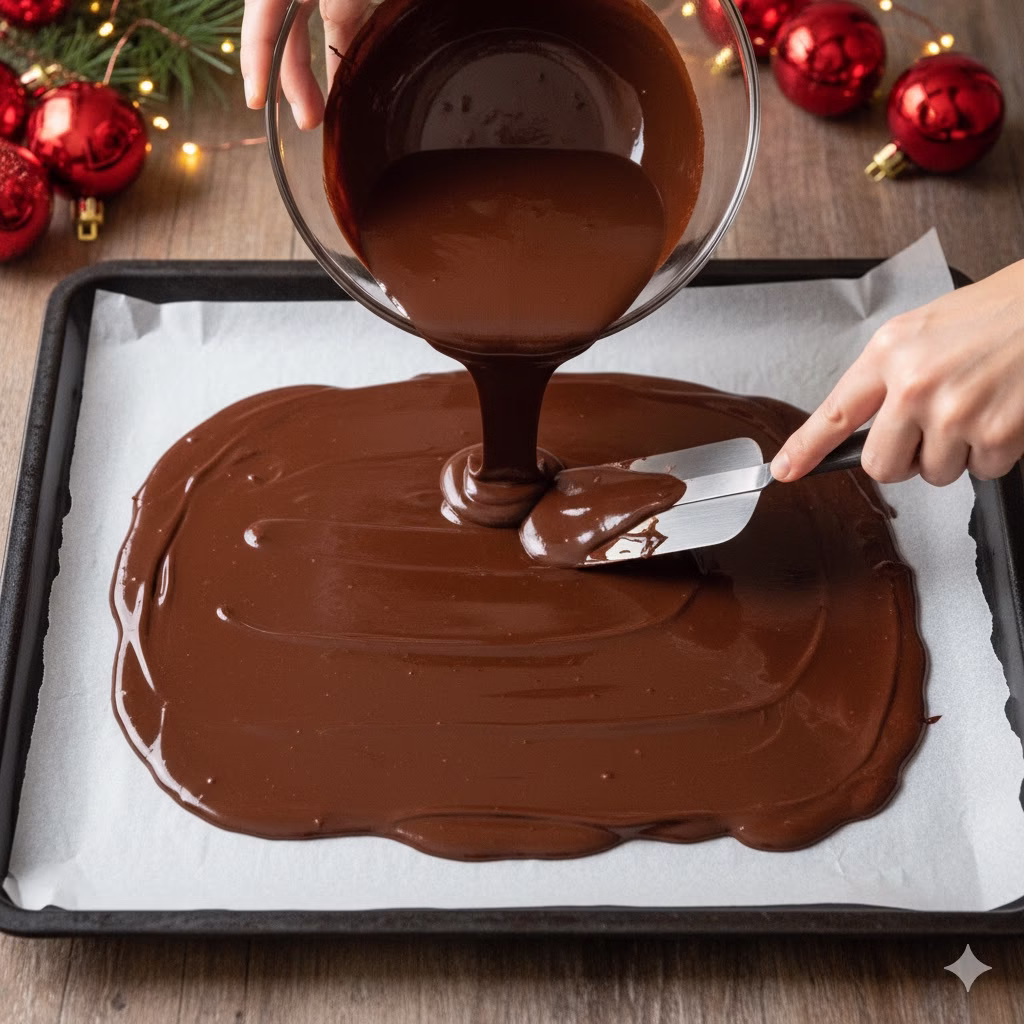
- Prep your surface: Line a baking sheet with parchment paper or a silicone baking mat. A baking sheet with a rim is best to stop spills. This step is needed so you can easily take the bark off later.
- Pour and spread: Pour the melted chocolate onto the prepared baking sheet.
- Make it even: Use an offset spatula or the back of a spoon to spread the chocolate. Make it a smooth, even layer. It should be about 1/8 to 1/4 inch thick. You can aim for a square or just let it be a free shape.
- How to do it: Start in the middle. Gently push the chocolate outwards toward the edges. You can slightly tip the pan to help it spread evenly.
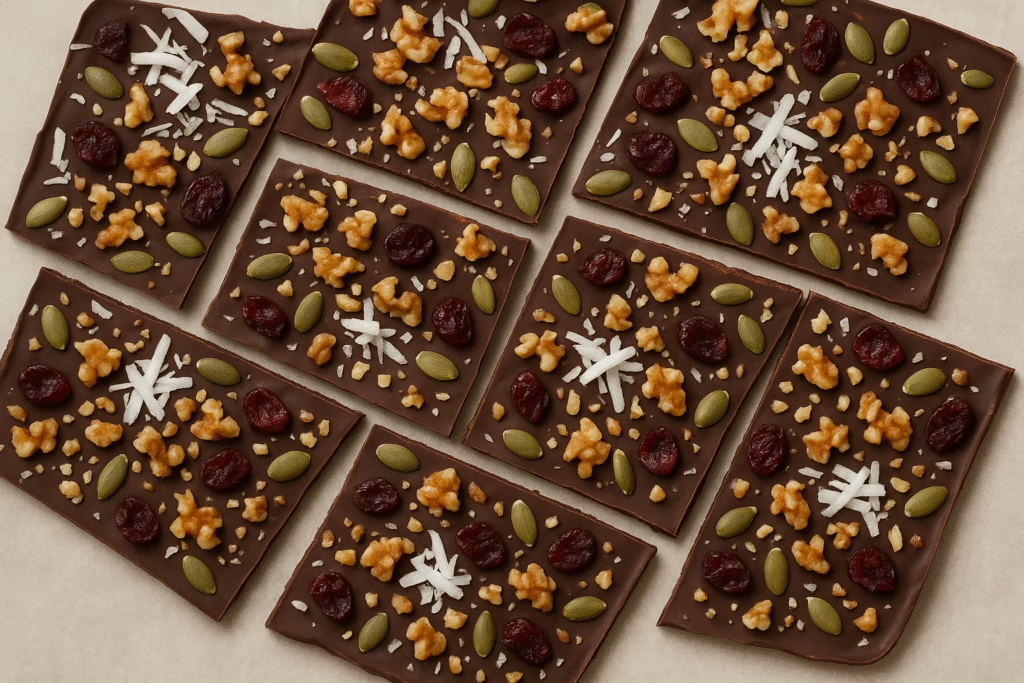
The Fun Part: Healthy Topping Ideas for Your Christmas Bark
This is where your Healthy Christmas Bark truly becomes amazing! You have endless choices. The toppings help it look great and add good nutrients. Put the toppings on while the chocolate is still wet so they stick. You want a mix of textures and flavors.
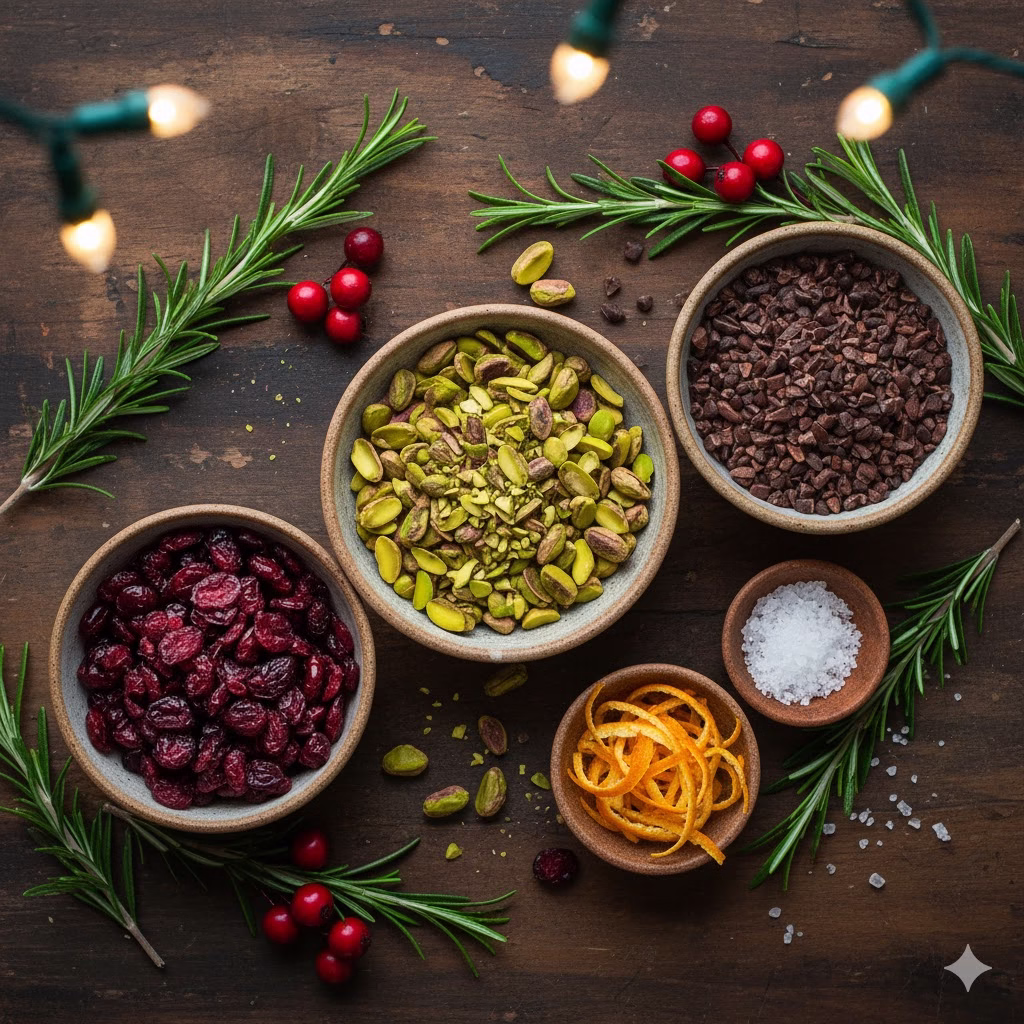
Nuts & Seeds (Healthy Fats & Protein)
- Pistachios: They are a beautiful green color. They have a slightly sweet and nutty taste.
- Almonds: Slice them, sliver them, or chop them. They are a classic and versatile choice.
- Pecans: Buttery and rich.
- Walnuts: Earthy and full of Omega-3s.
- Cashews: Creamy and mild.
- Pumpkin Seeds (Pepitas): Great crunch and a bright green color.
- Chia Seeds: They add texture and a boost of Omega-3s.
- Hemp Hearts: Mild, nutty taste and a good source of protein.
Dried Fruit (Natural Sweetness & Fiber)
- Dried Cranberries (no added sugar): Tart and festive. They are a Christmas icon.
- Goji Berries: Full of antioxidants and slightly chewy.
- Chopped Apricots: Sweet and tangy.
- Freeze-Dried Raspberries/Strawberries: They have a strong fruit flavor. They add a great pop of color and tartness. Crush them slightly to make a “dust.”
Spices & Extracts (Flavor Boost without Sugar)
- Peppermint Extract: Swirl a few drops into the chocolate. Or drizzle it on top.
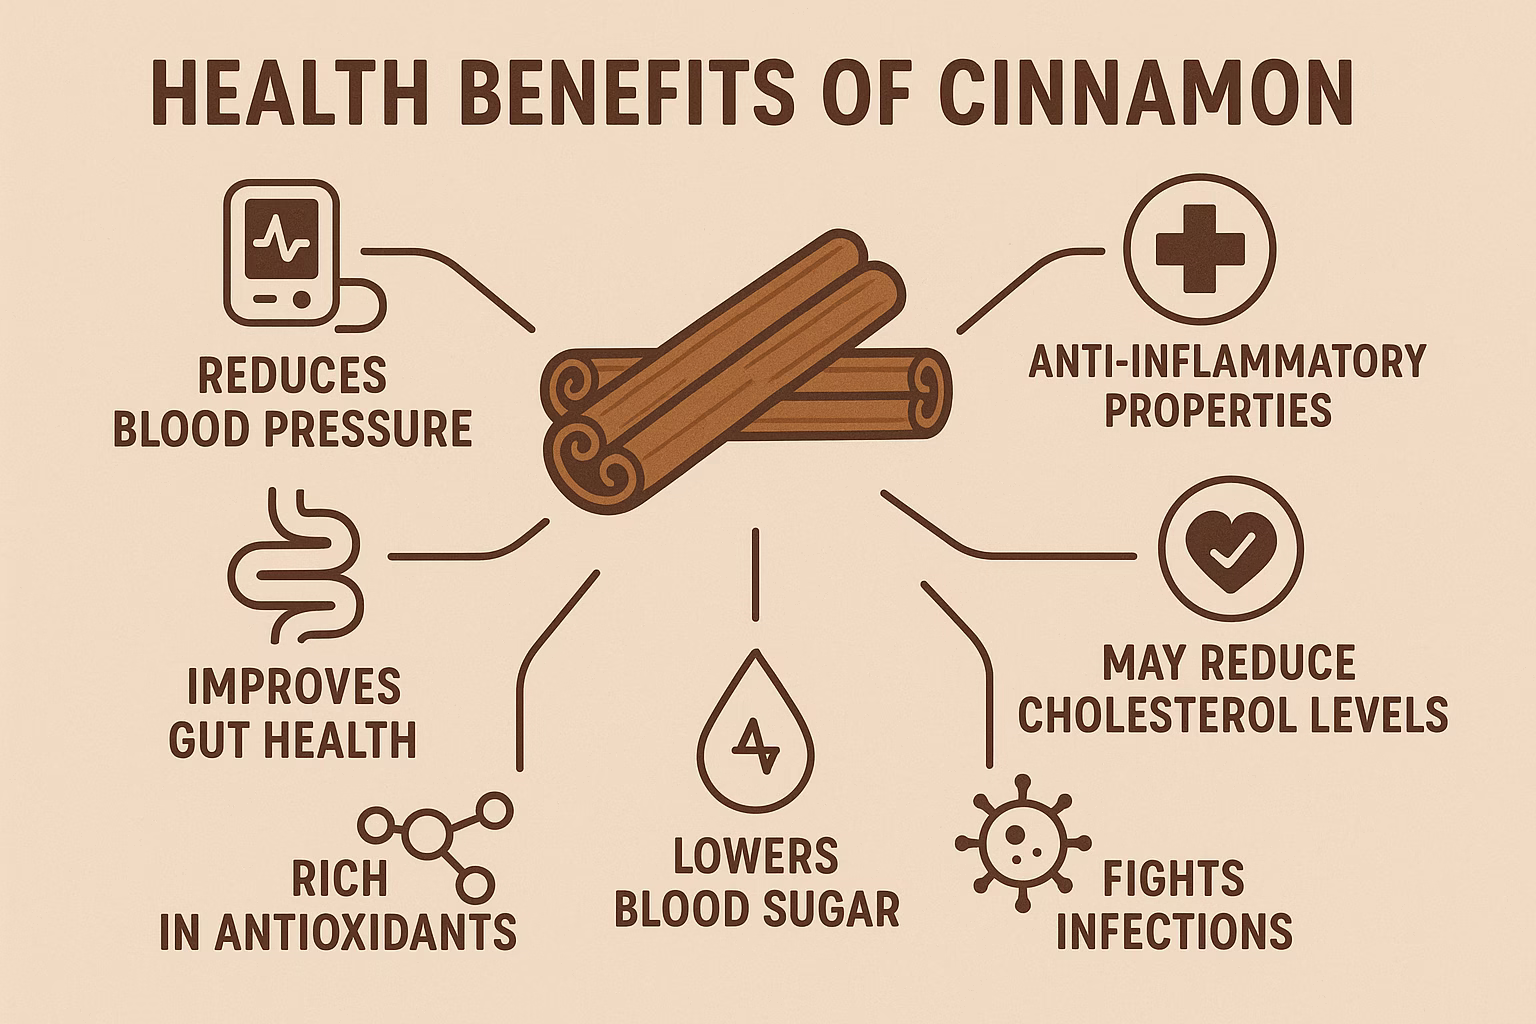
- Cinnamon: A warm, comforting spice.
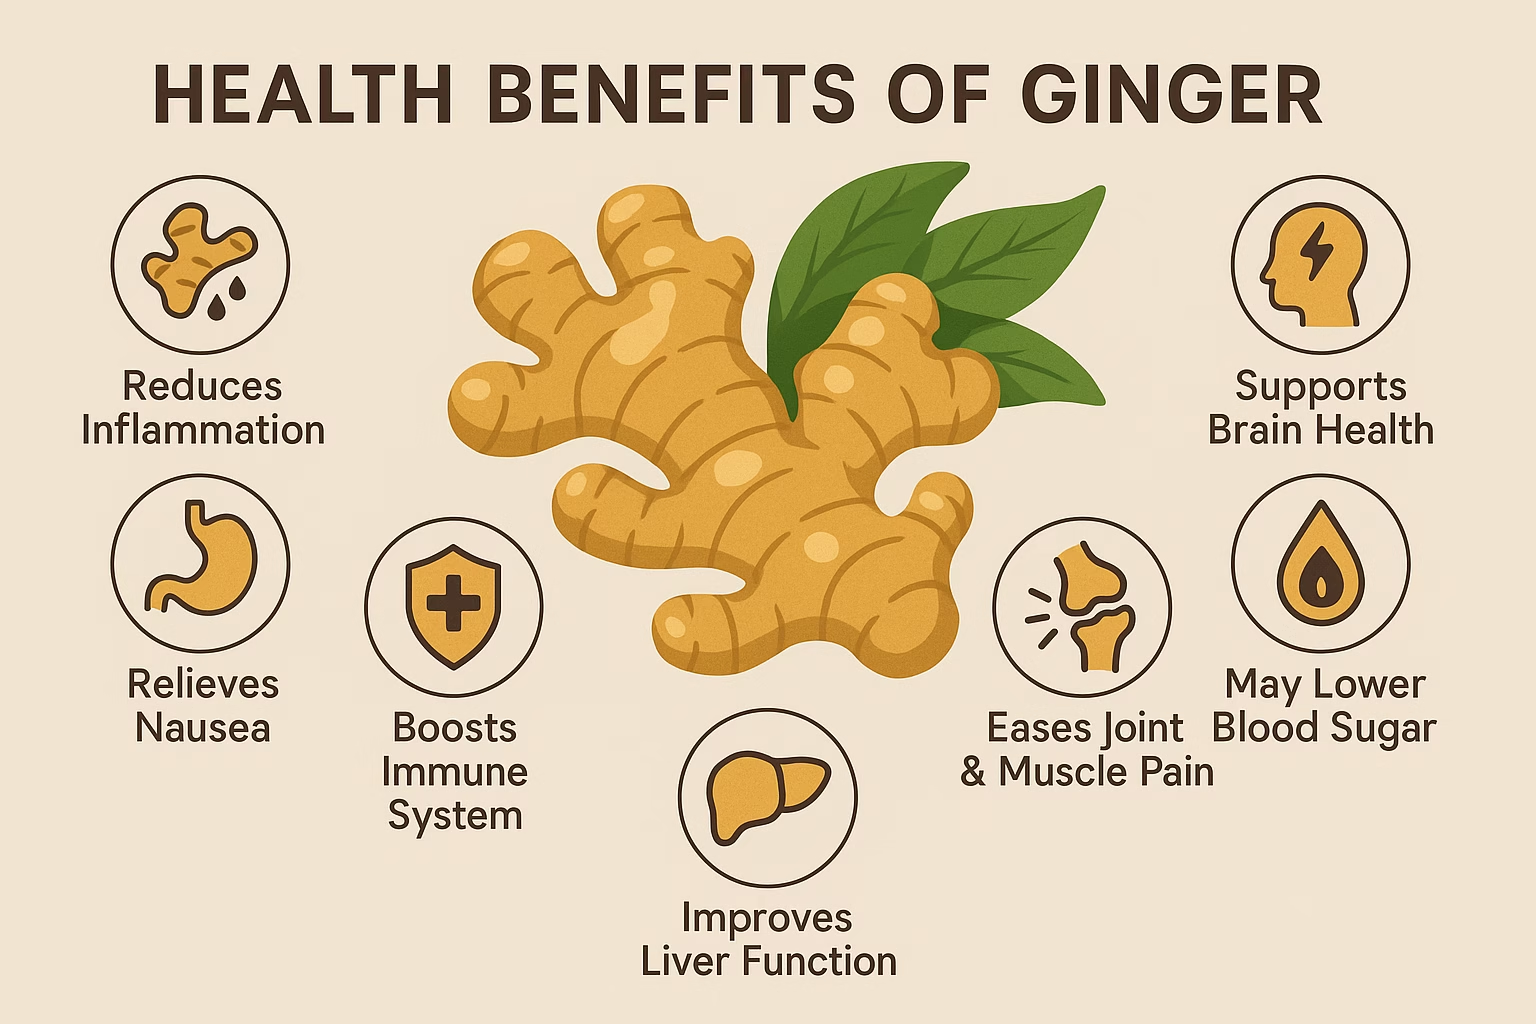
- Ginger (ground or low-sugar candied): Zesty and festive.
- Orange Zest: Bright and full of aroma.
- Sea Salt Flakes: A light sprinkle of flaky sea salt (like Maldon) makes the chocolate’s flavor better. You must try this on dark chocolate bark!
Healthy Crunch & Boosters
- Unsweetened Coconut Flakes: Toast them or use them raw. They add a tropical touch.
- Cacao Nibs: These are pure cacao bean pieces. They offer a strong chocolate flavor and crunch without sweetness.
- Puffed Quinoa or Millet: This adds a light, airy crunch.
- Crushed Sugar-Free Candy Canes: Use these for the traditional peppermint bark look and taste without the sugar.
- Matcha Powder: Dust it on top for an earthy flavor and a bright green color.
- Edible Glitter/Stars: For pure holiday sparkle (check the ingredients for sugar content).
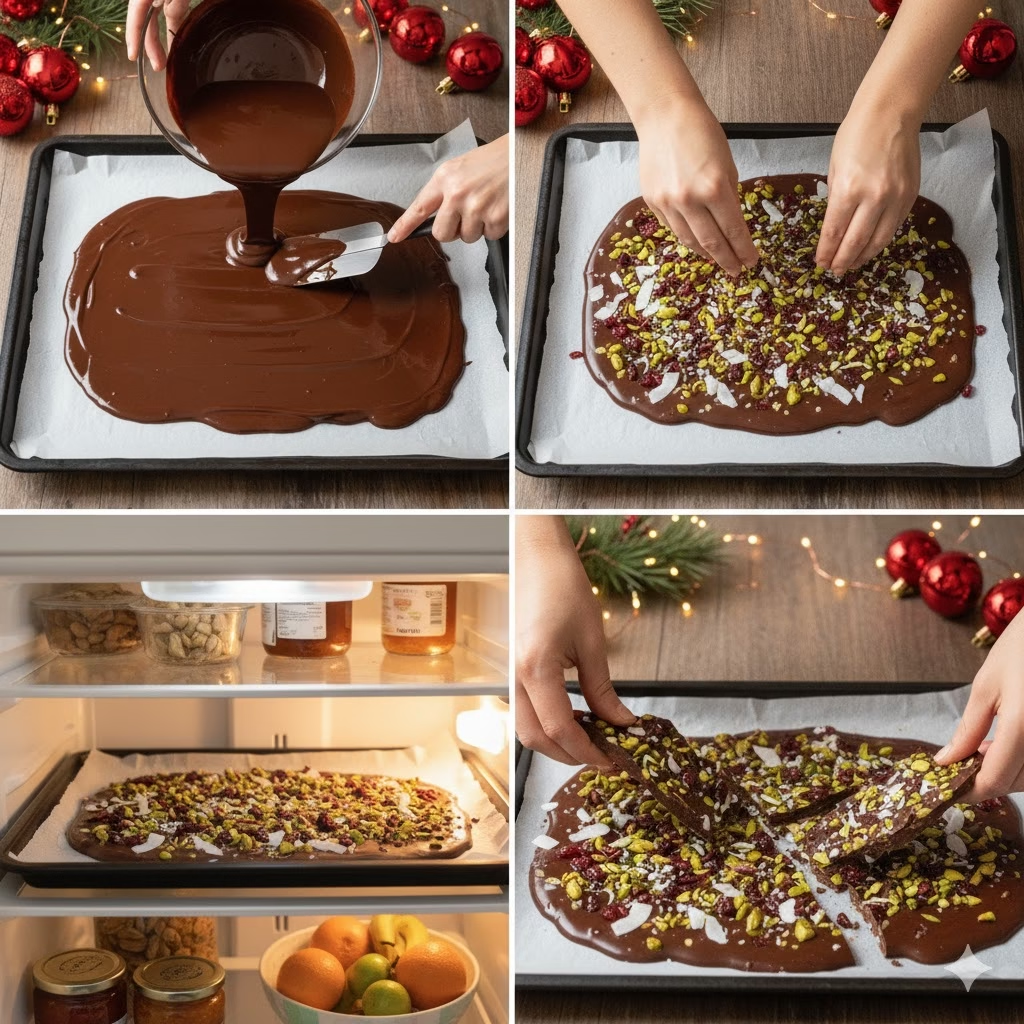
Assembling Your Healthy Christmas Bark: Step-by-Step
You have your melted chocolate. You have a great list of toppings. Now let’s put it all together!
- Melt your chocolate: Use the double boiler or microwave method above until it is smooth and glossy.
- Prepare your sheet: Line a rimmed baking sheet with parchment paper or a silicone mat.
- Pour and spread: Pour the melted chocolate onto the prepared sheet. Use an offset spatula or the back of a spoon to spread it evenly. Make it your desired thickness (1/8 to 1/4 inch). Work fairly quickly. Dark chocolate sets faster than milk chocolate.
- How to do it: Start in the center. Use gentle strokes to push the chocolate out to the edges.
- Sprinkle on your toppings: Do this right away. The chocolate must still be wet. Sprinkle your healthy toppings generously over the chocolate. You can make patterns or just let them fall randomly. Gently press any larger toppings into the chocolate so they stick.
- Example: For a classic look, sprinkle with crushed sugar-free candy canes and dried cranberries. For a fancier bark, use pistachios, orange zest, and flaky sea salt.
- Tip: If you use many toppings, try putting them in groups for a nice look. Or just mix them all up.
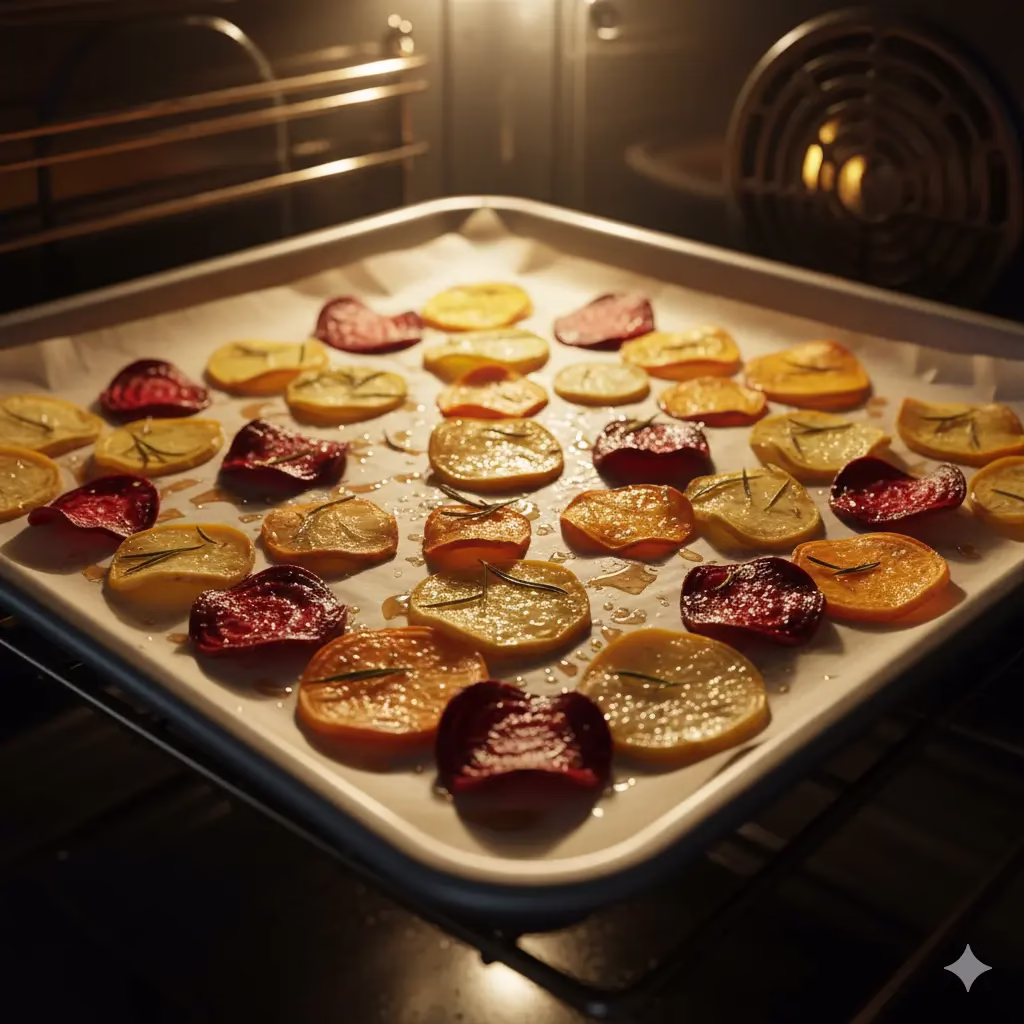
- Chill to set: Place the baking sheet in the refrigerator or freezer.
- Refrigerator: Chill for at least one to two hours. It needs to be completely firm.
- Freezer: Chill for 30 to 45 minutes for faster setting.
- Break into pieces: Once the bark is totally firm, take it out of the fridge or freezer. Lift the parchment paper off the baking sheet. Put it on a flat surface. Gently break the bark into uneven pieces by hand. You can also use a sharp knife for pieces with cleaner edges if you want.
- How to do it: Find natural lines where it wants to break. Or use the edge of a sturdy spatula to tap and break it.
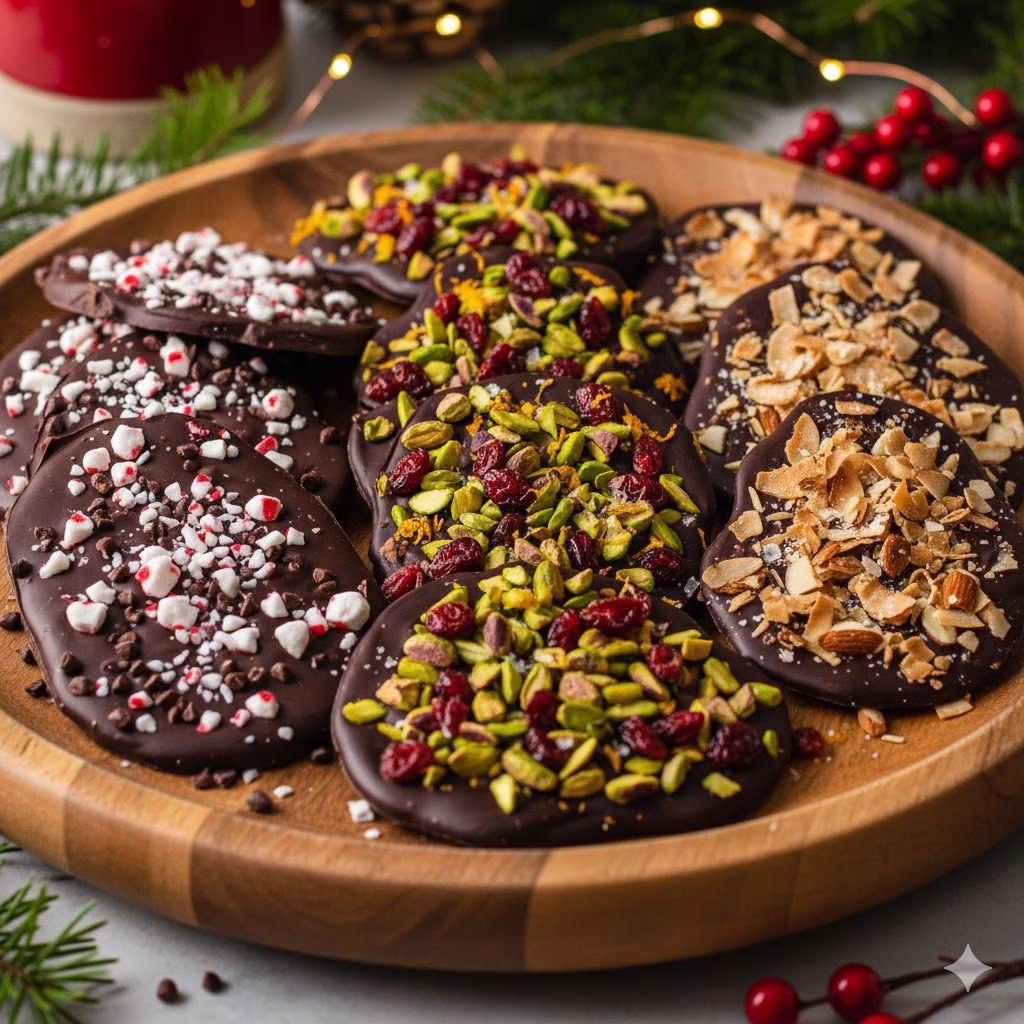
Flavor Profile Ideas & Combinations
To help you start creating, here are a few great combinations for your Healthy Christmas Bark:
- Classic Peppermint Twist:
- Base: Dark chocolate (70%+) with a few drops of peppermint extract mixed in (add to the melted chocolate).
- Toppings: Crushed sugar-free candy canes and a small sprinkle of cacao nibs for extra crunch.
- Cranberry Pistachio Orange:
- Base: Dark chocolate (70%+).
- Toppings: Unsweetened dried cranberries, chopped pistachios, fresh orange zest, and a tiny pinch of flaky sea salt.
- Nutty Coconut Sea Salt:
- Base: Dark chocolate (70%+).
- Toppings: Toasted unsweetened coconut flakes, chopped almonds or pecans, and a generous sprinkle of flaky sea salt.
- Spiced Ginger Walnut:
- Base: Dark chocolate (70%+) with a little ground ginger and cinnamon swirled in.
- Toppings: Chopped walnuts, a few pieces of low-sugar candied ginger (optional, if you can find it), and a hint of fresh orange zest.
- Superfood Berry Crunch:
- Base: Dark chocolate (70%+) or a custom white chocolate made from cacao butter and a natural sweetener.
- Toppings: Crushed freeze-dried mixed berries, chia seeds, hemp hearts, and a sprinkle of puffed quinoa.
Making It a Family Activity
Making Healthy Christmas Bark is a great activity for both kids and adults during the holidays. It’s not too messy (less than decorating cookies!). It lets everyone be creative.
- Give out jobs: One person melts the chocolate. Another spreads it. Everyone gets to sprinkle their favorite toppings.
- Set up a “bark bar”: Put small bowls of different healthy toppings out. Let everyone create their own small bark creations.
- Teach about food: Use this time to teach kids about healthy eating. Talk about where different foods come from.
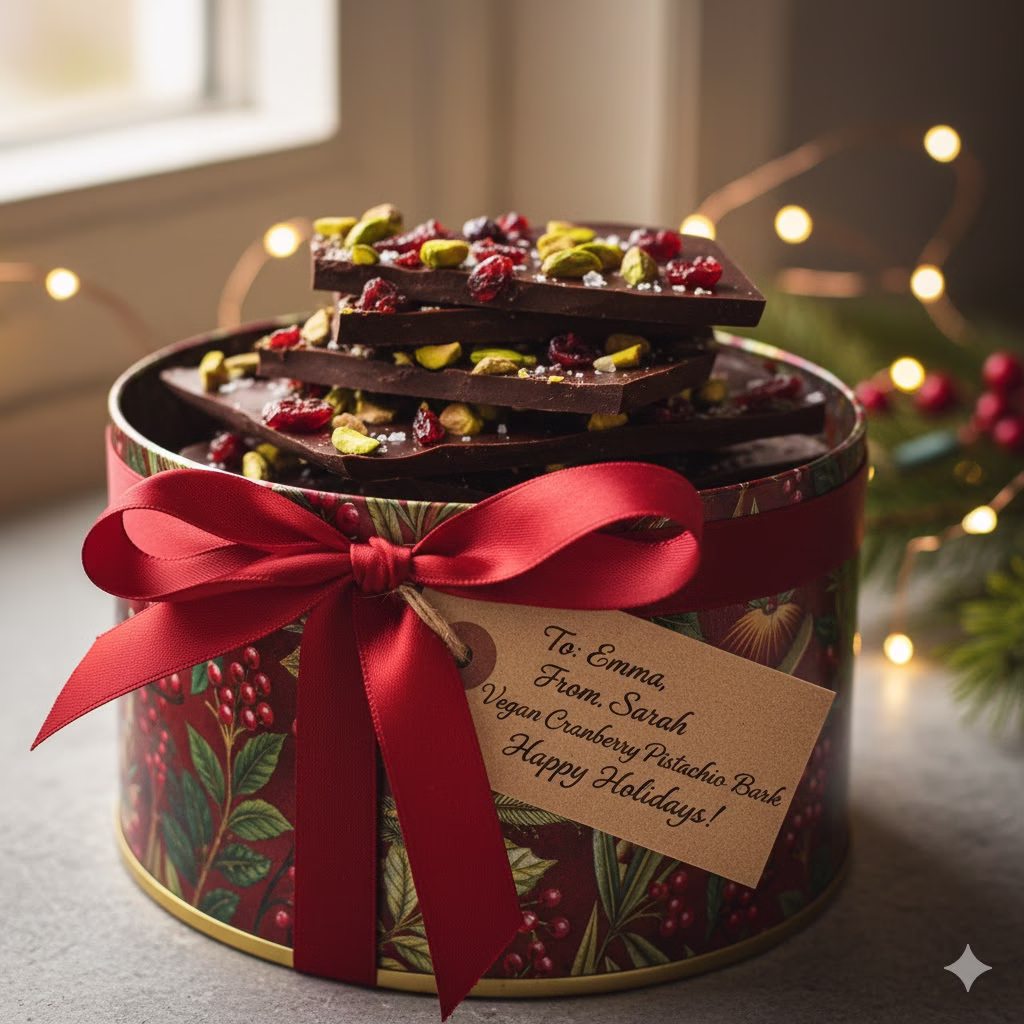
Storage & Gifting

Storing your Healthy Christmas Bark properly will keep it fresh and tasty.
- Storage: Keep the bark in an airtight container. Store it at room temperature for up to one week. Or keep it in the fridge for up to two to three weeks. If your climate is warm, the fridge is best. Bark can also be frozen for up to two to three months.
- Gifting:
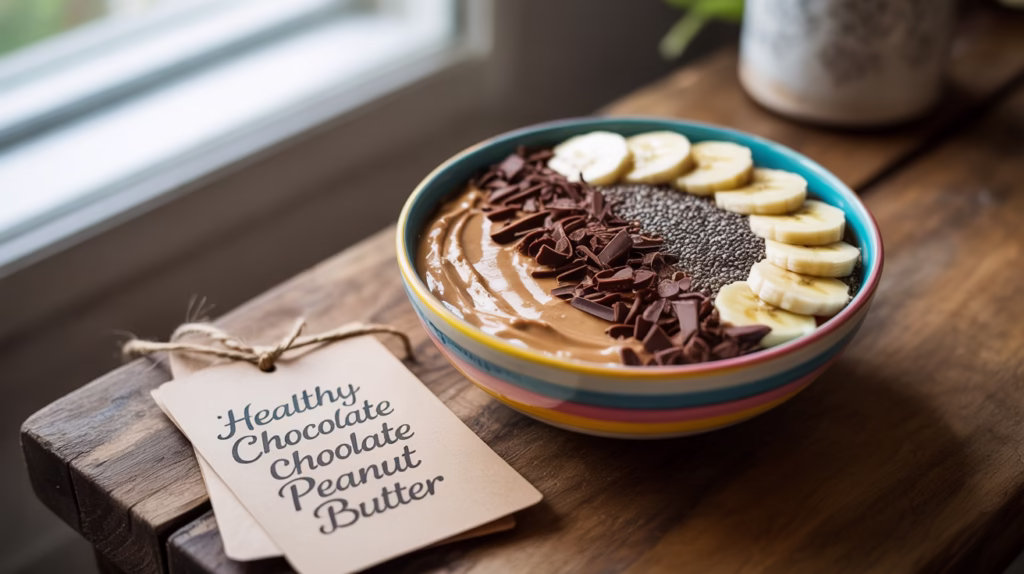
- Containers: Use festive tins, cellophane bags tied with ribbon, or small decorative boxes.
- Labels: Add a homemade label. Write down the type of bark and any diet info (e.g., “Vegan Cranberry Pistachio Bark”).
- Look nice: Put pieces of bark in layers. Use parchment paper in between them so they don’t stick.
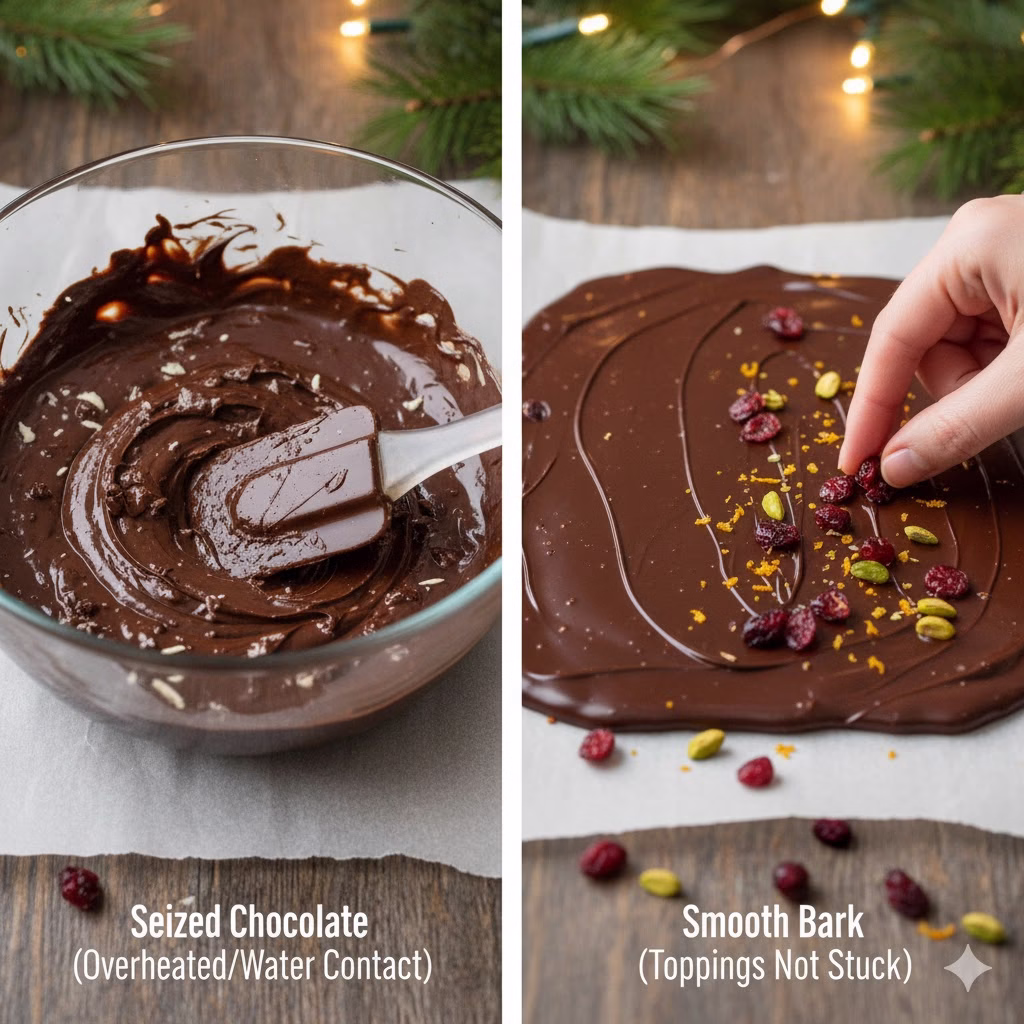
Troubleshooting Your Bark
Even easy recipes can sometimes have issues. Here are a few common problems and how to fix them:
- Chocolate seized/became grainy: This usually happens if water gets into the chocolate while it is melting. Or it can happen if the chocolate gets too hot. It is hard to fully fix seized chocolate. Try adding a teaspoon of vegetable oil or melted coconut oil. Stir very hard. It is often best to just start over for the best result.
- Toppings not sticking: You probably waited too long to add the toppings. The chocolate started to set. Make sure to sprinkle them right after you spread the chocolate.
- Bark too thin or thick: Change the amount of chocolate you use for your pan size. Or just spread it more or less. If it’s too thin, it might break easily. If it’s too thick, it will be hard to break.
- Bark won’t set: Your refrigerator might not be cold enough. Or the chocolate was not cooled enough before chilling. Make sure your fridge is set to a cold temperature. You can also put it in the freezer for a short time.
- White streaks (bloom): This usually happens because of uneven heating and cooling. It can also be from big temperature changes when you store it. It is safe to eat, but it does not look as good. For homemade bark, just melting and cooling works. Try not to take it from a very cold fridge right into a very warm room too fast.
Beyond Christmas: Year-Round Bark Ideas
We are focusing on Healthy Christmas Bark. However, the idea works all year! Think about seasonal changes:
- Spring Bark: Use a white chocolate base (made from cacao butter). Add lemon zest, freeze-dried blueberries, and edible flowers.
- Summer Bark: Dark chocolate with toasted coconut, dried mango, and a tiny sprinkle of chili flakes.
- Fall Bark: Dark chocolate with chopped pecans, dried apple, cinnamon, and a drizzle of almond butter.
Enjoy the fact that bark-making is so flexible. You can enjoy healthy treats throughout the year!
Conclusion
Making Healthy Christmas Bark is a great activity. It is a chance to create delicious, healthy, and custom treats. Everyone can enjoy them during the holiday season. Choose good quality dark chocolate. Use nutrient-rich toppings. Learn simple melting methods. With these steps, you can make impressive and guilt-free treats. They are perfect for sharing, gifting, or just eating by the fire. This holiday, choose to enjoy things thoughtfully. Make healthy traditions that truly shine. Enjoy!
FAQ (Frequently Asked Questions)
Q1: Can I use milk chocolate for this recipe?
A1: Yes, you can use milk chocolate. However, it won’t be as healthy. It has more sugar and less antioxidants than dark chocolate. For a truly Healthy Christmas Bark, we suggest dark chocolate (70% cacao or more). Or use sugar-free chocolate options.
Q2: My chocolate seized! What went wrong?
A2: Chocolate seizing (getting thick, lumpy, and grainy) happens if a tiny bit of water or steam gets into the chocolate. It also happens if it gets too hot while melting. It is very hard to fix. For best results, be sure your melting bowl is fully dry. Make sure no steam gets into the chocolate.
Q3: How long does Healthy Christmas Bark last?
A3: If you keep it in an airtight container, it lasts about one week at room temperature. It lasts two to three weeks in the refrigerator. You can also freeze it for up to two to three months.
Q4: Can I make this bark vegan?
A4: Yes! Be sure to use a dark chocolate that is clearly marked as vegan. Most dark chocolates that are 70% or more are vegan, but always check for dairy. All the toppings we suggested are naturally vegan.
Q5: What if I don’t have parchment paper or a silicone mat?
A5: We highly recommend using these. They make it easy to remove the bark. If you do not have them, you can try lightly oiling a baking sheet with coconut oil. Just know it might be harder to get the bark off cleanly.
Q6: What are good sugar-free sweeteners if I want to make my own chocolate base?
A6: If you start with unsweetened chocolate or cacao butter, try erythritol (often sold as Swerve), stevia, or monk fruit extract. Be sure to use the powdered form of these. This will help you avoid a gritty texture.
References
- hsph.harvard – Dark chocolate is best choice for health
- Nutritionsource – Dark Chocolate
- Mayoclinic – Dietary fat: Know which to choose
Recent Posts