Get ready to transform your snacking routine with these simple and delicious Frozen Smoothie Bites. Perfect for a healthy treat, these bites are packed with wholesome ingredients and are a fantastic way to enjoy a guilt-free snack.
Introduction
Finding a quick, healthy snack that satisfies your sweet cravings can be a challenge. We often reach for processed options that are high in sugar and low in nutritional value. But what if you could have a bite-sized treat that not only tastes incredible but is also packed with vitamins, protein, and healthy fats? That’s where these Frozen Smoothie Bites come in. They are the perfect solution for anyone looking for a simple, nutritious, and satisfying snack. Imagine a refreshing, creamy, fruit-filled bite with the delightful crunch of nuts. This recipe is designed to be your new go-to for a healthy pick-me-up.
This recipe is incredibly versatile and allows for endless creativity. You can mix and match your favorite fruits and yogurt to create a variety of flavors. Whether you’re a fan of a classic strawberry and banana combination or prefer a tropical blend of mango and pineapple, these bites can be tailored to your taste. The addition of nuts not only adds a delicious texture but also provides a boost of healthy fats and protein, making these bites more filling and beneficial for your body.
Effortless Creation: Making Your Own Frozen Smoothie Bites
The best part about these Frozen Smoothie Bites is how easy they are to make. There’s no need for complex cooking techniques or specialized equipment. You simply blend, pour, and freeze. They are a fantastic recipe to make with kids, as the process is fun and the result is a treat everyone will love. Plus, by making them yourself, you have complete control over the ingredients, ensuring everything is as healthy and natural as you want it to be.
These bites are not just a snack; they are a lifestyle choice. They are perfect for busy mornings, a post-workout refuel, or a healthy dessert option. They are also ideal for meal prepping. You can make a large batch on the weekend and have a healthy snack ready to grab from the freezer all week long. The convenience factor is undeniable, making it easier than ever to stick to your healthy eating goals.
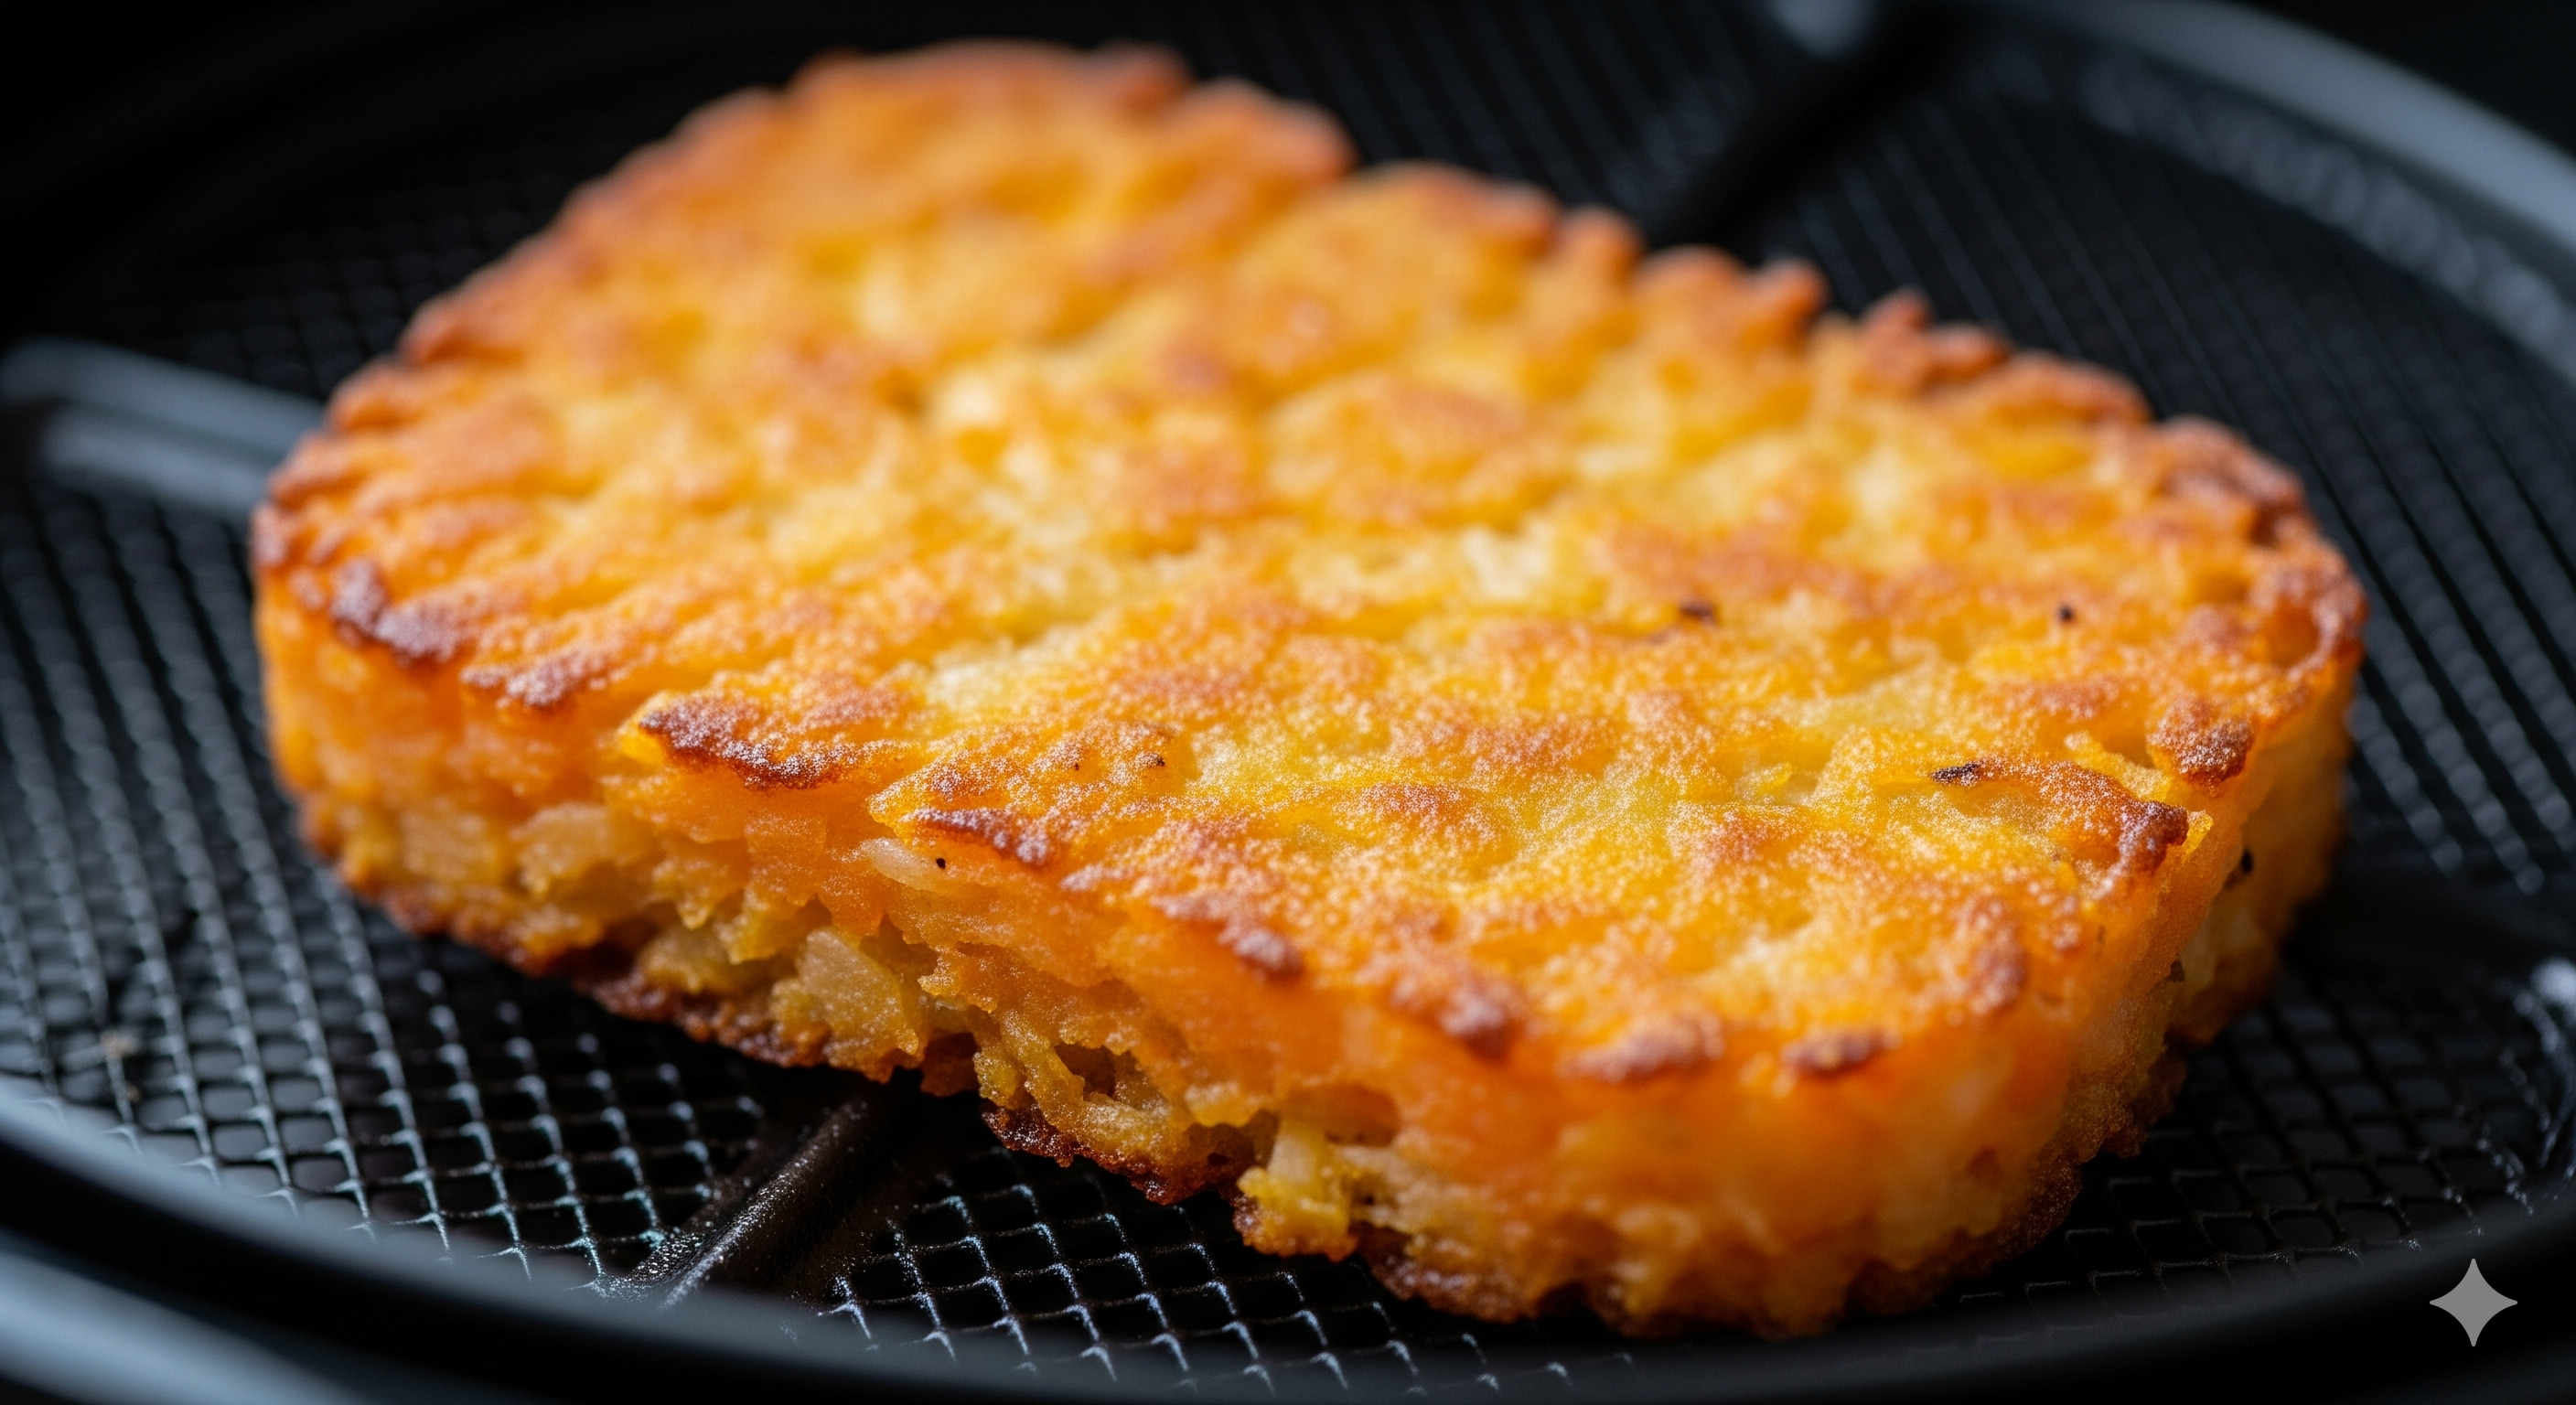
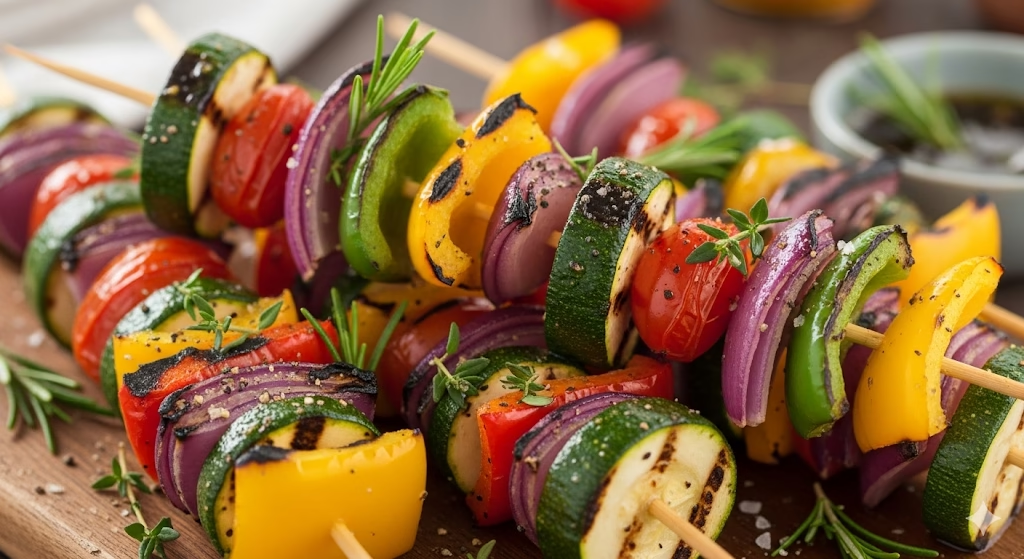
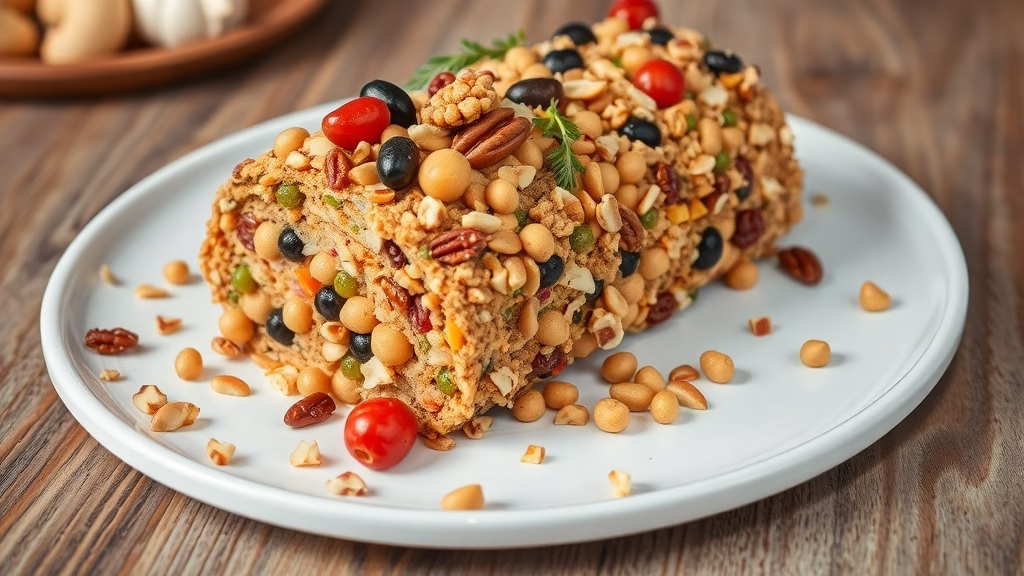
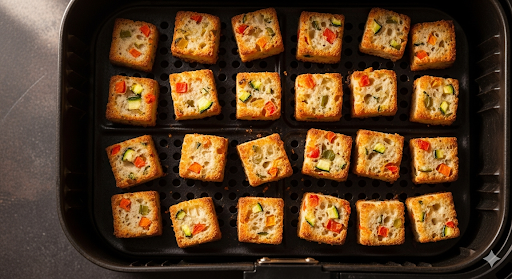
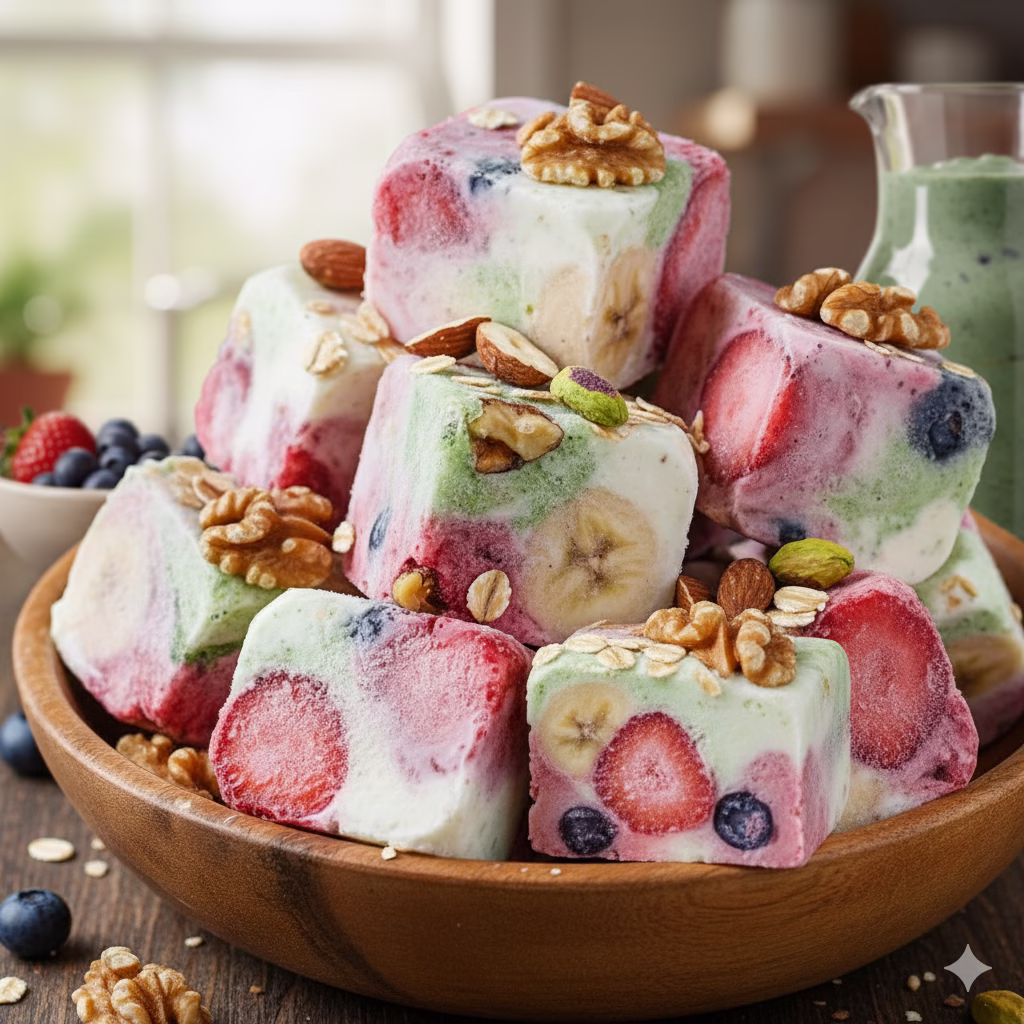
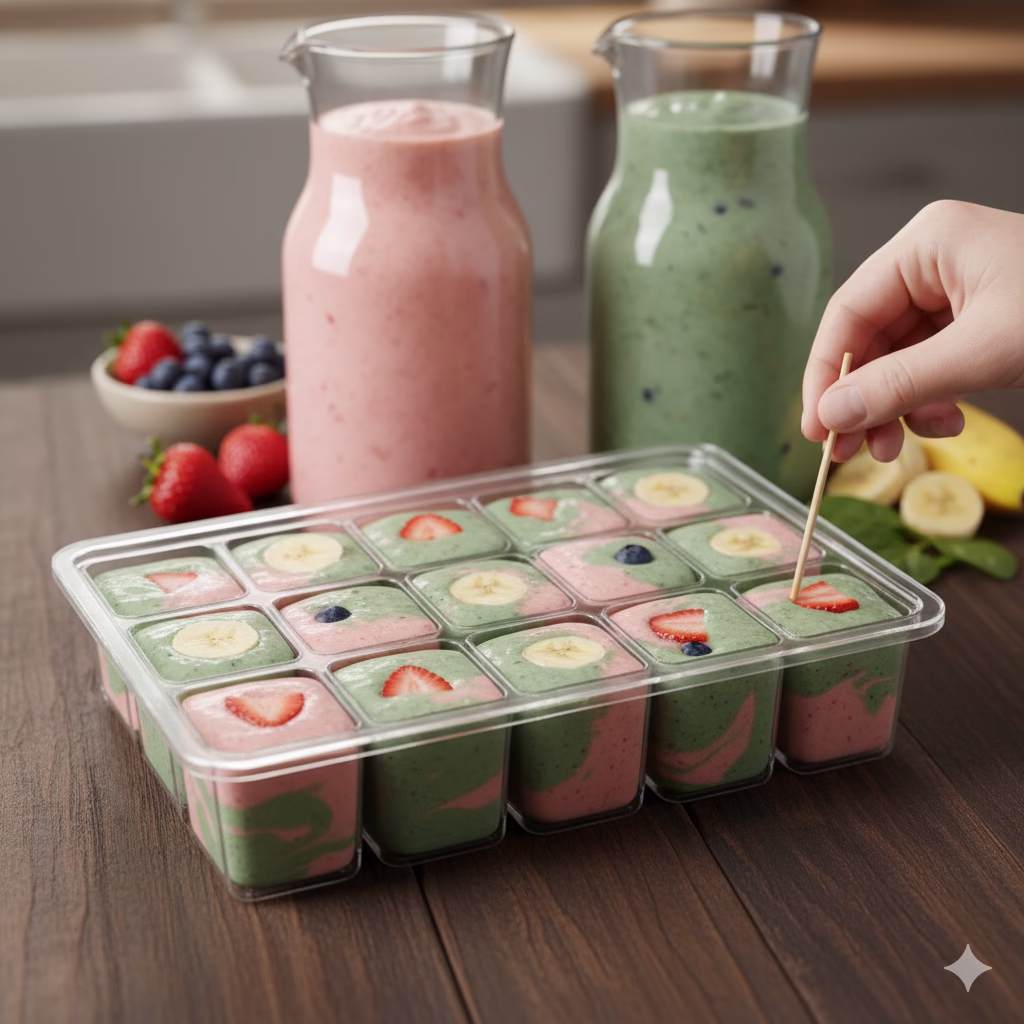
By following this recipe, you’ll be able to create a snack that looks as good as it tastes. The hero image for this article shows beautifully marbled cubes with visible fruit slices and large pieces of nuts, and we’ve ensured the recipe instructions will help you achieve that exact look. We will guide you through each step to ensure your Frozen Smoothie Bites are not only delicious but also visually appealing, with those large, satisfying chunks of nuts and colorful fruit peeking through.
The Ultimate Frozen Smoothie Bites
Time to Prepare
15 minutes
Time to Cook/Blend
5 minutes
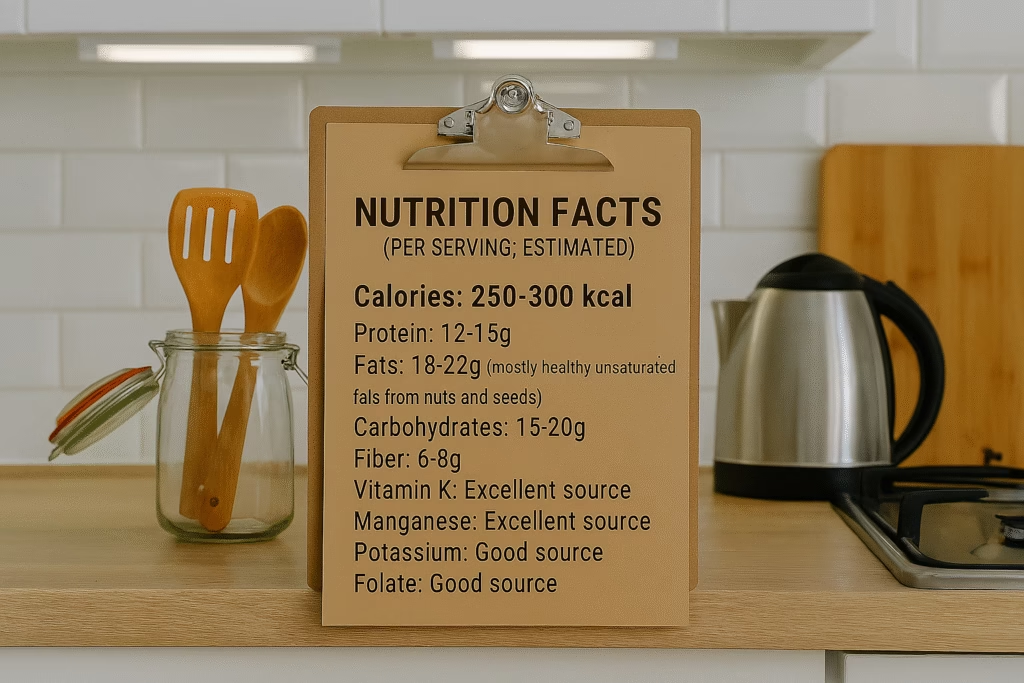
Nutritional Information (per serving, approximate)
- Calories: 150-200
- Protein: 5-8g
- Fat: 8-12g
- Carbohydrates: 15-20g
- Fiber: 3-5g
- Sugar: 8-12g (from natural fruit)
- Note: Nutritional values can vary based on the specific ingredients and brands used.
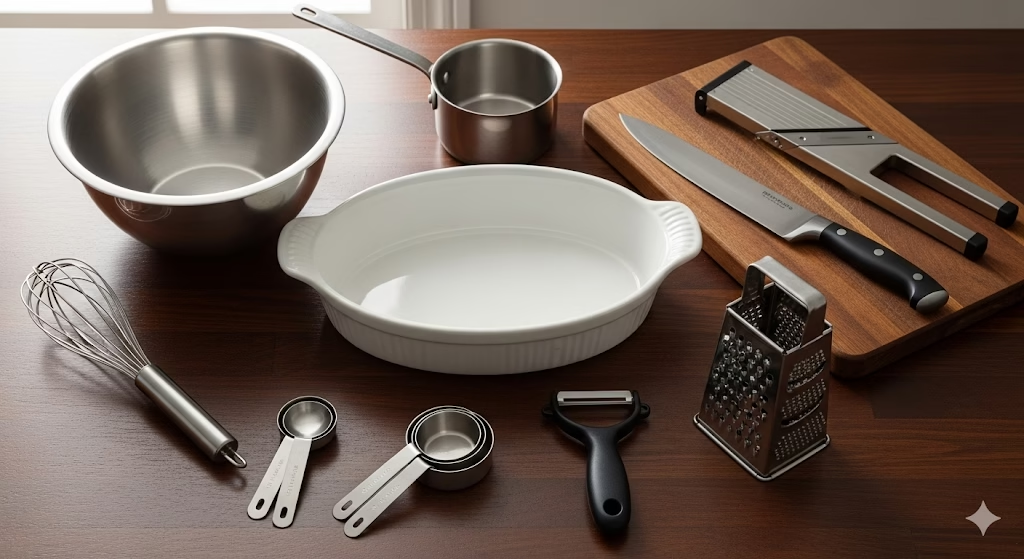
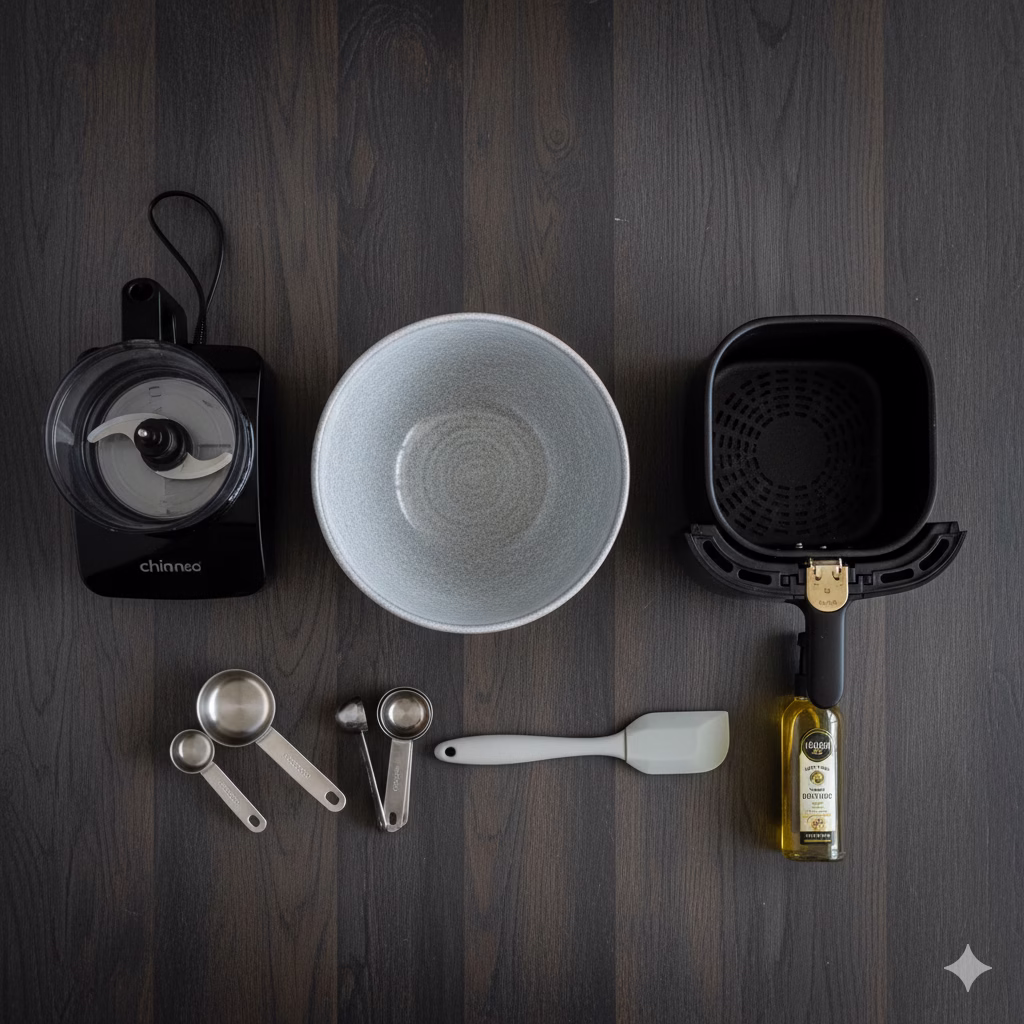
Equipment
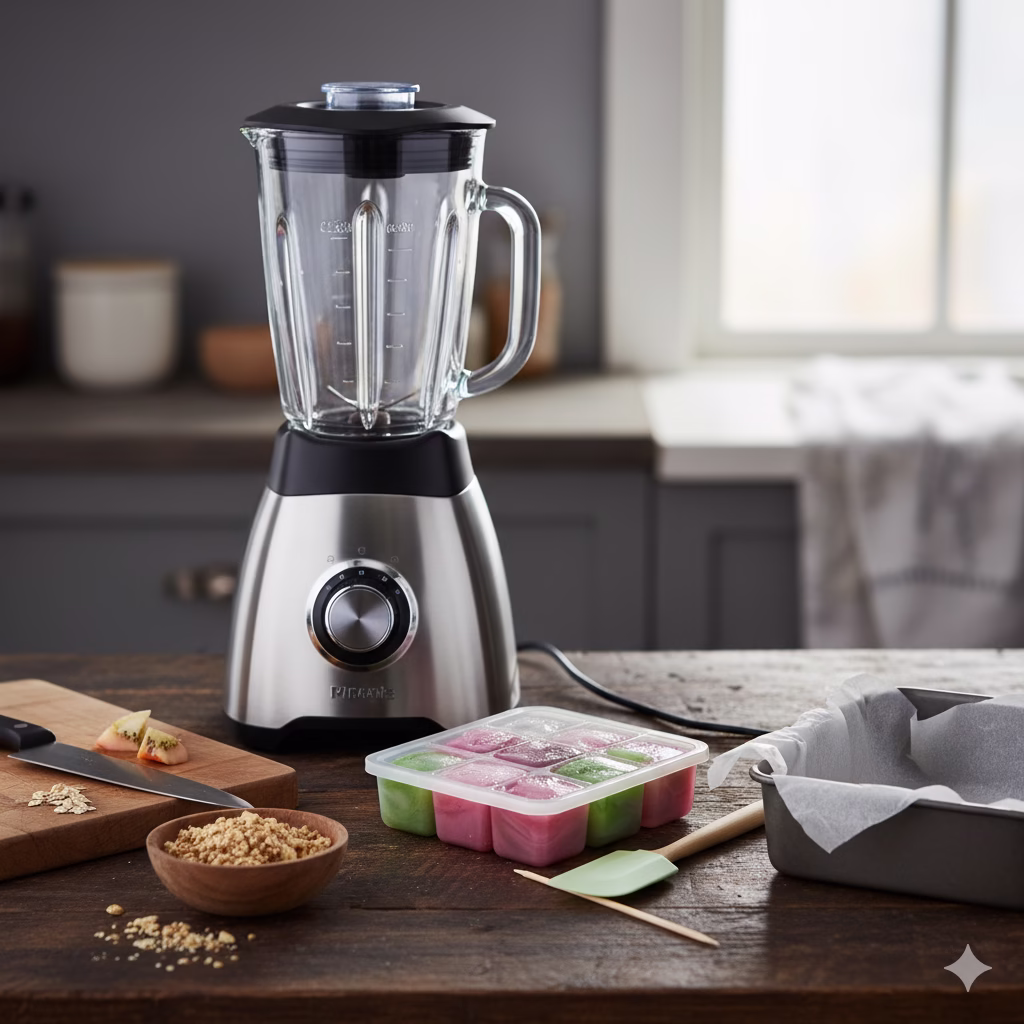
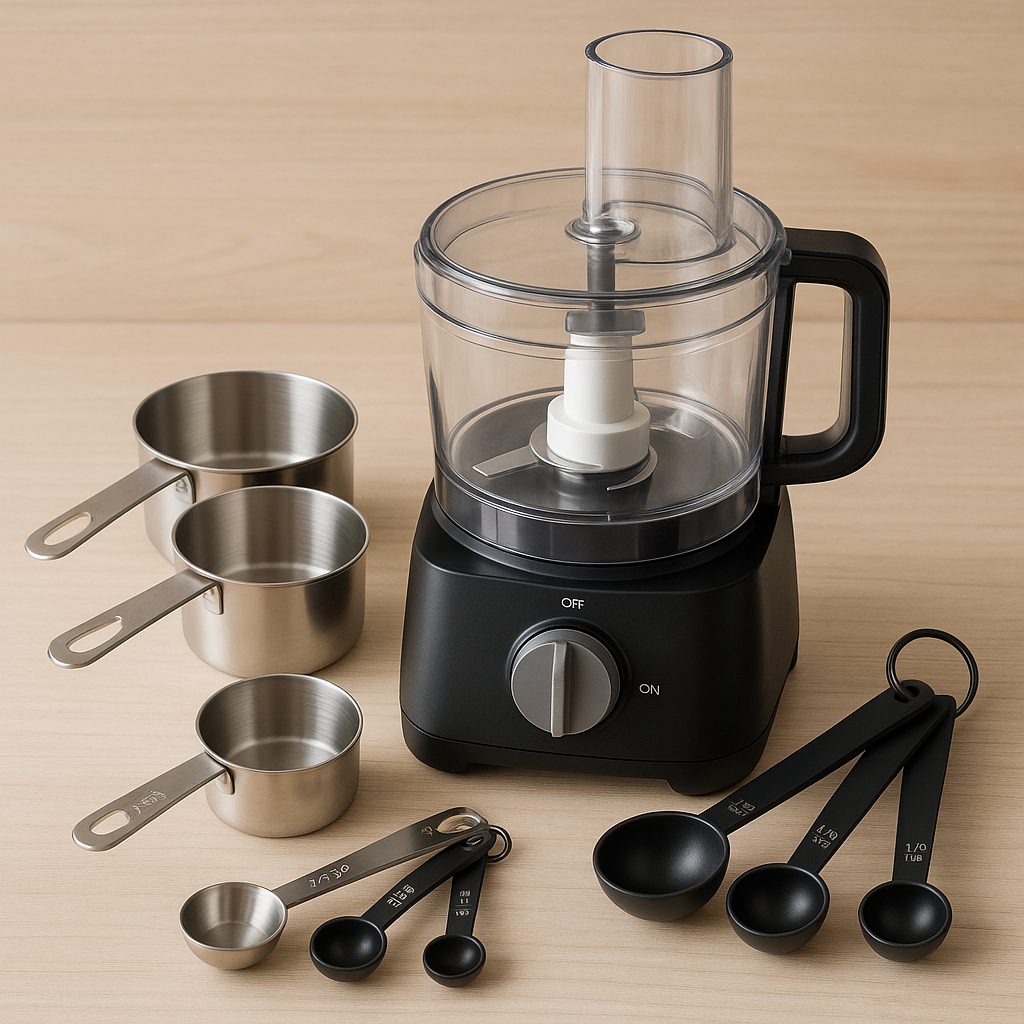
- High-speed blender or food processor
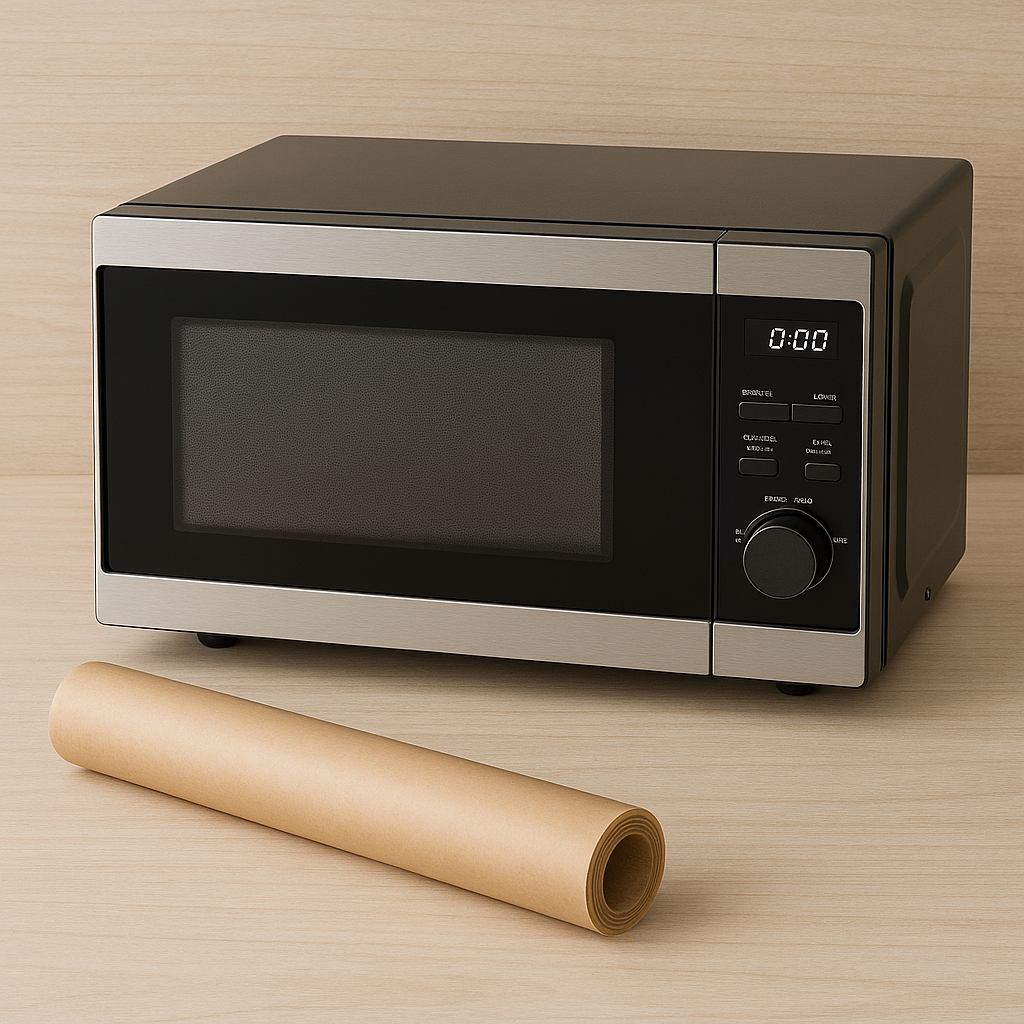
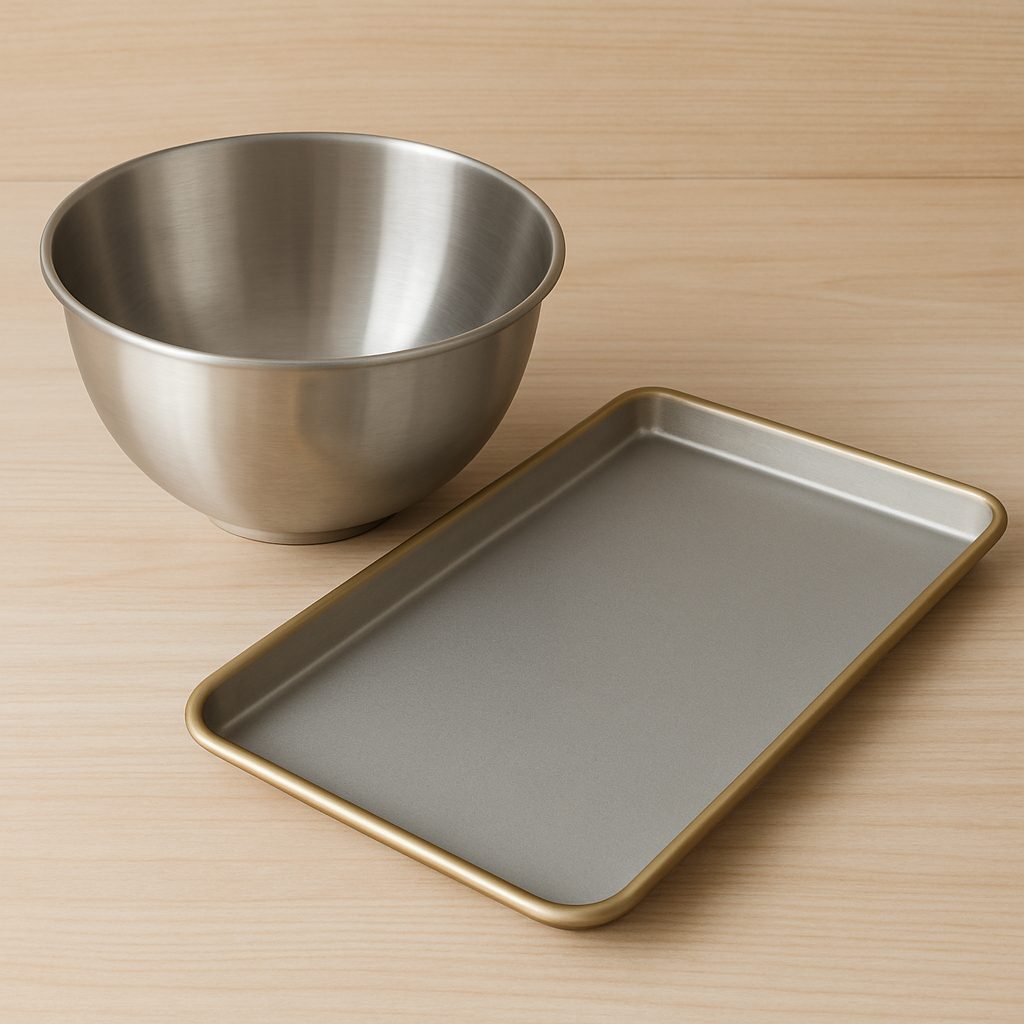
- Silicone ice cube tray with large cube molds (or a small square baking dish)
- Small bowl for mixing nuts and oats
- Cutting board and knife
- Spatula or spoon
Servings
Makes approximately 12-16 large cubes, depending on the size of your tray.
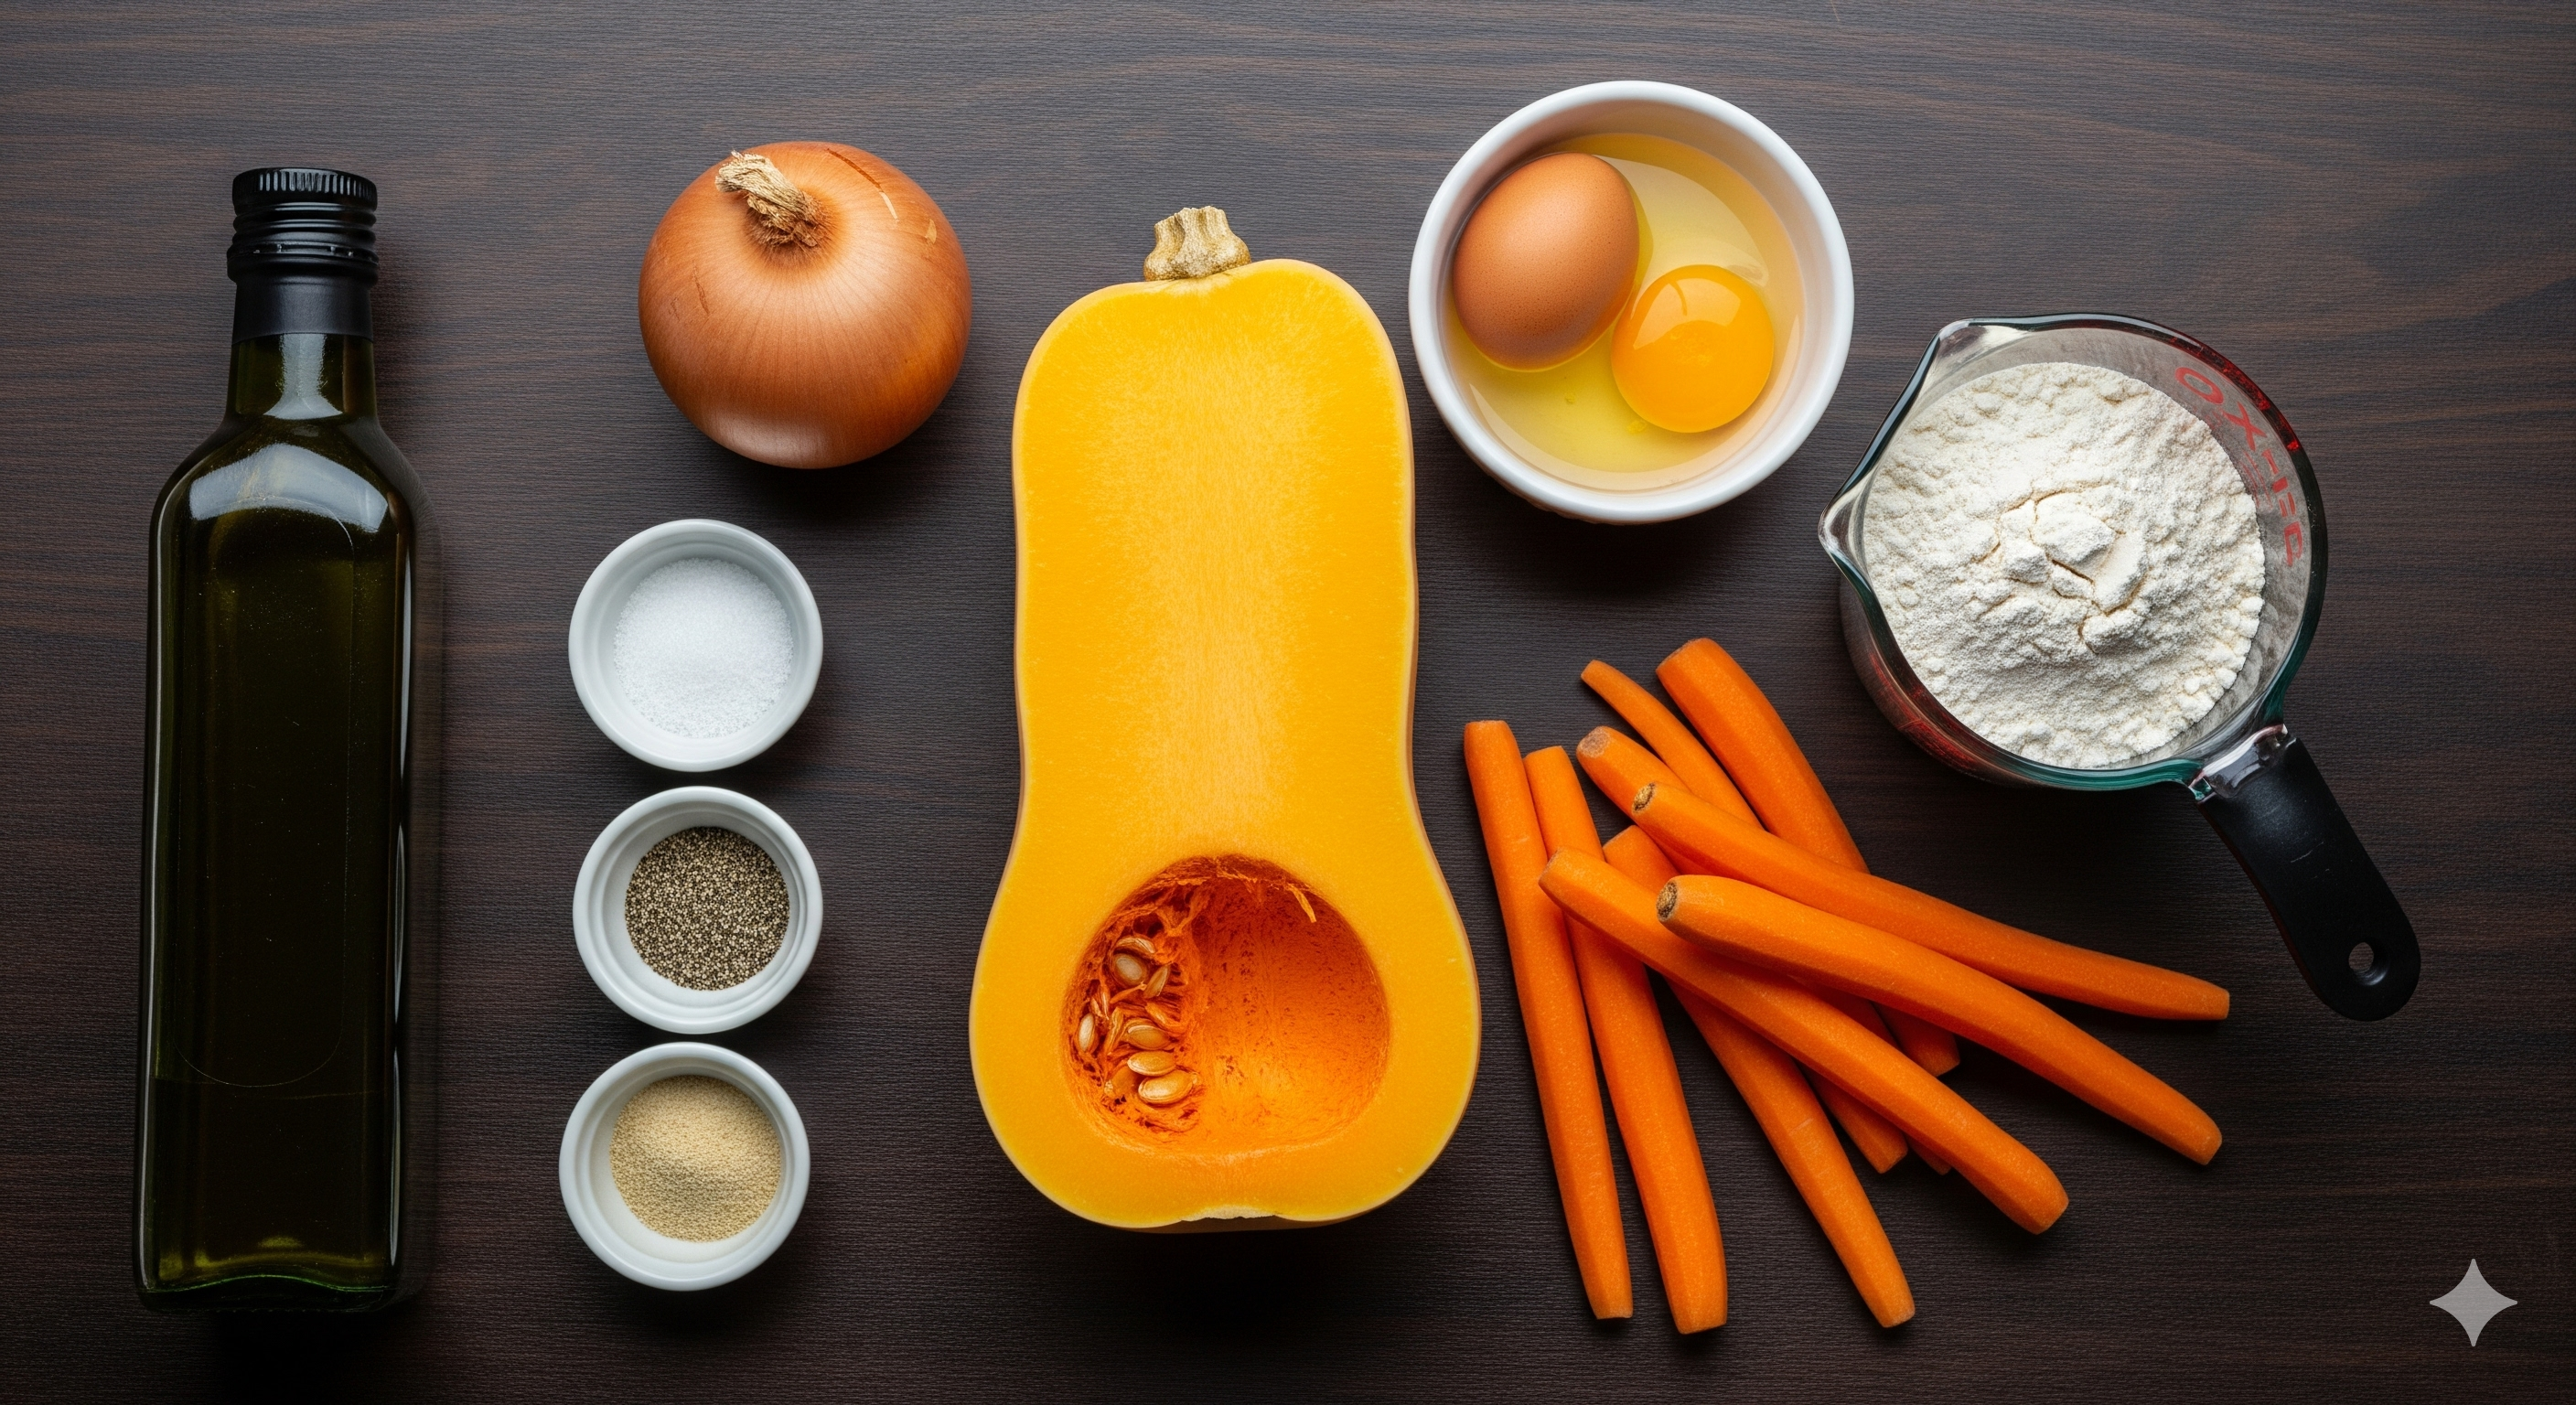
Ingredients for Your Frozen Smoothie Bites
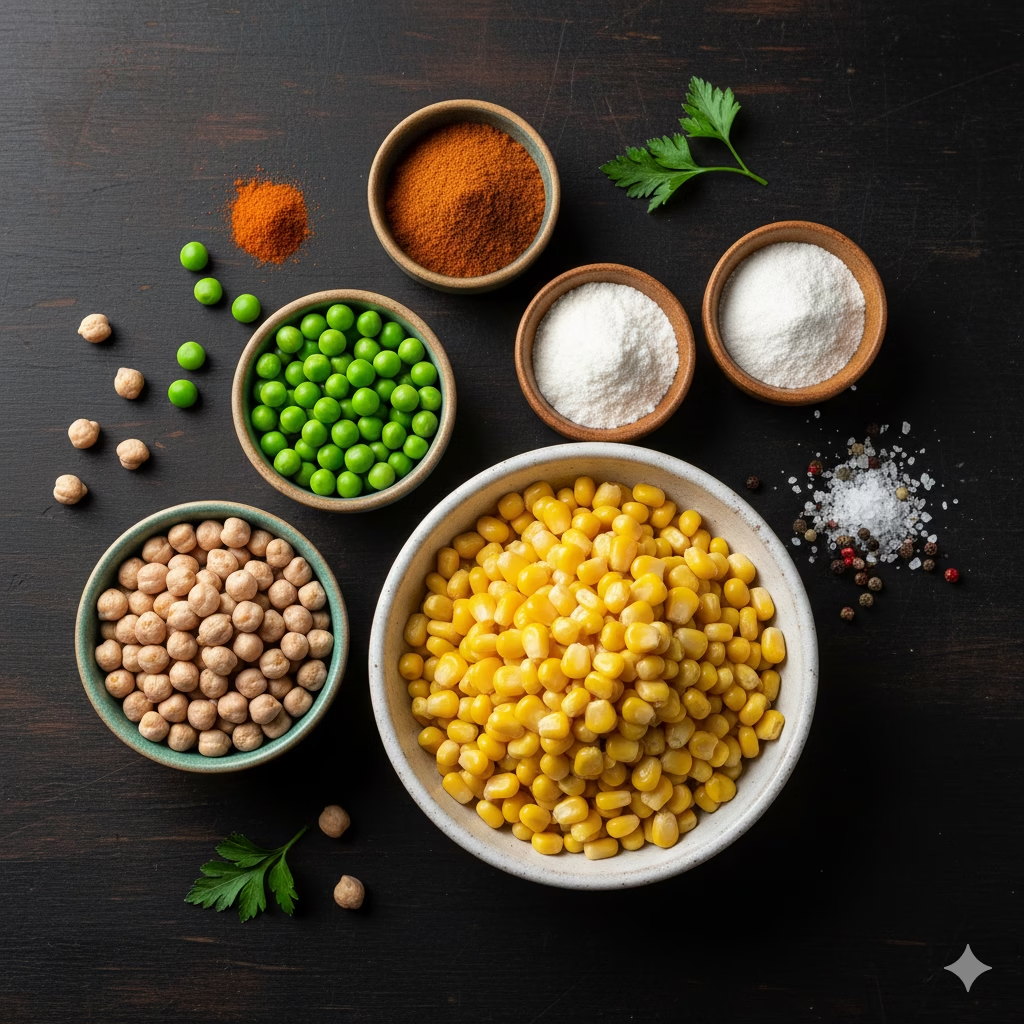
To create these beautiful and healthy frozen bites, you’ll need the following ingredients. The key is to use fresh, high-quality items to get the best flavor and nutritional value.
- 1 cup plain Greek yogurt (full-fat or low-fat, unsweetened)
- 1 ripe banana, sliced
- 1 cup mixed berries (strawberries, blueberries, raspberries)
- 1 cup fresh spinach (optional, for a green hue)
- 1-2 tablespoons honey or maple syrup (optional, for added sweetness)
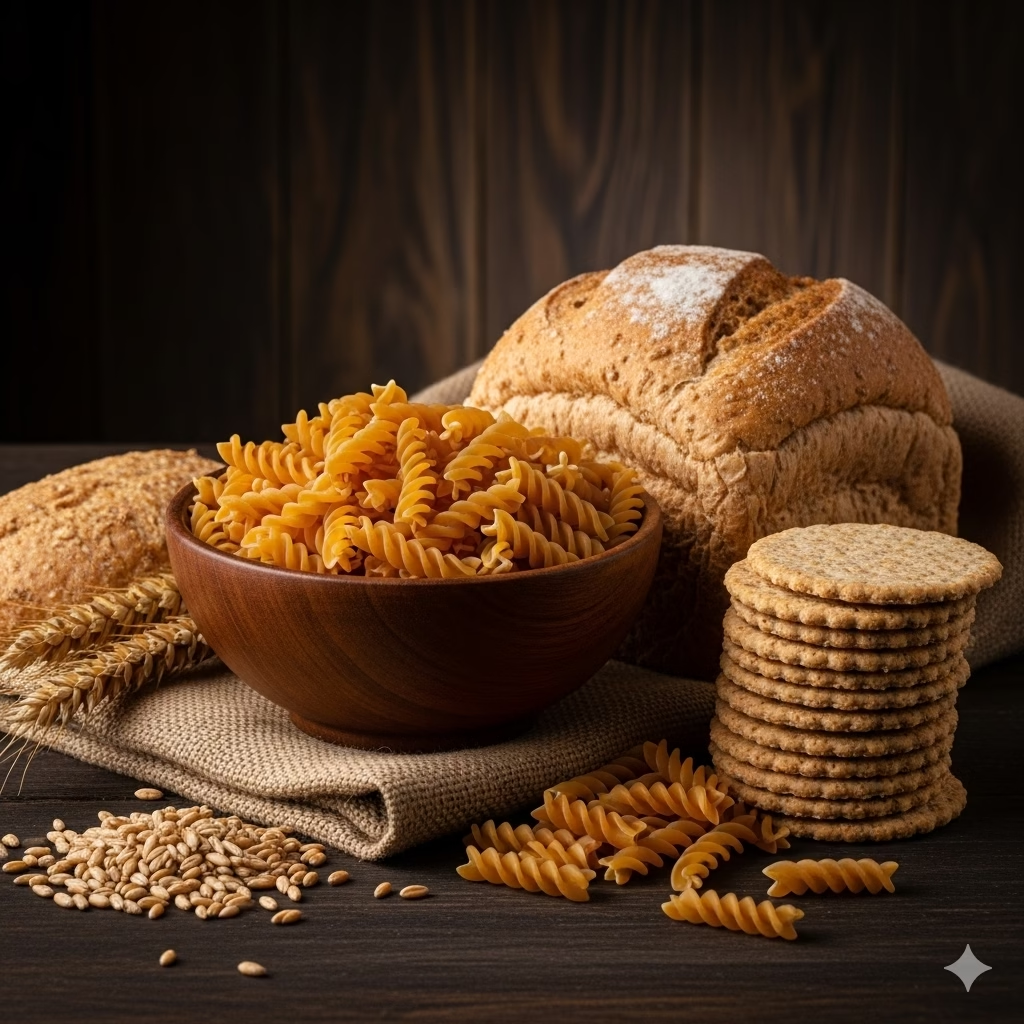
- 1/2 cup rolled oats
- 1/2 cup mixed nuts, coarsely chopped (walnuts, almonds, pistachios)
Step-by-Step Instructions
Follow these detailed steps to create your own visually stunning and delicious Frozen Smoothie Bites. We’ll focus on creating the marbled effect and ensuring the nuts are prominent.
Prepare Your Nuts and Oats: In a small bowl, combine the coarsely chopped mixed nuts and rolled oats. This mixture will be sprinkled on top of your bites to add a delightful crunch and visible texture.
Separate the Fruits: To achieve the distinct colors and marbled look, you’ll need to create two separate smoothie bases. This is the secret to making them look so vibrant. Start by dividing your smoothie ingredients.
Arrange Your Ingredients in the Tray: This is where you create the beautiful visual. Place a few whole or sliced strawberries, blueberries, and pieces of banana into the bottom of each large ice cube mold. This will ensure that a whole piece of fruit is visible on the outside of your finished bites.
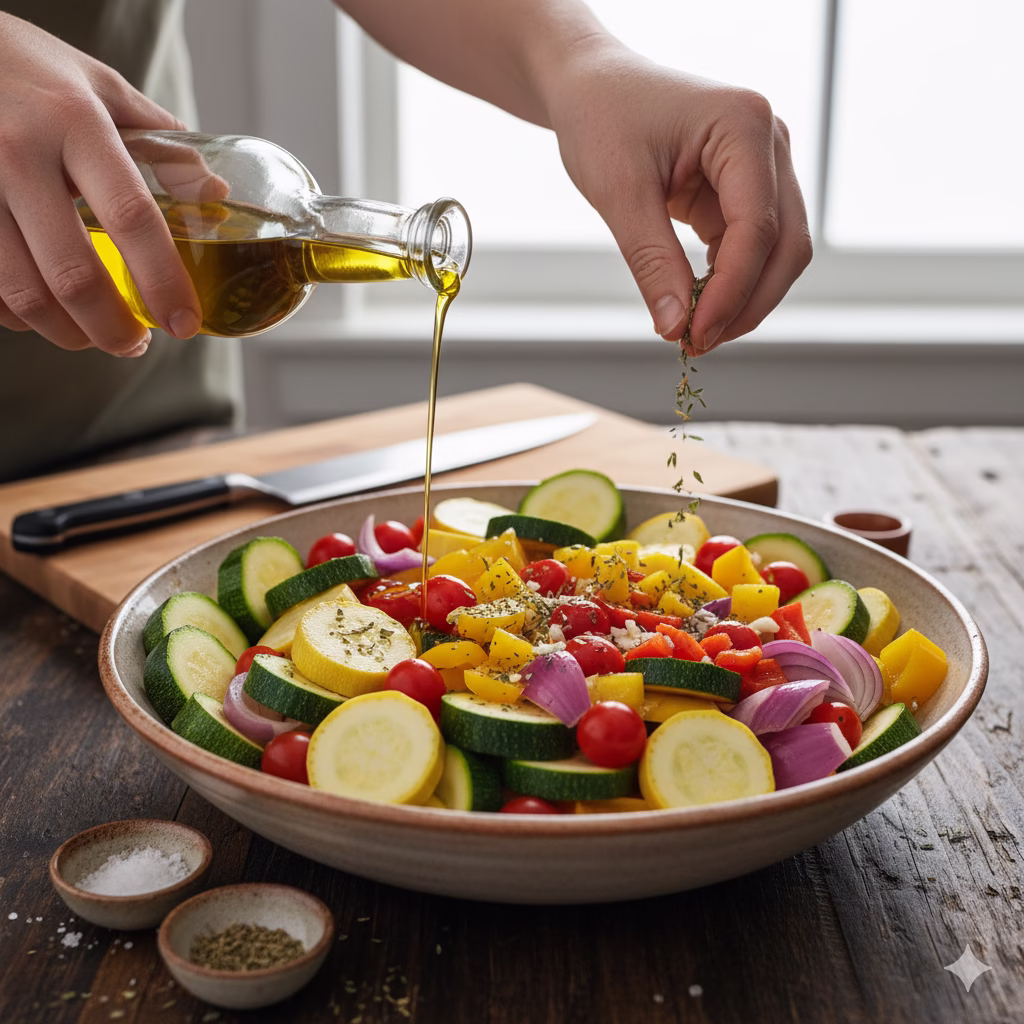
Pour and Swirl: Carefully pour a portion of the pink/red smoothie mixture into each mold, filling it about halfway. Then, gently pour a portion of the green/blue mixture on top. Using a skewer or a small knife, gently swirl the two colors together a few times to create a marbled effect. Don’t over-mix, as you want the colors to remain distinct.
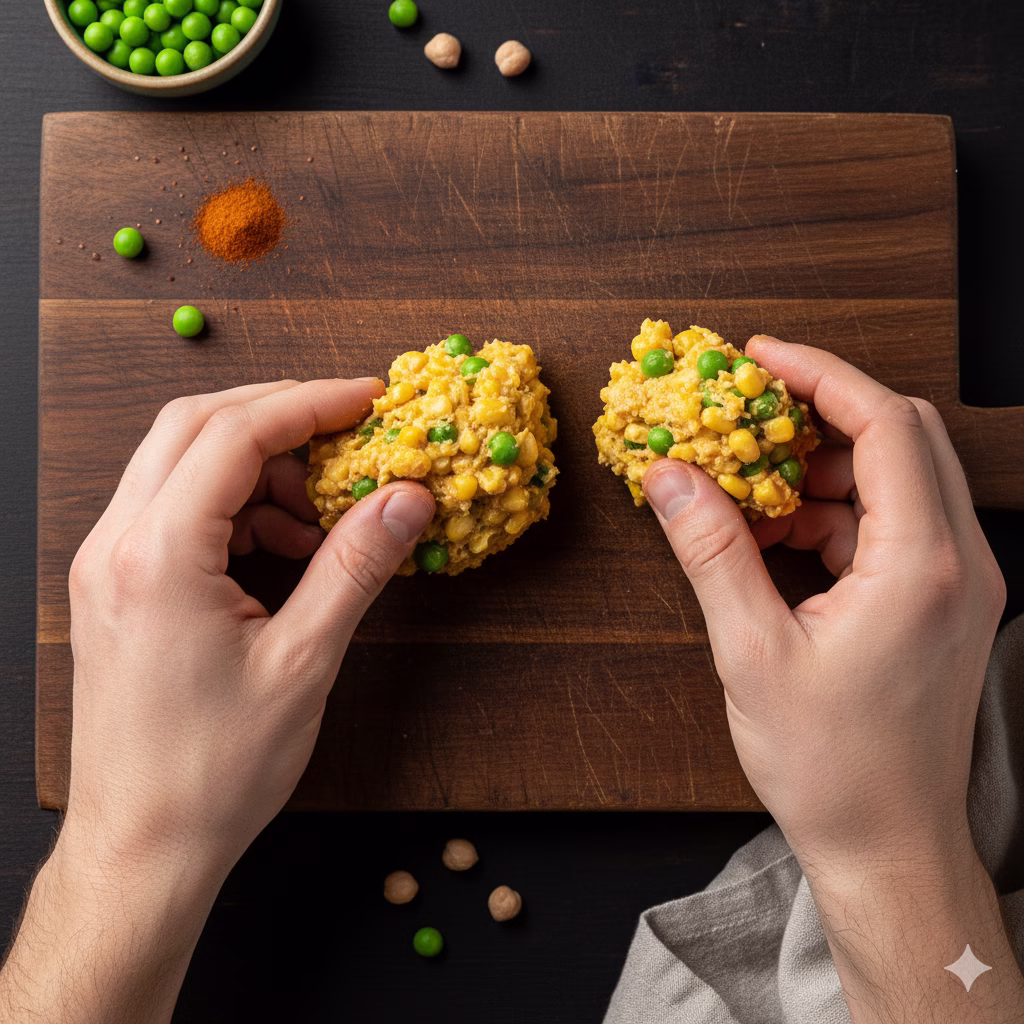
Add the Nuts and Oats: Immediately after swirling, sprinkle the pre-mixed chopped nuts and rolled oats generously over the top of each filled mold. Gently press them down with the back of a spoon to ensure they stick to the smoothie mixture and are visible on the surface. We want those large pieces of nuts to stand out.
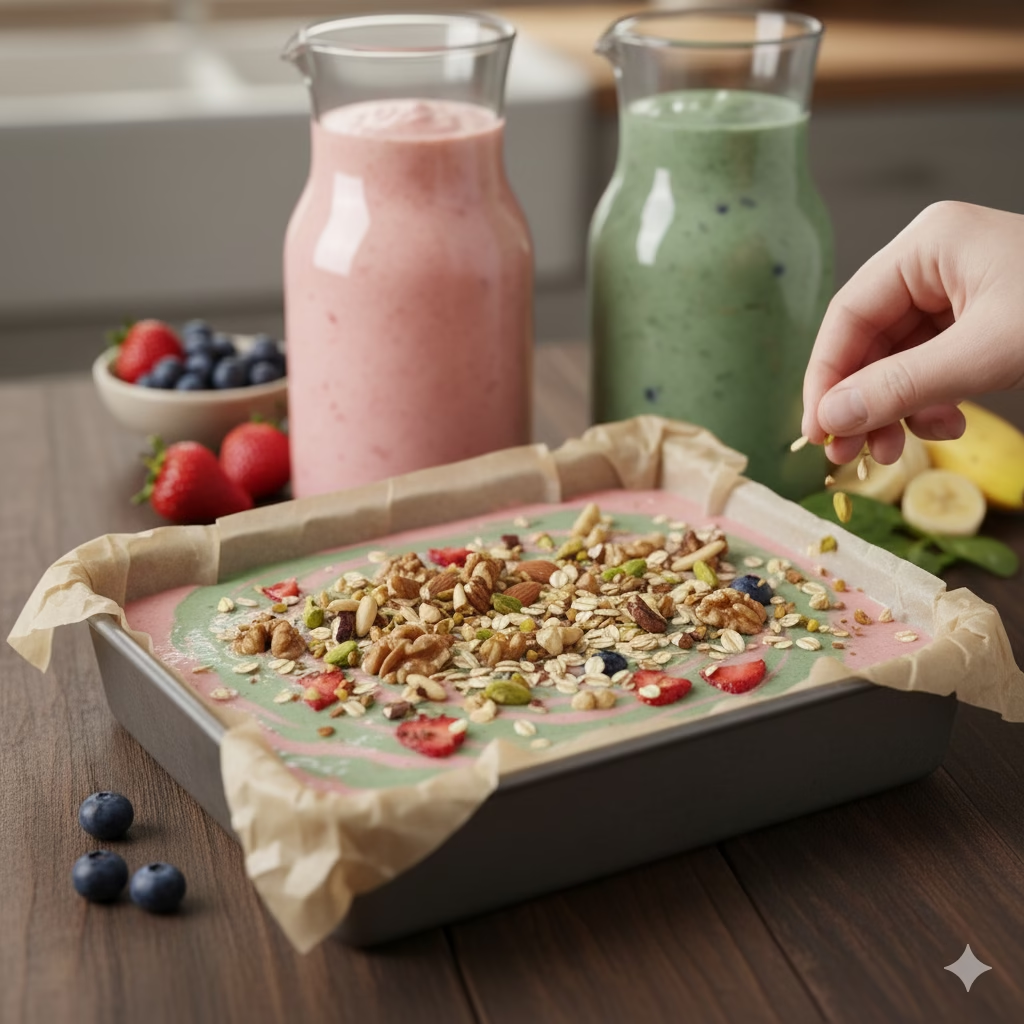
Alternative Method: Using a Square Pan: If you don’t have a large ice cube tray, you can use a small square baking dish (approximately 8×8 inches) lined with parchment paper. Simply pour the two smoothie mixtures into the pan, swirling them together as described in step 4. Then, top with the nut and oat mixture and freeze until solid. Once frozen, you can lift the entire block out and cut it into large, beautiful squares or rectangles.
Freeze and Chill: Carefully transfer the ice cube tray or pan to the freezer. Allow the bites to freeze for at least 3-4 hours, or until they are completely solid. This is crucial to ensure they hold their shape when you pop them out.
Serve and Store: Once frozen solid, gently pop the Frozen Smoothie Bites out of the molds. You can serve them immediately, or store them in an airtight container in the freezer for up to two weeks. Enjoy them as a quick snack or a refreshing dessert.
Health Benefits of Frozen Smoothie Bites
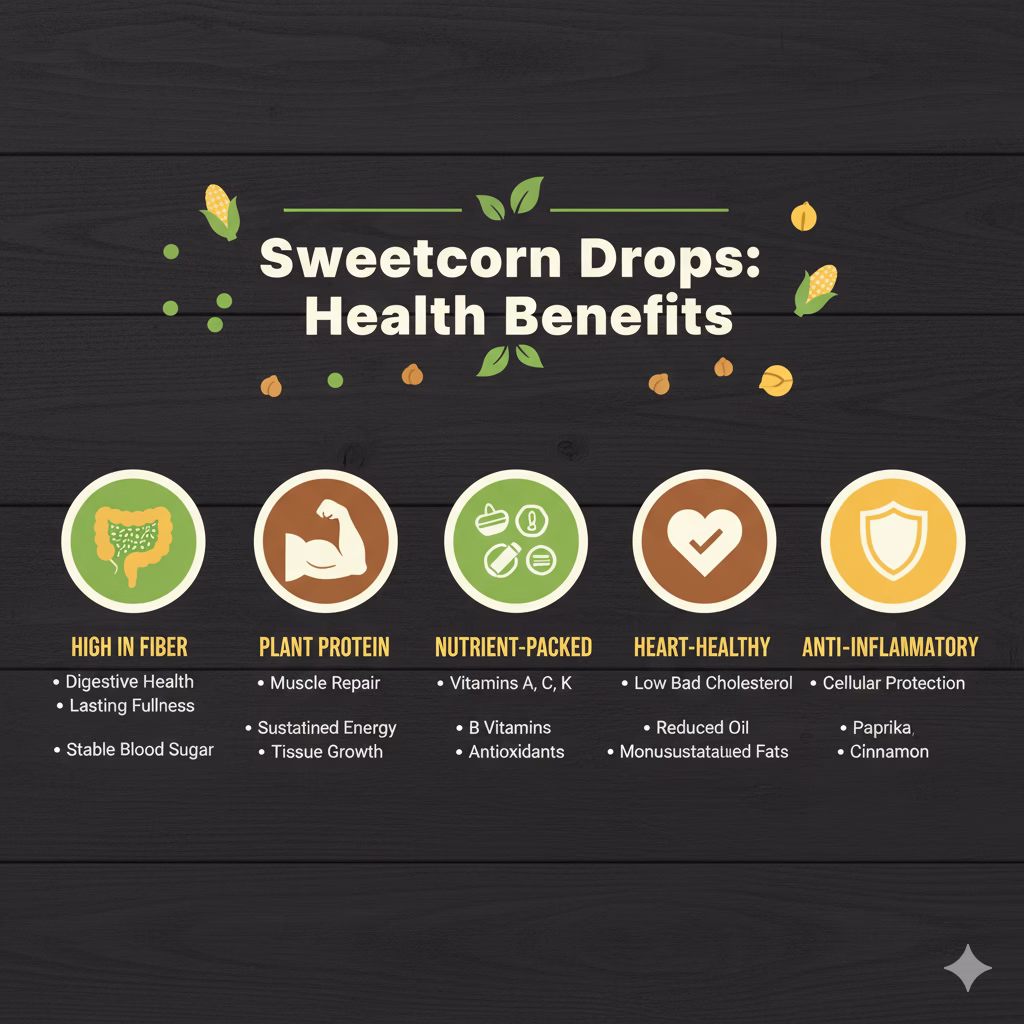
These delicious bites aren’t just a treat for your taste buds; they’re also incredibly good for you. Here are some of the key health advantages.
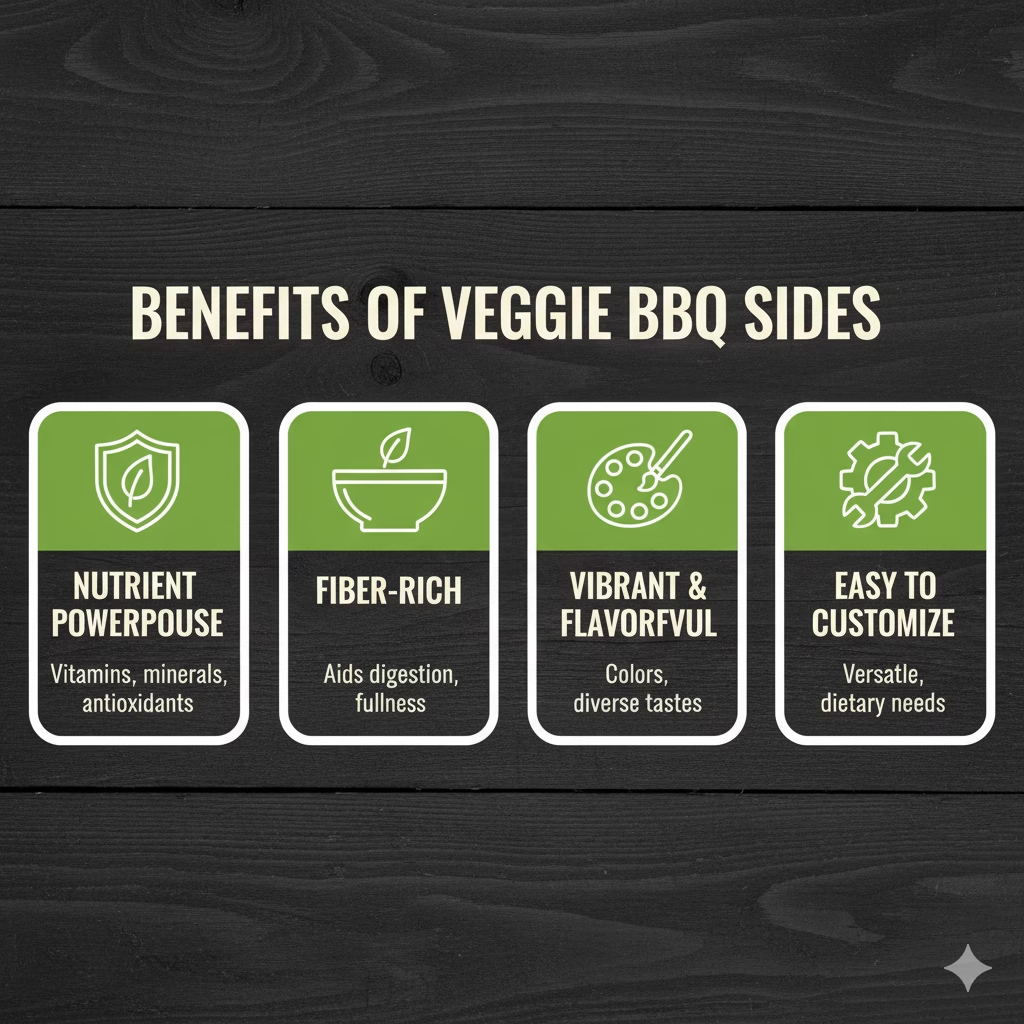
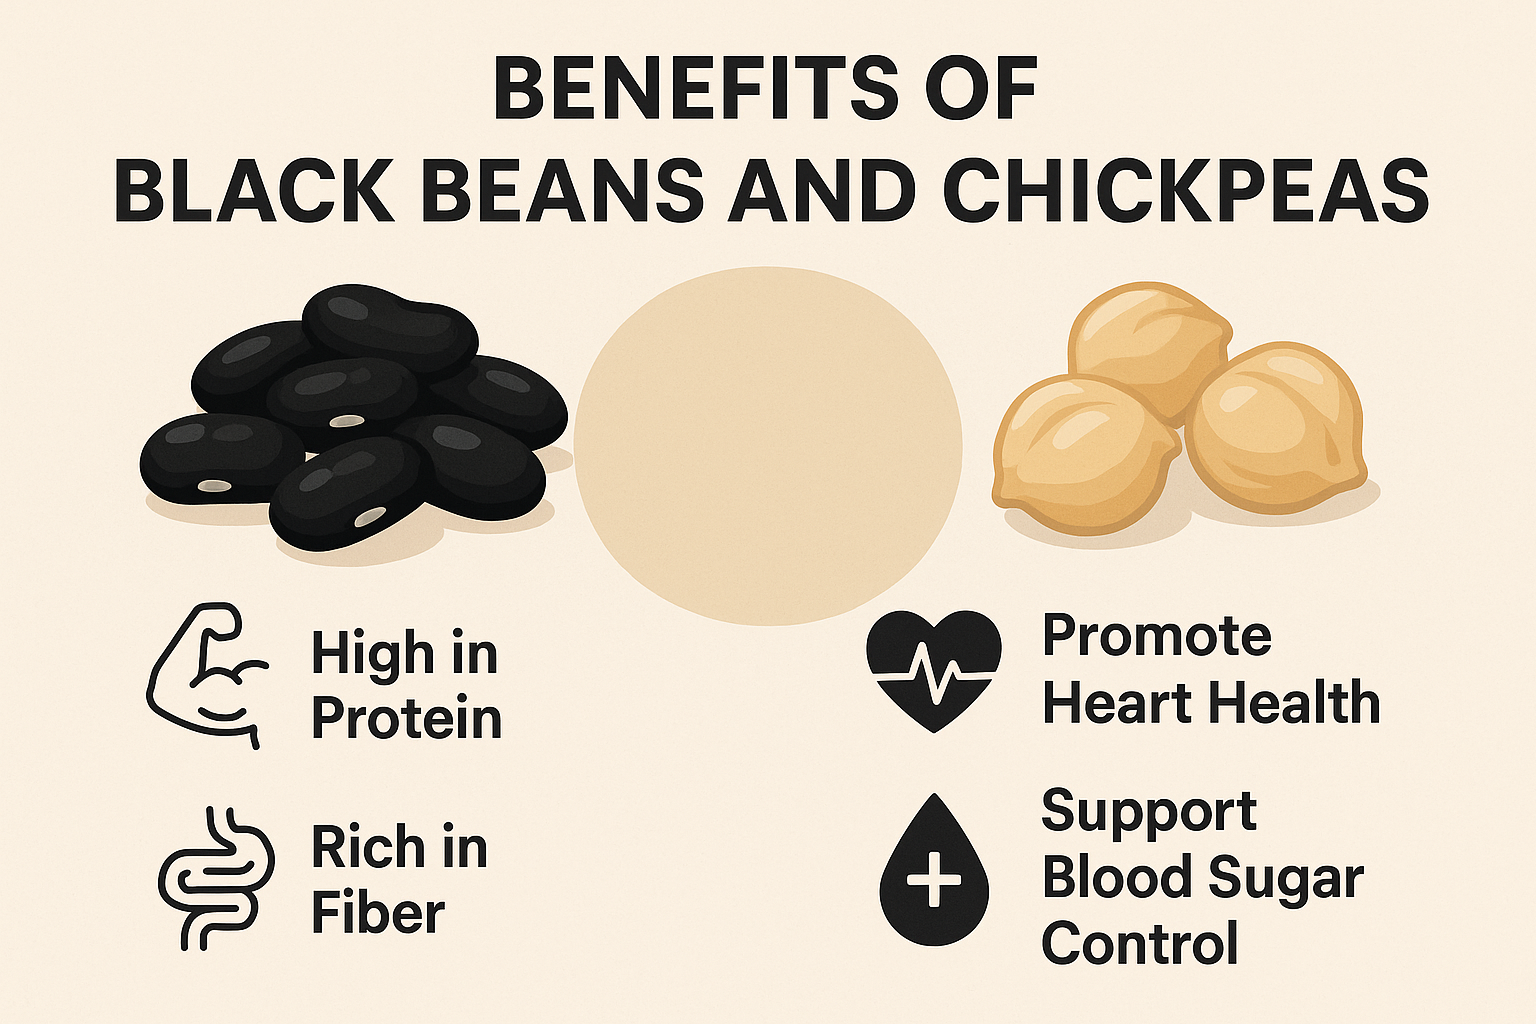
- Packed with Vitamins and Minerals: The fruits and spinach in this recipe provide a powerful dose of essential vitamins like Vitamin C, Vitamin K, and antioxidants that help fight off free radicals and support a healthy immune system.
- Good Source of Protein: Greek yogurt is an excellent source of protein, which is vital for muscle repair, feeling full, and maintaining overall body function.
- Heart-Healthy Fats: The nuts (like walnuts and almonds) are rich in monounsaturated and polyunsaturated fats. These healthy fats are crucial for heart health, brain function, and reducing inflammation.
- Fiber for Digestive Health: The fruits and oats provide dietary fiber, which aids digestion, helps regulate blood sugar, and contributes to a feeling of fullness.
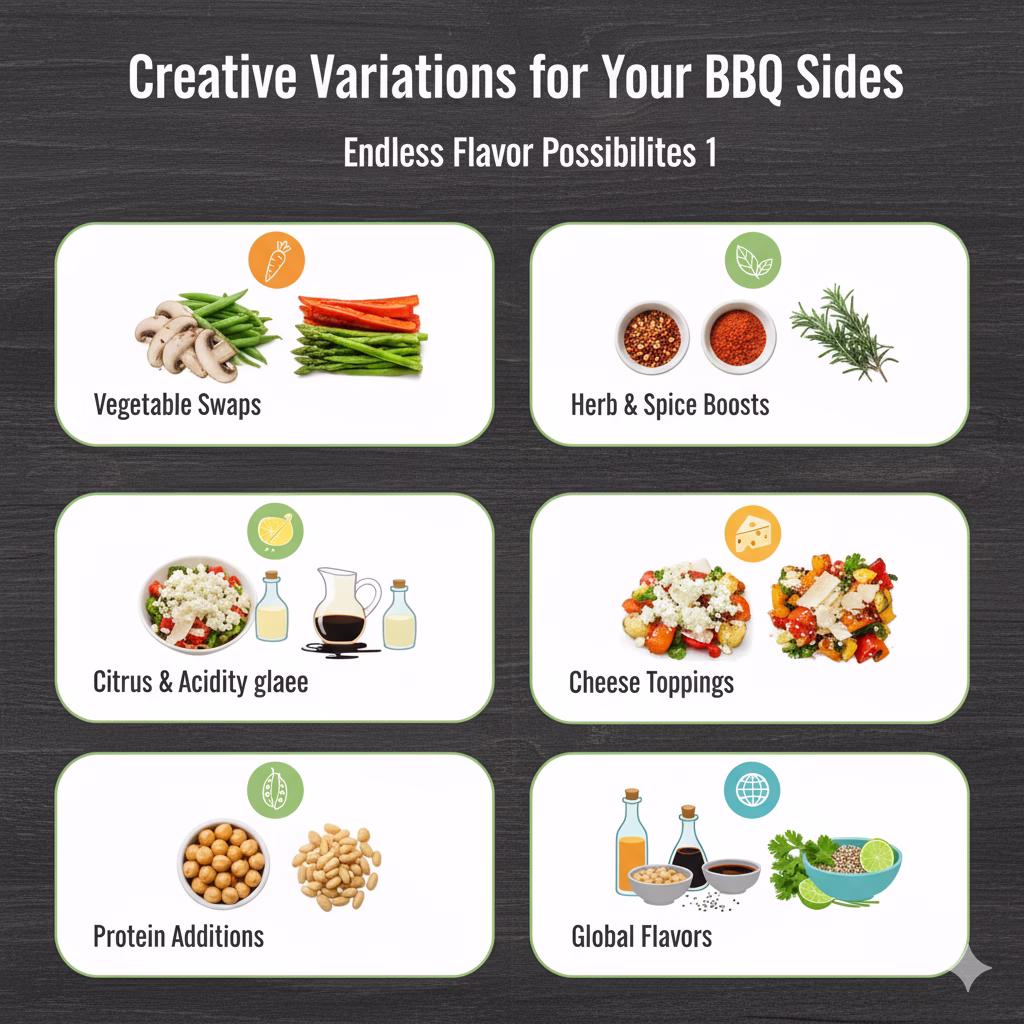
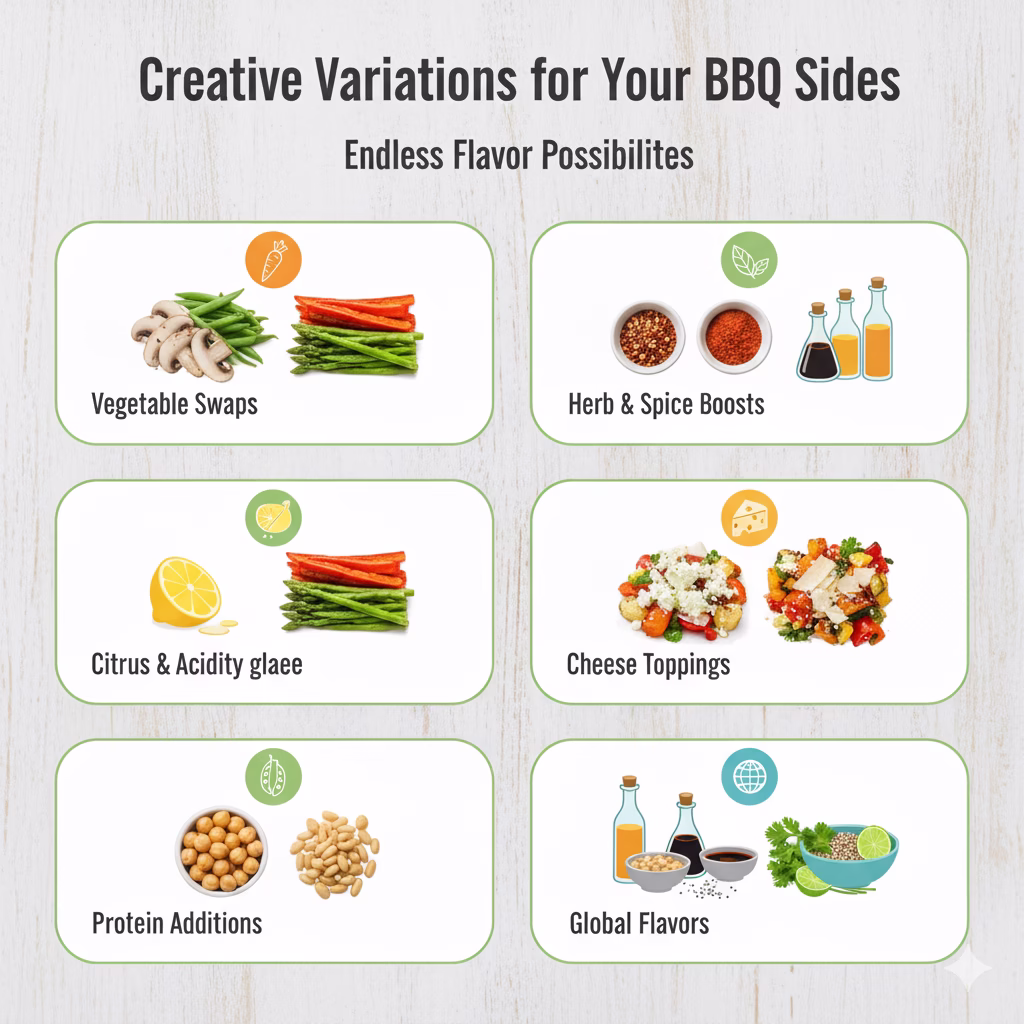
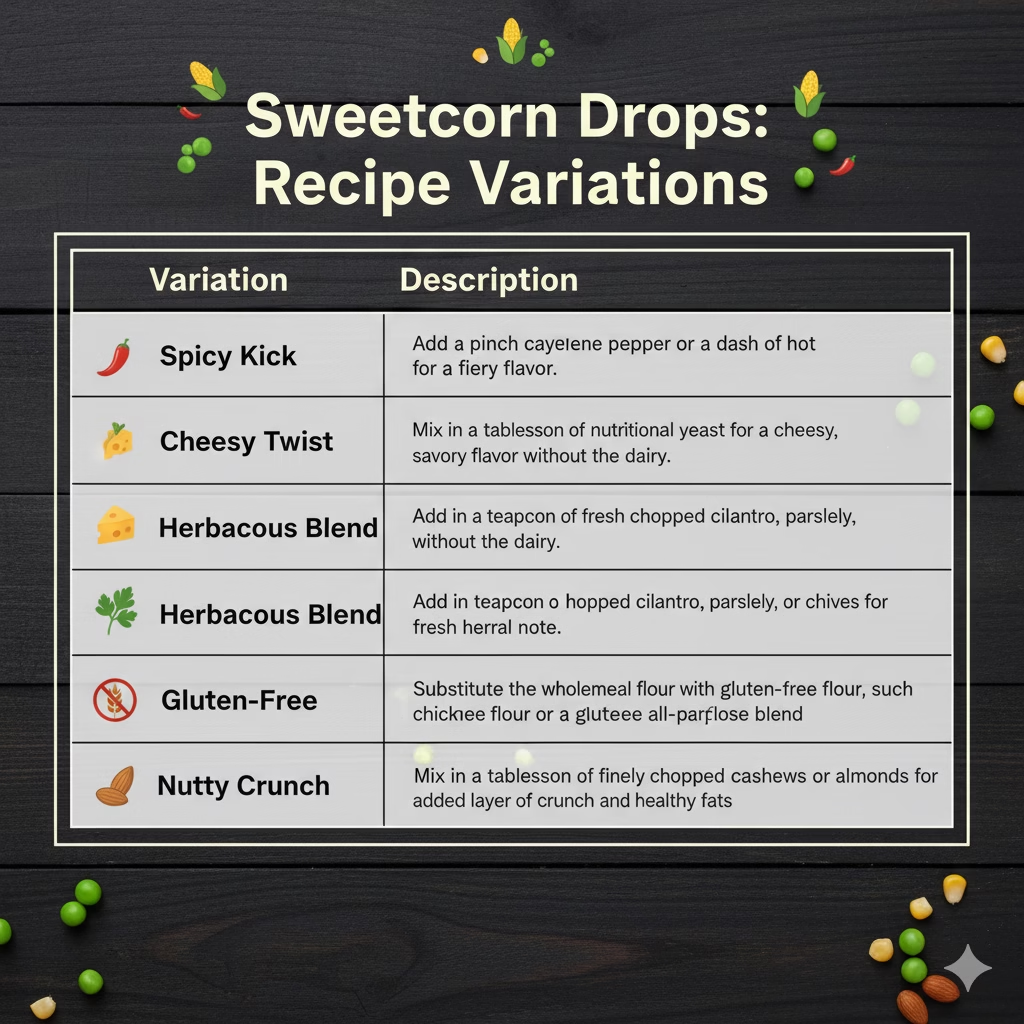
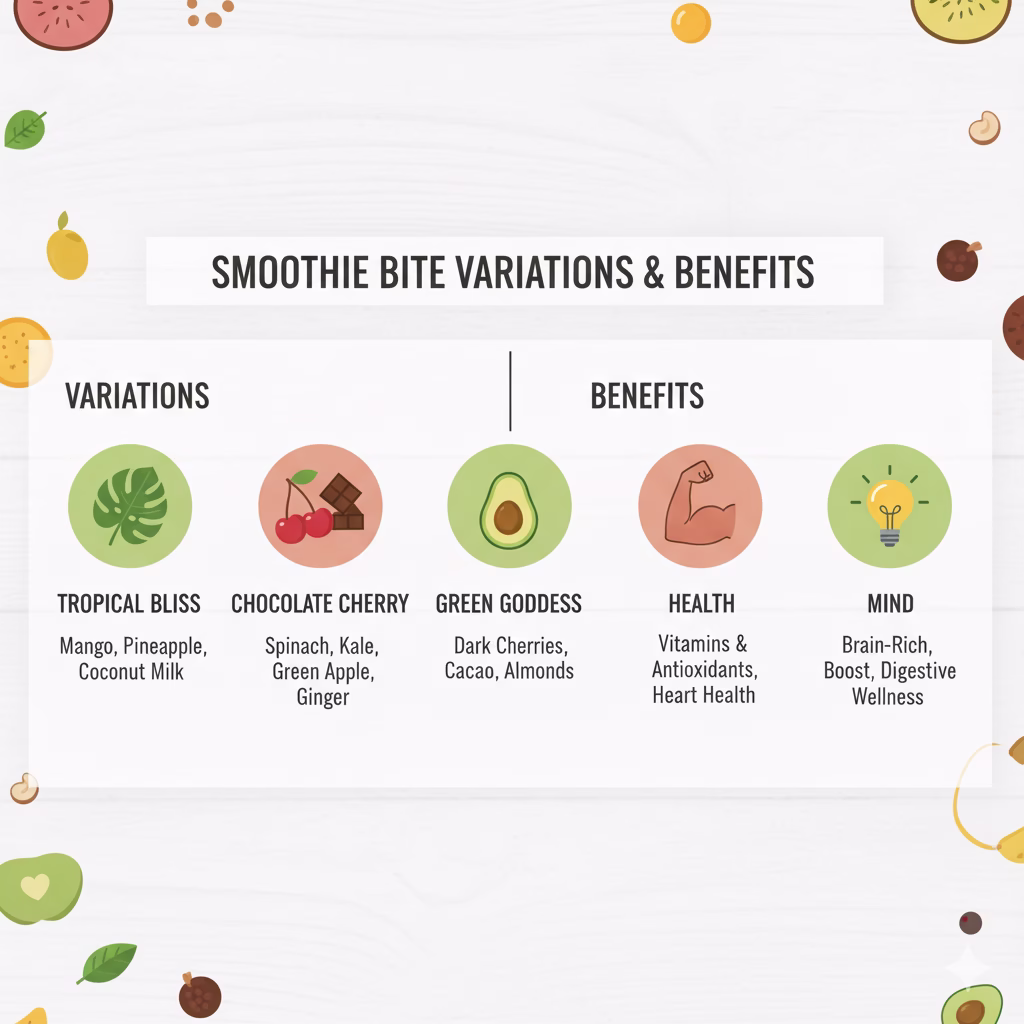
Variations for Your Frozen Smoothie Bites
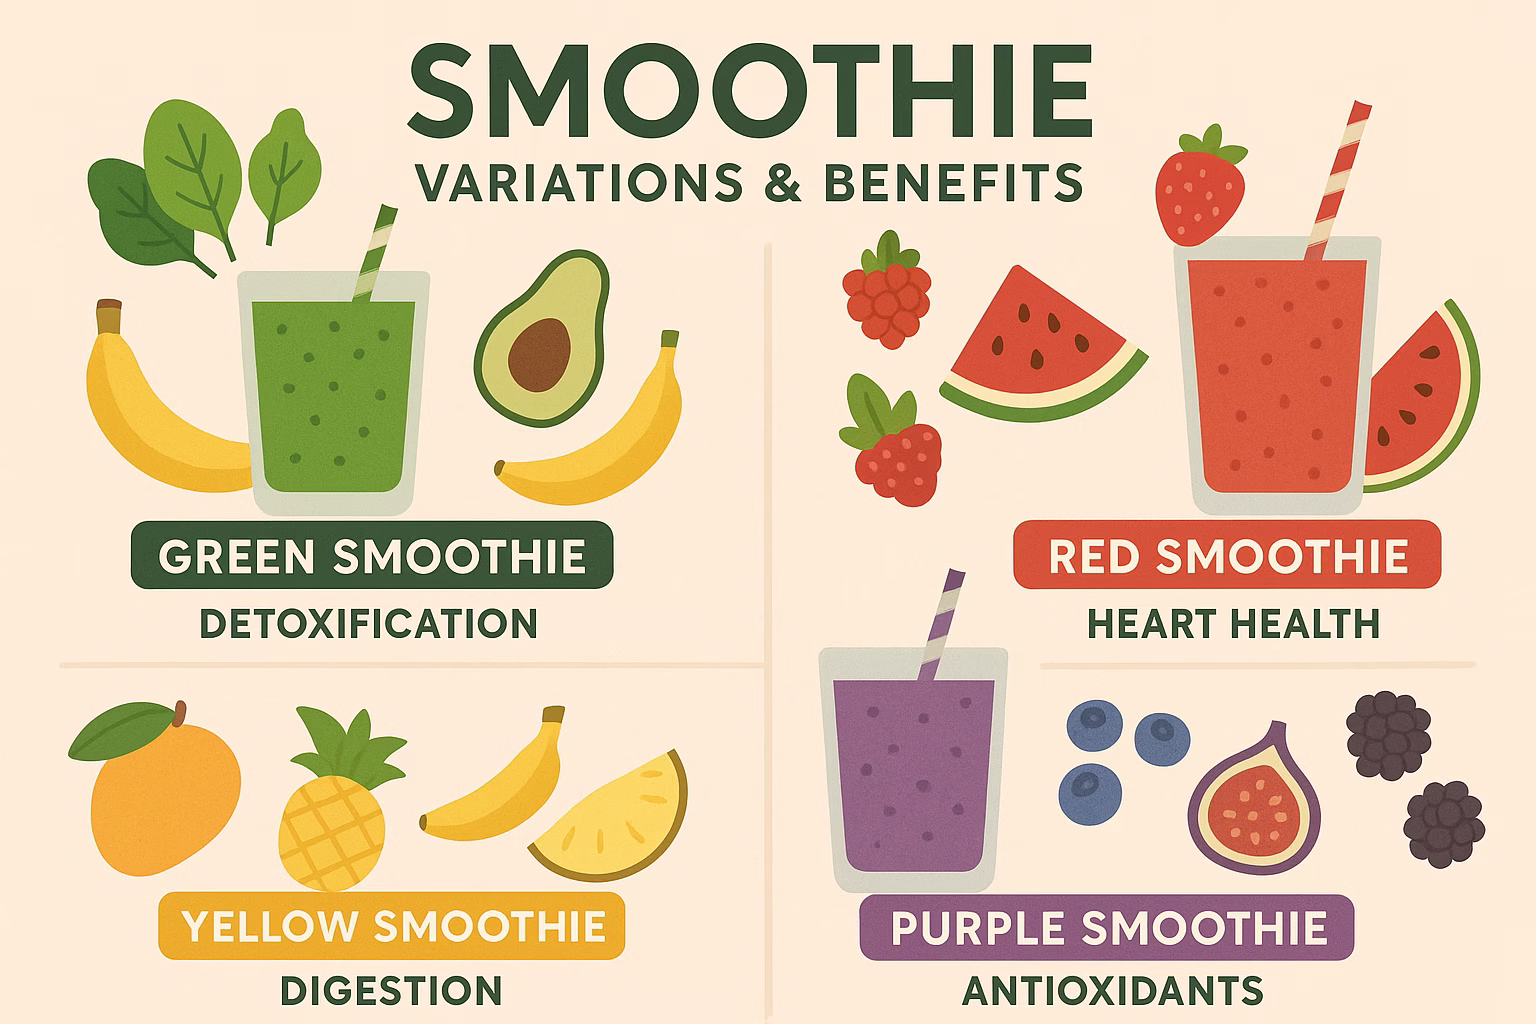
One of the best things about this recipe is how easily you can customize it. Mix and match these ingredients to create your own unique Frozen Smoothie Bites!
| Flavor Profile | Fruit/Vegetable Options | Yogurt Options | Toppings/Add-ins |
| Tropical Bliss | Mango, Pineapple, Coconut, a squeeze of Lime Juice | Coconut Yogurt, Plain Greek Yogurt | Unsweetened Shredded Coconut, Macadamia Nuts |
| Chocolate Cherry | Dark Cherries, Cacao Powder (1-2 tbsp) | Vanilla Greek Yogurt, Plain Greek Yogurt | Dark Chocolate Chunks, Cacao Nibs, Almonds |
| Green Goddess | Avocado (1/4), Spinach, Kale, Green Apple | Plain Greek Yogurt, Vanilla Yogurt | Pumpkin Seeds, Sunflower Seeds, Flax Seeds |
| Peanut Butter Jelly | Strawberries, Raspberries | Plain Greek Yogurt, Vanilla Greek Yogurt | Peanut Butter Swirl, Crushed Peanuts |
| Spice it Up | Pumpkin Puree, Banana, a dash of Cinnamon and Nutmeg | Plain Greek Yogurt, Vanilla Greek Yogurt | Pecans, Walnuts, a sprinkle of Cinnamon |
Final Thoughts

These Frozen Smoothie Bites are more than just a quick recipe; they are a gateway to healthier, more creative snacking. By spending a little time in the kitchen, you can prepare a delicious and nutritious treat that everyone in your family will love. They prove that healthy food doesn’t have to be boring. With their vibrant colors, creamy texture, and satisfying crunch, they are a delightful way to nourish your body and satisfy your cravings. So, get ready to blend, pour, and freeze your way to your new favorite healthy snack.
Frequently Asked Questions (FAQs)
Can I use frozen fruit instead of fresh fruit?
Absolutely! Using frozen fruit is a great option. It can make your smoothie mixture even thicker and colder, which is perfect for this recipe. Just be sure to blend a little longer to ensure a smooth consistency. You don’t need to thaw the fruit first.
How long do these frozen smoothie bites last in the freezer?
When stored in an airtight container, these Frozen Smoothie Bites can last in the freezer for up to two weeks. This makes them an excellent option for meal prepping and having a healthy snack on hand whenever you need one.
References
- Mayoclinic – Is a fruit smoothie a good meal?
- Healthline – 6 Fantastic Health Benefits of Greek Yogurt
- WebMD – Oats, Side Effects, and More
Recent Posts