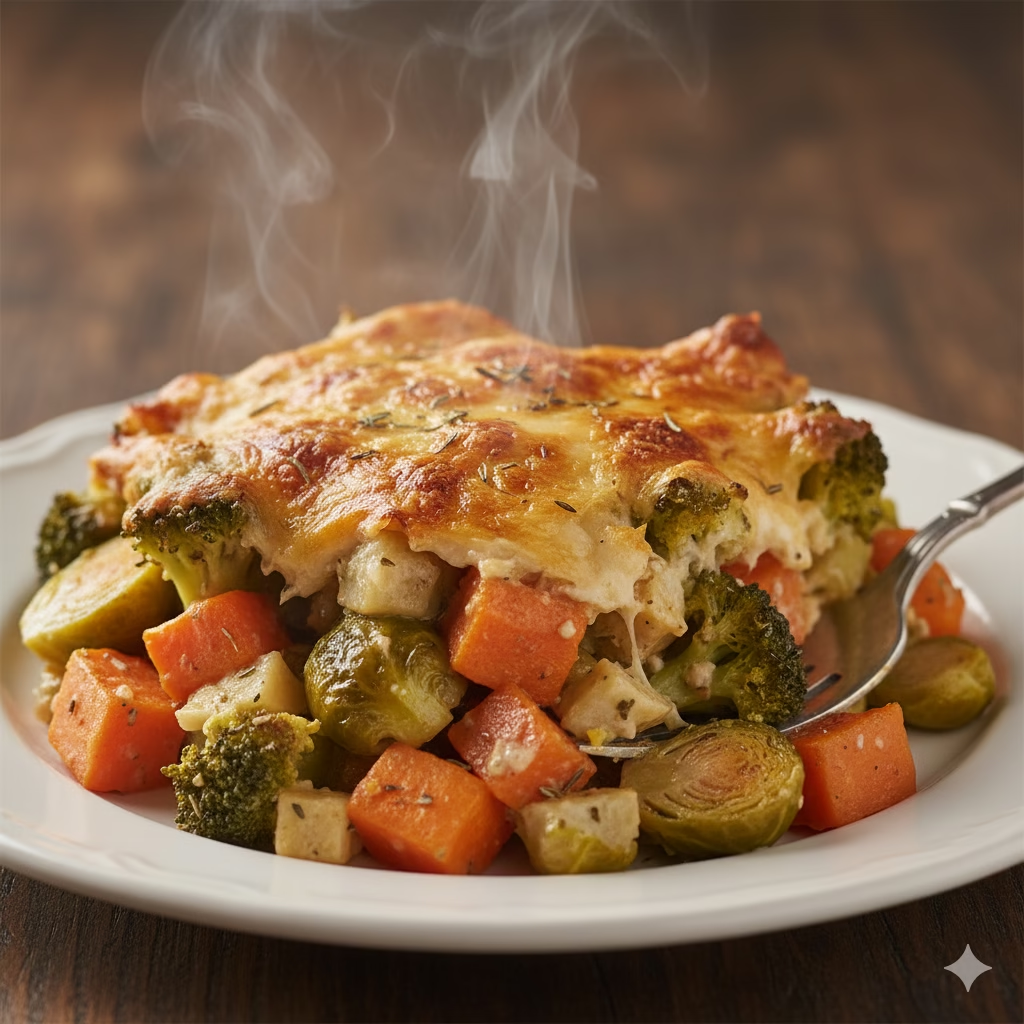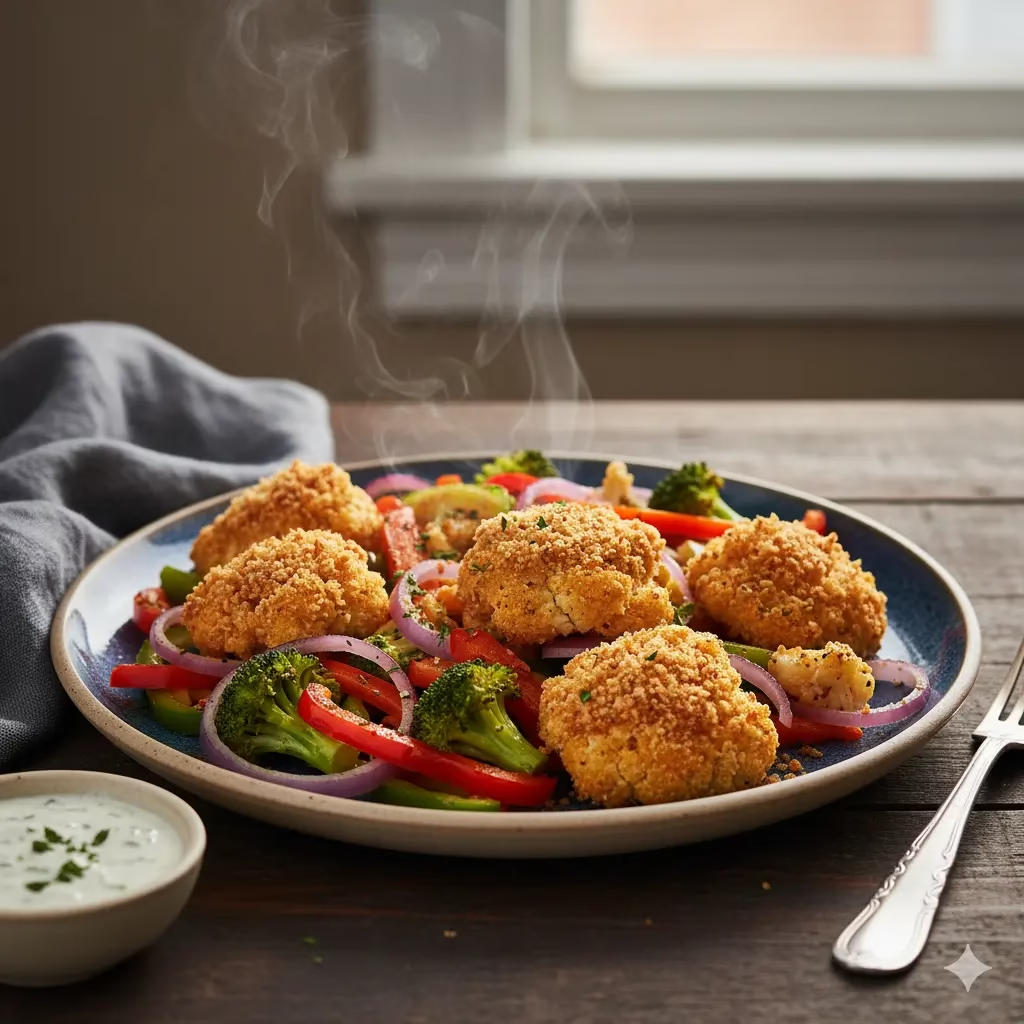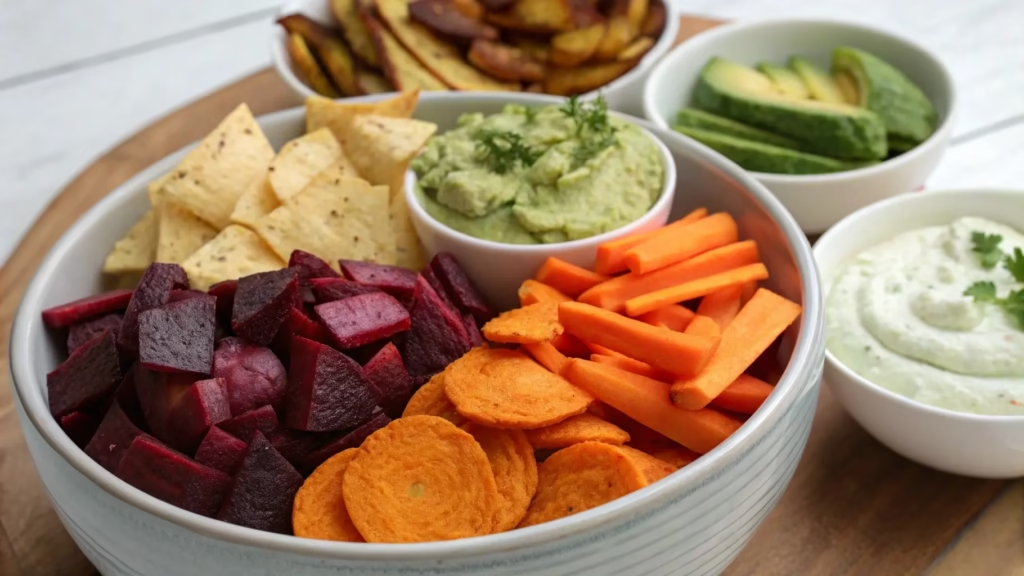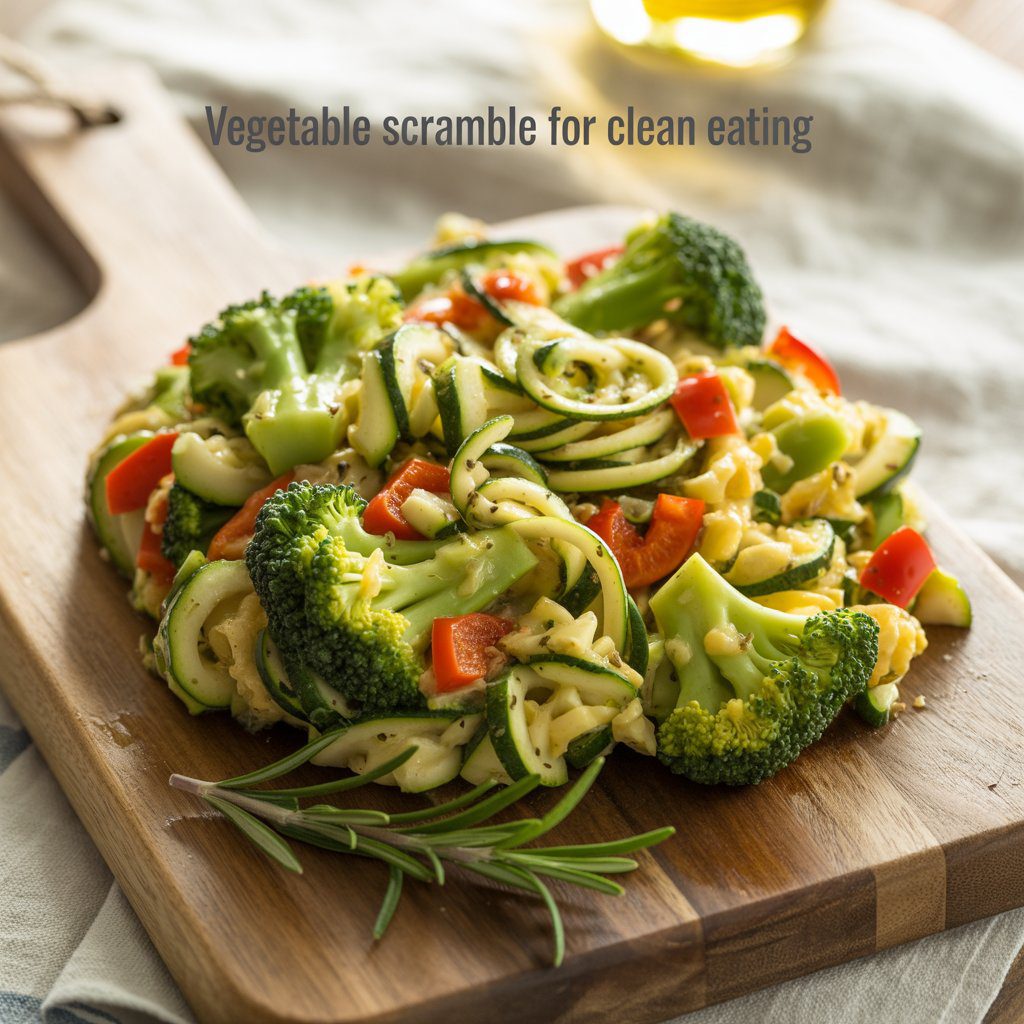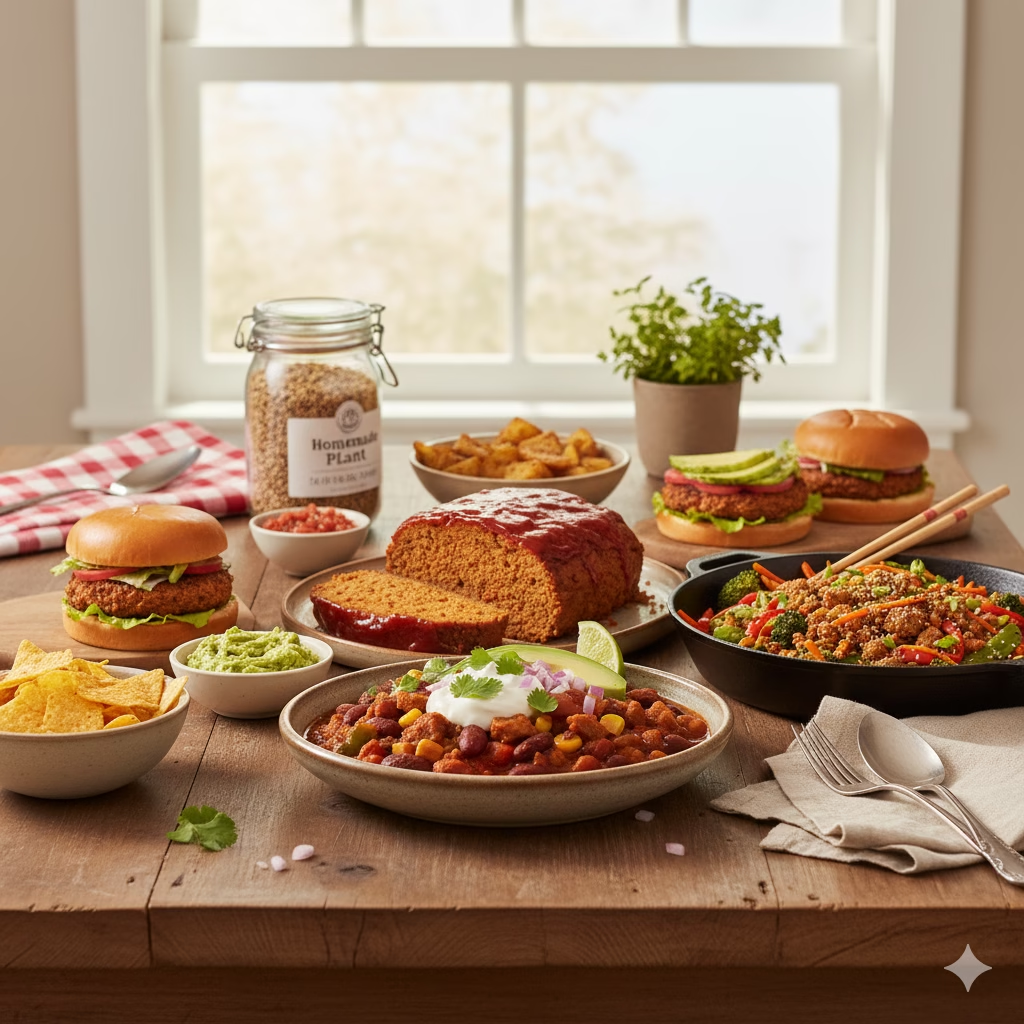
These Plant Based Mixes are a savory, protein-packed foundation that pairs beautifully with fresh vegetables like bell peppers, onions, and garlic. Serve your final dish with a side of creamy mashed potatoes or a crisp green salad for a complete and satisfying meal.
Navigating the world of Plant Based Mixes can sometimes feel like a puzzle. You’re often juggling multiple ingredients, complicated recipes, and the nagging thought that it all takes too much time. You might even find yourself reaching for expensive, pre-packaged meat alternatives, only to question what’s really inside them. But what if I told you there’s a simple, affordable solution that can transform the way you cook?
That solution is a homemade plant-based mix. It’s your new kitchen secret—a single, customizable base that lets you create dozens of satisfying meals in minutes. By making a big batch in advance, you’ll always have a hearty, protein-rich foundation ready to go. You’ll save money, control the ingredients you eat, and make meal prep a breeze. This article is your comprehensive guide to mastering this mix, from the basic recipe to a whole world of delicious applications.
Why a DIY Plant Based Mix is Your Kitchen’s Secret Weapon
The real magic of plant-based mixes isn’t just about saving time; it’s about empowerment. Store-bought products, while convenient, often come with a long list of ingredients you can’t pronounce, along with added sodium, fats, and preservatives. When you make your own mix, you take complete control. You know exactly what’s going into your body: wholesome, clean ingredients that fuel you without the added junk.
The base of this mix is often textured vegetable protein (TVP). Don’t let the name scare you! TVP is simply a dehydrated soy product that’s incredibly light and spongy. When you rehydrate it with hot water or broth, it plumps up and takes on the texture of ground meat, making it a perfect stand-in for burgers, meatloaf, and crumbles. We’ll also be adding other simple pantry staples like oats, nutritional yeast, and common spices to boost its flavor and texture.
Having this mix on hand is a true game-changer. It’s perfect for those busy weeknights when you’re short on time but still want a healthy, delicious meal. No more scrambling for last-minute dinner ideas; your main ingredient is already prepped and waiting for you. This simple hack will make healthy, versatile cooking feel effortless and fun.
The Core Recipe: Plant Based Mixes
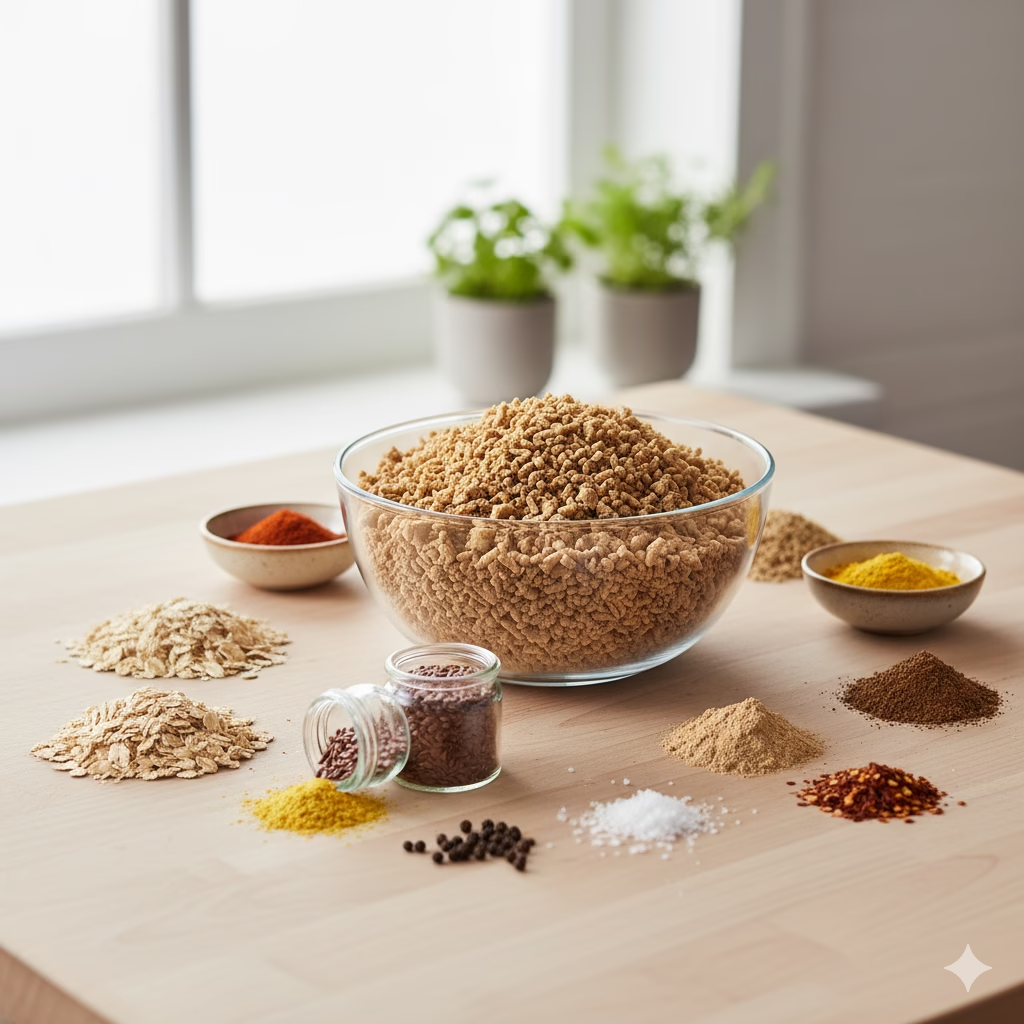
This basic recipe is the foundation for all the delicious dishes you’re about to make. The dry mix is simple to prepare and can be stored for months, ready whenever inspiration strikes.
Ingredients for the Dry Mix:
- 2 cups Textured Vegetable Protein (TVP) or soy crumbles: A fantastic source of complete protein and fiber. It’s low in fat and cholesterol-free.
- 1 cup Quick Oats: Adds bulk and helps bind the mixture together. Oats are rich in soluble fiber, which can help lower cholesterol.
- ½ cup Nutritional Yeast: Gives the mix a cheesy, nutty, savory flavor and is a great source of B vitamins, especially B12 for vegans.
- 2 tablespoons Onion Powder: Provides a concentrated onion flavor without moisture.
- 2 tablespoons Garlic Powder: Adds a savory, aromatic kick.
- 1 tablespoon Smoked Paprika: Delivers a smoky, hearty flavor that mimics the taste of traditional meat dishes.
- 1 tablespoon Ground Flaxseed: Acts as a binding agent, replacing eggs. Flaxseed is packed with Omega-3 fatty acids, which are great for heart health.
- 1 teaspoon Salt: Enhances all the other flavors.
- 1 teaspoon Black Pepper: Adds a touch of heat and depth.
- ½ teaspoon Chili Flakes (optional): For a little extra spice.
To Prepare the Mix:
- In a large bowl, combine the TVP, quick oats, nutritional yeast, and all the spices.
- Whisk everything together thoroughly until the ingredients are evenly distributed.
- Pour the mixture into a large airtight container or glass jar. Store it in a cool, dark place, like your pantry, for up to two months.
To Prepare the Dry Mix for Cooking:
- Measure 1 cup of the dry mix into a bowl.
- Add ¾ cup of hot vegetable broth or water. The hot liquid helps the TVP and oats rehydrate quickly.
- Stir everything together until well combined.
- Let the mixture sit for about 10 minutes. It will absorb all the liquid and become plump, moist, and ready to use in any recipe.
From One Mix, Many Meals: Delicious & Versatile Recipes
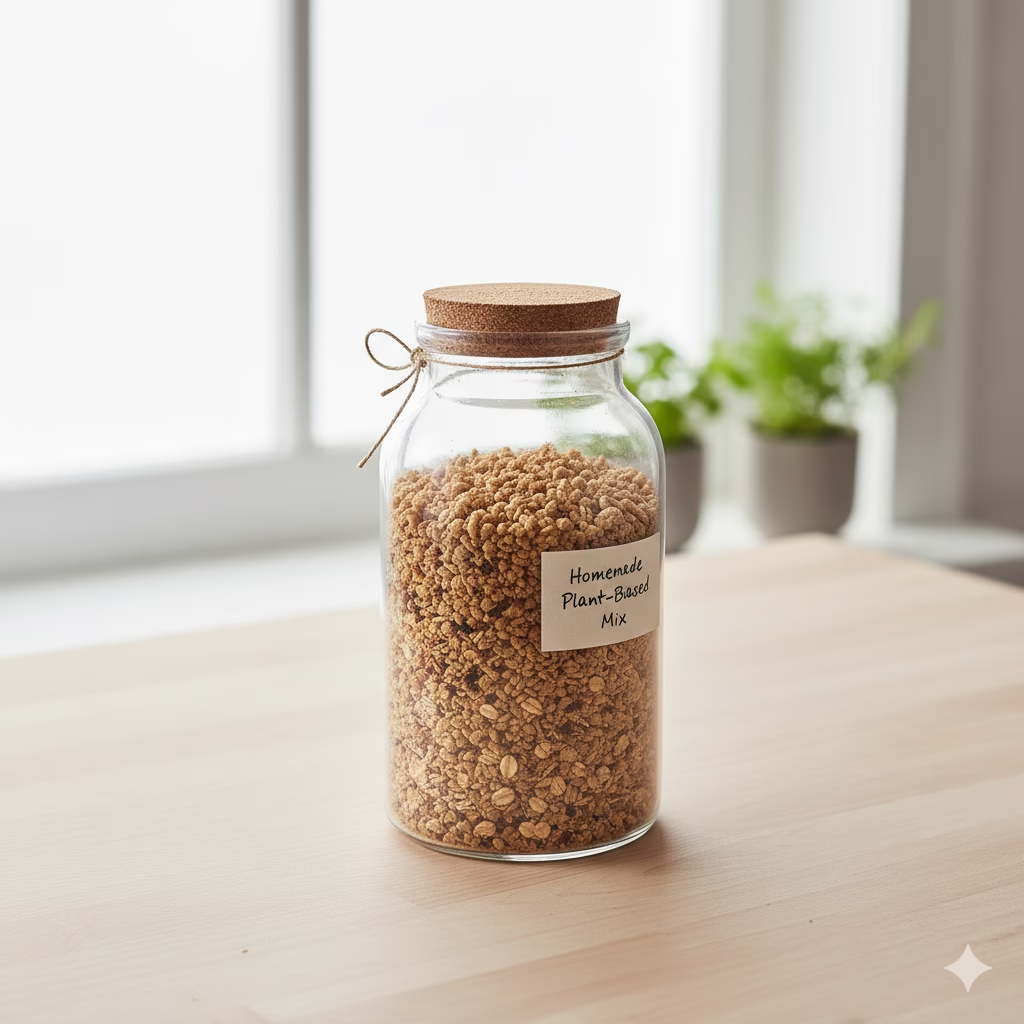
Once your Plant Based Mixes are rehydrated, the real fun begins! This single base can be transformed into dozens of different dishes. Here are some of our favorites.
Plant-Based Burgers & Meatballs
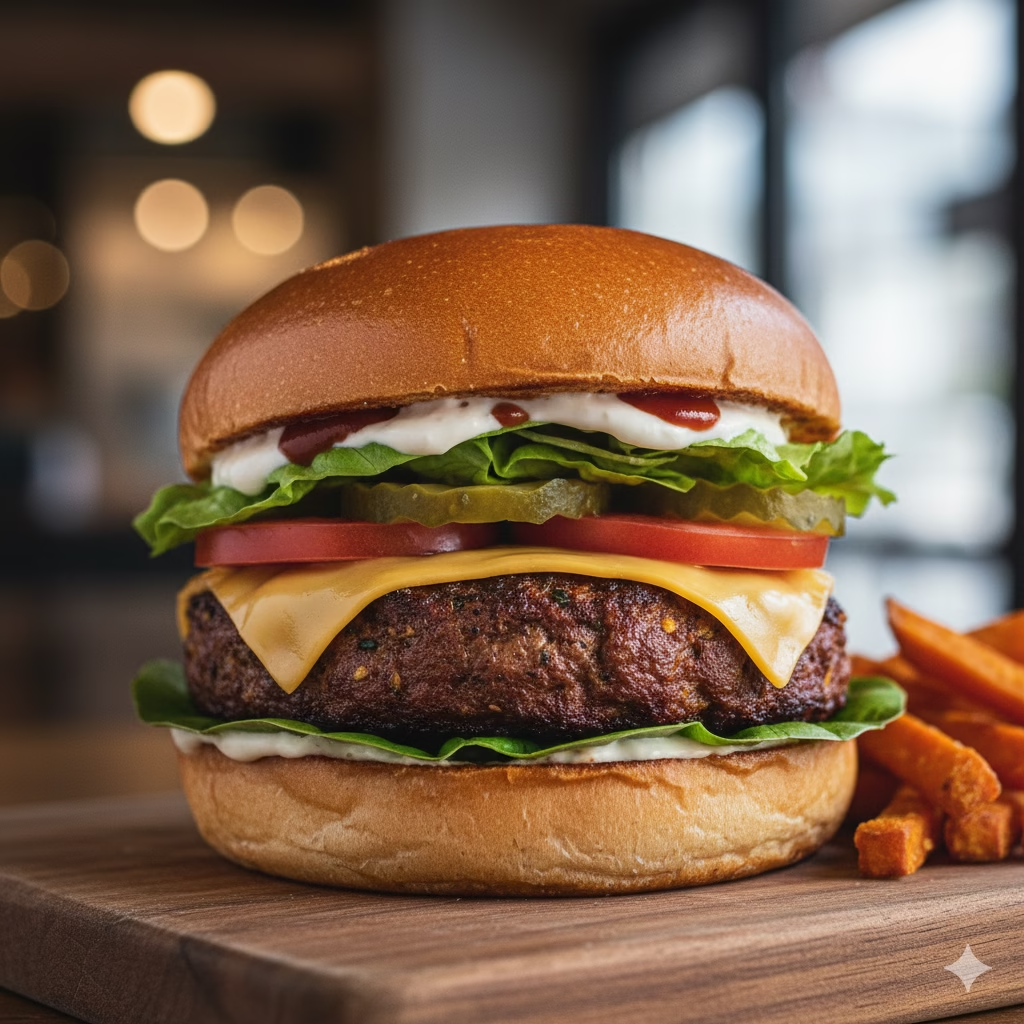
The most classic and satisfying use of the Plant Based Mixes.
- To Make Patties: Take your rehydrated mix and add 2 tablespoons of breadcrumbs and 1 tablespoon of ketchup or BBQ sauce for extra moisture and flavor. Gently shape into patties.
- Cooking Method: You can pan-fry the patties in a little oil until golden brown on each side (about 3–4 minutes per side), or bake them on a parchment-lined baking sheet at 375°F (190°C) for about 20 minutes, flipping halfway through.
- Serving Idea: Serve on a toasted bun with fresh lettuce, tomato, pickles, and a generous dollop of vegan mayo.
The Ultimate Plant Based Mixes: Meatloaf
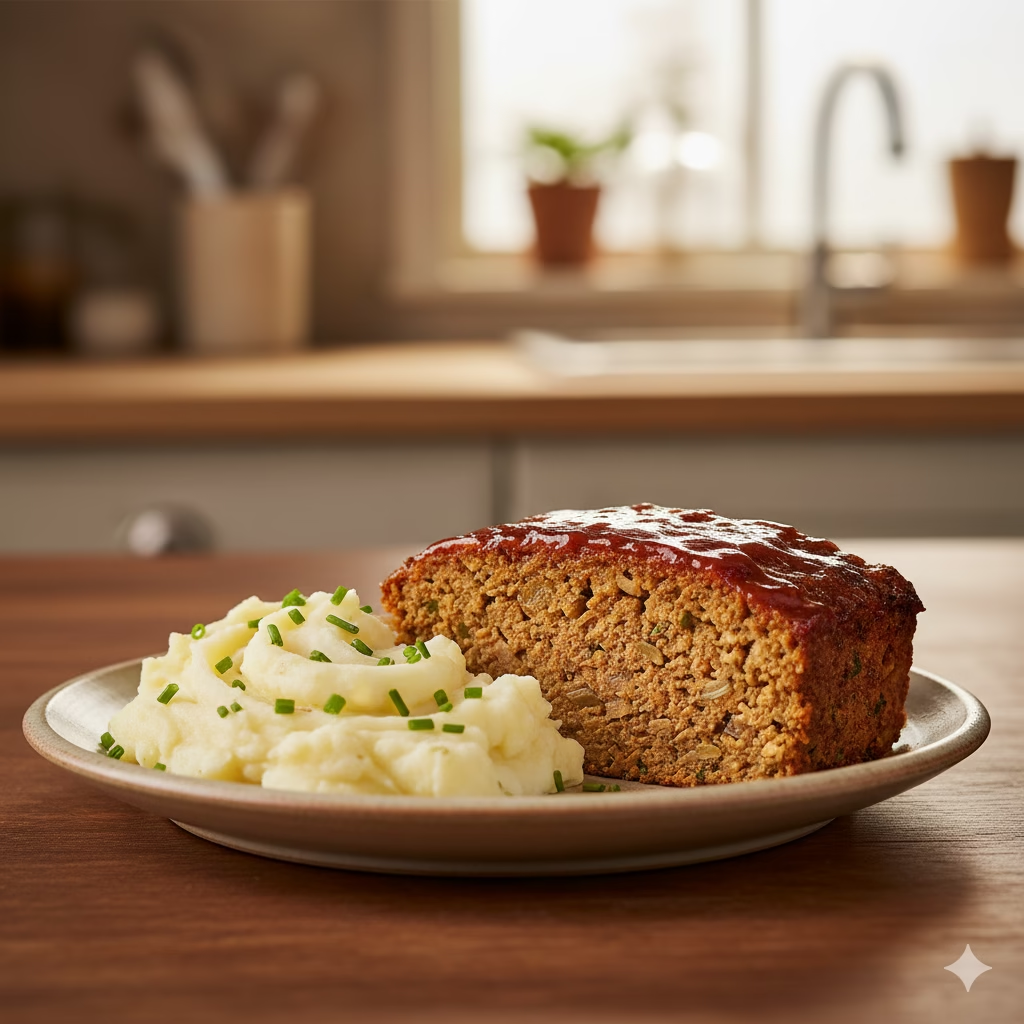
This comfort food staple delivers all the cozy feel without the meat. It’s an easy, hearty dish perfect for family dinners.
- To Make the Loaf: Combine 2 cups of rehydrated mix with 1 cup of breadcrumbs, 1 finely diced onion, 2 tablespoons of ketchup, and 1 tablespoon of soy sauce for a rich, savory flavor.
- Cooking Method: Shape the mixture into a loaf and place it in a loaf pan. Spread a thin layer of ketchup or BBQ sauce on top before baking. Bake at 375°F (190°C) for 35–40 minutes.
- Pro Tip: Let the loaf rest for at least 10 minutes after baking before you slice it. This allows it to firm up and hold its shape perfectly.
Hearty Plant Based Mixes for Tacos & Chili
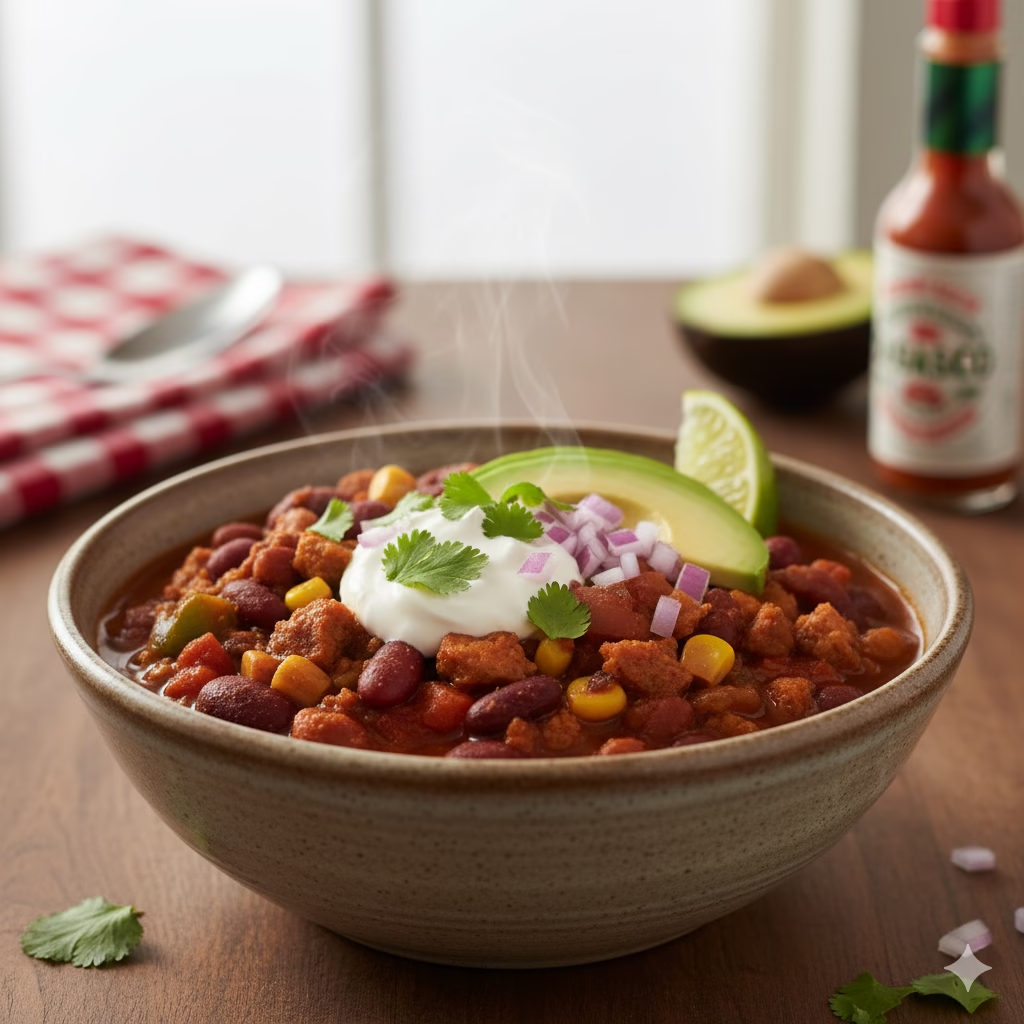
This is arguably the most common and simple use for your Plant Based Mixes. The crumbles are perfect for tacos, chili, or any recipe that calls for ground meat.
- To Make Crumbles: Simply brown your rehydrated mix in a skillet with a little oil. It will develop a rich, meaty texture.
- For Tacos: Once the crumbles are browned, stir in taco seasoning and a splash of water. Spoon the mixture into taco shells or tortillas and top with lettuce, salsa, guacamole, and vegan cheese.
- For Chili: Combine the rehydrated mix with your favorite beans, diced tomatoes, peppers, and chili powder. Simmer for at least 30 minutes to allow the flavors to meld.
Comfort Classics: Plant Based Mixes for Shepherd’s Pie & Sloppy Joes
The mix’s versatility makes it a natural fit for classic comfort foods.
- For Shepherd’s Pie: In a pan, brown your rehydrated crumbles with onions, carrots, and peas. Stir in some vegetable broth and simmer until it thickens. Transfer the mixture to a baking dish, top with mashed potatoes, and bake at 400°F (200°C) for about 20 minutes until golden brown.
- For Sloppy Joes: Cook the rehydrated mix in a skillet until browned, then stir in your favorite BBQ sauce or sloppy joe sauce. Simmer until thick and serve on toasted buns for a classic, messy, and delicious meal.
Health Benefits of Plant Based Mixes
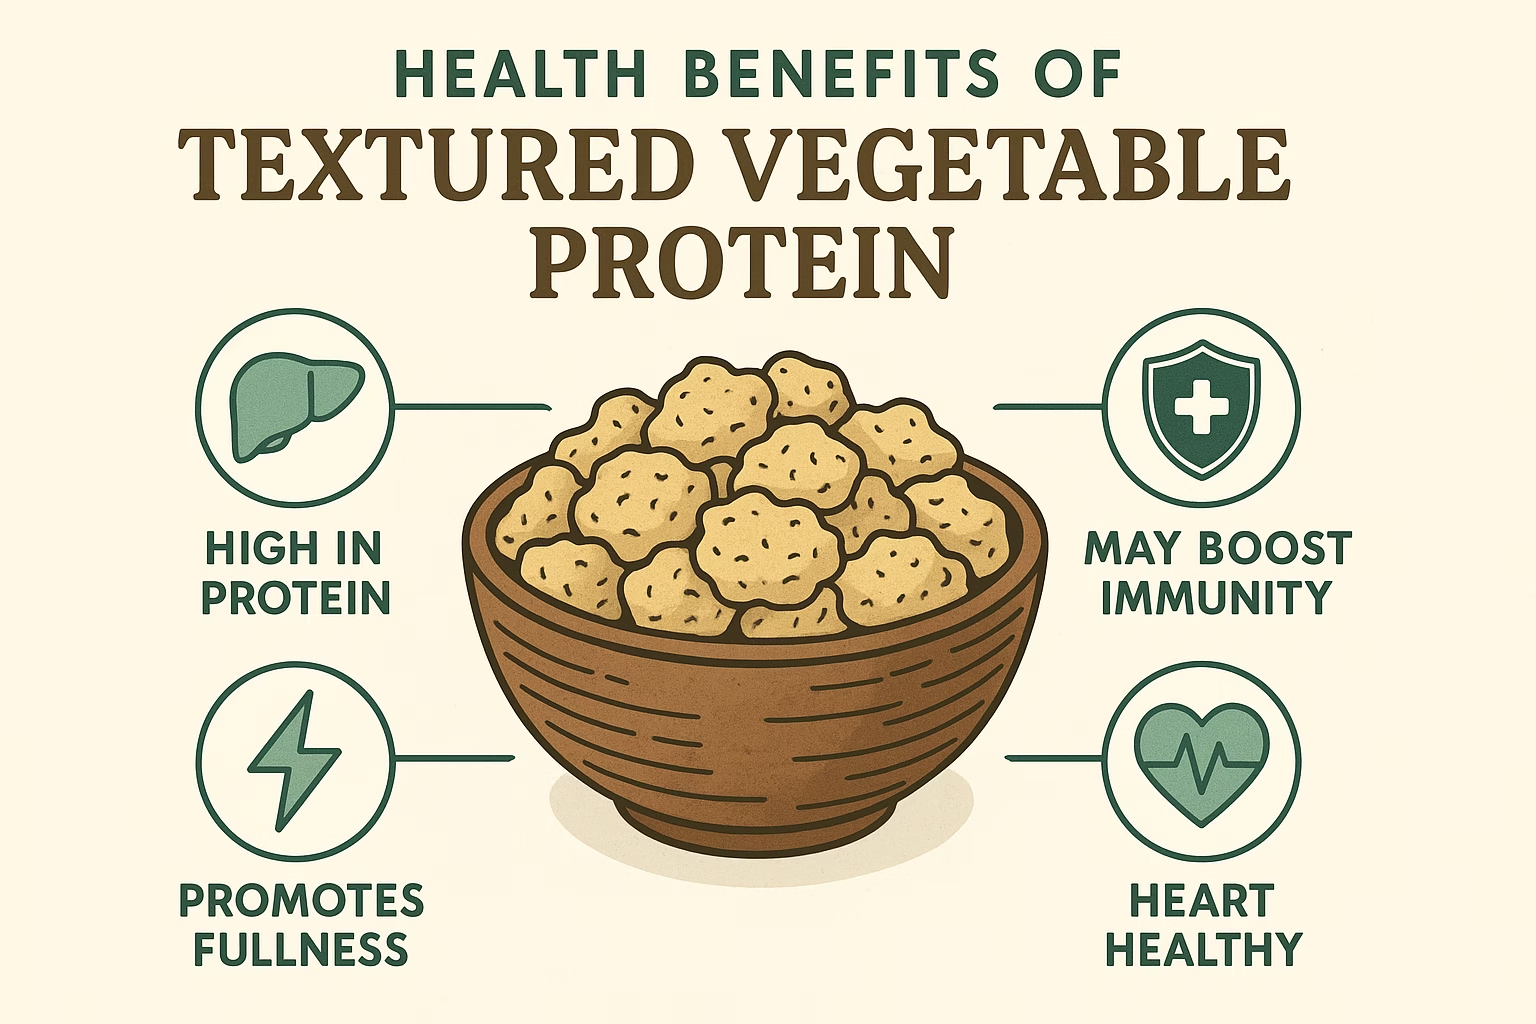
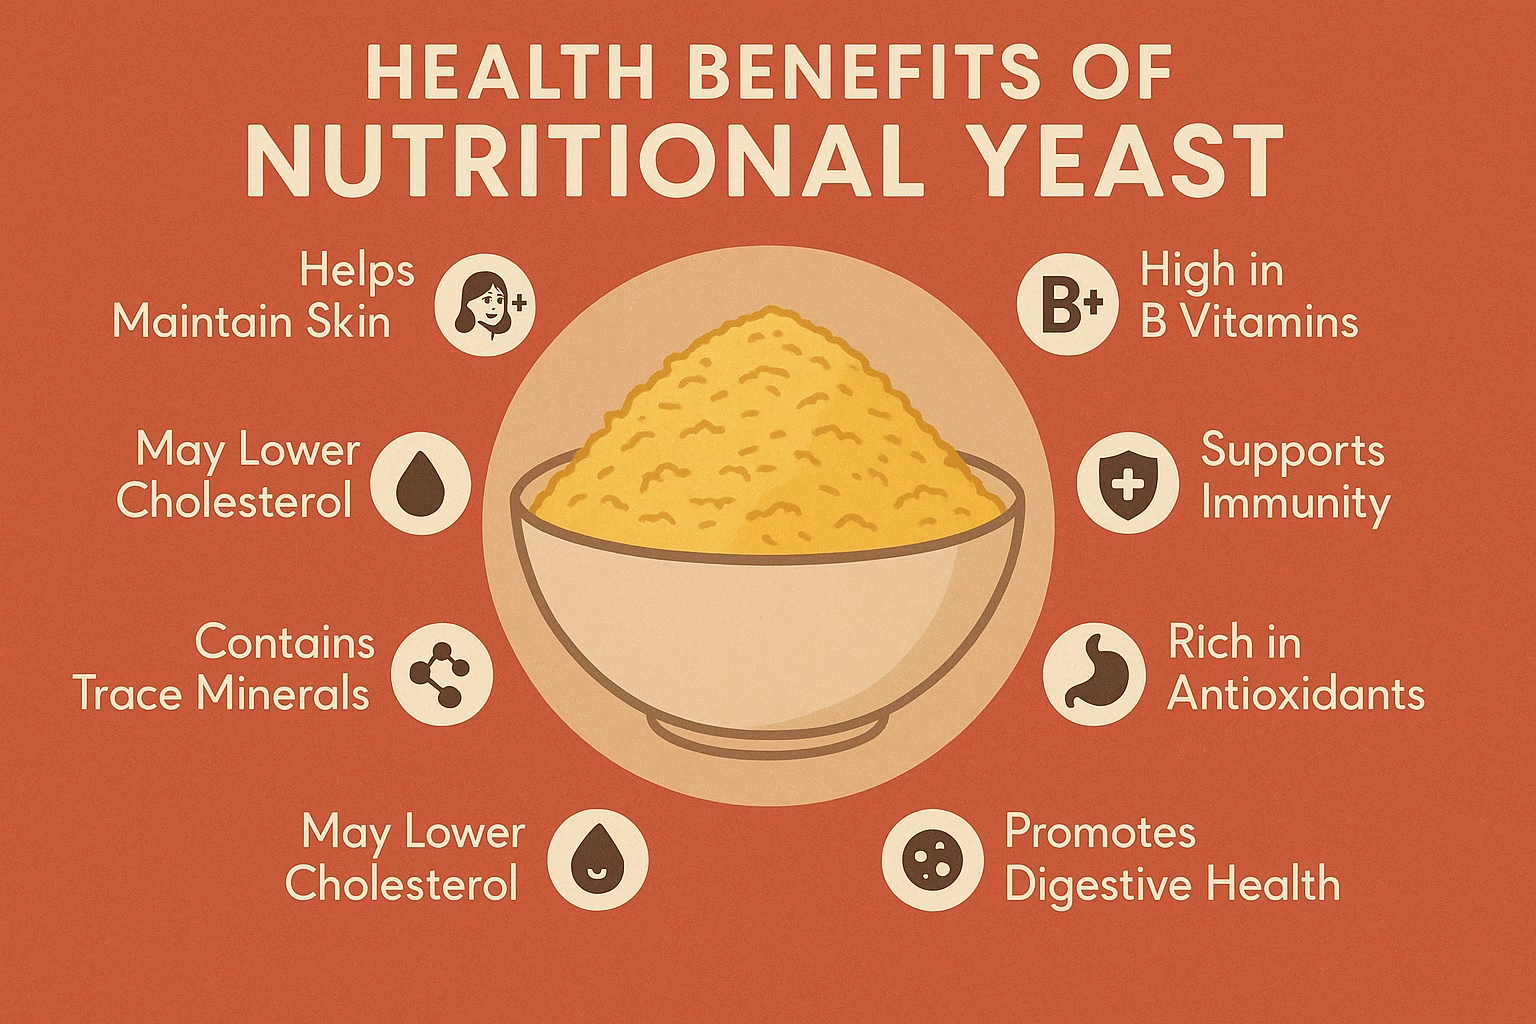
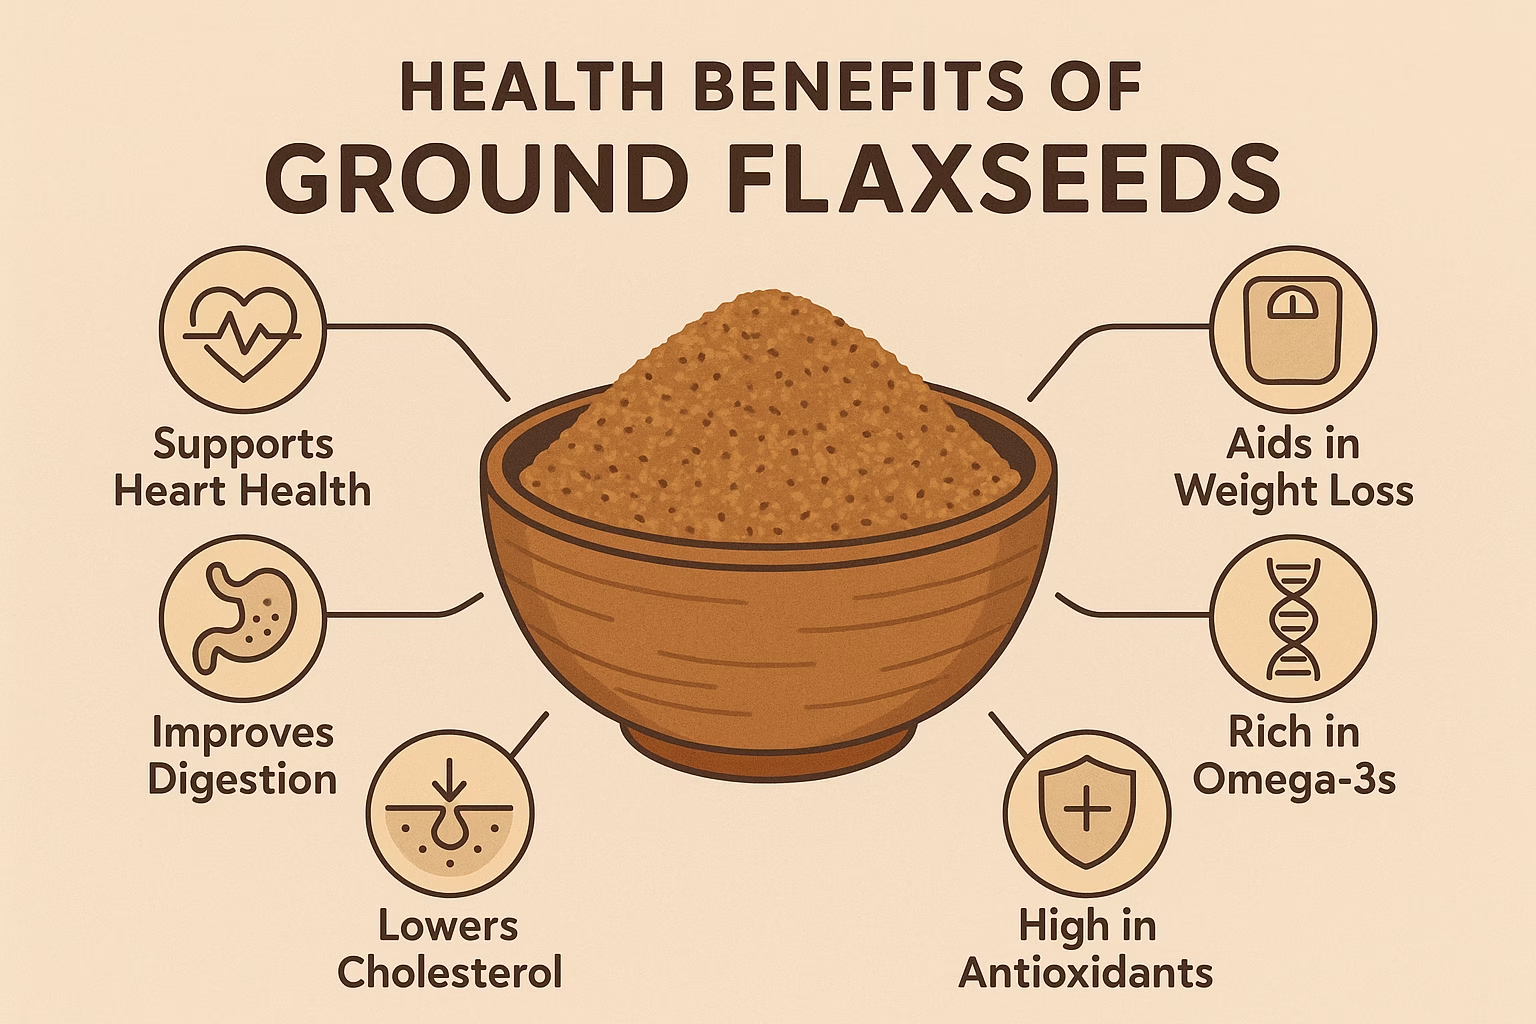
Beyond convenience and flavor, one of the biggest benefits of making your own plant-based mixes is the impressive nutritional profile of the ingredients. Each component serves a vital function in binding your mix while delivering significant health boosts:
Textured Vegetable Protein (TVP) / Soy Crumbles: This is your muscle-building powerhouse. TVP is a complete protein, meaning it contains all nine essential amino acids necessary for the human diet, making it an excellent replacement for animal protein. It’s also extremely low in fat and cholesterol-free, promoting heart health.
Oats (Quick Oats): More than just a filler, oats are celebrated for their high soluble fiber content, specifically a type called beta-glucan. This fiber is scientifically proven to help reduce LDL (“bad”) cholesterol levels, stabilize blood sugar, and contribute to a feeling of fullness, aiding in weight management.
Nutritional Yeast (Nooch): Often called “vegan gold,” nutritional yeast is a nutritional powerhouse. It’s a source of high-quality protein and is famously fortified with Vitamin B12, a crucial nutrient that plant-based diets can lack. B12 is essential for nerve function and the production of red blood cells.
Ground Flaxseed: These tiny seeds are bursting with goodness. They are one of the best plant-based sources of Omega-3 Fatty Acids (specifically ALA), which are vital for fighting inflammation and supporting brain and heart health. The fiber in flaxseed also aids in healthy digestion.
Smoked Paprika: While primarily used for flavor, paprika contains capsaicin, which may have anti-inflammatory and antioxidant properties. It’s also a surprisingly good source of Vitamin A.
By using these ingredients, your homemade mix doesn’t just simplify dinner—it makes every meal you create a foundation for better health.
Beyond the Basics: Stir-Fries, Casseroles & More
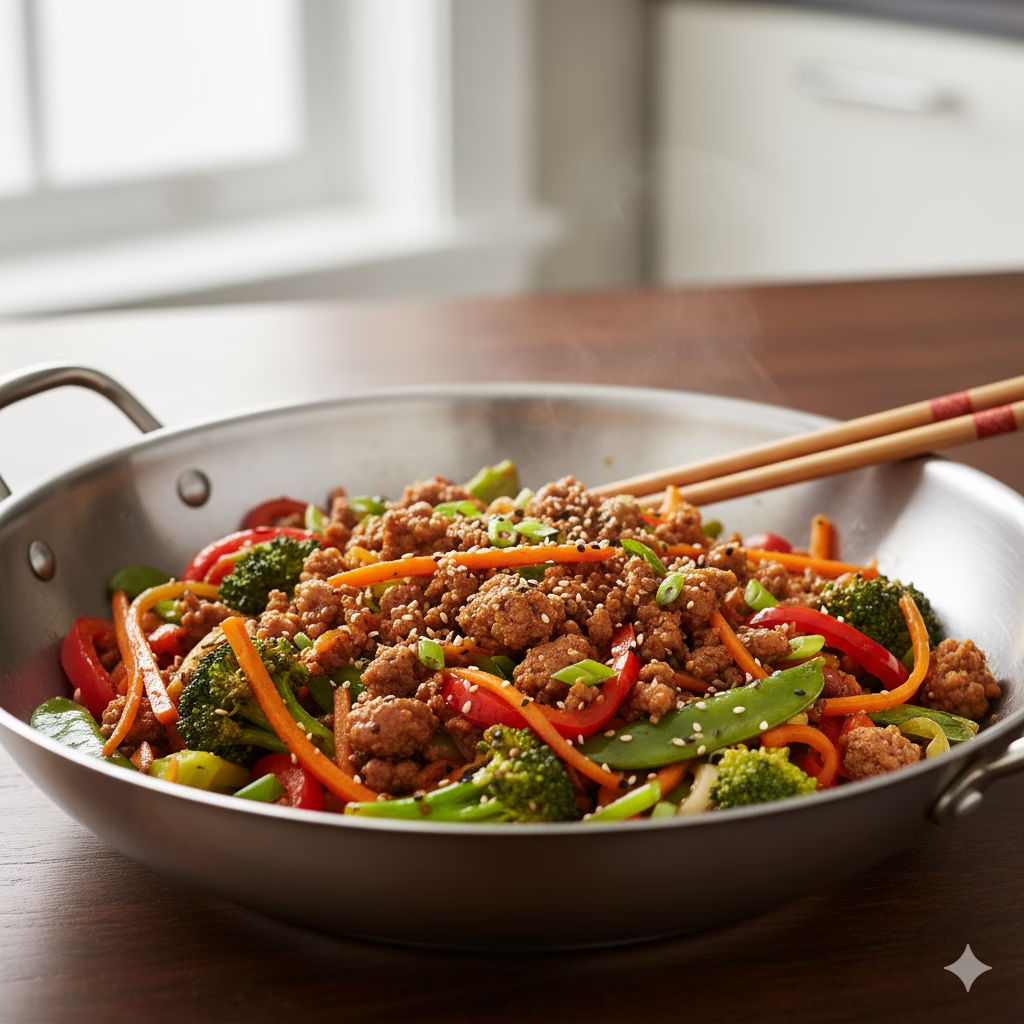
The mix’s adaptability extends to a wide range of dishes, proving that you’ll never run out of ideas.
- Stir-Fries: Toss the crumbles into a stir-fry with your favorite veggies and a savory sauce for a protein boost.
- Stuffed Peppers or Zucchini Boats: Mix the rehydrated blend with cooked rice and seasoning, then spoon it into hollowed-out peppers or zucchini and bake.
- Casseroles: Fold the prepared mix into a baked pasta dish, a layered casserole, or enchilada bake for a more substantial and satisfying meal.
Troubleshooting & Storage Tips
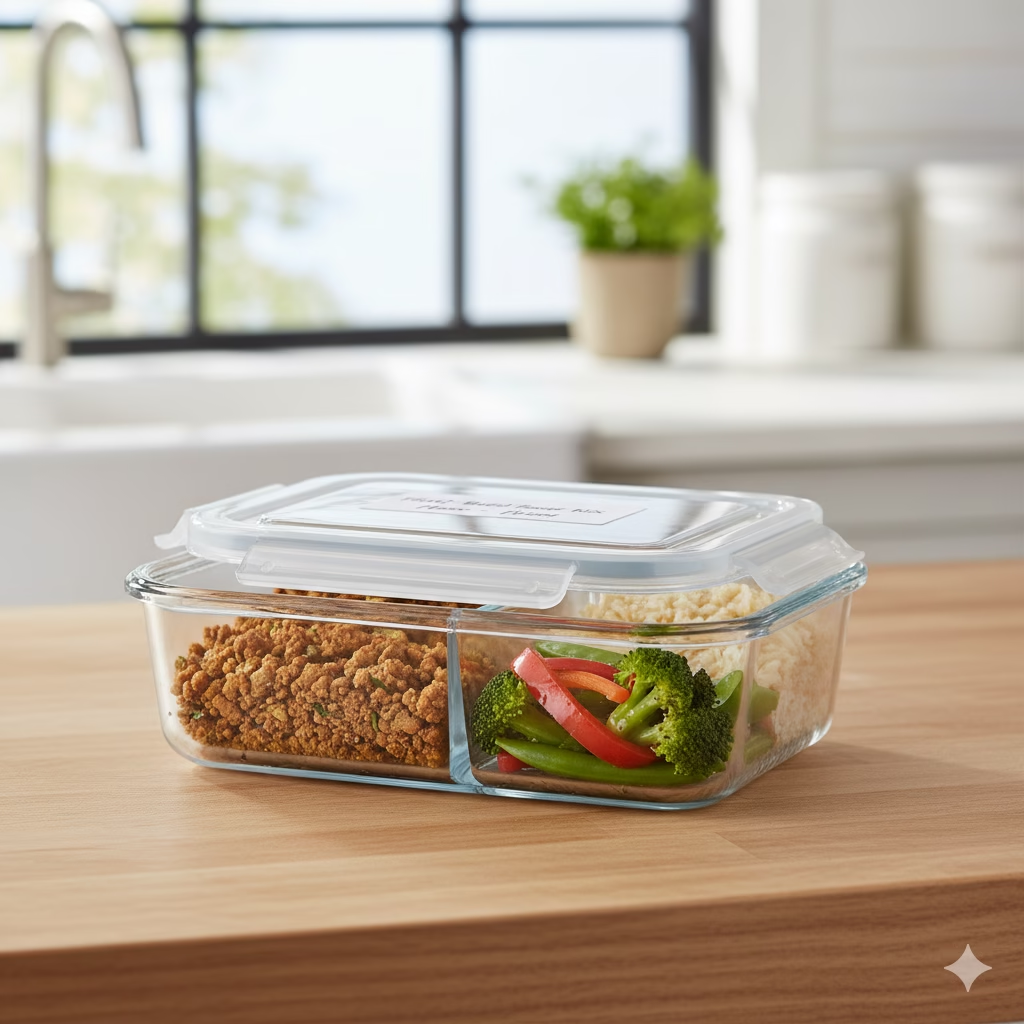
Mastering your mix also means knowing how to store it correctly and make it last.
- Dry Mix Storage: Your dry mix will stay fresh in an airtight container in a cool, dark pantry for up to two months. For even longer storage, you can keep it in the refrigerator or freezer for up to six months.
- Rehydrated Mix Storage: Any rehydrated, unused mix can be stored in an airtight container in the fridge for 3–4 days.
- Freezing: For ultimate convenience, you can prepare the recipes in advance and freeze them. Shape the patties or meatballs, place them on a tray lined with parchment paper, and freeze until solid. Then, transfer them to a freezer bag or container. They will last for up to two months.
Final Thoughts on Your Plant-Based Journey

This homemade plant-based mix is more than just a recipe; it’s a tool for transforming your cooking habits. It simplifies meal prep, saves you money, and gives you the peace of mind that comes with knowing exactly what you’re eating. The next time you’re looking for a quick and hearty meal, you won’t need to reach for an expensive, pre-packaged box. You’ll have your own versatile, healthy, and delicious mix ready to go.
So go ahead, try this recipe, and see for yourself how easy and rewarding it is. We’d love to see what you create! Share your photos and recipes in the comments below.
FAQ Section
Q: Can I use different grains instead of quick oats?
A: Yes! While quick oats are excellent for binding, you can experiment with other ingredients like breadcrumbs, cooked brown rice, or even ground-up sunflower seeds for a grain-free option.
Q: Is Textured Vegetable Protein (TVP) a processed food?
A: TVP is made by dehydrating soy flour, which is a form of processing. However, it’s generally considered a minimally processed food compared to many store-bought meat alternatives that contain long lists of additives. It’s a healthy, low-fat source of protein.
Q: What if I don’t have vegetable broth for rehydration?
A: You can simply use hot water. The mix already contains plenty of spices, so it will still be very flavorful. However, using broth adds an extra layer of savory depth to the final product.
Q: Can I make this mix gluten-free?
A: Yes. TVP is naturally gluten-free, but you must ensure you use certified gluten-free oats. Many oat brands are processed in facilities that also handle wheat, so check the packaging carefully.
Q: How can I adjust the mix for different flavor profiles?
A: The base recipe is neutral, allowing for endless customization. For a spicier mix, add more chili flakes or a pinch of cayenne. Try an Italian feel, add dried oregano, basil, and a little fennel seed. For a smoky BBQ flavor, increase the smoked paprika.
References
- NIH – Health benefits of dietary fibers vary
- The Nutrition Source – Protein
- AHA –Fish and Omega-3 Fatty Acids
Recent Posts
