Cookie Consent by Free Privacy Policy Generator Update cookies preferences

Simple Recipe to Make Apple Powder from Dehydrated Apples


Glass jar of homemade Apple Powder with dehydrated apple slices and fresh whole apples arranged on a wooden kitchen counter in natural daylight.

Making your own Apple Powder is a smart way to practice zero waste living in your home kitchen. By using a good dehydrator, you can turn fresh, seasonal apples into a long-lasting ingredient that keeps most of the fruit’s healthy perks. This guide offers a clear look at the drying and grinding steps needed to make a fine Apple Powder. Learning this skill gives you a steady supply of natural flavor for many different meals.

Introduction: The Versatility of Apple Powder

Drying out fruit is an idea as old as time, but the new way of doing it has led to the rise of fruit powders. Apple Powder is just a concentrated form of dried apples that have been ground into a fine dust. Unlike whole dried fruit, the powder form gives you a real leg up in the kitchen. It provides big flavor and good health perks without changing how wet or dry a recipe feels.

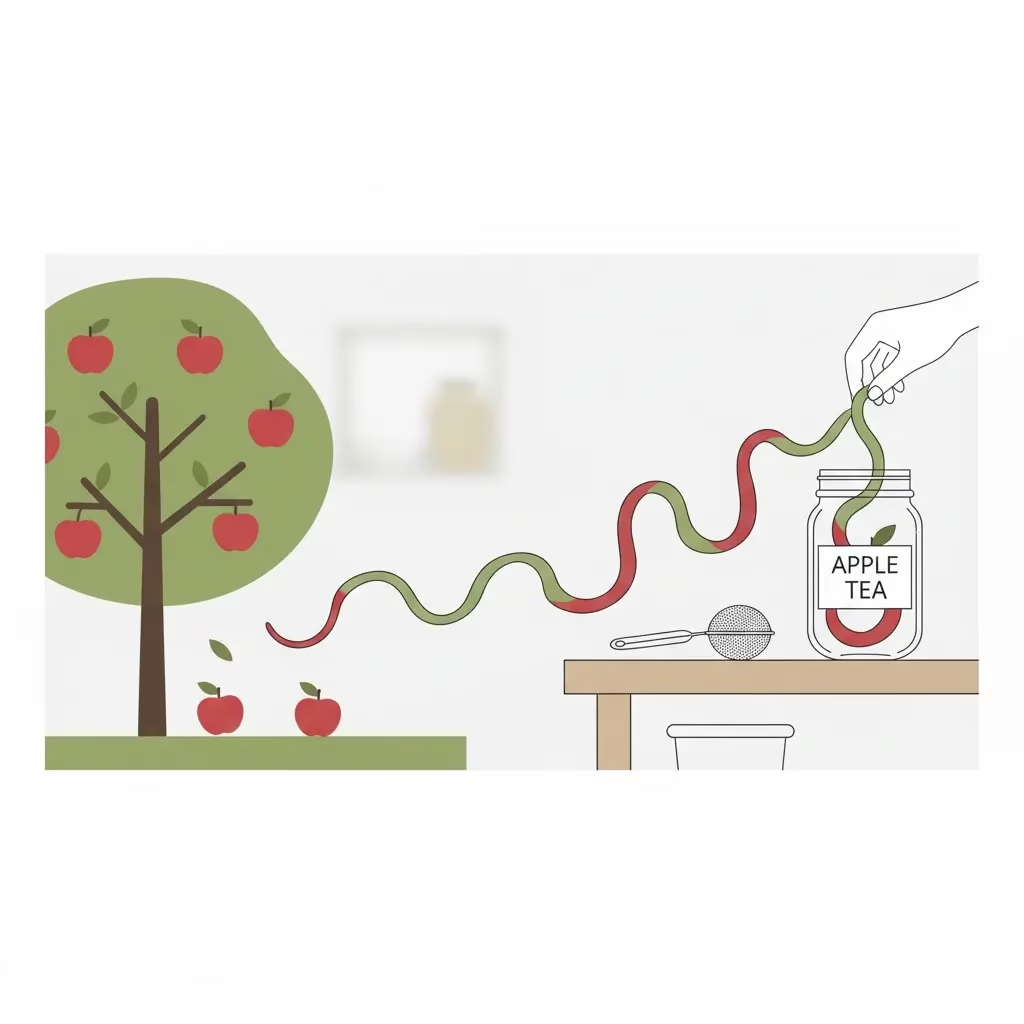
In a time when zero waste living is a top goal for many homes, finding ways to save food before it goes bad is key. Apples are very prone to getting bruises or losing their crunch as they sit. By turning them into a powder, you can make them last for years instead of weeks. This article looks at the steps and the perks of making your own DIY fruit supplements.

Selecting the Right Apples for Dehydration

Not all apples are the same when you want to make a high-quality powder. The final taste of your Apple Powder depends on the mix of sugar and acid in the raw fruit.

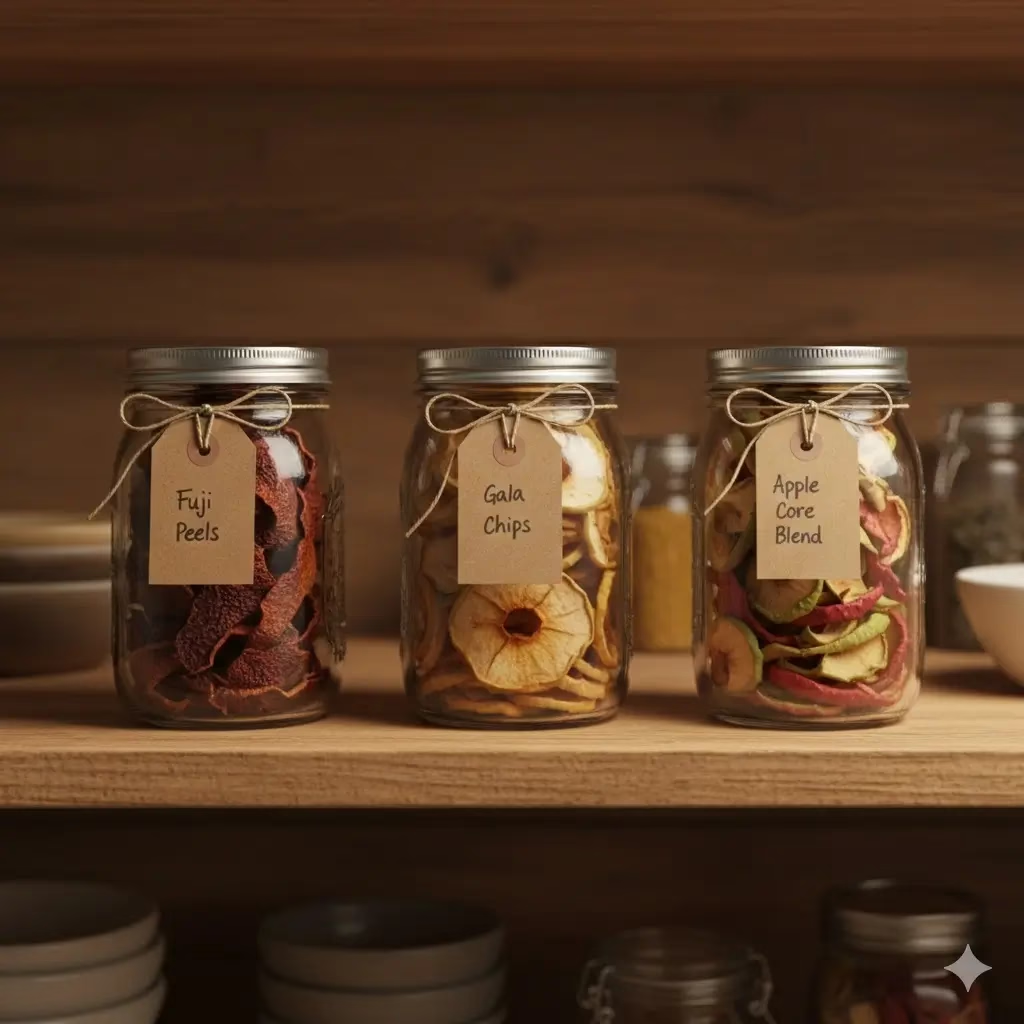
  • Sweet Types: Fuji and Gala apples make a mild, sugary powder. This works very well as a natural way to sweeten baby foods or yogurt.
  • Tart Types: Granny Smith or Pink Lady apples make a tangy, bright powder. It tastes like green apple candy and is great for snacks or adding “pop” to baked goods.
  • Scented Types: McIntosh or Honeycrisp give off a classic “apple pie” smell that is great for spice mixes.

When you are trying to be zero waste, do not worry about how the fruit looks. Small marks on the skin do not matter once the fruit is cut and ground. Just make sure the fruit has no mold or rot inside, as those bad tastes will get stronger during the drying process.

The Science of Using a Dehydrator

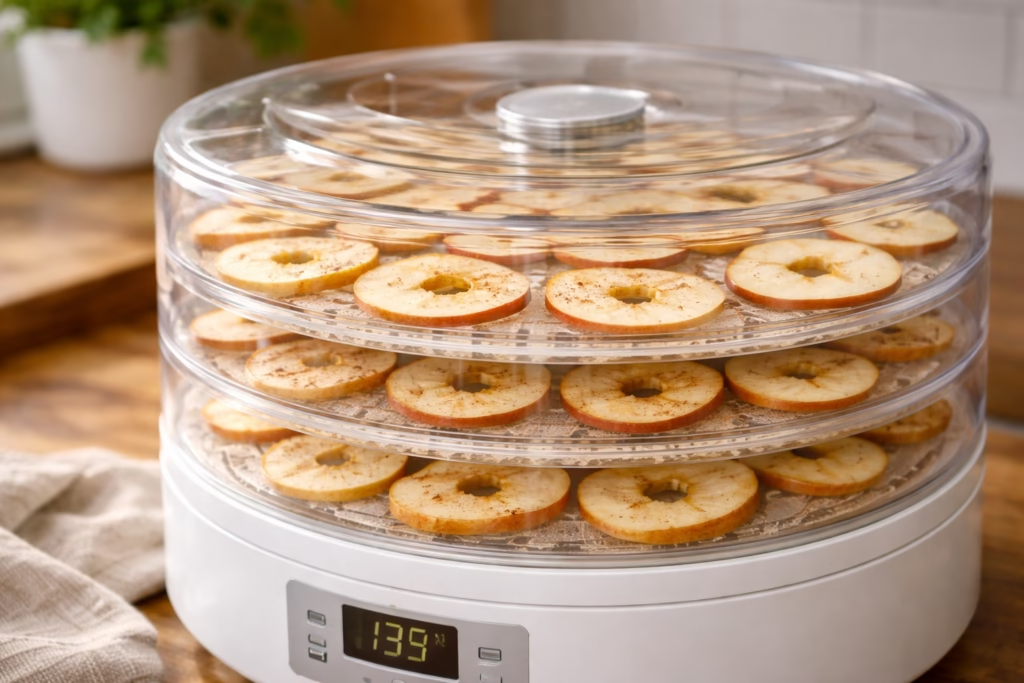
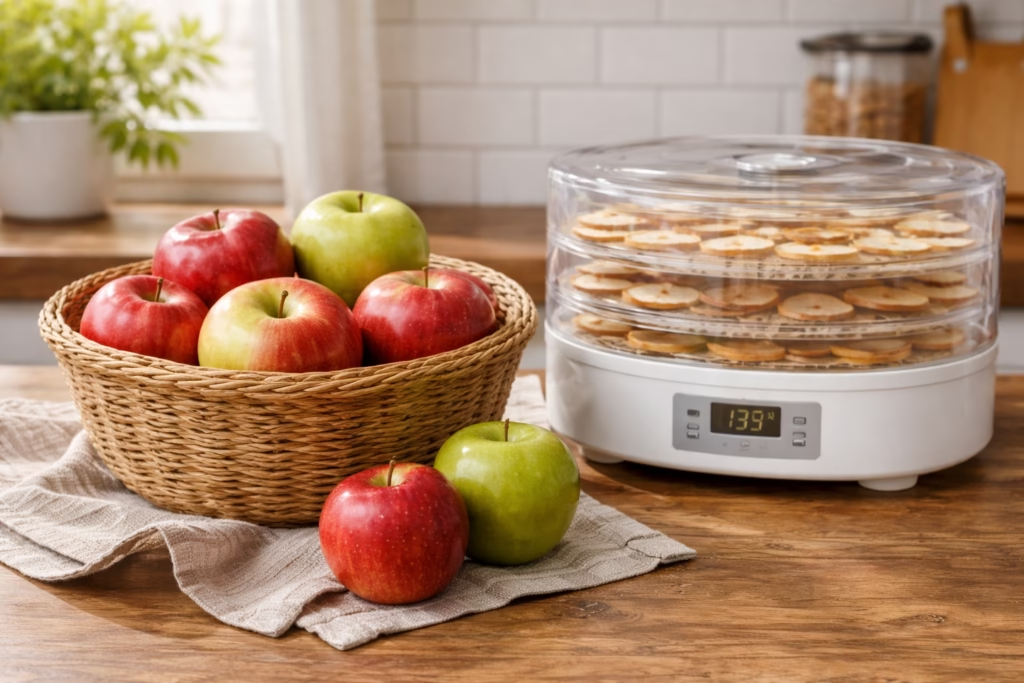
To get a powder that feels like dust, the fruit must be “bone dry.” This is why a dehydrator is the most vital tool for the job. A standard home oven often has “hot spots” and does not have enough air moving around. A real dehydrator uses a heater and a fan to move air evenly at low heat.

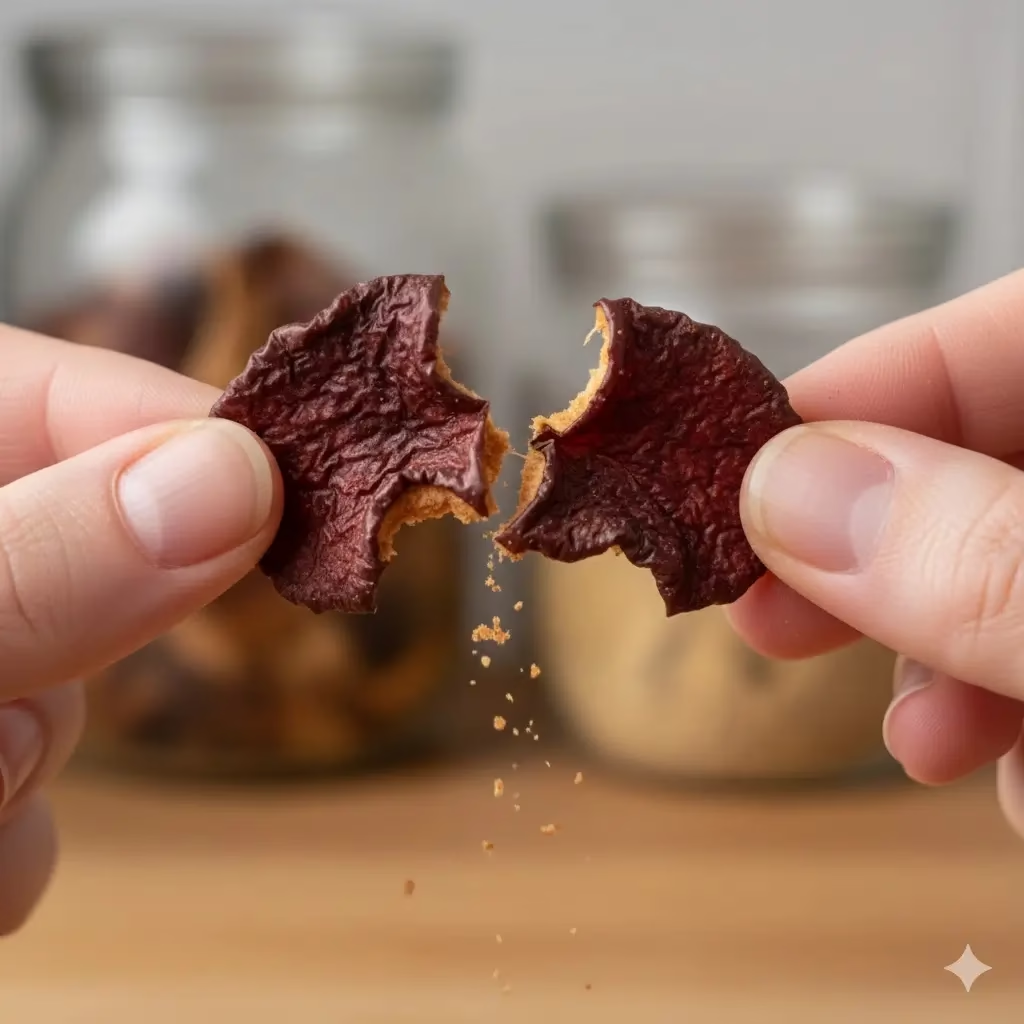
The goal is to bring the water level of the apples down below 5%. At this point, the fruit gets brittle enough to snap in half. If any water stays inside, the “powder” will turn into a sticky clump instead of a fine dust. Using a dehydrator lets you pick the exact heat, usually around 135°F (57°C). This saves the vitamins that would be lost in the high heat of an oven.

Preparation: Slicing and Pre-Treatment

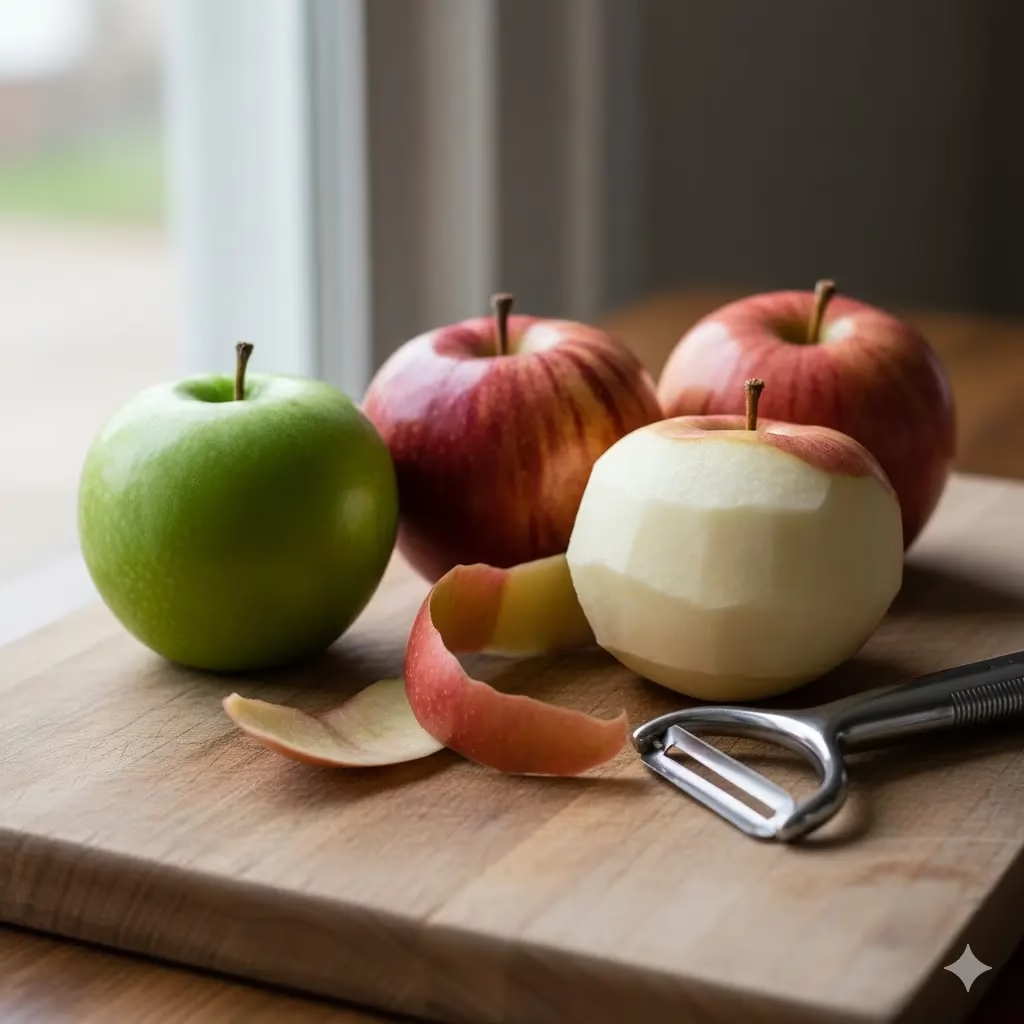
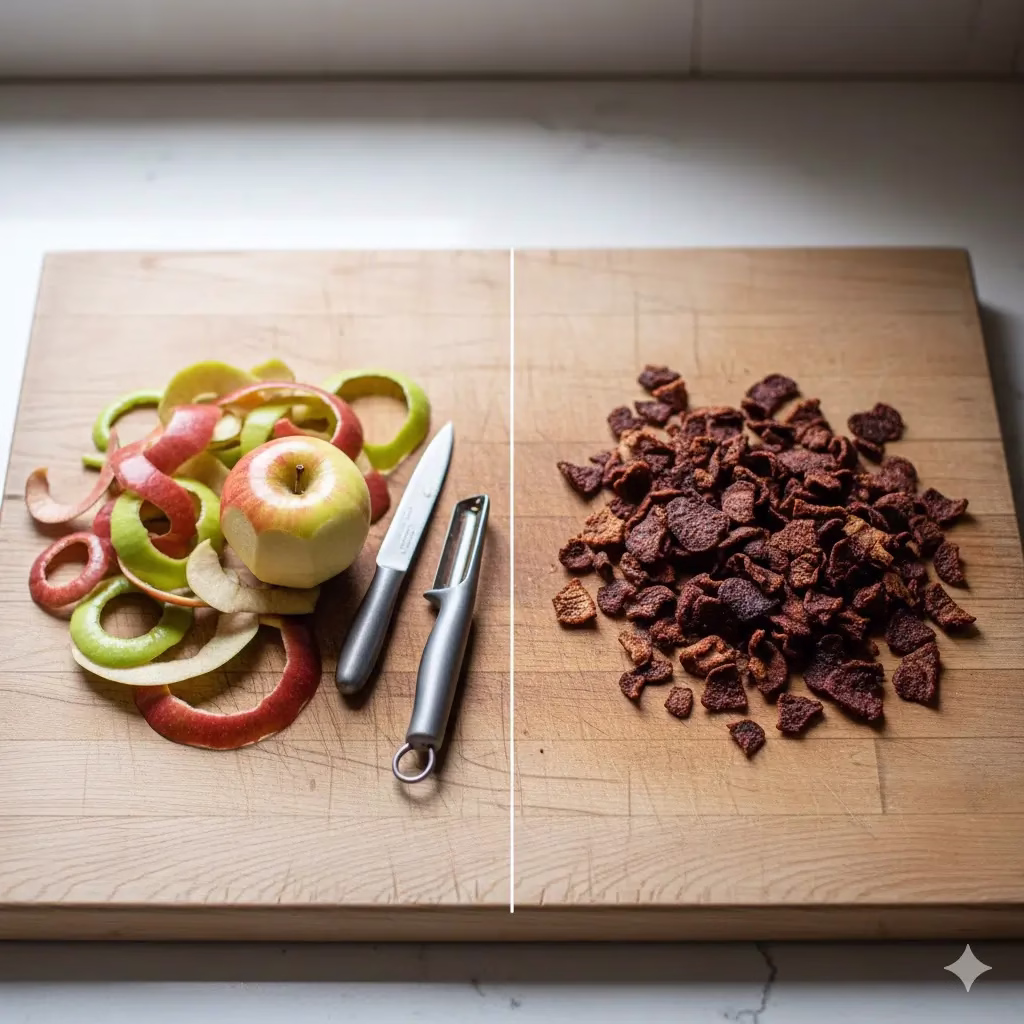
Prep work is the start of any good zero waste project. Start by washing the apples well to get rid of any wax or dirt. You can peel the fruit if you want, but keeping the skin on is better for Apple Powder. The skin holds a lot of fiber and good nutrients.

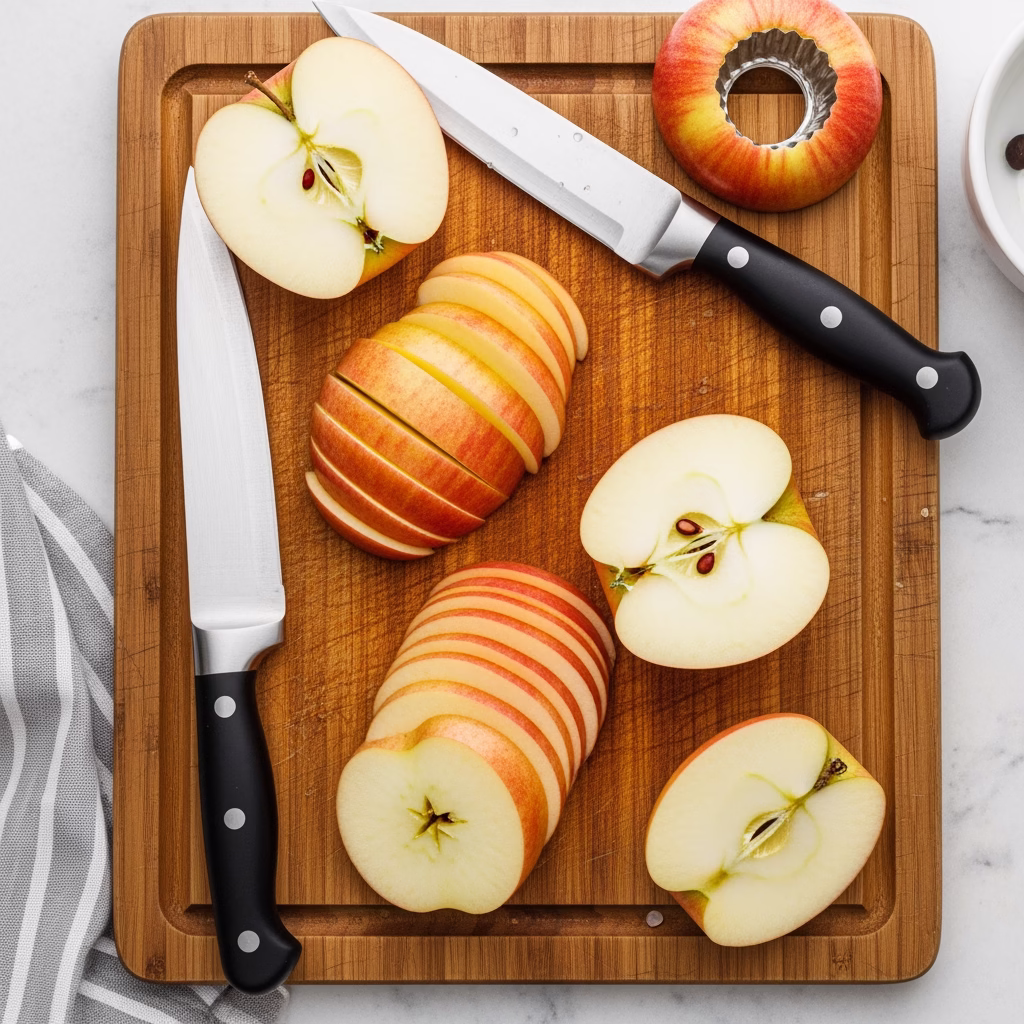
  • Even Slices: Use a slicer or a sharp knife to make pieces about 1/8-inch thick. If they are all the same size, they will all dry at the same speed.
  • Stop the Browning: To keep the apples from turning brown, soak the slices in a bowl of water with a little lemon juice for five minutes.
  • Using the Cores: In a true zero waste kitchen, you can even dry and grind the cores, as long as you take out the seeds first.

Step-by-Step Instructions: Drying the Apples

Once your slices are ready, follow these steps to make sure they get dry enough to grind.

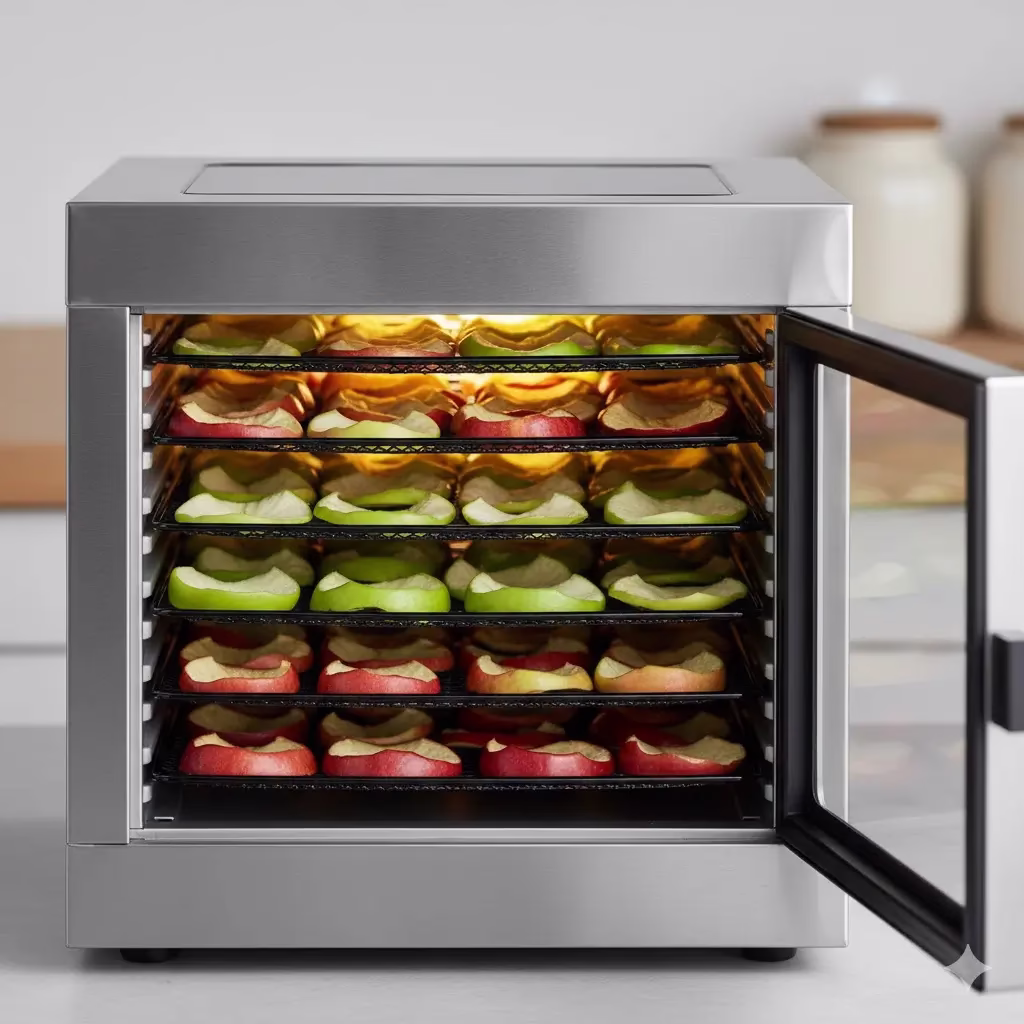
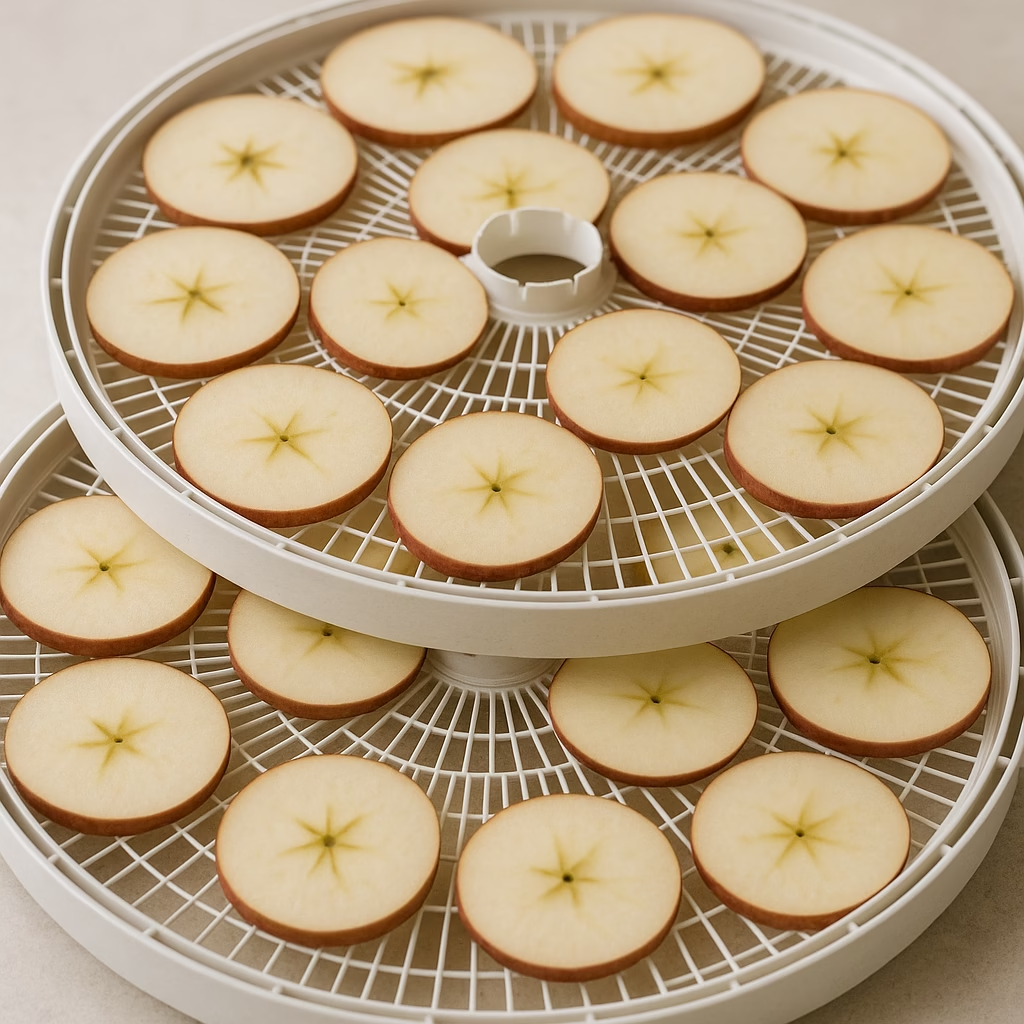
  • Step 1: Loading the Trays: Put the slices on the trays in one single layer. Do not let them overlap, as the air needs to move to dry them out.
  • Step 2: Setting the Heat: Set your machine to 135°F. If your house is very humid, you might need more time rather than more heat.
  • Step 3: How Long It Takes: Drying usually takes between 8 and 12 hours. Start checking the fruit at the 6-hour mark.
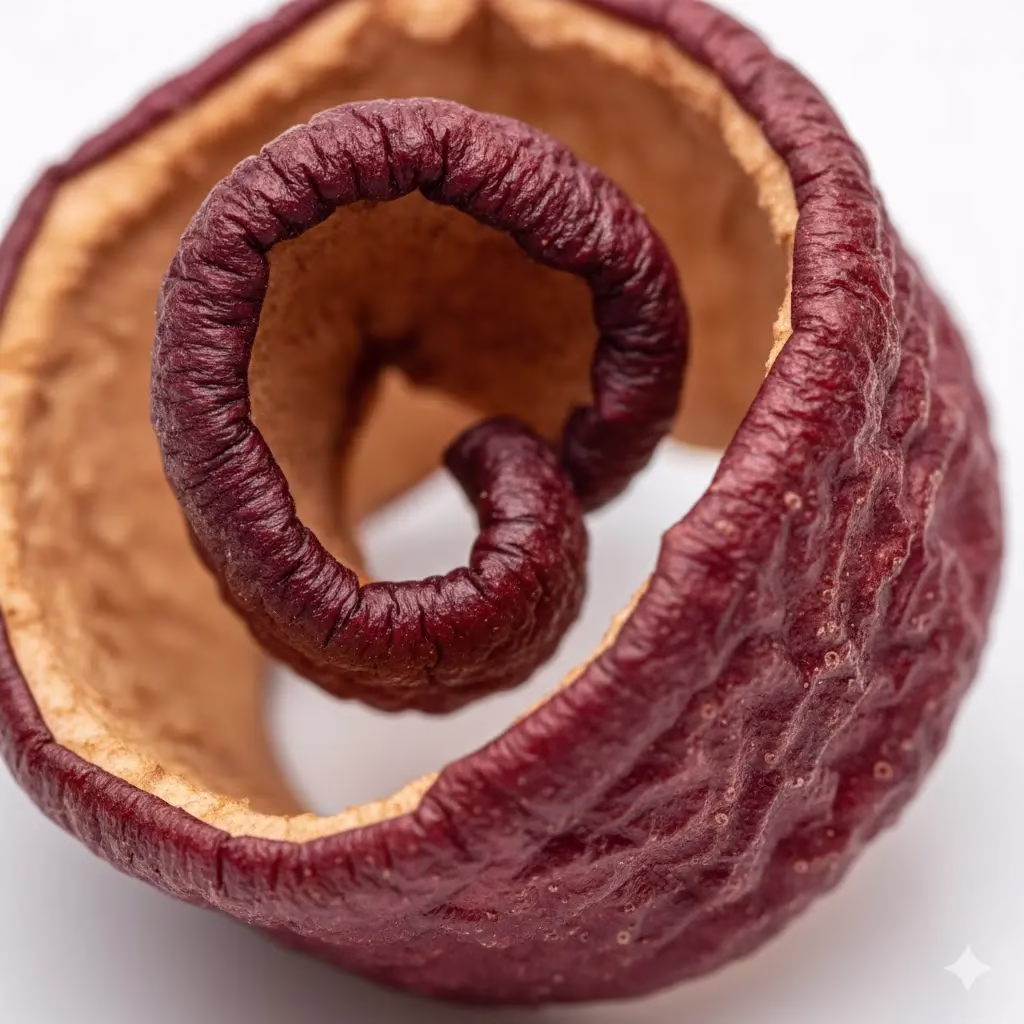
  • Step 4: The Snap Test: Take a slice out and let it cool for a minute. If it bends, it needs more time. If it snaps like a chip, it is done.

Transforming Slices into Apple Powder

When the dried apples are cool and brittle, it is time to grind them. The tool you use will change how the powder feels.

  • High-Speed Blender: This is the best tool for making a light, flour-like powder. It can handle big batches fast.
  • Spice Grinder: Great for small batches. This way often makes the finest, most even dust.
  • Food Processor: This will likely make a coarse “apple meal.” This is still good for adding texture to bread.

Pro Tip: Use short bursts of power so you do not heat up the powder. Too much heat can melt the natural sugars and cause clumps. After you grind it, put the powder through a sifter to catch any big pieces, then grind those bits again.

Storage Solutions for Longevity

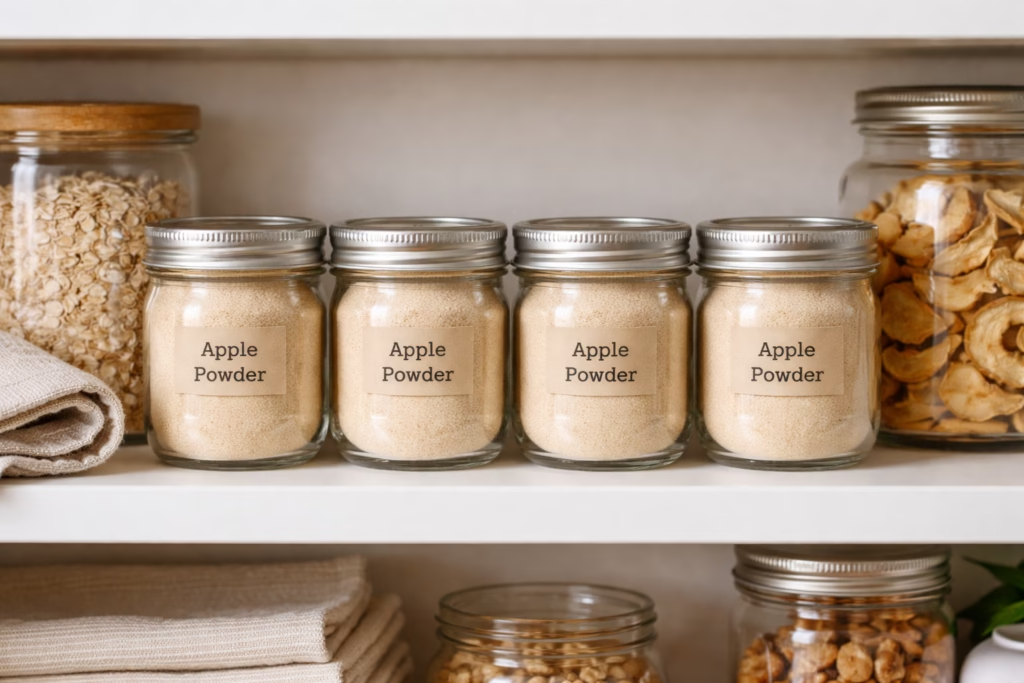
The main enemy of Apple Powder is wet air. Because the powder soaks up water very fast, you must store it the right way.

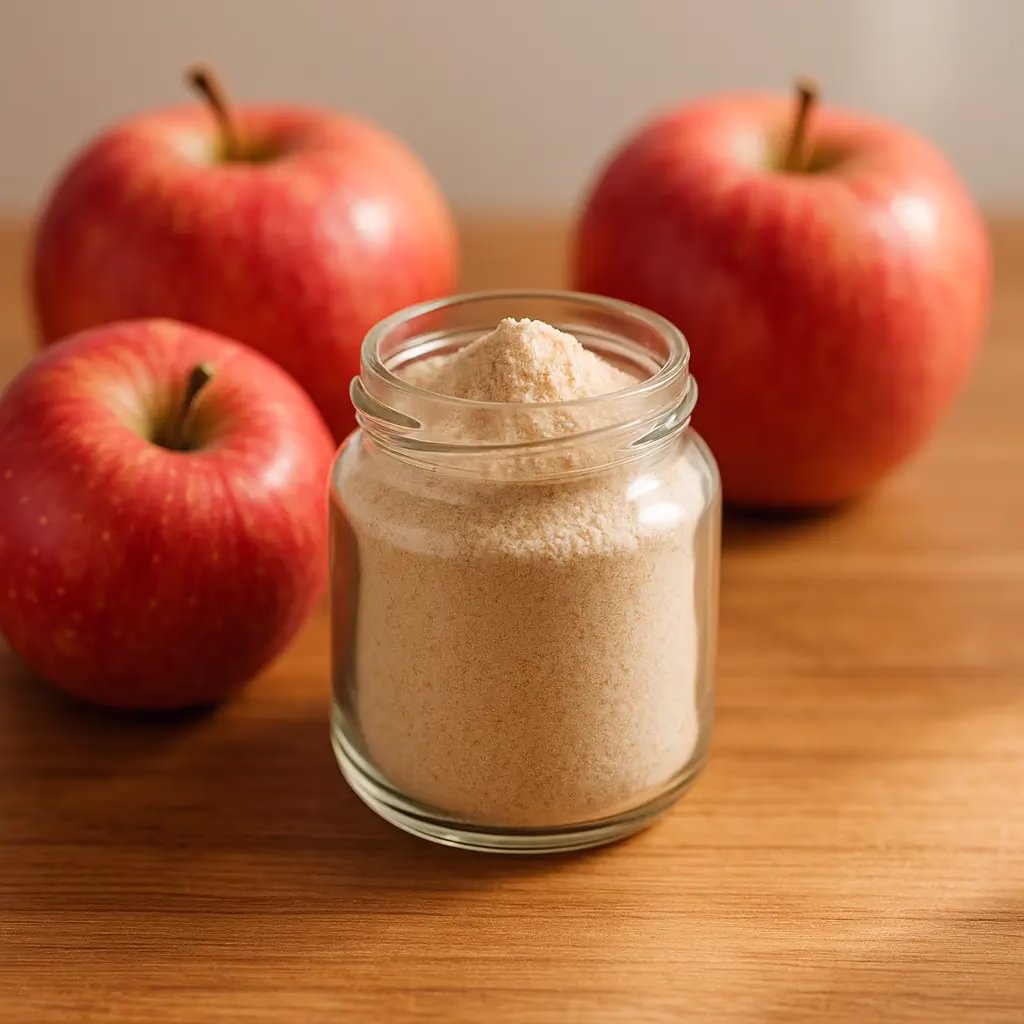
  • Tight Jars: Use glass jars with a lid that seals tight. Plastic jars can let in tiny amounts of air and may not keep the powder fresh for a long time.
  • Dry Packs: Putting a small food-safe silica pack in the jar can help soak up any extra dampness that gets in when you open the lid.
  • Checking the Mix: After the first day in the jar, give it a shake. If the powder sticks to the glass or forms clumps, it still has water in it. Put it back in the dryer for two more hours.

If you keep it in a cool, dark, and dry spot, your Apple Powder will stay tasty and healthy for 6 to 12 months.

Culinary Applications for Apple Powder

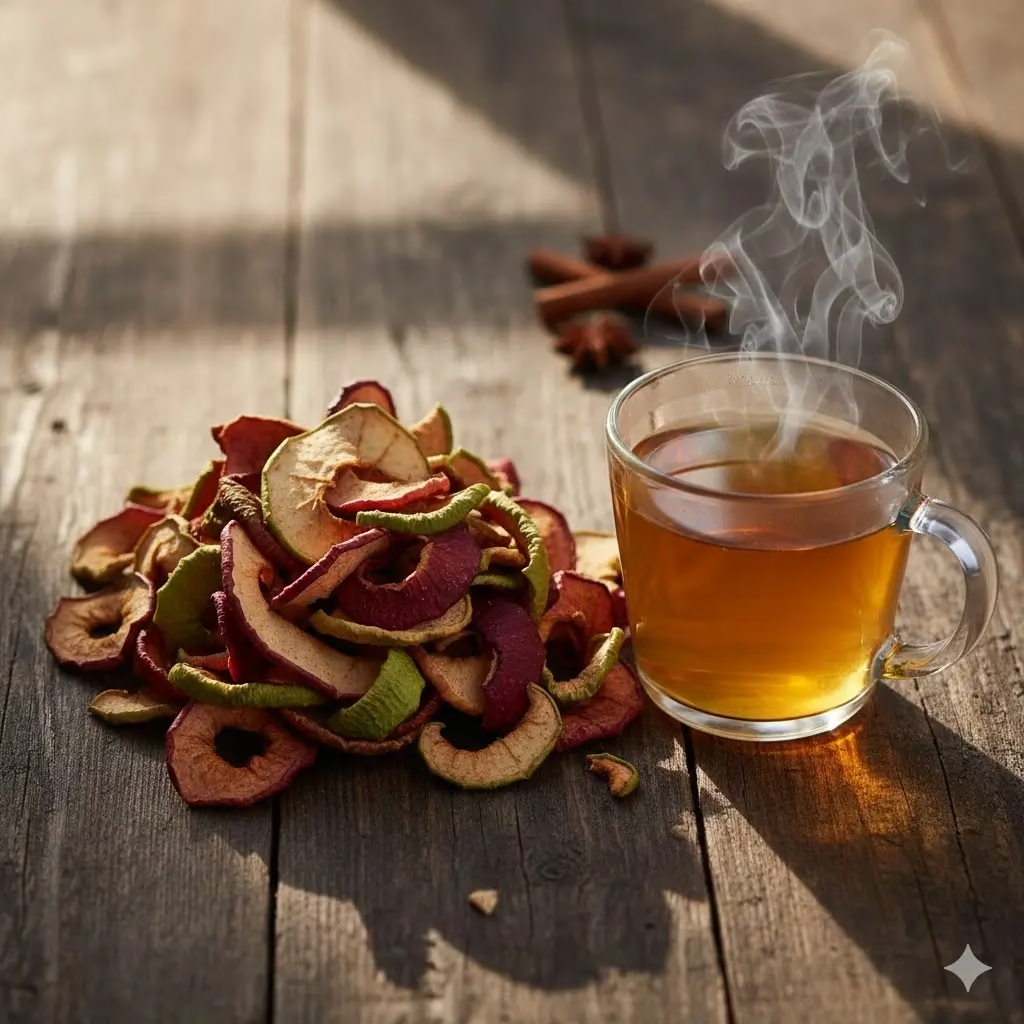
Having a jar of Apple Powder in your pantry is like having the taste of fall on hand. Since it is a zero waste product made from the whole fruit, it has a lot of flavor.

  • Baking: Swap out 10% of the flour in cake or muffin mixes for Apple Powder to get a fruit taste and extra fiber.
  • Smoothies: Add a big spoon to green drinks to hide the taste of kale without adding the bulk of a whole apple.
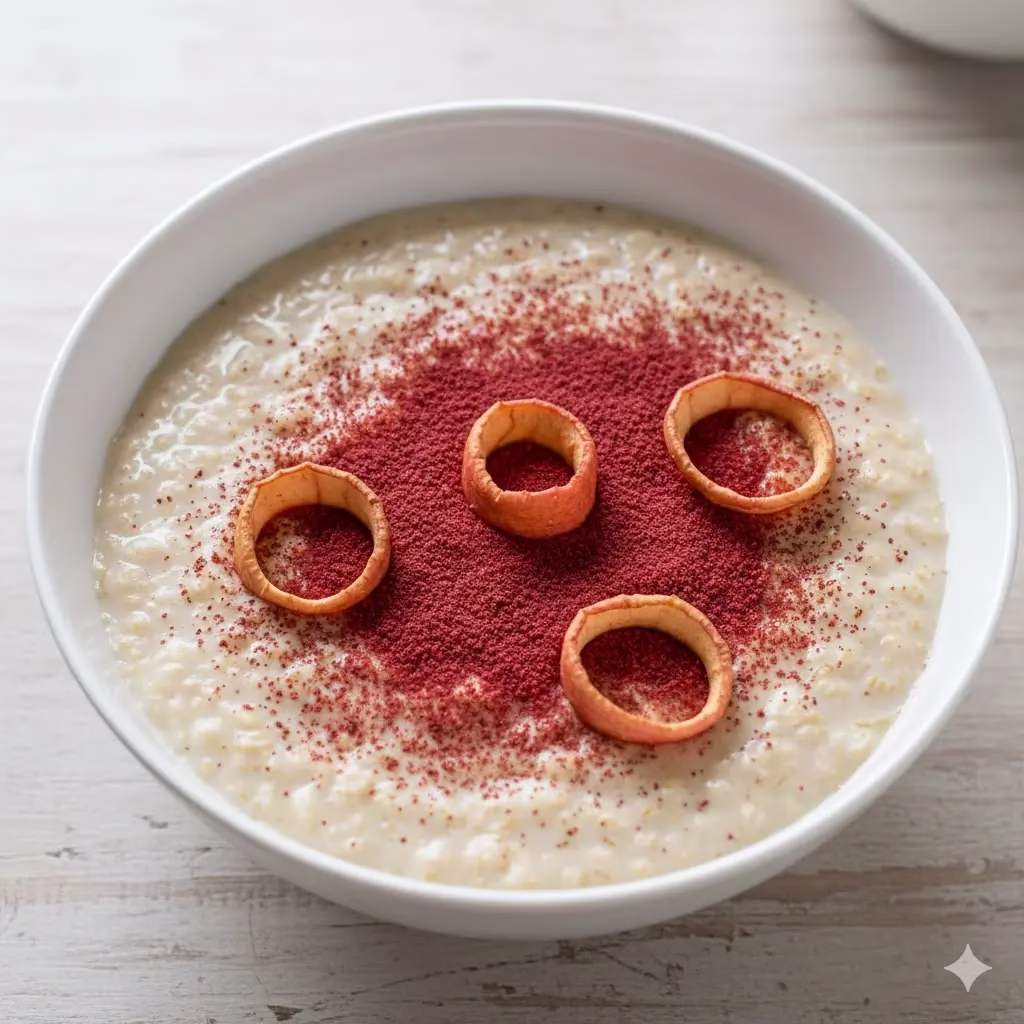
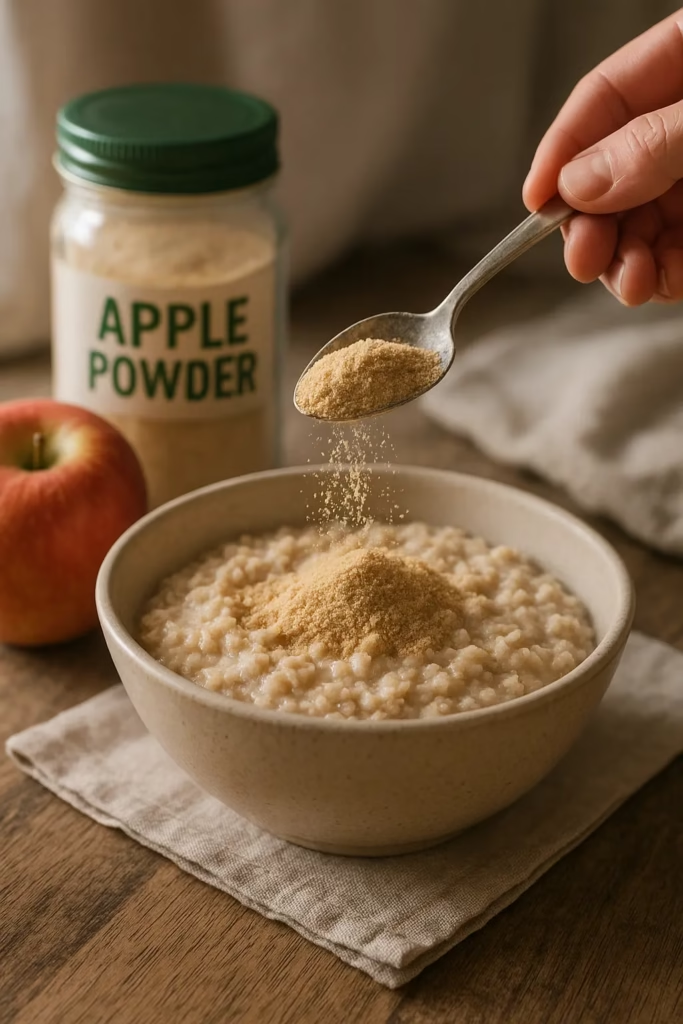
  • Natural Sweetener: Sprinkle it over plain yogurt or oatmeal. It gives you sweetness without the big sugar spike of white sugar.
  • Spice Rubs: Mix it with cinnamon and a bit of salt to make a dry rub for meat or roasted veggies.

The Zero Waste Impact

The good you do for the Earth by making your own fruit powder is big. Studies show that apples are one of the most wasted foods in the world. By using a dryer to fix “ugly” fruit or extra crops, you help stop gas buildup in landfills. Also, making it yourself means you do not need to buy store products that come in plastic.

This process is not just about cooking; it is about a way of life. Every core you use and every bruised apple you save helps create a better food system.

Conclusion

Making Apple Powder from dried apples is a fun project that links old ways of saving food with new ways of cooking. By learning how to remove water and how to use your dryer, you can make a healthy ingredient for many dishes. Whether you want to save cash, help the Earth through zero waste, or just try new tastes, this simple recipe is a great addition to your kitchen.


References


Recent Posts


The Ultimate Zero-Waste Recipe: Apple Peel and Core Chips for Tea

A vibrant selection of fresh whole red and green apples alongside a glass bowl overflowing with crispy, dried apple peel curls, showcasing a Zero-Waste Recipe for transforming kitchen scraps into a healthy snack.

Saving our planet starts with how we use everyday food scraps. This guide shares the Ultimate Zero-Waste Recipe to change fruit waste into a great pantry item. By using a dehydrator and simple steps, anyone can enjoy a zero waste life while making tasty, natural drinks. This article looks at the easy steps and the good impact of using apple scraps for home tea.


Introduction: New Life for Kitchen Scraps

The idea of a zero waste kitchen is not as hard as people think. It often starts with small, smart shifts in how we handle our food. Apple peels and cores are items we usually toss in the bin. However, these scraps have many good things for your body. They hold the scent and the flavor of the fruit. By making these remnants into dried chips, you are doing more than just cutting down on waste. You are keeping the best part of the harvest for yourself.

This long guide shows you how to move from waste to wellness. We will look at why the skin of the apple is so good for you. We will also see how the core can add a deep, woody taste to your drink when you dry it the right way. Our goal is to give you a full look at the Ultimate Zero-Waste Recipe. This recipe helps you be kind to the earth while you enjoy a warm, sweet cup of tea.


The Big Impact of Food Waste

Food waste is a major problem for our world today. Millions of tons of good food go to landfills every single year. When food sits in a landfill, it cannot break down the right way. This causes gases that are bad for the air. By choosing a zero waste way to prep your fruit, you help the earth stay healthy.

Apple peels are very strong and tough. Unlike some fruits with thin skin, the apple skin is made to protect the fruit. This makes it perfect for a dehydrator. When we save these parts, we show respect for the water and the work used to grow the fruit. It is a simple way to make a big difference from your own kitchen.


Health Benefits of Apple Peel Tea

Most people know that apples are good for the body. But did you know the peel is the best part? The peel has much more Vitamin K than the inside of the fruit. It also has natural things that help your brain and help you breathe well. When you steep these dried peels in hot water, these good things go right into your tea.

The core and the peel also have pectin. This is a natural fiber that is good for your gut. While you do not eat the fiber like you do when eating a fresh apple, the tea still gets the body and the sweetness of these parts. This zero waste recipe makes sure you get every bit of health from the fruit. You won’t find this kind of fresh taste in a store-bought tea bag.


The Right Tools: Using a Dehydrator

You can dry fruit in an oven, but a dehydrator is much better for this Ultimate Zero-Waste Recipe. A dehydrator moves air around in a steady way. It also keeps the heat at the same level. This is very important if you want to keep the bright colors and the good nutrients in the apple skins.

If you use an oven, it is often too hot. Even on a low setting, an oven can cook the outside of the peel while the inside stays wet. This can cause mold to grow later when you store the chips. A dehydrator lets the water leave the fruit slowly. If you set it to 57°C (135°F), you will get a dry chip that stays fresh for a very long time in a jar.


The Ultimate Zero-Waste Recipe: How to Prep

To get the best tea, how you prep your scraps is very important. Follow these easy steps to make sure your tea chips are clean and taste great.

Step 1: Pick and Wash

Try to use organic apples if you can. Since you are using the skin, you want it to be as clean as possible. Wash the apples well in a bowl of water with a little vinegar. This helps get rid of any wax on the skin. This way, the hot water can get to the flavor of the peel when you brew your tea.

Step 2: Peel and Core

Use a peeler to take off the skin in long strips. For the cores, cut away any brown spots. Some people worry about apple seeds, but using a few for tea is usually fine. If you want to be extra safe, you can just pop the seeds out with your thumb before you dry the cores.

Step 3: Keeping the Color

If you want the peels to stay red or bright, you can spray them with a little lemon juice. But since this is a zero waste plan, many people just let them turn brown. This browning actually gives the tea a nice taste like a baked apple pie. It makes the tea feel warm and rich.


Simple Steps for Drying

The change from a scrap to a tea chip happens in the dehydrator. This part takes time, but you do not have to do much work.

  1. Spread Them Out: Put the peels and core slices on the trays. Do not let them touch or overlap. They need air to move all around them to dry fast.
  2. Set the Heat: Turn your dehydrator to 57°C (135°F). This is the best heat to keep the fruit safe but keep the flavor strong.
  3. Wait: It will take about 6 to 10 hours. This depends on how much water is in the air that day.
  4. The Snap Test: Your chips are ready when they are very dry. Try to bend one. If it bends, it is not done. If it snaps like a cracker, it is ready.
  5. Cool Down: Let the chips sit out for an hour before you put them in a jar. This stops steam from forming inside the jar.

How to Store Your Chips

Proper storage is the last part of the zero waste cycle. Any water left in the chips will make them go bad. Put your chips in a glass jar with a tight lid. Keep the jar in a dark spot like a cupboard. Light can make the color and the taste go away over time.

If you keep them dry and dark, these chips will stay good for a year. Because they are so small and dry, they do not take up much room. This is a great way to save the taste of fall for the cold days of winter. Put a label on your jar with the date. Different apples have different tastes, so you might want to write the name of the apple on the jar too.


How to Brew Your Tea

Now that your chips are ready, making a cup of tea is very easy. You can use them by themselves or mix them with other things.

  • Simple Apple Tea: Put a small handful of peels and one core chip in a cup. Add boiling water. Let it sit for 7 to 10 minutes. The longer it sits, the sweeter it will be.
  • A Tasty Blend: Add a cinnamon stick or a bit of ginger to the cup. This makes a great “Spiced Apple” drink. It also tastes very good if you mix it with green or black tea.
  • Adding Sweetness: The cores have natural sugar, so you may not need to add anything. If you want it sweeter, a little bit of honey is a perfect match for the apple flavor.

Other Ways to Use Your Apple Chips

This recipe is for tea, but these chips can do many things. This is the best part of a zero waste life. One item can be used in many ways.

  1. Make Your House Smell Great: If the chips get too old to drink, put them in a pot of water on the stove. Add a little cinnamon and let it simmer. Your whole house will smell like fresh apples.
  2. Pretty Drinks: Use the curly dried peels to decorate a cold glass of juice or a cocktail. It looks very fancy.
  3. Apple Powder: You can blend the very dry peels into a powder. Add this powder to your morning oats or yogurt. It adds flavor and health in a very fast way.

Conclusion: A Small Step for the Earth

The Ultimate Zero-Waste Recipe for apple peels and cores is a great way to show love for our food. By using a dehydrator, we can save things that others throw away. This helps us create something that is good for us and good for the planet.

The next time you peel an apple, stop before you throw the skin away. That skin is the start of a wonderful cup of tea. Being zero waste does not have to be hard. It just takes a little bit of time and a simple plan to use what we have.


References


Recent Posts


I Made Dinner in a Mug in Under 5 Minutes

Three steaming single-serving meals on a wooden table, demonstrating quick Dinner in a Mug concepts. The mugs show (left to right): a blue mug with red sauce pasta and mozzarella, a clear mug layered with scrambled eggs and peppers, and a white mug with sesame chicken, rice, and broccoli stir-fry.

This article explores the magical world of Dinner in a Mug. It proves that delicious, hot meals don’t require endless cooking or piles of dishes. For anyone who’s ever faced a hungry evening with zero motivation, or a tight schedule, this culinary journey offers a refreshing solution. From savory sensations to surprisingly satisfying full meals, discover how your humble mug can become your go-to kitchen tool for quick, effortless, and utterly satisfying Dinner in a Mug. Get ready to transform your weeknights!


Introduction: The Magic of Dinner in a Mug

Let’s be honest: we’ve all been there. It’s 7 PM. Your stomach is rumbling louder than a truck. The idea of cooking a big meal seems exhausting—like climbing a mountain in sandals. You feel tired from work, school, or just life. Ordering takeout seems like the only option. But imagine this: what if you could make a hot, delicious, and satisfying dinner in a mug in under five minutes? It sounds impossible, right? Prepare to be amazed.

The idea of “dinner in a mug” is more than just a viral trend. It is a true game-changer for busy people. It’s perfect for college students, solo diners, or anyone who wants less mess and more flavor. Forget lengthy prep work, constant chopping, and a mountain of dirty dishes. With just a few simple things and the power of your microwave, you can make surprisingly tasty meals that are ready quickly.

This is not just about saving time. It’s about taking back your evenings. And about saving money on delivery. It’s about enjoying a homemade meal without all the usual effort.

In this complete guide, we will dive deep into microwave mug meals. We’ll look at why they are so popular. We will share important tips for success. Most importantly, we will give you amazing recipes. These recipes prove you truly can make a delicious dinner in a mug in under five minutes. Get ready to change how you eat on weeknights forever!


Why “Dinner in a Mug” is Your New Best Friend

The appeal of dinner in a mug goes far beyond just being fast. It’s a cooking philosophy made for modern life. It offers many benefits that traditional cooking often can’t match.

Amazing Speed and Ease

This is the most clear, and maybe the best, reason. Every minute counts in our busy lives. Having a hot meal ready in literal minutes is a superpower. You don’t need to heat an oven. You don’t wait for water to boil. There is no long time spent stirring food in a pan. Just a few stirs and a quick zap, and dinner is ready. This method is perfect for:

  • Lunch breaks at home: Get the most out of your relaxation time.
  • Late-night cravings: Avoid the drive-thru.
  • Post-gym refueling: Get your protein in quickly.
  • Sudden hunger: Always be ready to eat.

Perfect for Portion Control

Managing how much you eat is tough, especially if you cook for one person. It’s easy to cook too much and then eat too much. Mug meals are naturally single-serving. This makes controlling your portions simple. This is great for people watching their food intake or those who want to avoid food waste.

Minimal Cleanup

The second most attractive thing after speed is the easy cleanup. You cook and eat in the same container. A quick rinse, maybe a tiny scrub, and you are done. Think about that compared to a full meal that uses pots, pans, cutting boards, and many forks and spoons. It’s a dream come true!

Versatility and Customization

Don’t think that because they are simple, mug meals lack variety. They are incredibly versatile. You can make everything from pasta and eggs to rice dishes and veggie stir-fries. The possibilities are huge. You can easily change recipes to fit your diet, use whatever ingredients you have, or match whatever you feel like eating. Gluten-free, vegetarian, low-carb—many mug recipes can be changed easily.

Budget-Friendly

Eating out or ordering food often can empty your wallet fast. Mug meals use common things you likely already have in your pantry and refrigerator. You only need to buy ingredients in small amounts. This makes them a very cheap option. This also helps cut down on wasted food, because you only make what you will actually eat.

Great for Beginners

If you feel scared of cooking, mug meals are a great place to start. They offer low risk and high reward. The steps are usually simple. You need little equipment. Success is almost guaranteed. It builds confidence and encourages you to try new things in the kitchen.


Essential Tips for Microwave Mug Meal Success

Making dinner in a mug is very simple. However, a few tips and tricks can make your meals go from good to absolutely amazing.

Choose the Right Mug

Not all mugs are the same. Pick a ceramic or glass mug that is microwave-safe. Make sure it holds at least 12 to 16 ounces. This prevents food from spilling over, especially for recipes that rise, like those with baking powder or eggs. A wide opening also makes it easier to stir.

Understand Your Microwave

Microwaves are very different in power and strength. A recipe that cooks in 2 minutes in a strong 1100-watt microwave might need 3 to 4 minutes in a weaker 700-watt model. Always start with the shorter cooking time suggested. Then, add 15 or 30 seconds at a time until your meal is cooked how you like it. Cooking for too long can make food rubbery, especially eggs or pasta.

Stir, Stir, Stir!

Getting heat to spread evenly in a microwave can be tricky. For the best results, especially with thick food or many ingredients, stir the contents of your mug halfway through cooking. This helps ensure that everything cooks well. It also stops some parts from becoming too hot or some parts remaining uncooked.

Don’t Overfill

Always leave plenty of space at the top of your mug, at least one inch from the rim. This is very important for recipes that will grow (like scrambled eggs or pasta) or recipes that bubble up. Food or liquid that overflows will make a huge mess in your microwave. It will also leave you with an undercooked meal.

Use Fresh, Quality Ingredients

The cooking method is simple, but the quality of your ingredients is still important. Fresh vegetables, good quality sauces, and well-seasoned meats will make your dinner in a mug taste much better.

Season Liberally

Microwave cooking can sometimes make flavors taste weaker. Do not be afraid to use plenty of seasoning! Add herbs, spices, salt, and pepper until it tastes right. A little hot sauce, a squeeze of lemon, or a sprinkle of fresh herbs after cooking can also make flavors much brighter.


Incredible Dinner in a Mug Recipes (All Under 5 Minutes!)

Time for the best part! Here are some excellent recipes. They will have you eating a delicious dinner in a mug in less time than it takes to pick a movie.

1. Quick & Cheesy Pizza Mug

  • Ingredients:
    • 4 tbsp all-purpose flour
    • 1/4 tsp baking powder
    • 1/8 tsp baking soda
    • 1/4 tsp salt
    • 3 tbsp milk
    • 1 tbsp olive oil
    • 1 tbsp marinara sauce (or more, to taste)
    • 2 tbsp shredded mozzarella cheese
    • Mini pepperoni, chopped bell peppers, mushrooms (optional toppings)
    • Pinch of dried oregano or Italian seasoning
  • Instructions:
    1. In a large microwave-safe mug, whisk the flour, baking powder, baking soda, and salt together.
    2. Stir in the milk and olive oil until they are just mixed. A smooth dough should form.
    3. Spread the marinara sauce evenly over the dough.
    4. Top with mozzarella cheese and whatever toppings you want (pepperoni, veggies, etc.).
    5. Sprinkle on the oregano or Italian seasoning.
    6. Microwave on high for 60 to 90 seconds. The cheese should be melted and bubbly. The dough should be cooked through. Let it cool a little before you eat it.

2. Cheesy Scrambled Eggs & Veggies Mug

  • Ingredients:
    • 2 large eggs
    • 1 tbsp milk or cream
    • Salt and pepper to taste
    • 2 tbsp shredded cheddar cheese
    • 1 tbsp chopped bell pepper
    • A tbsp chopped onion (or green onion)
    • 1 tbsp chopped spinach
    • Optional: a pinch of red pepper flakes, salsa, hot sauce for serving
  • Instructions:
    1. In a microwave-safe mug, whisk the eggs, milk, salt, and pepper until they are well mixed.
    2. Stir in the cheese, bell pepper, onion, and spinach.
    3. Microwave on high for 45 seconds. Take it out and stir everything well.
    4. Microwave for another 30 to 60 seconds. Keep microwaving until the eggs are firm but still moist. The exact time depends on your microwave and how firm you like your eggs.
    5. Be very careful when you take it out (it will be hot!). Serve right away with salsa or hot sauce if you like.

3. Microwave Mac & Cheese

  • Ingredients:
    • 1/3 cup dry elbow macaroni (or a small pasta shape)
    • 1/2 cup water
    • 1/4 cup milk (whole milk makes it creamiest)
    • 1/4 cup shredded cheddar cheese
    • Pinch of salt and pepper
  • Instructions:
    1. In a large microwave-safe mug, mix the dry pasta and water. Make sure the water completely covers the pasta.
    2. Microwave on high for 2 minutes. Stir the mixture. Then, microwave it again for 1-minute intervals. Stir after each minute. Do this until the pasta is cooked and most of the water is gone (it should take about 4 to 5 minutes total).
    3. Carefully pour out any liquid that is left over.
    4. Stir in the milk, cheese, salt, and pepper. Stir until the cheese is totally melted and the mixture is very creamy.
    5. Microwave for one last 30 seconds to heat everything up. Stir again and enjoy it right away.

4. Sesame Ginger Chicken Mug

  • Ingredients:
    • 1/2 cup cooked rice (use leftovers or instant rice)
    • 1/4 cup pre-cooked chicken, diced (rotisserie chicken is best)
    • 1/4 cup frozen broccoli florets
    • 2 tbsp soy sauce (or tamari for gluten-free)
    • 1 tsp sesame oil
    • 1 tsp rice vinegar
    • 1/2 tsp ground ginger or a small bit of fresh minced ginger
    • Pinch of brown sugar or honey
    • Sesame seeds for garnish
  • Instructions:
    1. In a microwave-safe mug, put the frozen broccoli florets and 1 tablespoon of water. Cover the top loosely with a paper towel. Microwave for 45 seconds. This slightly steams the broccoli. Drain any water that is left over.
    2. Add the cooked rice and diced chicken to the mug.
    3. In a separate small bowl, whisk together the soy sauce, sesame oil, rice vinegar, ginger, and brown sugar. This makes your sauce.
    4. Pour the sauce over the ingredients in the mug. Stir everything until it is fully coated.
    5. Microwave on high for 60 to 90 seconds. Keep microwaving until the chicken and rice are very hot.
    6. Sprinkle with sesame seeds before you serve it.

Pro-Tip: How to Make This Mug Meal Truly Healthy

Since your blog focuses on healthy eating, we want to ensure this quick recipe aligns with your best dietary goals. While this mug meal is fast and balanced, a few simple swaps can maximize its nutritional value and make it genuinely healthy.

1. Go Whole Grain for Better Fiber

Instead of using standard white rice, switch to pre-cooked brown rice or quinoa. These complex carbohydrates provide significantly more fiber, which aids digestion, stabilizes blood sugar, and keeps you feeling satisfied for longer.

2. Slash the Sodium

The biggest nutritional caveat in Asian-inspired dishes is often the sodium content of soy sauce.

  • The Swap: Always use low-sodium soy sauce (or tamari, if you are avoiding gluten). You can also cut the amount of sauce by half and replace the missing liquid with plain water or low-sodium chicken broth.

3. Boost the Greens

A quarter cup of broccoli is a good start, but let’s make it better!

  • The Boost: Use 1/3 cup of frozen broccoli florets. You can also mix in a spoonful of shredded cabbage, carrots, or baby spinach before microwaving. The steam will cook these thin vegetables perfectly.

4. Opt for Leaner Protein

While rotisserie chicken is convenient, it often includes salt and skin.

  • The Choice: Use plain, pre-cooked chicken breast (leftovers are perfect!) that has not been seasoned with heavy salt or fat. This keeps the protein lean and in control.

5. Control the Sugar

Even a teaspoon of added sugar adds up.

  • The Adjustment: Skip the brown sugar or honey completely. Instead, rely on the natural sweetness of a tiny bit of rice vinegar to balance the saltiness, or add a few flakes of red pepper for a spicy kick that distracts from the lack of sugar.

By applying these easy modifications, your quick Sesame Ginger Chicken Mug transforms from a merely convenient meal into a truly nourishing and healthy Dinner in a Mug option!


More Savory Mug Meal Ideas

If you have mastered the basics, here are a few more quick ideas to expand your dinner in a mug menu. These take no more than a few minutes of prep and cooking.

Quick Bean and Rice Burrito Bowl

Layer pre-cooked rice, black beans (rinsed), salsa, corn, and a sprinkle of taco seasoning in the mug. Microwave until hot, about 60 to 90 seconds. Top with shredded cheese, sour cream, and a tiny bit of fresh cilantro. This is a flavorful and filling meal that hits all the right notes for a quick Mexican-inspired dish.

Instant Ramen Upgrade

Start with a packet of instant ramen noodles. Cook the noodles in the mug with water as directed, but use only half the seasoning packet. Drain the water. Then, add a few drops of sesame oil, a splash of soy sauce, some frozen shelled edamame, and a whisked egg. Stir quickly and microwave for 30 seconds. The egg will cook into the hot noodles, adding protein and richness.

Veggie Couscous Delight

Mix instant couscous with hot broth or water (follow the package directions). Add dried herbs (like thyme or oregano), a few pieces of sun-dried tomatoes, and a drizzle of olive oil. Stir in fresh baby spinach and chopped olives after the couscous has absorbed the liquid. The heat from the couscous will wilt the spinach perfectly.


Conclusion: Reclaiming Your Time, One Mug at a Time

The world of dinner in a mug is more than just a passing trend. It is a practical, very satisfying answer to the common problem of needing a quick meal. From the warm comfort of a microwaved mac and cheese to the savory taste of a quick chicken and rice bowl, these recipes prove something important. They prove that great flavor and real, home-cooked food do not need hours of hard work.

By learning a few easy tricks—like picking the correct mug, understanding your microwave’s strength, and seasoning your food well—you open up a new level of efficient cooking. Whether you are a student on a tight budget, a busy worker, or simply a person who is tired on a Tuesday, these quick mug meals give you back valuable time. They do this without making you choose between speed and taste. Say goodbye to piles of dirty dishes and hello to your new favorite way to eat on a busy night.


External References


Recent Posts