Soy wax candles have changed how we think about home fragrance. This guide looks at the big differences between plant-based wax and old-fashioned paraffin options. From helping the earth to lasting much longer, these candles have many benefits. Whether you want to try a new DIY project or find zero waste options, this guide has the answers. It is time to think about what is burning in your home.
Introduction: Time to Rethink Your Candle Choices
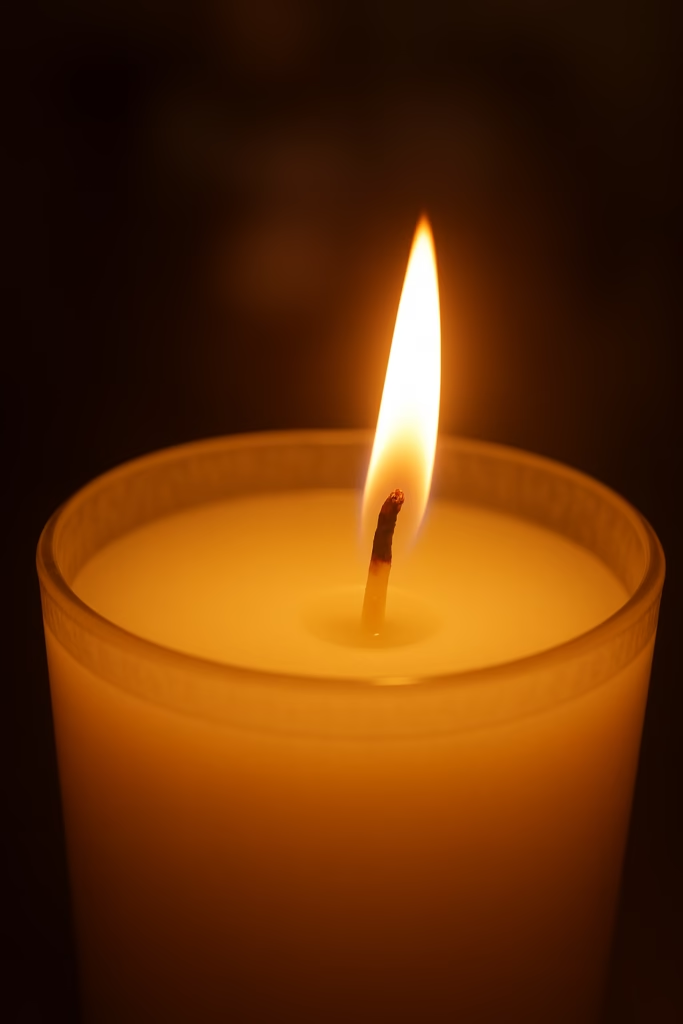
There is something special about lighting a candle. The soft glow and the nice smell can make any room feel better. But have you ever asked what is actually inside your candle? Most people do not think about it. We usually just pick a scent we like at the store.
The truth is that not all candles are the same. The candles many of us used for years are made from paraffin wax. That is a byproduct of petroleum. It comes from the same source as crude oil. Soy candles are different because they are made from soybean wax. These plant-based candles are better for the earth and work better than paraffin.
If you have never tried soy wax, you will be surprised. If you think all wax is the same, this list might change your mind. Let us look at ten reasons why soy candles are a total upgrade for your home.
1. They Come From Plants, Not Petroleum
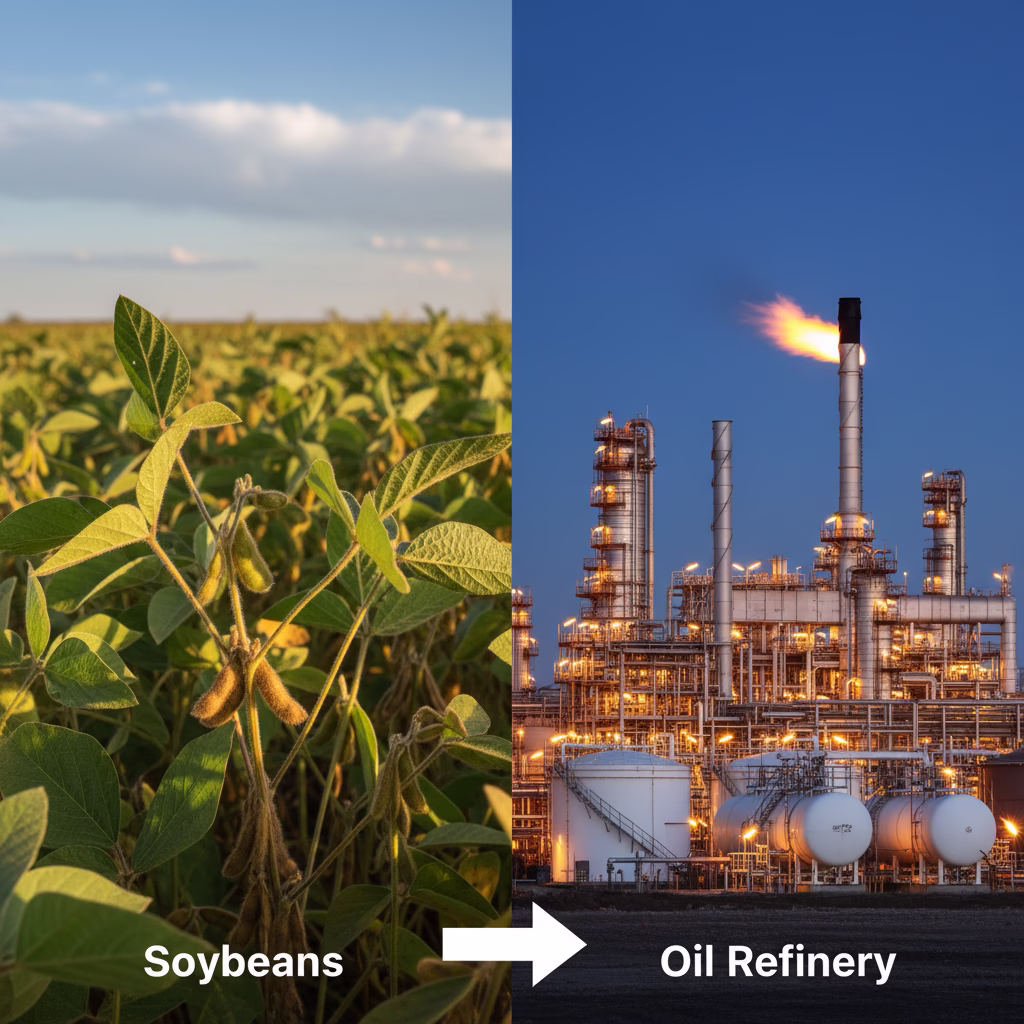
This is the most important point. Standard paraffin candles come from oil. This means you are burning a fossil fuel product in your house. Soy candles come from soybeans. They are made entirely from plants.
Soybeans are a resource that we can grow again and again. Farmers plant them every single year. We do not need to drill deep into the earth to get them. This simple fact changes how the candles work and how they affect the world.
Think about your choice. Would you rather burn something from a farm or something from an oil plant? When you look at it that way, the choice is very easy to make.
2. They Burn Cleaner and Produce Less Soot
Have you seen black marks on your walls or near your candle jars? That is called soot. Paraffin wax is known for making a lot of it. Over time, this dark dust can stain your furniture, walls, and even your curtains.
Soy wax burns much cleaner. It creates a lot less soot than paraffin does. This keeps the air in your home cleaner. It also means you spend less time cleaning your walls. Your home will stay looking fresh for a longer time.
A clean burn is also better for you. No candle is perfect, but soy wax is a much softer choice for the air you breathe inside.
3. They Last Way Longer Than You Would Expect
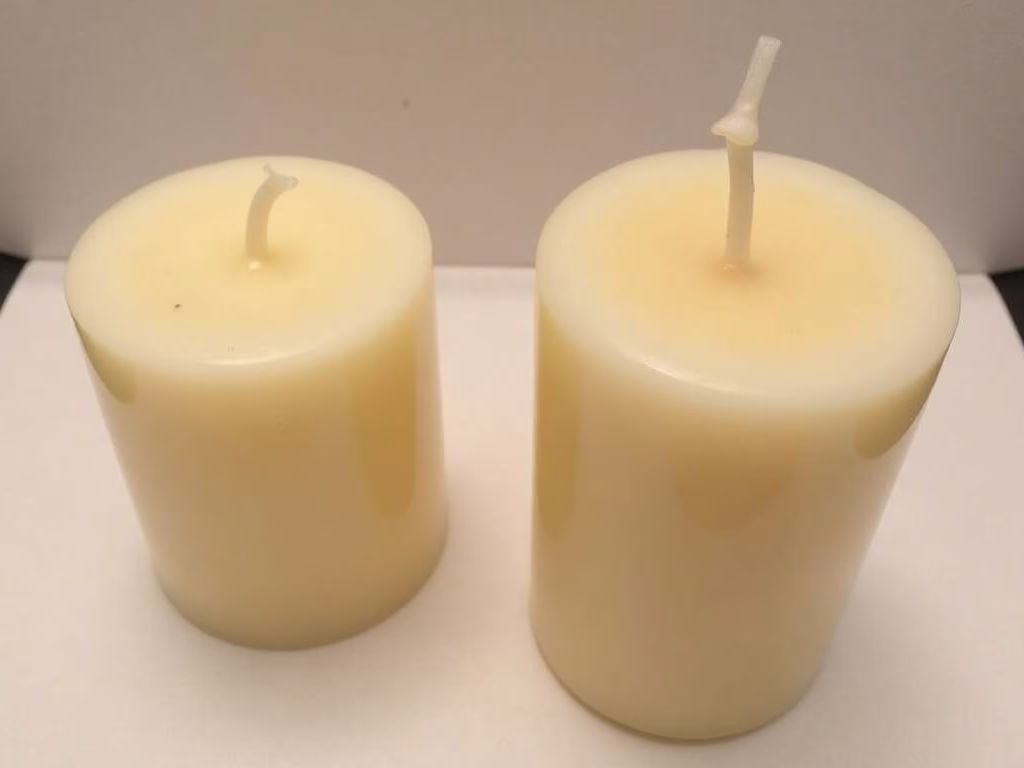
This fact often shocks people. A soy candle can burn for a much longer time than a paraffin candle of the same size. In many cases, it lasts 30 to 50 percent longer. This means you get a lot more use out of every jar you buy.
Why does this happen? It is because soy wax has a lower melting point. It stays cooler while it burns. Because it is not as hot, the wax disappears more slowly. You get many more hours of light and scent for the price you pay.
Even if soy costs a bit more at the start, it is a better deal. You are buying more hours of a cozy mood for your home.
4. The Scent Throw Is Surprisingly Different

People who love candles talk about “scent throw.” This is how the smell moves through a room. Some people think paraffin is better because it has been used for so long. But soy has its own benefits.
Because soy burns at a lower heat, it lets the scent out slowly. This creates a smell that is not too strong. You will not feel hit by a huge wave of perfume. Instead, the nice smell fills the room in a gentle way.
Some people like a very strong scent. However, many people find that soy is more pleasant. It is also less likely to cause a headache. It makes your room smell good without being too much.
5. They Are Biodegradable and Better for the Planet
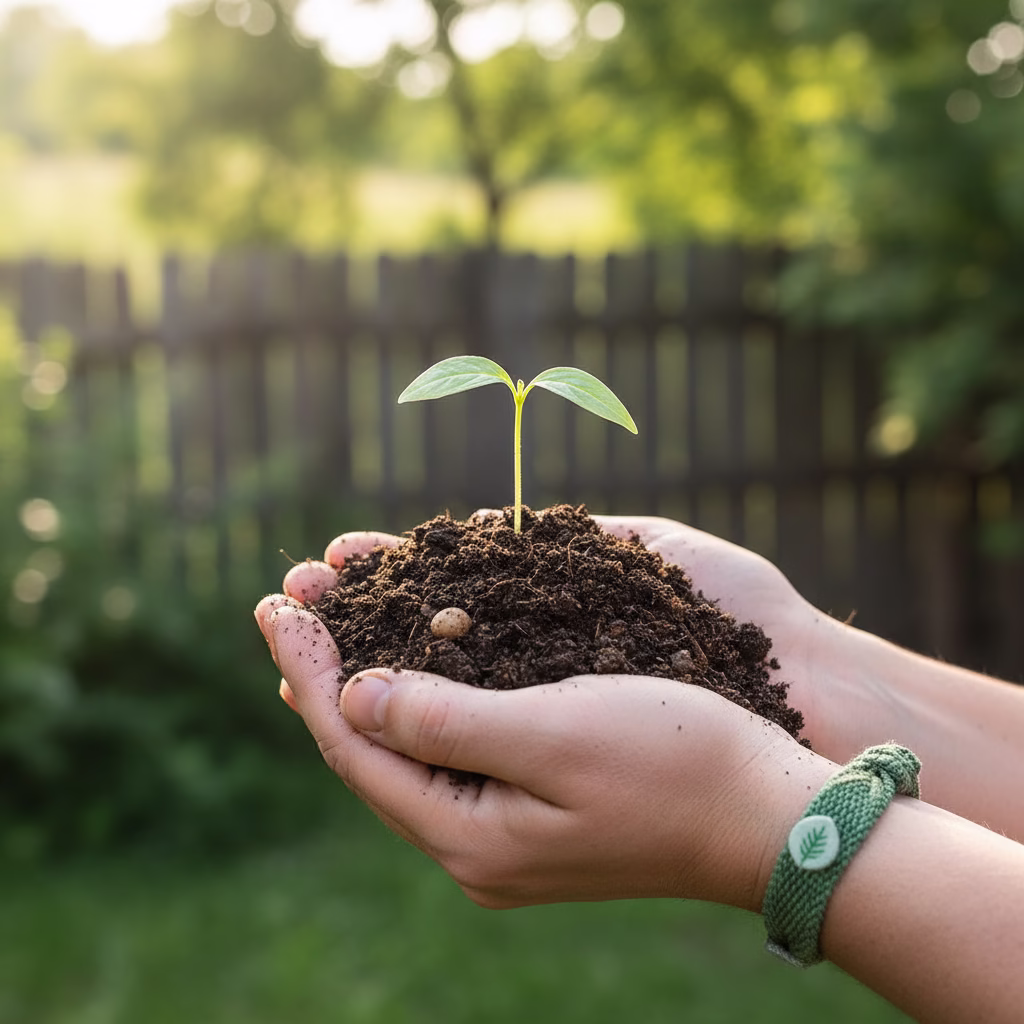
Zero waste soy candles are popular now for a good reason. Soy wax is biodegradable. This means if it gets into the environment, it breaks down naturally. It does not stay around or cause harm to nature.
Paraffin is made from oil, so it does not break down the same way. It stays in the environment for a very long time. When you pick soy, you are helping the earth.
Also, growing soybeans helps farming communities. It is a crop that works well with green farming ideas. Every candle you buy helps a farmer instead of an oil company.
6. Spills Are Actually Easy to Clean Up
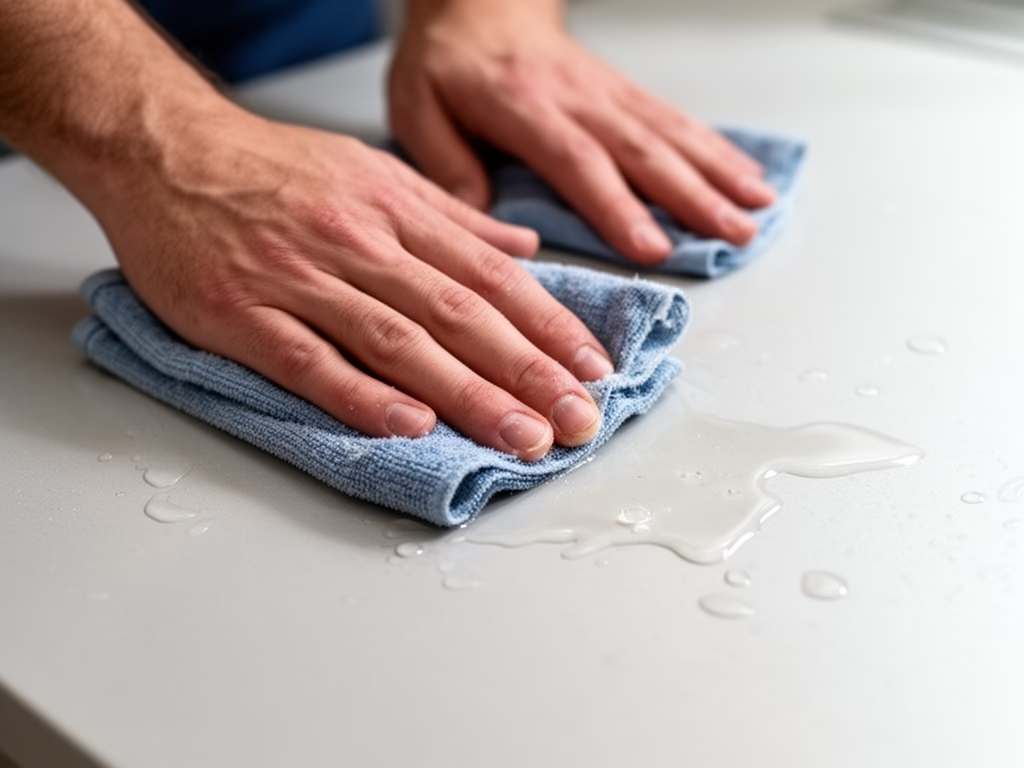
If you have ever spilled paraffin wax, you know it is a mess. It gets hard fast and sticks to everything. To get it off, you often need ice or a lot of heat. It can be very frustrating to fix.
Soy wax is different because it can be cleaned with water. If you spill it, you just need soap and warm water to wash it away. It comes off tables and floors very easily. It is also much better if it gets on your clothes.
This might seem like a small detail. But if you ever tip over a candle, you will be happy you chose soy. It makes life a lot easier.
7. They Support Sustainable Agriculture
When you buy these candles, you are helping farmers. Soybeans grow in many places like the United States and South America. Choosing soy means you are supporting jobs in rural areas.
This is not like paraffin. When you buy paraffin, you are helping the oil industry. The two products come from very different places. One starts in a field and can be grown again. The other comes from drilling under the ground.
Many makers of soy candles use beans that are grown in a green way. Some work with small family farms. Your purchase can match your goals for a better world.
8. They Work Beautifully in Containers

Soy wax sticks to the sides of jars very well. This means the candle looks nice while it burns. It does not pull away from the glass like paraffin often does. The candle stays looking good until it is all gone.
This makes soy wax the best choice for DIY projects. If you want to try making candles at home, soy is the easiest wax to use. It is very simple for beginners and looks like a professional product.
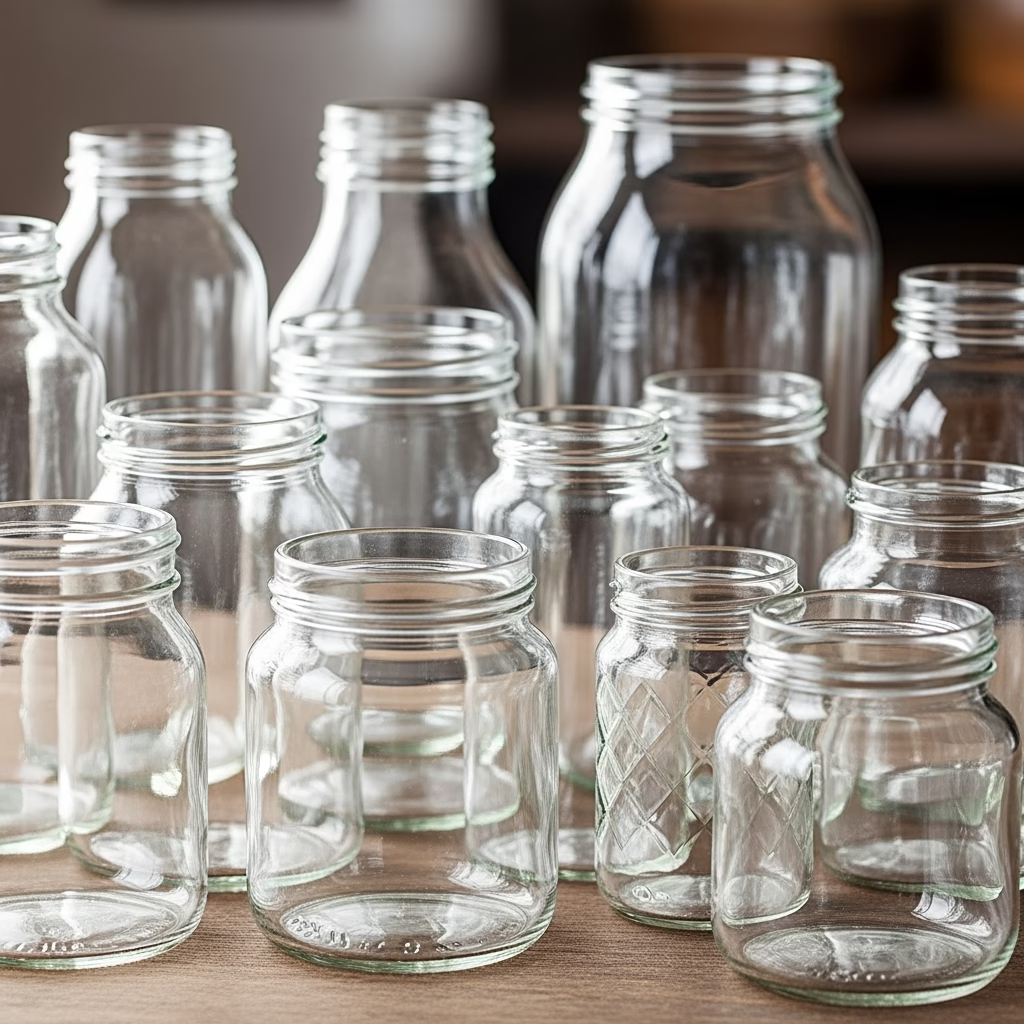
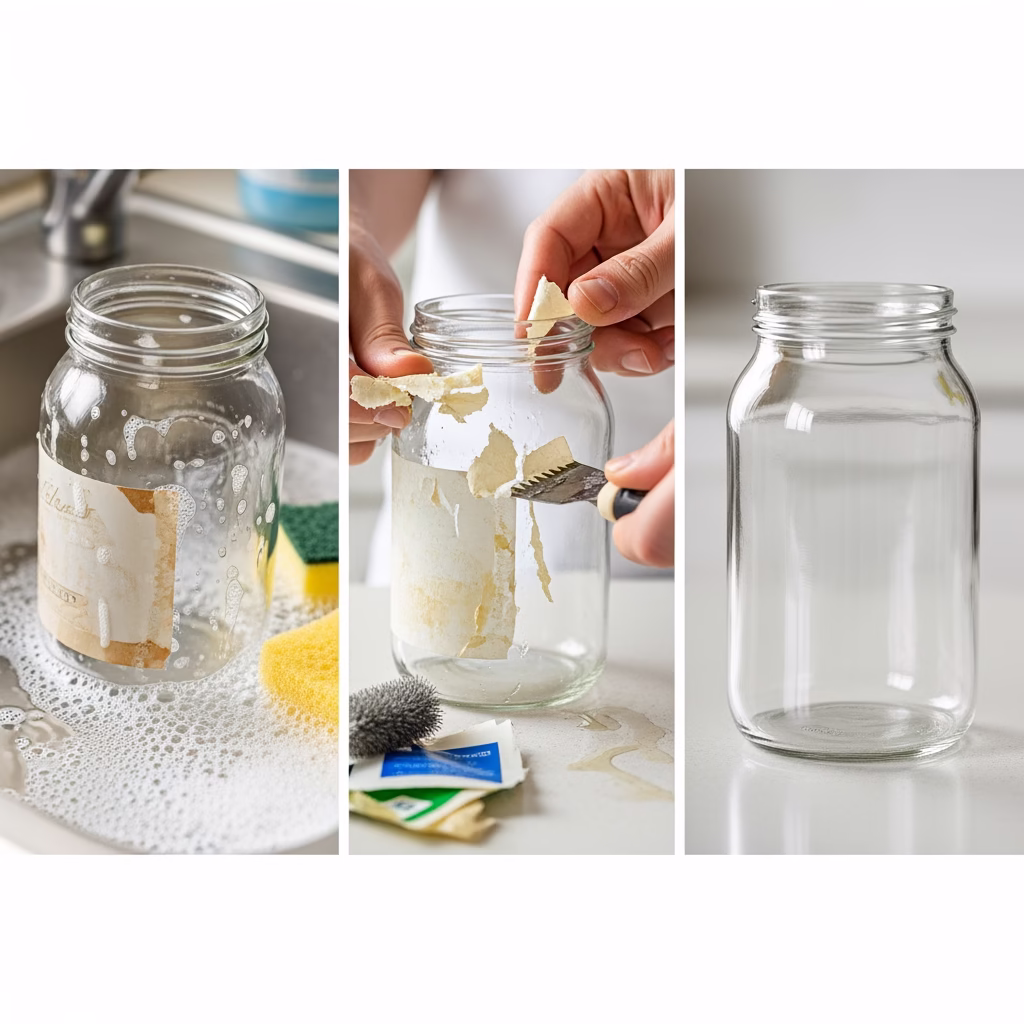
You can also use the jars again when the candle is finished. A quick wash with warm water gets the wax out. Then you have a jar for storage or for your next candle project.
9. They Are Perfect for People With Sensitivities
Some people get headaches from paraffin candles. The oil-based wax can release things into the air that bother some people. This can make it hard to enjoy a nice scent.
Soy candles are usually much better for these people. They burn cleaner, so there are fewer things in the air to cause trouble. Many people who stopped using candles can use soy without any issues.
Everyone is different, of course. Some scents might still be a problem for some. But starting with a cleaner wax is a great first step for a happy home.
10. You Can Easily Make Them Yourself
This is one of the most fun things about soy wax. You can make your own candles at home with just a few tools. It is a fun hobby and very easy to learn. Soy is the perfect wax for a first-time maker.
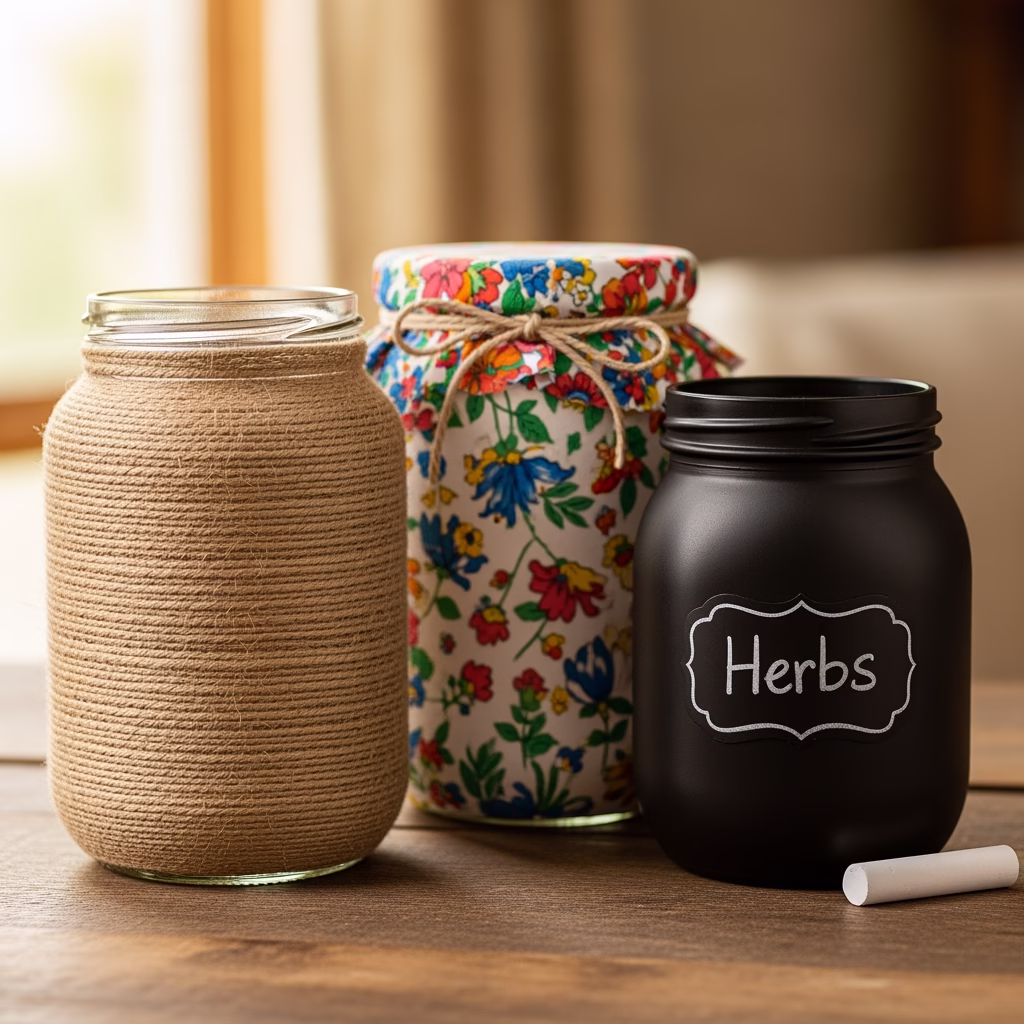
When you make your own, you know exactly what is inside. You pick the wax, the wick, and the smell. You can use old jars and make gifts for your friends. It is a great way to live a zero waste life.
How to Make Your Own Soy Candles at Home
Do you want to try making a candle? Here is a simple guide to help you start. You do not need a lot of gear. Just follow these steps to make your own beautiful candles.
What You Will Need
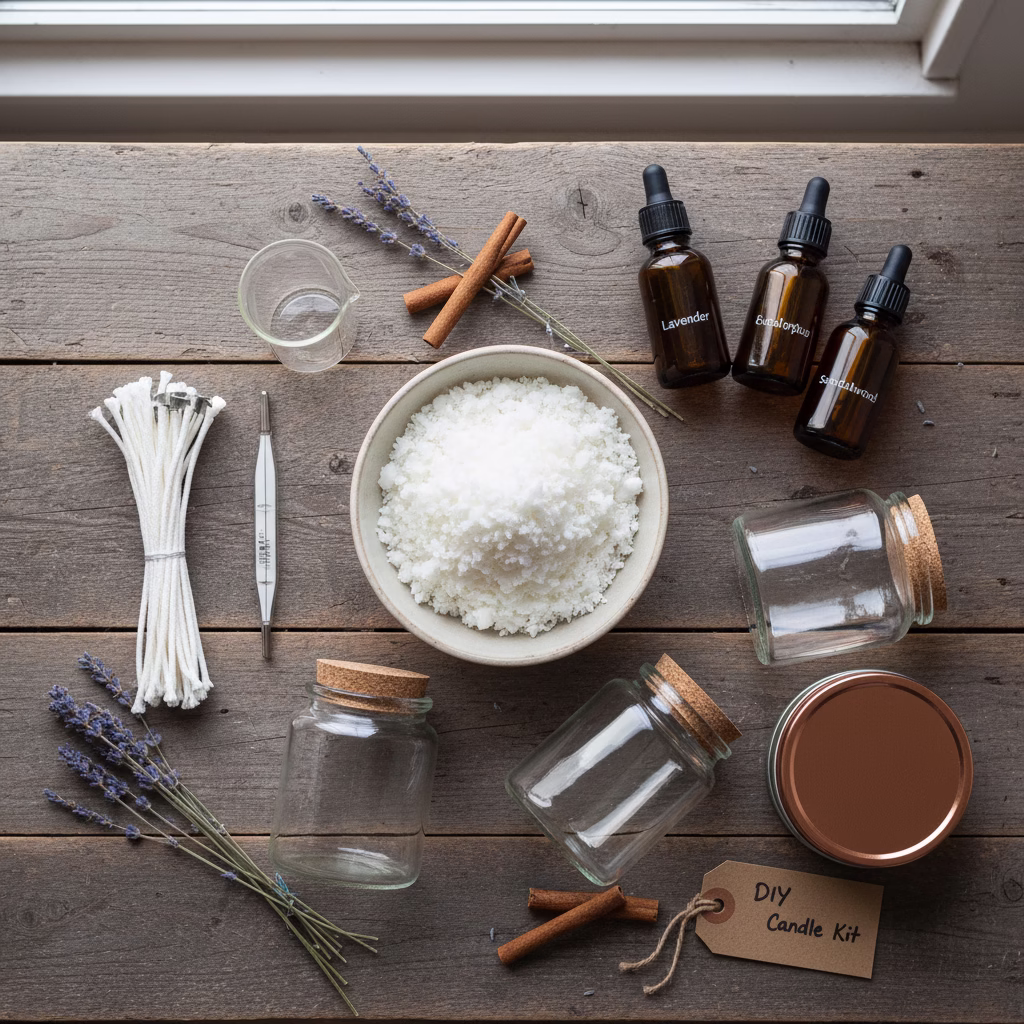
Get your supplies ready before you start. You can find these at a craft store or buy them online. Here is a list of what you need:
- Soy wax flakes
- Candle wicks with metal bottoms
- Jars or cups that can handle heat
- A pot to melt the wax (a double boiler is best)
- A thermometer
- Scent oils or essential oils
- A spoon for stirring
- A pencil to hold the wick straight
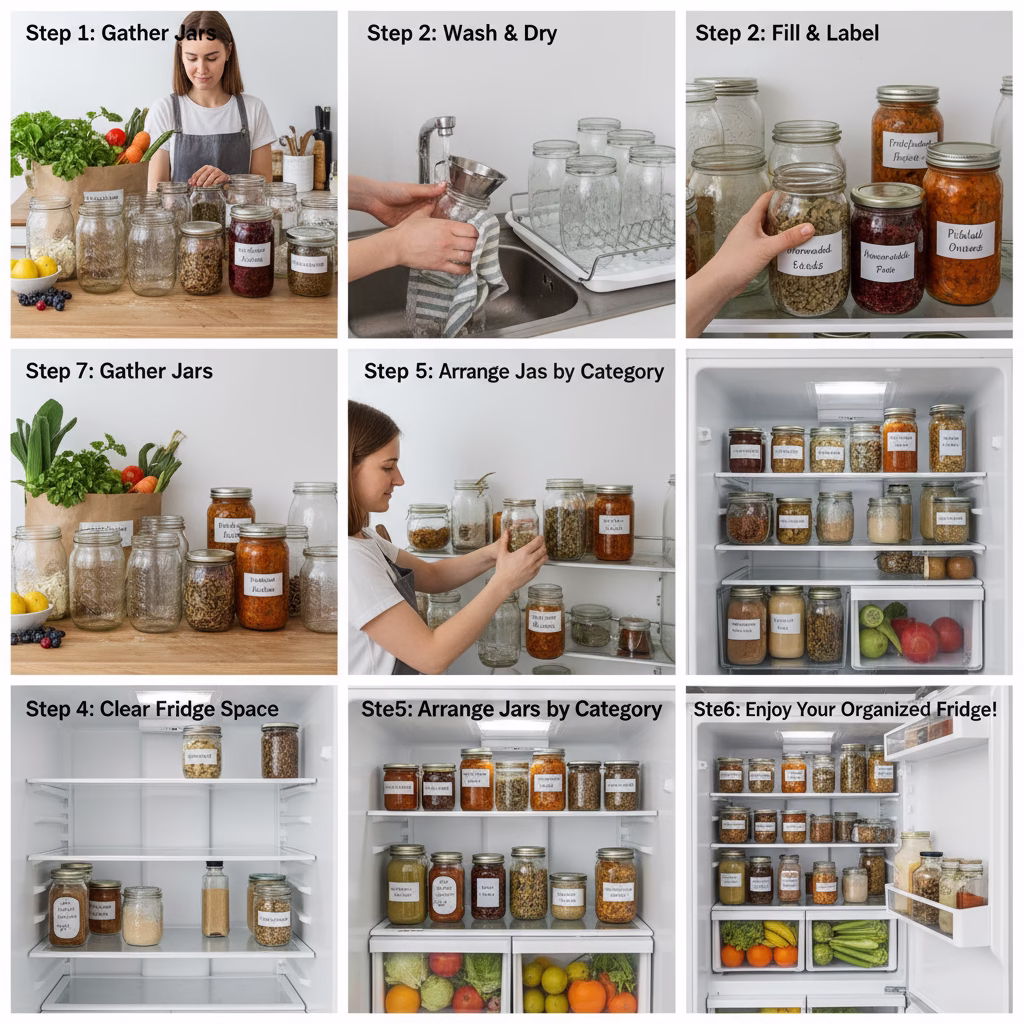
Step-by-Step Instructions
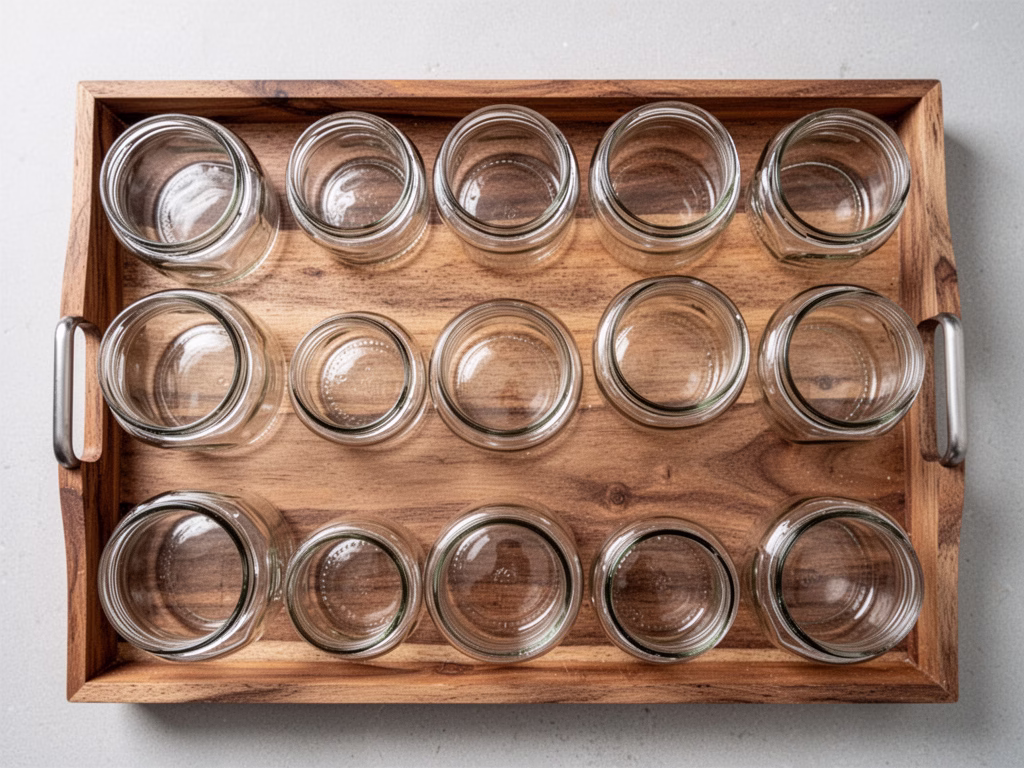
First, get your jars ready. Wash them and make sure they are dry. Put a wick in the center of each jar. Use a little bit of wax to stick the bottom of the wick to the glass. Wrap the top of the wick around a pencil to keep it in the middle.
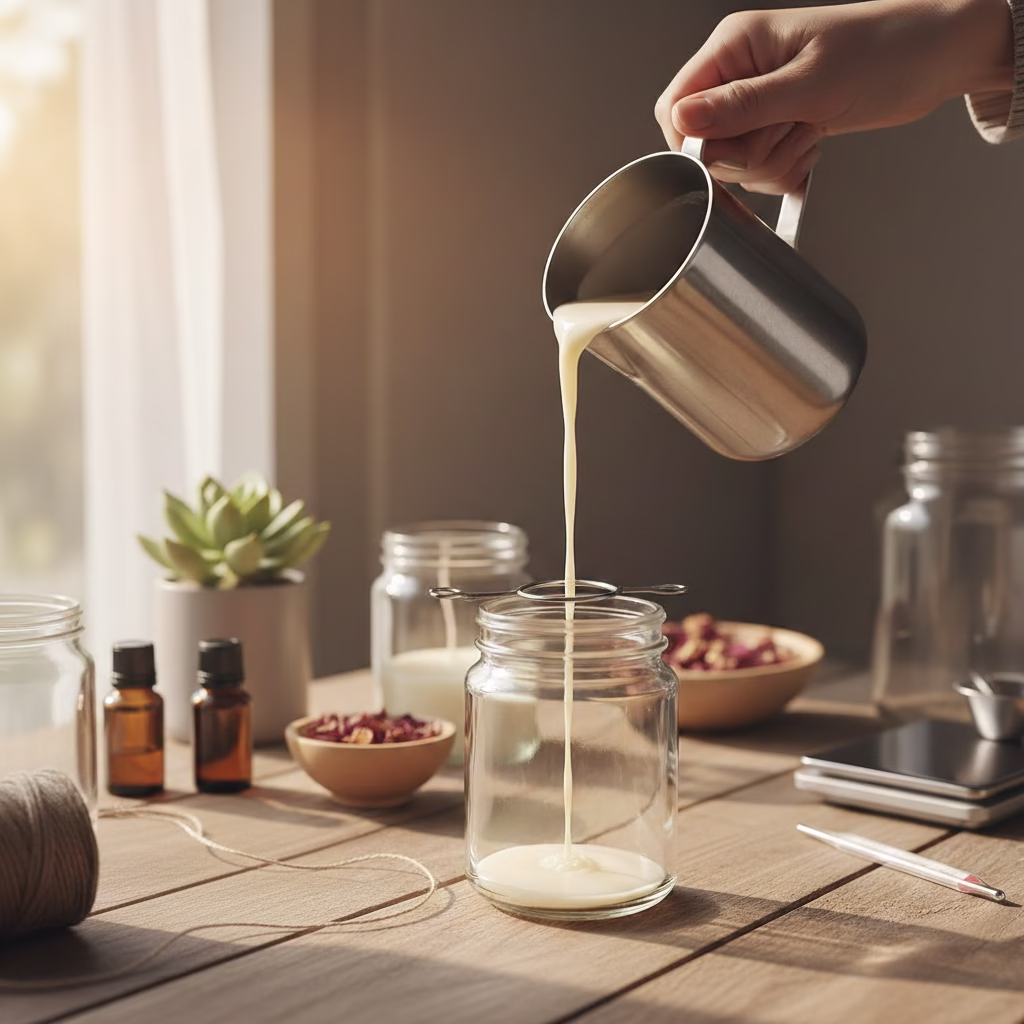
Now, melt your wax. Put a small pot inside a larger pot of water. Put the wax flakes in the small pot. Heat it slowly and stir it sometimes. Use your thermometer to check the heat. You want it to get to about 175 degrees Fahrenheit.
Take the wax off the heat. Let it cool down to about 135 degrees Fahrenheit. This is the best time to add your scent. Pour in your oils and stir for two minutes. Use about one ounce of oil for every pound of wax.
Pour the wax slowly into your jars. Try to be steady so you do not get bubbles. Leave a little wax in the pot to fill any holes later. Sometimes the wax sinks a bit as it gets cold.
Let the candles sit until they are hard. This takes a few hours. Do not move them while they are cooling. Once they are solid, cut the wick so it is about a quarter inch long.
Your candles need to “cure” before you light them. Wait at least two days, but a week is even better. This helps the scent stay strong. Being patient will give you a much better candle.
Tips for Success
Keep it simple at first. Use plain jars and one scent until you learn how it works. Later, you can try mixing colors or different smells.
Take notes on what you do. Write down how much wax and oil you used. This helps you do it again if the candle turns out great.
Buy good supplies. If you buy cheap wax, you might not like the result. Good materials make a big difference in how your candle looks and smells.
Conclusion: Make the Switch Today
Soy candles are a huge step up from the old paraffin type. They are cleaner, they last longer, and they are better for our world. Choosing plant-based wax is more than just a trend. It is a choice for a better product.
Whether you buy them or make them yourself, you are doing something good. You are helping farmers and keeping oil products out of your home. You are also getting more for your money.
If you try making them, you will find a fun and relaxing hobby. Anyone can learn to make a zero waste soy candle. The tools are easy to find and the process is very rewarding.
Next time you want a candle, look at what it is made of. Your home and the planet will be happy you chose soy. It is not just a different choice; it is a better one.
External References
If you want to learn more about wax, farming, or candle safety, check out these sites:
- National Candle Association – Tips on how to burn candles safely.
- EPA – Indoor Air Quality
- American Soybean Association – The beans used in your candles.
Recent Posts