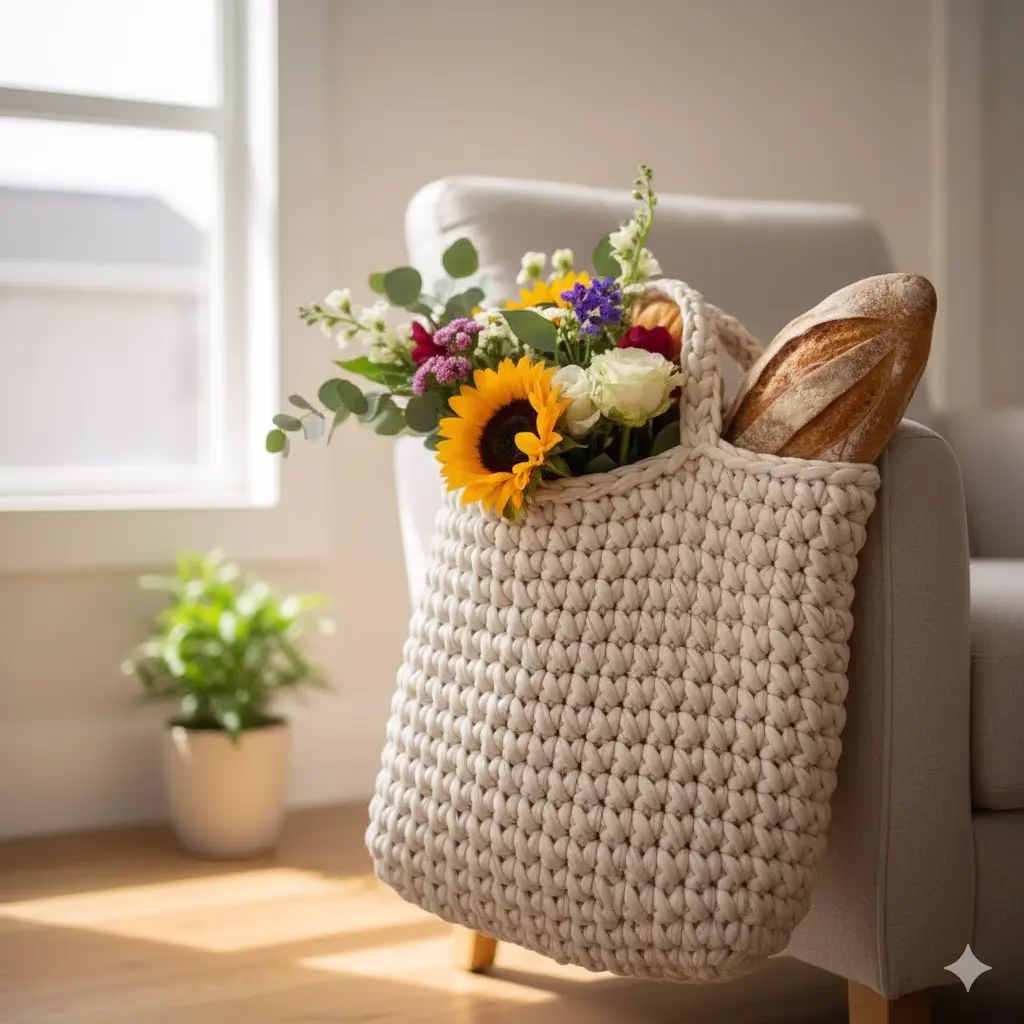
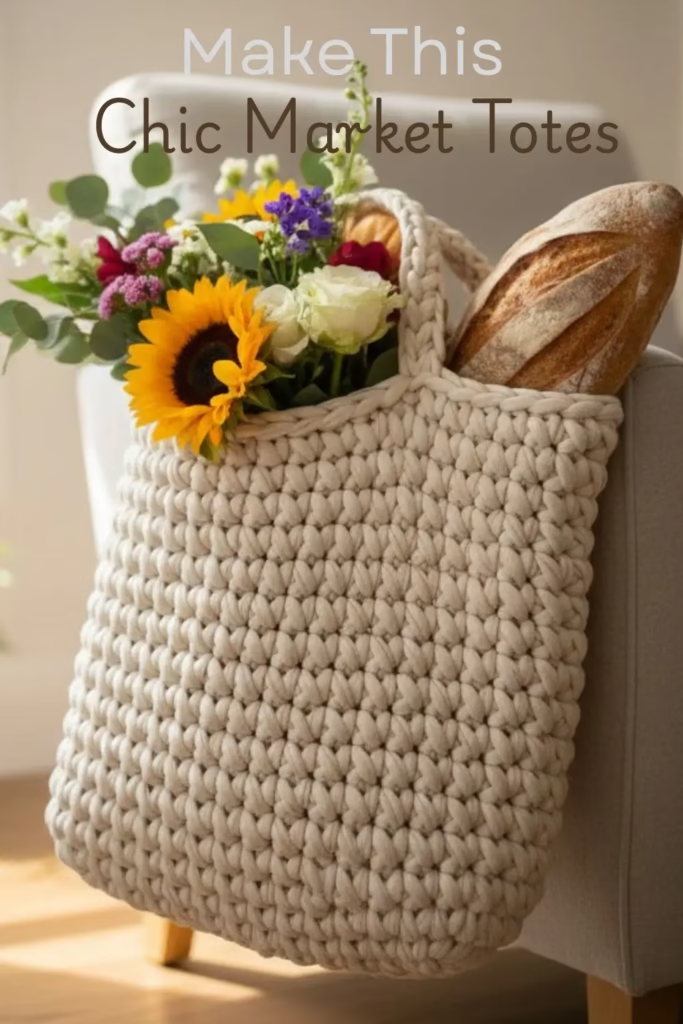
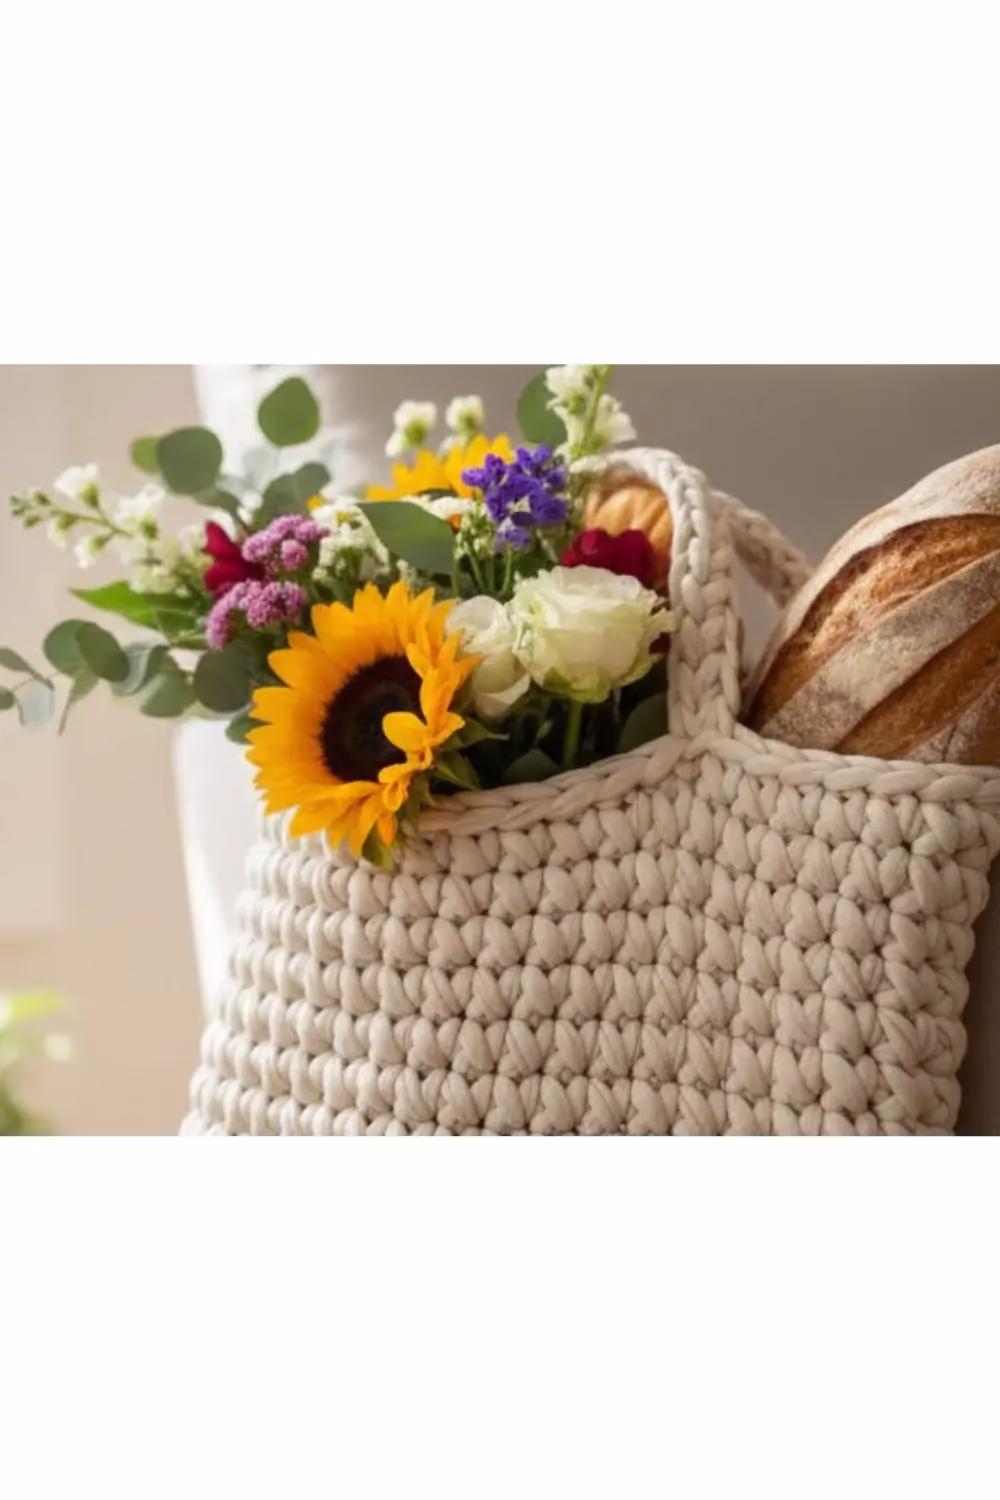
Creating a market tote by crocheting with fabric yarn is a rewarding project because the thickness of the material allows the bag to work up very quickly. This pattern uses a simple “V” stitch and a solid base to ensure the bag is both sturdy and stylish.
Materials
- 1–2 large balls of chunky fabric yarn (T‑shirt yarn or recycled textile yarn), about 350–450 g total
- 10–12 mm crochet hook (or size needed for a dense, non‑holey fabric)
- Scissors and yarn needle for weaving in ends
Gauge & Size
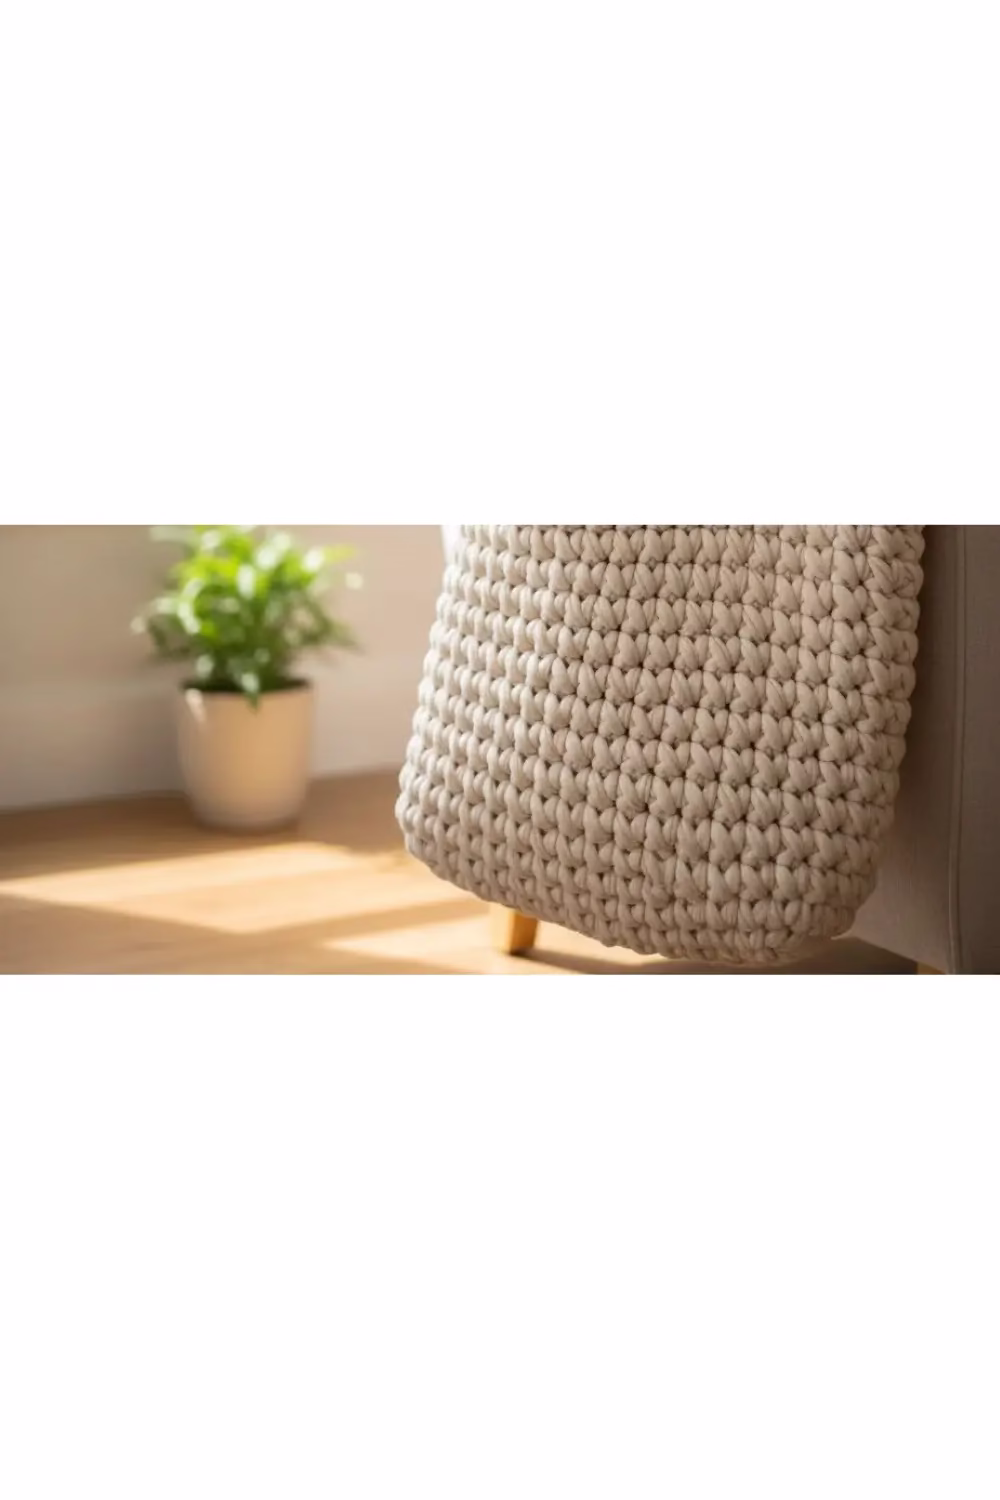
- Aim for a dense, squishy fabric: when you make a swatch of single crochet, stitches should sit close together with minimal gaps.
- Finished bag (flat) is roughly: 32–35 cm wide and 35–38 cm tall, plus handles.
Abbreviations (US terms)
- ch – chain
- sc – single crochet
- sl st – slip stitch
- st(s) – stitch(es)
Step 1 – Crochet the Base
- Ch 21 (this forms the width of the bag).
- Row 1: Sc in 2nd ch from hook and in each ch across (20 sc). Turn.
- Rows 2–8: Ch 1, sc in each st across. Turn.
- You now have a flat rectangle base; add a simple border so you can work in the round: ch 1, sc evenly all the way around the rectangle, placing 3 sc in each corner. Join with a sl st to first sc.
Step 2 – Build the Sides in the Round
- Round 1: Ch 1, sc in each st around, keeping tension firm so the fabric stays thick. Join with a sl st.
- Repeat Round 1 until the bag is about 30–32 cm tall from the base. Do not fasten off.
- As you work, stop occasionally to straighten and “squash” the bag into shape so the sides stay upright and boxy.
Step 3 – Shape the Top Edge
- Work 1–2 more rounds of sc with slightly tighter tension to firm up the top edge.
- At the end of the last round, stop at a side seam or center point; this will be your starting point for the handles.
Step 4 – Mark Handle Positions
- Lay the bag flat and count the stitches around the top; divide by 2 to find the halfway point.
- Use stitch markers (or scraps of yarn) to mark:
- Front handle: about 6–7 sts in from the left edge and 6–7 sts in from the right edge.
- Mirror those positions on the back for the second handle.
- Leave a gap between markers where the handle opening will be (about 8–10 sts wide).
Step 5 – Crochet Handles
Front handle round:
- From your current position, sc around until you reach the first front marker.
- Ch 18–22 (this is the handle length; longer chain = longer handle). Make sure the chain is not twisted.
- Skip the marked gap stitches and sc into the next marker stitch to attach the chain, forming an arch.
- Continue with 1 sc in each stitch until you reach the first marker on the back.
- Repeat: ch 18–22, skip the gap stitches, sc into the next marker on the back. Continue in sc to the start of the round; join with a sl st.
Reinforce handles:
- Next round: Ch 1, sc in each st around, including working 1 sc into each ch of both handles.
- Work 1–2 more rounds the same way to bulk up the handles and top edge so they match the thick, padded look.
- Fasten off and carefully weave in all ends with a yarn needle.
Optional Finishing
- Gently stretch the handles to even them out and shape the bag corners with your hands.
- For extra structure, you can lightly steam block (holding the steam above the yarn, not pressing) and shape the bag while it cools.