I do not practice yoga, but I spend a lot of time doing floor exercises and stretching. I recently realized that having a dedicated mat would make these movements much easier and far more comfortable. This personal need for a supportive, soft surface is exactly where the idea for this zero waste yoga mat was born.
Living a green life starts with small choices. Making a zero waste yoga mat is a great way to help the earth. This guide shows how anyone can make their own mat using natural stuff that can break down safely. By making a mat at home, you stop plastic waste. You also feel closer to your daily practice. These steps show you how to build a mat that lasts and feels good.
Introduction: Why Your Yoga Mat Matters
Have you ever thought about your old yoga mat? Where does it go when it wears out? Most mats end up in the trash. They sit there for hundreds of years. They do not break down. That is a sad thought for a practice that is all about being at peace with the world, right?
The good news is that making a zero waste mat is easy. You can do it at home. It is not as hard as you might think. The mat you make can work just as well as one from a shop. Plus, there is a special feeling when you use a mat you made yourself. It makes your yoga feel more personal.
This guide tells you all you need to know. We will talk about the best materials to use. We will show you how to finish the edges too. You will learn to make a mat that is good for you and good for the world. So get a cup of tea, sit back, and let us start!
Understanding Zero Waste Yoga Mats
Let us look at what a zero waste mat really is. A zero waste mat uses only natural parts. These parts can rot away safely in the soil. When the mat is old and done, it goes back to the earth. It does not leave any bad stuff behind.
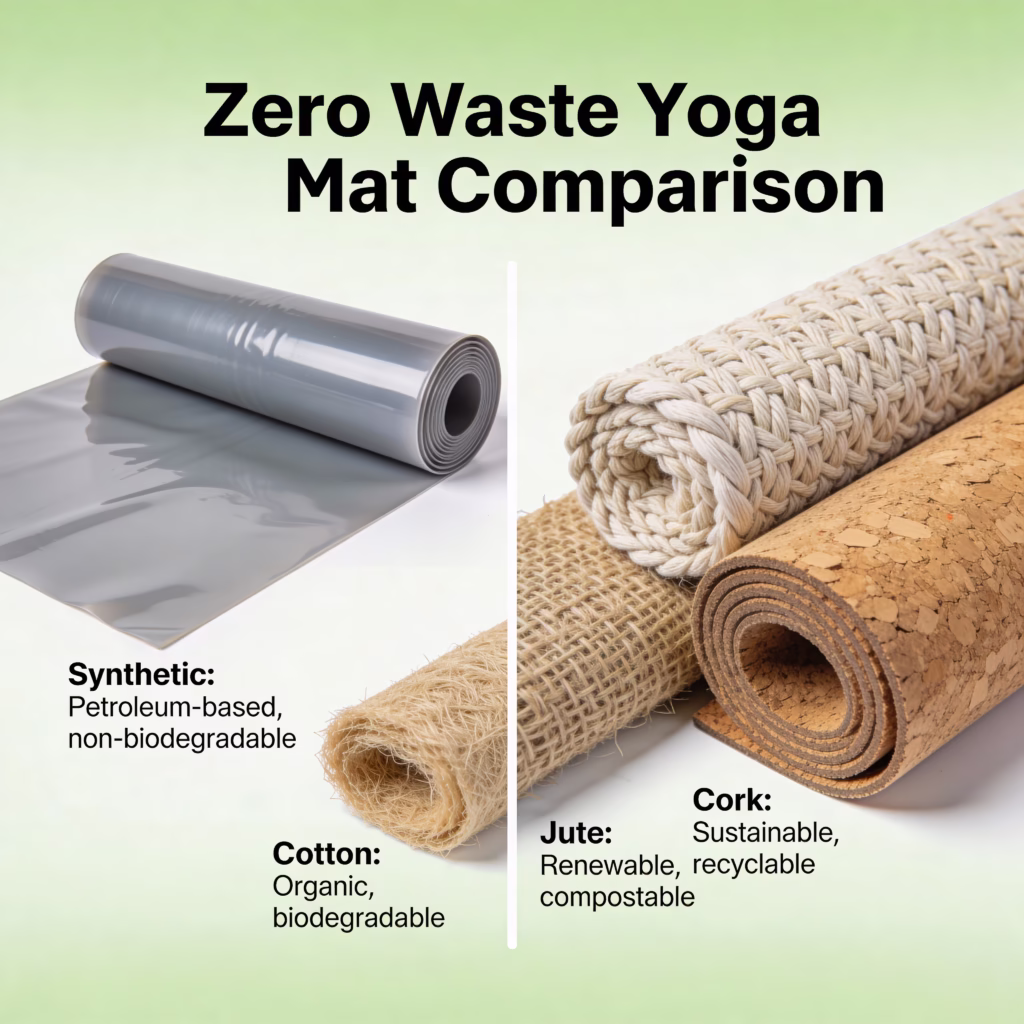
Most mats you buy are made of plastic or foam. These materials stay in the ground for a very long time. They can also have chemicals that are not good for you. When you make your own mat, you do not have to worry about that.
Natural things like cotton, jute, and cork are great. They grow back quickly and are easy on the earth. Many people think natural mats feel better on their skin. They stay dry even when you sweat. They also have a nice, soft feel.
The best part? You might have what you need at home right now. Old cotton blankets or bits of cloth can work. You can turn old items into a new mat. It is a smart way to reuse what you own!
Materials You Will Need
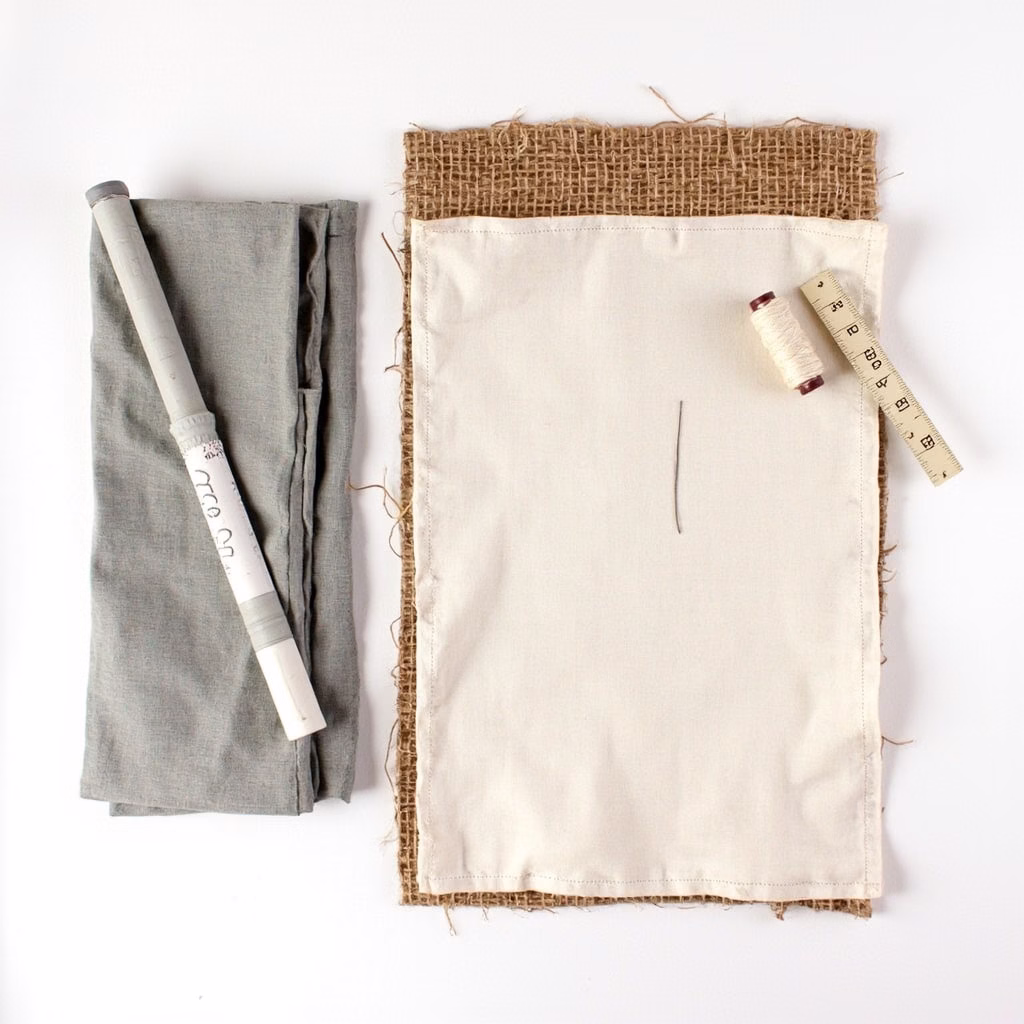
The first step is to get your tools ready. Here is a list of what you need:
For the Bottom Layer:
- Natural jute or burlap cloth (about 24 by 72 inches)
- Or you can use a thick hemp cloth
For the Top Layer:
- Organic cotton cloth (the same size as the bottom)
- Old cotton blankets or towels are also good
- Choose something soft that soaks up water
For the Padding (Optional):
- A sheet of natural rubber
- Wool or felt
- A few old cotton towels stacked up
To Put It Together:
- Strong cotton or hemp thread
- A large needle or a sewing machine
- Sharp scissors for cloth
- A tape measure
- Pins
- Extra cloth for the edges
To Finish It:
- Beeswax or soy wax (to keep water out)
- Natural dye if you want a pretty color
You can find these things at craft stores or thrift shops. Look for used or organic items. This keeps your mat as green as possible.
Step-by-Step Instructions
Now we get to work! Follow these steps to make your new yoga mat.
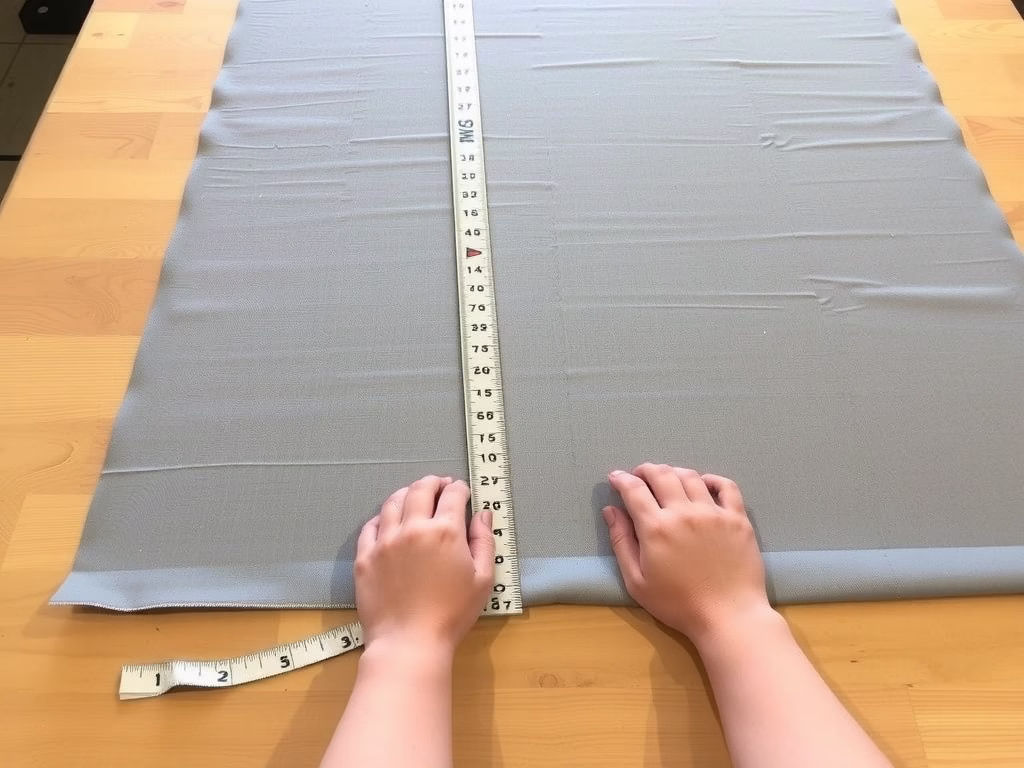
Step 1: Measure and Cut Your Cloth
First, measure your cloth. A normal mat is about 24 inches wide. It is usually 68 to 72 inches long. You can make yours longer if you are tall.
Cut your bottom layer of jute or hemp first. Then cut your top cotton layer to match it. If you use padding, cut that to the same size too. Try to keep your cuts straight. It makes the next steps much easier.
Step 2: Set Up the Padding
Are you using rubber or wool for extra soft feel? If so, get it ready now. Lay your padding on top of the jute base. Smooth it out with your hands. You want it to be very flat. No bumps should be left in the middle.
If you want to save money, use old towels. Three or four towels can make a nice cushion. They are natural and will break down later. Just be sure they are clean cotton.
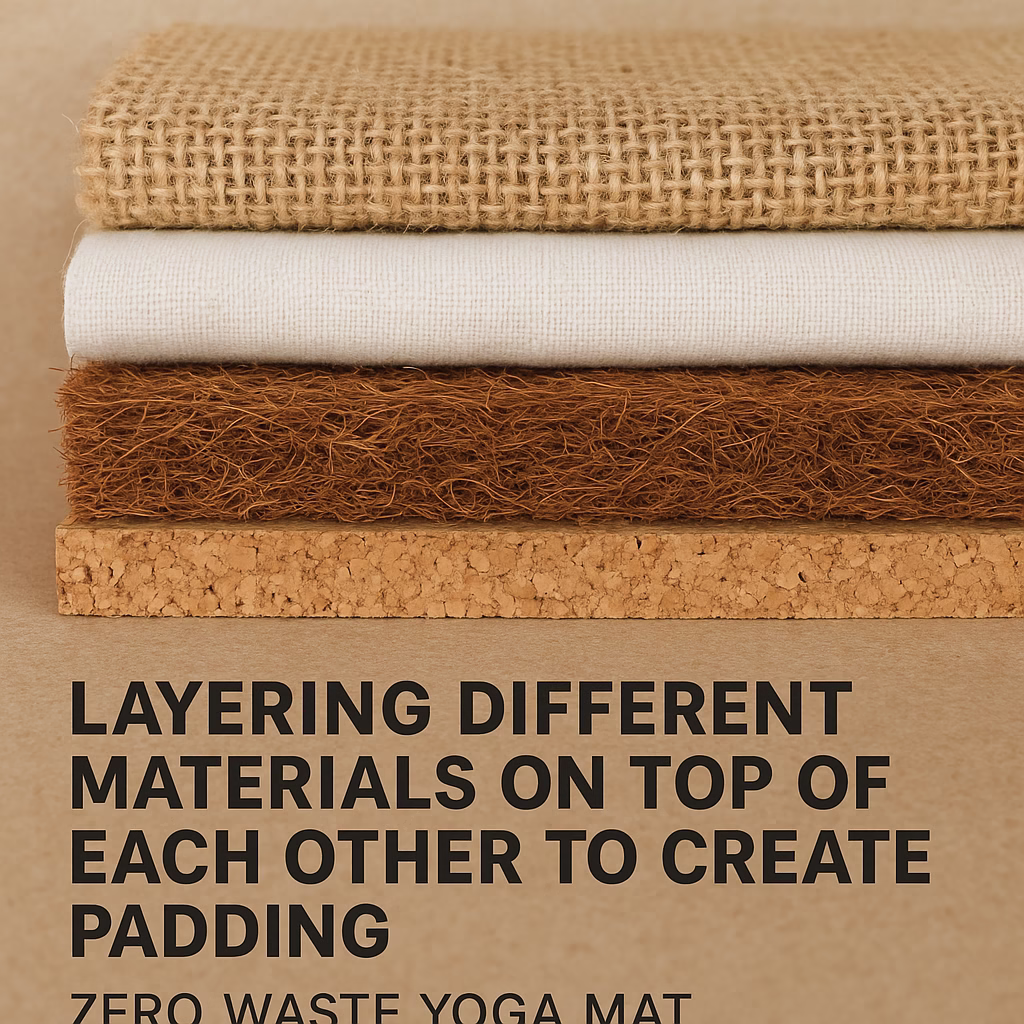
Step 3: Stack Your Layers
Think of this like a sandwich. Put the jute or hemp on the bottom. And the padding in the middle. Put the soft cotton on the very top. This way, the bottom is strong and the top is soft.
Use pins to hold the layers together. Pin all around the edges. This stops the cloth from moving while you sew. Take your time here. Good pinning makes the sewing go well.
Step 4: Sew the Layers
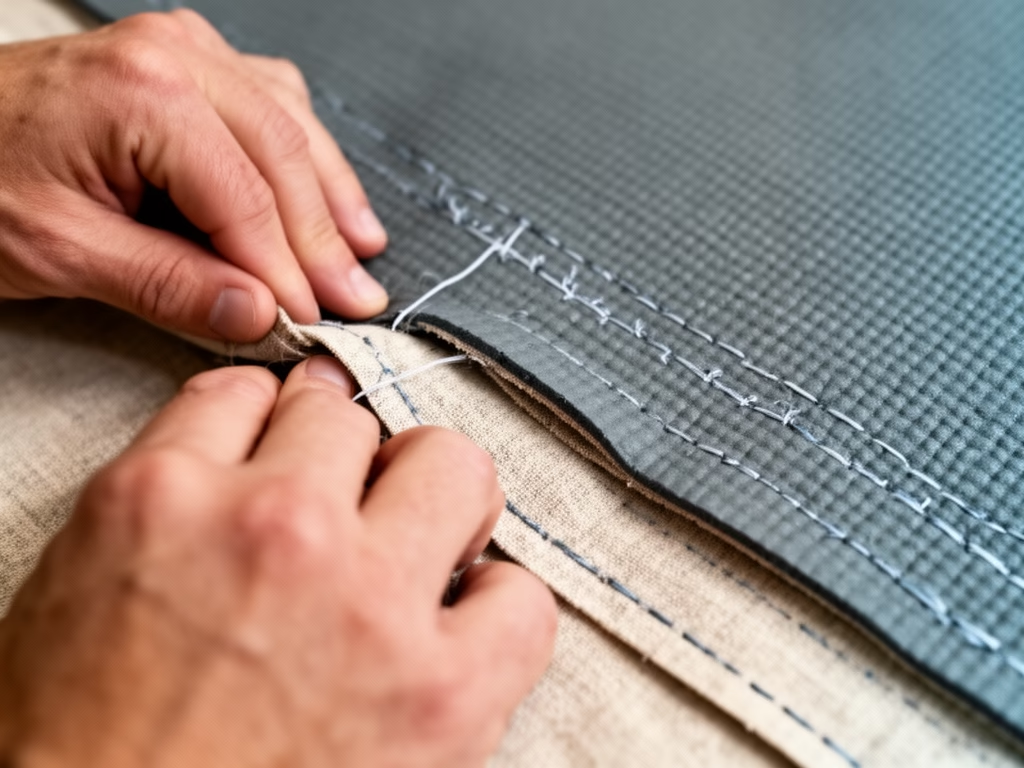
Now your mat starts to look real! Use your strong thread to sew the layers. You can use a machine to go fast. You can also sew by hand if you like to take it slow.
Sew around the whole edge first. Stay about half an inch from the side. Use small stitches to make it strong. This keeps everything in place when you use the mat.
Next, sew lines across the middle of the mat. You can make a grid or simple lines. This keeps the inside layers from sliding around. Space these lines about six to eight inches apart.
Step 5: Finish the Edges

The edges can fray if you leave them raw. You need to finish them to make the mat last. There are a few ways to do this.
You can fold the edges over twice and sew them down. This looks neat and clean. You can also sew a strip of cloth over the edge. This is called binding. It makes the mat look like it came from a shop.
Some people like to sew a fancy stitch by hand. It takes more time, but it looks very nice. It also makes the edges very strong.
Step 6: Keep Water Out (Optional)
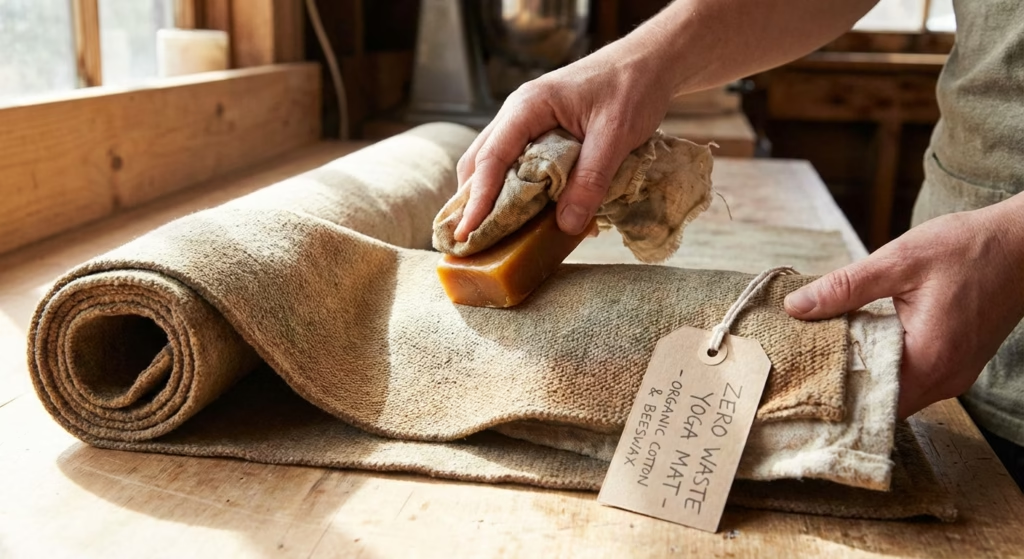
Do you do hot yoga? Do you sweat a lot? If so, you may want to wax your mat. This helps it stay clean and dry. It is an extra step, but it is worth it.
Melt some beeswax or soy wax in a pot. Use a cloth to rub a thin layer of wax on the mat. Put most of it on the top cotton side. Let it dry all the way. Then rub it with a soft cloth. This helps the mat stay fresh.
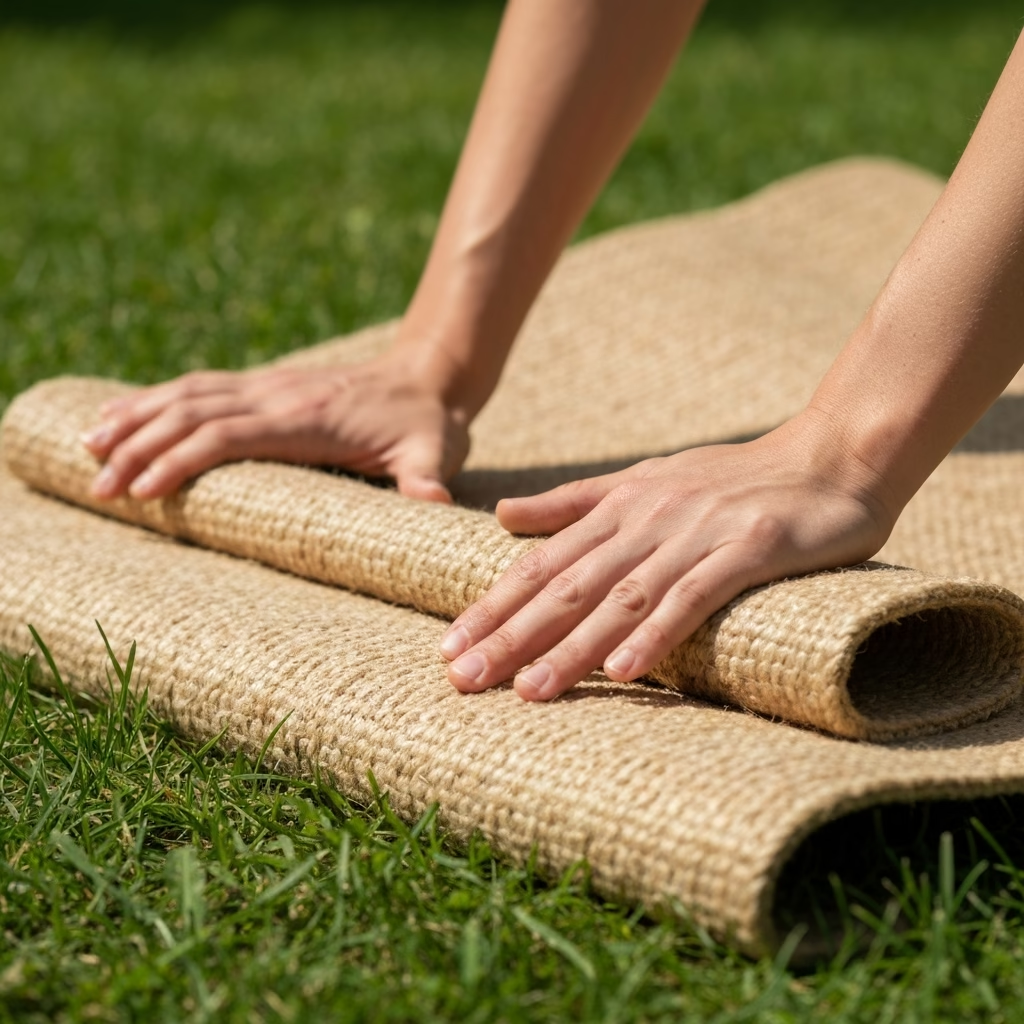
Step 7: Rest and Test

Let your mat sit for a full day before you use it. This lets the thread settle into the cloth. It also lets any wax get firm.
Then, roll it out and try it! Do some easy moves. See how the natural cloth feels on your feet. It might feel a bit stiff at first. That is okay. It will get softer the more you use it.
Tips for Making Your Mat Last
A good mat can last for a long time. Here is how to take care of it:
- Clean it often. Wipe it with a damp cloth after you use it. You can mix water with a bit of tea tree oil to kill germs. Do not soak the mat in water. Too much water can hurt the natural fibers.
- Store it in a dry spot. Roll it up loosely. Do not fold it, as that can leave marks. Let it air out after class. Natural cloth needs to breathe to stay fresh.
- Flip it around. Use a different end for your head each time. This helps the mat wear down evenly.
- Fix small holes. If a stitch comes loose, fix it fast. A few quick stitches can save the whole mat. Do not wait for the hole to get big.
The Benefits of Going Zero Waste
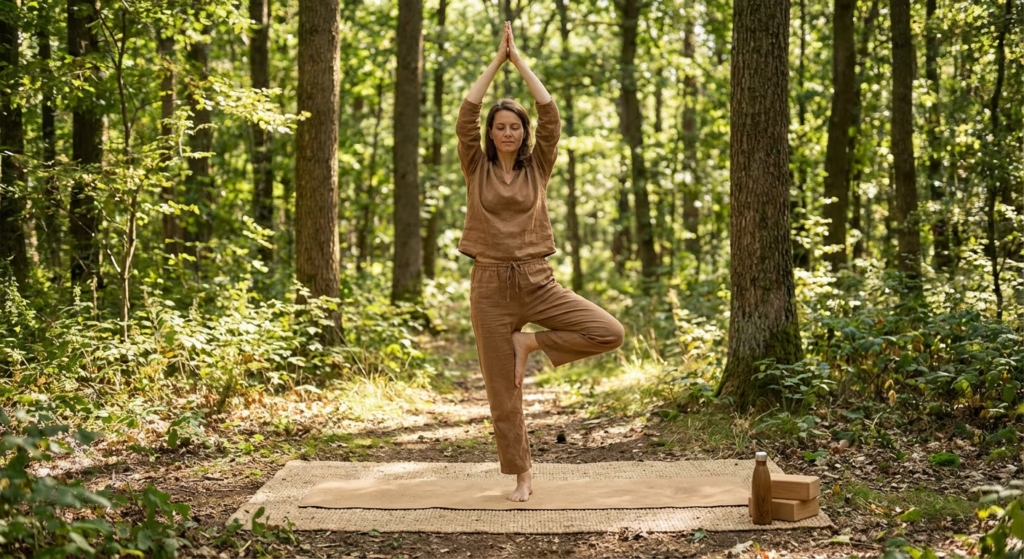
[IMAGE: Person practicing yoga outdoors on a natural mat surrounded by trees]
Making your own mat is about more than just saving waste. Many people find the work helps them feel calm. Cutting and sewing can be a form of yoga itself. You are making something with care and love.
Natural mats are also better for your health. Plastic mats can have a bad smell. They can let off gases that you breathe in. Natural cloth does not do this. It smells like real cotton or wood. It feels pure and clean.
You will also feel proud. Every time you do yoga, you will know you made the mat. It shows what you care about. Your mat becomes a part of your story.
Conclusion: Roll Out Your Sustainable Practice
Making a zero waste mat is a fun project. It fits well with the goals of yoga. It proves that being green does not have to be hard. Most people love their homemade mats more than shop mats.
This project teaches you to be slow and careful. These are good skills for life and for yoga. Every time you roll out your mat, you will see your hard work.
So why not start today? Get your cloth, find some time, and start making. Your body and the planet will be happy you did. Going green happens one step at a time. Making your own mat is a great step to take.
Namaste, and happy crafting!
External References
To learn more about green living, check out these sites:
- EPA – Reducing Waste
- Ellen MacArthur – We need to radically rethink how we design
- Textile Exchange – Guide to Sustainable Fabrics for Beginners
Recent Posts