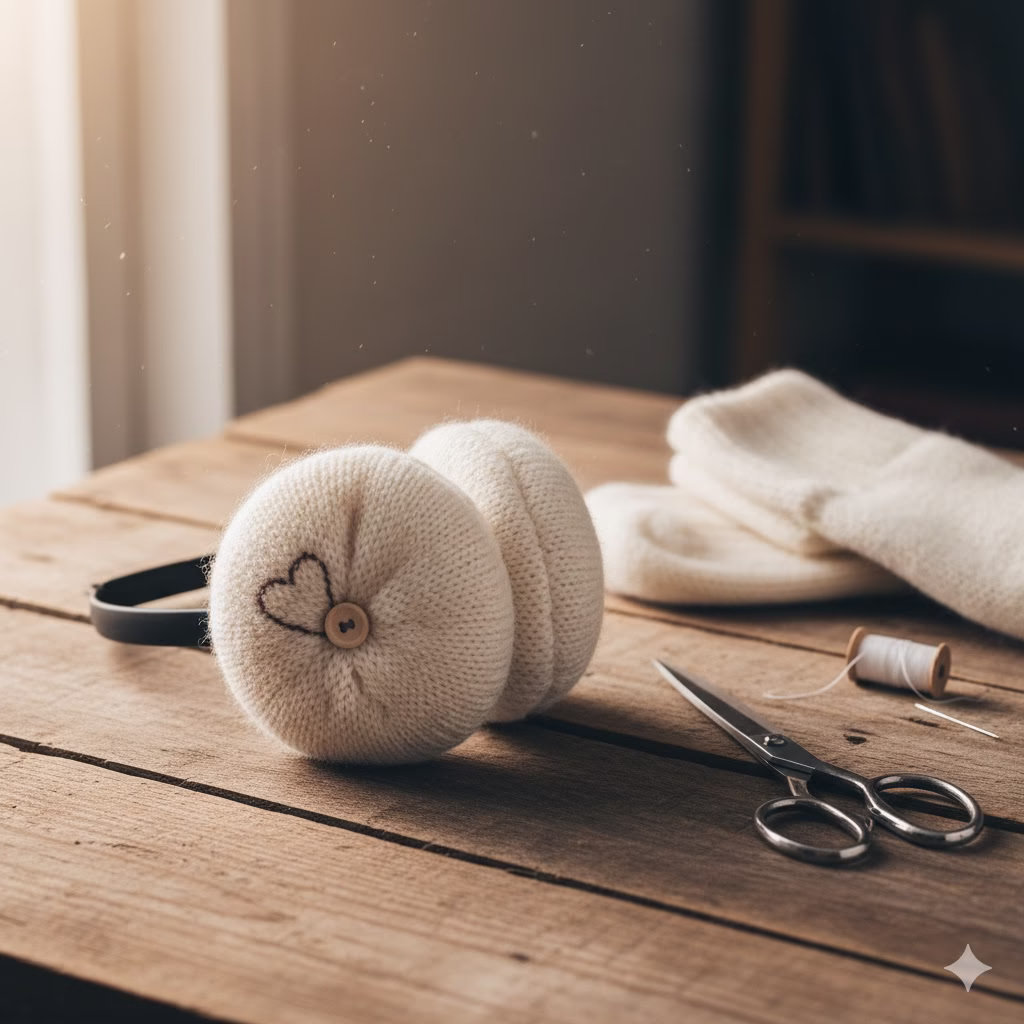
There’s nothing worse than that biting, sharp chill that creeps into your ears on a cold morning walk, turning a pleasant outing into a painful dash home. As a lifelong budget-conscious DIYer who constantly seeks out creative uses for everyday items, I’ve often found myself staring at a pile of mismatched socks and wondering how to save them from the landfill. This simple project merges those two struggles, providing a warm, custom solution for winter Accessories and a genuinely satisfying upcycling win. It’s a project anyone can do, transforming a simple pair of old socks into something genuinely useful and incredibly cozy Ear Muffs.
Introduction: The Genius of Upcycled Winter Warmth
In a world increasingly focused on sustainability and mindful consumption, finding creative ways to repurpose everyday items has become an exciting challenge. One of the most common textile items that often ends up discarded or sitting in the “single socks” basket is, quite simply, the sock. This article dives into a brilliantly simple, cost-effective, and deeply satisfying DIY project: turning a pair of soft, cozy socks into functional Ear Muffs.
This isn’t just a thrifty hack; it’s a way to create custom winter Accessories that reflect your style while keeping the chill at bay. The materials are minimal, the process is straightforward, and the result is a plush, warm set of Ear Muffs ready for the coldest weather. Whether you’re trying to save money, reduce textile waste, or just love a good crafting session, this guide will walk you through the transformation, step-by-step.
Why Choose Socks for DIY Ear Muffs?
Socks are a surprisingly perfect material for this project due to several inherent qualities:
- Insulation: They are designed to keep feet warm, meaning their material (usually cotton, wool, or a thermal blend) provides excellent insulation for the ears.
- Stretch and Conformity: The knitted structure of socks allows them to stretch easily, making them simple to slip over a headband and conform comfortably to the ear’s shape without being too tight.
- Softness: Socks are inherently soft against the skin, which is ideal for a garment meant to cover a sensitive area like the ears.
- Availability: Almost everyone has spare socks, especially the orphaned singles that have lost their mate. This project gives those lonely textiles a new purpose.
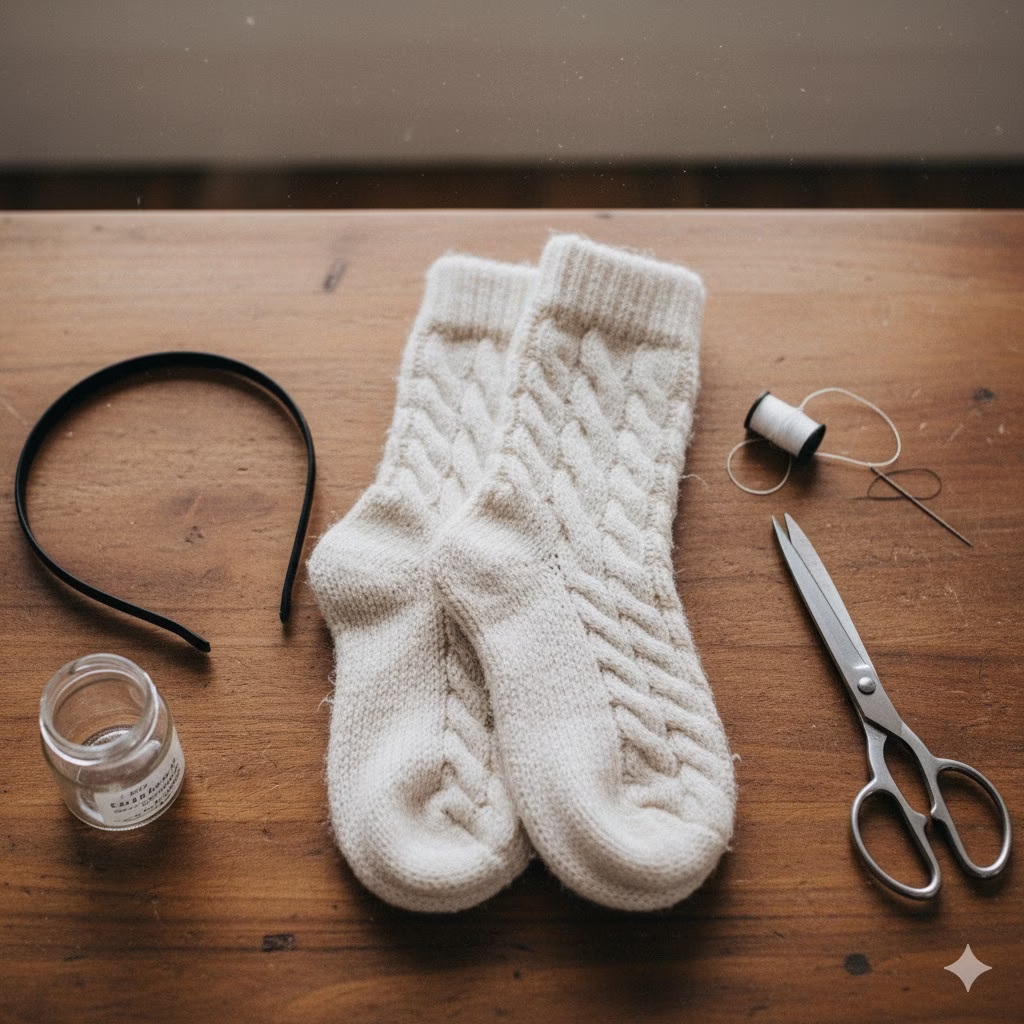
Materials Checklist: What You Need
The beauty of this project lies in its simplicity. You likely already have everything you need lying around your home.
| Item | Quantity | Notes |
| Socks | 1 Pair (2 individual socks) | Choose thick, plush, and soft material for maximum warmth. Crew socks or tube socks work best. |
| Headband | 1 | A simple, flexible plastic or metal headband is ideal. It should be wide enough to provide structure. |
| Scissors | 1 Pair | Sharp fabric scissors for clean cuts. |
| Needle and Thread | Optional | Matching color, for a more secure or finished look. Fabric glue can also be substituted. |
The Step-by-Step Guide: How to Make Ear Muffs
Follow these simple steps to transform your spare socks into stylish and functional Ear Muffs.
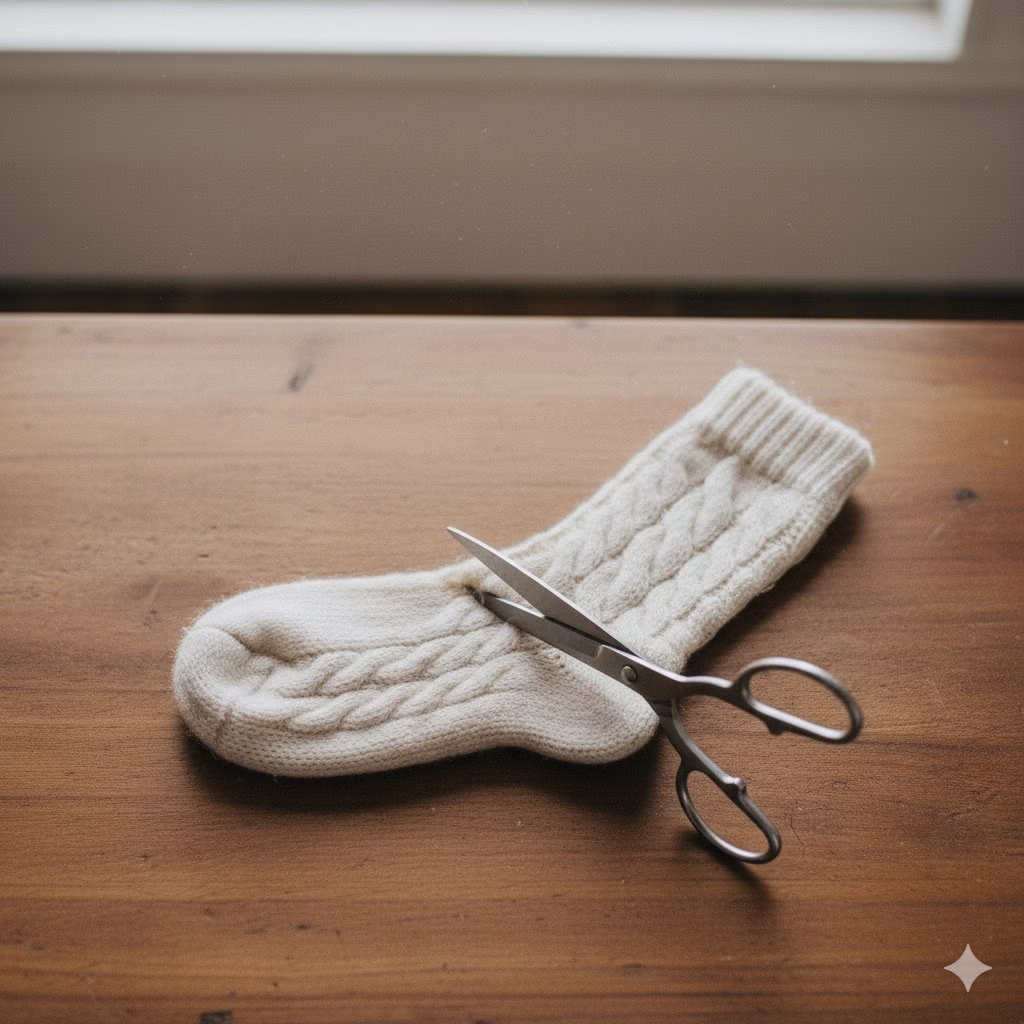
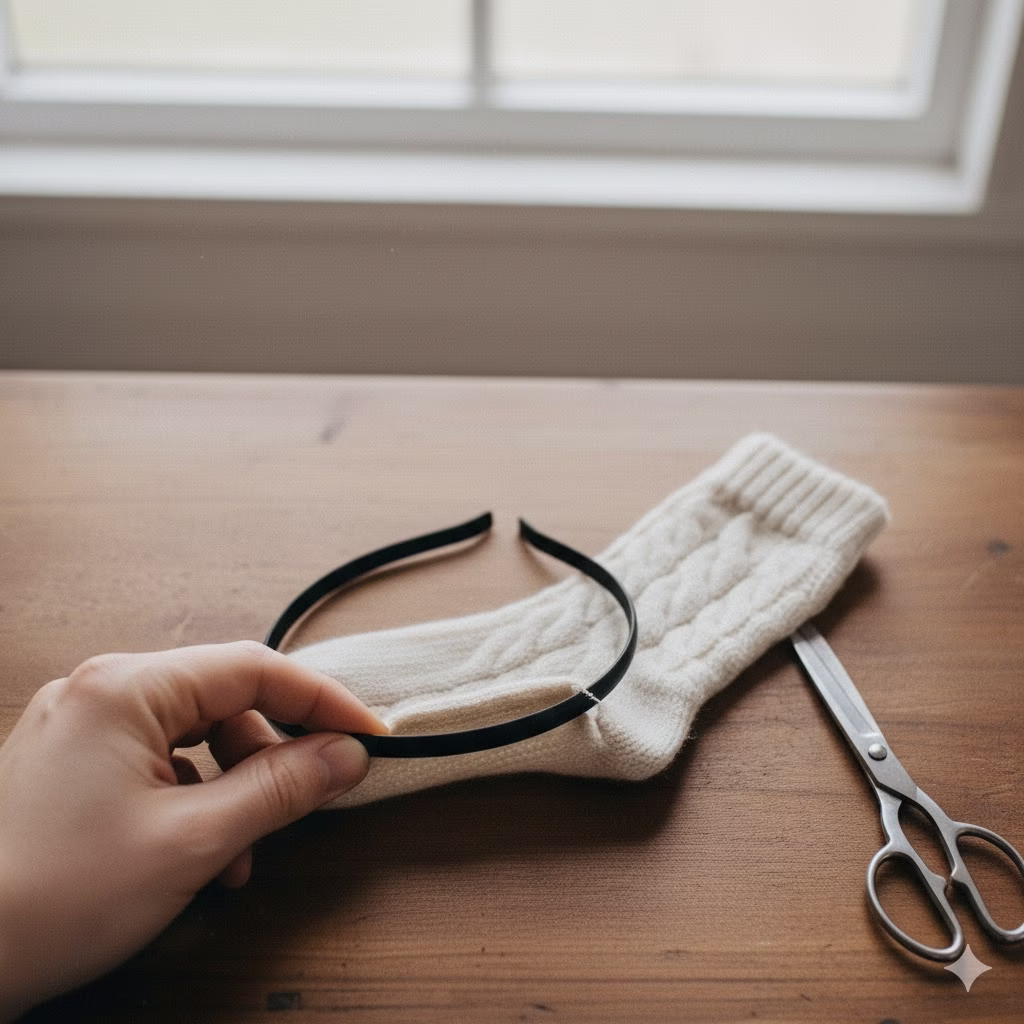
Step 1: Preparing the Socks
The key to a good sock Ear Muff is ensuring the sock is the right size and shape to cover your ear comfortably.
- Select Your Pair: Choose two socks that are the same size, color, and thickness. Ensure they are clean and free of holes.
- Determine the Cutting Point: Lay one sock flat. You want the main, padded, toe end of the sock to be the muff itself. Measure about 4 to 5 inches (10 to 12 cm) from the toe end of the sock. This measurement will vary slightly depending on the size of the sock and your ear size, but it is a good starting point.
- Cut the Sock: Using sharp scissors, cut straight across the sock at your determined measurement. You will now have a closed toe piece—this is your future muff—and the remaining leg portion. Repeat this process for the second sock. Discard or save the leg portions for another craft project (e.g., as wrist warmers).
Step 2: Preparing the Headband
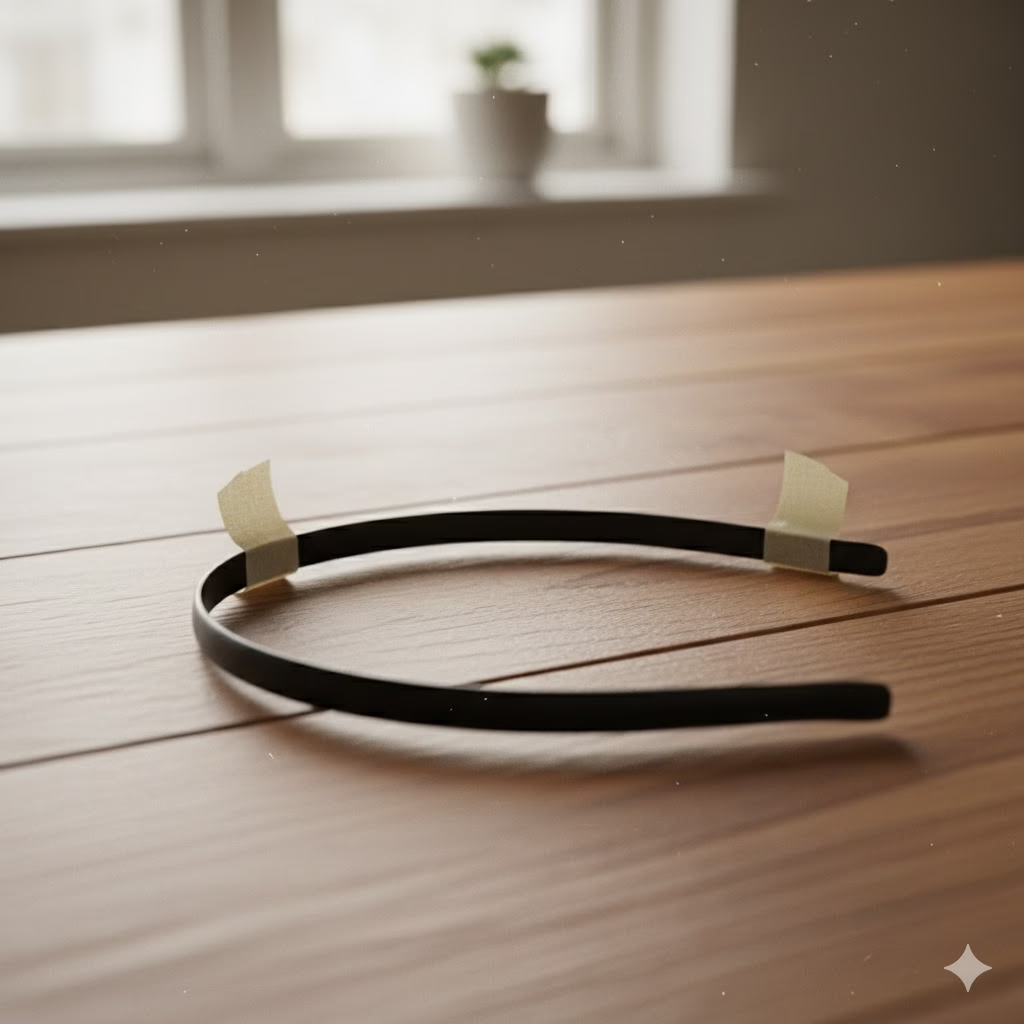
The headband provides the essential structure that holds the Ear Muffs in place.
- Mark the Muff Placement: Place the headband on your head. Use a marker or a small piece of tape to indicate the two points on the band that sit directly over your ears. This ensures the finished Ear Muffs will cover your ears perfectly.
- Measure the Headband: Now that you know where the socks need to sit, measure the width of the headband at those ear points. This is the amount of space you need to open on the cut end of your sock pieces.
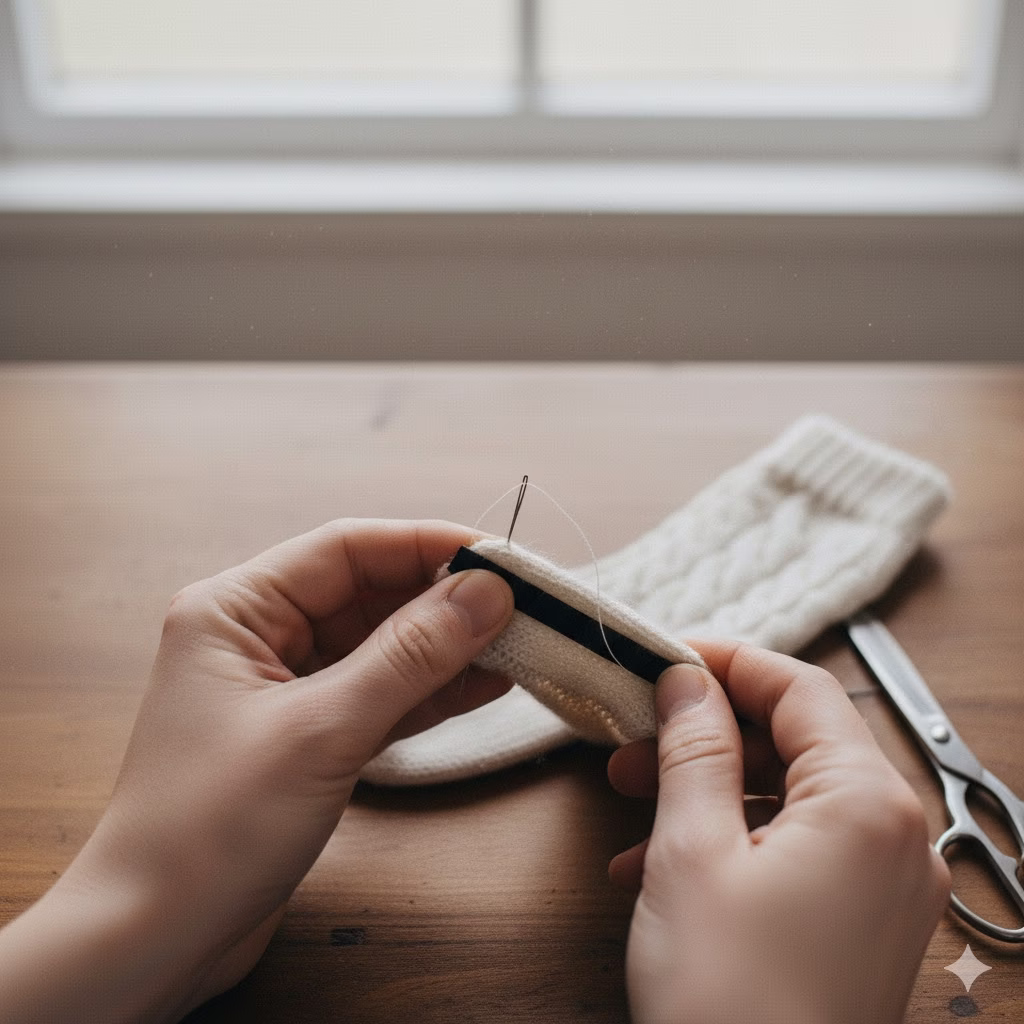
Step 3: Creating the Opening for the Headband
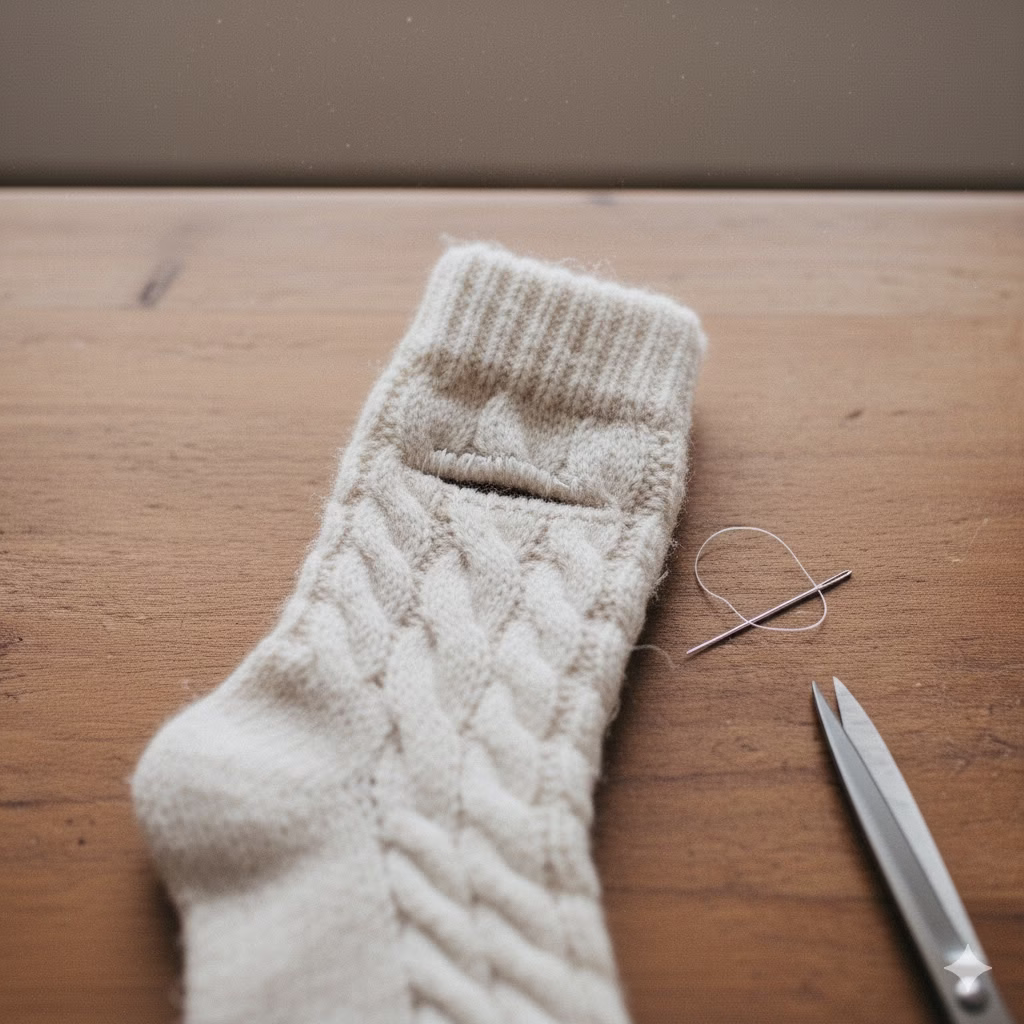
This is the most critical step for a professional-looking finish. You need to create a slit in the cut edge of the sock pieces to slide the headband through.
- Locate the Center: Take one of your cut sock pieces (the toe end). Fold the cut edge in half to find the exact center.
- Cut the Slit: Make a small, straight horizontal incision (a slit) in the center of the cut edge. The slit should be just wide enough to accommodate the width of the headband. Start small—you can always make it bigger, but you can’t make it smaller. Aim for a slit of about half an inch (1.25 cm) initially, then widen if necessary to match the headband’s width. Do not cut the entire way across the sock.
- Reinforce (Optional but Recommended): To prevent the slit from fraying or stretching out too much over time, you can quickly hand-stitch a small running stitch around the edge of the slit. Alternatively, a drop of fabric glue or Fray Check can be applied. Repeat for the second sock.
Step 4: Attaching the Muffs to the Headband
This is where the magic happens and the transformation into functional Ear Muffs occurs.
- Thread the Headband: Take one sock piece and carefully slide the narrow end of the headband through the slit you just created.
- Position the Muff: Gently pull the sock piece down the headband until the toe end (the padded part) is positioned exactly over the ear mark you made in Step 2. The sock should be taut but not overly stretched.
- Secure the Muff (Crucial): To prevent the muff from sliding off or spinning around, you need to secure the sock to the headband.
- No-Sew Method: Apply a line of strong fabric glue inside the sock, around the headband’s perimeter. Press firmly and allow it to dry completely according to the glue’s instructions.
- Sewing Method: Use a needle and thread (matching color) to sew the sock directly to the headband. You can use a simple whipstitch or a blanket stitch, sewing all the way around the slit opening for maximum security.
- Repeat: Repeat Steps 1 through 3 for the second sock piece and the other side of the headband.
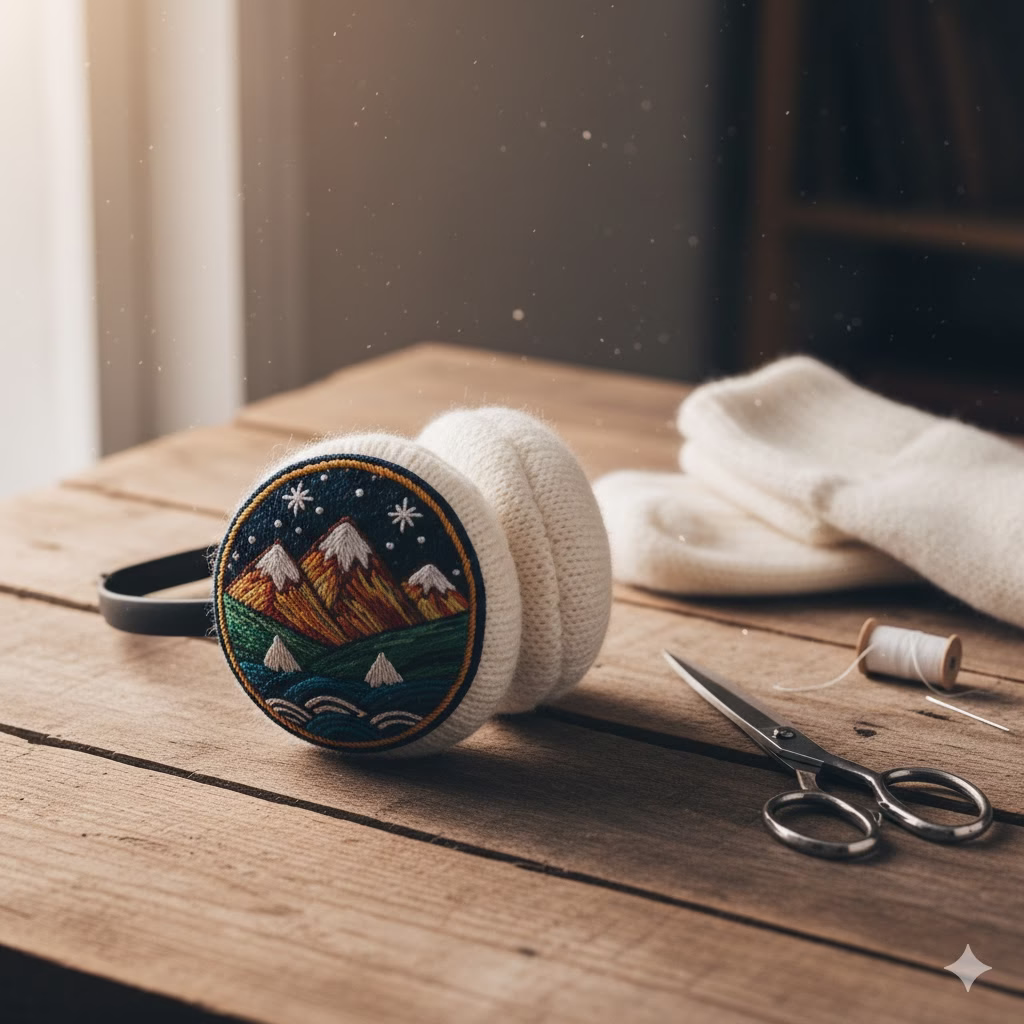
Step 5: The Finishing Touches and Customization
Your basic Ear Muffs are now complete! Before wearing them, you can take a few extra minutes for comfort and style.
- Test the Fit: Try the Ear Muffs on. Check that the toe of the sock fully covers your ear and that the headband feels comfortable. If they are too loose, you may need to go back and secure the socks more tightly or use slightly smaller socks.
- Customize with Accessories: This is where you can truly make them your own. You can embellish your new Accessories with things like:
- Buttons or Patches: Sew decorative buttons or embroidered patches onto the outer side of the muffs.
- Faux Fur Trim: Glue a small strip of faux fur around the edge of the sock for a luxe, high-end look.
- Ribbons/Bows: Tie small bows near the base of the muff for a playful touch.
- Monogramming: Use fabric paint or embroidery thread to add your initials.
Examples of Sock Choices and Their Results
The type of sock you choose will heavily influence the look, feel, and warmth of your finished Ear Muffs.
| Sock Type | Pros | Cons | Ideal Look/Feel |
| Wool Hiking Socks | Excellent warmth and insulation. Very durable. | Can be bulky; might be scratchy if not lined. | Chunky, rustic, and extremely warm outdoor Ear Muffs. |
| Fuzzy Slipper Socks | Supreme softness and comfort. Often brightly colored. | Less durable; not as windproof as wool. | Plush, cozy, and perfect for indoor or light outdoor use. |
| Thick Athletic Crew Socks | Good stretch; often come in solid, neutral colors. | Material might be slightly thinner than specialty thermal socks. | Sleek, modern, and practical Accessories for running or gym wear. |
| Patterned Novelty Socks | Fun, unique patterns and colors. | Pattern alignment can be tricky; warmth varies. | Whimsical, personalized, great statement Accessories. |
Maintenance and Care
To ensure your upcycled Ear Muffs last for many cold seasons to come:
- Washing: If you secured the socks with only glue, hand-wash the muffs and spot-clean the headband. If they are securely sewn, they can usually be machine-washed on a gentle, cold cycle, but air-drying is highly recommended to preserve the shape and the headband’s integrity.
- Storage: Store them flat or hanging when not in use. Avoid crushing them, as this can permanently misshape the headband and flatten the insulation.
- Inspecting: Regularly check the attachment points for any signs of wear or separation, and mend them quickly with a needle and thread or a touch of fabric glue.
This simple project not only provides you with a much-needed winter accessory but also offers a satisfying way to reduce waste and embrace the DIY spirit. With just a pair of socks and a few minutes of your time, you’ll be ready to face the winter chill in style.
Frequently Asked Questions (FAQ)
Q: Can I use mismatched socks for this project?
A: Absolutely! If you are making the Ear Muffs to wear under a hood or if you enjoy an eclectic style, using mismatched colors or patterns can be a fun way to customize your Accessories. Just ensure the socks are the same material and thickness so the finished muffs feel balanced and look symmetrical in terms of size and bulk.
Q: My headband is too thin. Will it still work?
A: A thin, flexible metal headband will still work, but it may be less comfortable and provide less structure. For a thin headband, you may want to wrap the entire headband with a strip of felt or a piece of the sock leg you cut off earlier before attaching the muffs. This will cushion the band and give the muffs a sturdier base to attach to, resulting in more comfortable and secure Ear Muffs.
Q: I don’t have a spare headband. What is a good substitute?
A: The headband’s function is structural and must be flexible and sturdy. Good substitutes include:
- The wire frame from a piece of inexpensive costume jewelry or a defunct, wired headphone band (ensure there are no sharp edges).
- A sturdy, flexible piece of plastic or coat hanger wire that has been shaped into a comfortable curve and covered in tape or fabric to prevent scratching.
Q: Can I stuff the socks for extra warmth?
A: Yes, you can! For maximum warmth and a puffier look, you can add a small amount of stuffing, such as polyester fiberfill (batting), or even pieces of an old cotton t-shirt, before you secure the sock to the headband. Ensure you distribute the stuffing evenly and gently so the muff doesn’t look lumpy. This technique creates a superior thermal barrier for your DIY Ear Muffs.
Q: How long will this project take?
A: Once you have gathered your materials, the cutting, assembling, and securing process typically takes no more than 15 to 30 minutes. The only time delay is waiting for the fabric glue to fully cure if you opt for the no-sew method.
References
- Science Direct – Environmental impact of textile reuse and recycling
- Oxfam – What is Sustainable Fashion?
Recent Posts