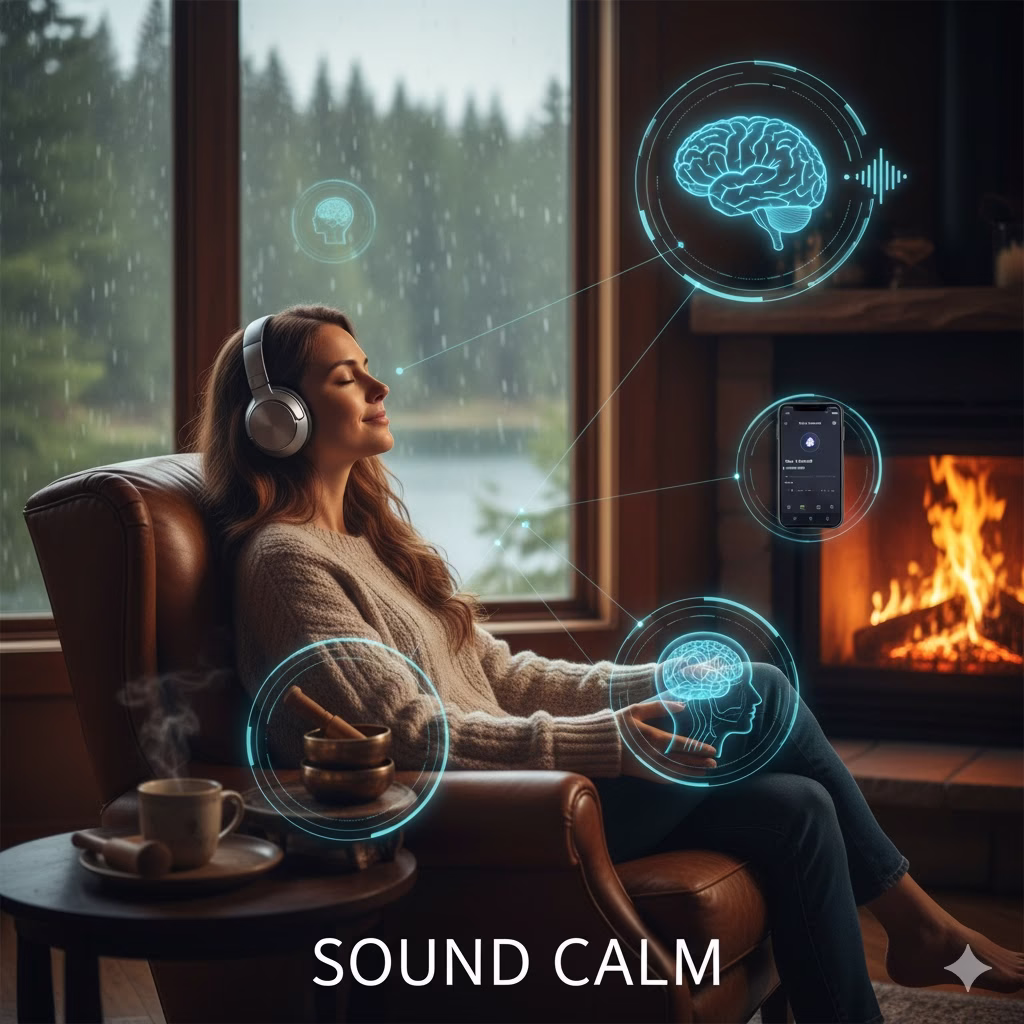
Feeling overwhelmed by the constant noise of life? You are not alone. I used to chase calm, only to find my mind racing faster. Then I discovered the power of intentional sound and the concept of Sound Calm, which completely shifted my world. Join me as I share the simple routine that helped me find my quiet oasis, even on busy days.
Unlock Inner Peace and Silence the Noise with the Power of Sound
Are you tired of feeling constantly wired? Do you battle a restless mind? Do you struggle to find a moment of true peace? In our super-busy, always-on world, real relaxation can feel out of reach. We scroll, we hustle, we worry. Before we know it, another day ends with us feeling more drained than refreshed.
What if the key to deep calm was simpler than you ever thought? And is not in complex meditation or expensive retreats? What if it was in the subtle, yet powerful, world of sound?
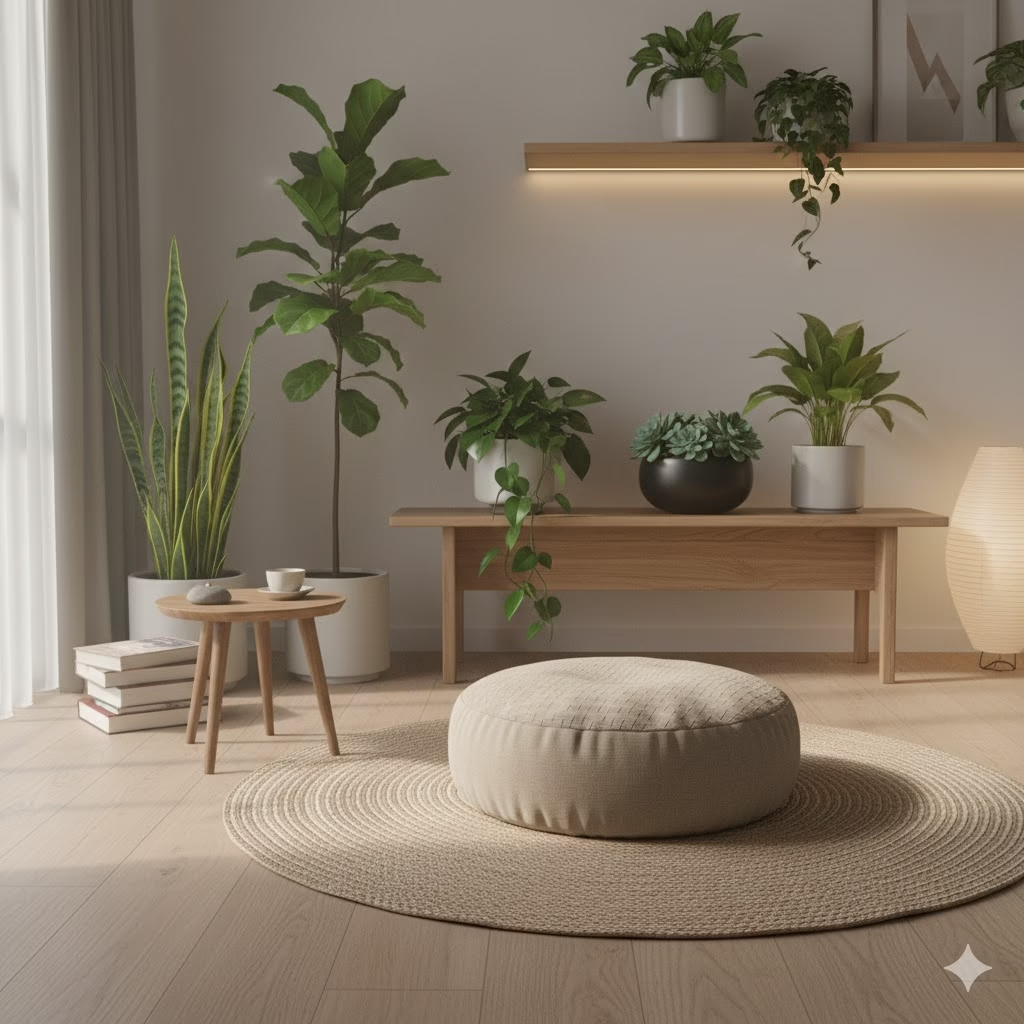
Welcome to Your New 10 Sound Calm Routine. A practical guide that helps you use the incredible power of sounds for deep relaxation, stress reduction, and better health. And it is not just about listening to background noise. It is about creating a sound world that calms your nervous system. And quiets your thoughts. It guides you back to a state of peace.
Ready to find out how a simple Sound Calm routine can change your life? Let’s dive in.
The Science of Sound Calm: Why Your Ears are Your Gateway to Zen

For centuries, many cultures have known the power of sound for healing and meditation. From the chanting of monks to the rhythmic drumming of old rituals, sound has led to deep relaxation. Modern science now offers great insight into why certain sounds affect us so deeply.
Our brains process sounds all the time, even when we sleep. This means sounds go straight to our limbic system. This part of the brain manages emotions, memory, and drive. When we hear sudden, loud noises, our “fight or flight” response starts. This releases stress hormones like cortisol. Nice, steady, or musical sounds do the opposite. They activate the parasympathetic nervous system. This promotes a state of “rest and digest.”
Here is how sound works its magic:
- Brainwave Sync: Steady sounds, like binaural beats or simple rain, help your brainwaves match the external rhythm. This moves us from alert beta waves toward relaxed alpha and meditative theta states. It can even lead to restorative delta waves for deep sleep.
- Masking Bad Noise: A pleasant, steady sound can hide distracting noises. These may include traffic, neighbors, or a ticking clock. This creates a sound buffer that lets your mind settle.
- Emotional Link: Some sounds bring strong memories or feelings. The soft sound of waves might remind you of a calm vacation. This instantly starts a sense of peace.
- Focus & Presence: Focusing on the small details of a soothing sound anchors your attention. It pulls you away from stressful thoughts and into the present moment. This is much like how deep breathing works in meditation.
Knowing this science helps us be more careful about the sounds we use. It changes our sound environment into a haven of calm.
Building Your 10 Sound Calm Routine: The Basics

Before we look at the specific sounds, let’s set up the rules for your routine. This is not a strict plan. It is a flexible guide you can fit into your life.
1. Know Your Goal:
What do you want to achieve? Better sleep? Less worry? Focus? More peace? Knowing your goal helps you choose the best sounds and times for your routine.
2. Choose Your Tools:
You do not need fancy gear!
* Headphones: These are vital for deep listening, like for binaural beats or to block outside noise. Noise-cancelling, over-ear headphones work best.
* Speakers: Good speakers can create a calming sound setting for a whole room.
* Apps/Sites: Many free and paid apps (like Calm, Headspace, Insight Timer) offer large sound libraries. YouTube is also a helpful source.
3. Try and Make It Yours:
What one person finds soothing, another may find annoying. Be sure to try different sounds. See what works best for you. Your “10” sounds might change over time!
4. Do It Often:
Even just 5 to 10 minutes daily can help a lot. Add your Sound Calm routine to your normal habits. Try it with your morning coffee, a midday break, or as you get ready for bed.
Your 10 Sound Calm Arsenal: A Trip Through Auditory Bliss

Here are 10 kinds of very soothing sounds. This includes ideas and tips on how to use them in your daily life.
1. Gentle Rain & Thunderstorms Why it works: The rhythmic, steady fall of rain is a type of ‘white noise.’ It covers other sounds well. Light thunder adds a deep, pleasing tone. This sound makes us feel cozy, safe, and clean.
How to do it: Use rain sounds to focus while you work. Use them to relax after a long day. Or use them as a sleep aid. Look for sounds that are not too heavy. A light shower is calmer than a huge storm. Try different levels of intensity.
Example: Search for “gentle rain sounds for sleep” or “distant thunderstorm ambiance.”
2. Ocean Waves Why it works: The back-and-forth motion of ocean waves feels like natural breathing. Their regular, yet slightly varied pattern is very calming. The sound of a wave breaking and then retreating can be deeply hypnotic.
How to do it: This sound is perfect for meditation. Use it for visualizing exercises. Or just use it to create a peaceful feel. Adjust the volume so you feel surrounded, but not overwhelmed.
Example: “Calming ocean waves,” “beach ambience with distant gulls.”
3. Forest & Nature Ambiance Why it works: Connect with nature, even if you are inside. Sounds of rustling leaves, birdsong, distant animals, and soft wind bring us to peaceful natural places. They help lower feelings of stress and loneliness.

How to do it: Great for relaxing during the day, for study, or for reading. Choose forest sounds that do not have any sudden or loud animal calls, if you are sensitive to noise.
Example: “Deep forest sounds,” “woodland birdsong and breeze.”
4. Chimes & Singing Bowls Why it works: The pure, deep sounds and musical tones of chimes and singing bowls bring clarity and space. They can clear your mind of worries. They help you reach a state of deep thought.
How to do it: Use these sounds for short, mindful breaks. Use them before or after meditation. Or use them to simply reset your focus. Let yourself follow the sound as it slowly fades.
Example: “Tibetan singing bowls meditation,” “wind chimes relaxing.”
5. Binaural Beats Why it works: This is scientific! You listen to two slightly different tones in each ear (with headphones). Your brain then creates a “third” tone, the binaural beat. This helps your brainwaves sync up. Different beat speeds (like alpha, theta, delta) relate to various states of rest, creativity, or sleep.
How to do it: You MUST use headphones. Choose a beat speed that matches your goal. (Theta for deep thought, delta for sleeping.) Start with short sessions. See how you feel.
Example: “Theta waves for deep meditation,” “delta waves for sleep.”

6. White, Pink, or Brown Noise Why it works: These “color noises” are steady background sounds. They cover a wide range of sound speeds. They easily mask other noise without being distracting.
* **White Noise:** Has all sound speeds at the same power (like TV static).
* **Pink Noise:** Focuses on lower sound speeds (like steady rain or soft leaves). It is often considered smoother and more natural than white noise.
* **Brown Noise:** Much deeper, with more emphasis on very low sound speeds (like a strong waterfall or thunder). It sounds like a low rumble.
How to do it: Perfect for helping focus, blocking noise, and aiding sleep. Try them all to see which “color” is most comfortable for you. Pink noise is often a top choice for sleep.
Example: Search for “pink noise for sleep,” “brown noise for focus.”
7. Crackling Fireplace Why it works: A basic sound that makes us feel safe, warm, and together. The gentle crackling and popping, plus the occasional sizzle, is very comforting. It is perfect for relaxing and mesmerizing.
How to do it: Ideal for creating a cozy feel in the evening. Use it while relaxing or reading. Add soft lamps for the best effect.
Example: “Cozy fireplace sounds,” “crackling fire ambience.”
8. Gentle Running Water (Stream/Waterfall) Why it works: The smooth, flowing sound of water is naturally calming and cleansing. It brings to mind renewal. It can wash away mental stress. A steady stream sounds soft. A small waterfall adds a fresh, lively element.
How to do it: Use this during mindful practice. Use it for background sound during work. Or use it to wind down before bed. Make sure the sound is not too loud or intense.
Example: “Gentle stream sounds,” “small waterfall ambience.”

9. Soft Instrumental Music (Ambient, Classical, Lo-Fi) Why it works: Music without words lets your mind rest. You do not have to think about what the words mean. Ambient music creates a calming texture. Some classical pieces (especially slow ones) or Lo-Fi beats are very soothing. They can even boost creativity.
How to do it: Pick music that is meant to be relaxing. Explore different types of music to find what you like. This is perfect for creative work, unwinding, or as a change from silence.
Example: “Relaxing ambient music,” “classical music for relaxation,” “lo-fi study beats.”
10. Your Own “Happy Place” Sound Why it works: This is your own special sound. Maybe it is distant church bells. Maybe it is a cat purring. It could be the soft hum of an old fridge. It might even be the quiet breathing of a loved one. These sounds link directly to good memories and feelings.
How to do it: Take time to think about sounds that truly make you feel safe, loved, or peaceful. Can you find a recording of this sound? Or can you just remember it clearly? This sound is your unique anchor to calm.
How to Do It: Using Your Sound Calm Routine Daily
You now have your set of soothing sounds. Let’s talk about how to use them. The best part of a Sound Calm routine is how easy it is to fit into your life.
Morning Refresh (5-10 minutes):
Start your day with a plan. Before you check your phone, put on some Forest Ambience or Gentle Running Water. Drink your coffee. Stretch a bit. Or just sit quietly. Let the sounds ground you before the day starts.
Midday Reset (10-15 minutes):
Feeling tired in the afternoon? Are you stressed by your tasks? Take a real break. Use headphones and play Binaural Beats (Alpha or Theta). Close your eyes. Just listen. This can re-energize your mind better than checking social media. If you can, play Pink Noise softly while you work. This helps focus and blocks noise.
Evening Unwind (20-30 minutes before bed):
This is where your routine can work wonders. Make a “sleep sanctuary.”
- Lower the lights.
- Play Gentle Rain, Ocean Waves, or a Crackling Fireplace.
- Do not use screens. Read a book, write in a journal, or just lie down and listen.
- If using Delta Wave Binaural Beats, put on your headphones once in bed. Let the sound gently put you to sleep.
Focused Calm/Meditation (Anytime):
Need to truly de-stress or enter a quiet state? Pick a sound that fits your goal. Chimes & Singing Bowls work well for mindfulness. Soft Instrumental Music is a great backdrop for gentle yoga or stretching.
Pro-Tip: Make a “Calm Playlist”
On your favorite music app, make a playlist with your 10 (or more!) sounds. Name sections like “Morning Focus,” “Midday Chill,” and “Sleep Prep.” This makes it easy to find your peace whenever you want.
Dealing with Issues in Your Sound Calm Journey

- “The sounds distract me!” This can happen at first. Try different sound types or volumes. Sometimes, focusing on the sound itself (like counting the waves) is a good form of deep thought.
- “I can’t find the perfect sound.” Keep trying! The world of sound is vast. Do not stop at just a few. Try sound generators where you can mix different parts.
- “It feels like another chore.” Think of it as caring for yourself, not a task. Start small, just 5 minutes. When you feel the good effects, it will become something you enjoy.
- “What if I have ringing in my ears (tinnitus)?” Many people with tinnitus find consistent, low-level white, pink, or brown noise is helpful. It can mask the ringing and bring relief. Always talk to your doctor or a hearing expert for advice just for you.
FAQ Section
Q: Can I use more than 10 sounds in my routine?
A: Yes, you can! The “10” is a simple guide to help you build a core set. Feel free to explore and grow your sound library as much as you like. The main goal is your personal calm.
Q: Are certain sounds better for specific tasks?
A: Yes! Smooth, steady sounds like pink noise or soft rain are great for focus or sleep. More varied sounds like ocean waves work well for active relaxation or deep thought. Binaural beats are specifically made to guide your brainwaves toward certain states.
Q: Do I need expensive headphones for binaural beats?
A: Good headphones will improve the experience. But any stereo headphones that clearly send different sounds to each ear will work for binaural beats. The main point is that each ear gets a slightly different tone.
Q: How often should I use my Sound Calm routine?
A: Doing it regularly is more key than doing it for a long time. Even 5 to 10 minutes every day can help. Aim for at least once a day. Do it in the morning or before bed. Add more sessions whenever you feel stressed or need to focus.
Q: Can children benefit from soothing sounds?
A: Many children find white noise or gentle nature sounds very helpful for sleeping and quiet time. Always watch them. Keep the volume very low, especially for babies.
Q: What if I prefer complete silence?
A: That is fine! Silence is a great source of calm for many. However, if outside noise stops you from finding silence, or if your mind is still racing in the quiet, then using intentional sound might be a strong tool to help you reach a deeper inner quiet.
References
Recent Posts