Transform your space into a calming retreat with our list of 10 speakers designed for your ultimate calm sanctuary. Each of these picks not only plays soothing sounds but also blends seamlessly into your home, helping you unwind and recharge. From nature sounds to gentle melodies, you’ll find the perfect match to enhance your relaxation routine.
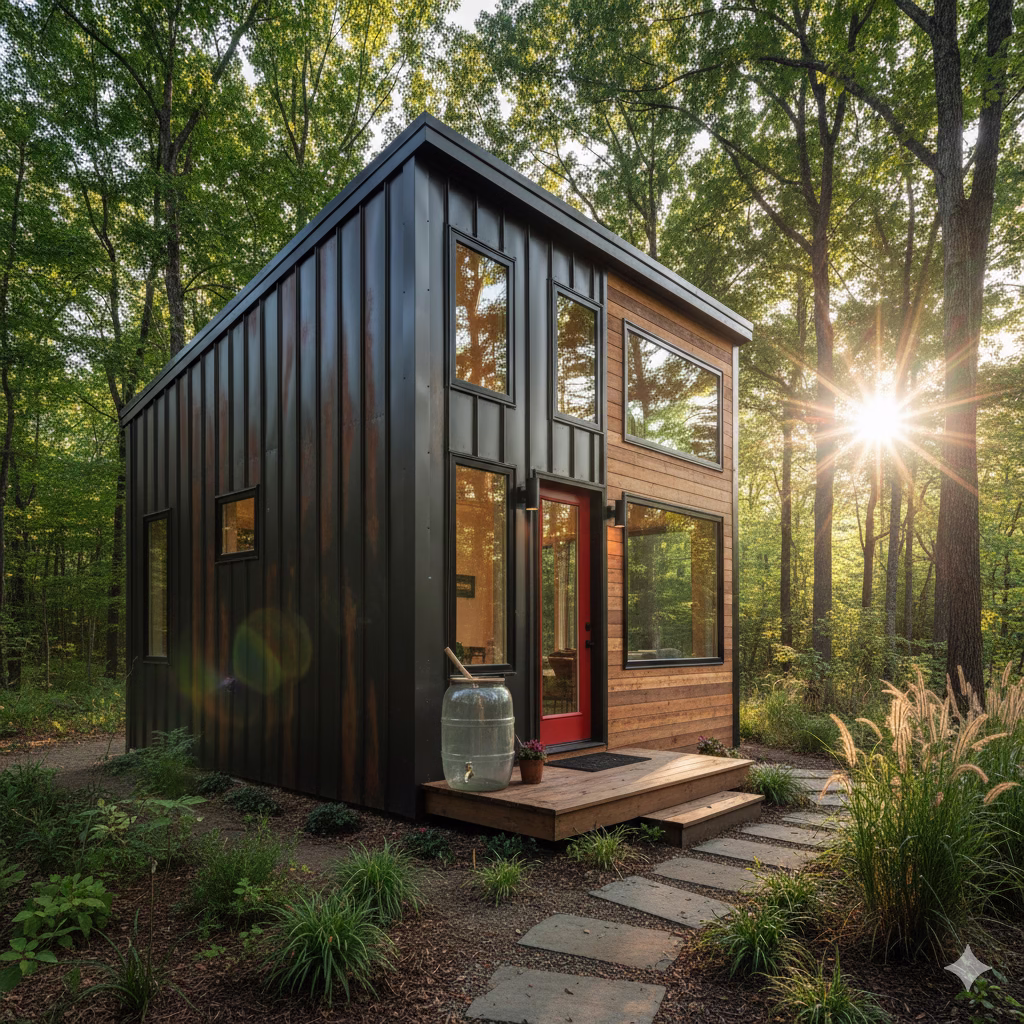
Low-Distortion Audio Fidelity
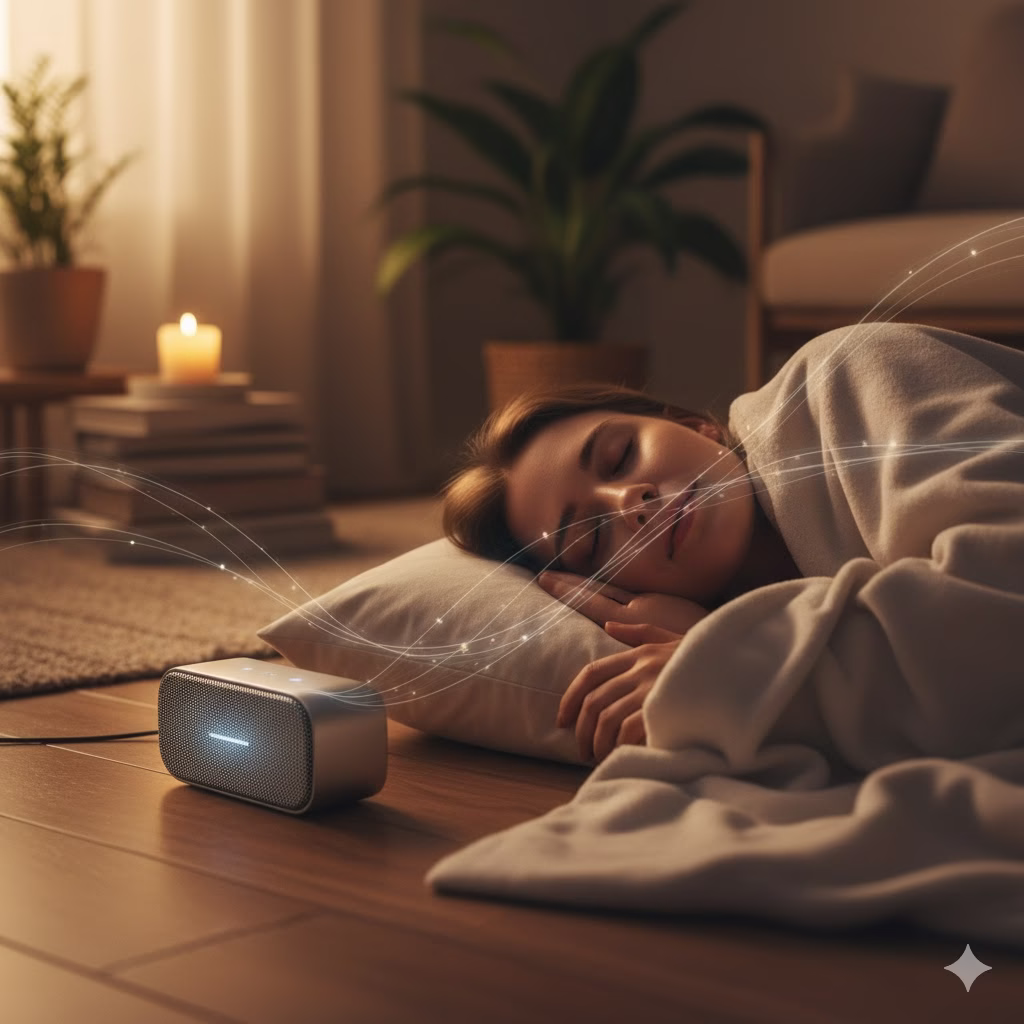
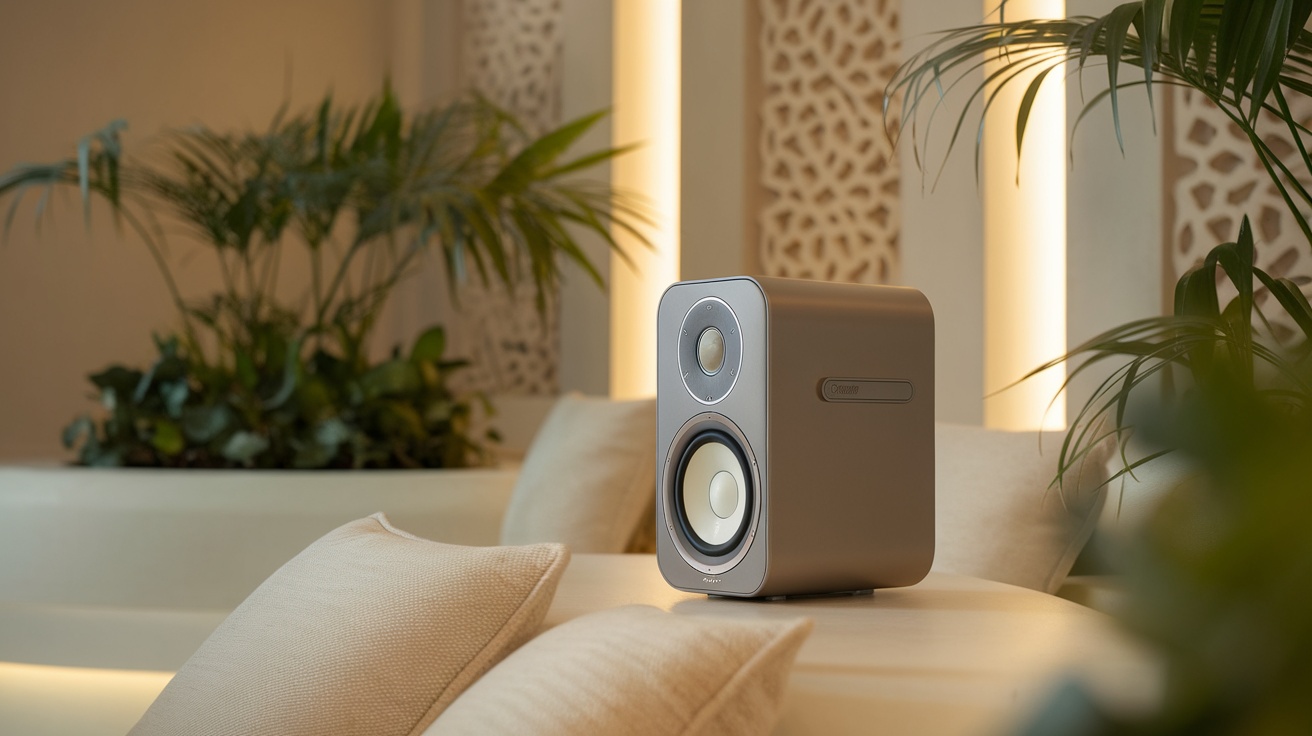
When creating your calm sanctuary, the quality of sound is key. The image shows a sleek speaker designed for low-distortion audio fidelity. This means you get clear, crisp sound without the annoying muddiness that can ruin your listening experience.
Imagine relaxing with your favorite tunes or nature sounds filling the room. A speaker like this ensures that every note is delivered just as it should be. It’s perfect for meditation, yoga, or simply unwinding after a long day.
Low-distortion audio fidelity is all about preserving the integrity of the sound. This speaker is crafted to minimize any unwanted noise, allowing you to fully immerse yourself in the soothing sounds of your choice. It’s a great addition to any calm space.
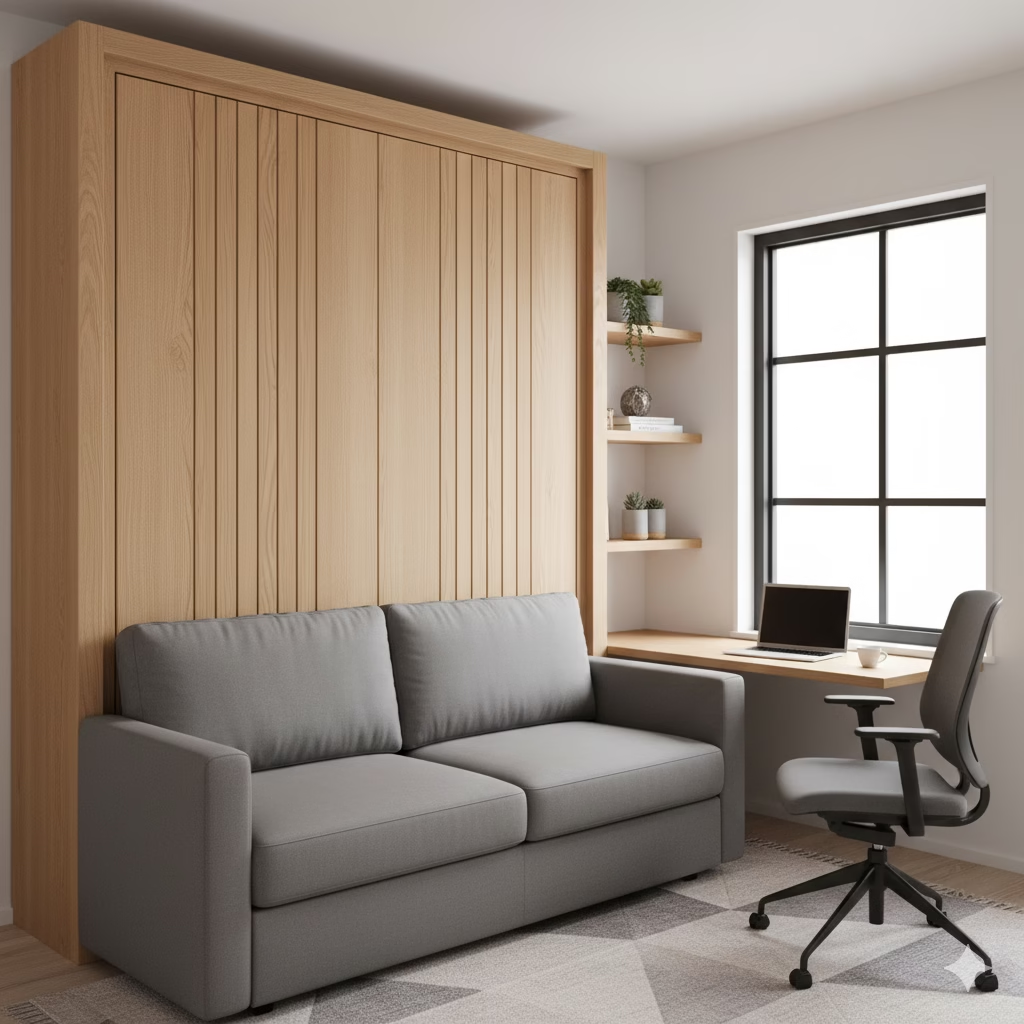
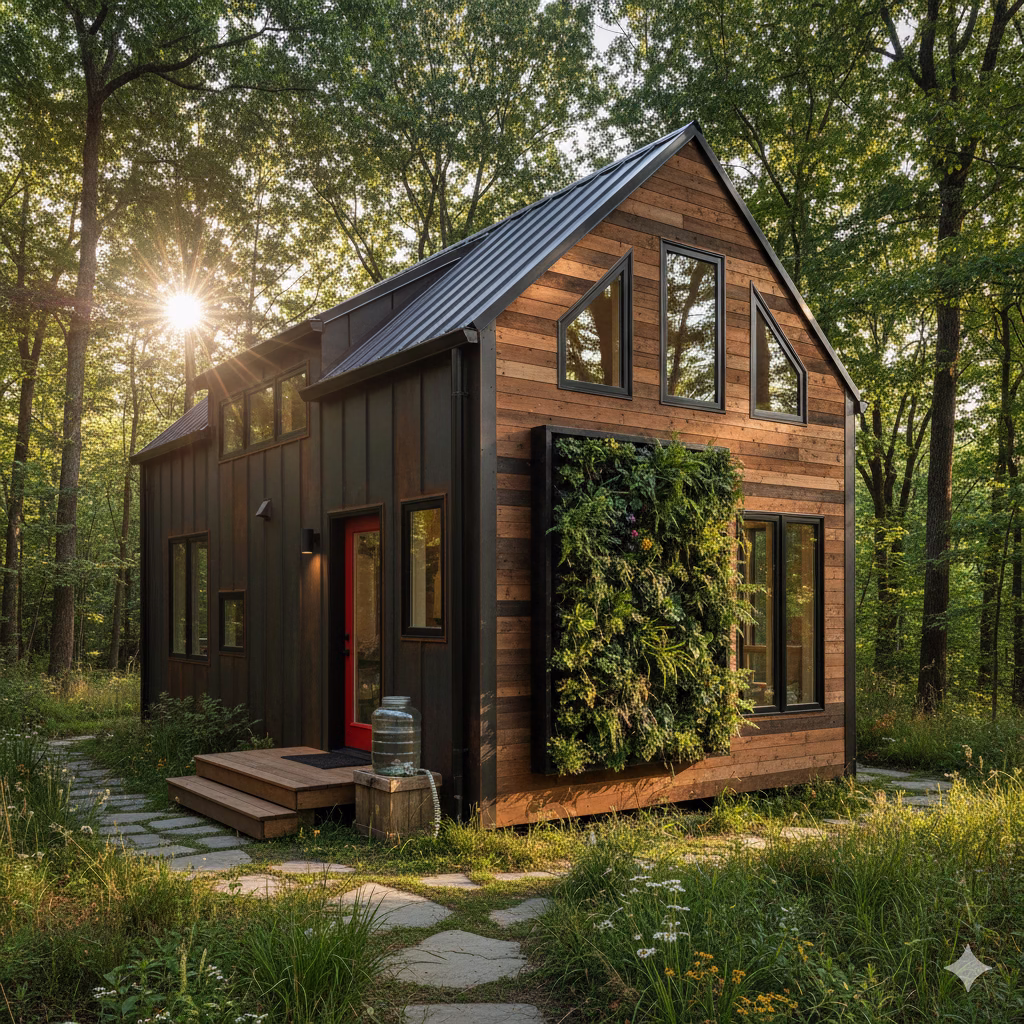
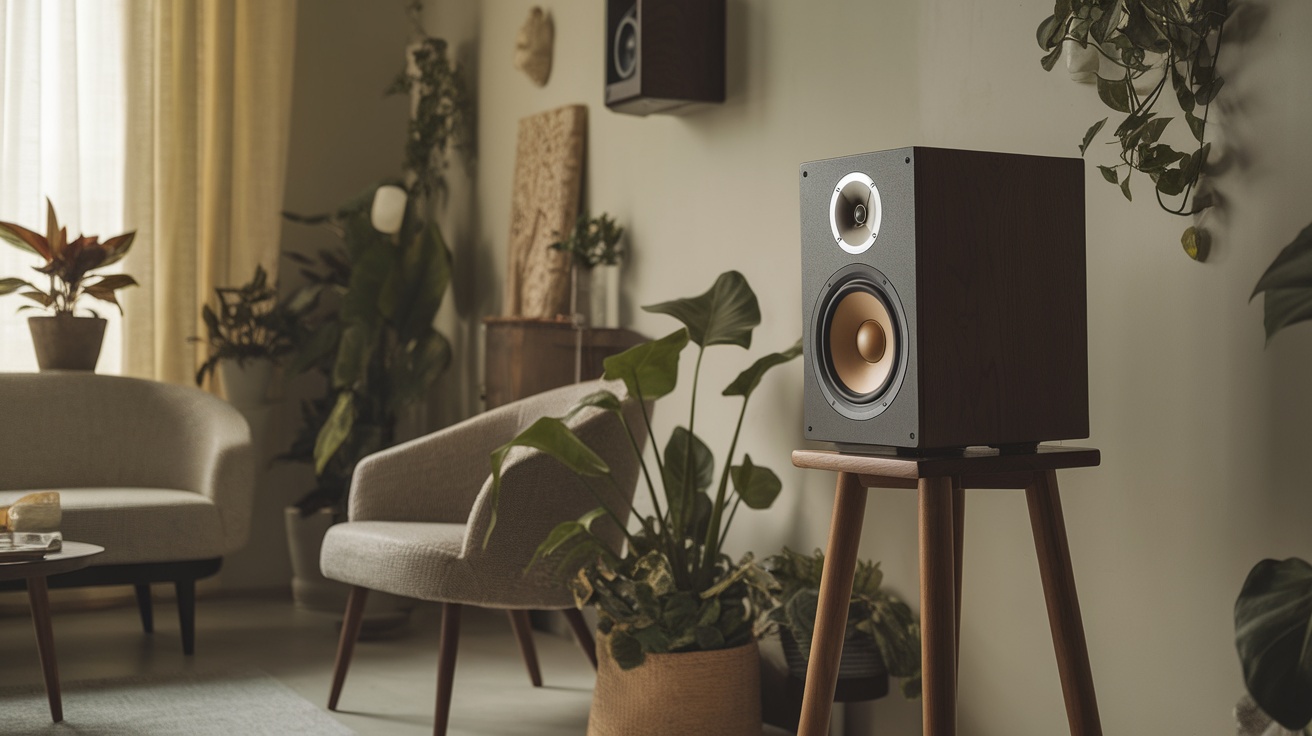
Room-Filling, 360-Degree Sound Dispersion
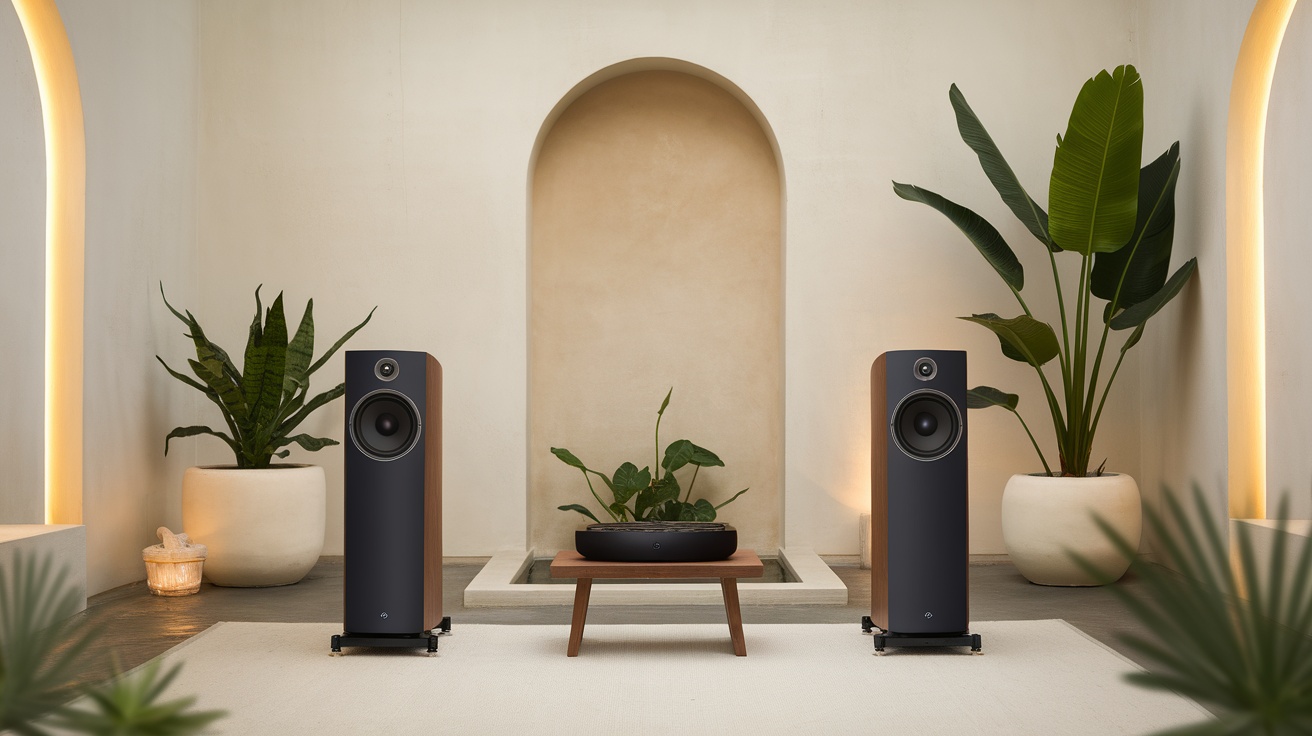
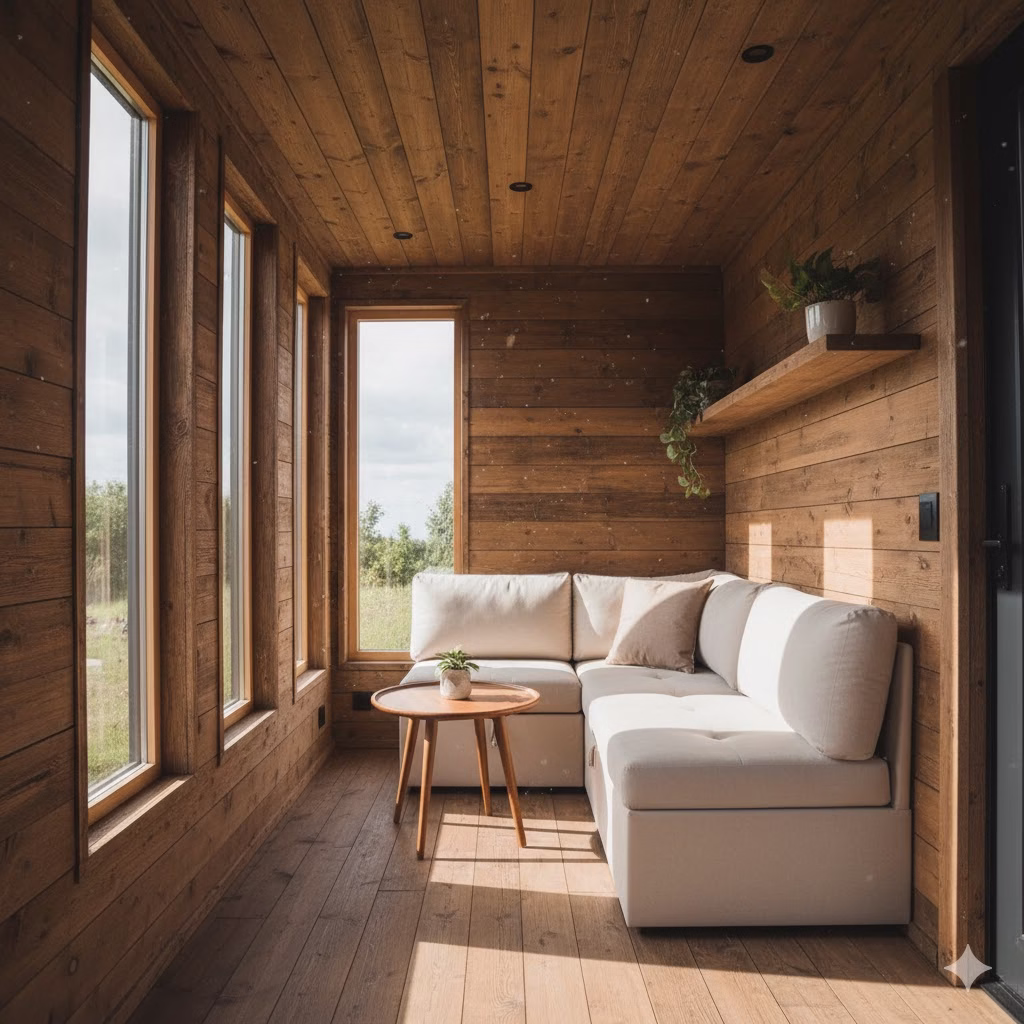
Imagine stepping into a serene space where sound wraps around you like a warm blanket. The speakers in this setup are designed to deliver room-filling, 360-degree sound dispersion. This means that no matter where you are in the room, you’ll experience rich audio that feels immersive and complete.
These speakers blend seamlessly into the calming decor, enhancing the overall vibe of your sanctuary. With their sleek design and natural wood accents, they not only sound great but also look fantastic. The plants and soft lighting in the background create a peaceful atmosphere, making it the perfect spot to unwind.
Whether you’re playing soothing music, nature sounds, or your favorite podcasts, these speakers ensure that every note is clear and every word is heard. They transform your space into a personal retreat, allowing you to escape the noise of everyday life.
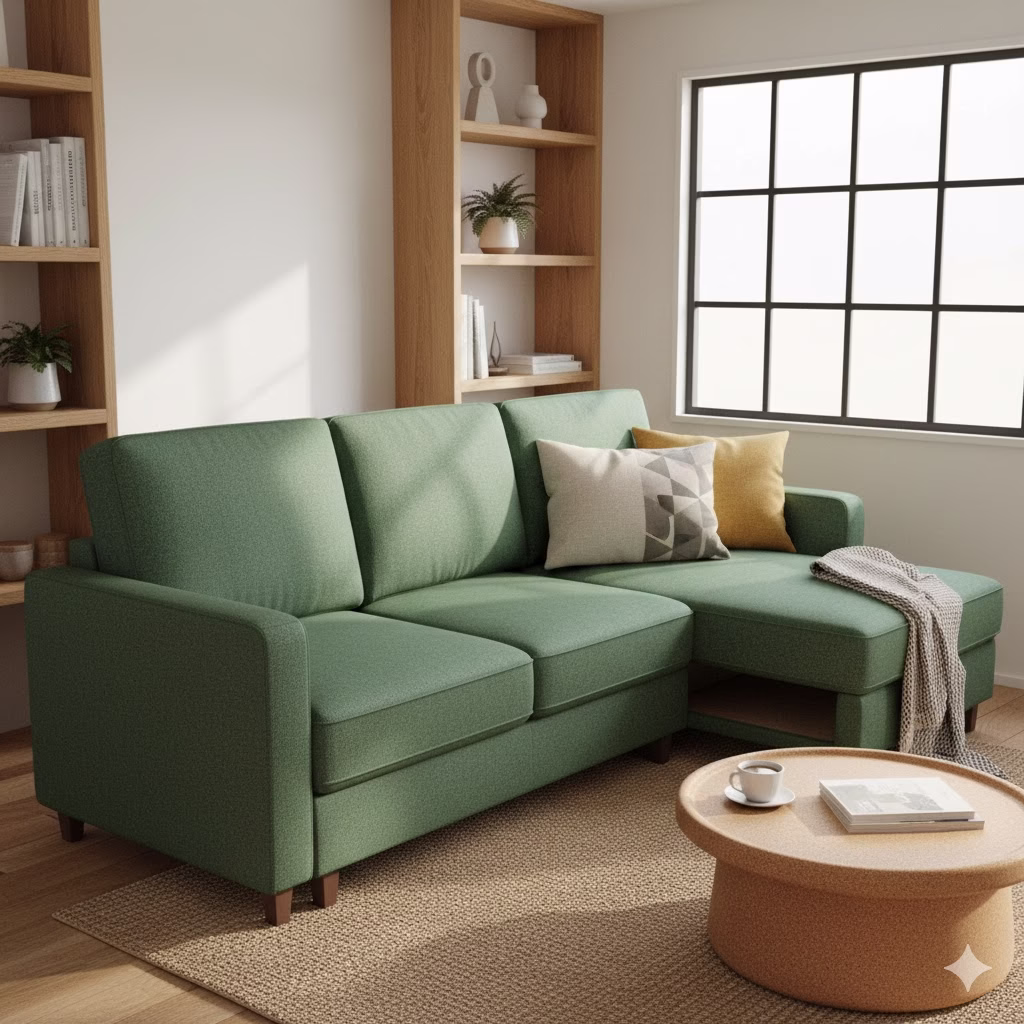
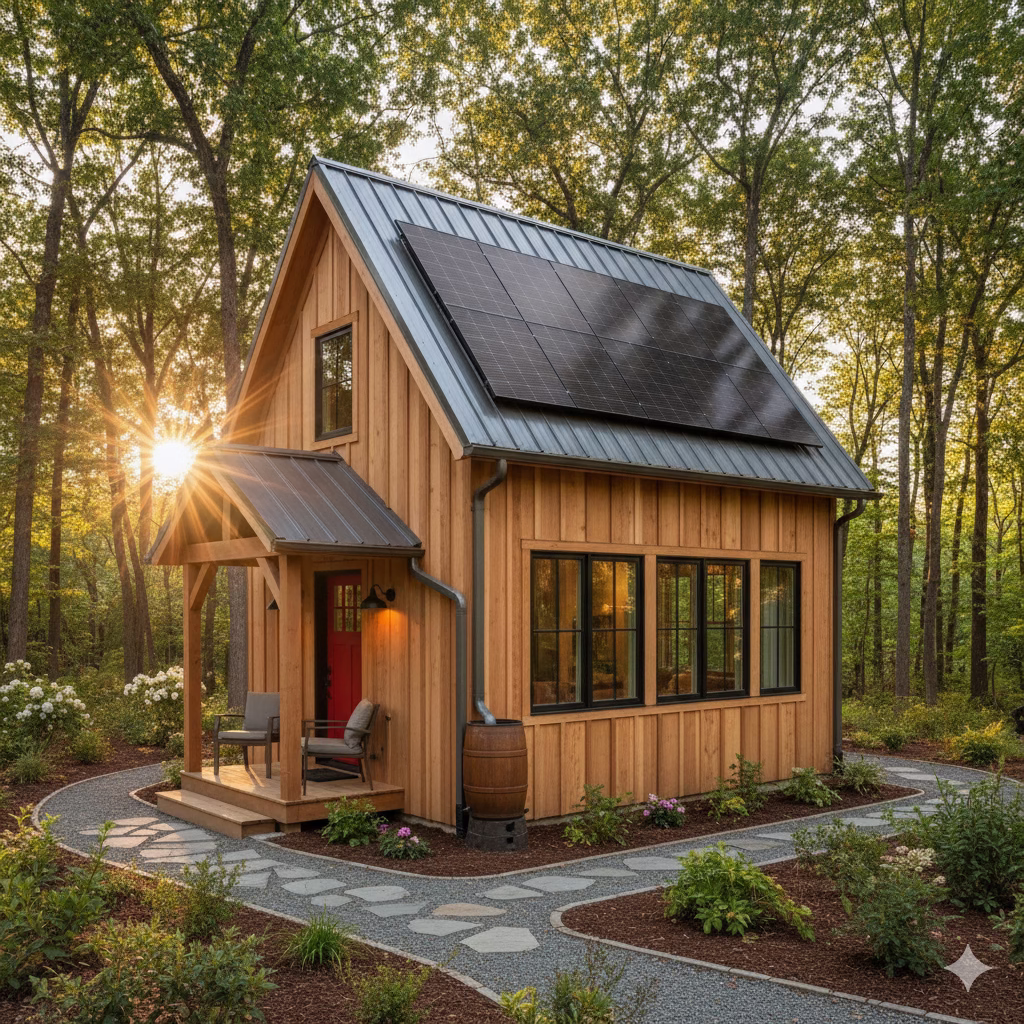
Dedicated Sub-Bass Response
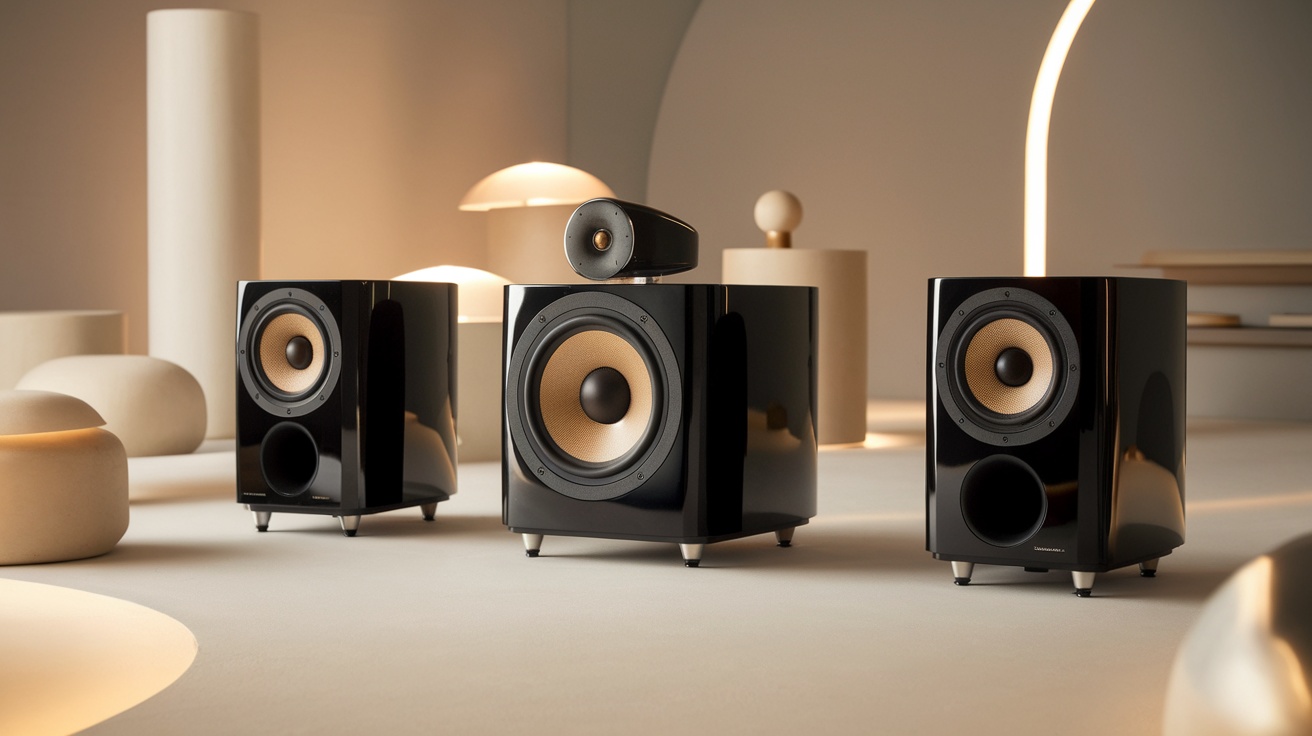
When creating your calm sanctuary, the right speakers can make a big difference. The image shows a sleek setup of speakers designed to deliver deep, rich sound. These speakers are not just stylish; they are built to provide dedicated sub-bass response.
Sub-bass is the low-frequency sound that you can feel as much as you hear. It adds depth to music and creates an immersive experience. In a calm environment, this type of sound can enhance relaxation and help you unwind.
Choosing speakers with dedicated sub-bass capabilities means you’ll enjoy a fuller sound. This is especially important for genres like ambient music or nature sounds, which are perfect for setting a tranquil mood. With the right speakers, you can transform any space into a peaceful retreat.
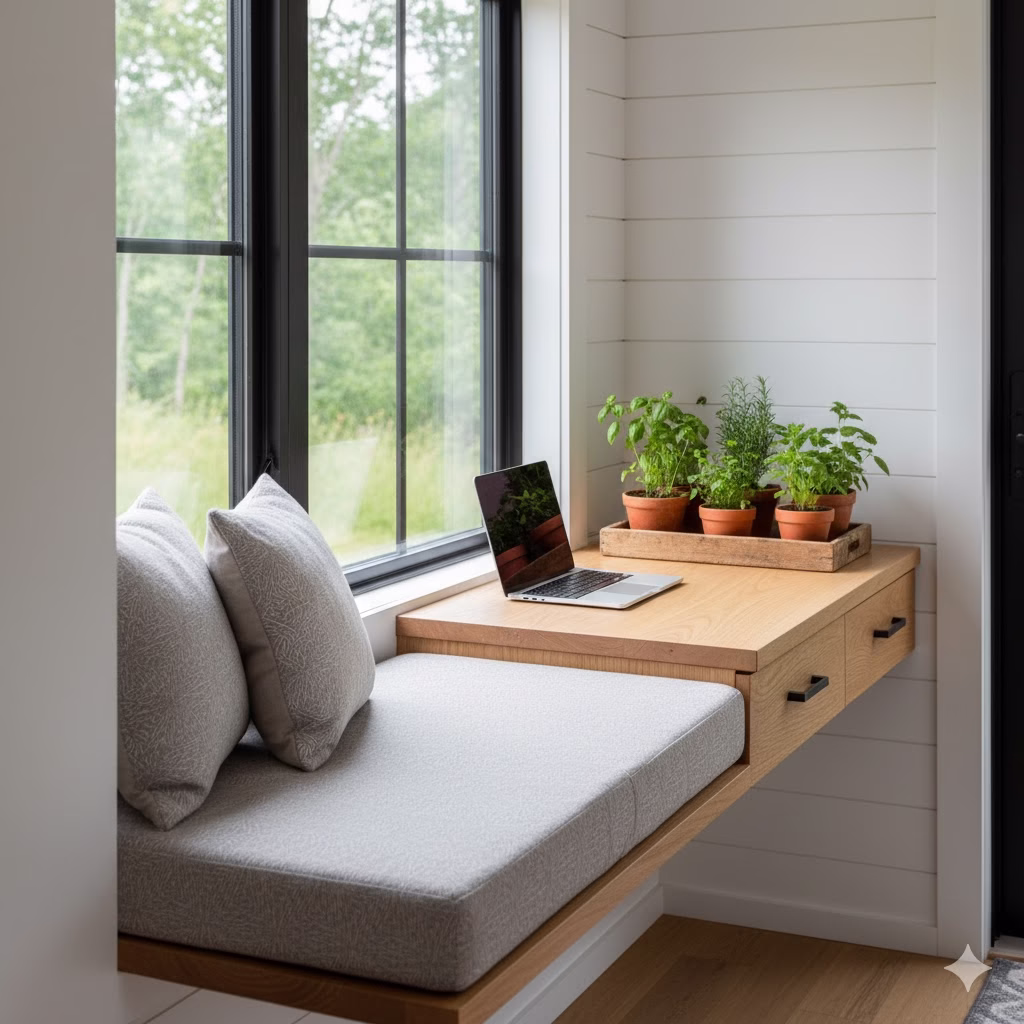
Acoustic Calibration Or Room-Sensing Technology
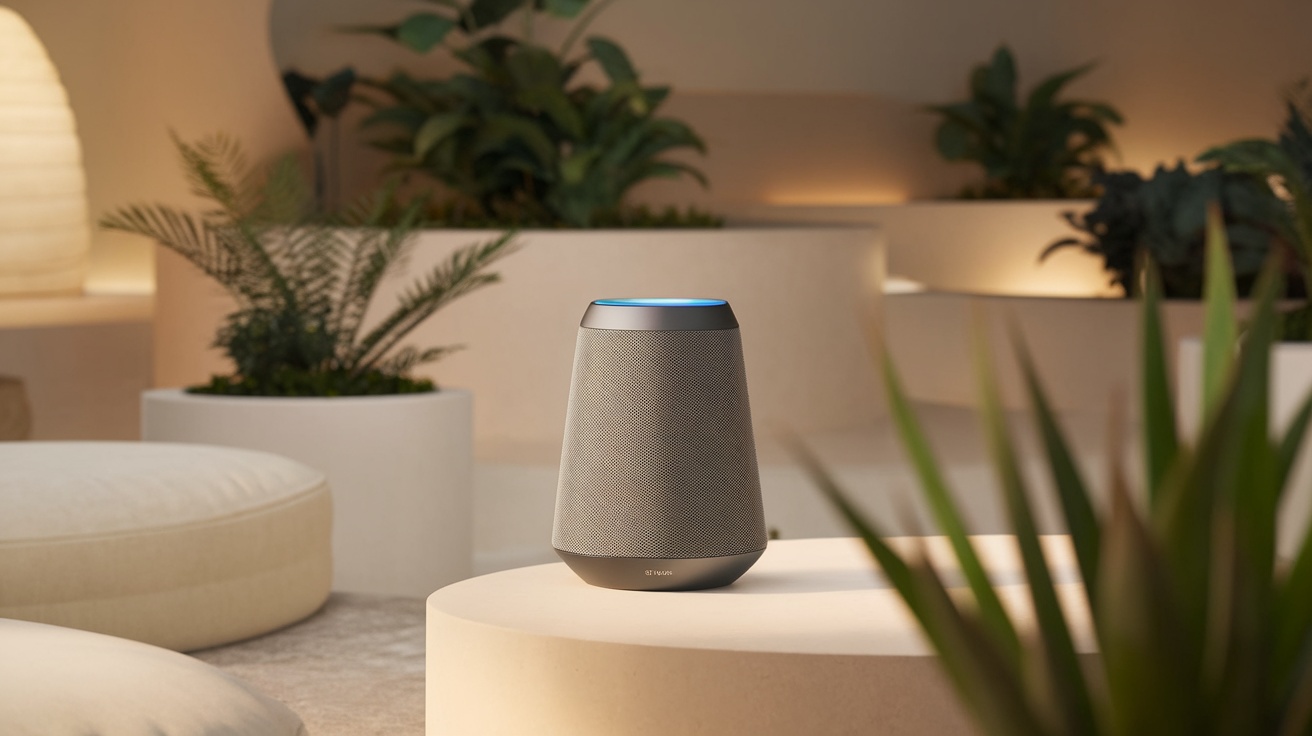
When creating your calm sanctuary, the right speakers can make a huge difference. The image showcases a beautifully designed speaker that blends seamlessly into a cozy room filled with plants and comfortable seating. This setup not only looks inviting but also hints at the importance of sound quality in your space.
Acoustic calibration and room-sensing technology play a key role in optimizing your listening experience. These features allow speakers to adjust to the unique characteristics of your room. They analyze the space and modify sound output to ensure that every note and beat is crystal clear.
Imagine sinking into your favorite chair, surrounded by greenery, while your speakers deliver perfectly balanced sound. This technology helps eliminate any unwanted echoes or distortions, making your music or meditation sessions more enjoyable. With the right speakers, you can truly transform your space into a haven of relaxation.
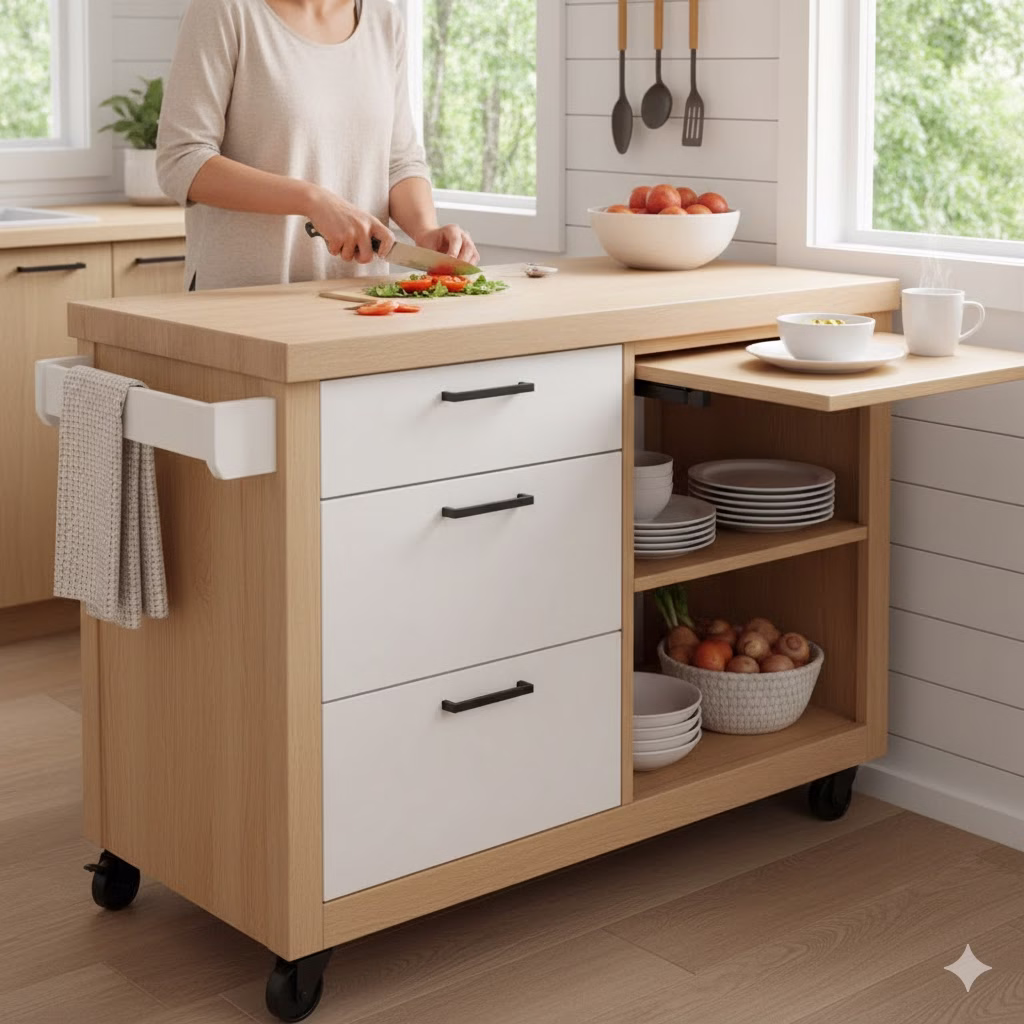
Multi-Room Or Multi-Speaker Synchronization

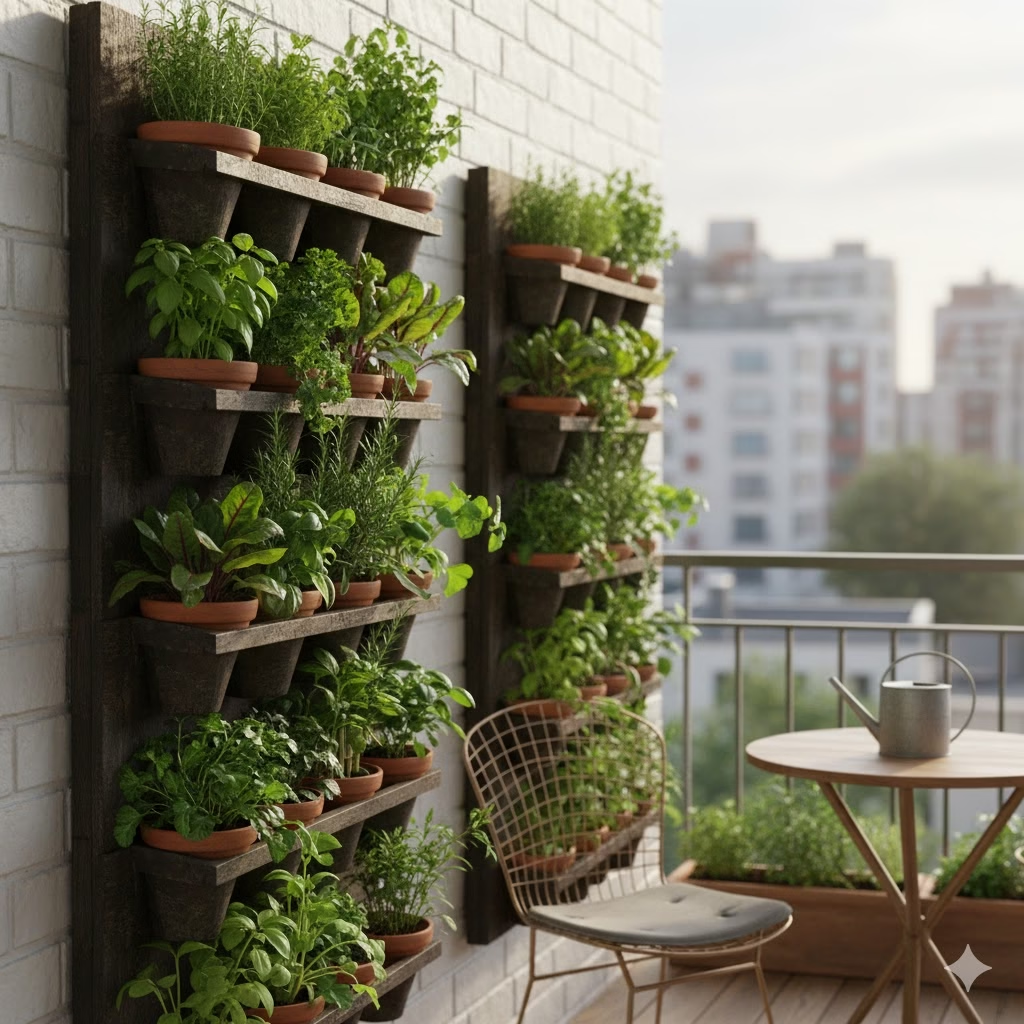
Creating a calm sanctuary at home is all about the right speakers. Imagine having multiple speakers throughout your space, all playing your favorite soothing tunes in perfect harmony. This setup can transform your environment into a serene escape.
The image shows a collection of stylish speakers, each glowing softly. These speakers not only look great but also offer the ability to sync music across different rooms. You can enjoy a seamless listening experience, whether you’re in the living room, kitchen, or even outside.
With the right technology, you can control the volume and track from one central device. This means you can easily switch from a relaxing playlist to nature sounds without missing a beat. Multi-room synchronization makes it easy to fill your space with sound that calms your mind.
So, if you’re looking to enhance your calm sanctuary, consider investing in speakers that can connect and sync. It’s a simple way to create a peaceful atmosphere throughout your home.
“Smart” Integration With Ambient Sound Libraries
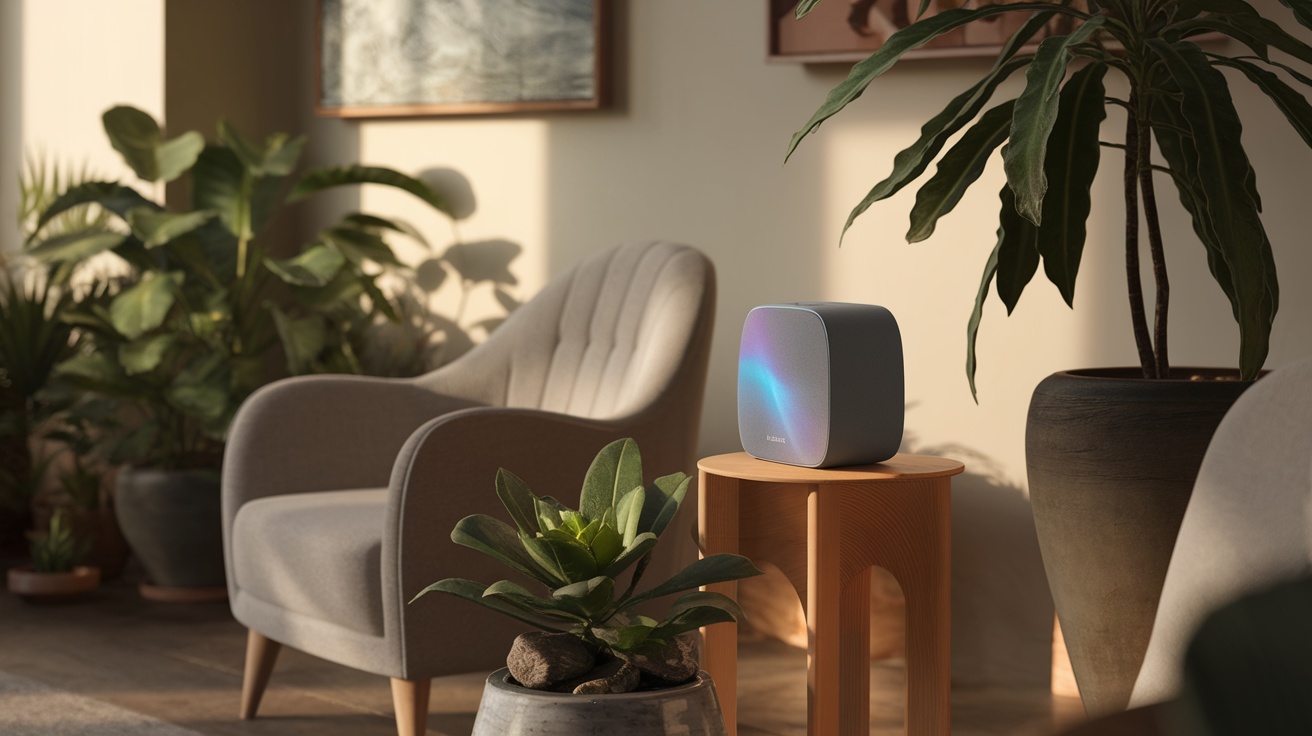
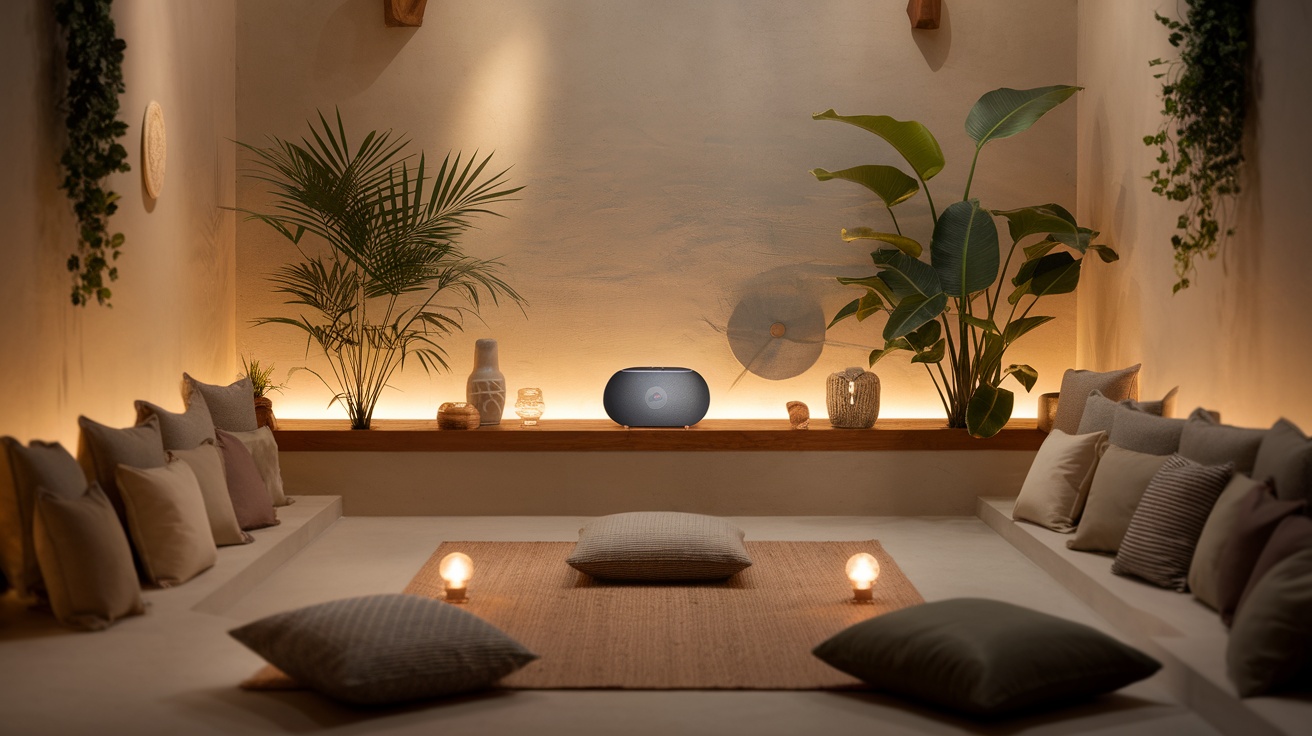
Imagine a cozy corner of your home, filled with plants and soft lighting. In this serene space, a sleek speaker sits on a wooden table, ready to fill the air with calming sounds. This is where smart integration shines, especially with ambient sound libraries.
These speakers can connect to various sound libraries, offering a range of soothing sounds like rain, ocean waves, or gentle forest noises. You can easily set the mood for relaxation or focus, just by selecting your favorite sound. It’s like having a personal sound therapist at your fingertips!
With smart features, these speakers can adapt to your preferences. They can learn what you enjoy and suggest new sounds to explore. This makes it simple to create the perfect atmosphere for unwinding after a long day or enhancing your meditation practice.
So, if you’re looking to transform your space into a calm sanctuary, consider investing in speakers that offer smart integration with ambient sound libraries. It’s a small addition that can make a big difference in your daily routine.
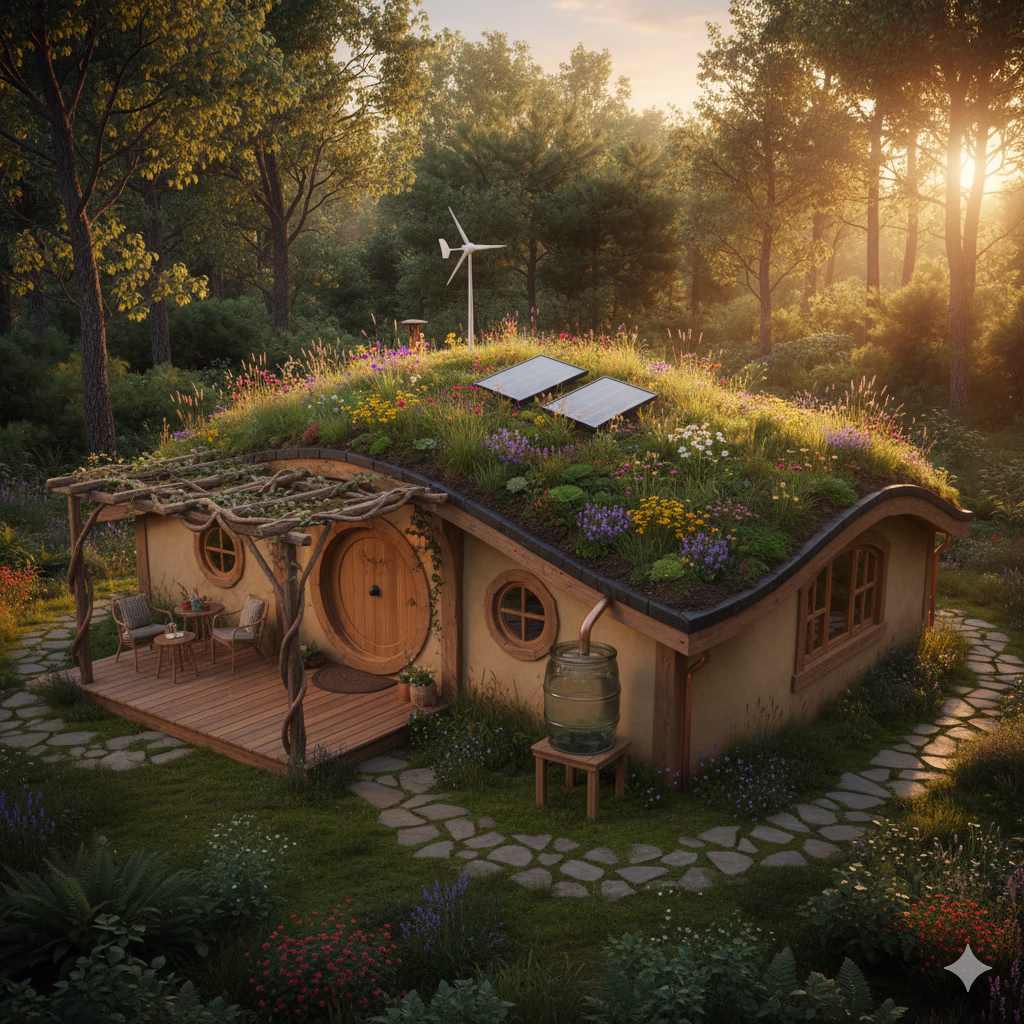
Minimalist Or Architectural Design
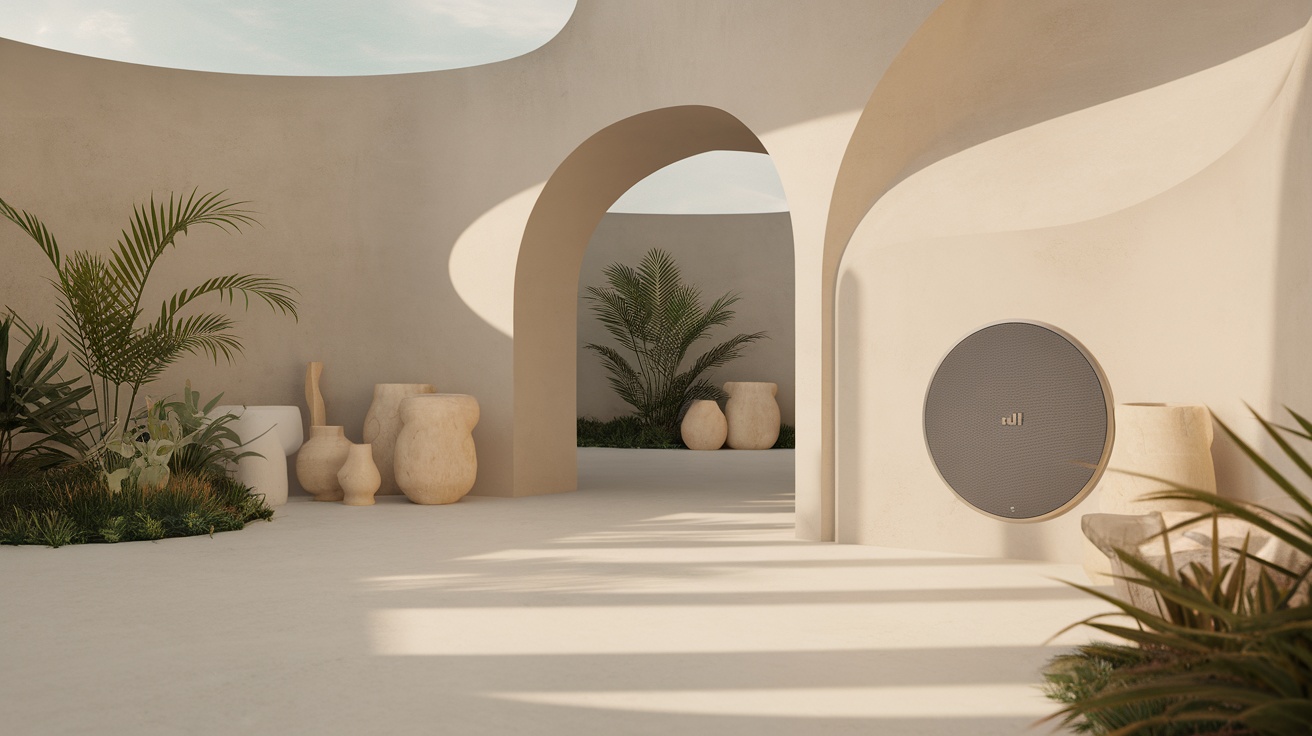
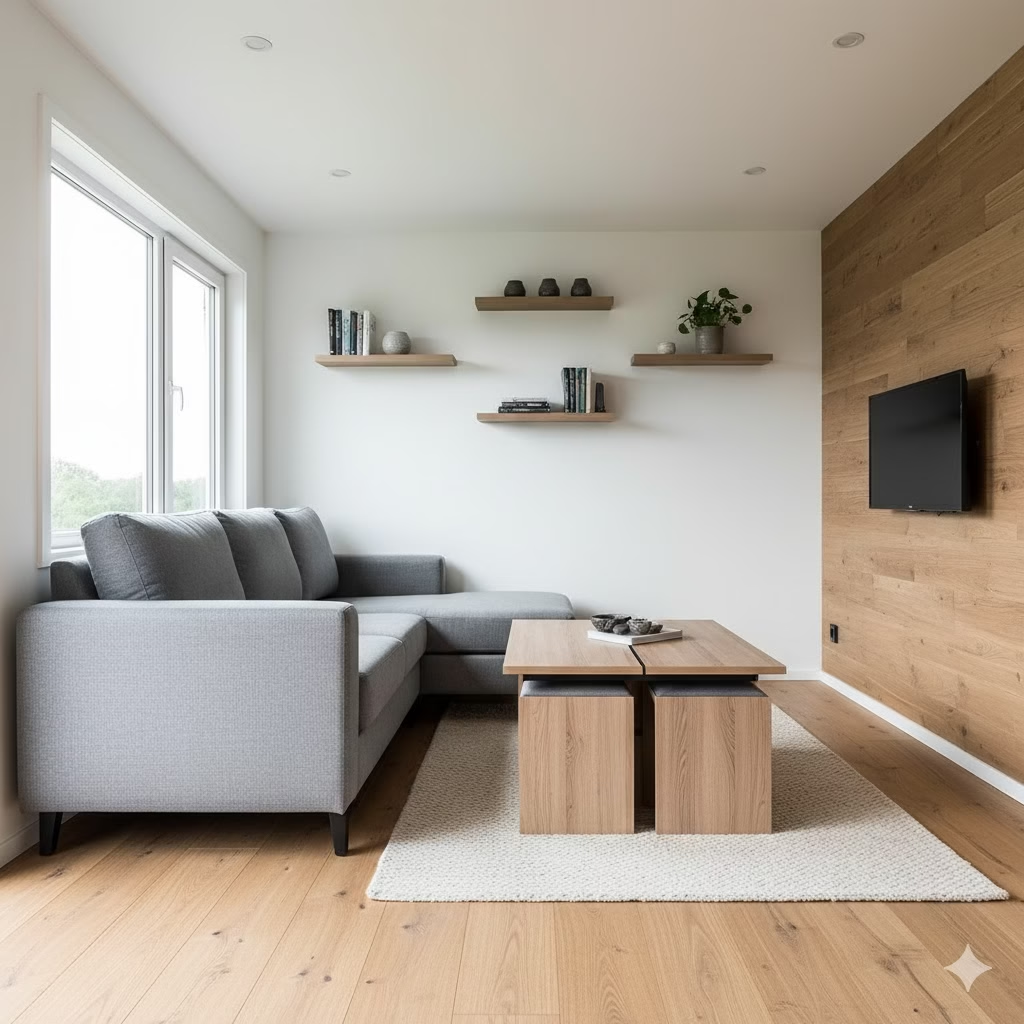
In a calm sanctuary, the design plays a big role in creating a peaceful vibe. The image showcases a minimalist space that feels open and airy. Soft curves and natural materials invite relaxation.
The speakers in this setting blend seamlessly into the environment. Their sleek design complements the overall aesthetic without being intrusive. This is key for a calm atmosphere where sound can enhance your experience.
Notice how the plants and pottery add a touch of nature. They work well with the speakers, making the space feel alive. This balance between technology and nature is essential for a serene retreat.
Physical Control For Volume & Mute
When creating your calm sanctuary, having the right speakers is key. The image shows a sleek speaker that fits perfectly into a serene environment. Its modern design blends well with natural elements, like the greenery in the background.
Physical control for volume and mute is essential for a peaceful experience. You want to adjust the sound without interrupting your relaxation. This speaker likely features easy-to-use knobs or buttons, allowing you to find the perfect sound level with just a touch.
Imagine being able to turn up your favorite calming playlist or mute it instantly when you need silence. This control makes it simple to customize your space. Whether you’re meditating or enjoying a quiet evening, having that flexibility is a game changer.
Silent Background/Low System Noise
Creating a calm sanctuary at home is all about the details. The right speakers can make a huge difference in your space. Imagine a sleek speaker sitting quietly in a cozy corner, blending perfectly with your decor. This image captures that essence beautifully.
The speaker is designed to produce sound without overwhelming your senses. It sits among soft pillows and gentle lighting, inviting you to relax. The low system noise ensures that the focus remains on the soothing sounds, whether it’s nature sounds, soft music, or guided meditations.
In a calm sanctuary, silence is golden. You want a space where you can unwind without distractions. A speaker that operates quietly in the background allows you to enjoy your peaceful environment. It enhances your experience without drawing attention to itself.
Pre-Programmed Tonal Therapy (Optional Feature)
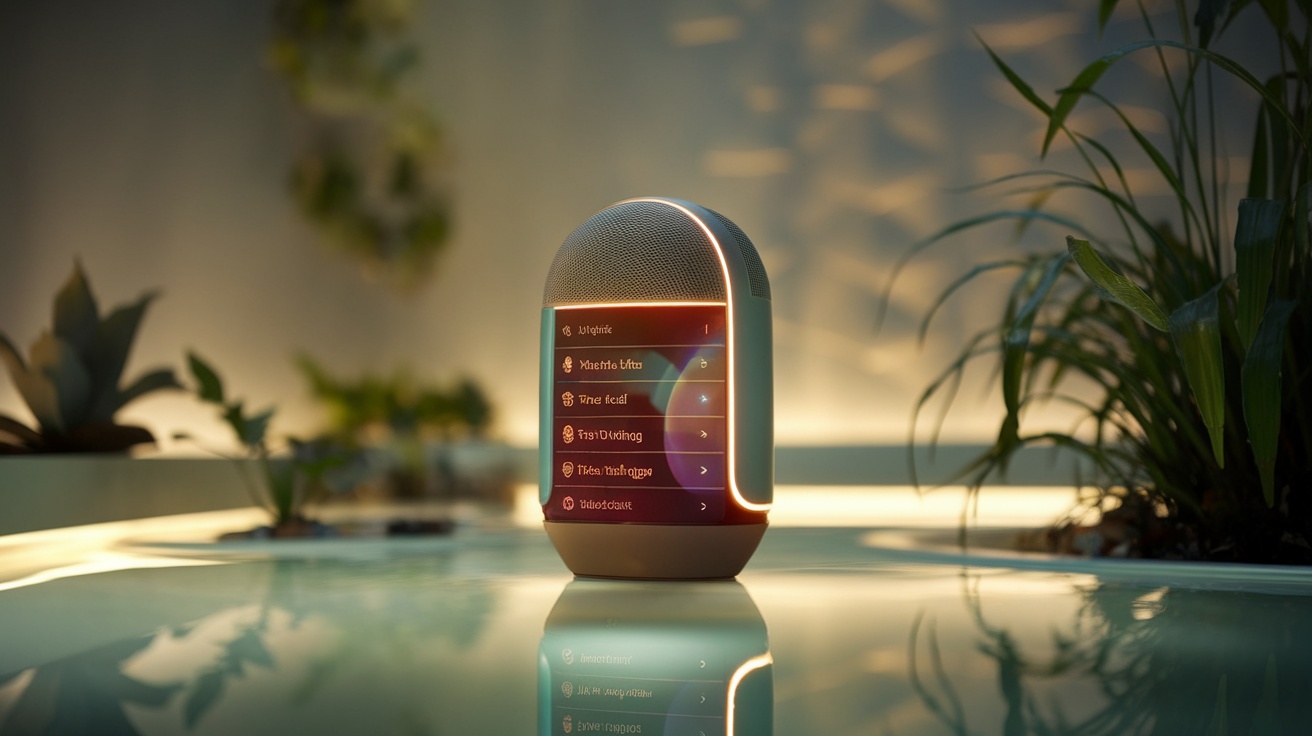
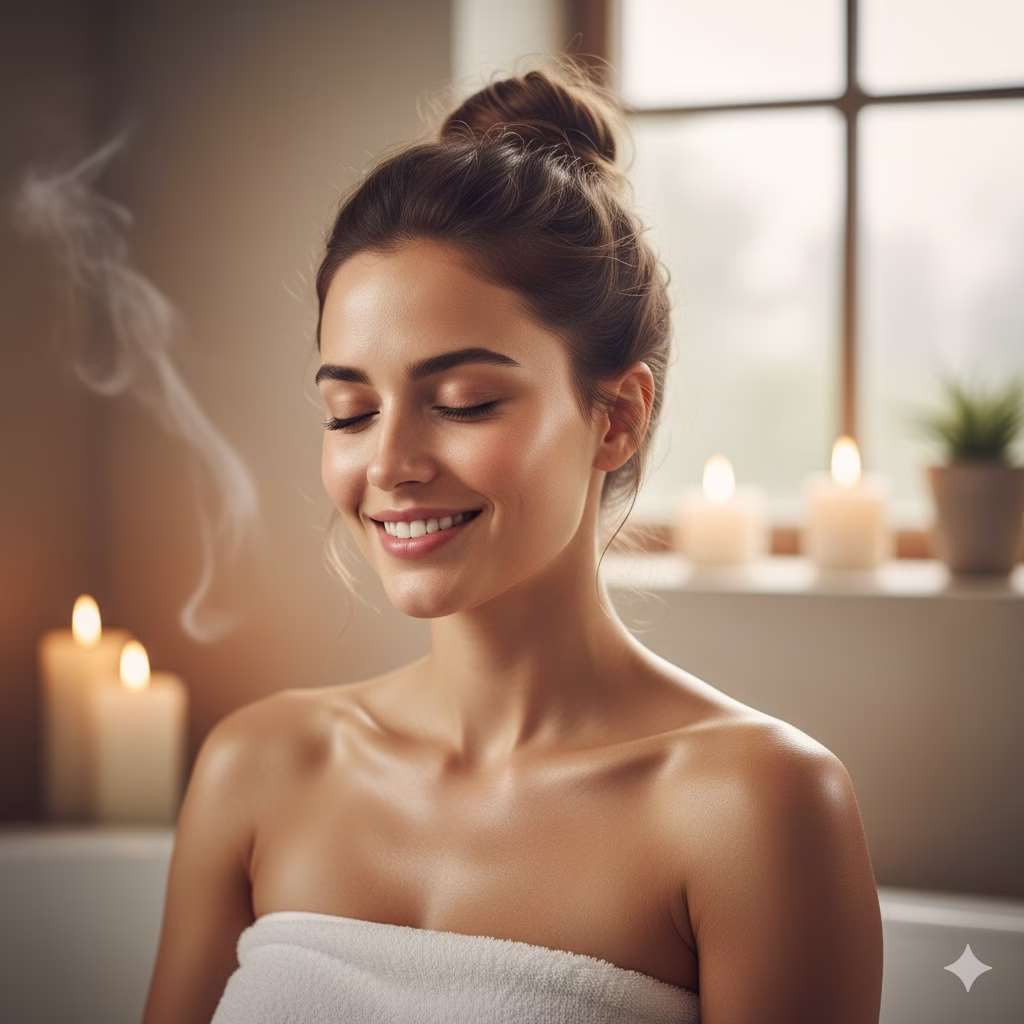
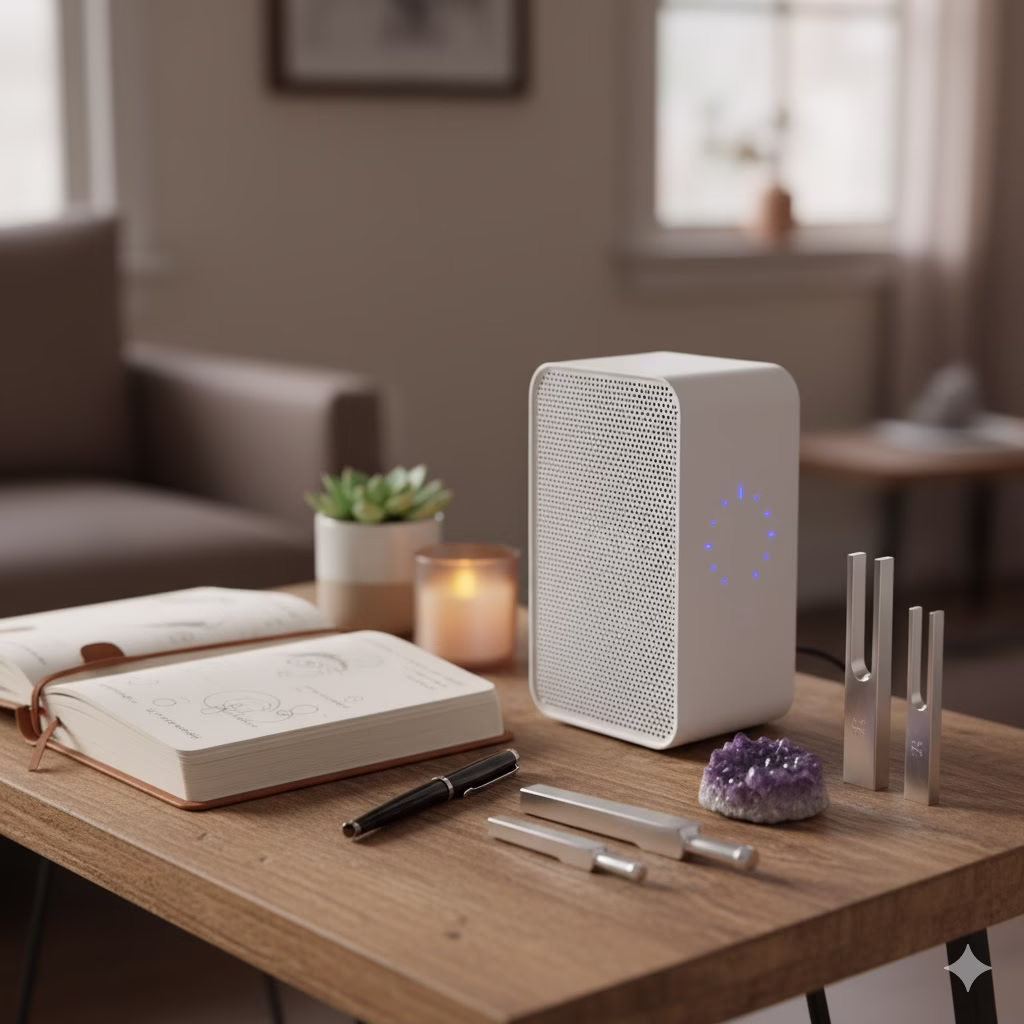
Imagine a speaker that not only plays your favorite tunes but also offers a unique feature: pre-programmed tonal therapy. This option is perfect for creating a calm sanctuary in your home. The image shows a sleek speaker with a modern design, ready to enhance your relaxation experience.
With this feature, you can choose from various soundscapes designed to promote relaxation and mindfulness. Whether you’re looking to unwind after a long day or set the mood for meditation, these speakers can help you achieve that peaceful atmosphere.
Each tonal therapy program is crafted to resonate with your mind and body. You can easily select your preferred sound from the intuitive interface displayed on the speaker. This makes it simple to switch between different modes based on your mood or needs.
Having such a speaker in your space not only boosts the aesthetic but also transforms your environment into a soothing retreat. So, if you’re aiming to create your ultimate calm sanctuary, consider adding speakers with this amazing tonal therapy feature.
References
- Seracustomintegrators – The Benefits of a Whole Home Audio System
- Devance – The Benefits and Features of a High-Quality Sound System
Recent Posts