I used to toss those tiny, slippery old soap bits, thinking they were trash. It felt wasteful, but what else could I do? It turns out those leftover scraps are actually a powerful resource! Join me to unlock the secret life of your old bath bars. You’ll save money, cut down on waste, and turn something useless into something truly amazing. Let’s make saving the planet fun and fragrant!
Introduction: Old Soap
We are all trying to be more eco-friendly these days. We recycle, we compost, and we choose sustainable products. But what happens to the small slivers of soap that are too tiny to hold? Most people just throw them away. That might seem small, but all those little scraps add up to a lot of waste.
What if you could stop throwing away your old soap? You can easily turn those humble remnants into 10 different useful products. You will save money, reduce clutter, and feel great about using up every last bit. This guide will show you how to take your old soap and give it a vibrant new purpose!
Why Use Old Soap?
Repurposing your soap scraps is a win-win situation:
- Saves Money: You get new cleaning or bath products for free.
- Good for the Planet: It cuts down on waste going to landfills.
- It’s Easy: You only need basic household items for most projects.
- Get Creative: You can mix scents and colors to make unique items.
Quick Tip for Preparation: Before you start any project, make sure your old soap pieces are dry. Use a common cheese grater or a sharp knife to chop the soap into small flakes or powder. Smaller pieces melt and dissolve much faster!
1. Make a Brand New Soap Bar from Old Soap
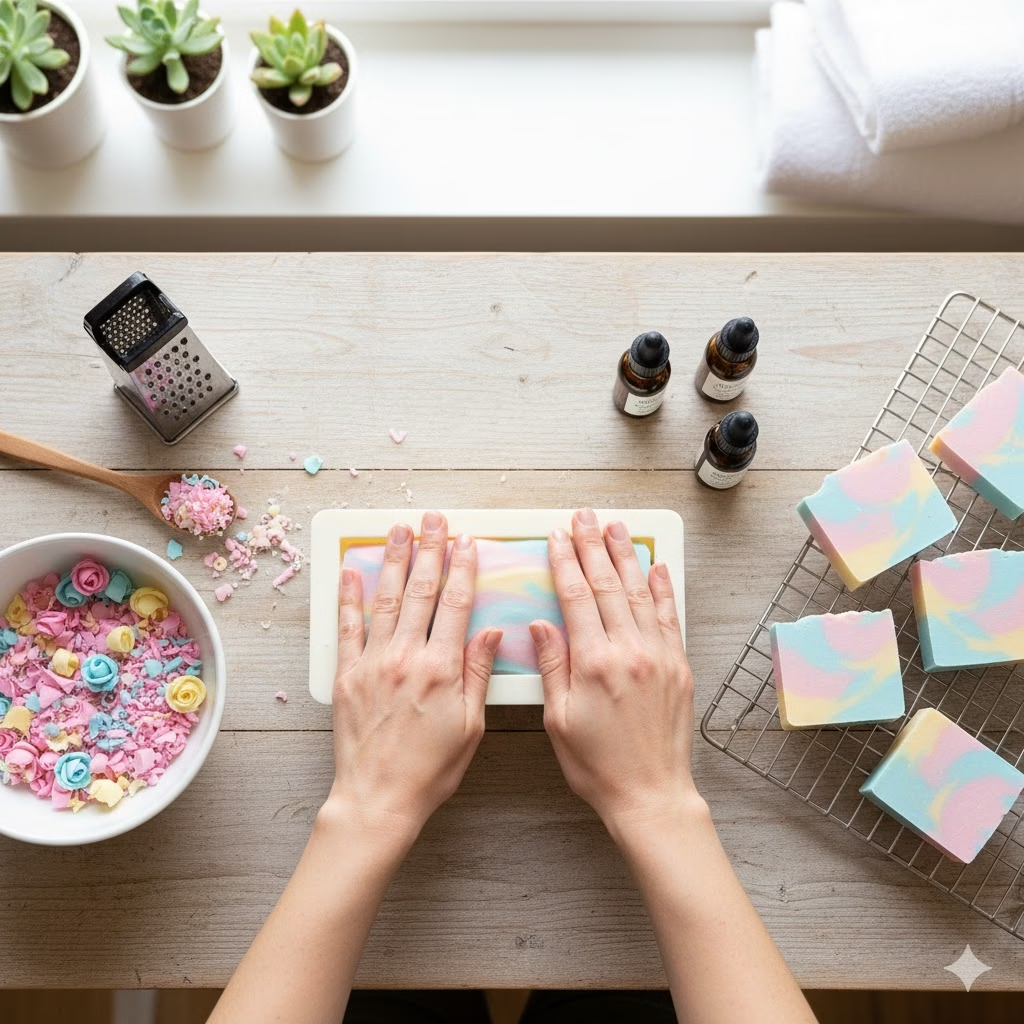
This is the easiest way to finish off those tiny, unusable soap pieces. You can mix different colors and scents to create a unique, marbled soap bar that’s comfortable to hold.
How to Do It:
- Gather Scraps: Collect all your small soap slivers.
- Melt the Soap: Put the grated soap into a microwave-safe bowl. For every cup of soap flakes, add two tablespoons of water or a mild oil (like olive oil). The liquid helps the soap stick together.
- Heat Slowly: Heat the soap in the microwave for 30 seconds at a time. Stir it well after each burst. Keep heating and stirring until the soap is a thick, gooey paste. Do not let it boil or burn.
- Press into a Mold: Press the warm soap paste very firmly into a mold. Silicone molds work best, but you can use muffin tins or even just shape it into a ball with your hands.
- Cool and Cure: Let the new bar cool completely and dry out for 1 to 2 days. If it feels soft, let it sit out for a few more days to get hard.
2. Liquid Hand Soap from Old Soap

Stop buying expensive liquid hand soap refills! Your old soap can be dissolved to make a cheap, effective refill for any pump bottle.
How to Do It:
- Grate Soap: Get about 1 cup of soap flakes. This will make a thick soap.
- Boil Water: Bring 6 cups of water to a rolling boil in a pot.
- Dissolve Soap: Take the water off the heat. Stir the grated soap into the hot water. Keep stirring until every piece of soap is completely dissolved. This might take 10 to 15 minutes.
- Cool Down: Let the liquid cool for a long time, ideally overnight. It will thicken as it cools. If it’s too thick, just add a little more hot water and mix it in.
- Add Scent (Optional): Once cooled, you can add 15 drops of your favorite essential oil for a nice smell.
- Bottle It: Pour the liquid soap into your empty pump bottle using a funnel.
3. Homemade Dry Laundry Detergent
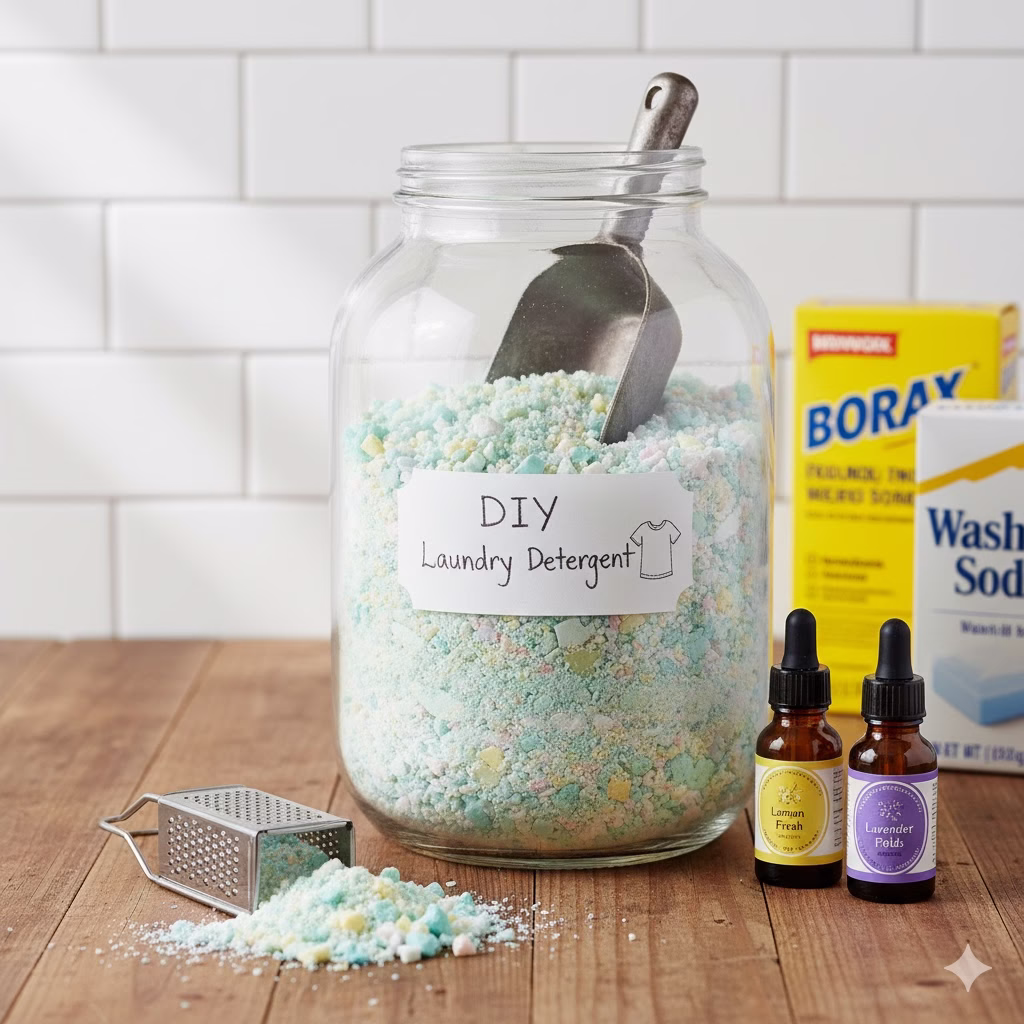
This is a powerful, low-cost way to clean your clothes without harsh chemicals. Your old soap forms the base of this natural laundry mix.
How to Do It:
- Grate Soap: Grate one full bar of soap (about 5 ounces of scraps).
- Mix Dry Ingredients: In a large bowl, mix the grated soap with 1 cup of Washing Soda (sodium carbonate) and 1 cup of Borax. These products are natural cleaning boosters.
- Store: Pour the entire mixture into a large, airtight container, like a big mason jar.
- How to Use: Use only 1 to 2 tablespoons of the powder per load of laundry. It works well in both standard and high-efficiency (HE) machines.
4. Soap Scraps in Scrubber Bags
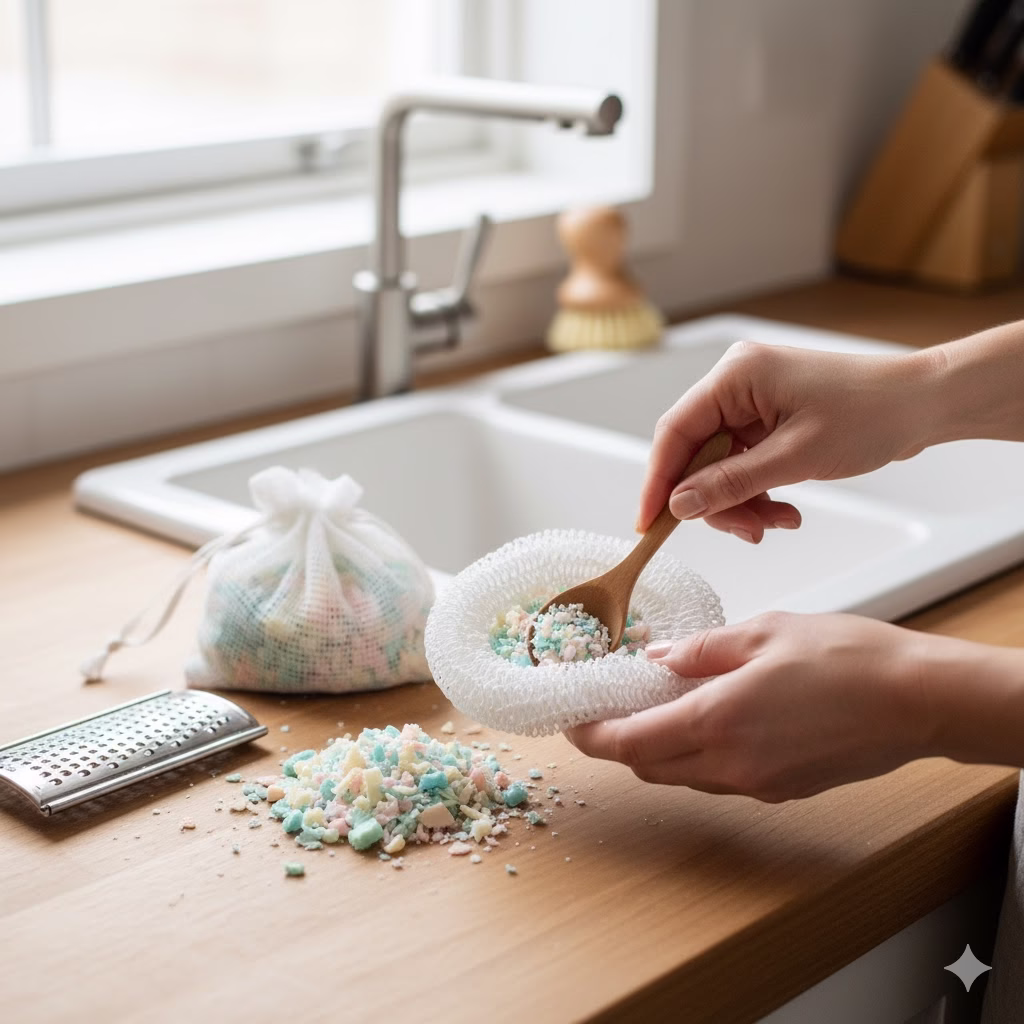
This project is a brilliant hack for household cleaning. Instead of buying soap-filled pads, you can make your own reusable pads with your smallest old soap bits.
How to Do It:
- Collect Smallest Scraps: Gather up the tiny, crumbly pieces of old soap that are too small to grate.
- Find a Pouch: Use a reusable mesh scouring pad, a small nylon scrub pad, or even a piece of old pantyhose cut and tied into a small pouch.
- Fill and Secure: Stuff the small soap pieces tightly inside the pad or pouch. Tie the opening firmly.
- How to Use: Simply wet the pad and start scrubbing dirty sinks, tubs, or greasy pots. The water goes through the mesh, activates the soap inside, and creates a strong lather. Rinse the pad and let it dry when finished.
5. Fragrant Soap Sachets for Drawers
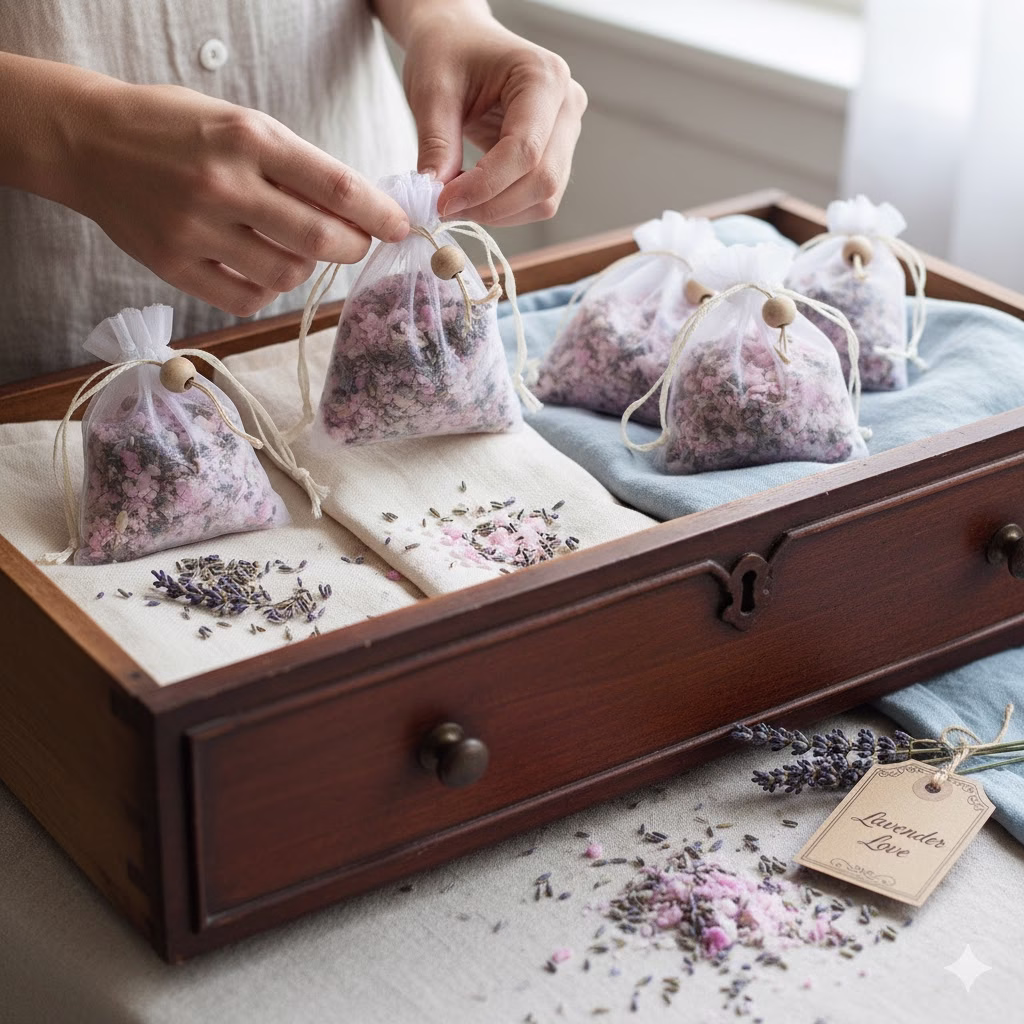
Give your linen closet a wonderful, lasting smell while using up highly scented old soap remnants. The strong scent also helps keep moths away!
How to Do It:
- Grate Soap: Grate your strongly scented old soap scraps.
- Mix (Optional): For a boost, mix the soap flakes with a little bit of dried lavender or rosemary.
- Fill Small Bags: Spoon the soap mixture into small fabric pouches (organza bags or cotton drawstring bags work well).
- Place: Tuck the finished sachets into clothes drawers, among towels, or hang them in the closet. The scent will gently perfume your fabrics.
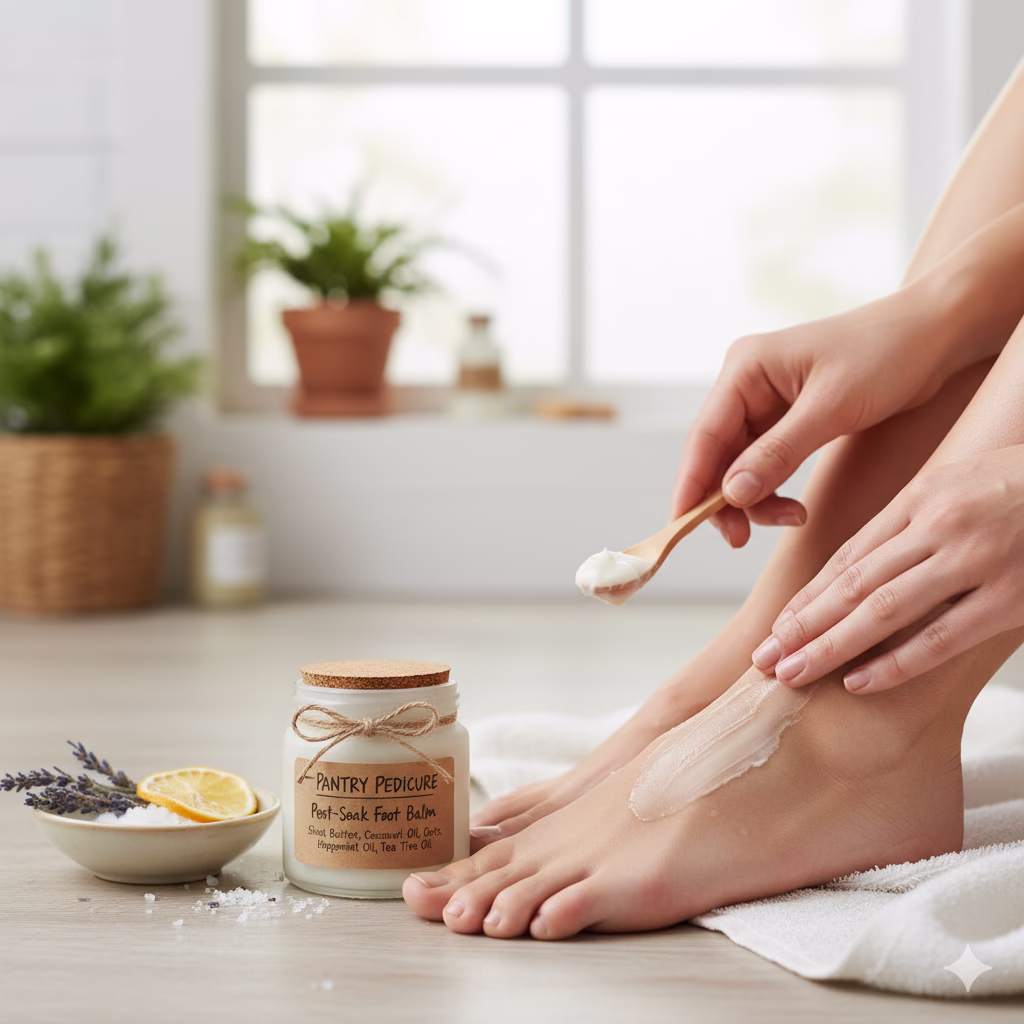
6. DIY Bar Soap Body Scrub
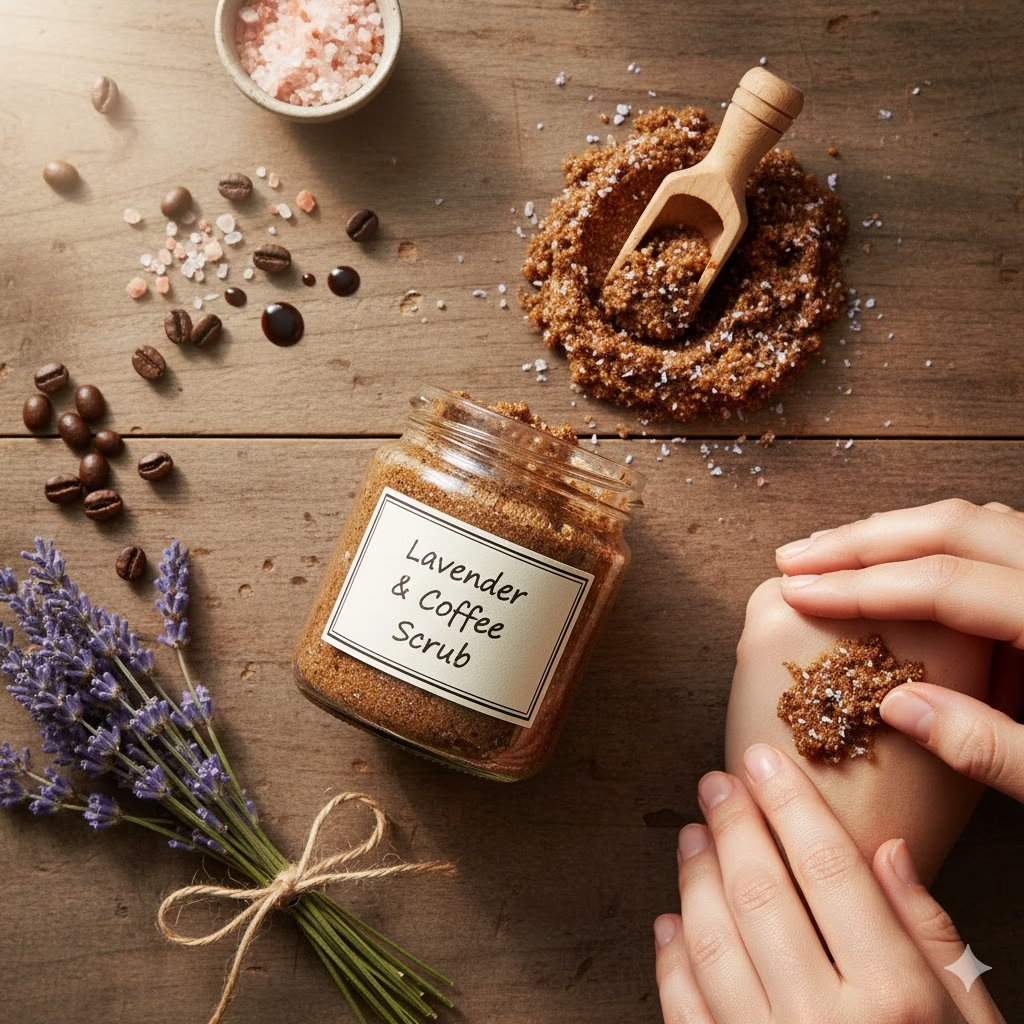
Turn your moisturizing old soap into a luxurious scrub that removes dead skin. This is a treat for yourself and a great zero-waste swap!
How to Do It:
- Grate Soap: Grate 1/2 cup of old soap.
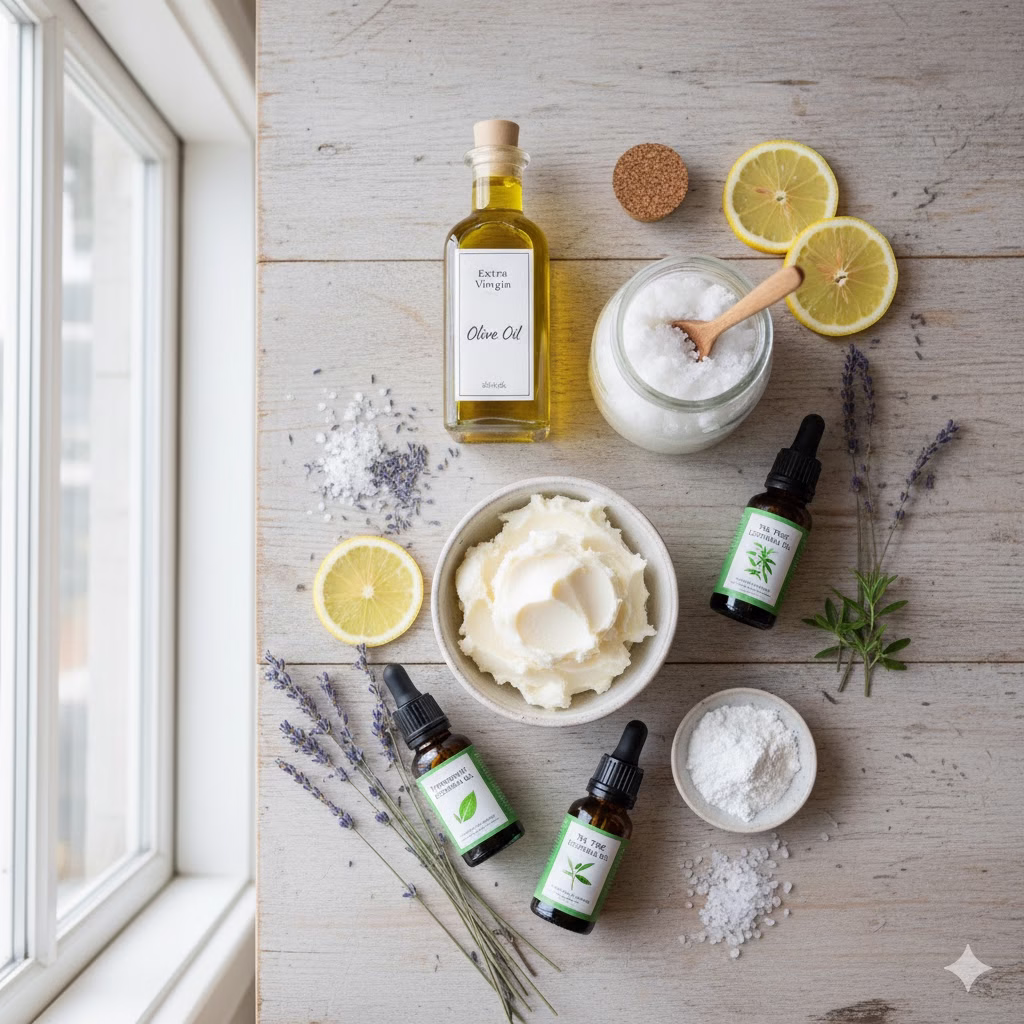
- Melt with Oil: Place the grated soap in a heat-safe bowl. Add 1/4 cup of coconut oil or shea butter. Melt the two together slowly using a double boiler, stirring until they combine into a smooth, thick mix.
- Add Exfoliant: Take the mixture off the heat. Immediately stir in 1 cup of coarse sea salt or brown sugar.
- Add Scent (Optional): Mix in 10 drops of essential oil (like peppermint for a tingle).
- Store: Put the scrub into an airtight glass jar. It will harden as it cools. To use, simply scoop out a bit in the shower and rub it gently on your skin.
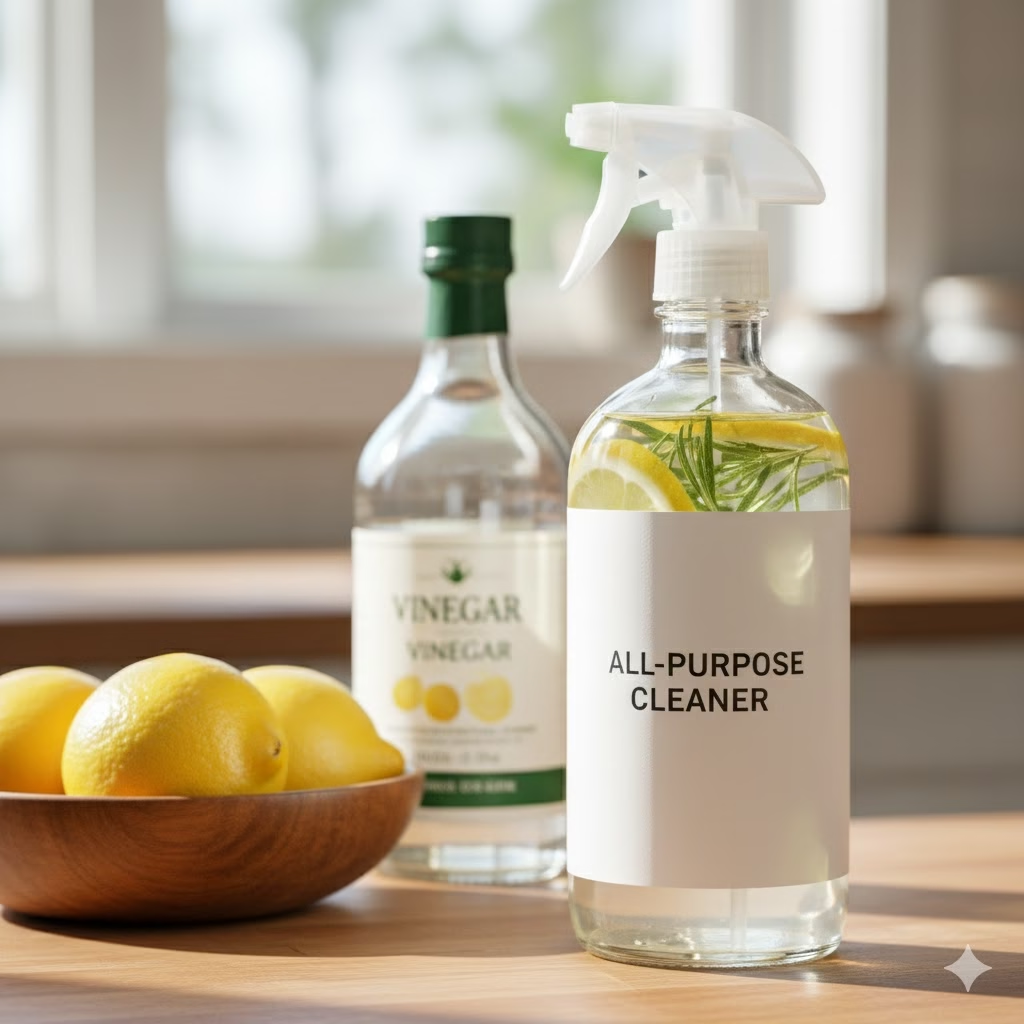
7. Simple All-Purpose Household Cleaner
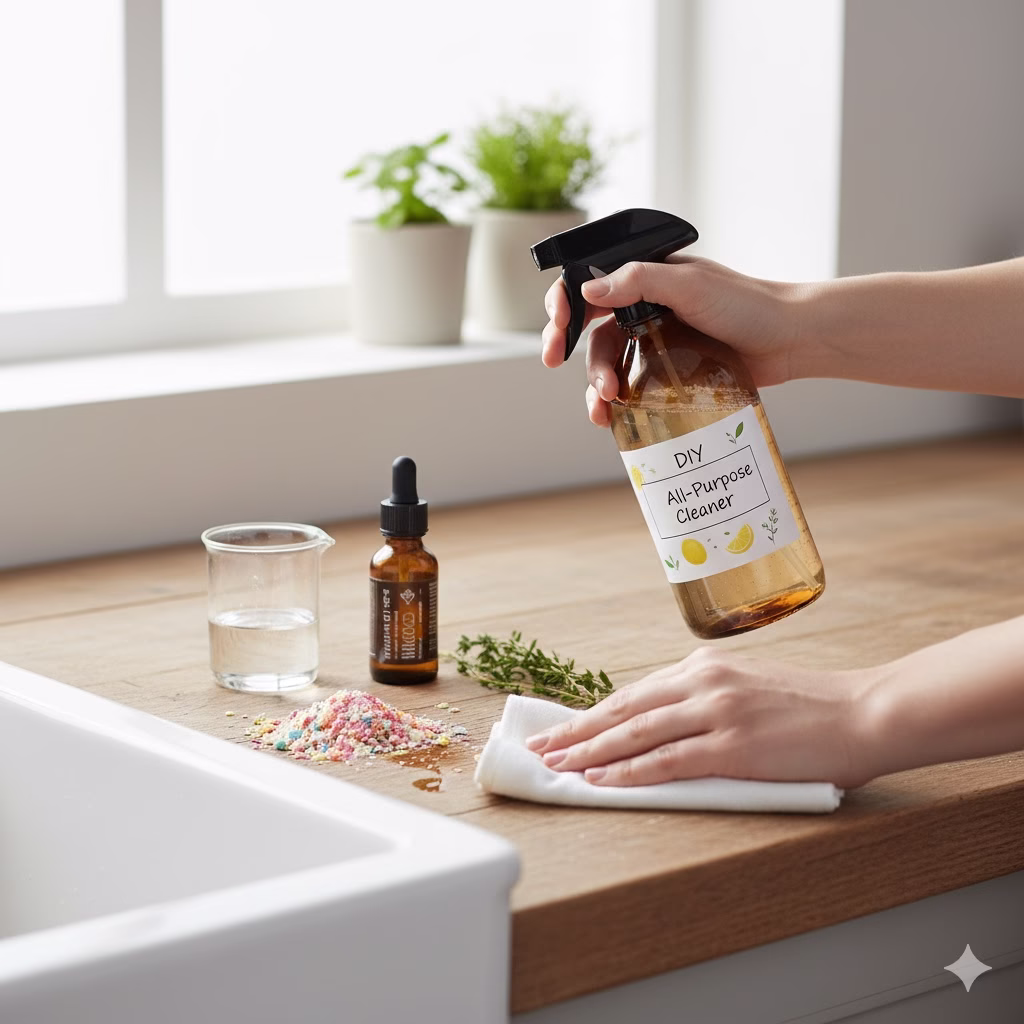
Make a non-toxic spray that is safe for cleaning counters and sinks. This cleaner cuts through light dirt and grease.
How to Do It:
- Grate Soap: Grate 1/4 cup of old soap scraps.
- Dissolve: Place the grated soap in a jar. Pour 1 cup of very hot water over it. Stir until all the soap is dissolved.
- Add Cleaning Power: Stir in 1/4 cup of white vinegar and 1/4 cup of rubbing alcohol. The alcohol helps the surfaces dry quickly.
- Scent (Optional): Add 15 drops of lemon or tea tree essential oil for a clean smell.
- Bottle It: Once cool, pour the mixture into a clean spray bottle. Shake it well before you use it. Spray and wipe down washable surfaces.
8. Needle and Pin Lubricant
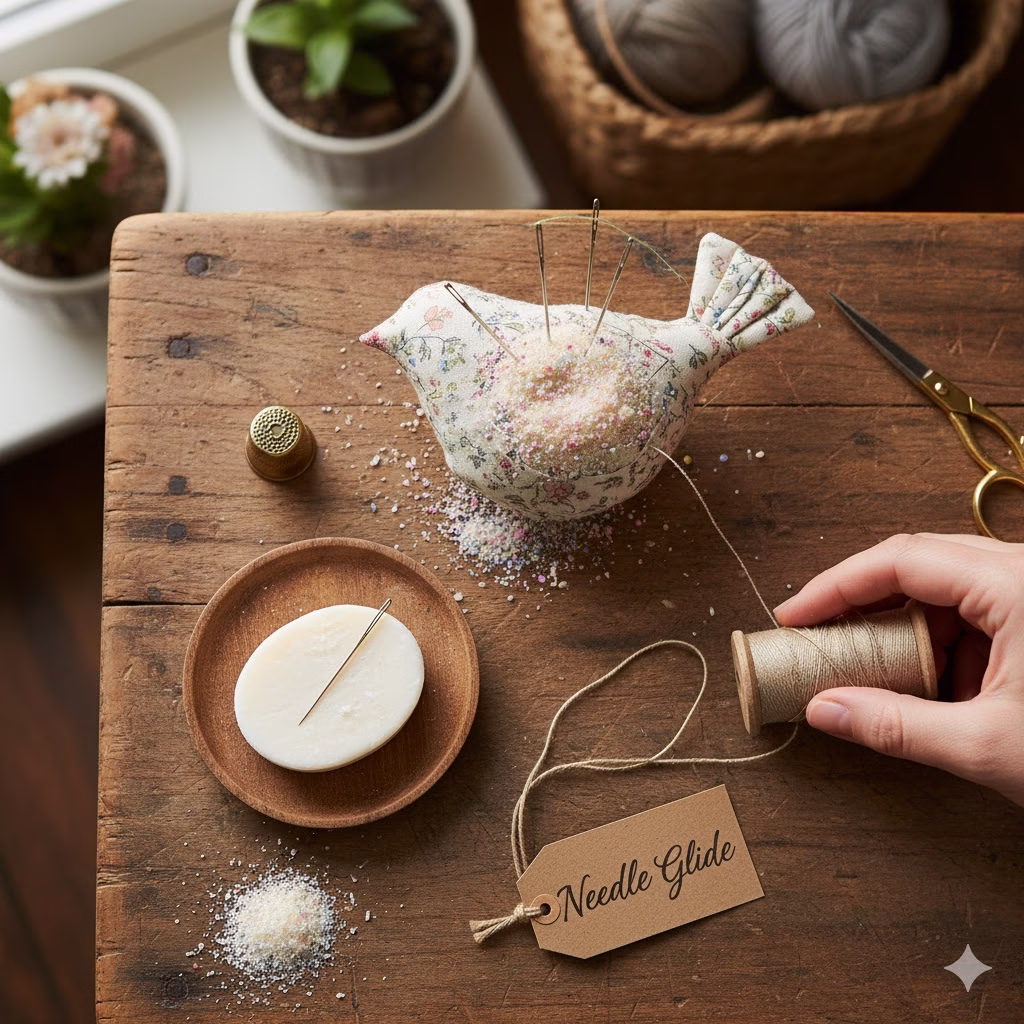
This is a simple but clever use for dry old soap in your sewing kit.
How to Do It:
- Lubricate Needles: Before you sew through thick fabric like denim or leather, simply rub the needle or pin over a dry sliver of soap. The soap creates a thin coat that lets the needle glide right through with less effort.
- Condition Thread: Run your thread over the dry soap before threading your needle. This strengthens the thread, keeps it from tangling, and makes hand-sewing much easier.
- Pin Cushion Filling: Grind your old soap into a fine powder. Mix it with the stuffing inside your pin cushion. Every time you push a pin in, the soap powder will coat it, preventing rust and keeping the pin sharp!
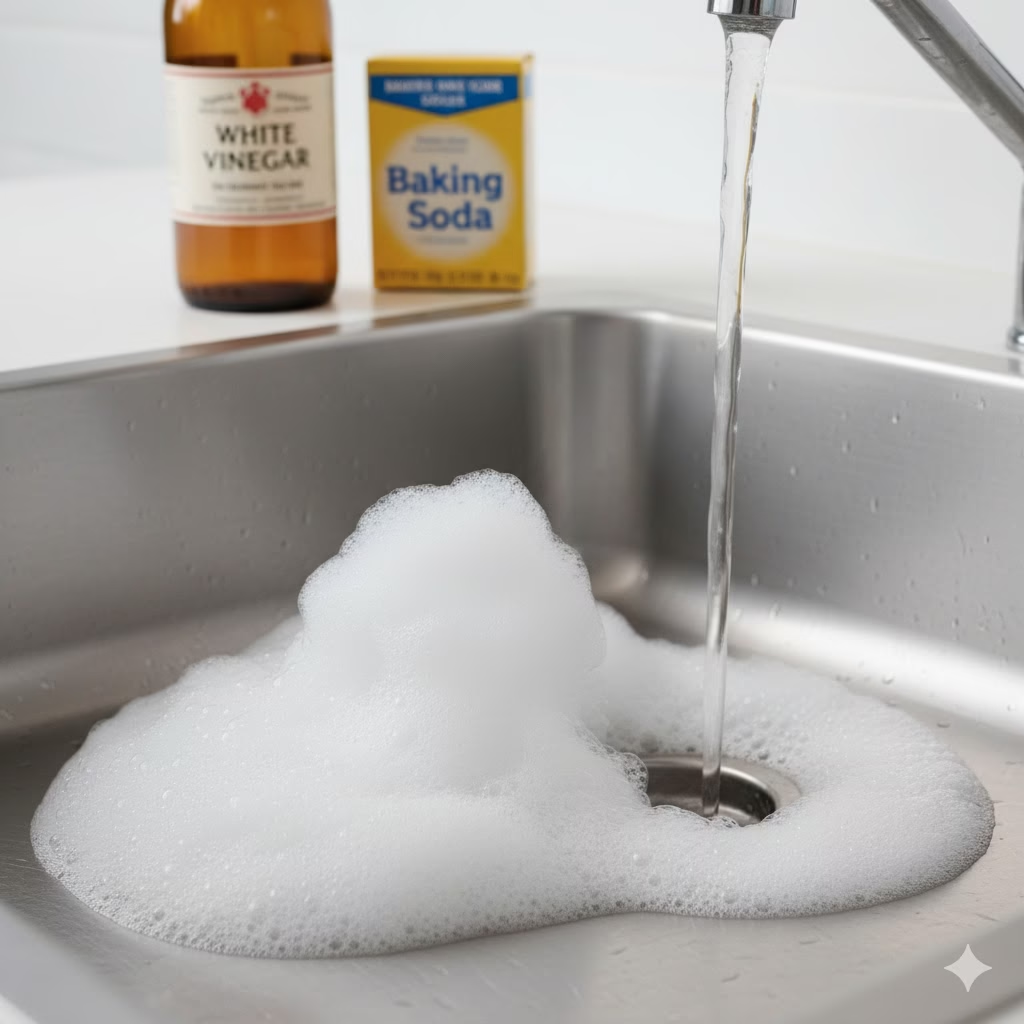
9. Stain Pre-Treatment Paste with Old Soap
Turn your soap leftovers into a strong, natural paste to pre-treat tough stains on clothing, carpets, or upholstery before washing.
How to Do It:
- Grate Soap: Grate 1/2 cup of old soap into a small bowl.
- Make the Paste: Add only 1 tablespoon of warm water and 1 tablespoon of baking soda. Mix it well until you have a thick, smooth paste. Add slightly more water if needed.
- Apply to Stain: Wet the stained fabric slightly. Rub the paste directly onto the stain, covering it completely.
- Scrub and Rinse: Let the paste sit for 20 minutes. Gently scrub with an old toothbrush. Then, blot the area with a damp cloth until the soap is gone, or toss the item into the washing machine.
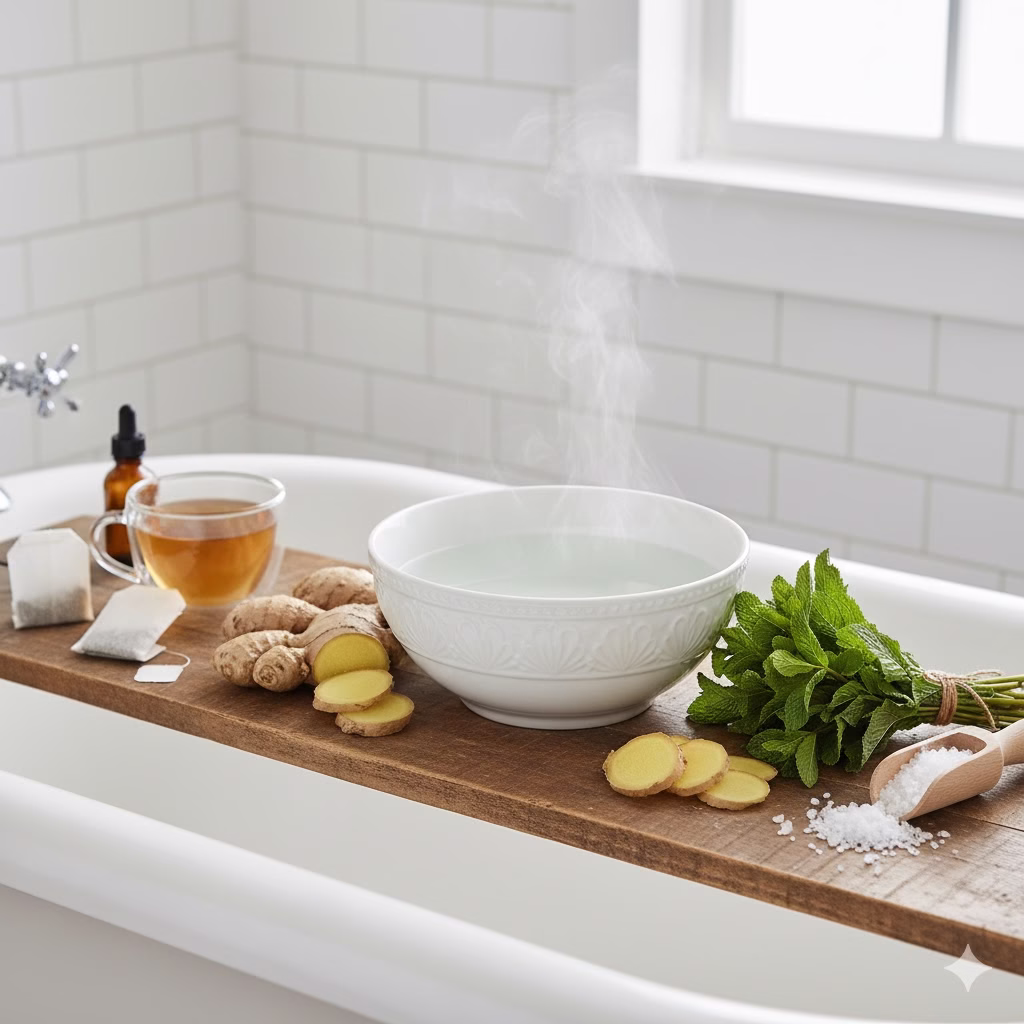
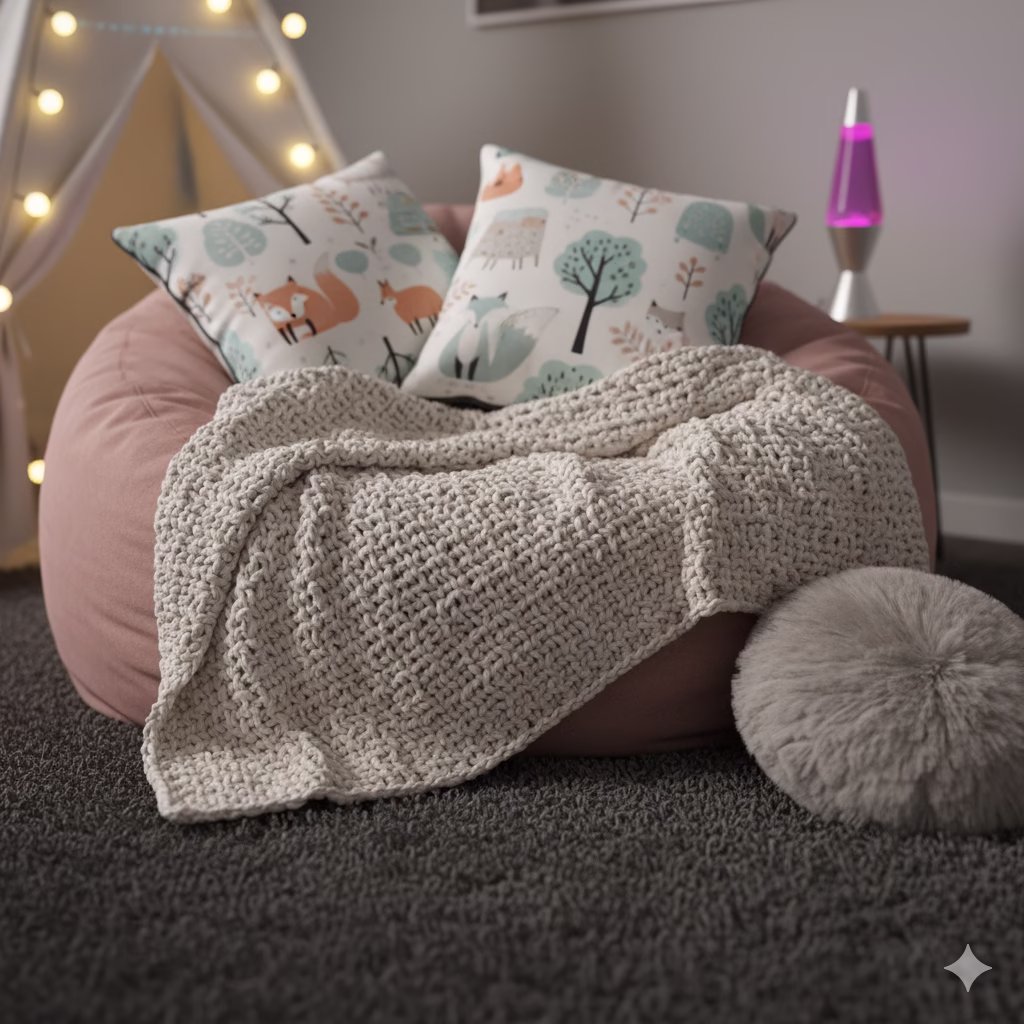
10. Melt-and-Pour Soap Jellies (Fun for Kids!)
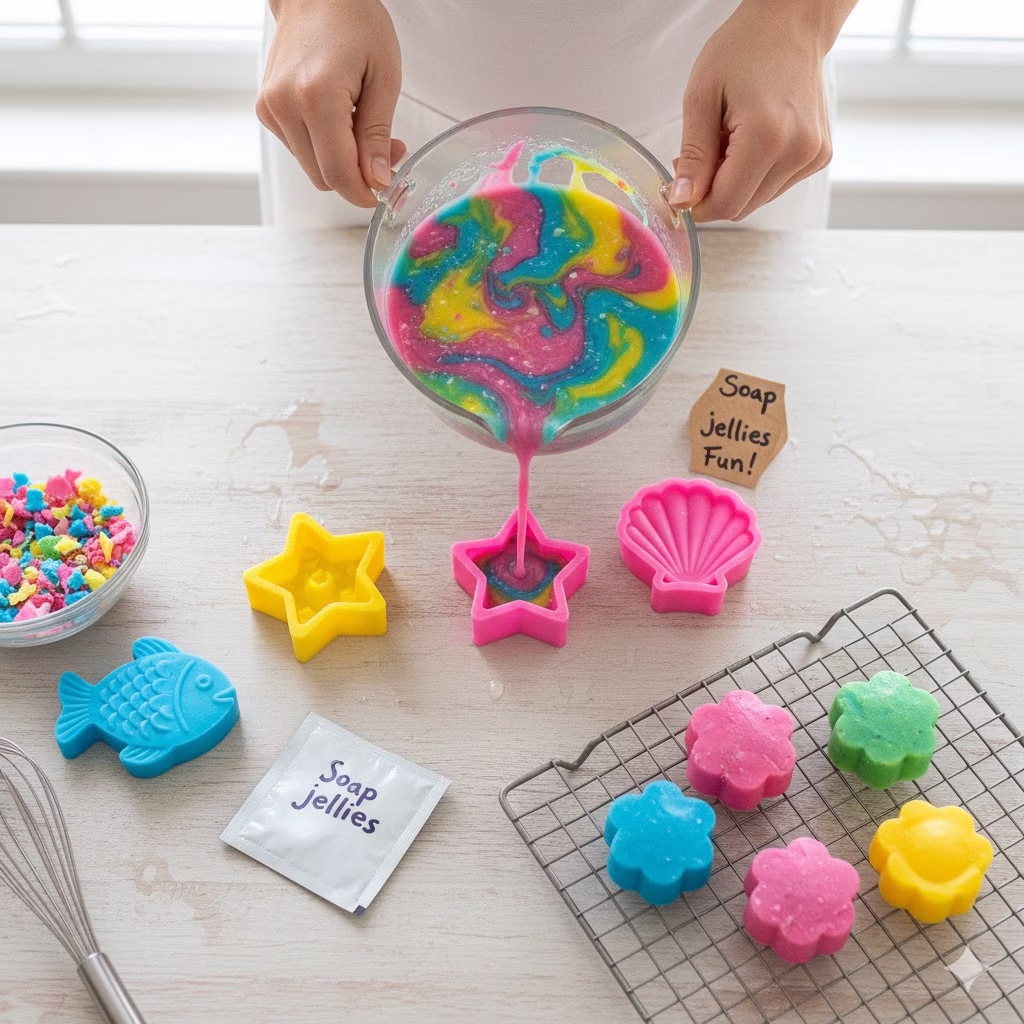
If you have kids, this is a fun bath time treat. These wobbly, colorful soap ‘jellies’ are easier for small, slippery hands to hold than a normal soap bar.
How to Do It:
- Grate Soap: Grate 1/2 cup of old soap (colorful scraps work best!).
- Make Gelatin Mix: In a saucepan, combine 1 cup of boiling water with 2 tablespoons of unflavored gelatin powder. Whisk until the gelatin is fully dissolved.
- Melt Soap: Take the pan off the heat and stir in the grated old soap flakes until they melt into the liquid.
- Pour and Chill: Pour the colorful liquid into fun silicone molds (like stars or fish).
- Set: Place the molds in the refrigerator for 4 hours or until they are completely firm like jello. Unmold them and they are ready for a wobbly bath time!
Conclusion for Old Soap
Every small bit of old soap you save is an opportunity to be creative and resourceful. These projects are simple, effective, and prove that “trash” is really just treasure waiting for a little ingenuity. By giving new life to old items, you are actively reducing waste and making your home a little more sustainable—one lovely lather at a time!
Frequently Asked Questions (FAQ)
Q: Can I mix different soap brands in these projects?
A: Yes, you can mix different brands of old soap for most projects, especially for cleaning (like the laundry detergent). Just be careful when mixing scents, as the final product might smell strange if the original scents clash.
Q: Why do I need to let the soap cool for so long?
A: Allowing the liquid soap or new bar soap to cool overnight is important because it gives the ingredients time to fully cure and thicken. If you try to use it too soon, it will be watery or too soft. Patience is key for a good final texture.
Q: Are these homemade cleaning products safe for my skin?
A: The products meant for the body (New Bar of Soap and Body Scrub) use gentle ingredients and are safe, provided you didn’t start with harsh chemical soaps. For the strong cleaning items (Laundry Detergent and All-Purpose Cleaner), always wear gloves if you have sensitive skin, just like you would with store-bought cleaners.
Q: What is the best way to store my soap scraps before a project?
A: The best way to store your old soap scraps is in an open container (like a glass jar or basket) that allows them to fully dry out. If they stay damp, they can start to mildew or clump together, which makes grating them difficult later.
References
- Naturalingredient – Soap Making Made Easy
- Lovelygreens – How to Naturally Color Handmade Soap
Recent Posts