If you’re looking to create the perfect Zen room, the right oils and diffuser can work wonders in transforming your space into a peaceful sanctuary. This guide showcases 10 best oils and diffusers to match your vibe, bringing tranquility and aroma to your everyday routine. Let’s get straight into the top picks you’ll love!
Best Oils: Lavender Oil

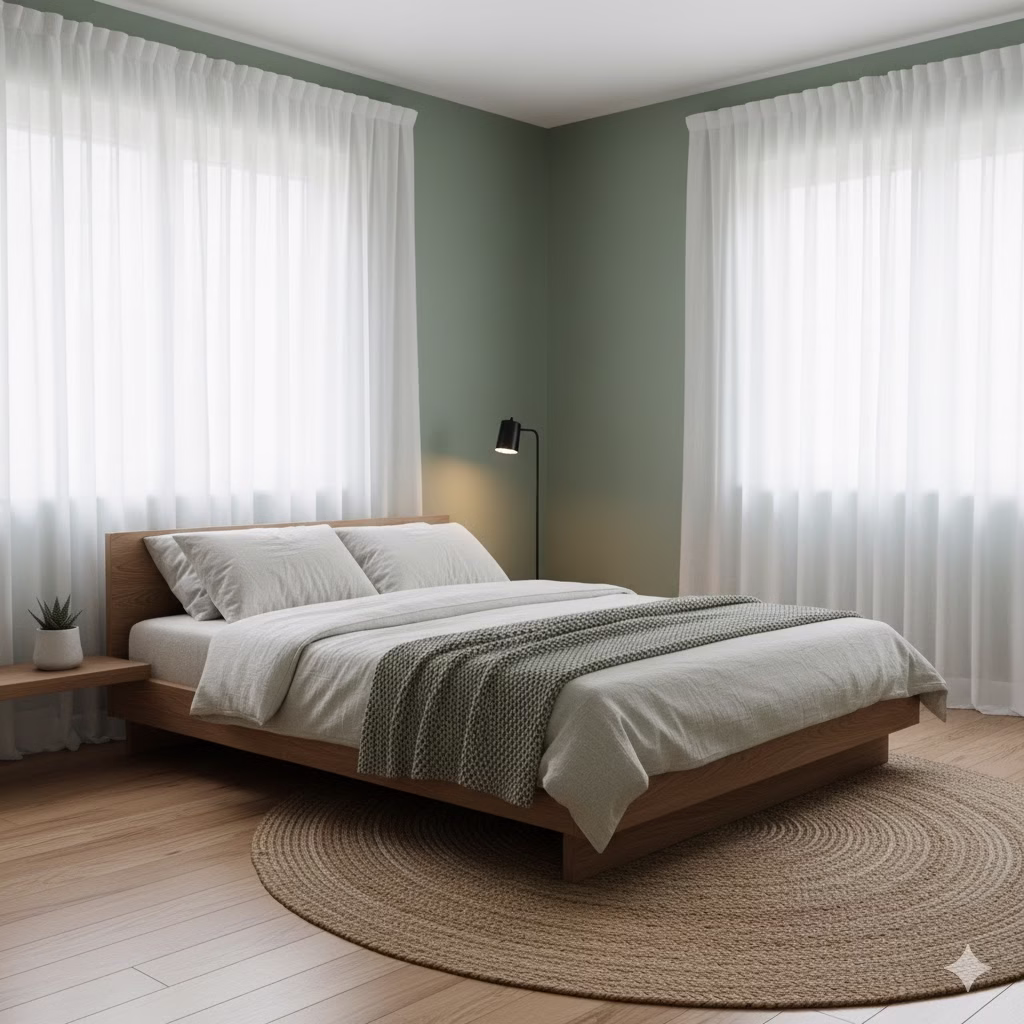
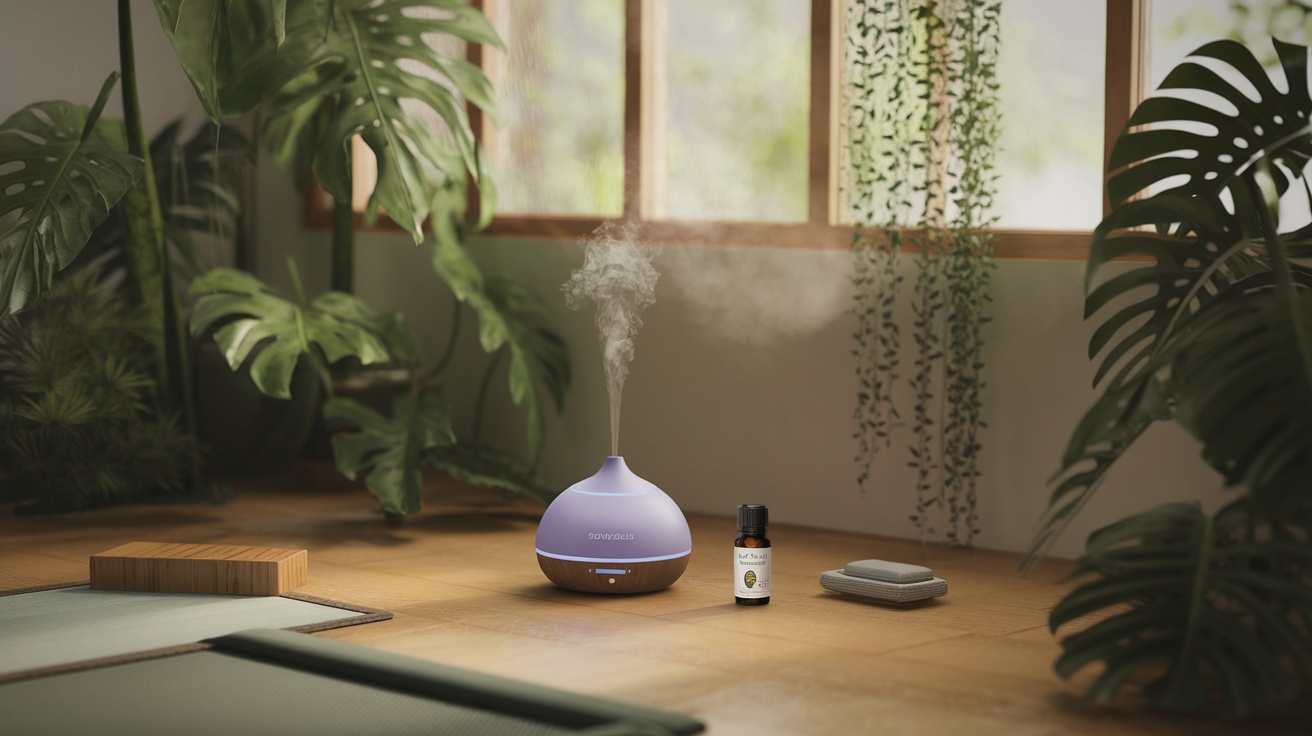
Lavender oil is a staple for anyone looking to create a calming atmosphere in their zen room. The image captures the essence of relaxation with a bottle of lavender oil surrounded by soft lighting, candles, and smooth stones. The gentle mist rising from the diffuser adds to the tranquil vibe.
This oil is known for its soothing properties. Just a few drops in a diffuser can help reduce stress and promote better sleep. The soft purple hues in the image reflect the calming nature of lavender, making it a perfect fit for your zen space.
Incorporating lavender oil into your routine is simple. You can use it in a diffuser, mix it with a carrier oil for a massage, or even add it to your bath. It’s one of the 10 best oils to have on hand for creating a peaceful environment.
Roman Chamomile Oil
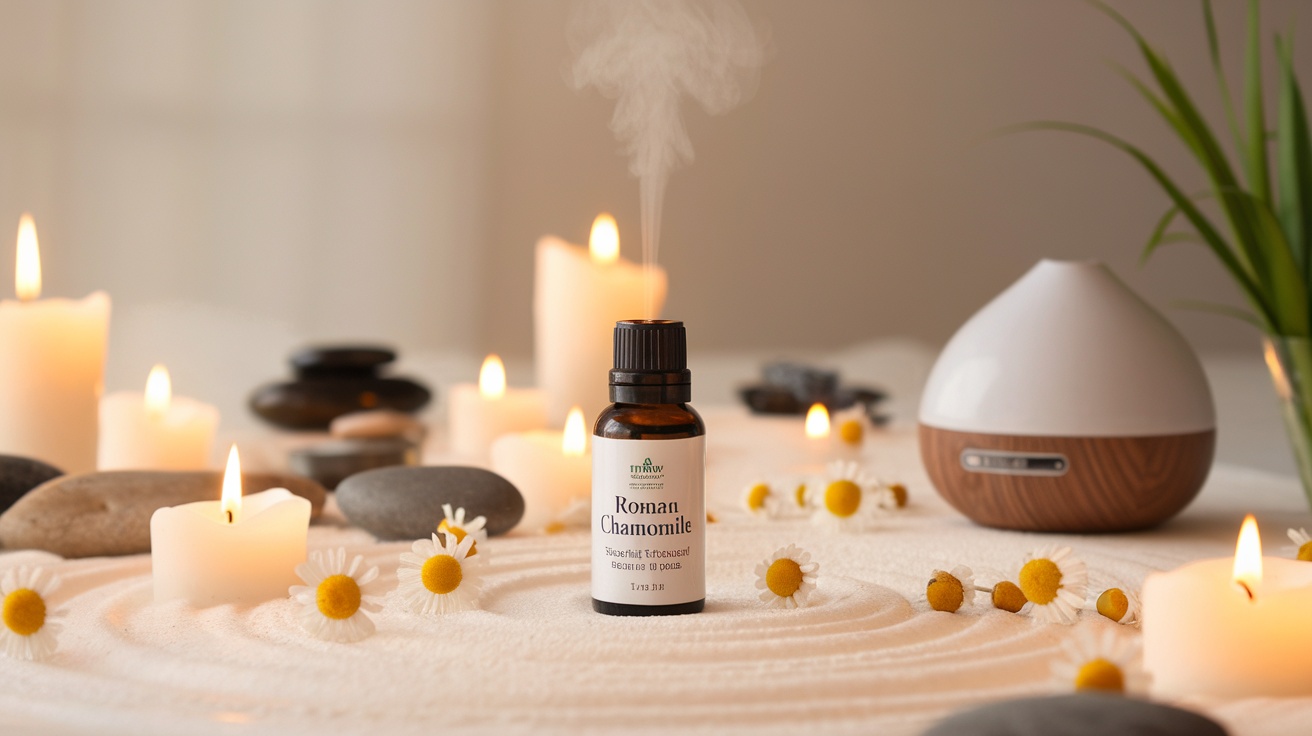
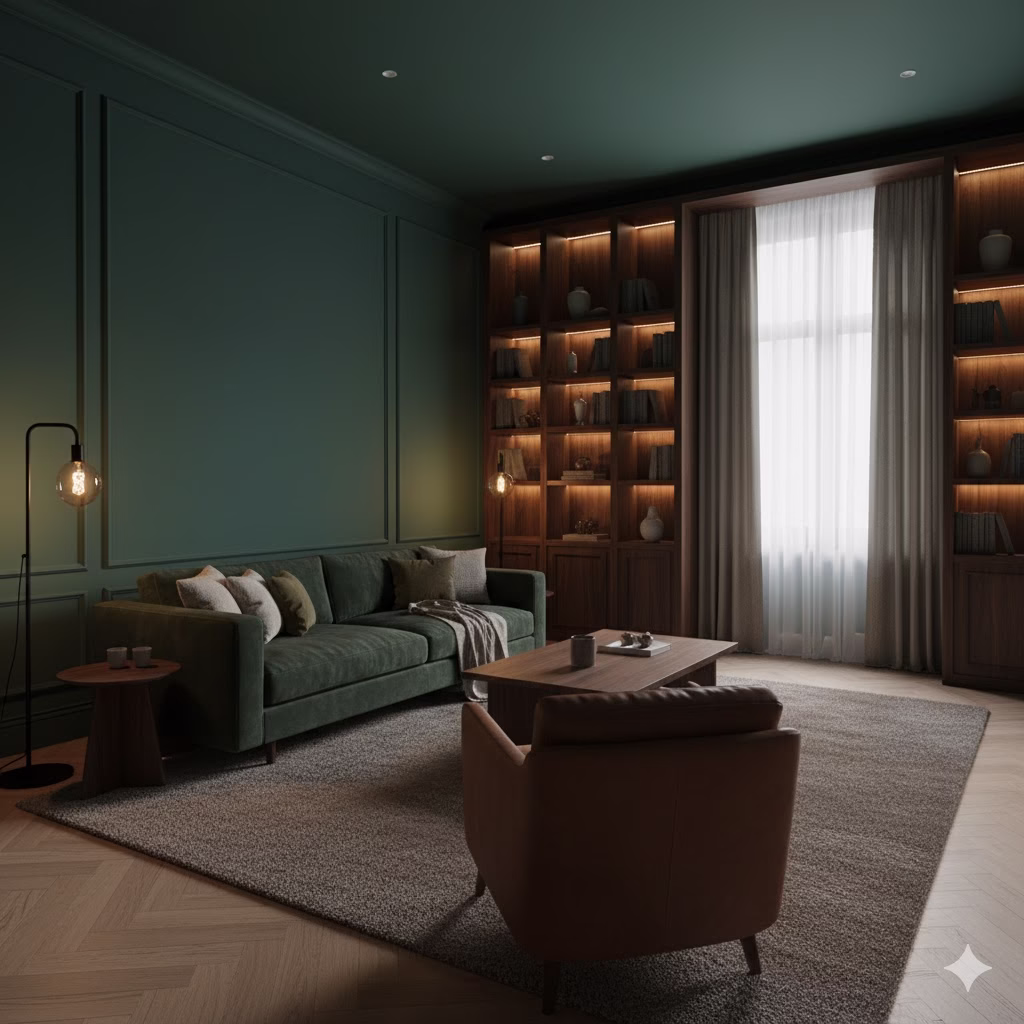
Roman Chamomile oil is a fantastic addition to any zen room. This oil is known for its calming properties, making it perfect for relaxation and stress relief. The image shows a bottle of Roman Chamomile oil surrounded by candles and stones, creating a serene atmosphere.
The soft glow of the candles and the gentle steam rising from the diffuser highlight the peaceful vibe that Roman Chamomile brings. This oil is often used in aromatherapy to promote a sense of tranquility. Its sweet, apple-like scent can help soothe the mind and body.
Incorporating Roman Chamomile oil into your zen space can enhance your meditation or yoga practice. Just a few drops in a diffuser can transform your room into a calming sanctuary. It’s one of the top 10 best oils to have for creating a peaceful environment.
Best Oils: Frankincense Oil
Frankincense oil is a standout among the 10 best oils for creating a peaceful environment. This oil has a rich history and is known for its calming properties. It’s perfect for meditation and relaxation.
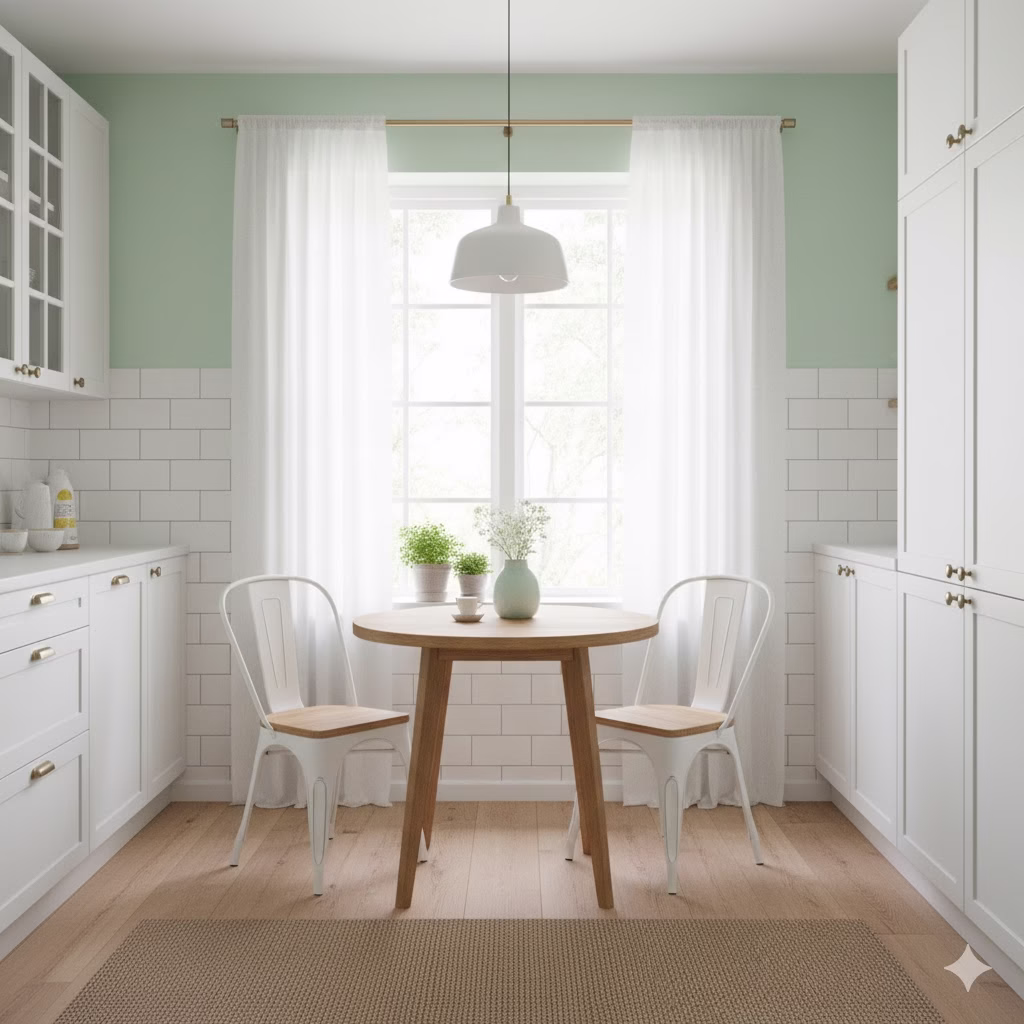
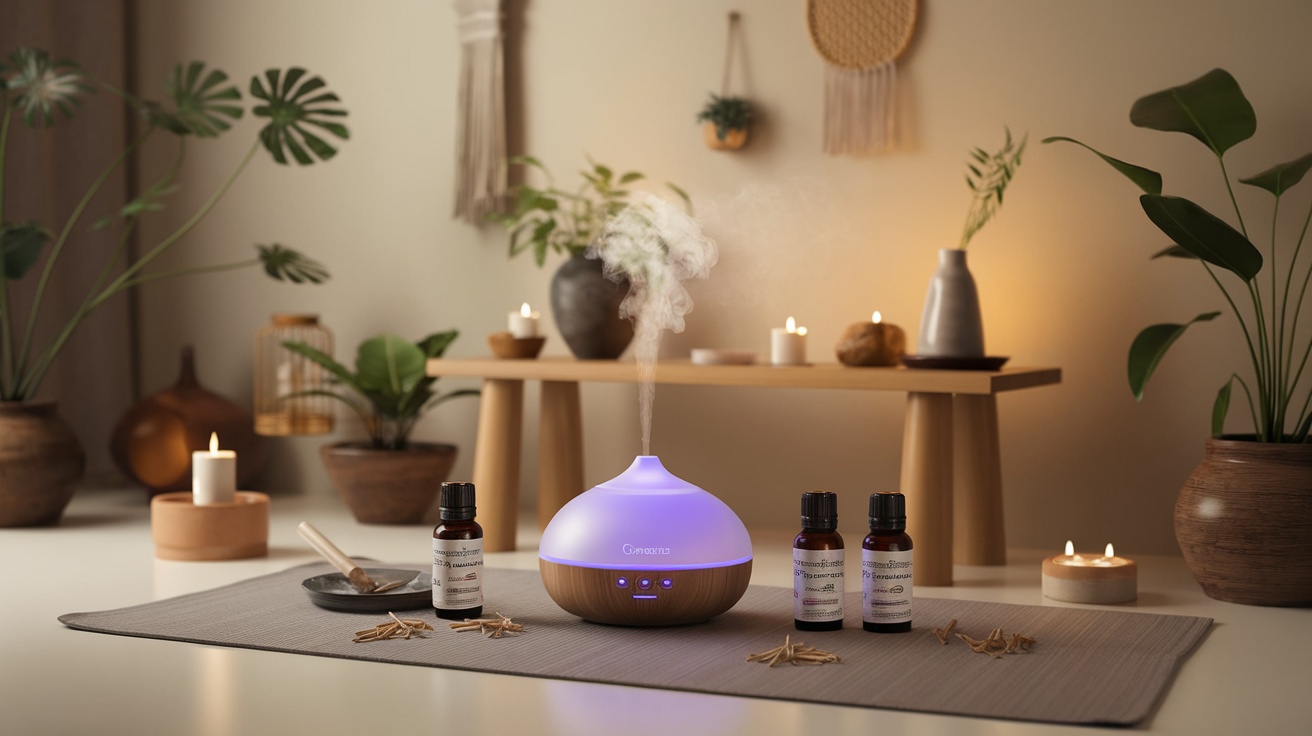
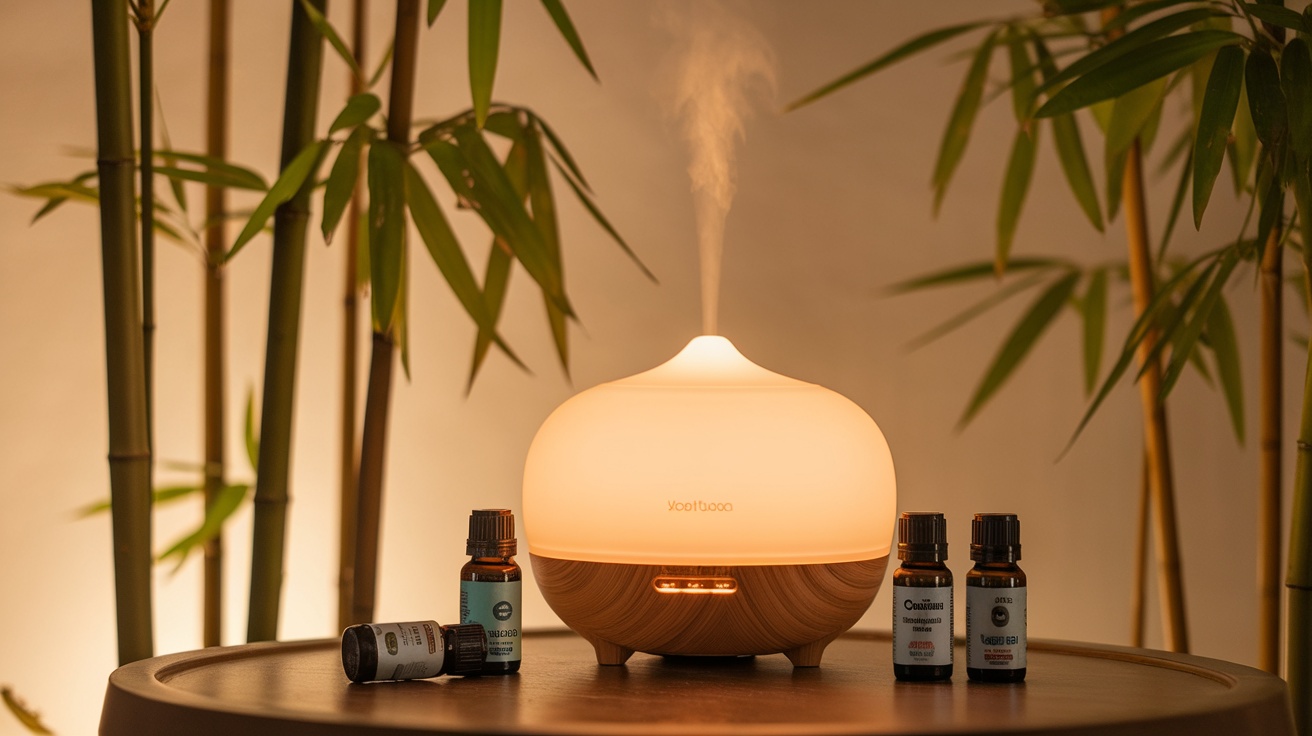
In the image, you can see a beautiful diffuser releasing a gentle mist of frankincense oil. The setup is inviting, with candles and plants that add to the serene vibe. The warm tones and soft lighting make it a great spot for unwinding after a long day.
Using frankincense oil in your diffuser can help clear your mind and enhance your focus. Just a few drops can transform your space into a tranquil retreat. It’s an essential oil that many swear by for its grounding effects.
Whether you’re practicing yoga, meditating, or just enjoying a quiet moment, frankincense oil can elevate your experience. It’s a simple addition that makes a big difference in your zen room.
Best Oils: Bergamot Oil
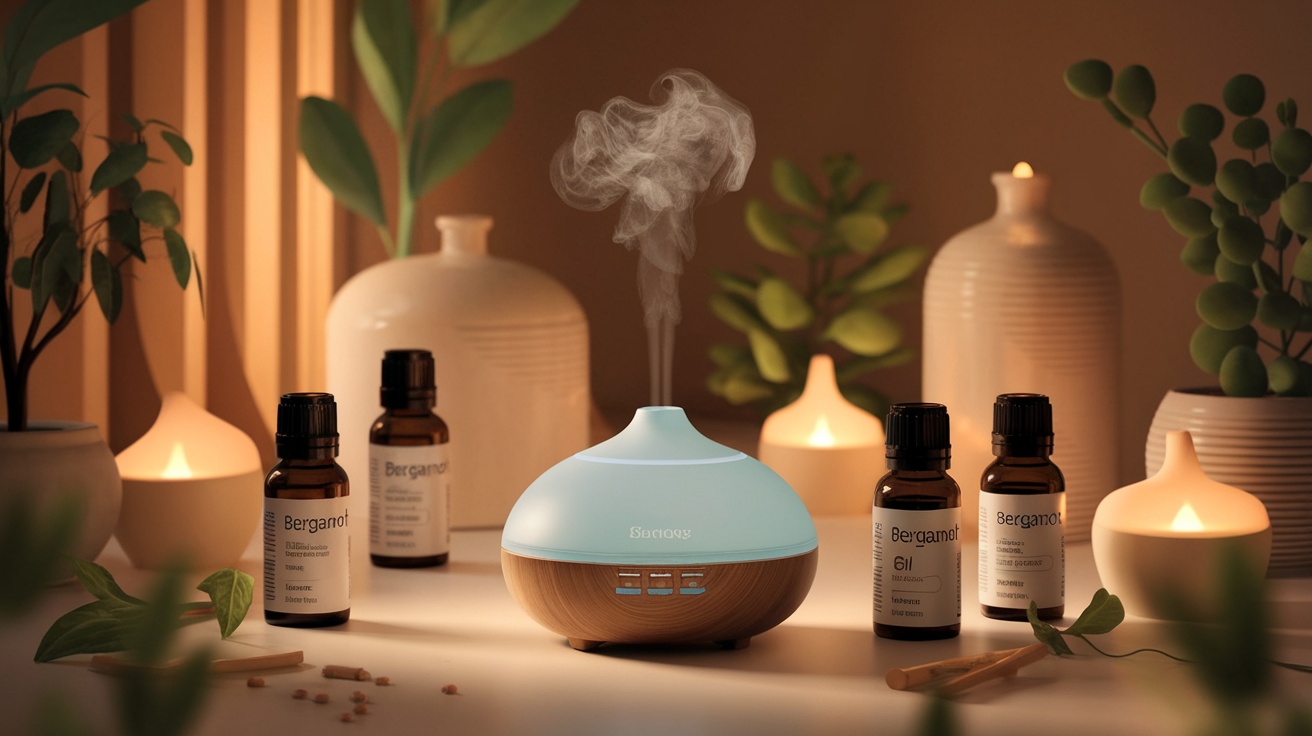
Bergamot oil is a delightful addition to any zen room. Its fresh, citrusy scent can instantly uplift your mood and create a calming atmosphere. The image showcases a beautiful diffuser surrounded by bottles of bergamot oil, highlighting its importance in aromatherapy.
This oil is known for its ability to reduce stress and anxiety. When diffused, it fills the room with a pleasant aroma that can help you relax after a long day. The gentle mist from the diffuser adds to the soothing experience, making it perfect for meditation or winding down.
Incorporating bergamot oil into your routine is simple. Just add a few drops to your diffuser and let the calming scent envelop you. You can also mix it with other essential oils for a unique blend. It’s one of the top choices among the 10 best oils for creating a peaceful environment.
Vetiver Oil
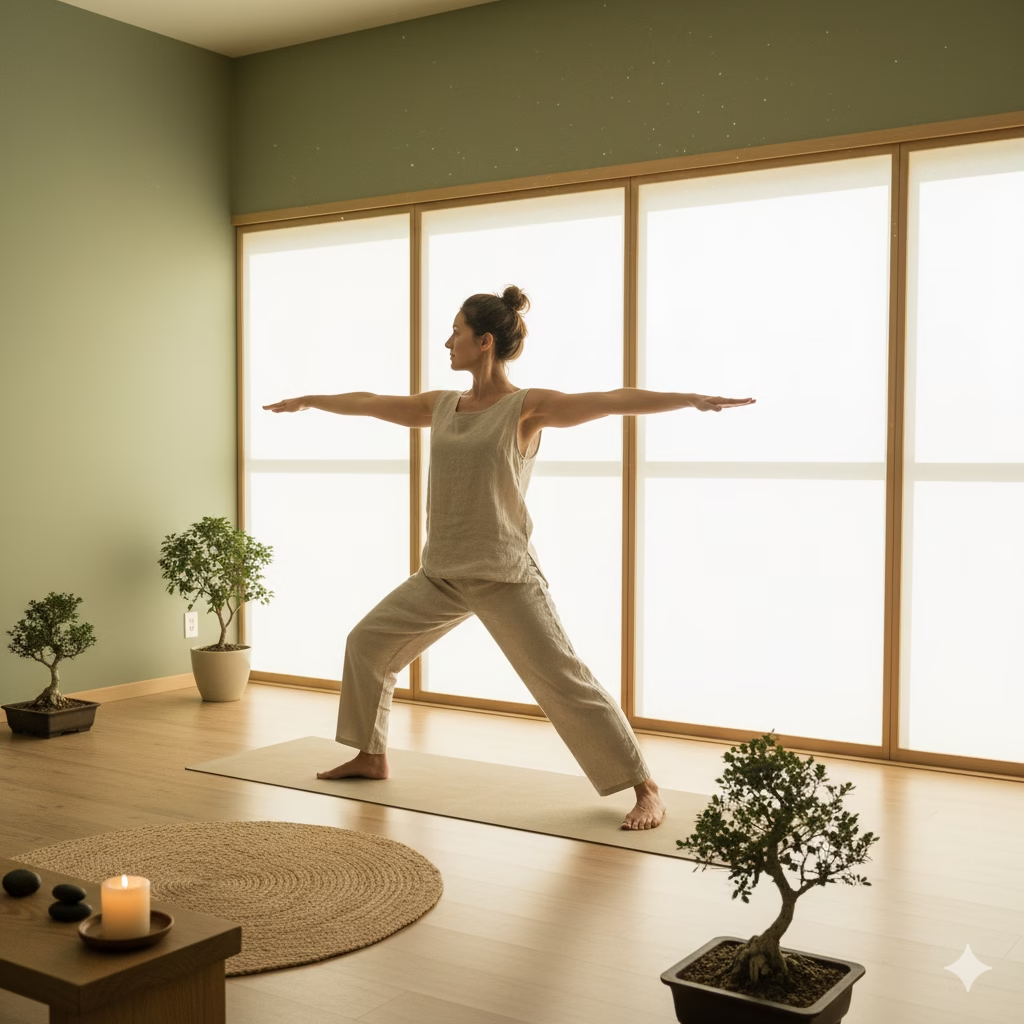
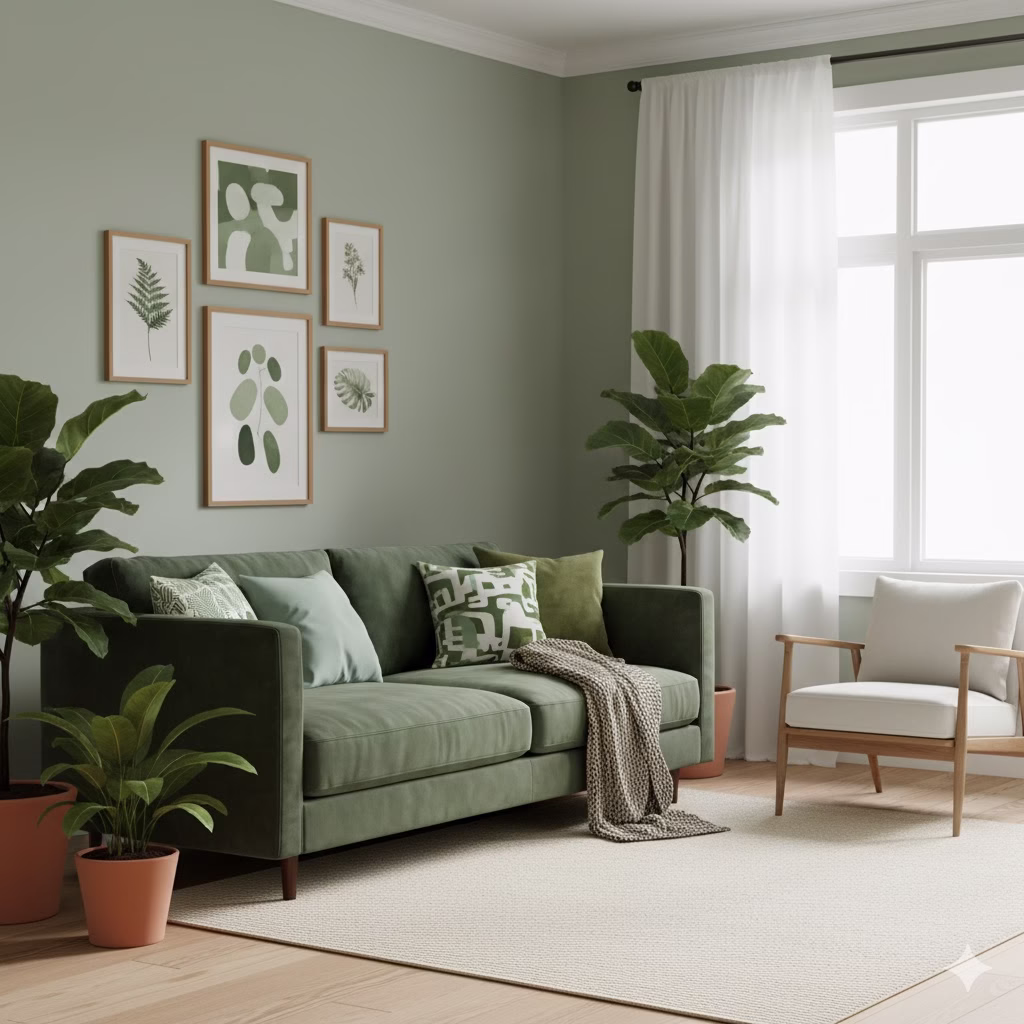
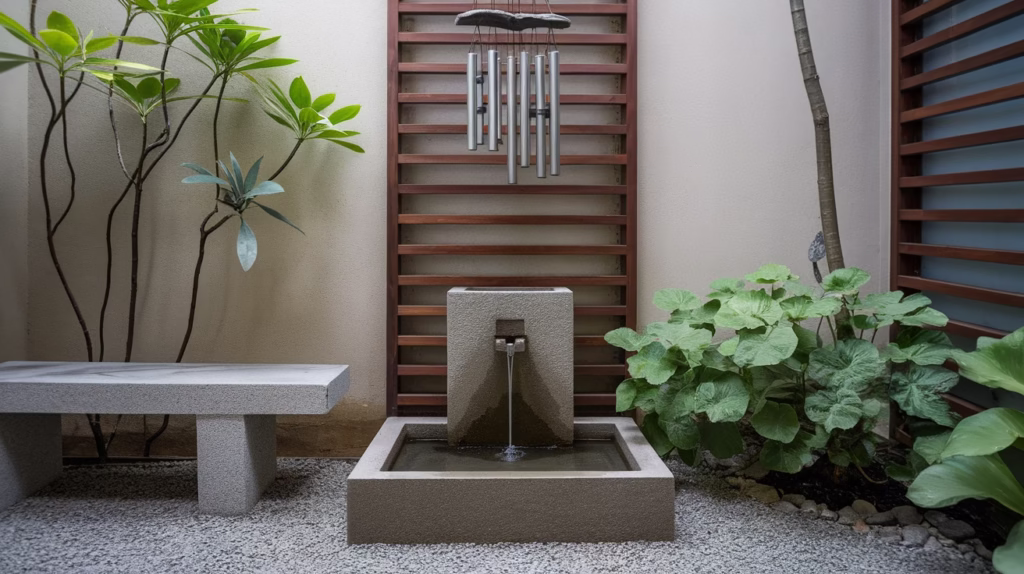
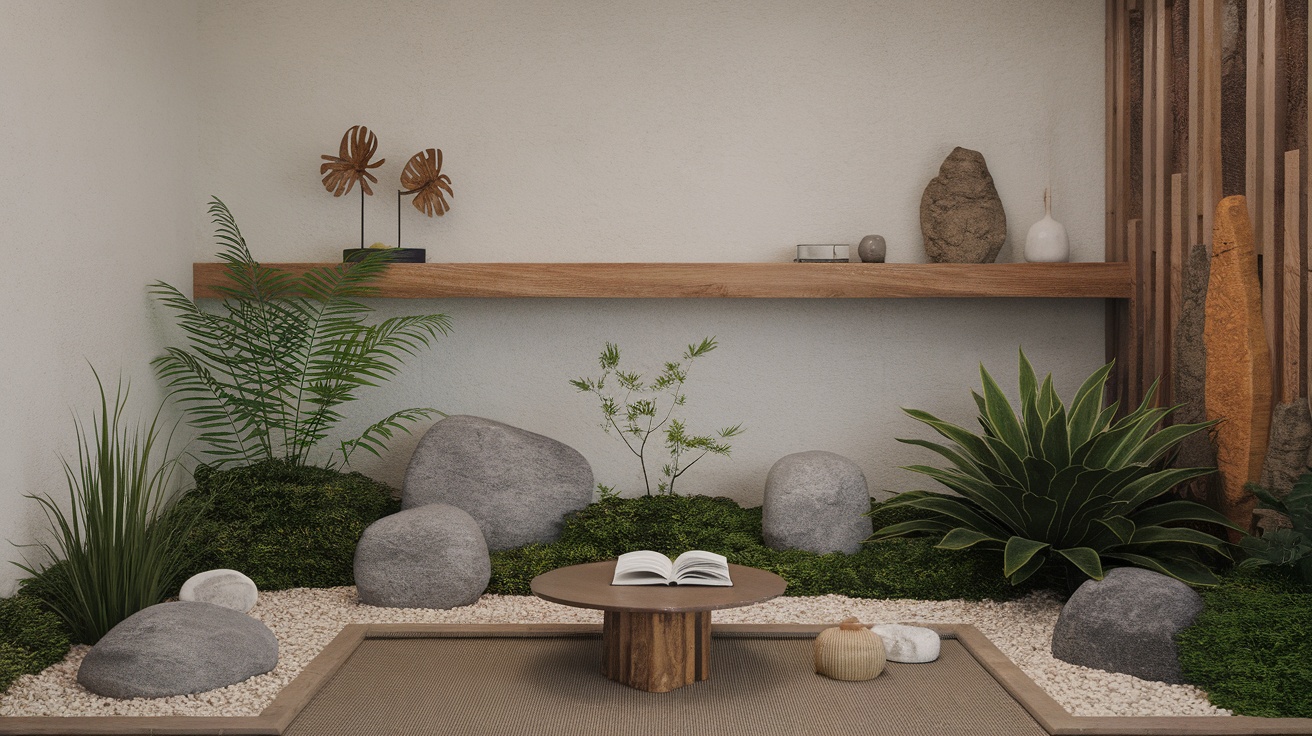
Vetiver oil is a fantastic addition to any zen room. Its earthy aroma creates a calming atmosphere, perfect for relaxation and mindfulness. The image showcases a serene space filled with lush greenery, a diffuser, and a bottle of vetiver oil, emphasizing the connection between nature and tranquility.
This oil is known for its grounding properties. When diffused, it helps reduce stress and anxiety, making it easier to unwind after a long day. The gentle mist from the diffuser enhances the experience, filling the room with the soothing scent of vetiver.
Incorporating vetiver oil into your routine can be simple. Just add a few drops to your diffuser, and let the calming aroma envelop you. Pair it with soft lighting and comfortable seating to create a perfect spot for meditation or relaxation. It’s one of the top picks in our list of 10 Best Oils for a peaceful environment.
Ultrasonic Diffuser With Auto Shut-Off
An ultrasonic diffuser is a fantastic addition to any zen room. The image shows a sleek diffuser surrounded by essential oils, ready to create a calming atmosphere. This type of diffuser uses water and essential oils to produce a fine mist, filling the space with delightful scents.
One of the standout features of this diffuser is its auto shut-off function. This means you can relax without worrying about turning it off. Once the water runs out, it automatically stops working, making it safe and convenient.
Pairing your diffuser with the right essential oils is key. Consider using some of the 10 best oils for relaxation, like lavender or eucalyptus. These oils can enhance your experience and help you unwind after a long day.
Overall, an ultrasonic diffuser with auto shut-off is not just functional; it adds a touch of elegance to your space. It’s a simple way to elevate your zen room and promote a peaceful environment.
Nebulizing Diffuser (Waterless)
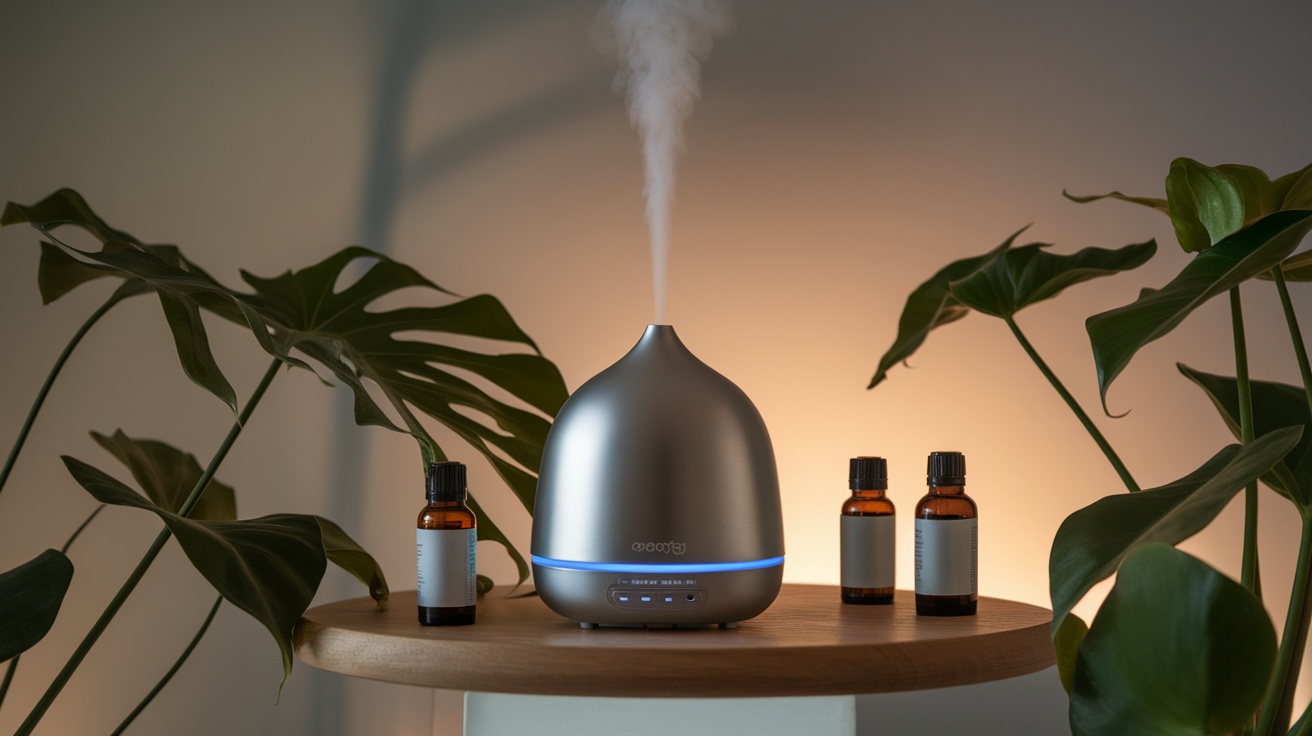
Nebulizing diffusers are a fantastic addition to any zen room. They work without water, using only essential oils to create a fine mist. This method preserves the integrity of the oils, allowing you to enjoy their full benefits. The image shows a sleek nebulizing diffuser surrounded by essential oil bottles, highlighting its modern design and functionality.
These diffusers are perfect for those who want to fill their space with the pure aroma of their favorite scents. Unlike traditional diffusers, nebulizing diffusers don’t dilute the oils, making them a popular choice for aromatherapy enthusiasts. With just a few drops of your preferred essential oil, you can transform your room into a calming sanctuary.
When looking for the 10 best oils to use with your nebulizing diffuser, consider options like lavender for relaxation, eucalyptus for clarity, and citrus oils for an uplifting atmosphere. Each oil brings its unique properties, enhancing your zen experience.
Quiet Operation (Low Noise Level)
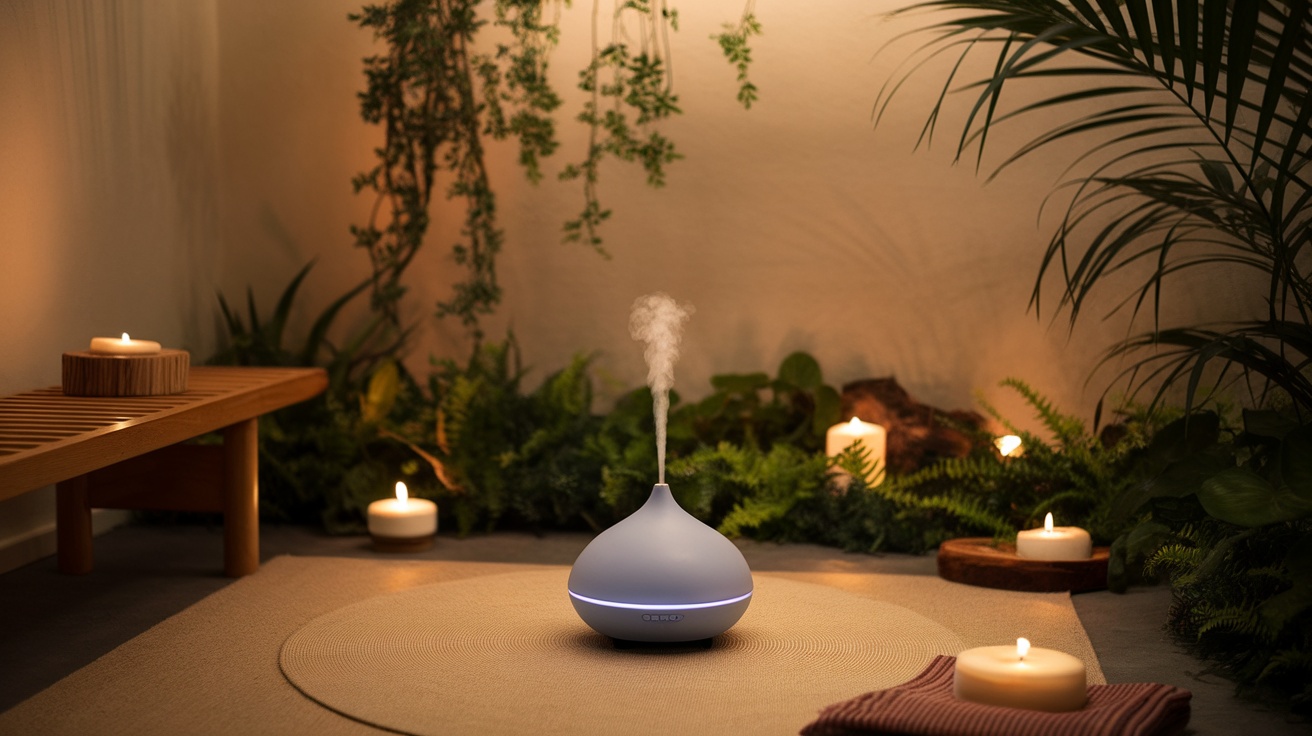
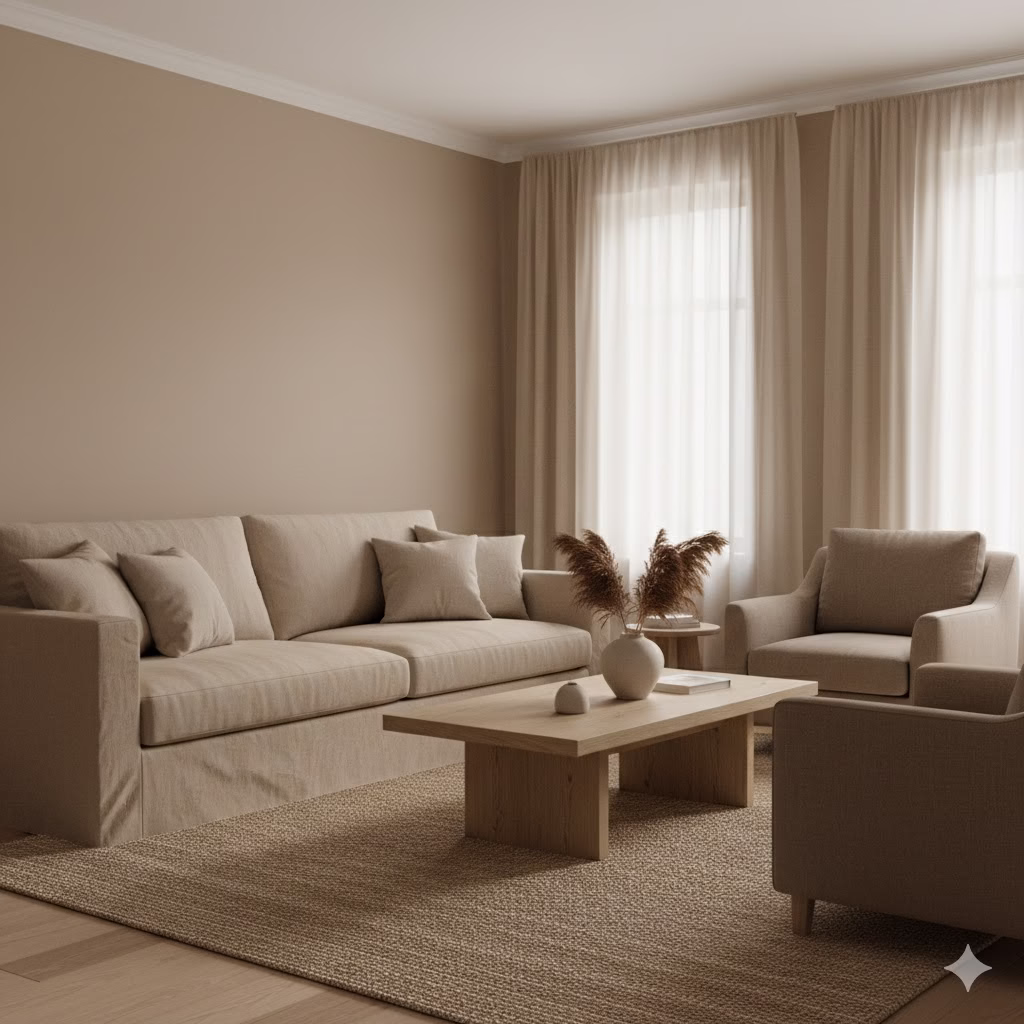
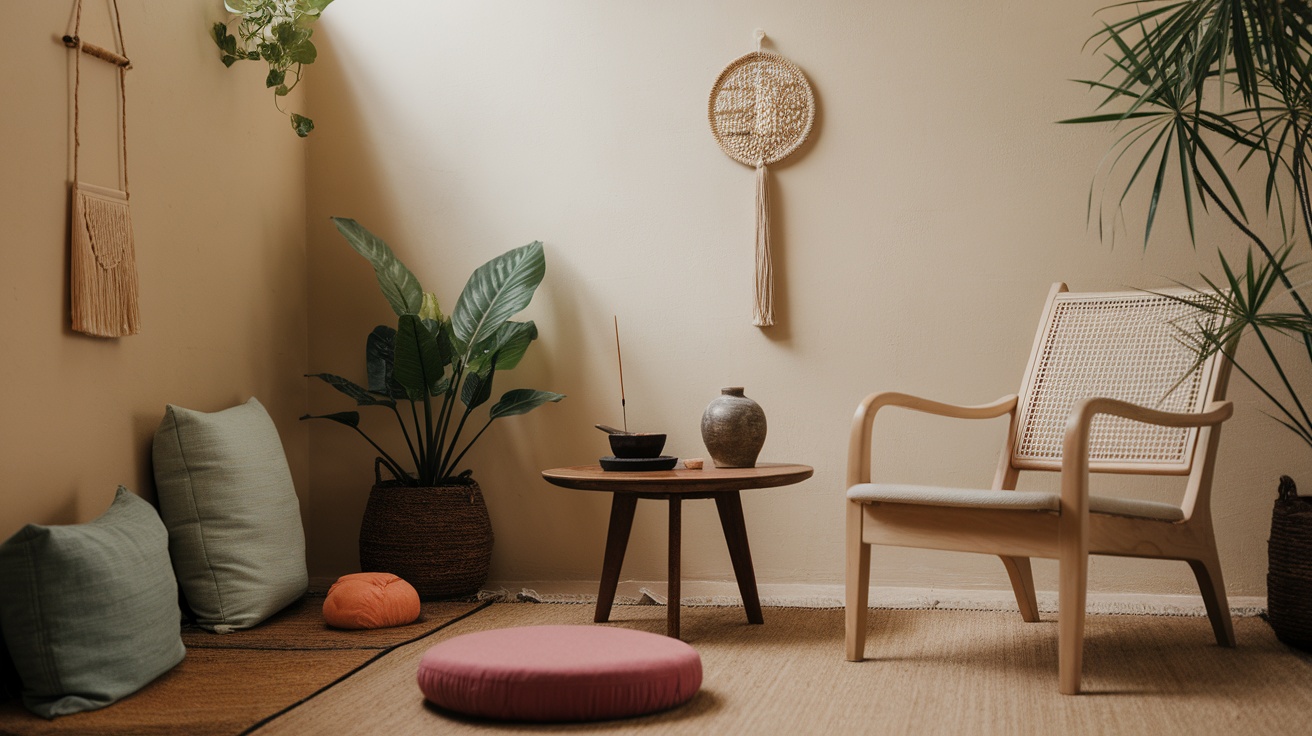
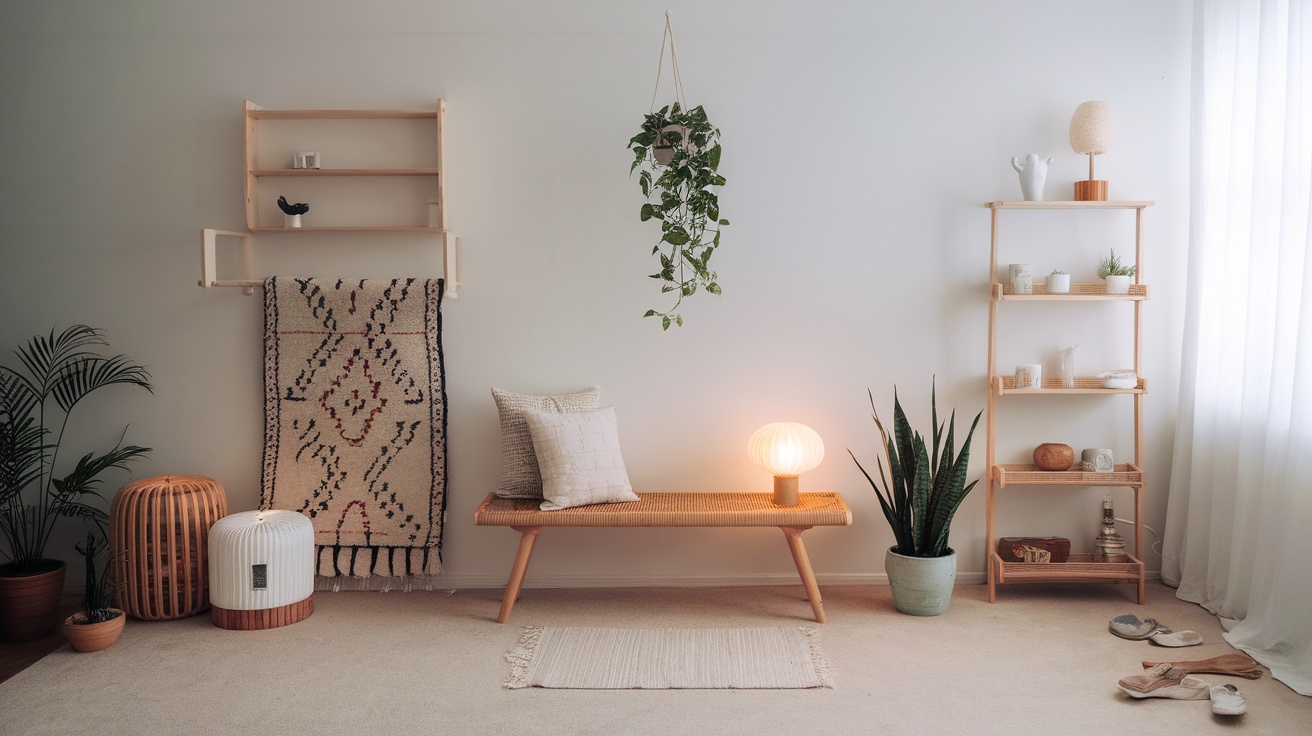
When creating a peaceful zen room, quiet operation is key. The image shows a sleek diffuser surrounded by soft lighting and candles, setting the perfect mood. A low noise level from your diffuser allows you to focus on relaxation without distractions.
Many of the 10 best oils work wonderfully with diffusers that operate quietly. This means you can enjoy the soothing scents of lavender or eucalyptus while meditating or practicing yoga. The gentle mist rising from the diffuser enhances the calming atmosphere without interrupting your peace.
Choosing a diffuser that emphasizes quiet operation ensures that your zen space remains a sanctuary. You can unwind, read, or simply enjoy the moment without the hum of machinery. This makes it easier to connect with yourself and your surroundings, creating a truly serene environment.
Adjustable Timer And Mist Settings

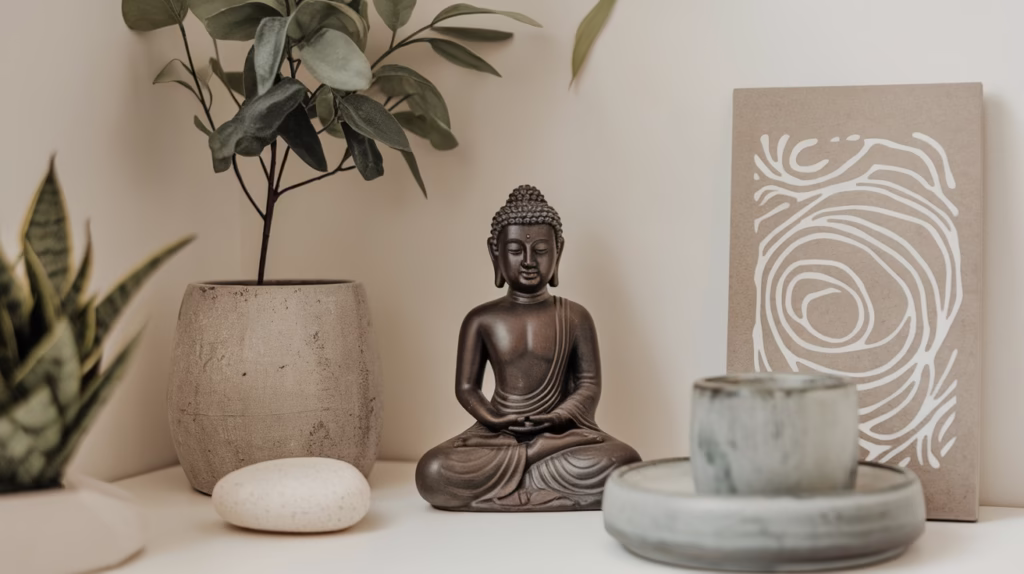
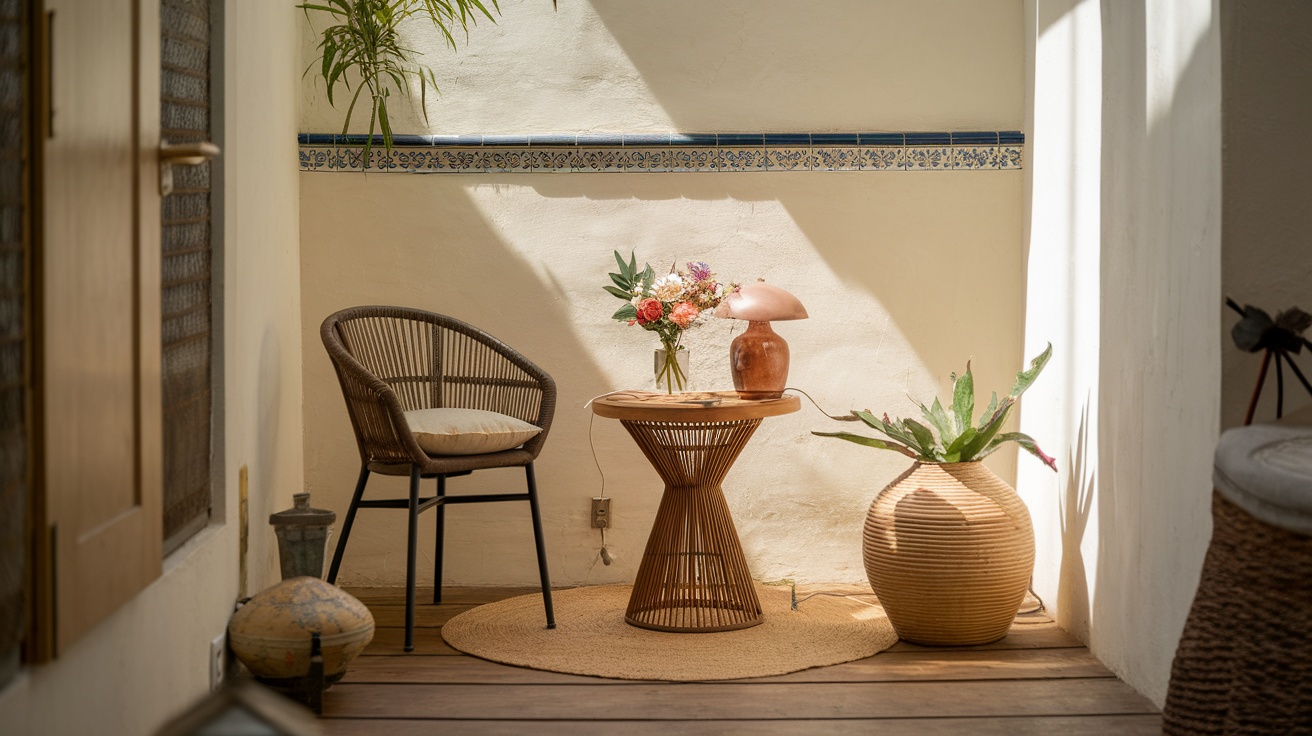
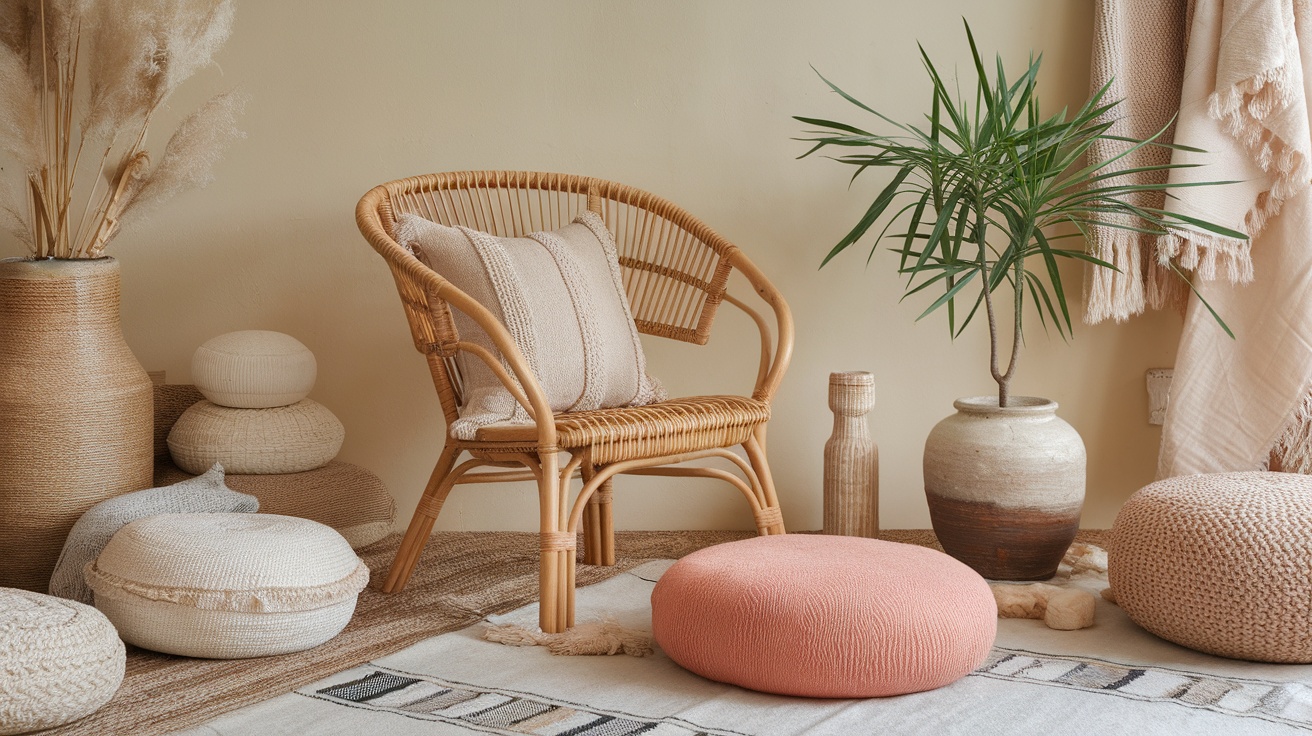
When creating a peaceful space, an essential feature to look for in a diffuser is adjustable timer and mist settings. This allows you to customize your experience based on your needs. Whether you want a gentle mist for a short period or a longer session, having control makes a difference.
The image shows a stylish diffuser surrounded by candles and plants, creating a serene atmosphere. The soft glow of the diffuser adds to the calming vibe. With adjustable settings, you can set the mist to run continuously or intermittently, depending on how much fragrance you desire.
Incorporating the right oils can enhance your experience. From the 10 best oils to choose from, each offers unique benefits. Lavender for relaxation, eucalyptus for clarity, or citrus for energy—there’s an oil for every mood. This flexibility in mist settings ensures that your zen room remains a personal retreat, tailored just for you.
Ambient/Soft Led Lighting (With Off Switch)

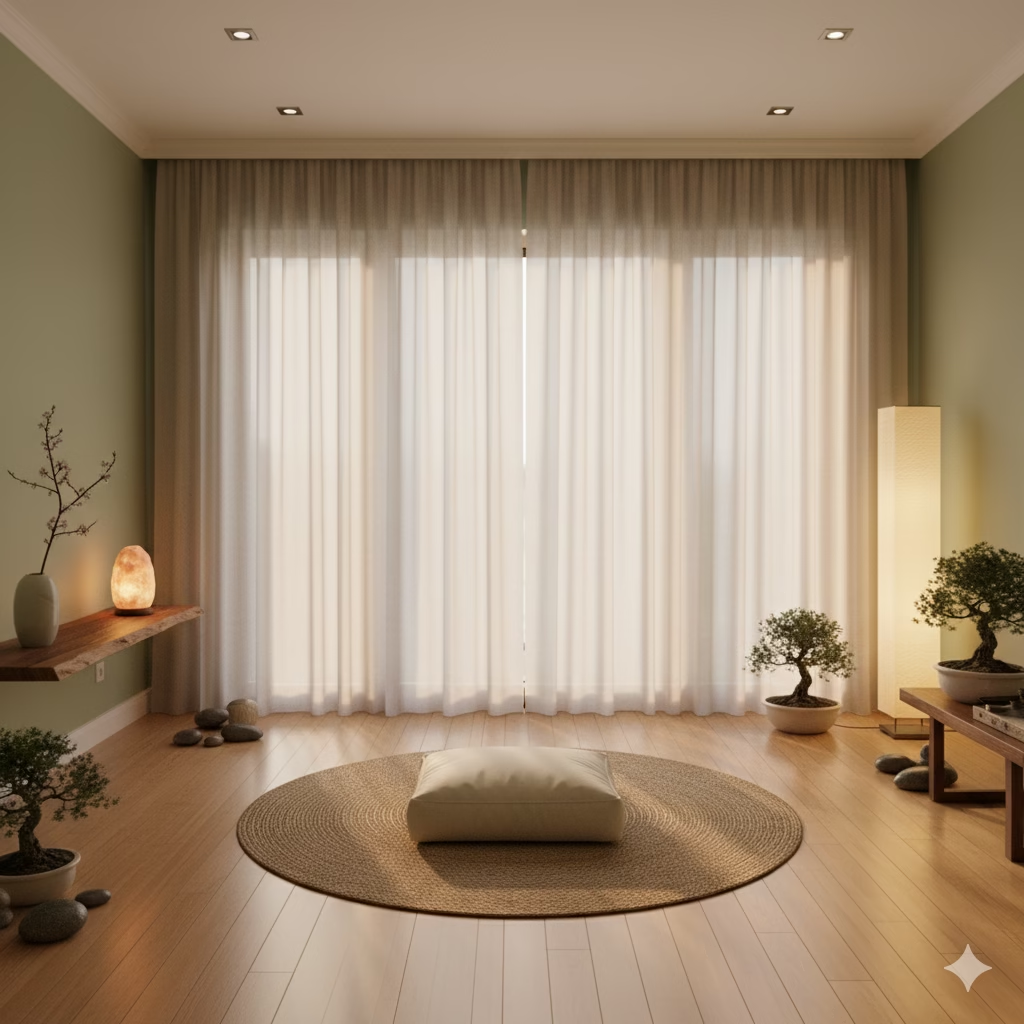
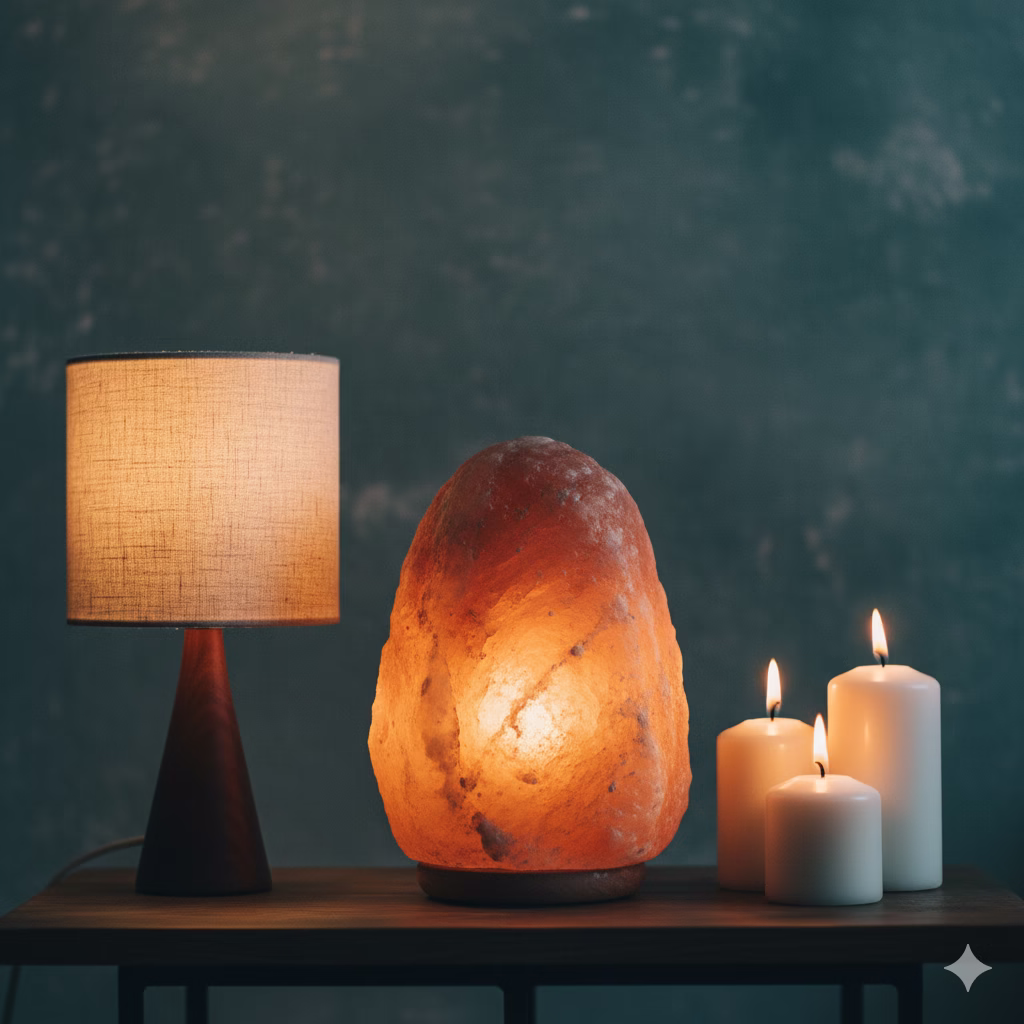
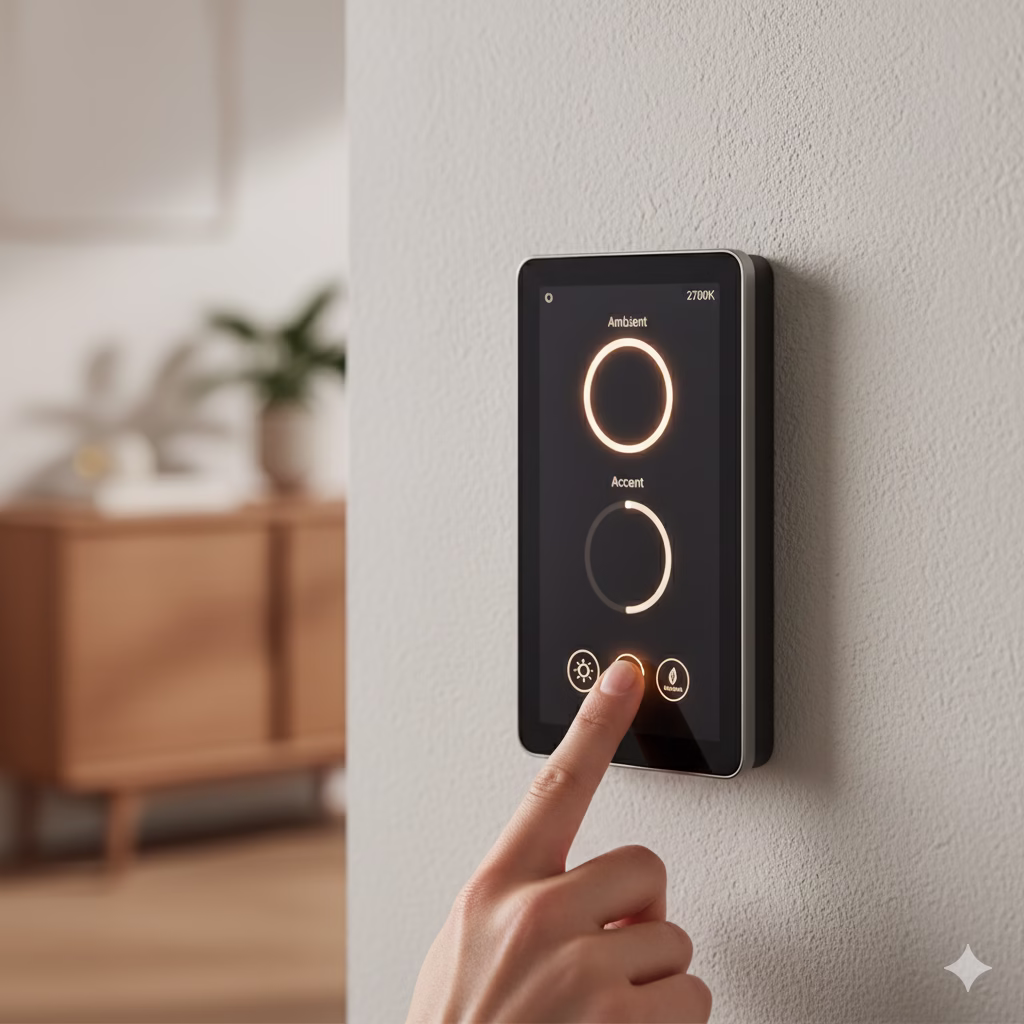
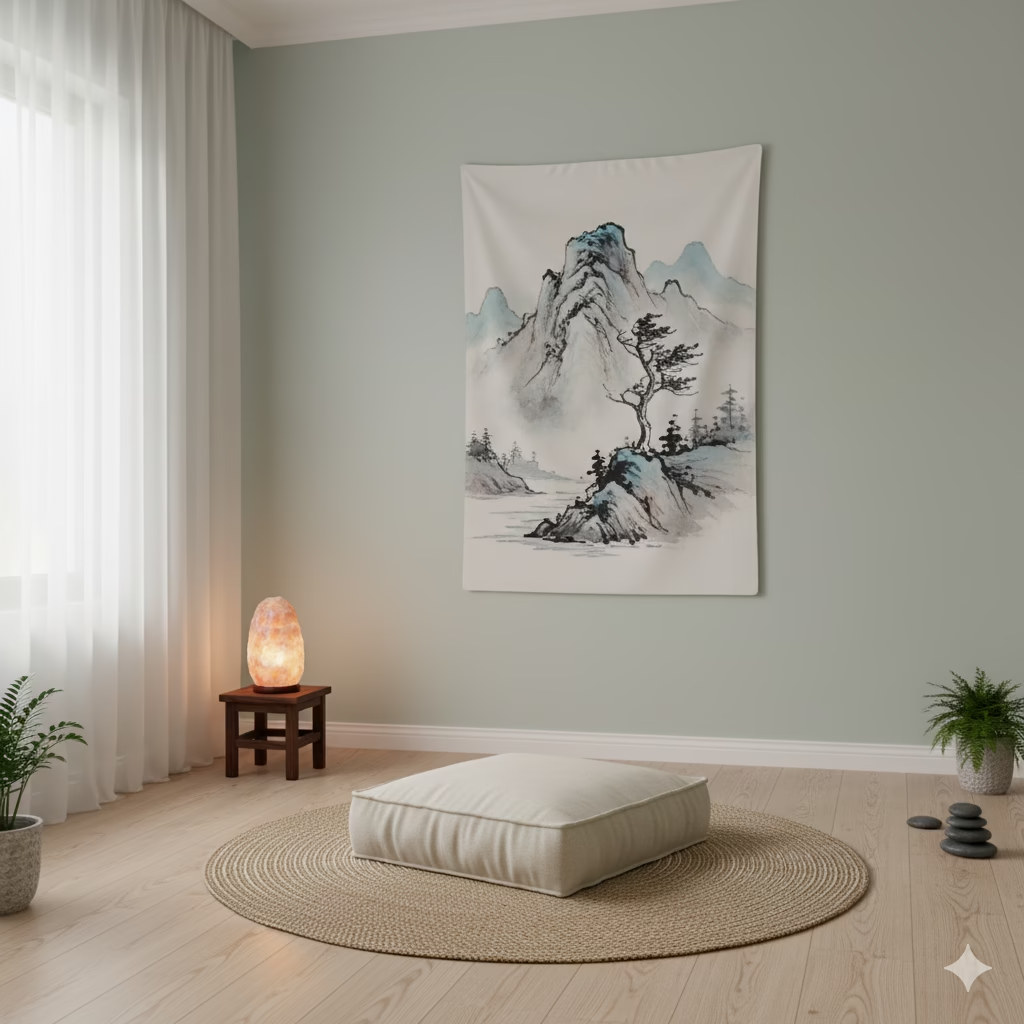
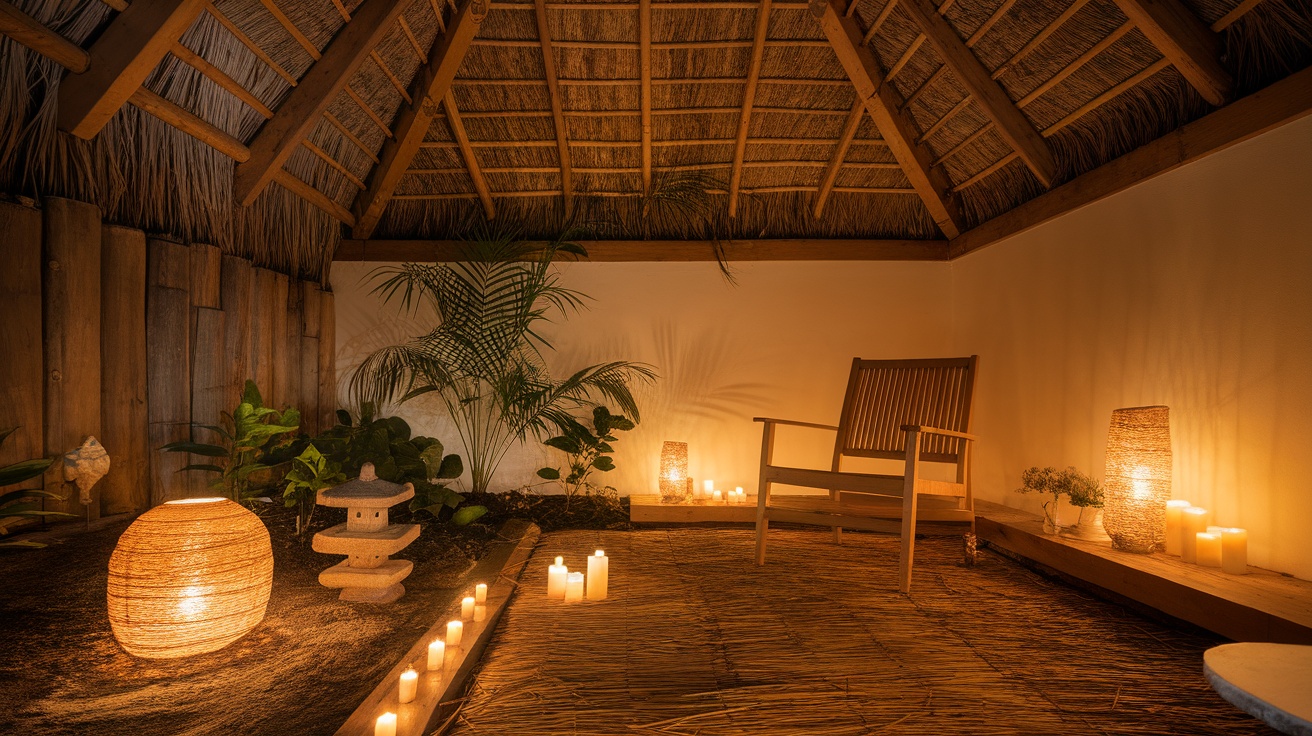
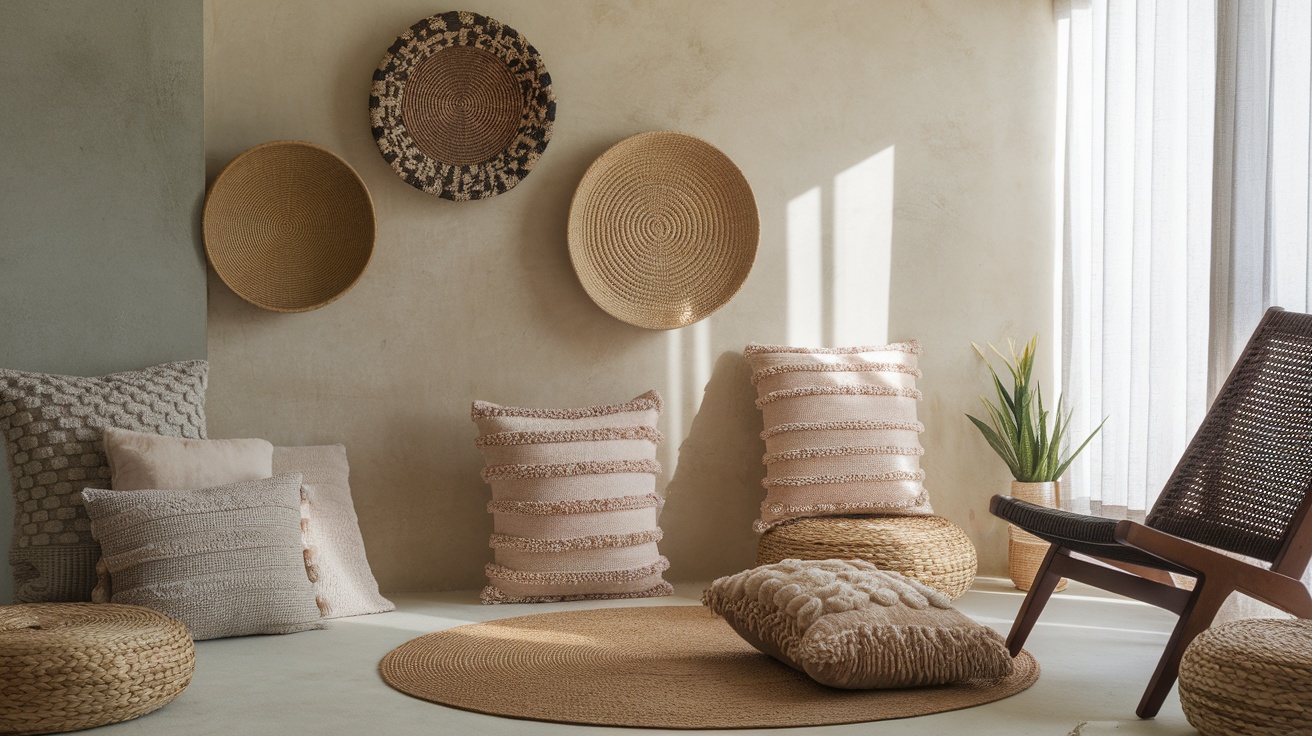
Creating a zen room is all about setting the right mood, and ambient lighting plays a huge role in that. The image showcases soft LED lights that add a warm glow to the space. These lights can transform any room into a peaceful retreat.
The gentle illumination from the LED lights complements the natural elements around, like the plants and stones. This combination helps in fostering a calming environment, perfect for relaxation or meditation. Plus, having an off switch makes it easy to control the lighting based on your needs.
Incorporating these lights with the right oils from the ’10 Best Oils’ list can enhance your zen experience even more. Imagine the soothing scents of lavender or eucalyptus filling the air while you unwind in this serene setting.
References
- ClevelandClinic – Aromatherapy
- Biofilico – Restorative Recharge Room Designers
Recent Posts