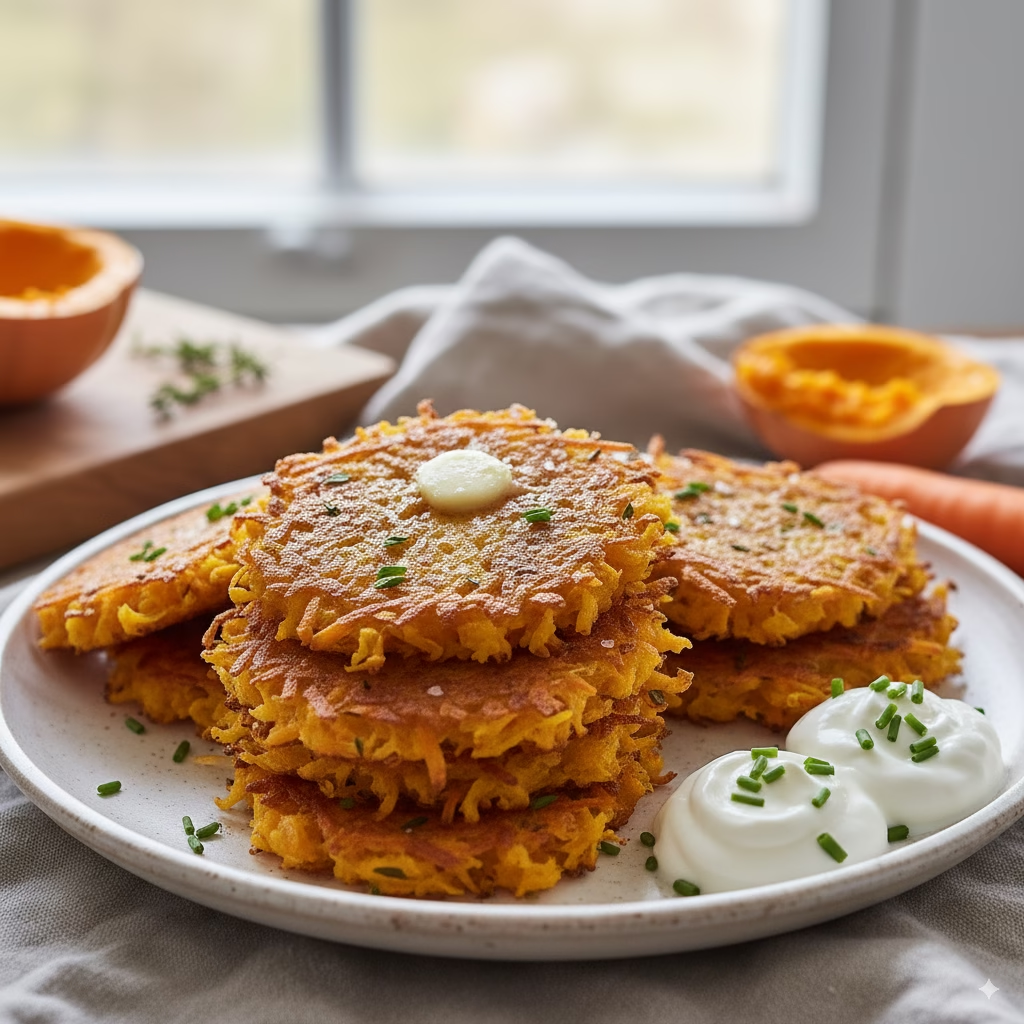
Discover a vibrant and healthy twist on a breakfast classic with these delightful Butternut Squash & Carrot Hash Browns. Perfect for health-conscious individuals, this recipe brings a nutritional powerhouse to your plate without sacrificing flavor. Elevate your morning routine with these incredibly tasty and wholesome Hash Browns.
A Delightful Morning Reinvention
Breakfast is often hailed as the most important meal of the day, yet it can sometimes feel mundane. We often fall back on the same routines, reaching for quick and easy options that might not always be the most nutritious. But what if you could transform a beloved comfort food into a dish that’s both incredibly satisfying and packed with health benefits? This recipe for Butternut Squash & Carrot Hash Browns does just that, offering a fresh, colorful, and wholesome alternative to your usual morning fare.
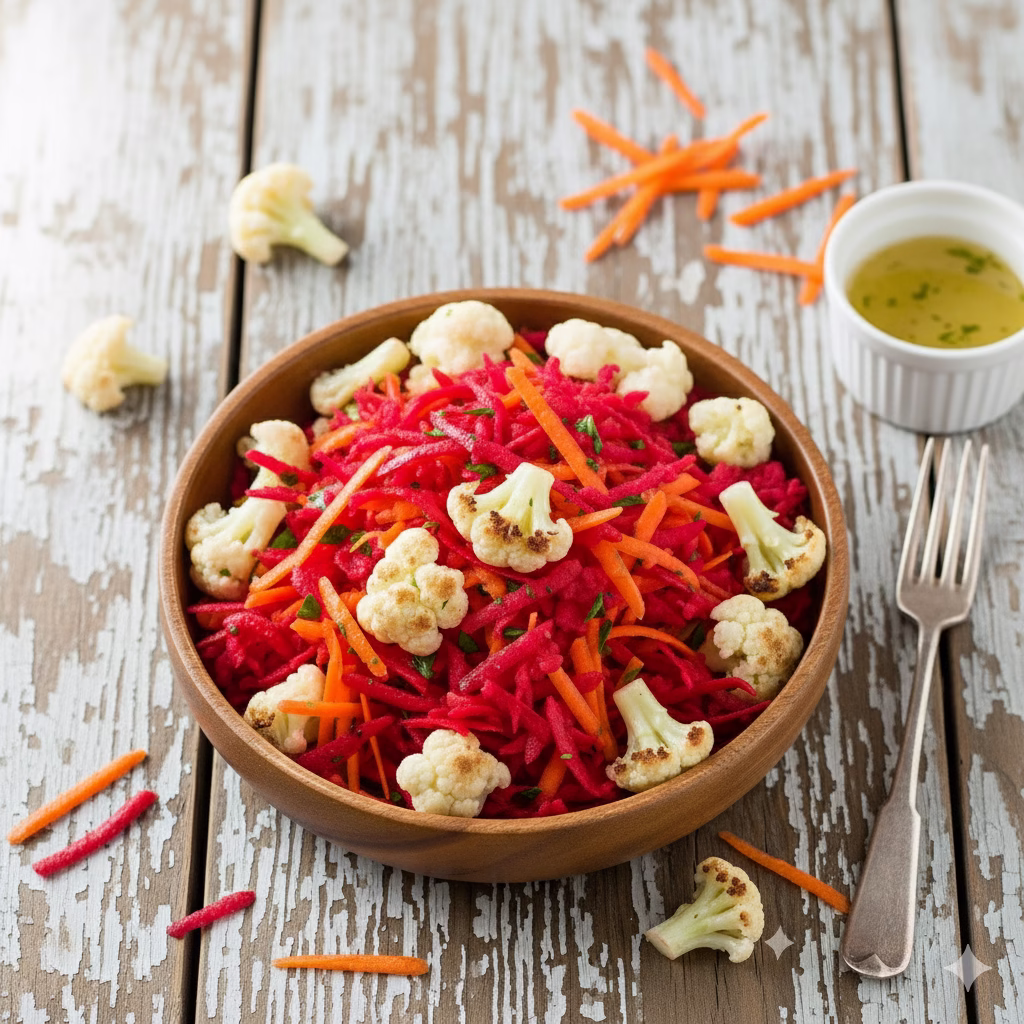
Imagine waking up to the aroma of freshly cooked hash browns, but with a vibrant twist. Instead of just potatoes, we’re introducing the natural sweetness of butternut squash and the earthy goodness of carrots. These vegetables not only add a beautiful golden hue to your plate but also infuse each bite with a wealth of vitamins, minerals, and dietary fiber. It’s a simple change that makes a significant difference in both flavor and nutritional value.
Making Better Hash Browns Accessible
This isn’t just a recipe; it’s an invitation to rediscover the joy of a homemade breakfast. It encourages you to step away from processed foods and embrace the natural goodness that whole ingredients offer. Whether you’re a seasoned chef or a novice in the kitchen, these hash browns are surprisingly easy to prepare, making a gourmet-style breakfast accessible to everyone. The process is straightforward, yielding delicious results that will impress both your taste buds and your body.
For those dedicated to a healthy lifestyle, these Butternut Squash & Carrot Hash Browns fit seamlessly into a balanced diet. They are naturally gluten-free and can be easily adapted to be dairy-free or vegan, catering to various dietary needs and preferences. This recipe proves that healthy eating doesn’t have to be boring or restrictive; in fact, it can be incredibly delicious and exciting, especially when you get creative with your ingredients.
So, get ready to embark on a culinary journey that will brighten your mornings and nourish your body. We’ll guide you through every step, from selecting the freshest produce to achieving that perfect crispy exterior and tender interior. Prepare to fall in love with a breakfast that’s as beautiful to look at as it is delightful to eat. Let’s turn ordinary mornings into extraordinary culinary experiences with these golden, glorious hash browns!

Time to Prepare and Cook
- Preparation Time: 20 minutes
- Time to Cook/Blend: 25-30 minutes (per batch)
- Servings: 4-6
Nutritional Information (per serving, estimated)
- Calories: 180-220
- Total Fat: 10-14g
- Saturated Fat: 1.5-2g
- Cholesterol: 0mg
- Sodium: 180-220mg
- Total Carbohydrates: 20-25g
- Dietary Fiber: 4-6g
- Sugars: 5-7g
- Protein: 3-4g
- Vitamin A: >100% DV
- Vitamin C: 30-40% DV
- Potassium: 15-20% DV
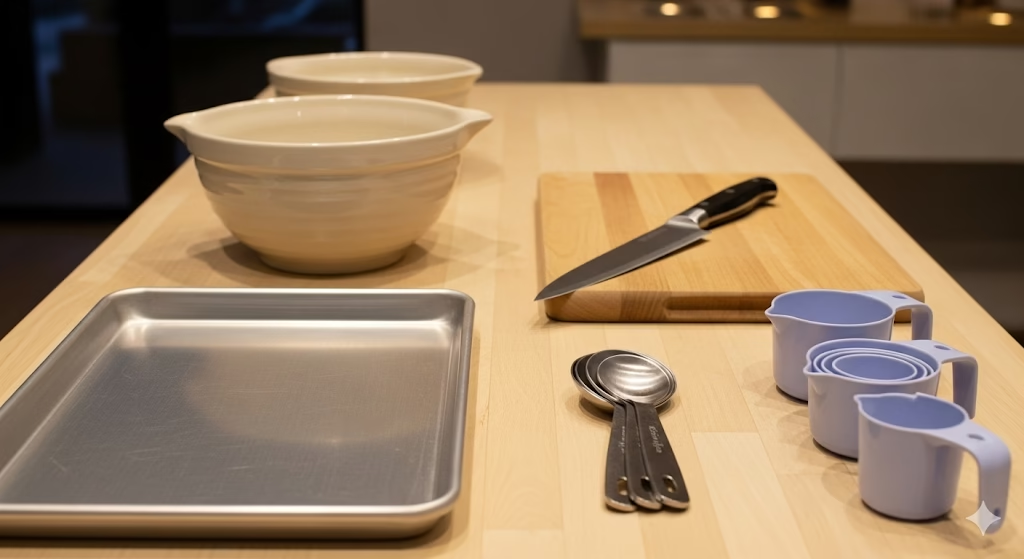
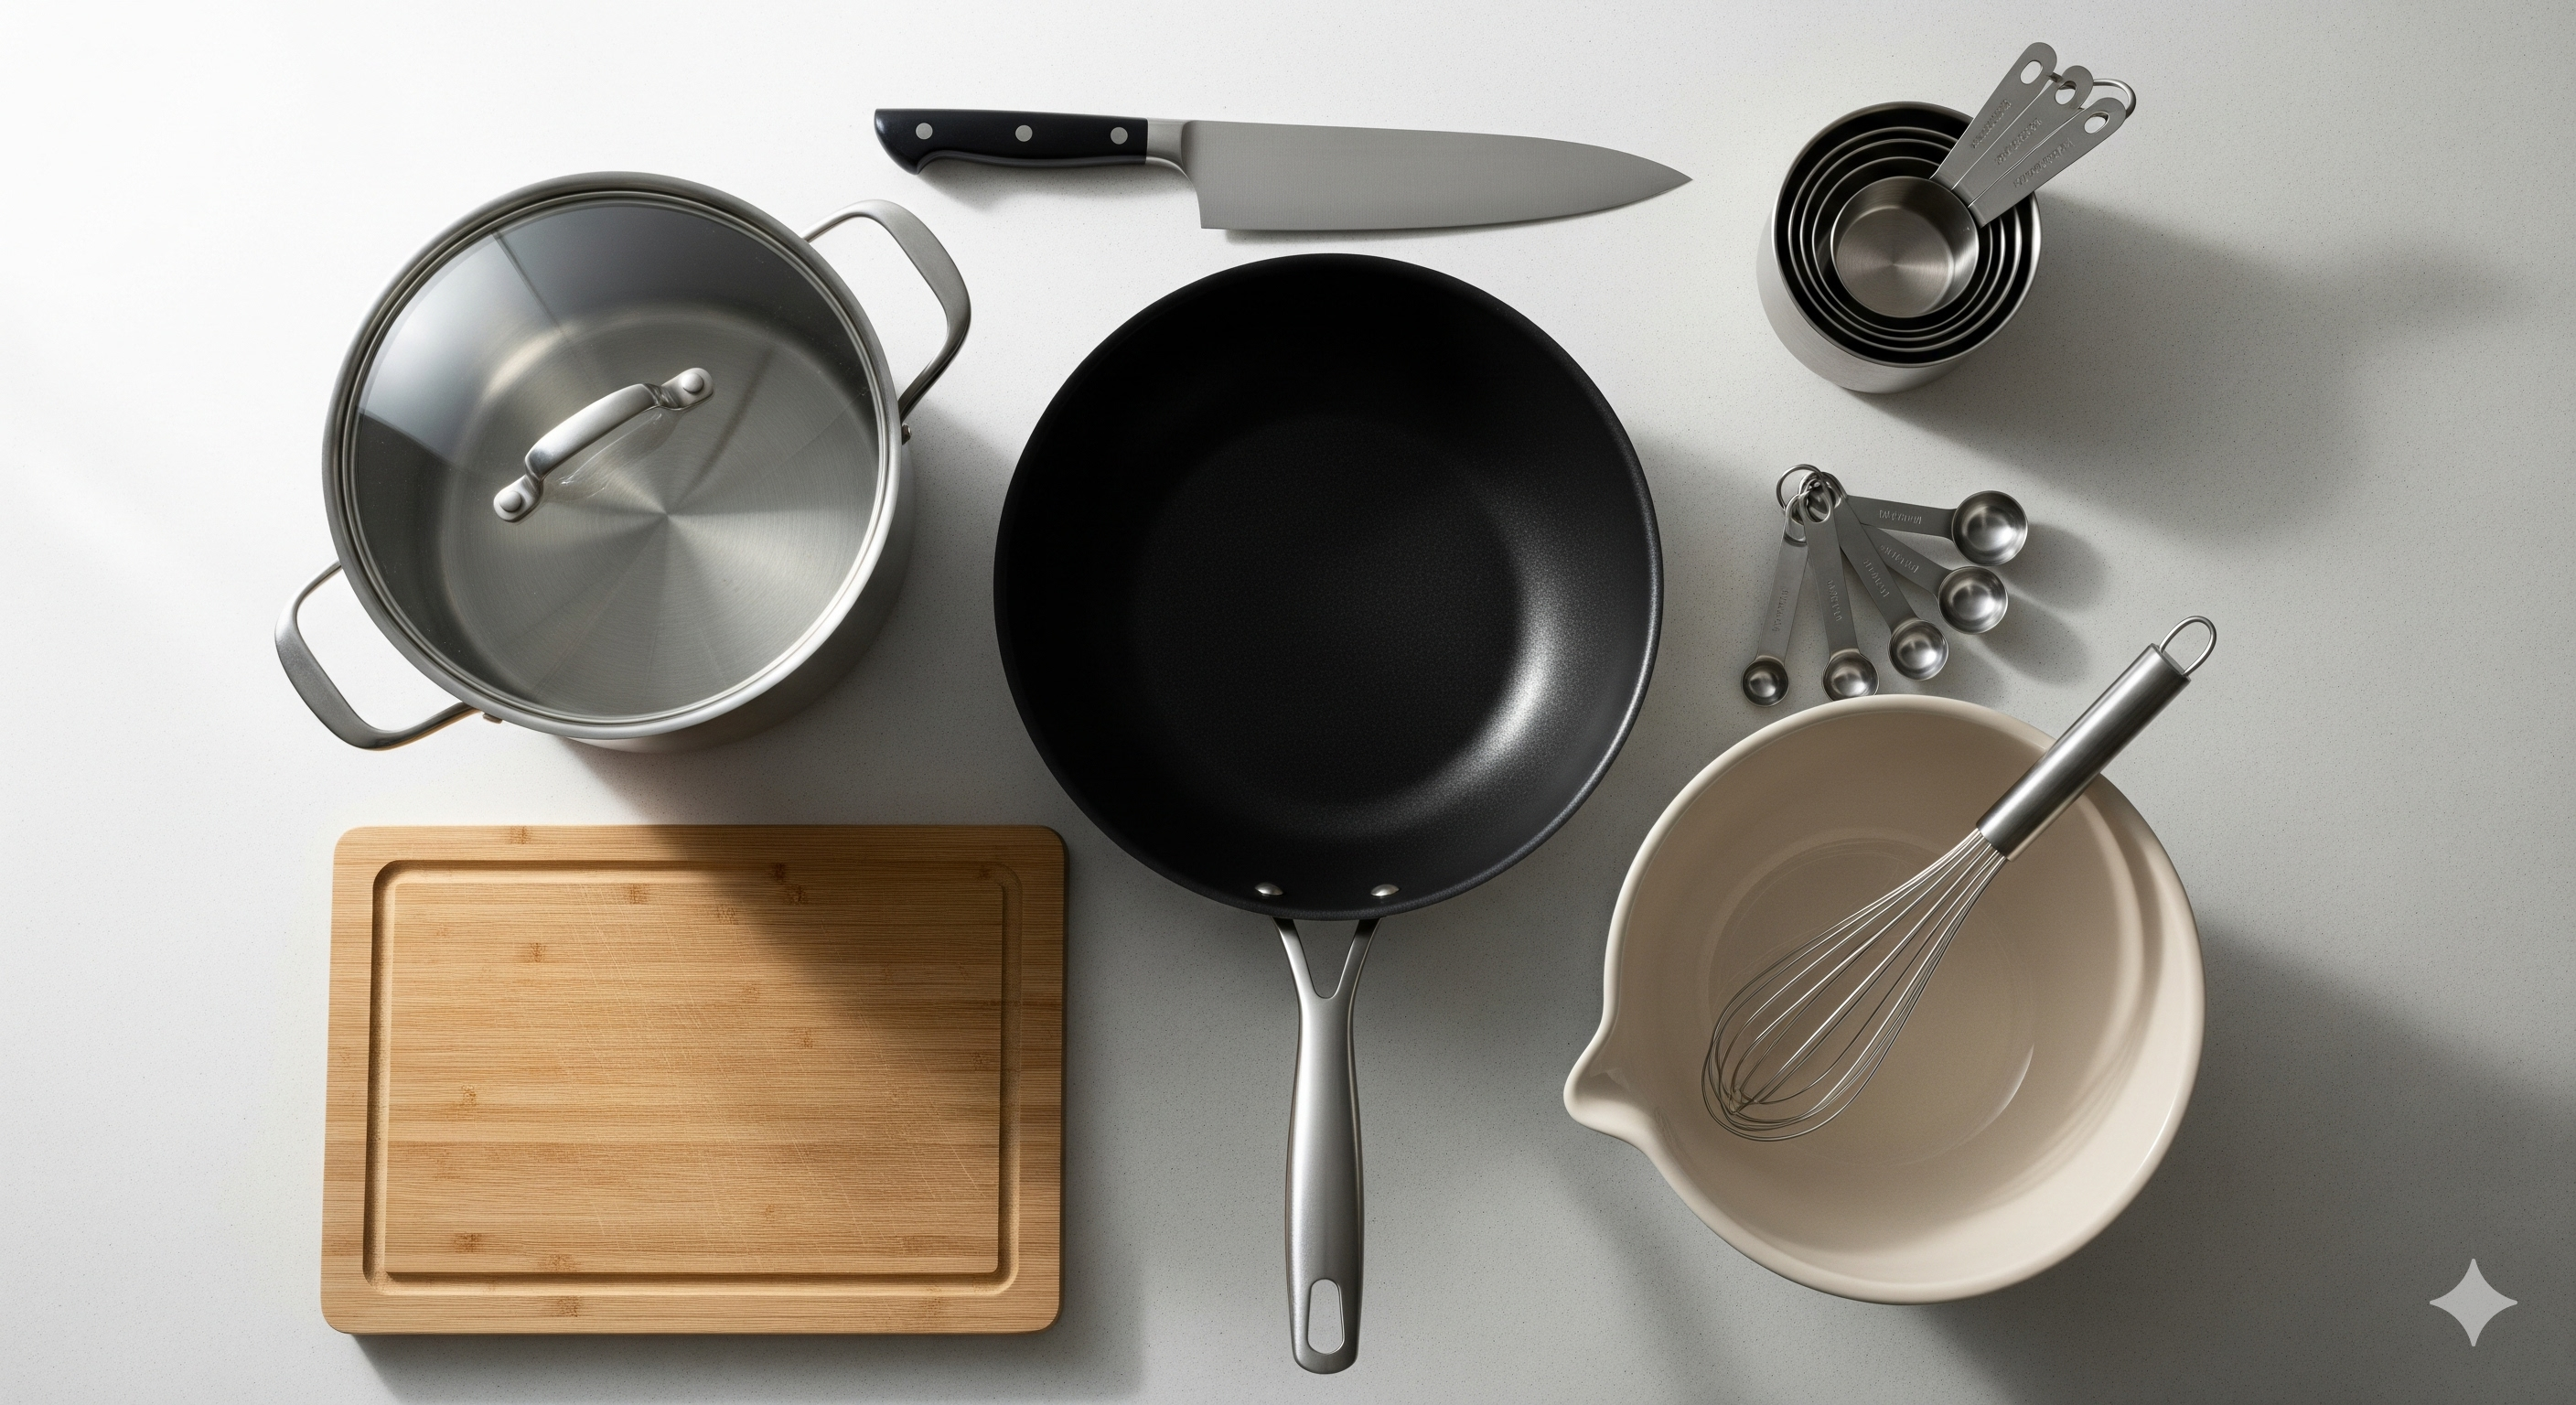
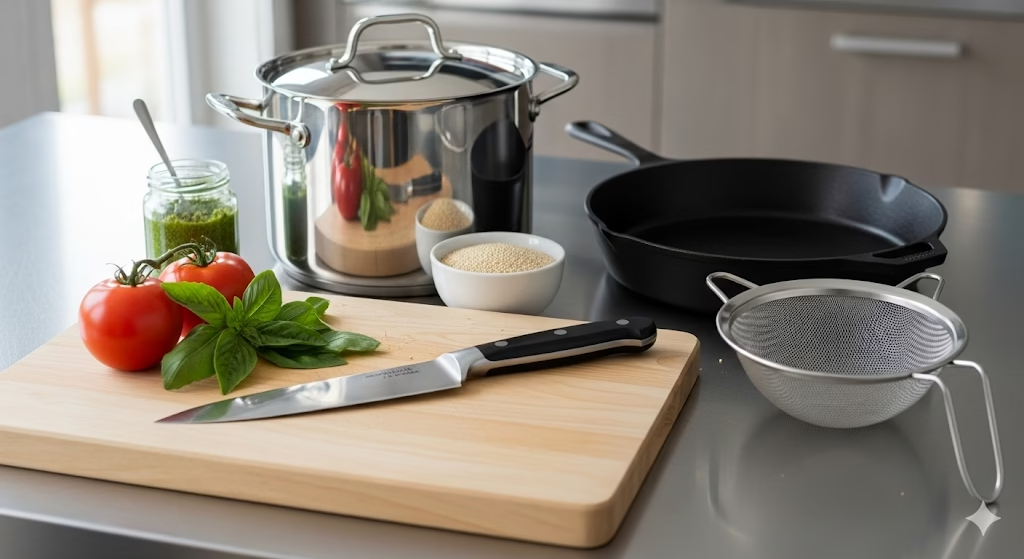
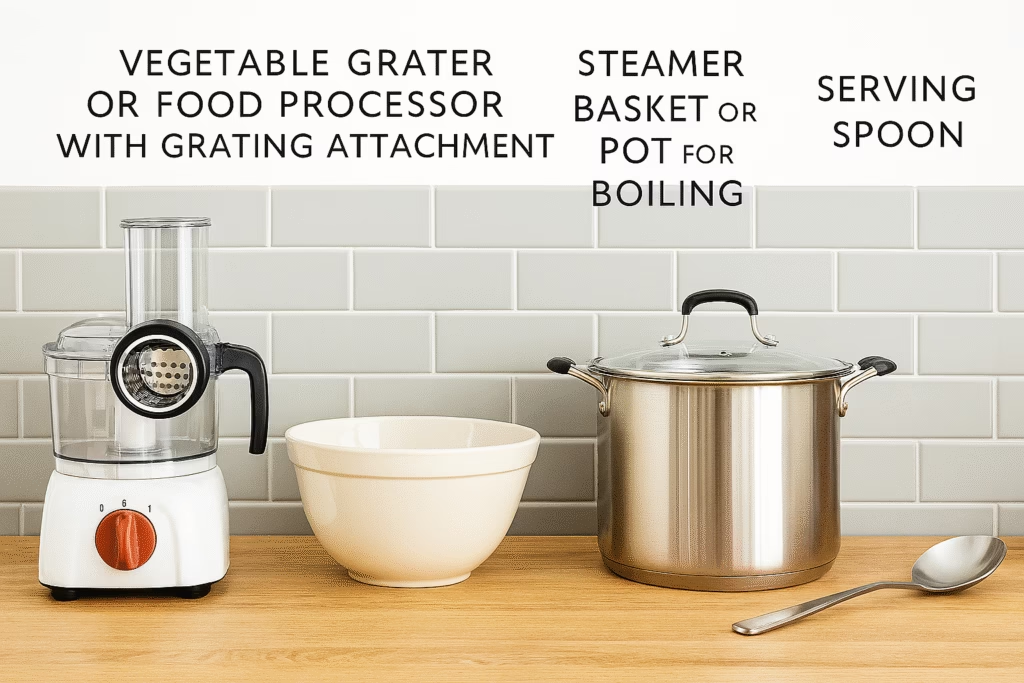
Essential Equipment for Perfect Hash Browns
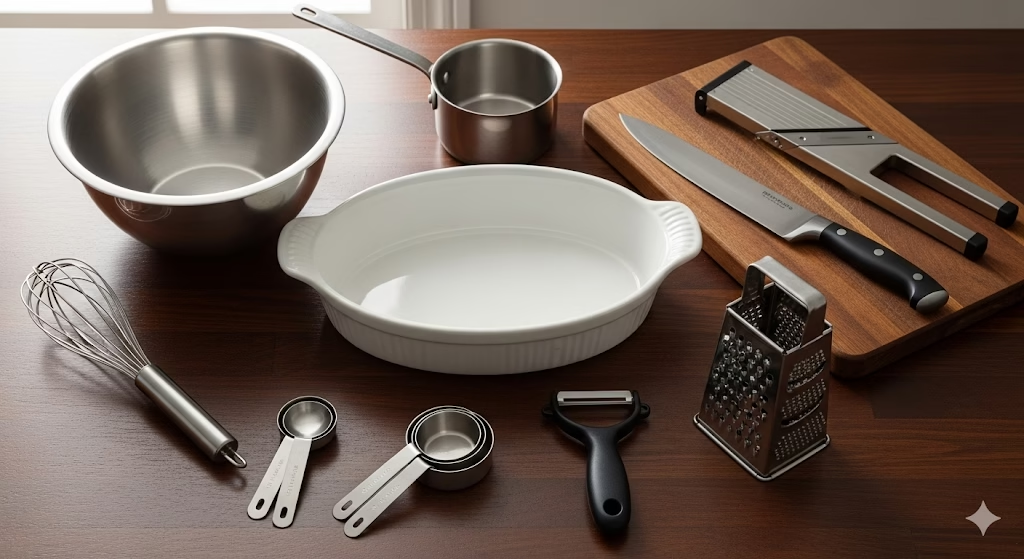
Having the right tools can make all the difference in the kitchen. For these hash browns, a few key pieces of equipment will ensure smooth preparation and excellent results.
- Box Grater or Food Processor with Grating Attachment: Essential for shredding the vegetables quickly and uniformly.
- Large Mixing Bowl: For combining all the ingredients.
- Clean Kitchen Towel or Cheesecloth: Crucial for squeezing out excess moisture from the grated vegetables.
- Large Non-Stick Skillet or Cast Iron Pan: Ideal for cooking the hash browns evenly and achieving that desirable crispy crust.
- Spatula: For flipping the hash browns.
- Measuring Cups and Spoons: For accurate ingredient measurements.
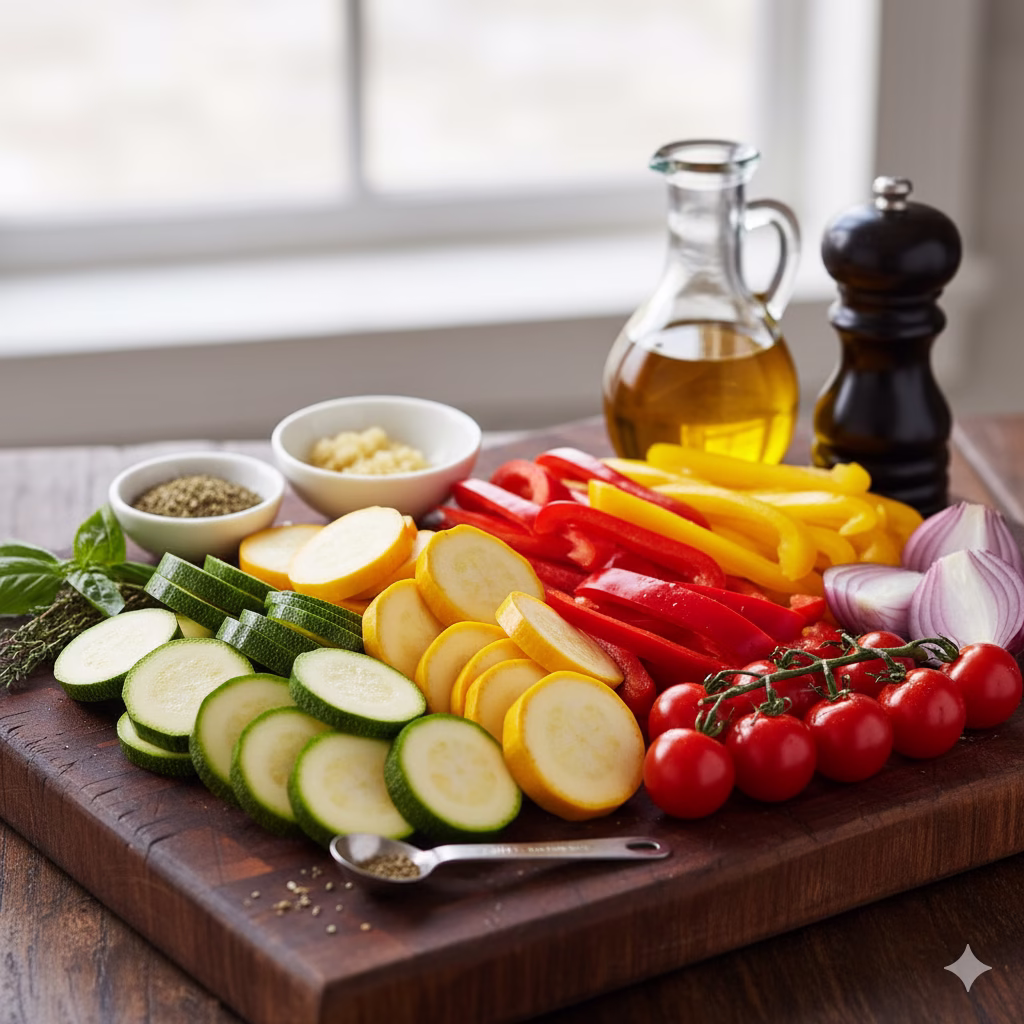
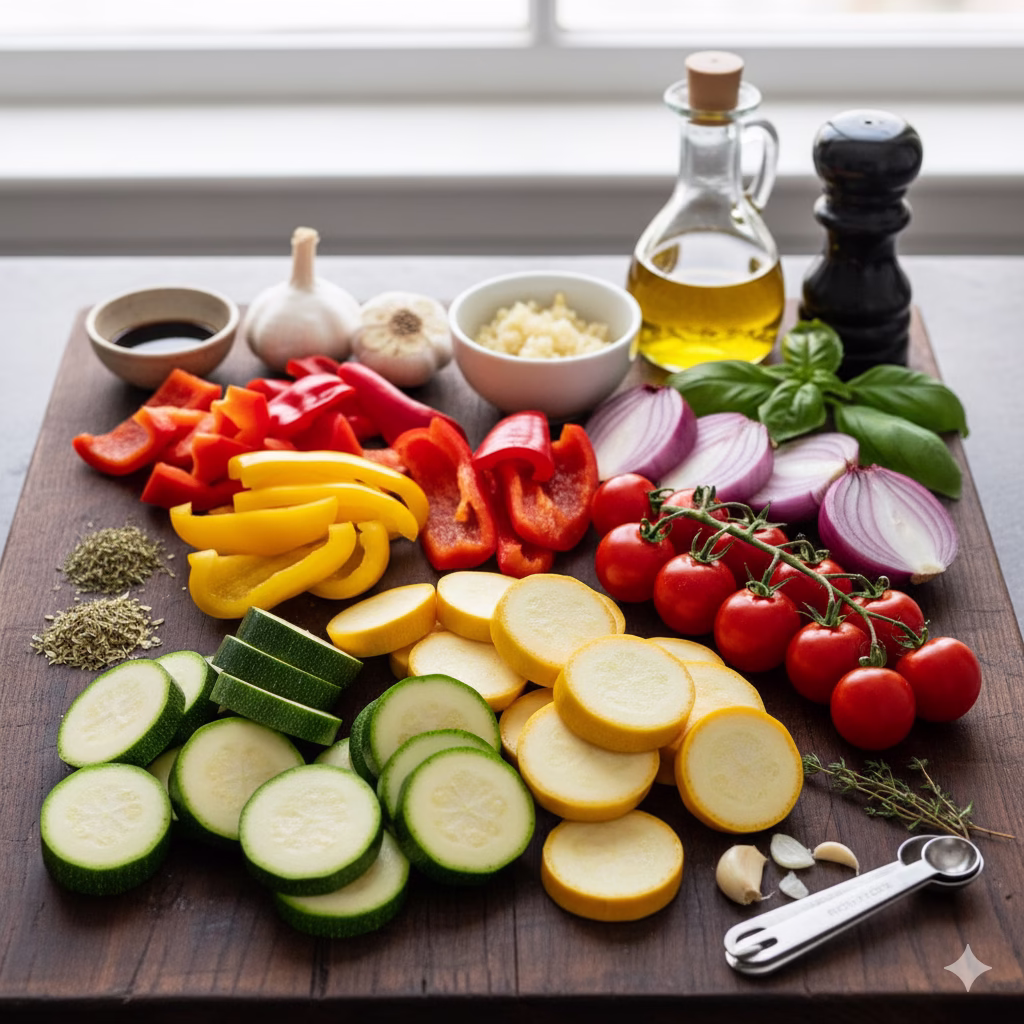
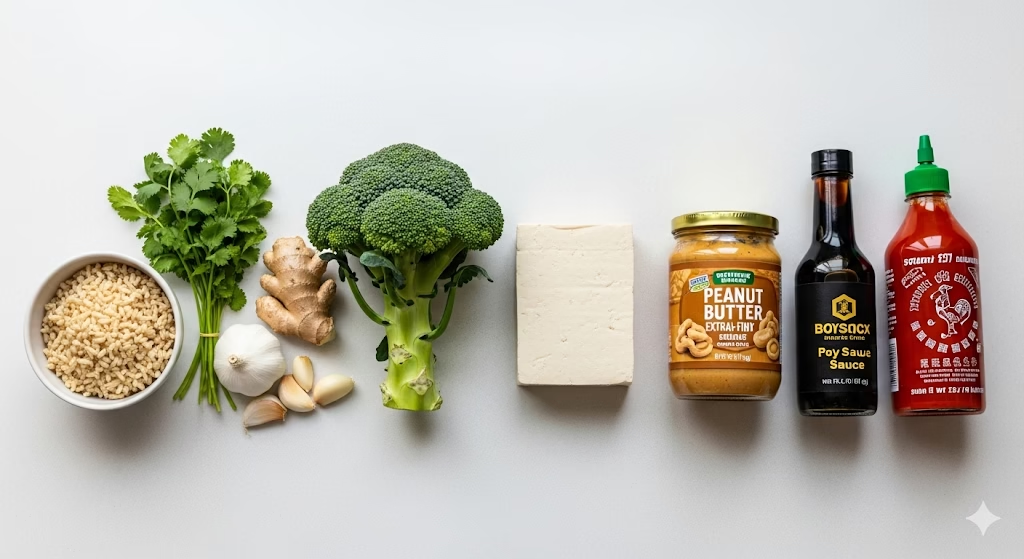
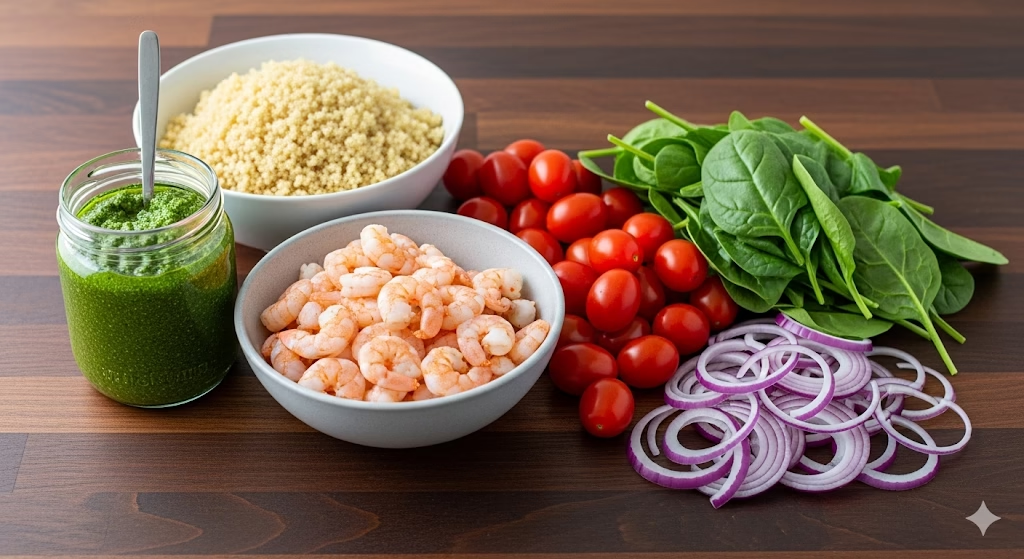
Ingredients for Your Vibrant Hash Browns
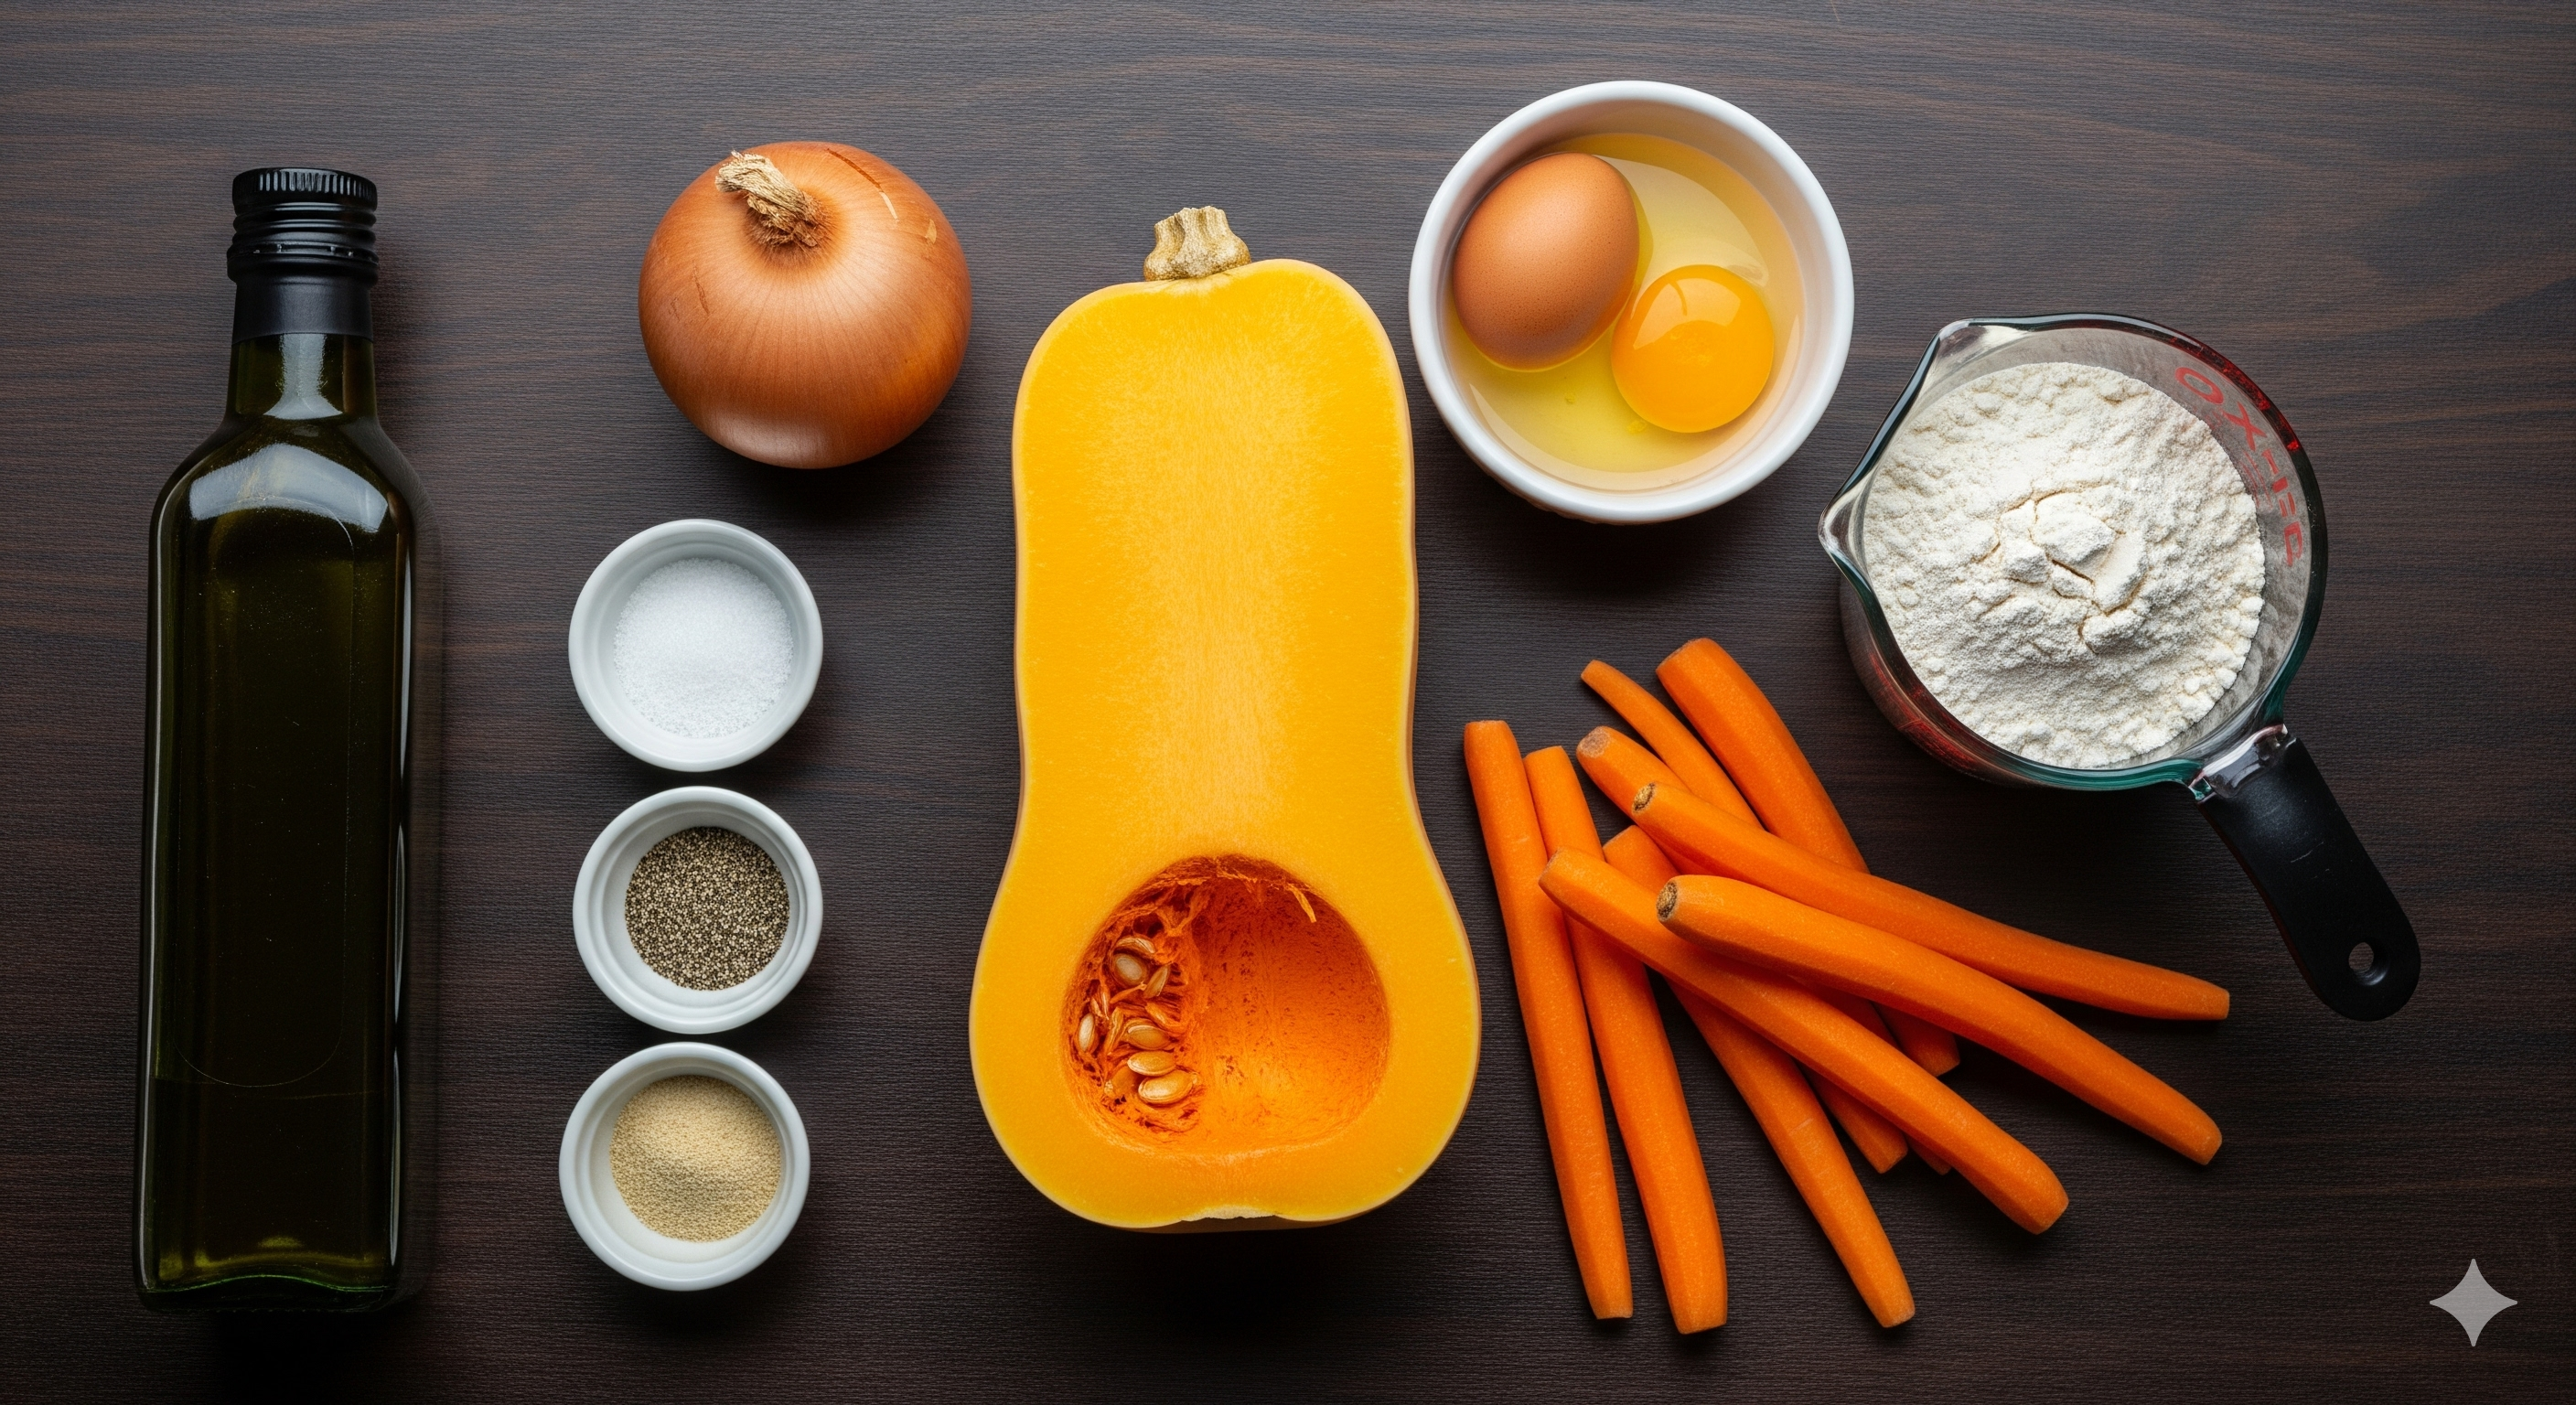
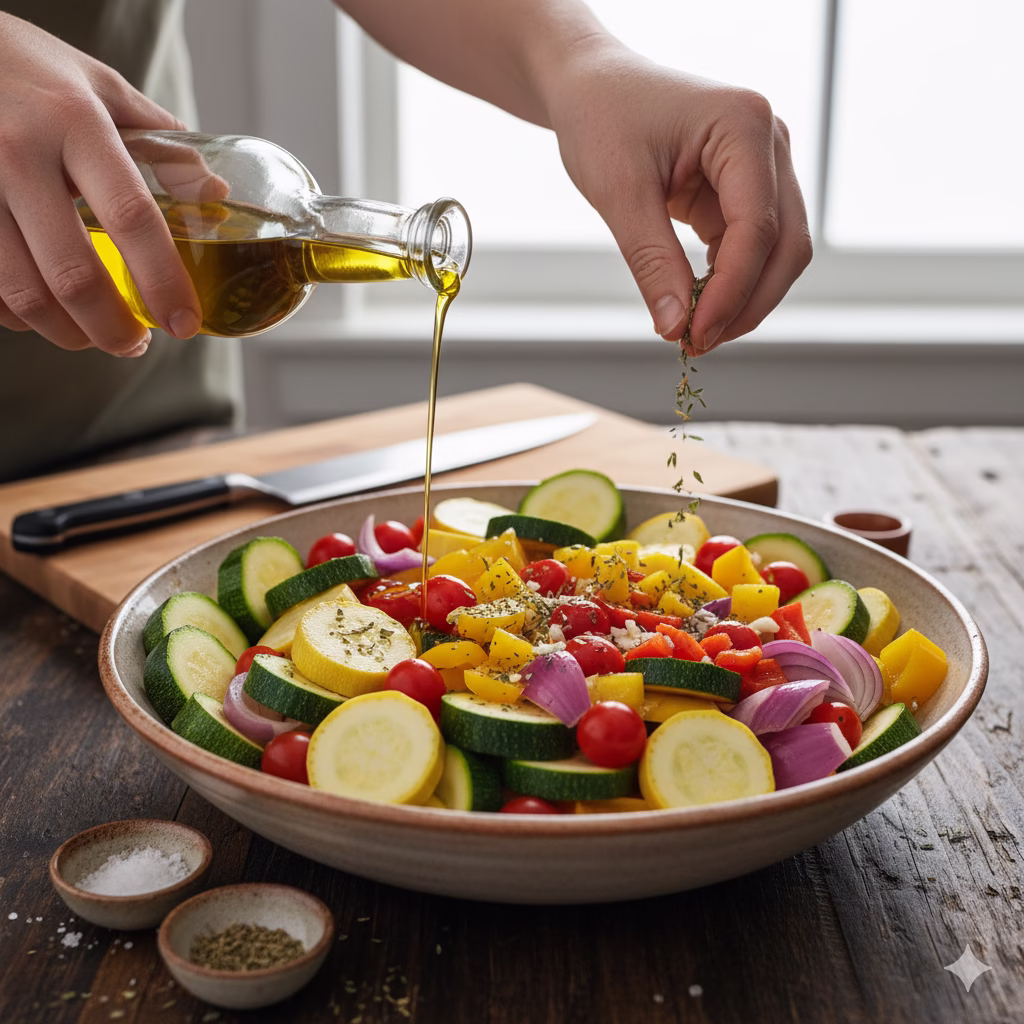
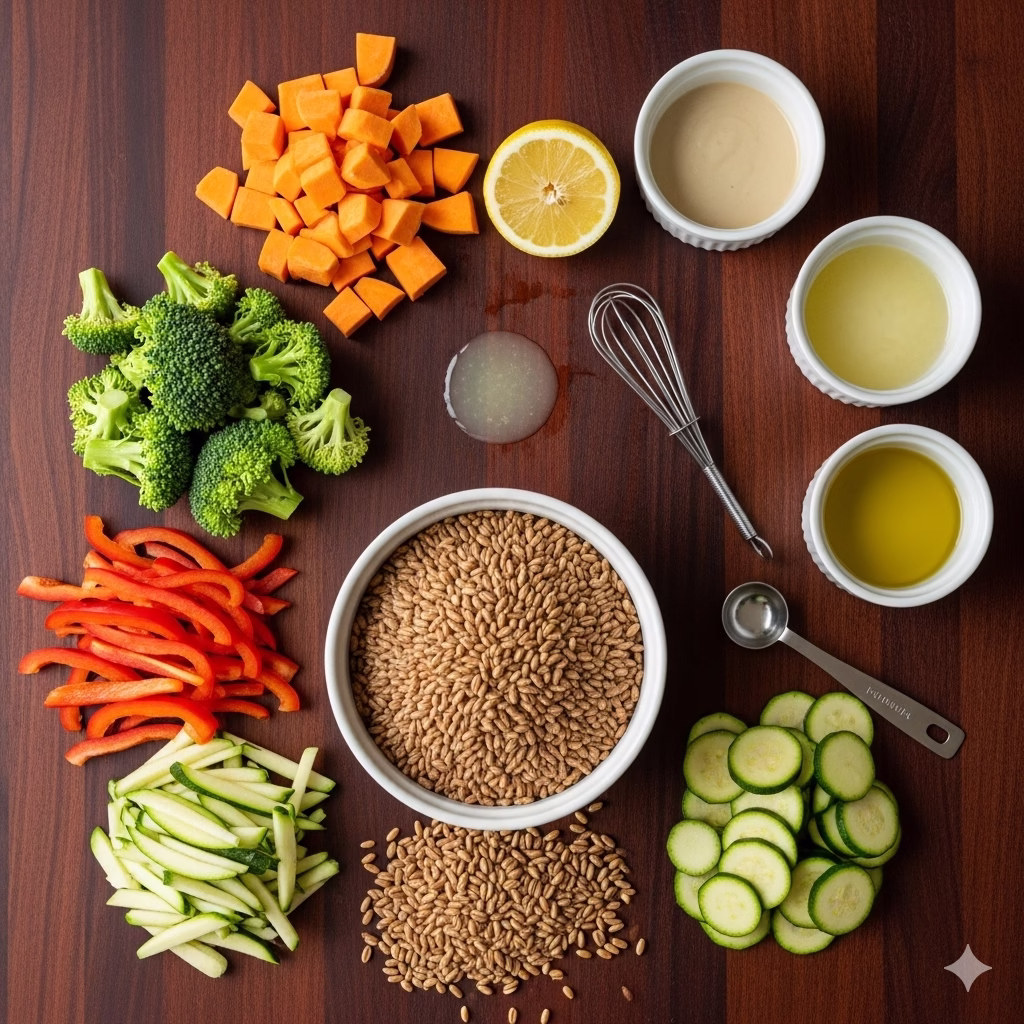
Gathering your ingredients beforehand makes the cooking process much more enjoyable and efficient. Choose fresh, high-quality produce for the best flavor.
- 1 medium butternut squash (about 2-3 lbs), peeled and deseeded
- 2 large carrots, peeled
- 1 medium yellow onion, finely grated or minced
- 2 large eggs, lightly beaten (for binding)
- 1/4 cup all-purpose flour or gluten-free flour blend (for binding and crispness)
- 1 teaspoon sea salt
- 1/2 teaspoon black pepper
- 1/4 teaspoon garlic powder (optional, for extra flavor)
- 2-3 tablespoons olive oil or avocado oil, for frying
Step-by-Step Instructions for Delicious Butternut Squash & Carrot Hash Browns
Follow these detailed steps to create perfectly crispy and flavorful hash browns. Taking your time with each stage will ensure the best possible outcome.
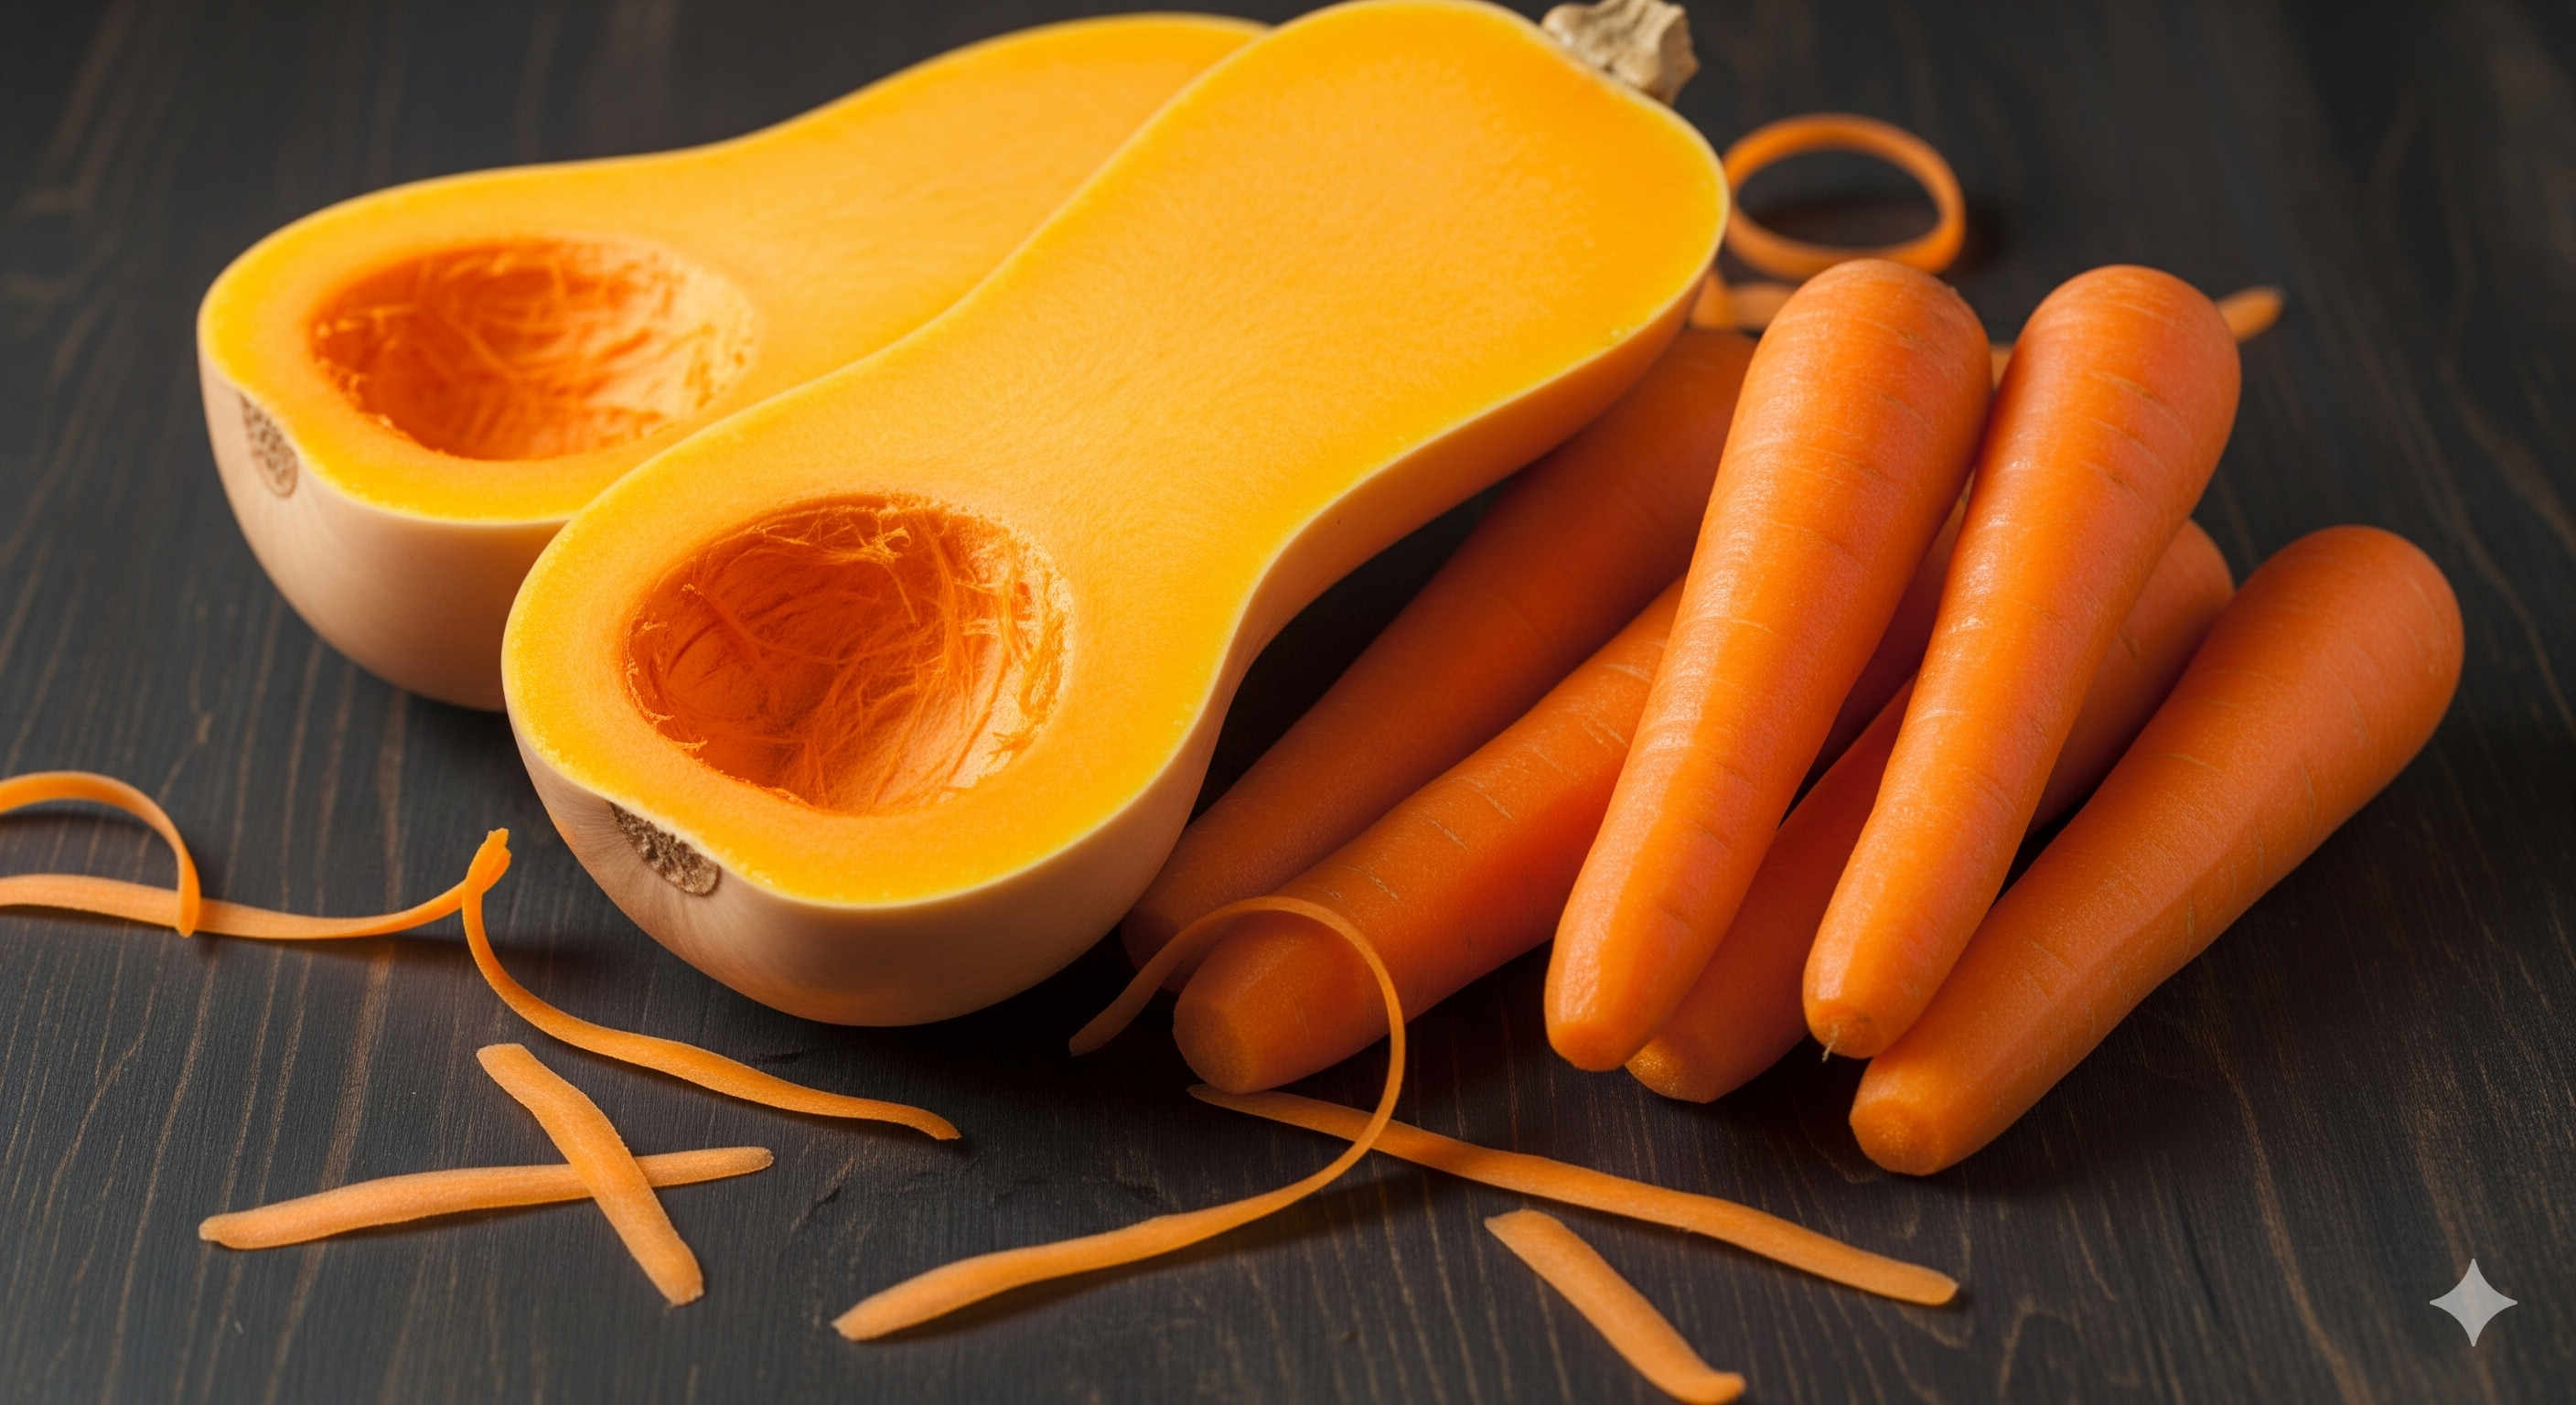
Prepare the Vegetables: Start by carefully peeling your butternut squash and carrots. The skin of the butternut squash can be tough, so use a sturdy peeler. Once peeled, cut the butternut squash in half lengthwise, scoop out the seeds and stringy bits with a spoon, and then cut it into manageable chunks.
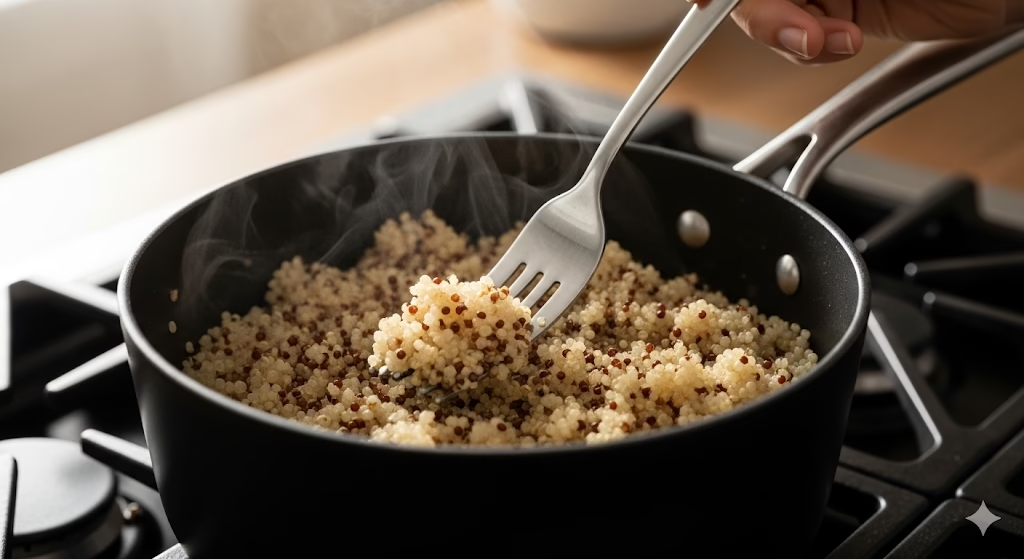
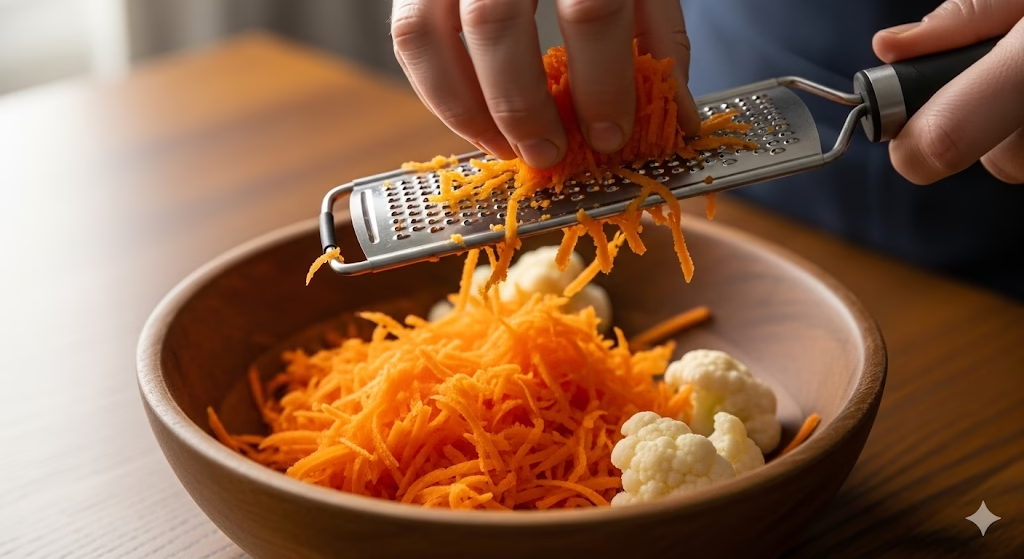
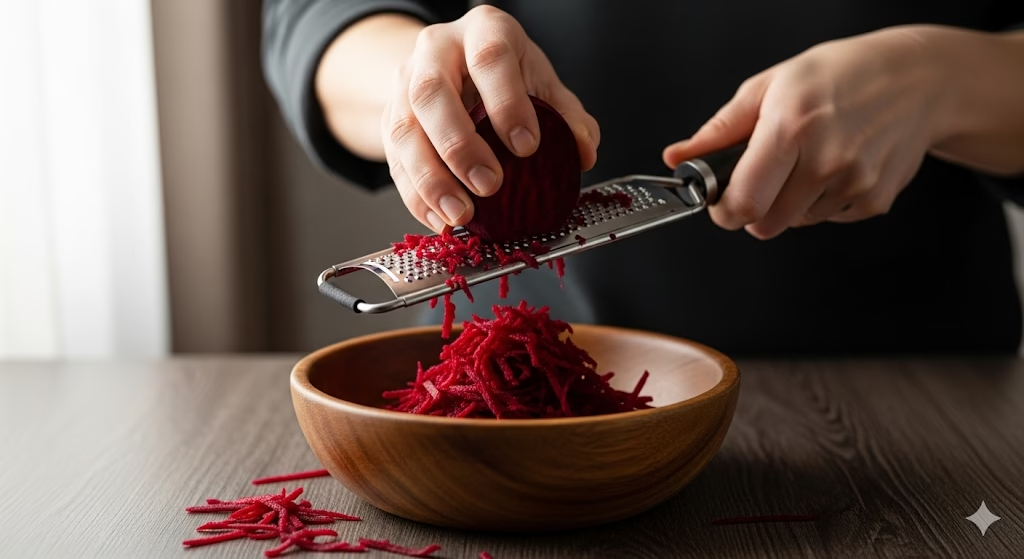
Grate the Vegetables: Using the large holes of a box grater, carefully grate the peeled butternut squash and carrots. If you have a food processor with a grating attachment, this step will be even quicker and easier. Aim for consistent shreds.
Extract Excess Moisture: This is a crucial step for crispy hash browns! Place the grated butternut squash and carrots into the center of a clean kitchen towel or several layers of cheesecloth. Gather the edges of the towel/cloth and twist tightly, squeezing out as much liquid as you possibly can. You’ll be surprised how much water comes out! This step prevents soggy hash browns. Transfer the squeezed vegetables to a large mixing bowl.
Prepare the Onion: Finely grate or mince the yellow onion. Adding it to the bowl with the squash and carrots will infuse a lovely aromatic flavor into your hash browns.
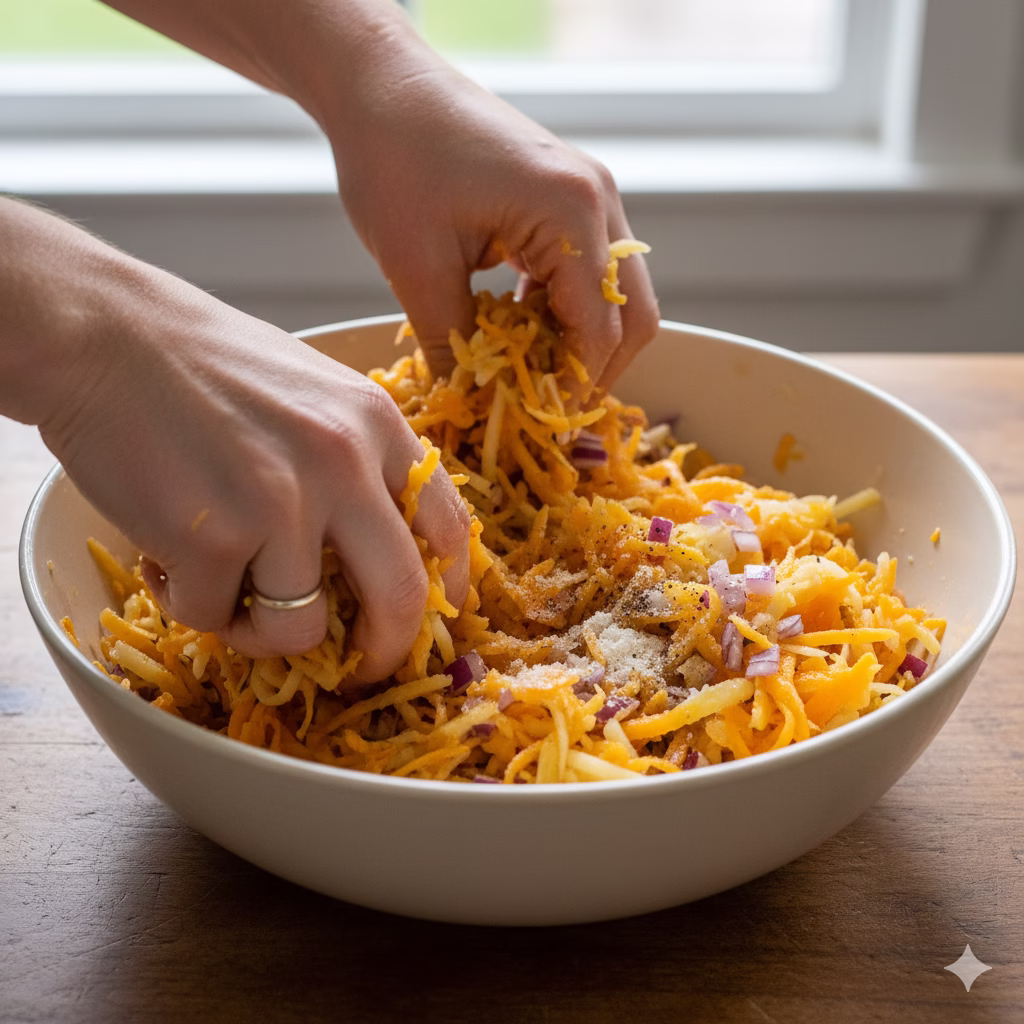
Combine Ingredients: To the bowl with the grated vegetables and onion, add the lightly beaten eggs, flour (or gluten-free flour blend), sea salt, black pepper, and optional garlic powder. Mix everything thoroughly with your hands or a large spoon until all the ingredients are well combined and the flour and egg evenly coat the vegetable mixture. The mixture should feel slightly sticky.
Heat the Pan: Place a large non-stick skillet or cast iron pan over medium heat. Add 1-2 tablespoons of olive oil or avocado oil, ensuring the bottom of the pan is thinly coated. Let the oil heat up for a minute or two until it shimmers slightly.
Form and Cook the Hash Browns: Scoop about 1/4 to 1/3 cup of the vegetable mixture for each hash brown. Place the mixture into the hot pan and gently flatten it with the back of your spatula to form a thin patty, about 3-4 inches in diameter and 1/2 inch thick. Don’t overcrowd the pan; cook them in batches if necessary, leaving some space between each patty.
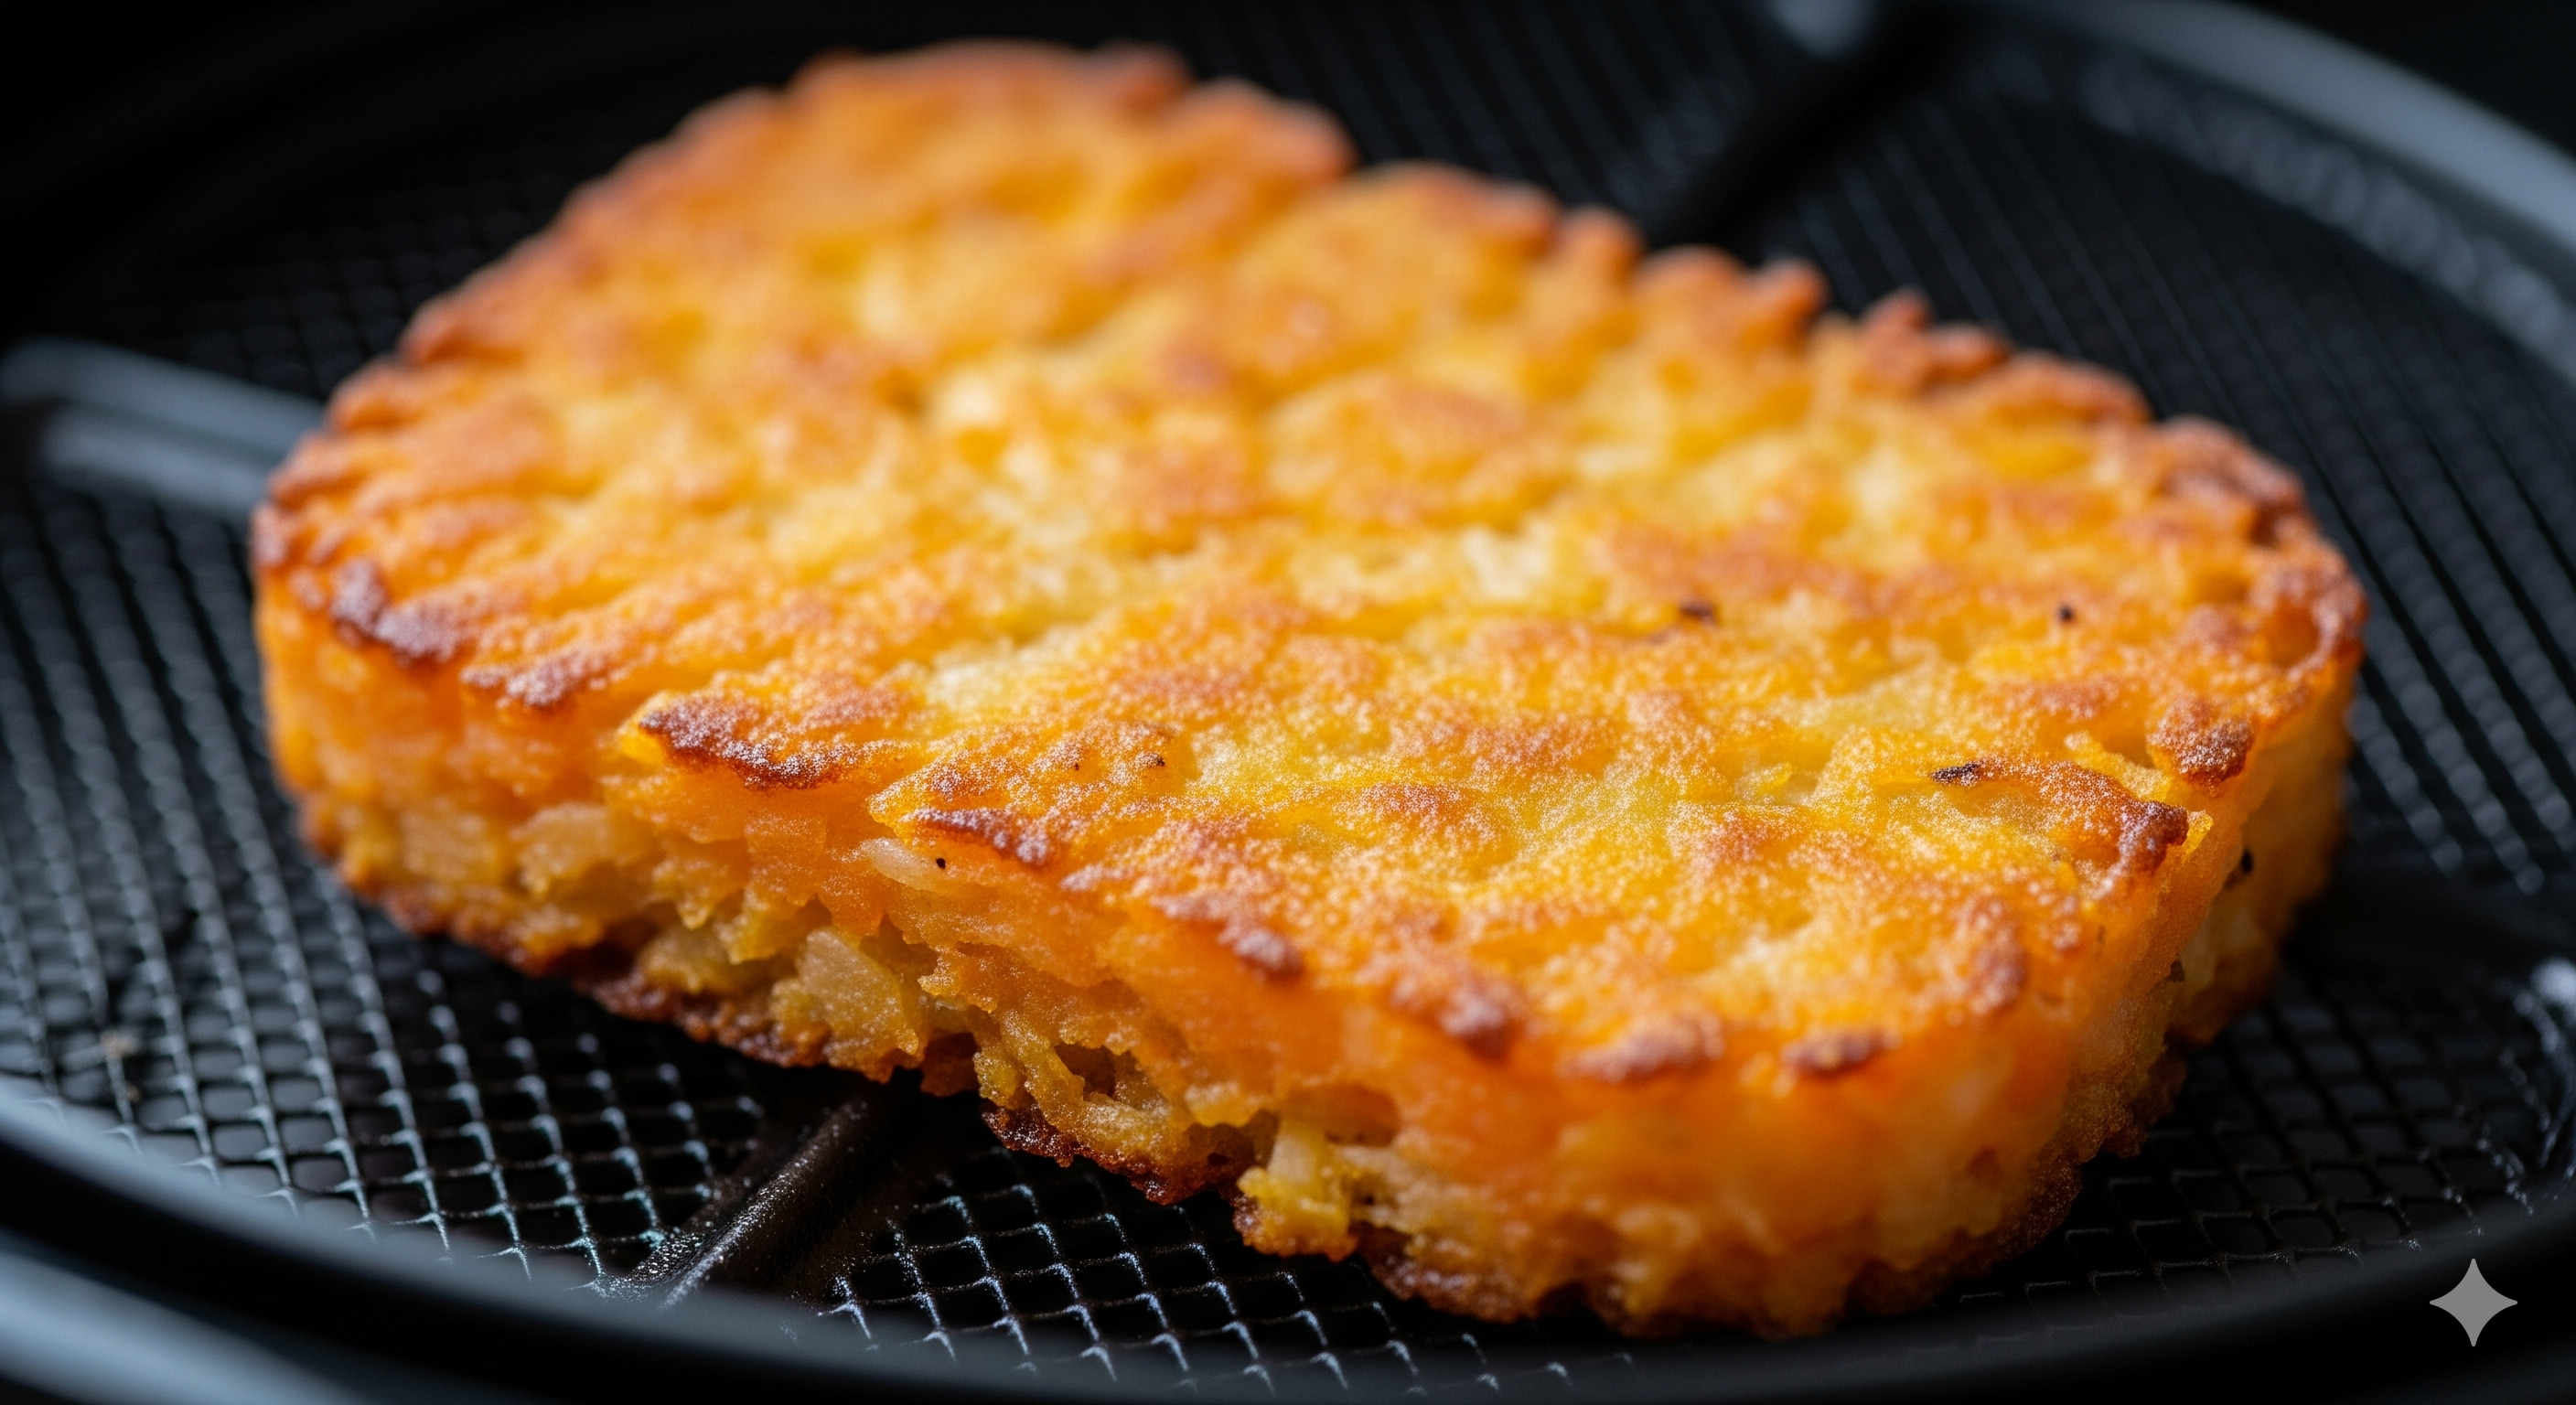
Cook Until Golden and Crispy: Cook the hash browns for about 6-8 minutes on the first side, or until they are deeply golden brown and crispy. The edges should look firm.
Flip and Finish Cooking: Carefully flip each hash brown using your spatula. Cook for another 6-8 minutes on the second side, or until that side is also golden brown and cooked through. The internal vegetables should be tender.
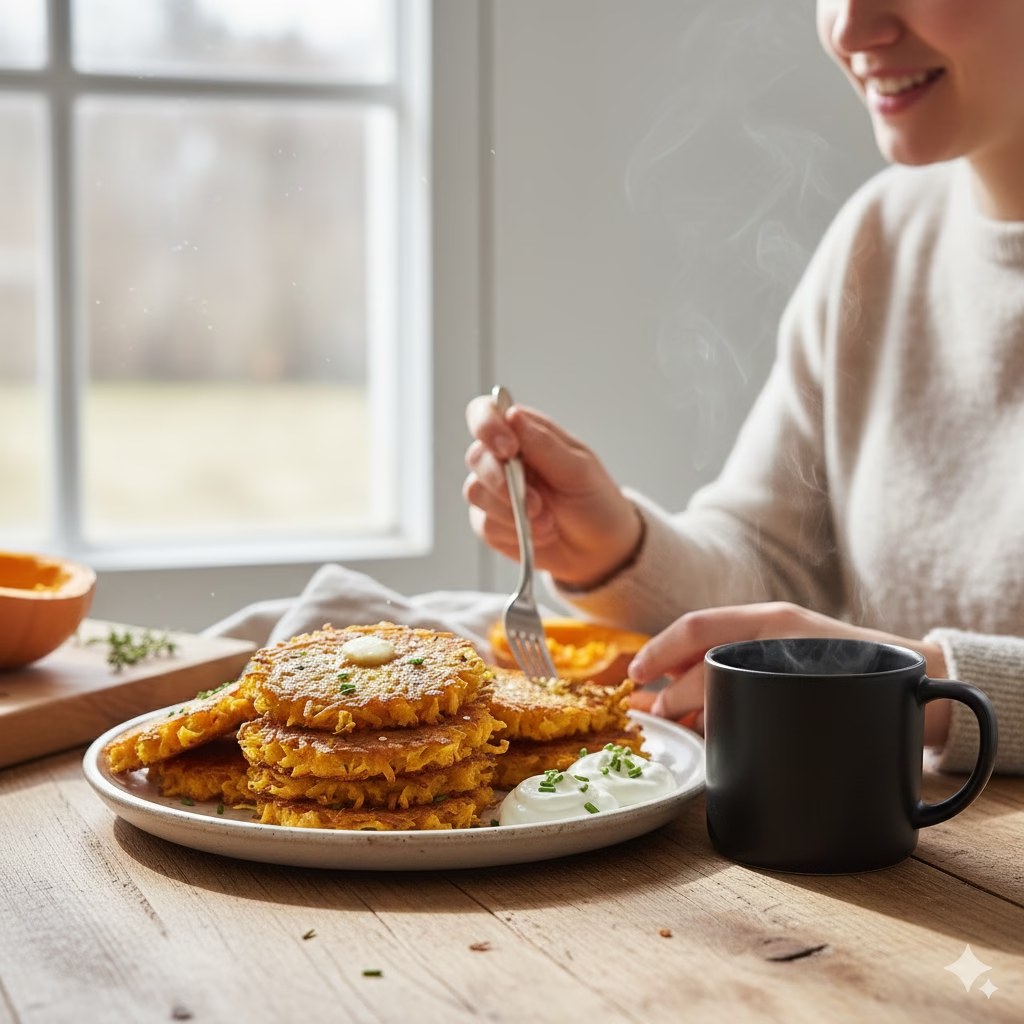
Serve Hot: Transfer the cooked hash browns to a plate lined with paper towels to absorb any excess oil. Serve immediately while hot and crispy.
Alternative Cooking Methods
For those looking for different textures or to minimize oil, these hash browns can also be made using these healthy alternative methods:
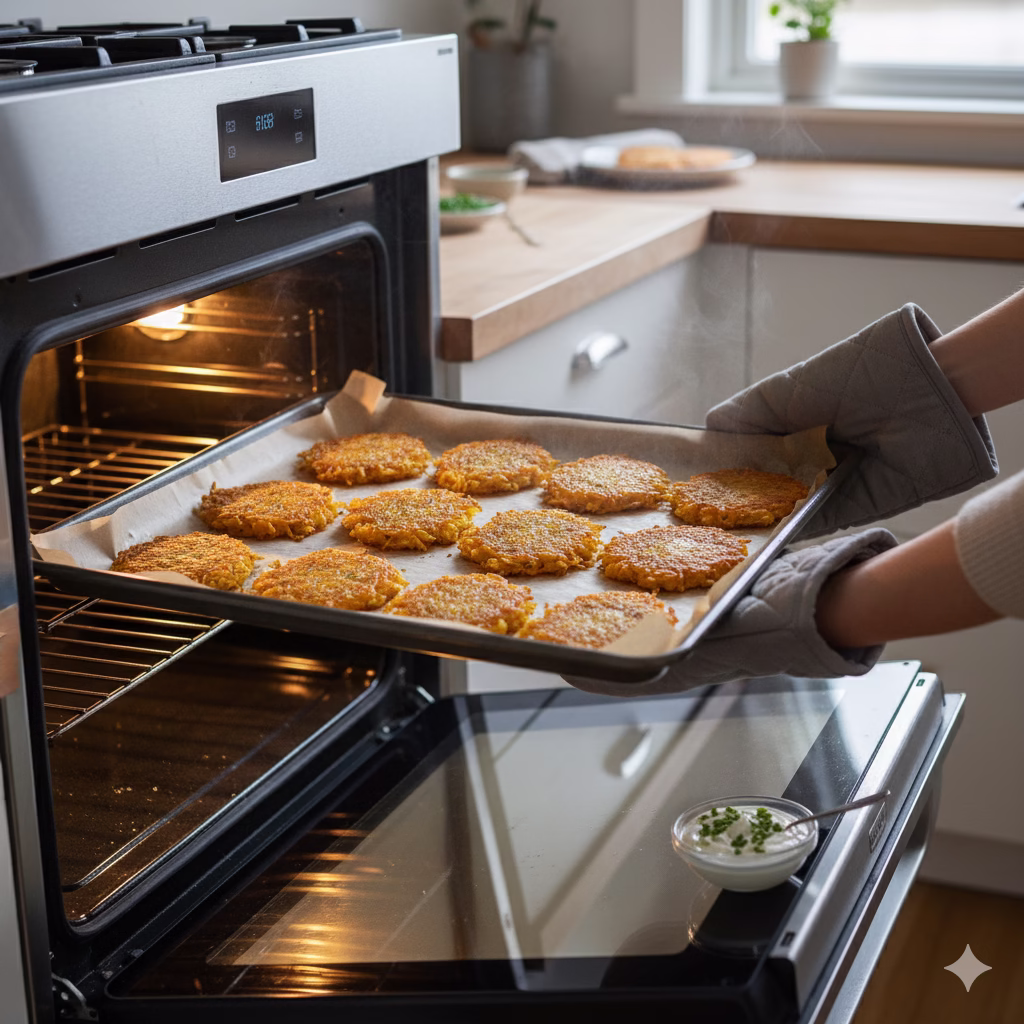
Oven-Baked Hash Browns
Prepare Mixture: Follow steps 1-5 from the main instructions to prepare the vegetable mixture.
Preheat Oven: Preheat your oven to 400°F (200°C). Line a large baking sheet with parchment paper and lightly grease it.
Form Patties: Form the hash brown mixture into patties as described in step 7 and arrange them in a single layer on the prepared baking sheet. Lightly spray the tops of the hash browns with cooking spray or brush with a little olive oil.
Bake: Bake for 20-25 minutes, flipping halfway through, until golden brown and crispy. The baking time might vary depending on the thickness of your patties.
Air Fryer Hash Browns
Prepare Mixture: Follow steps 1-5 from the main instructions to prepare the vegetable mixture.
Preheat Air Fryer: Preheat your air fryer to 375°F (190°C) for about 5 minutes. Lightly grease the air fryer basket.
Form Patties: Form the hash brown mixture into patties as described in step 7.
Air Fry: Place the patties in a single layer in the air fryer basket, ensuring not to overcrowd it. You will need to cook in batches. Lightly spray the tops of the hash browns with cooking spray.
Cook: Air fry for 12-15 minutes, flipping halfway through, until crispy and golden brown.
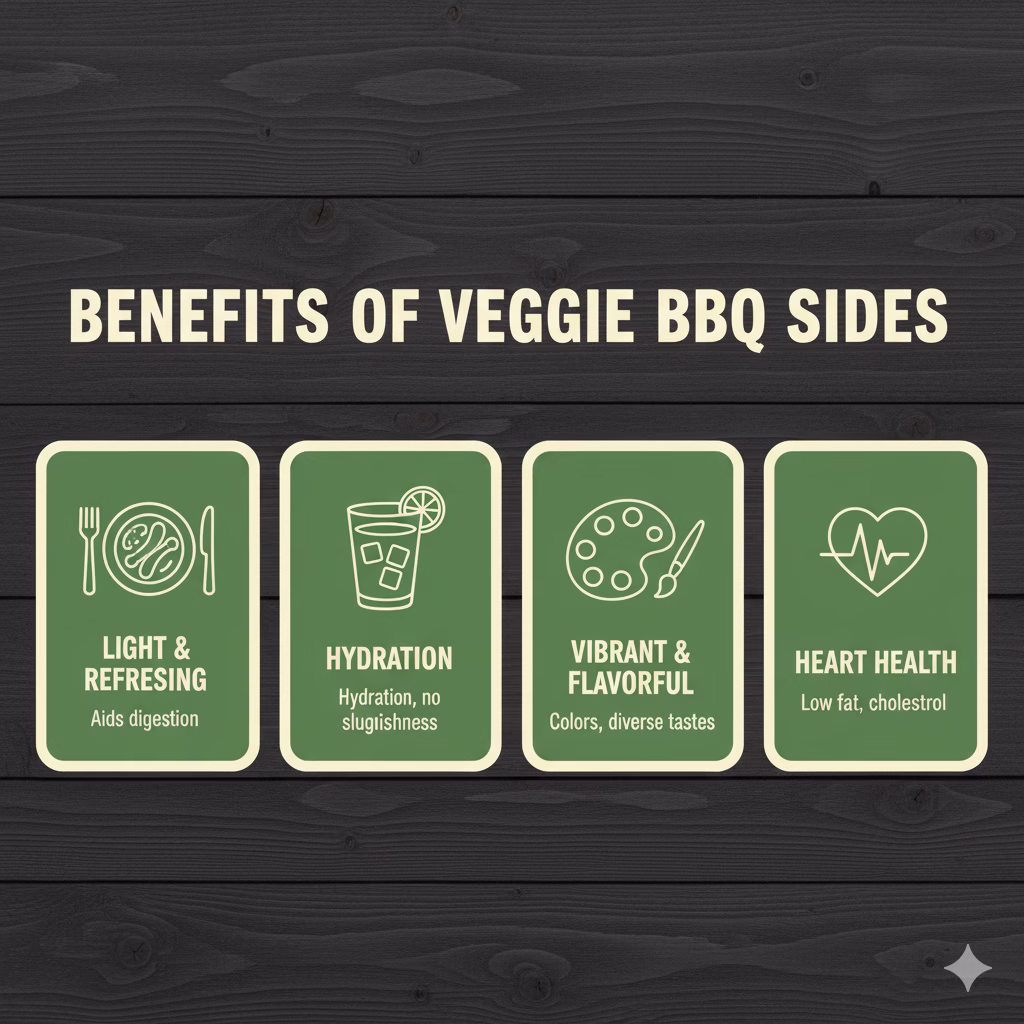
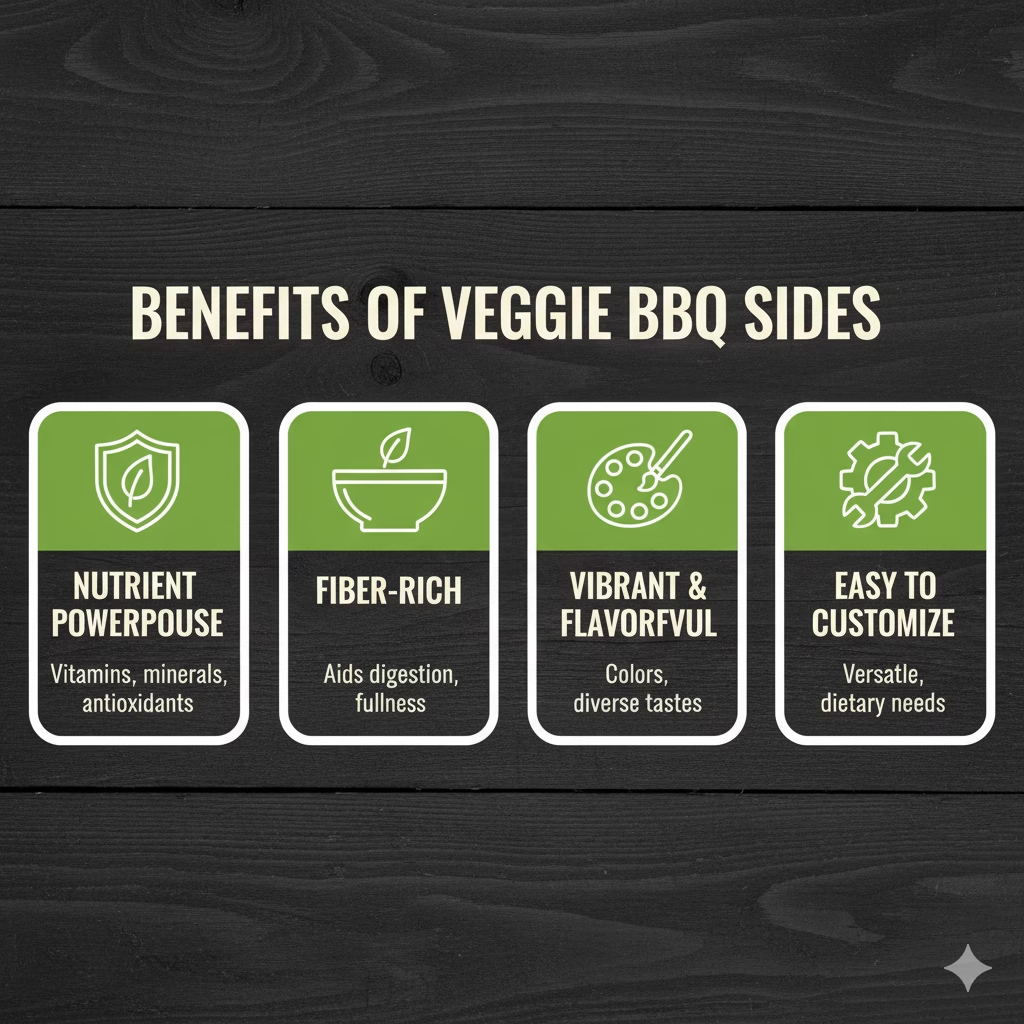
The Health Benefits of Butternut Squash & Carrot Hash Browns
Beyond their delicious taste and satisfying crunch, these hash browns offer a wealth of health benefits, making them a smart choice for any meal.
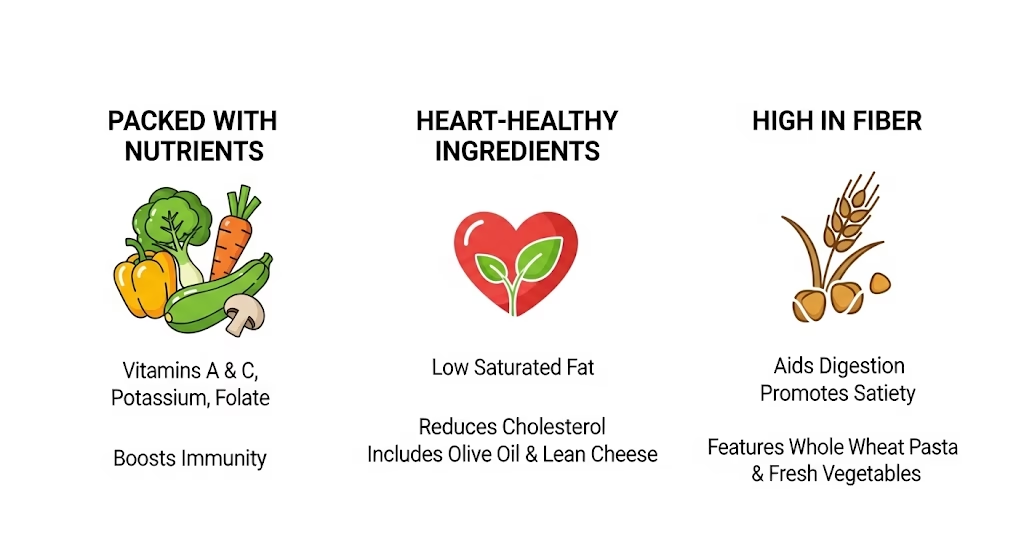
Rich in Vitamins and Antioxidants
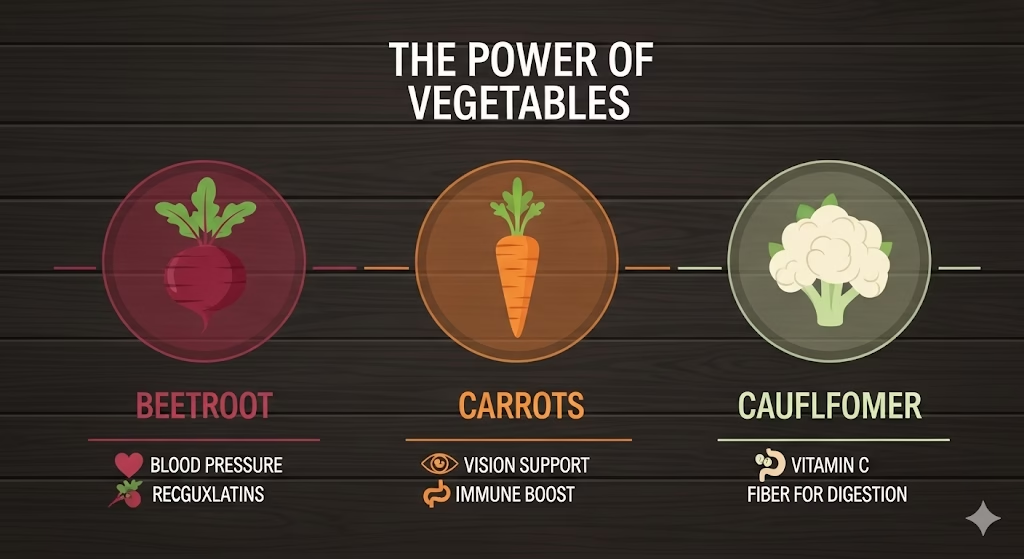
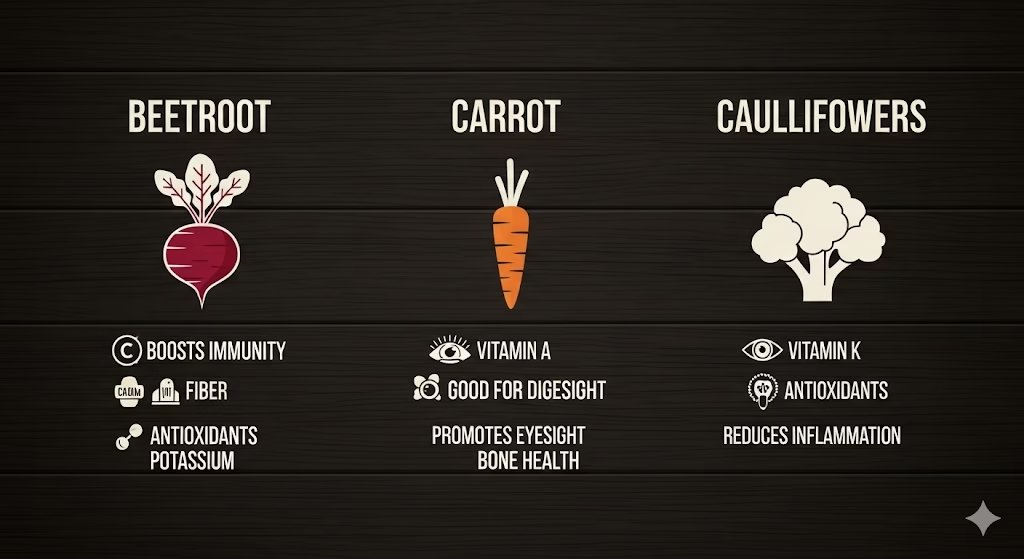
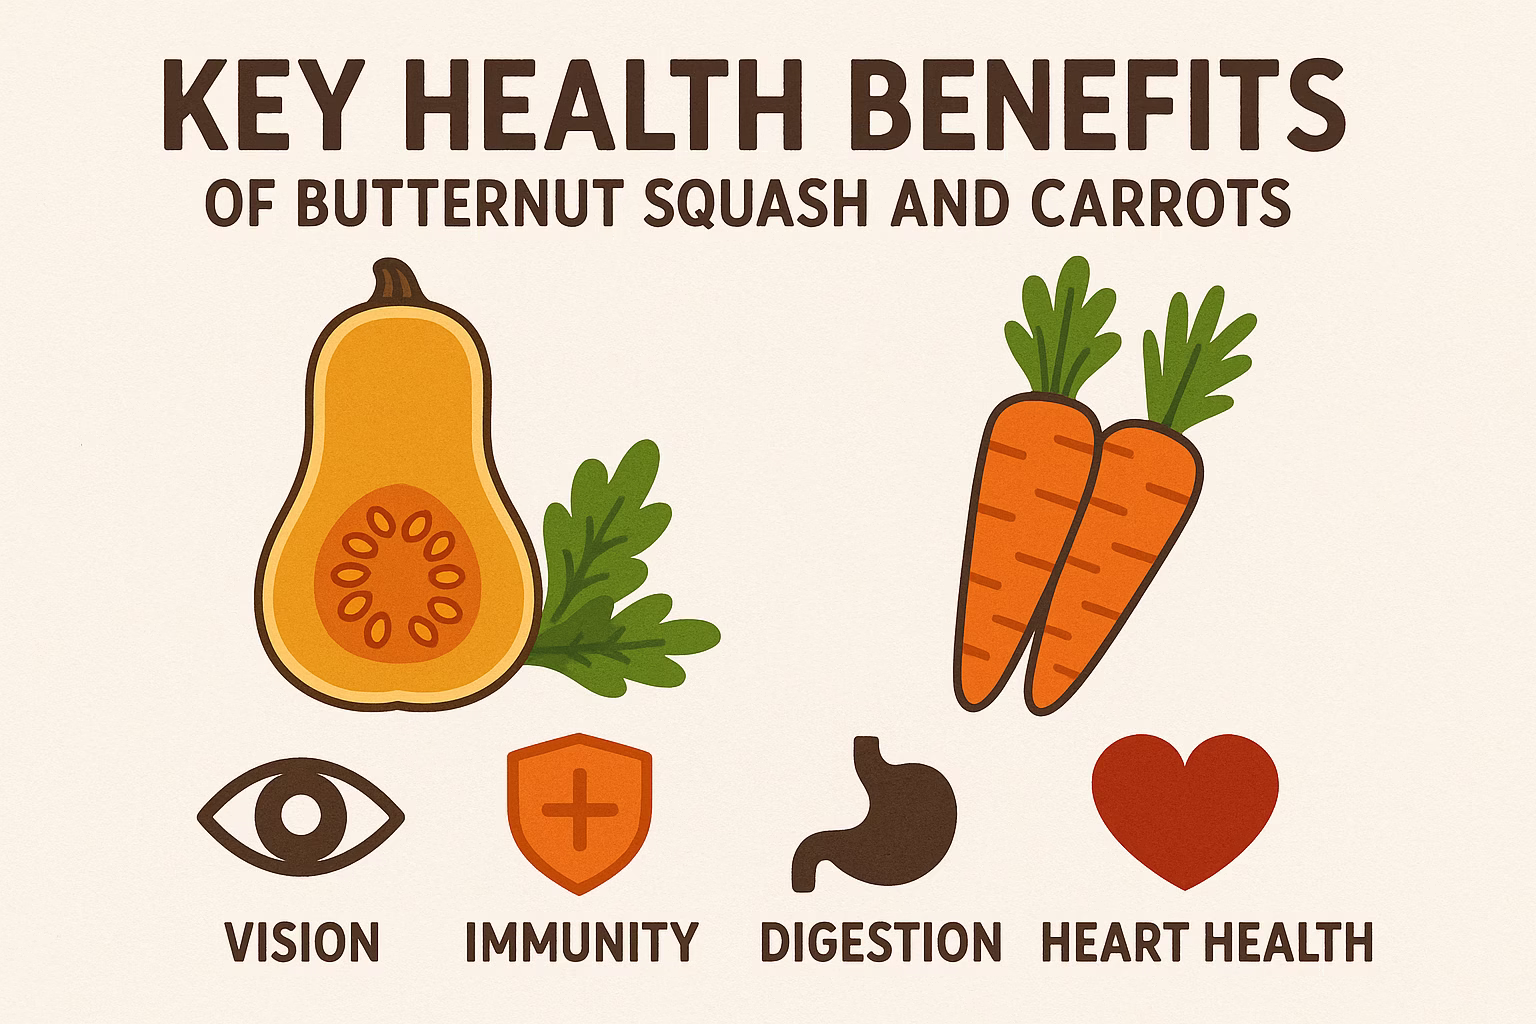
Butternut squash and carrots are superstar vegetables when it comes to nutrition. Both are exceptionally rich in beta-carotene, which the body converts into Vitamin A. This powerful antioxidant is crucial for maintaining healthy vision, boosting immune function, and promoting skin health. A single serving of these hash browns can provide a significant portion of your daily Vitamin A requirements.
Excellent Source of Dietary Fiber
Both butternut squash and carrots are high in dietary fiber. Fiber is essential for digestive health, helping to regulate bowel movements, prevent constipation, and maintain a healthy gut microbiome. Additionally, fiber contributes to satiety, helping you feel fuller for longer, which can be beneficial for weight management.
Boosts Heart Health
The potassium content in butternut squash helps to regulate blood pressure, while the fiber helps to lower cholesterol levels. These combined effects contribute to better cardiovascular health. The antioxidants also help protect against oxidative stress, which can damage heart cells.
Supports Immune System
Beyond Vitamin A, these vegetables also provide Vitamin C, another potent antioxidant that plays a vital role in immune system function. Regular consumption of foods rich in these vitamins can help your body ward off illnesses and infections.
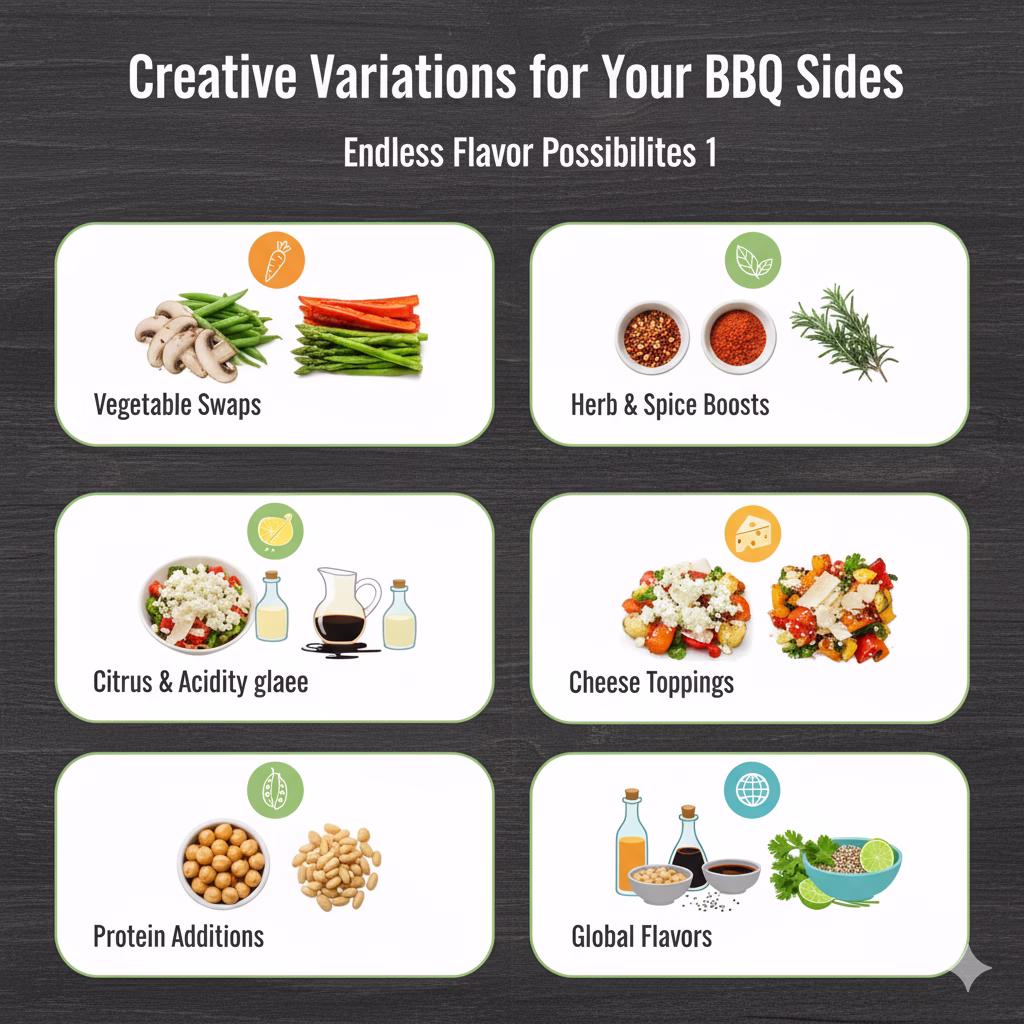
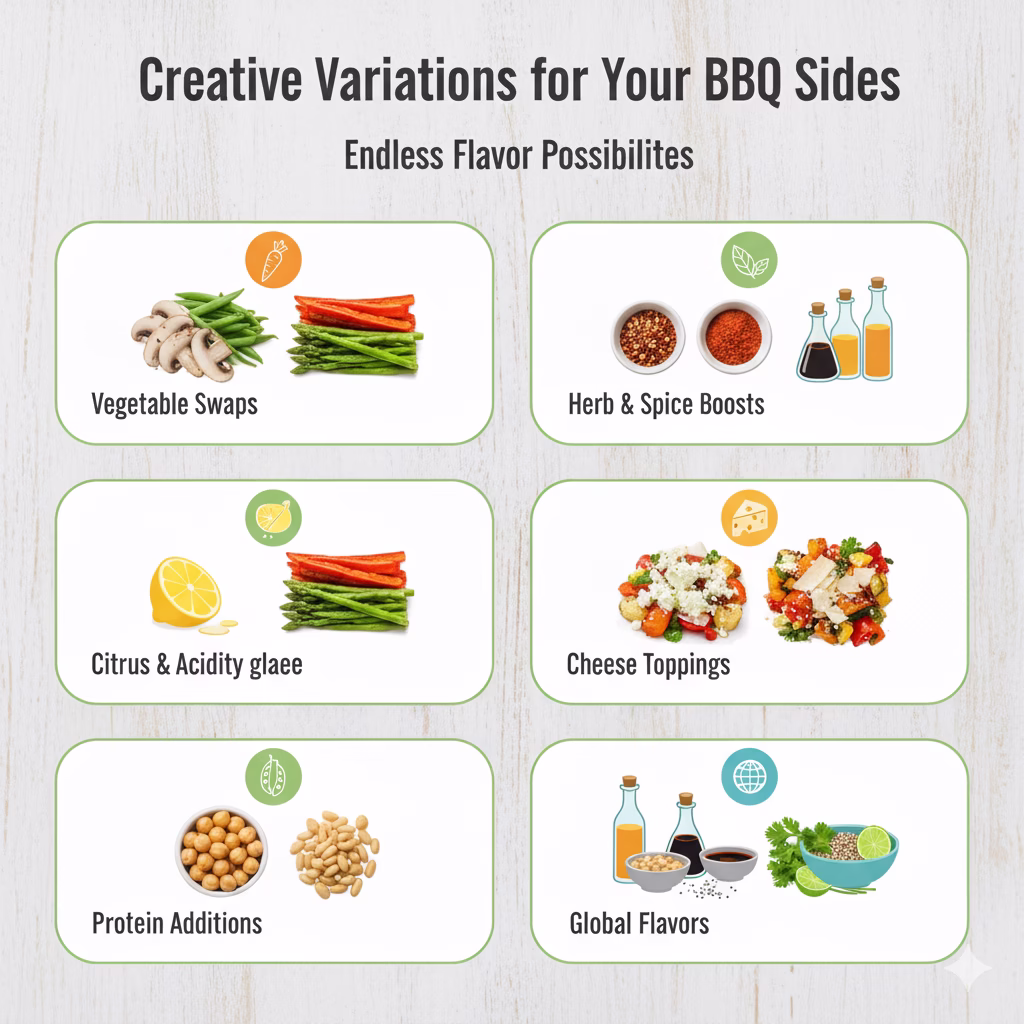
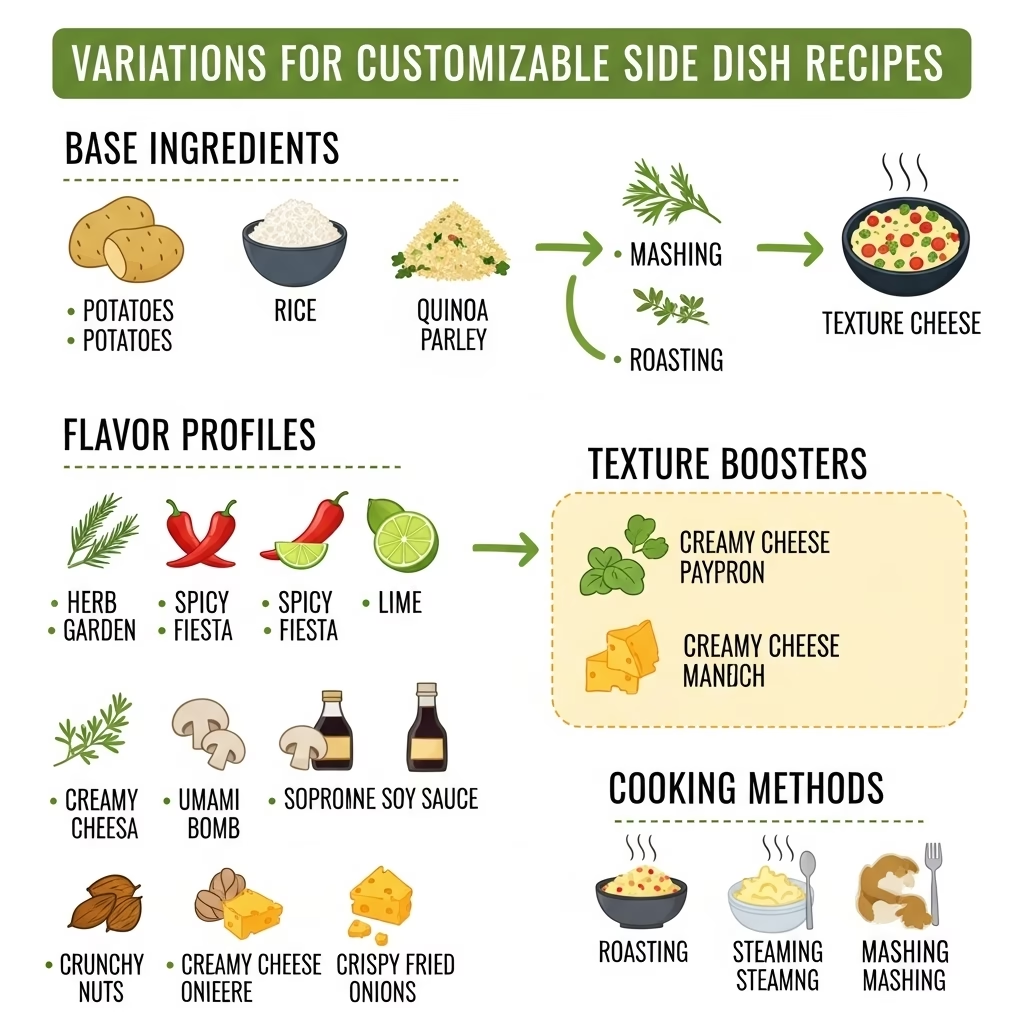
Variations to Customize Your Hash Browns

Get creative in the kitchen! These hash browns are incredibly versatile and can be adapted to suit various tastes and dietary needs.
Herbaceous Hash Browns
Add 1-2 tablespoons of finely chopped fresh herbs to the hash brown mixture before cooking. Chives, parsley, or thyme would all work wonderfully, adding a fresh, aromatic dimension to the flavor profile.
Spicy Kick
For a bit of heat, mix in 1/4 to 1/2 teaspoon of cayenne pepper or a pinch of red pepper flakes with the other spices. This is perfect for those who enjoy a spicier breakfast.
Cheesy Delights
Fold in 1/2 cup of shredded cheddar, gruyère, or parmesan cheese into the mixture. The cheese will melt as the hash browns cook, creating a gooey and savory interior. This variation is incredibly satisfying.
Sweet Potato Swap
If you don’t have butternut squash on hand, you can easily substitute it with grated sweet potato. The flavor profile will be slightly different, but the result will be just as delicious and nutritious.
Final Thoughts on Your New Favorite Breakfast
These Butternut Squash & Carrot Hash Browns are more than just a recipe; they are a gateway to healthier, more creative, and more enjoyable mornings. By simply swapping out a few ingredients, you’ve transformed a traditional comfort food into a vibrant, nutrient-dense meal that supports your well-being. The process of making them is a simple pleasure, and the result is a dish that is both beautiful and nourishing.
We encourage you to make this recipe your own. Experiment with the variations, serve them with your favorite toppings like a dollop of Greek yogurt or a perfectly fried egg, and share them with your family and friends. This recipe proves that you don’t have to sacrifice flavor for health. So, embrace the golden glow of these wholesome hash browns and let them become a delicious staple in your breakfast rotation. Happy cooking!
Frequently Asked Questions (FAQs)
Q1: Can I make these hash browns ahead of time?
A1: You can prepare the grated vegetable mixture (steps 1-5) up to a day in advance. Store it in an airtight container in the refrigerator, with a paper towel on top to absorb any moisture. Squeeze it again before mixing in the eggs and flour. The cooked hash browns can also be stored in the refrigerator for 2-3 days and reheated in a pan or air fryer for a few minutes to restore their crispness.
Q2: What can I serve with these hash browns?
A2: These hash browns are incredibly versatile. They pair wonderfully with classic breakfast items like scrambled eggs, bacon, or sausage. For a healthier pairing, top them with Greek yogurt or a poached egg. They also make a fantastic side dish for dinner, complementing roasted chicken or a grilled steak.
References
- Healthline – Butternut Squash Nutrition and Health Benefits
- Healthline – Nutritional Benefits of Carrots
- WebMD – Health Benefits of Beta Carotene
Recent Posts