By embracing a diet rich in essential nutrients, you can unlock your body’s natural ability to achieve better skin & hair. This guide explores how specific foods contribute to a glowing complexion and strong, vibrant locks, empowering you to nourish your beauty from within. Discover the delicious path to a more radiant you.
Unlock Your Inner Glow for Better Skin & Hair
The quest for glowing skin, strong nails, and lustrous hair often leads us down the path of expensive creams, serums, and treatments. While these external aids can certainly play a role, the secret to truly transformative beauty and Better Skin & Hair lies much deeper – within the food we eat. Our diet is the foundation of our overall health, and this directly translates to the vitality and appearance of our skin, hair, and even our teeth and jaw. What you put into your body has a profound impact on how you look and feel, making nutrition the ultimate beauty secret..
Imagine your body as a magnificent garden. Just as a garden needs nutrient-rich soil, ample water, and sunlight to flourish, your body requires a consistent supply of vitamins, minerals, healthy fats, and proteins to maintain its beauty. A healthy diet, particularly one rich in antioxidants, healthy fats, protein, and adequate hydration, acts as the fertile ground for your beauty to bloom. It’s not just about avoiding unhealthy foods; it’s about actively choosing foods that will nourish your cells and support their optimal function.
Every Bite Counts: Your Guide to Better Skin & Hair
Every bite you take can either contribute to or detract from your skin’s elasticity, your hair’s strength, and your nails’ resilience. The cells that make up your skin, hair follicles, and nail beds are constantly regenerating, and they rely entirely on the nutrients you provide. From protecting against environmental damage to boosting collagen production, the foods on your plate are working tirelessly behind the scenes to enhance your Better Skin & Hair. This holistic approach ensures that you’re not just masking issues but addressing their root causes.
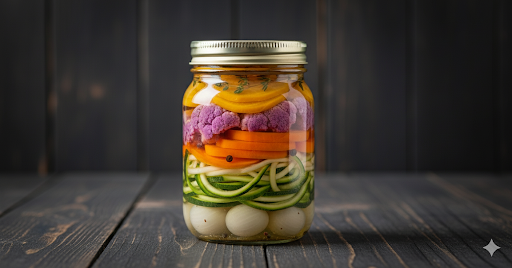
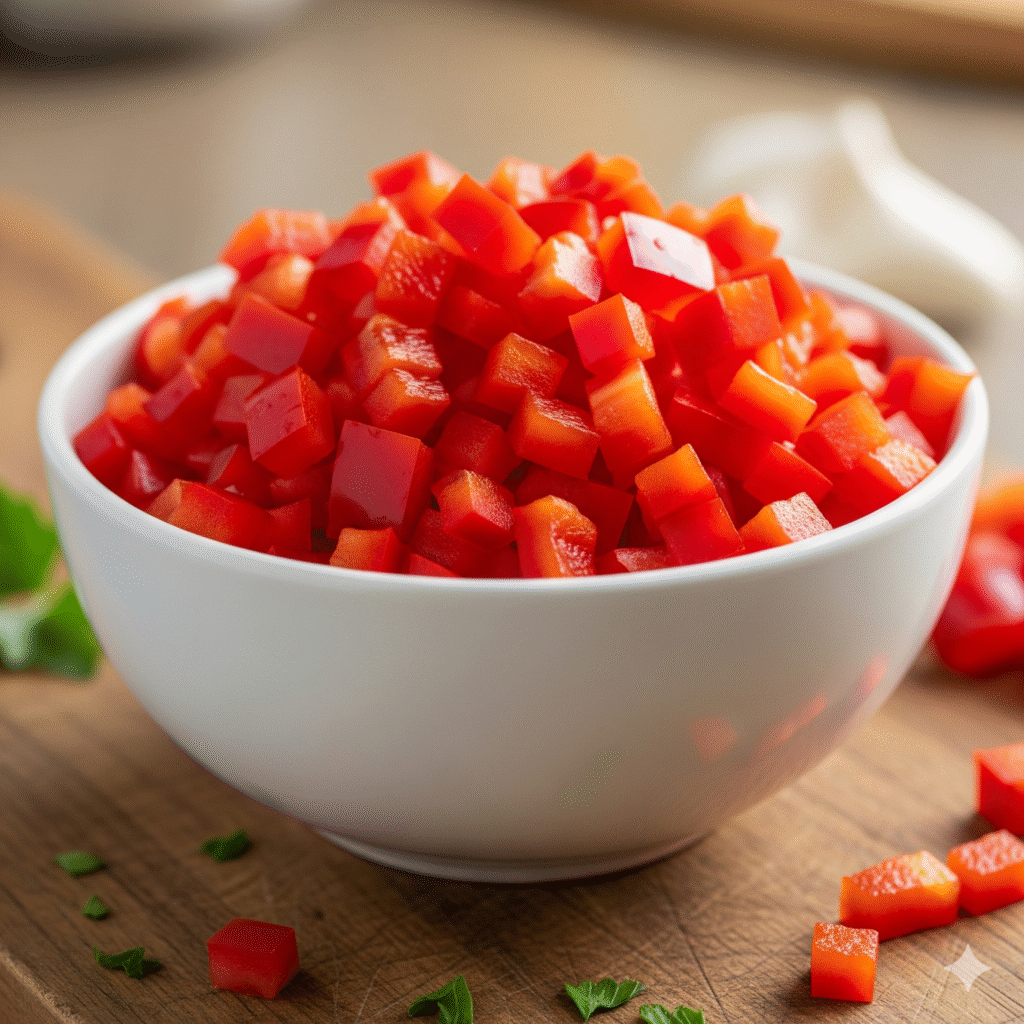
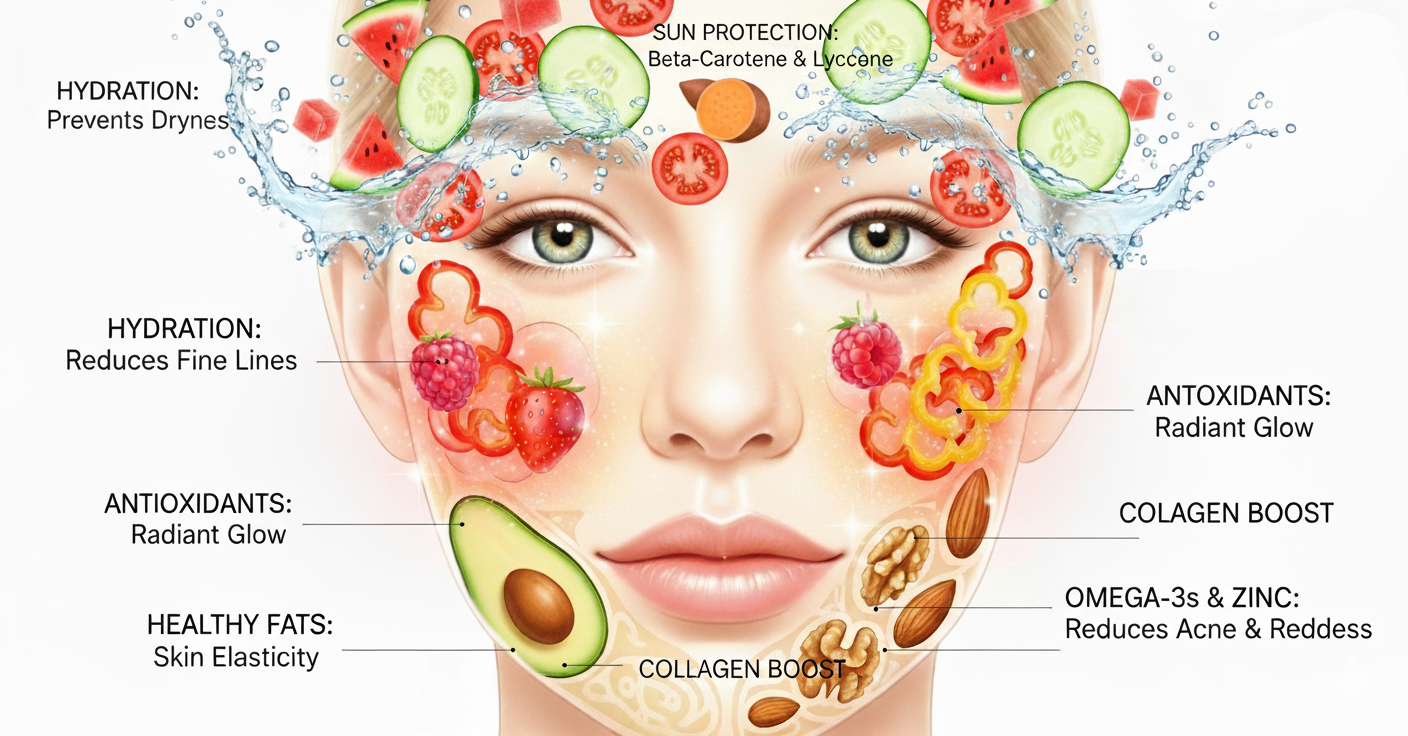
The image shows Vitamin ‘C’ Rich foods which are good for maintaining a skin’s elasticity and reduce the appearance of wrinkles.
This comprehensive guide will delve into the specific dietary components that are crucial for achieving that coveted radiant glow. We’ll explore how different nutrients target common concerns like dull complexion, acne, wrinkles, and dryness, offering practical and delicious ways to incorporate these beauty-boosting foods into your daily routine. Get ready to transform your understanding of beauty, moving beyond the superficial to embrace a deep, lasting radiance that starts from within.
Prepare to discover how simple dietary changes can lead to remarkable improvements, revealing a healthier, more vibrant you. This isn’t just about temporary fixes; it’s about cultivating sustainable beauty through informed food choices. Let’s embark on this delicious journey to better skin & hair, proving that true beauty is indeed nurtured from the inside out.

Nourish Your Skin from Within – For Better Skin & Hair
An array of facial and bodily features can be improved by a healthy diet, particularly one rich in antioxidants, healthy fats, protein, and hydration. The health of your skin, hair, nails, and even your teeth and jaw can all be significantly affected by the foods you eat. Here’s a look at how specific nutrients from various foods can target different skin concerns.
Complexion: Achieve a Better Skin & Hair
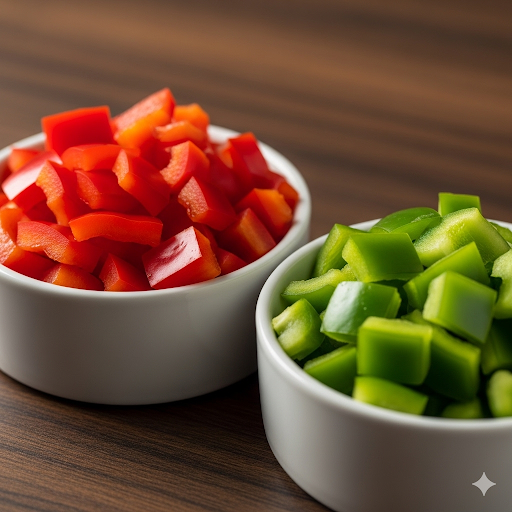
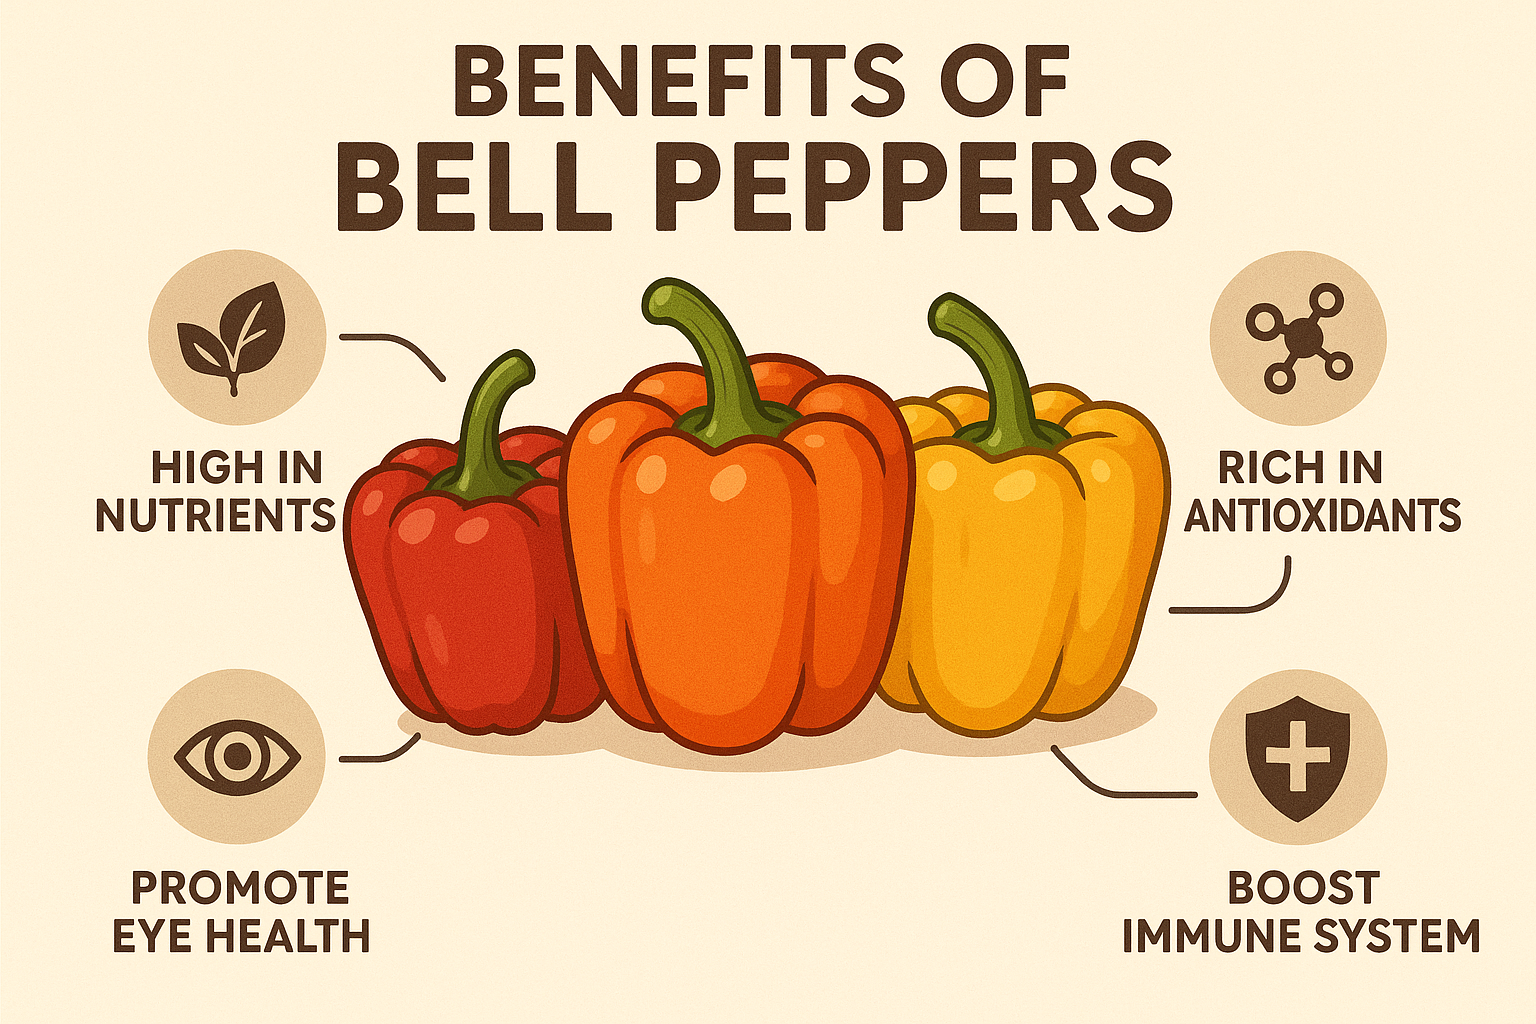
For a brighter, more radiant complexion, it’s essential to protect your skin from cellular damage. Antioxidant-rich foods, such as vibrant berries, crisp bell peppers, and soothing green tea, contain powerful compounds that protect skin from cellular damage caused by free radicals. These unstable molecules can break down skin cells and lead to a dull, uneven skin tone. By filling your diet with these protective foods, you’re giving your skin the tools it needs to fight back, leading to a more vibrant and healthy glow.
Acne and Redness: The Anti-Inflammatory Diet
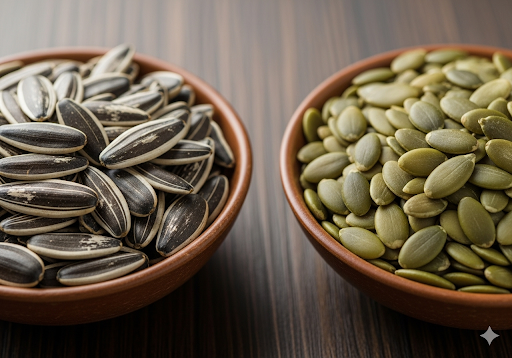
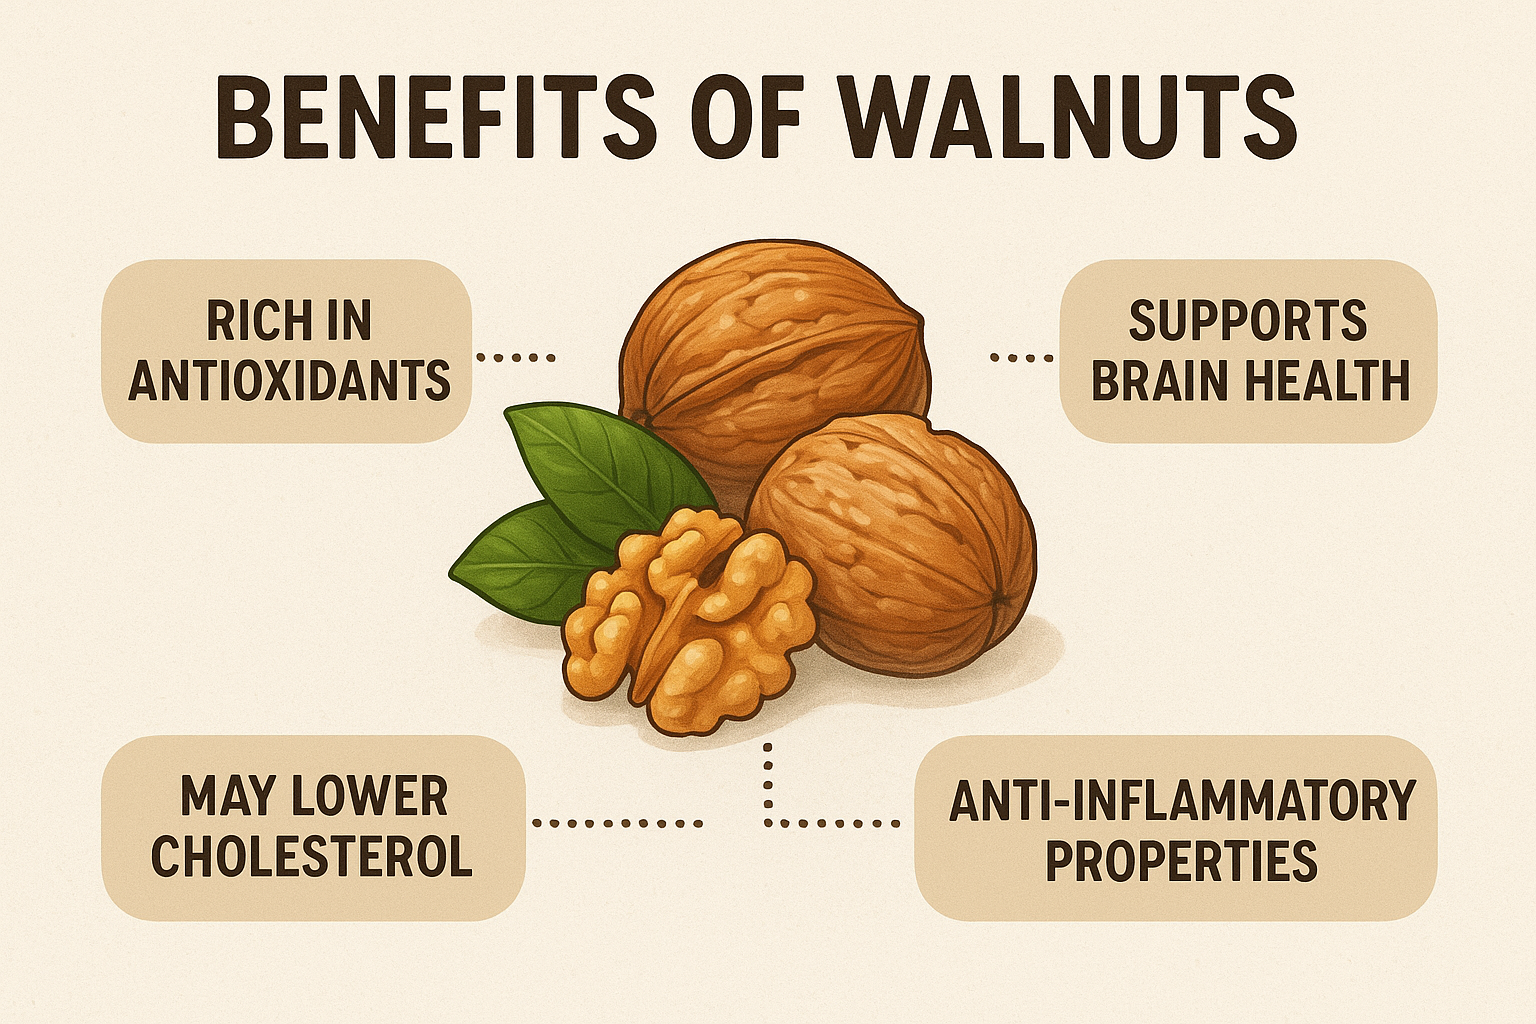
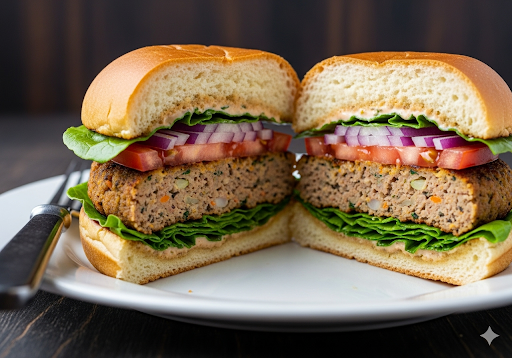
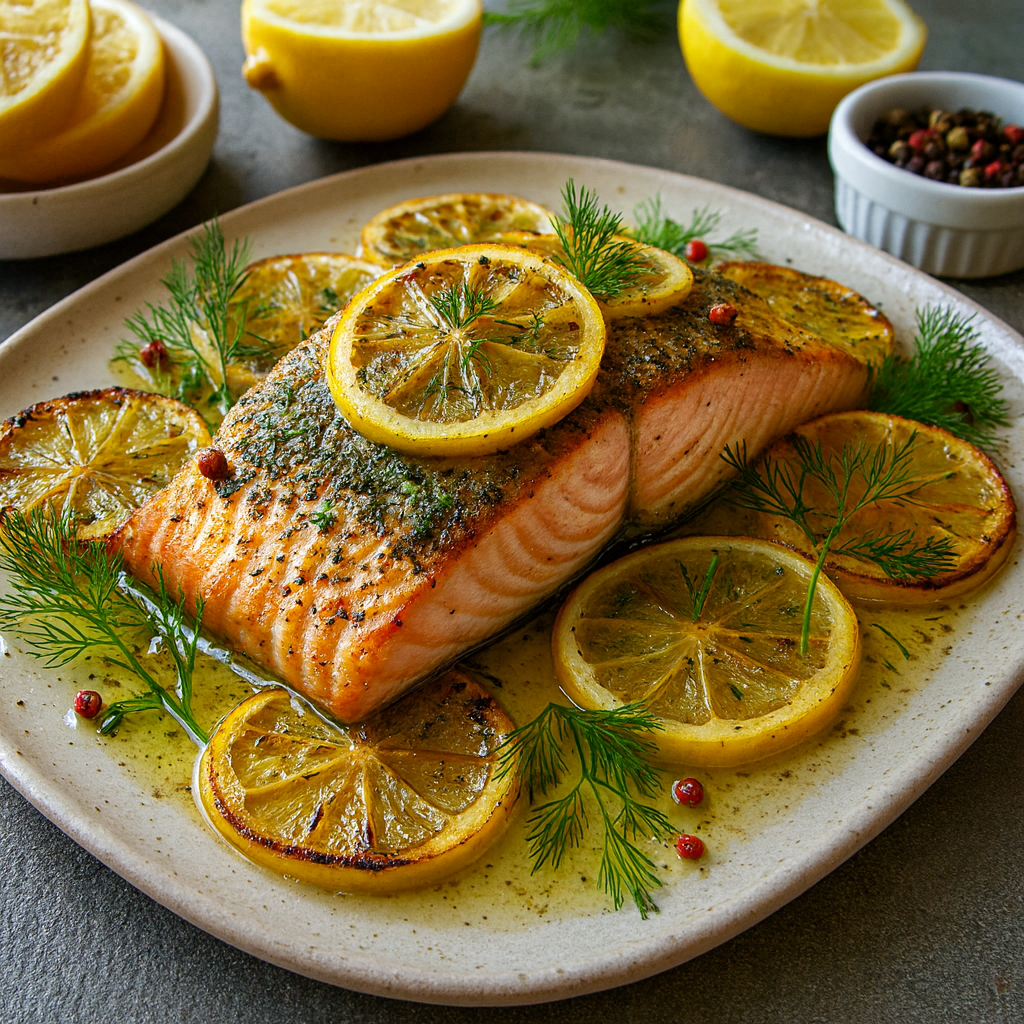
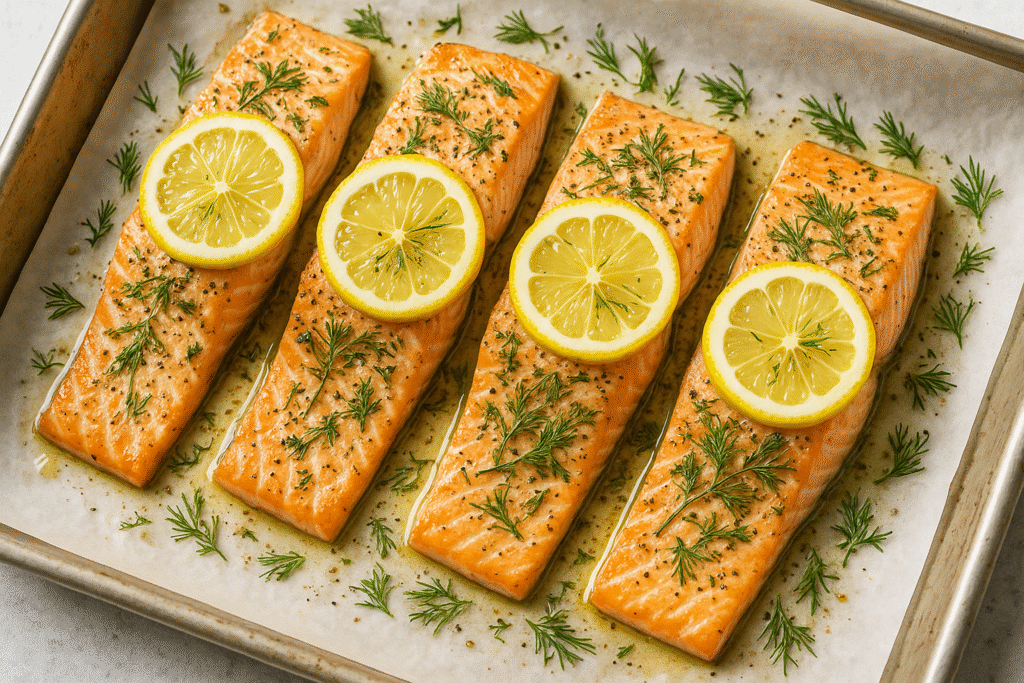
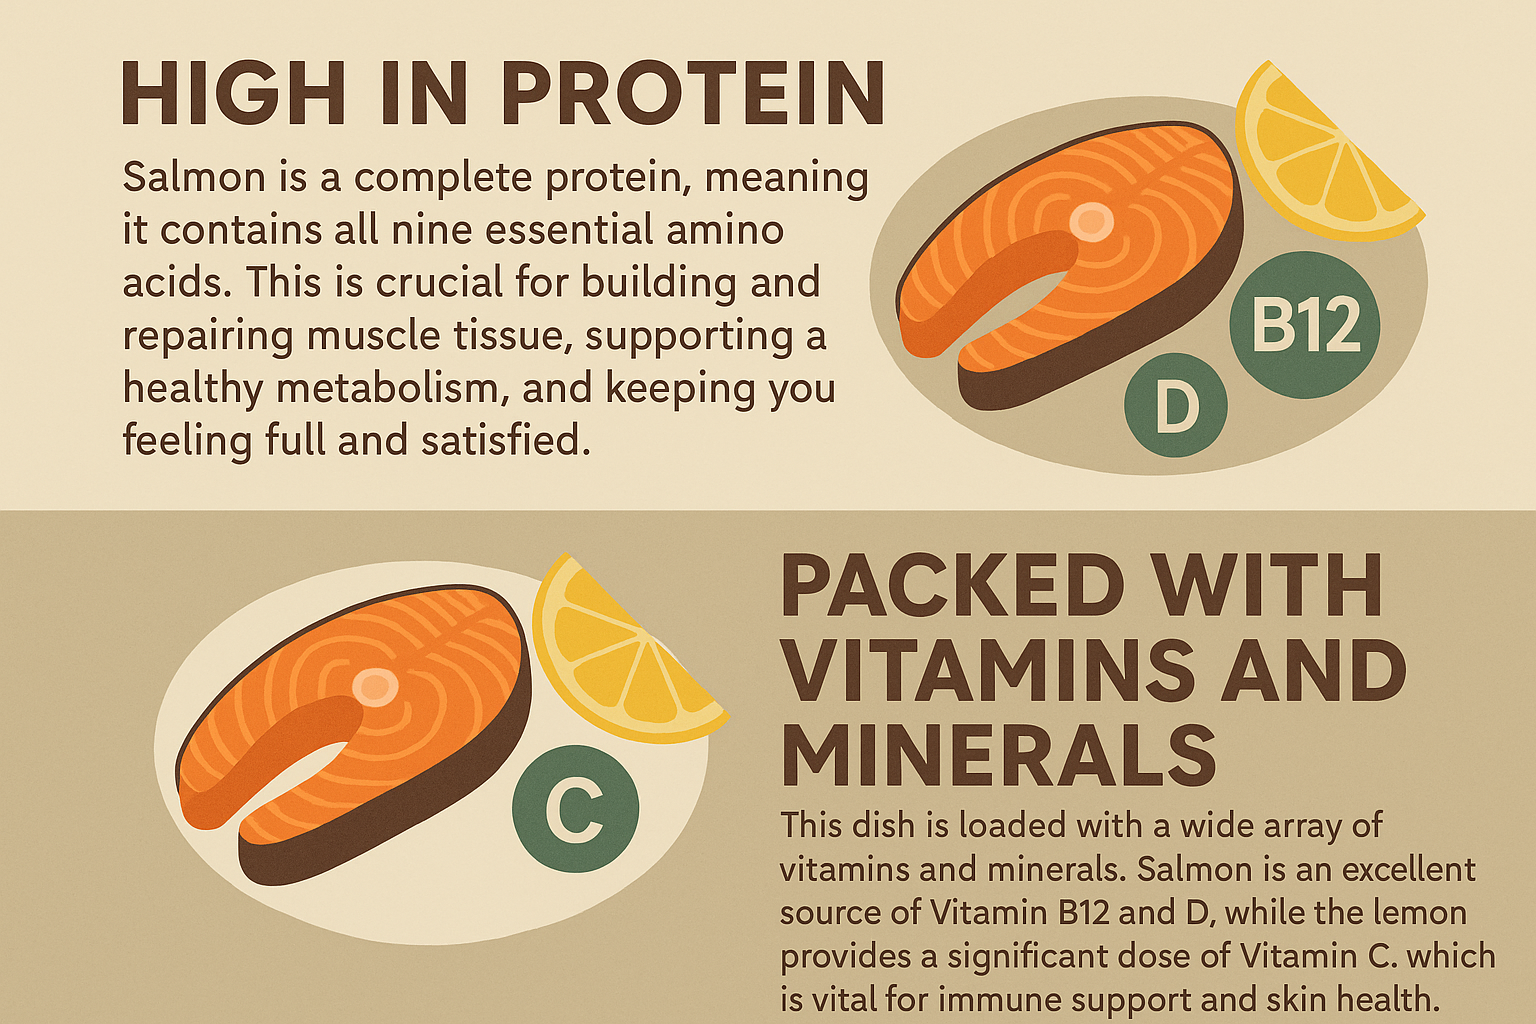
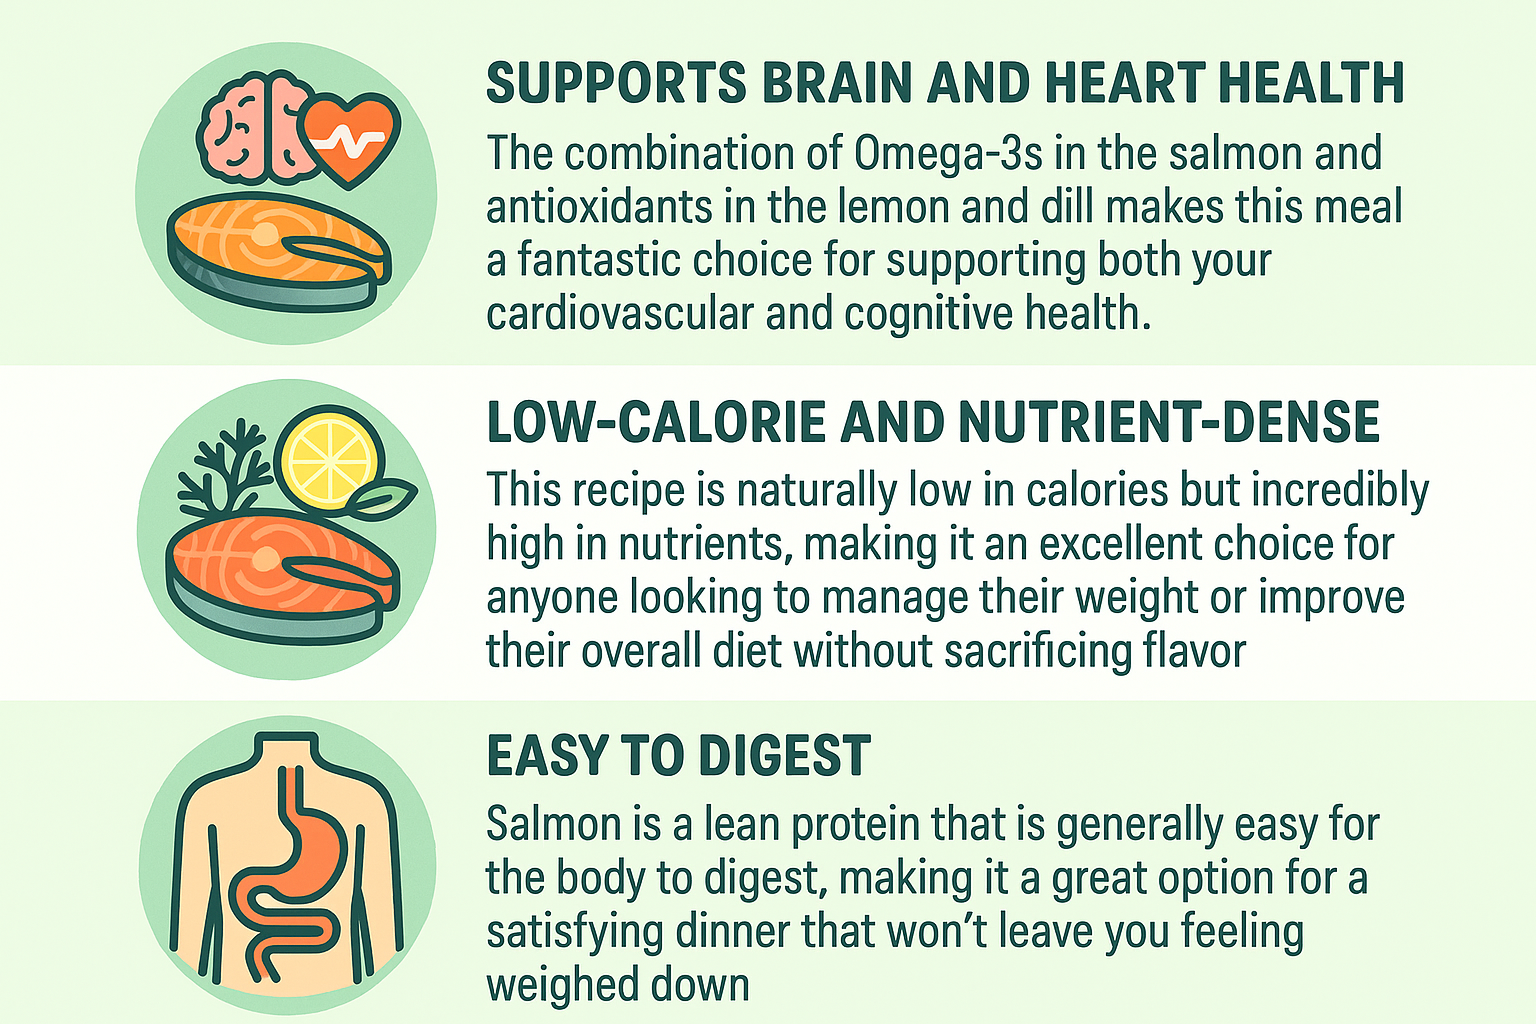
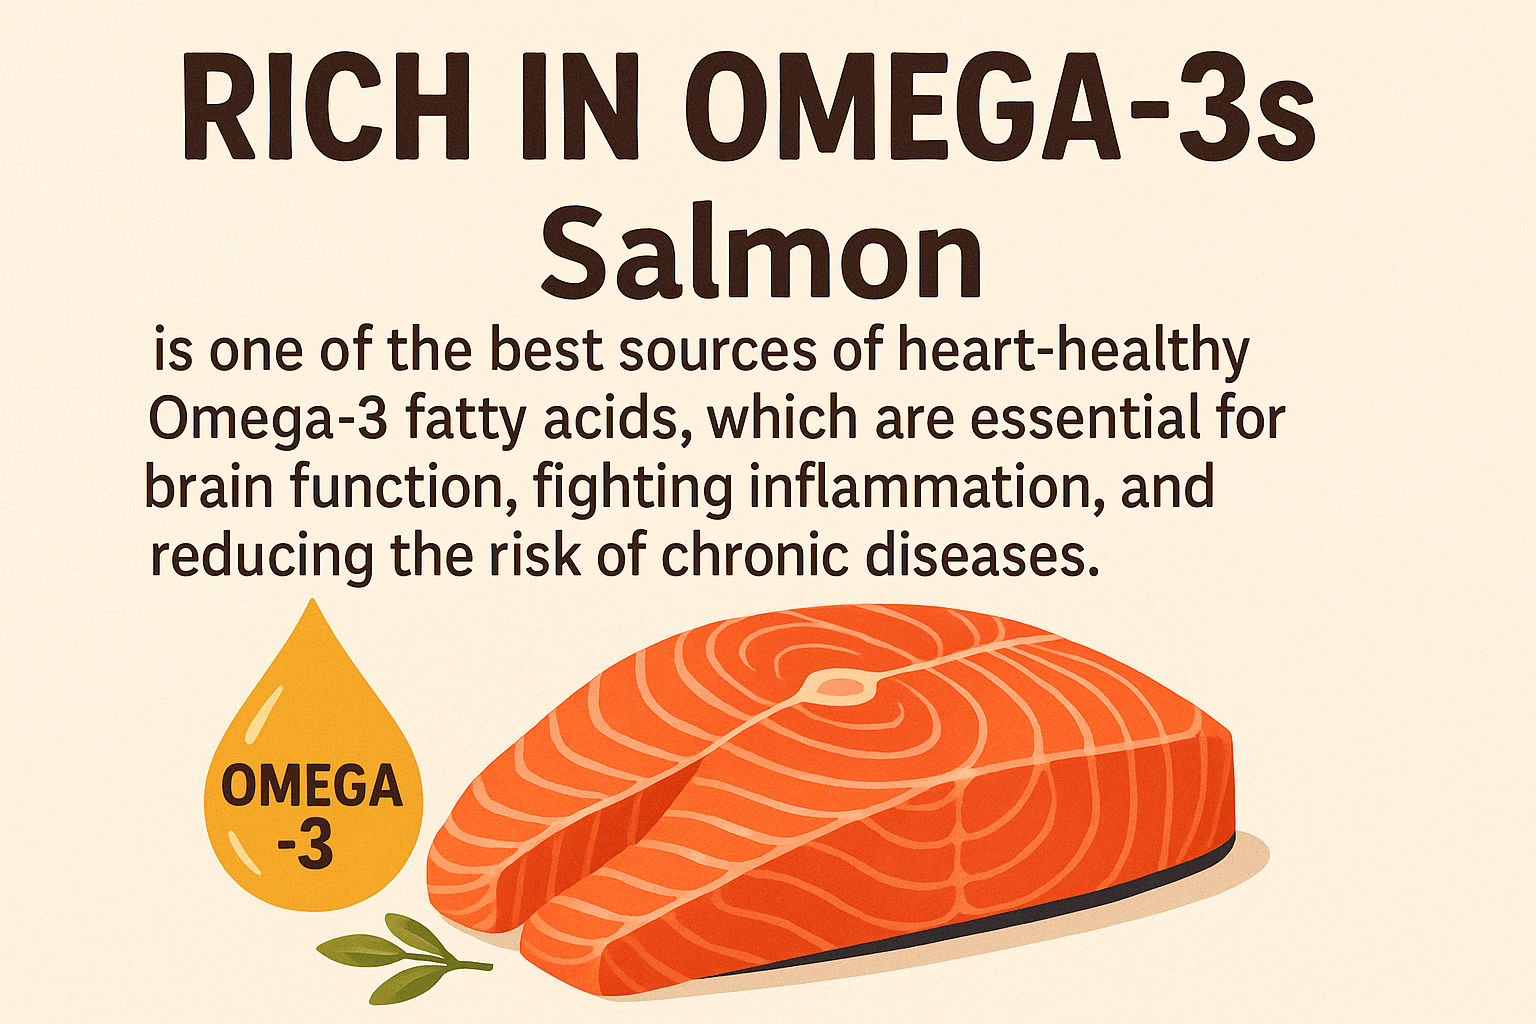
If you struggle with acne or facial redness, a diet focused on reducing inflammation can be a game-changer. Omega-3 fatty acids, found in oily fish like salmon and mackerel, as well as in plant-based sources like flaxseed and walnuts, have potent anti-inflammatory properties. These healthy fats help to calm the inflammation that often underlies breakouts and redness. Additionally, a diet high in fruits, vegetables, and low-glycemic foods—which don’t cause a rapid spike in blood sugar—can further reduce systemic inflammation, helping to clear up your complexion naturally.
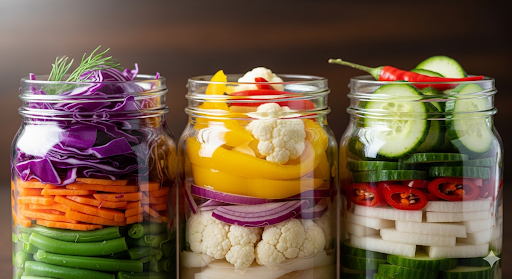
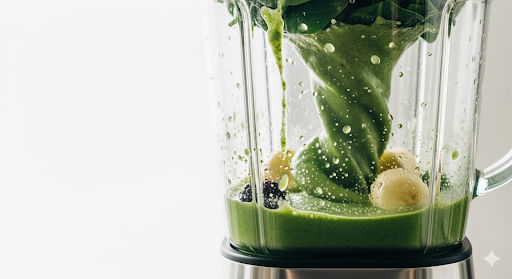
The image shows how changing your diet could give your skin the ideal look when eating certain foods
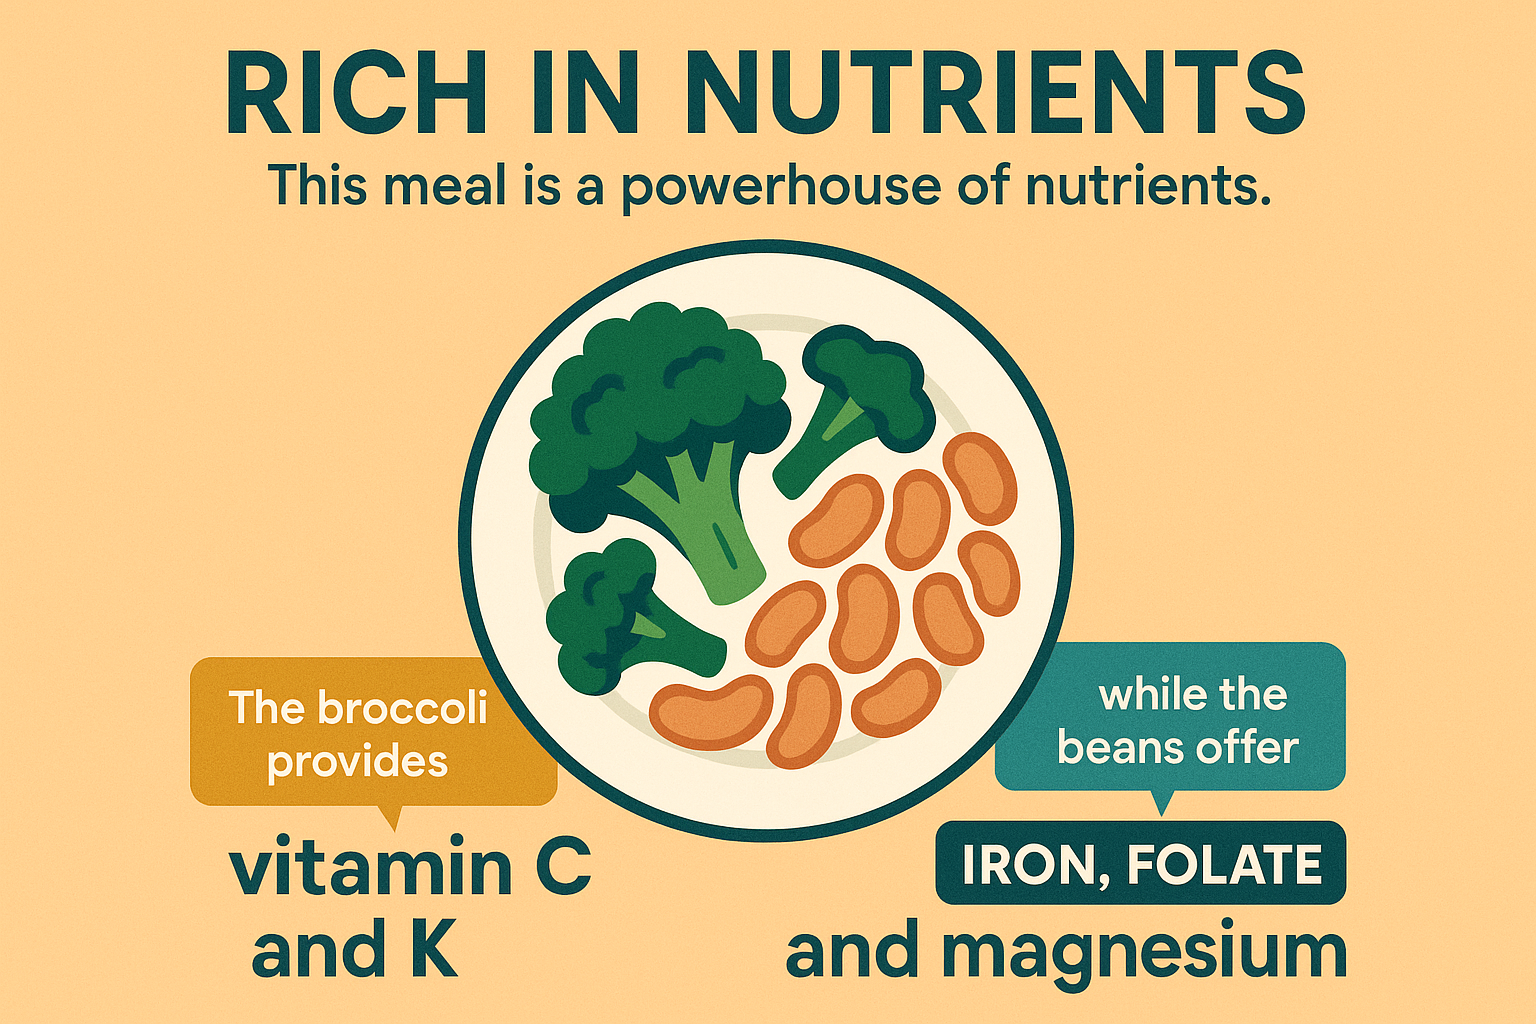
Wrinkles and Elasticity: Boost Your Collagen
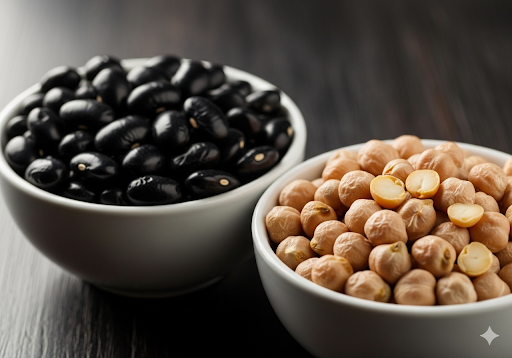
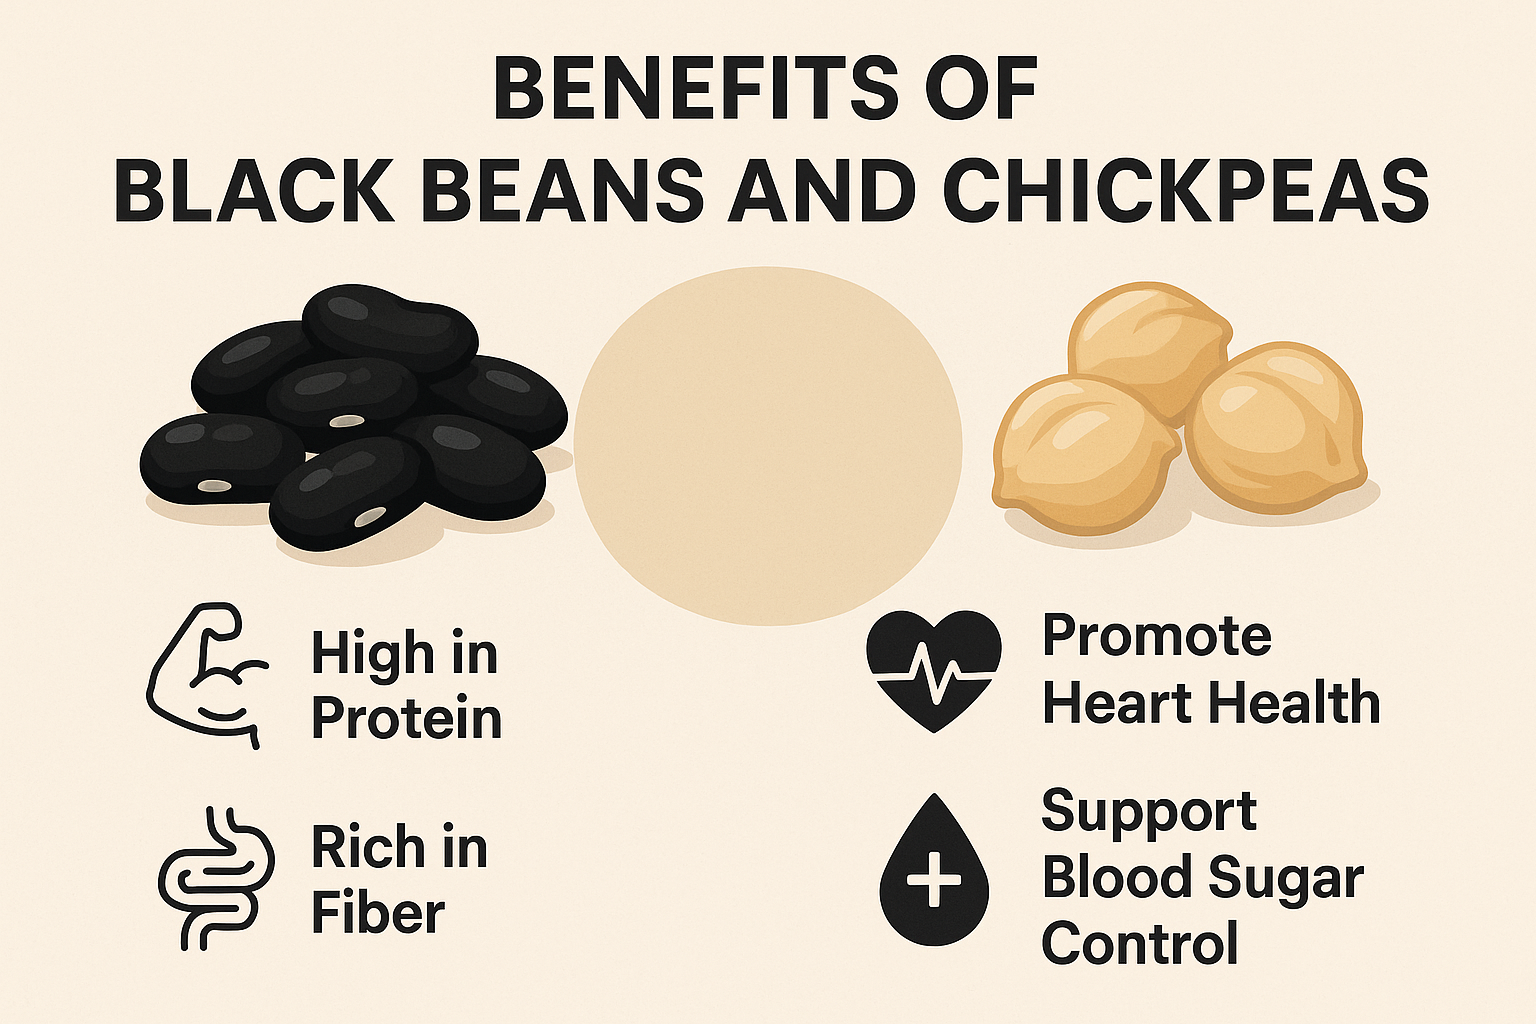
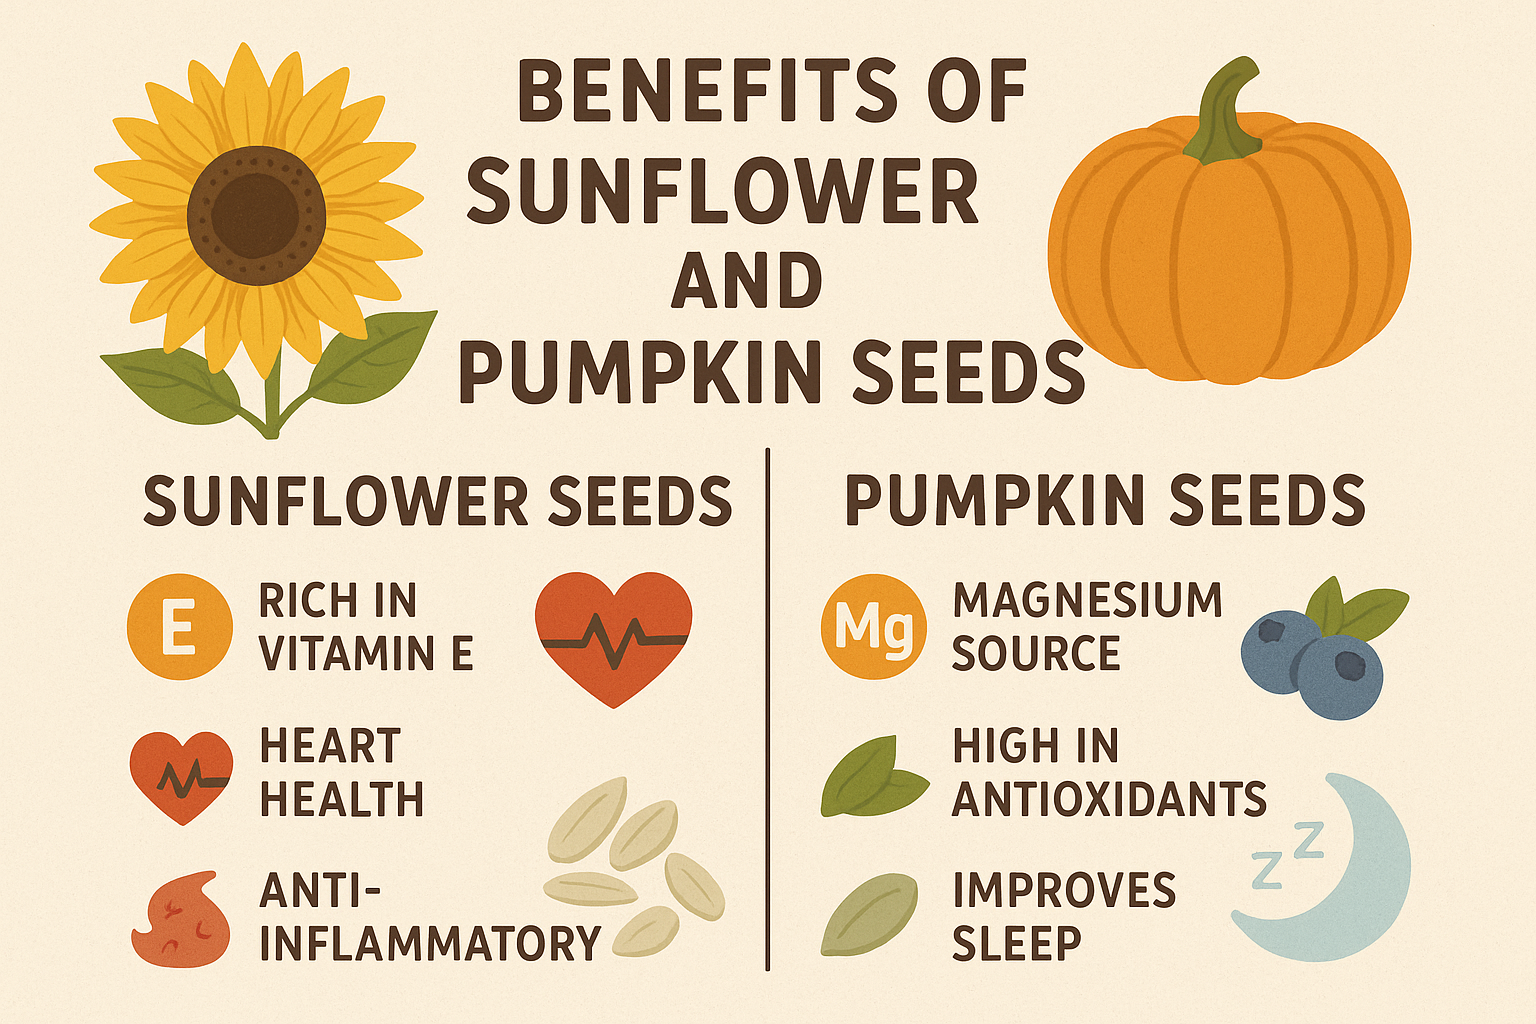
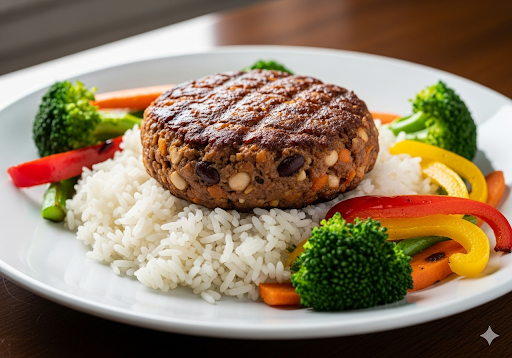
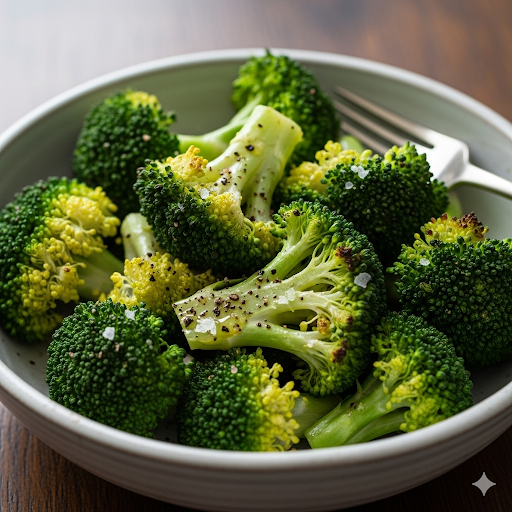
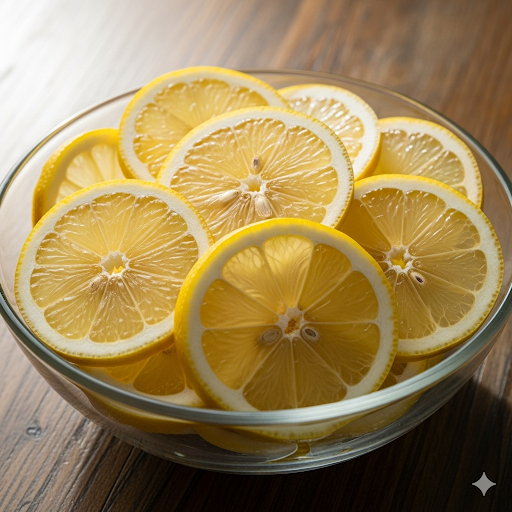
To maintain youthful skin and reduce the appearance of fine lines and wrinkles, you need to support your body’s collagen production. Collagen is the primary protein that gives your skin its structure and elasticity. A diet high in Vitamin C from citrus fruits and broccoli is crucial, as this vitamin is an essential building block for collagen synthesis. Zinc, found in nuts, seeds, and legumes, also plays a key role in the creation of this vital protein. Finally, healthy fats from avocados and olive oil help keep your skin supple and hydrated, further supporting its elasticity and smooth appearance.
Hydration: The Key to Supple Skin
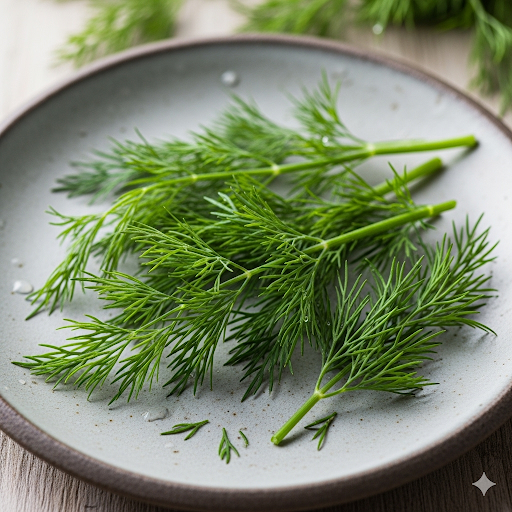
Proper hydration is the most basic yet fundamental step for a healthy complexion. Dehydrated skin looks dull, feels tight, and is more prone to showing fine lines. Beyond simply drinking water, you can boost your skin’s hydration with water-rich foods. Juicy cucumber, sweet watermelon, and leafy spinach are excellent examples. These foods help to replenish your body’s water stores at a cellular level, ensuring your skin remains hydrated, plump, and supple, which helps to reduce the appearance of dryness and fine lines.
Sun Damage: Aiding Your Skin’s Protection
While you should never skip sunscreen, certain foods can offer an extra layer of internal protection against sun damage and premature aging. Antioxidants like beta-carotene, which gives carrots and sweet potatoes their vibrant orange color, and lycopene, found in tomatoes and red grapefruit, have been shown to help protect the skin from UV-induced damage. By incorporating these into your diet, you’re building up your skin’s natural defenses and supporting its resilience against environmental stressors.
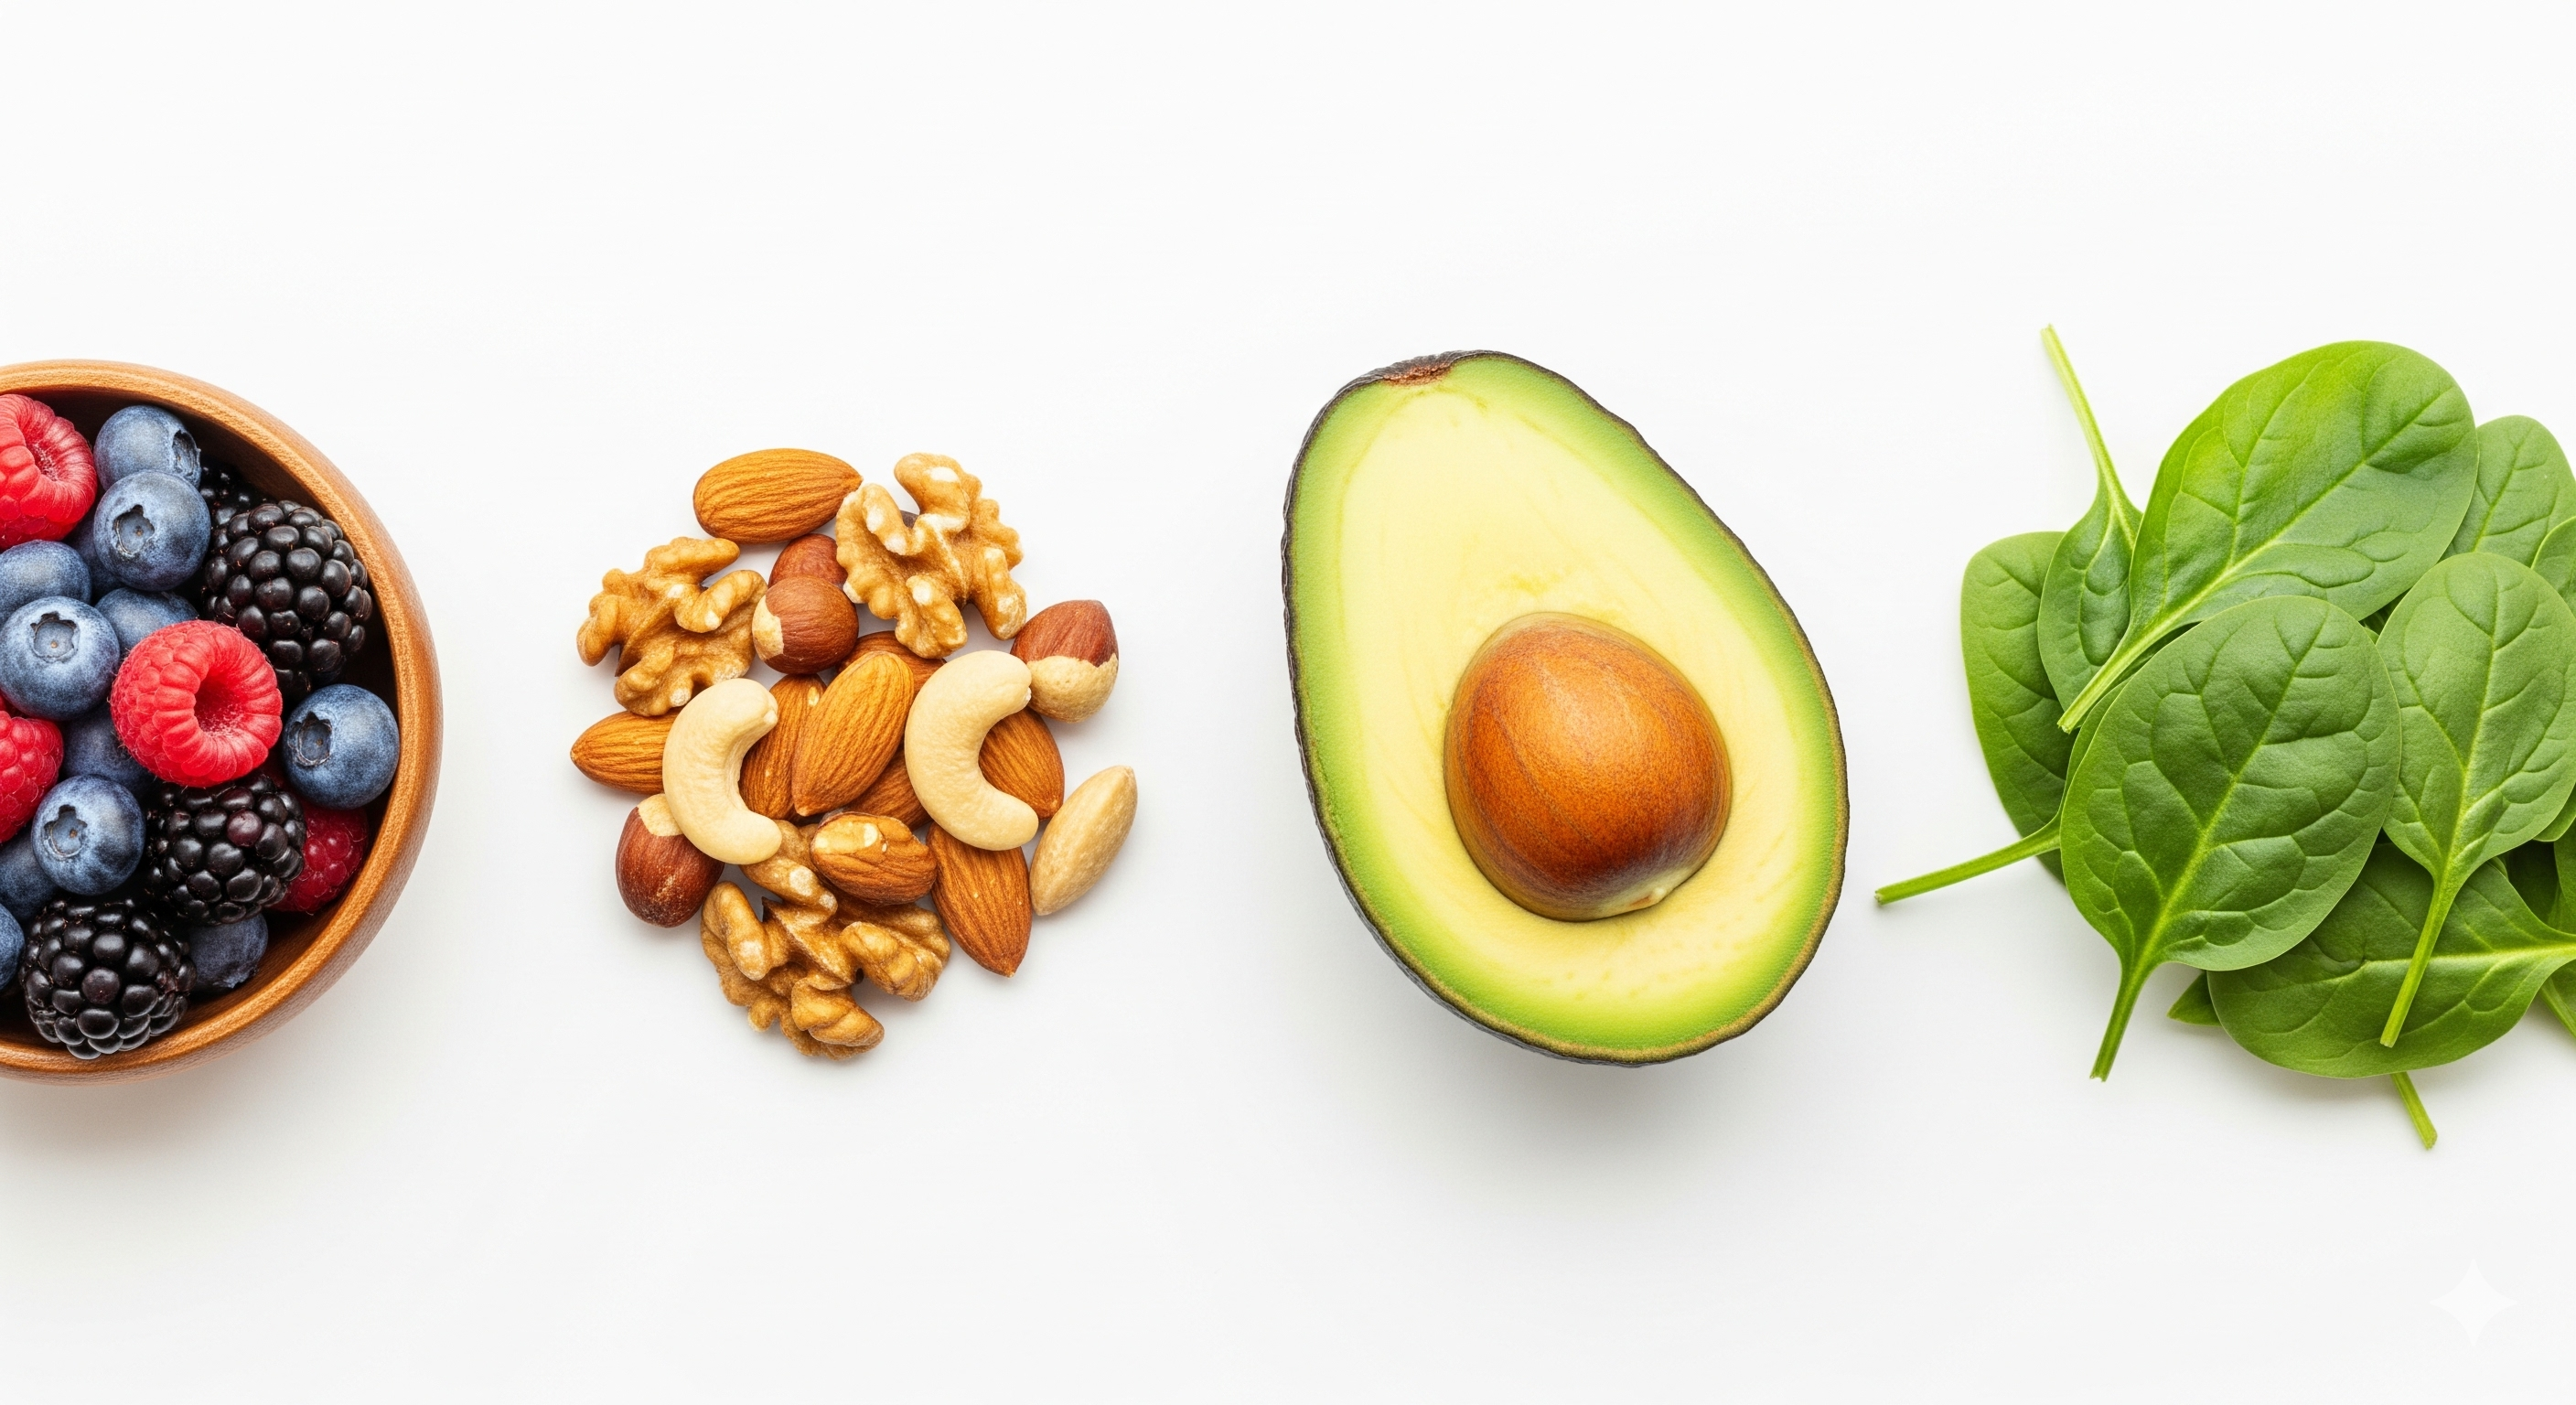
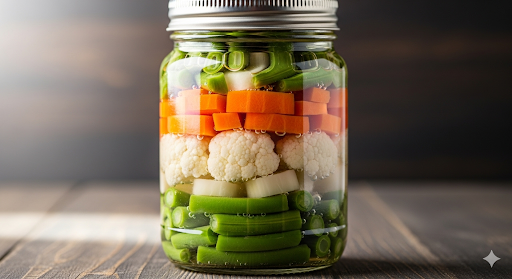
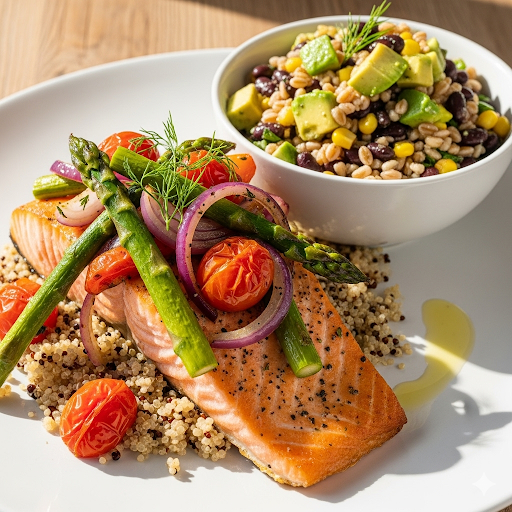
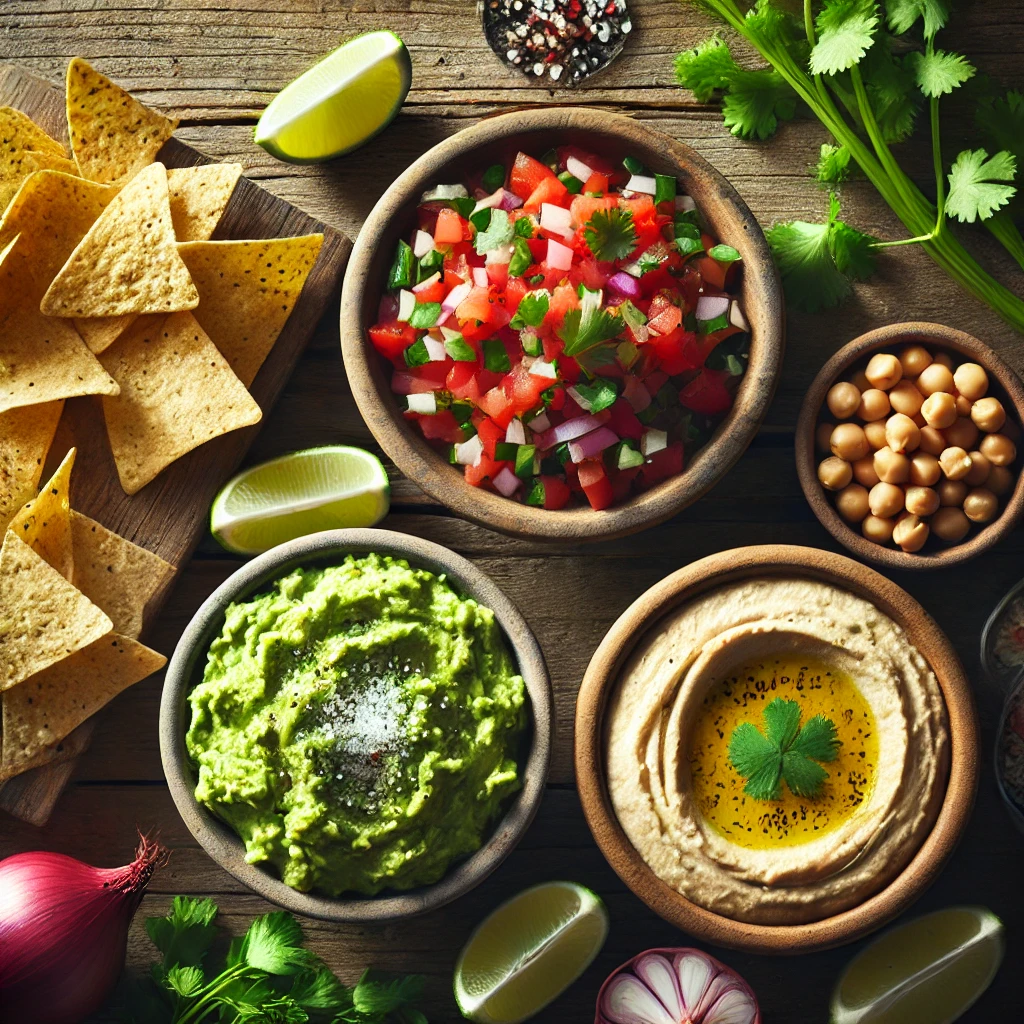
The image shows a variety of healthy foods for skin
Recipe: The Ultimate Beauty-Boosting Smoothie for Better Skin & Hair
This smoothie is packed with antioxidants, healthy fats, protein, and hydrating ingredients designed to nourish your skin, strengthen your hair, and boost your overall radiance.
Time to Prepare: 5 minutes
Time to Cook/Blend: 2-3 minutes
Servings: 1
Equipment for Your Beauty Smoothie:
- High-speed blender
- Measuring cups and spoons
- Drinking glass
Nutritional Information (per serving, approximate):
- Calories: 300-350 kcal
- Protein: 15-20g
- Healthy Fats: 15-20g (Omega-3s, Monounsaturated)
- Fiber: 8-10g
- Vitamin C: 150%+ Daily Value
- Vitamin E: 50%+ Daily Value
- Antioxidants: High
- Hydration: Excellent
Ingredients for Better Skin & Hair:
- 1 cup (240ml) unsweetened almond milk (or other plant-based milk)
- 1/2 cup (75g) mixed berries (fresh or frozen – e.g., blueberries, raspberries, strawberries)
- 1/2 ripe avocado, pitted and peeled
- 1 tablespoon chia seeds
- 1 tablespoon flax seeds (ground is best for absorption)
- 1 scoop (20-25g) collagen powder or plant-based protein powder (optional, for extra boost)
- 1 cup (30g) fresh spinach or kale
- 1/2 frozen banana (for creaminess and natural sweetness, optional)
- A squeeze of fresh lemon juice (about 1 teaspoon)
Step-by-Step Instructions for Your Glow-Up Smoothie:
Gather Your Ingredients
Before you begin, lay out all your ingredients on your counter. This ensures you have everything ready and makes the blending process smooth and easy. Having all components within reach helps prevent any last-minute searching.
Add Liquid First
Carefully pour 1 cup of unsweetened almond milk (or your chosen plant-based milk) into your high-speed blender. Adding the liquid first helps the blades spin more easily and prevents thicker ingredients from getting stuck at the bottom.
Introduce Soft and Leafy Greens:
Next, add the fresh spinach or kale to the blender. You can gently push it down if needed, but don’t pack it in too tightly. Starting with greens allows them to be thoroughly blended into the liquid, ensuring a smooth texture without any leafy chunks.
Incorporate Berries and Avocado
Now, add the mixed berries (whether fresh or frozen) and the pitted and peeled half of a ripe avocado. The berries contribute a burst of antioxidants and natural sweetness, while the avocado adds healthy fats for creaminess and skin nourishment.
Add Seeds and Protein (Optional)
Sprinkle in the chia seeds and the ground flax seeds. If you’re using collagen powder or plant-based protein powder, add it at this stage as well. These ingredients provide essential fatty acids, fiber, and building blocks for healthy skin and hair.
Sweeten and Thicken (Optional)
If you desire extra creaminess or a bit more sweetness, add the half frozen banana. This is completely optional but can significantly improve the smoothie’s texture and taste, especially if your berries aren’t very sweet.
Add a Zest of Lemon
Squeeze in about 1 teaspoon of fresh lemon juice. The lemon juice not only adds a refreshing flavor but also provides a boost of Vitamin C, which is crucial for collagen production, and helps to cut through the richness of the other ingredients.
Blend Until Smooth
Secure the lid on your blender and start blending on a low setting, gradually increasing to high. Blend for 2-3 minutes, or until the mixture is completely smooth and creamy, with no visible chunks of fruit, vegetables, or seeds. If it’s too thick, you can add a tiny splash more almond milk; if too thin, a few ice cubes can help.
Serve and Enjoy
Once blended to perfection, pour your vibrant, nutrient-rich smoothie into a glass. Enjoy it immediately to get the maximum benefit from its fresh ingredients. Sip slowly and savor the goodness knowing you’re nourishing your body from within!
Benefits: For Better Skin & Hair
This smoothie isn’t just a delicious treat; it’s a powerhouse of nutrients specifically chosen to enhance your natural beauty. Here’s a breakdown of the key advantages for your skin and hair:
For a Brighter Complexion
The mixed berries and spinach/kale are bursting with antioxidants like anthocyanins and Vitamin C. As you learned above, these powerful compounds combat free radicals, which can damage skin cells and lead to a dull complexion. By neutralizing free radicals, this smoothie helps protect your skin from oxidative stress, promoting a more radiant and even skin tone. Vitamin C, especially from berries and lemon juice, is also crucial for synthesizing collagen, a protein vital for skin elasticity and firmness.
Reducing Acne and Redness
Chia seeds and flax seeds are exceptional sources of Omega-3 fatty acids. As we explored, these healthy fats are renowned for their anti-inflammatory properties, helping to calm inflammation that often underlies breakouts and general skin redness. The leafy greens also contribute to an anti-inflammatory effect, supporting your journey to a clearer complexion.
Boosting Collagen for Fewer Wrinkles and Enhanced Elasticity
Collagen is the structural protein that gives your skin its firmness and elasticity. This smoothie supports collagen production in multiple ways. The lemon juice and berries provide a significant dose of Vitamin C, an essential cofactor for collagen synthesis. Additionally, if you choose to add collagen powder, you’re directly supplying the building blocks for this crucial protein. The healthy fats from avocado also support overall skin health and barrier function, indirectly contributing to elasticity.
Deep Hydration from Within
Adequate hydration is fundamental for plump, supple skin and healthy hair. This smoothie contributes significantly to your daily fluid intake, especially with the almond milk and water-rich ingredients like spinach and berries. As we noted in our guide, hydrated skin appears smoother, fine lines are less noticeable, and your skin barrier function is optimized. For hair, proper hydration prevents dryness and brittleness, leading to shinier, more manageable strands.
Protection Against Sun Damage
Antioxidants aren’t just for anti-aging; they also offer a layer of internal defense against environmental aggressors, including sun damage. The berries and spinach/kale provide carotenoids and other antioxidants that can help protect skin cells from UV-induced damage. While this smoothie is not a substitute for topical sunscreen, a diet rich in these protective compounds can support your skin’s natural resilience to the sun’s rays, contributing to a healthier, more youthful appearance over time.
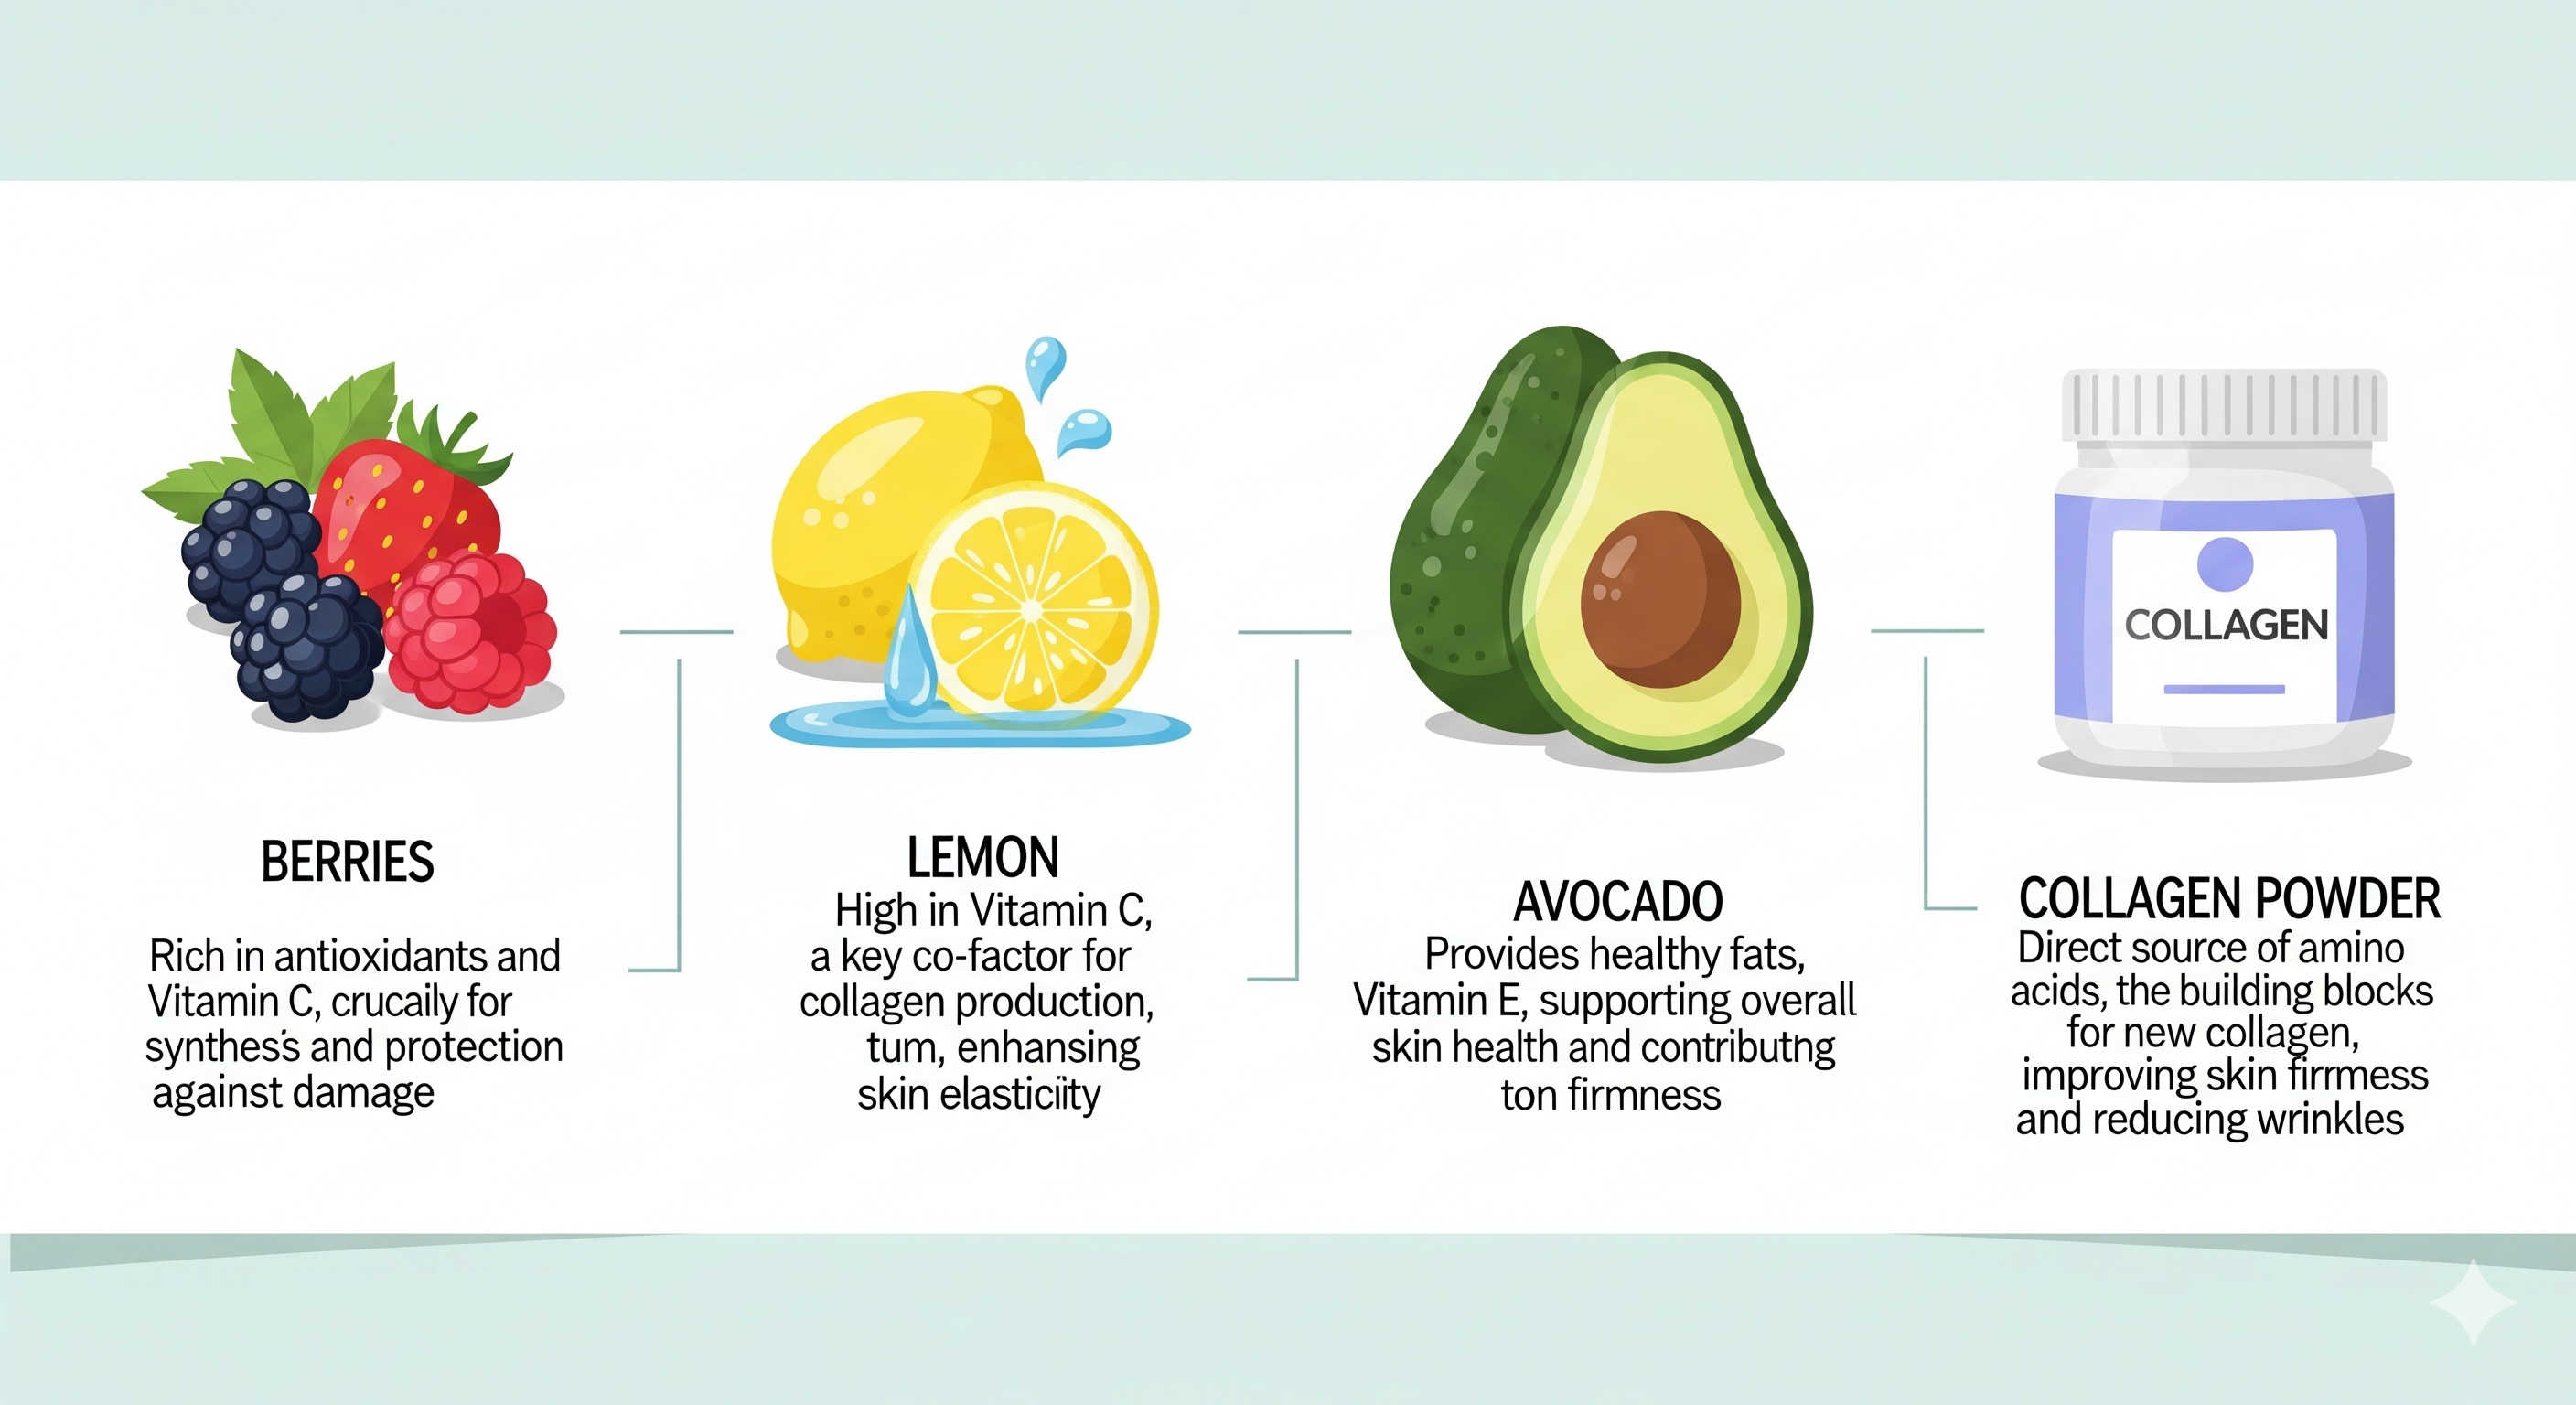
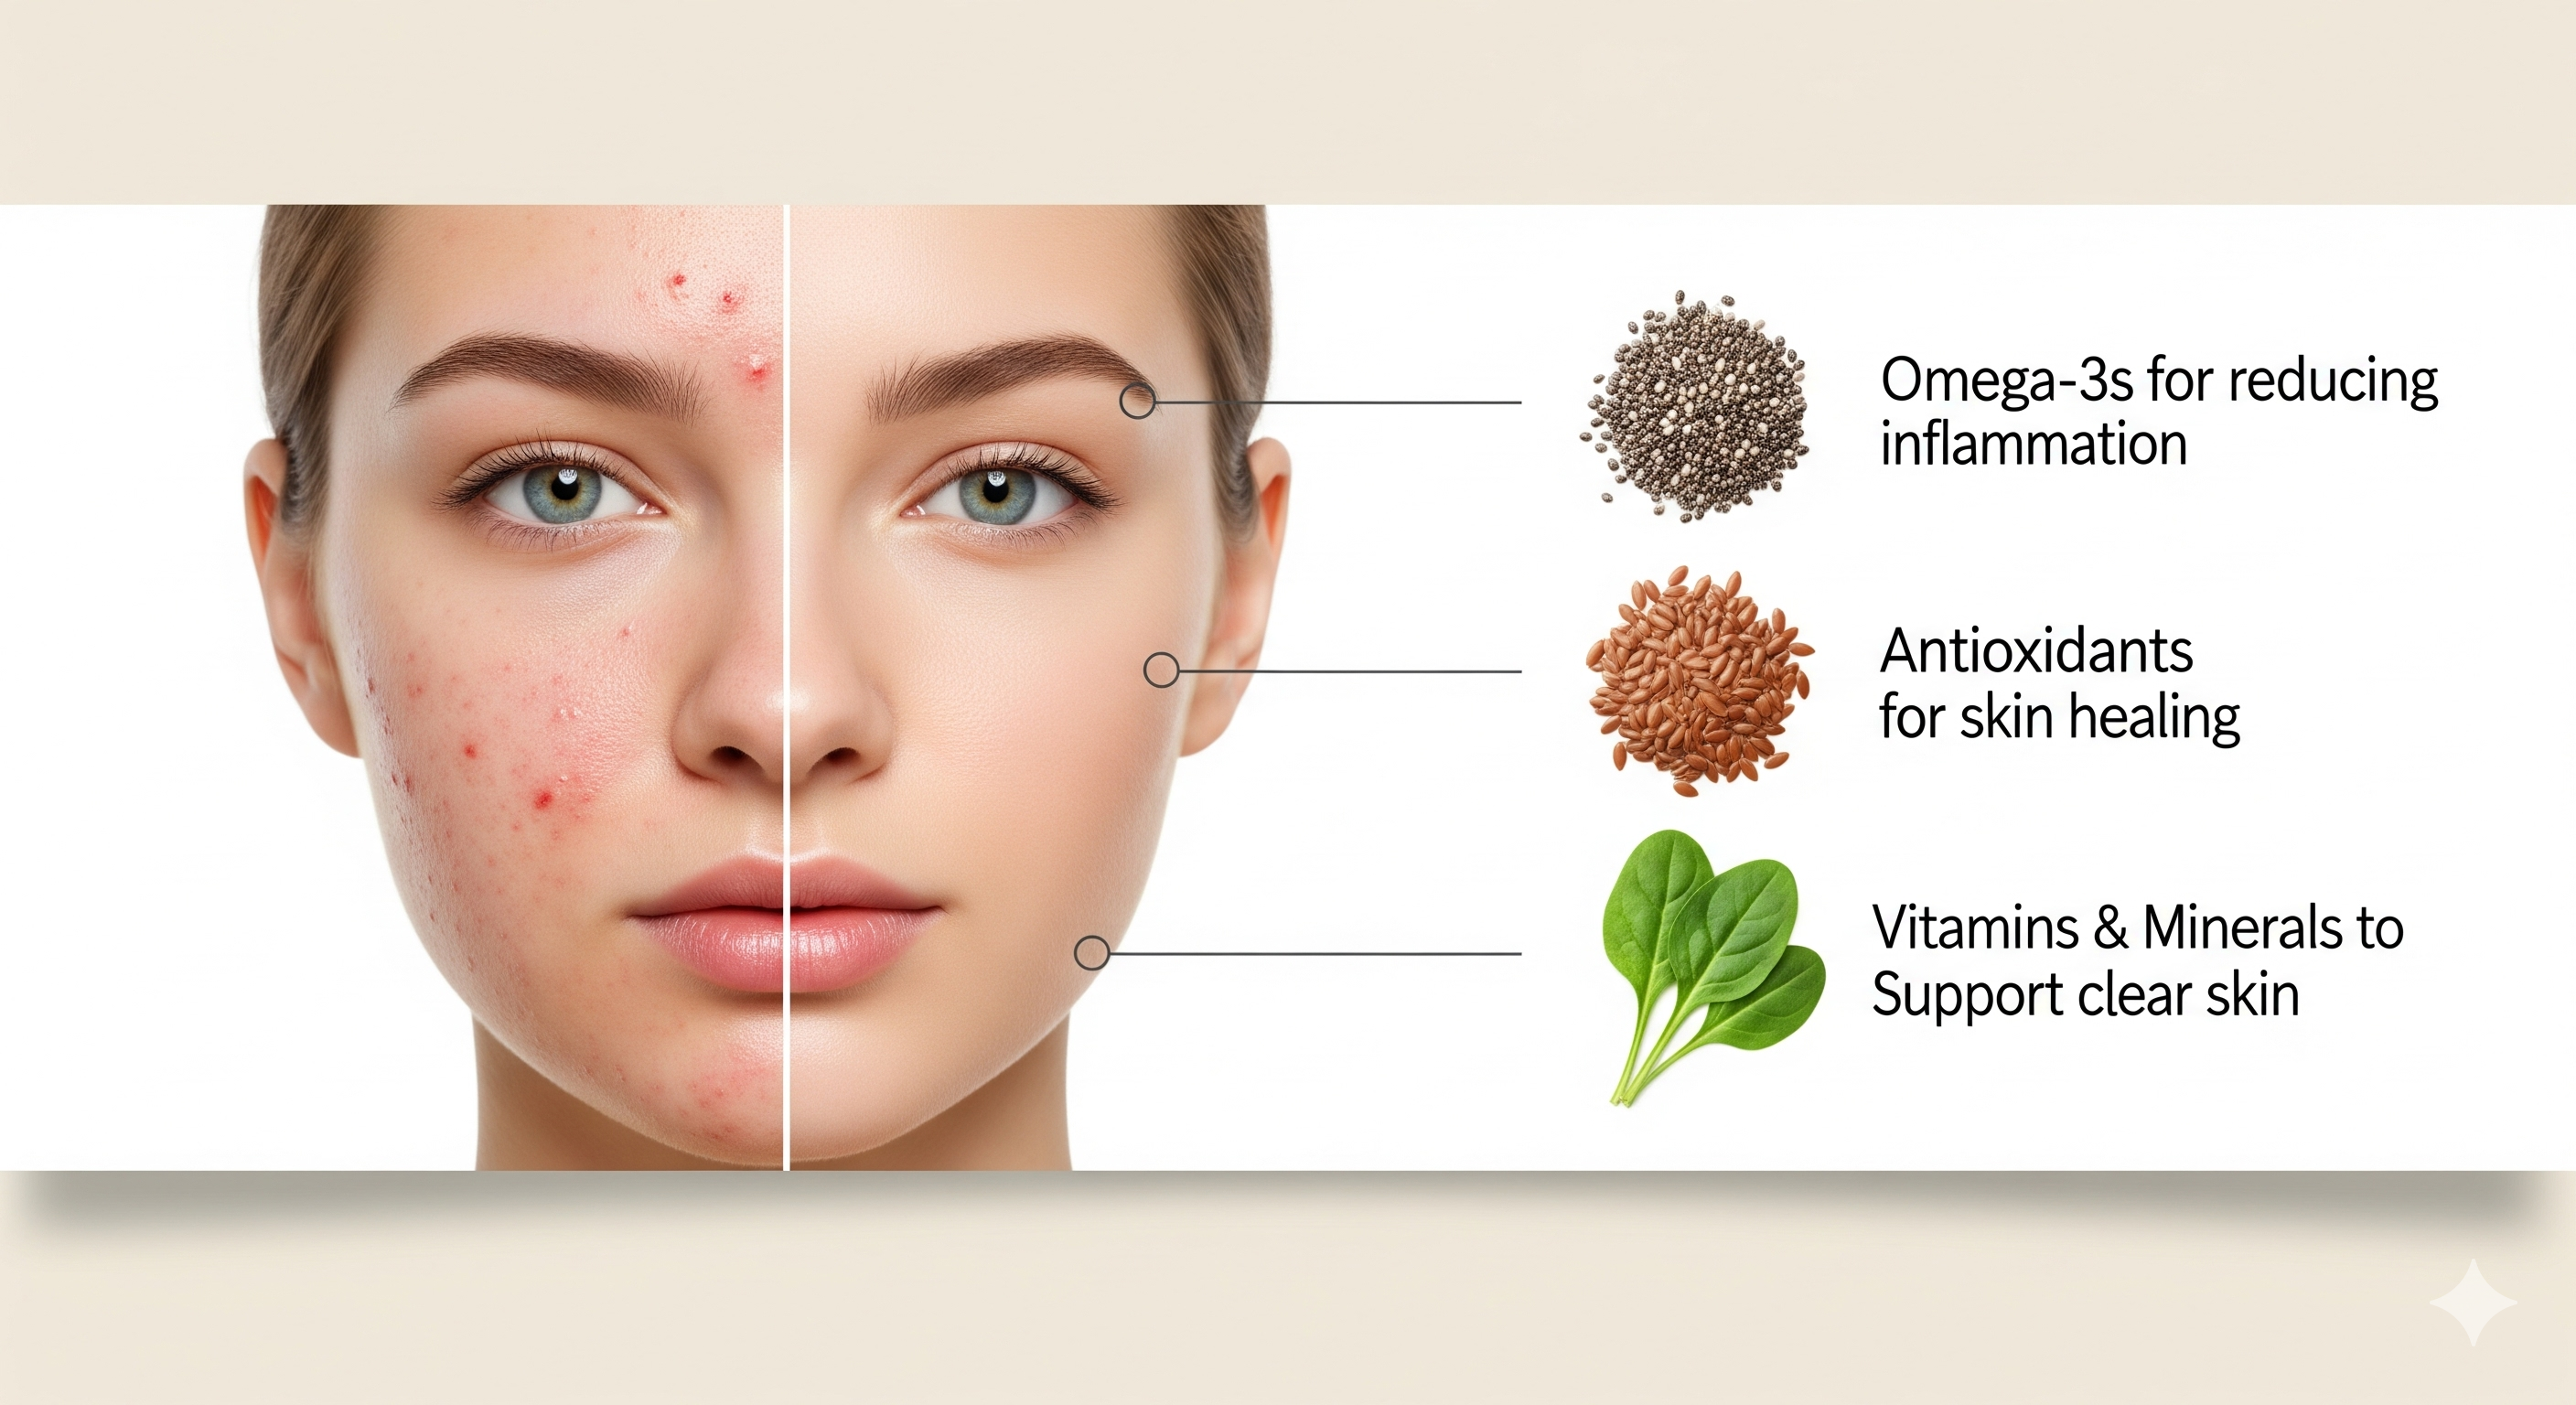
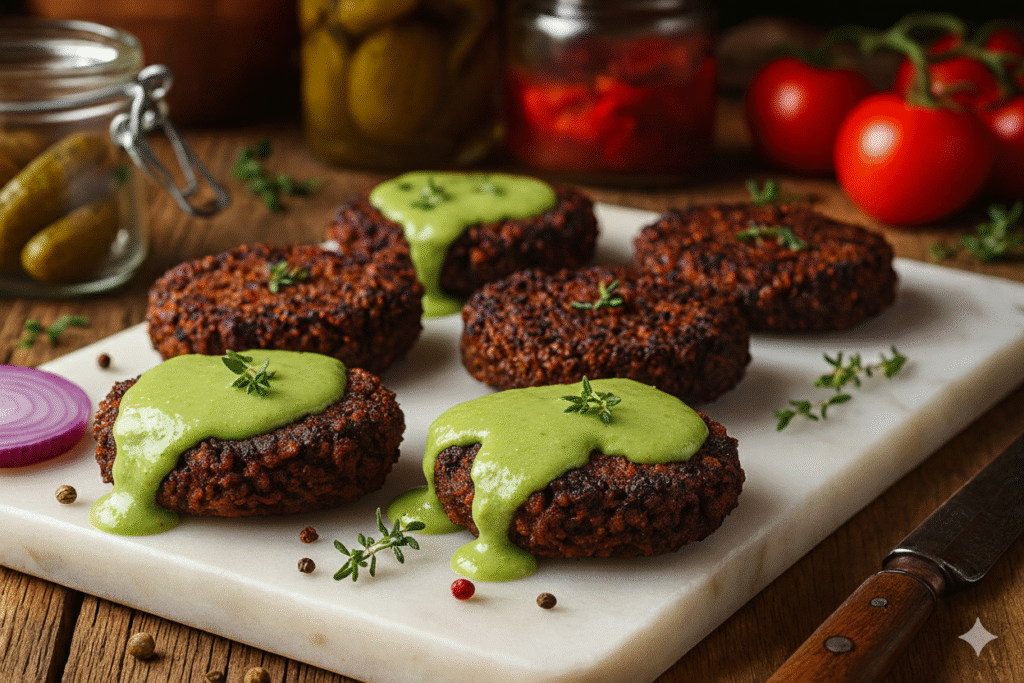
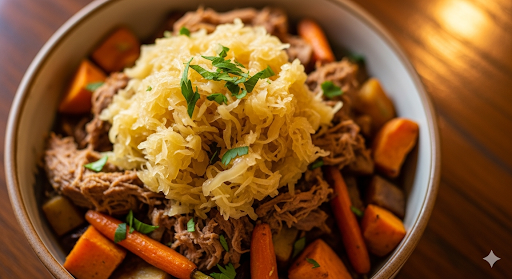
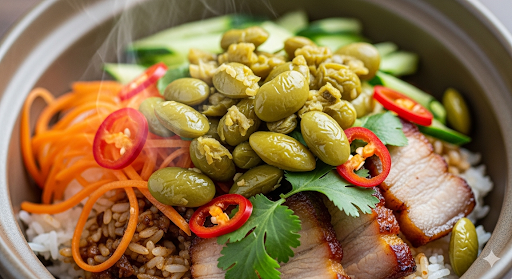
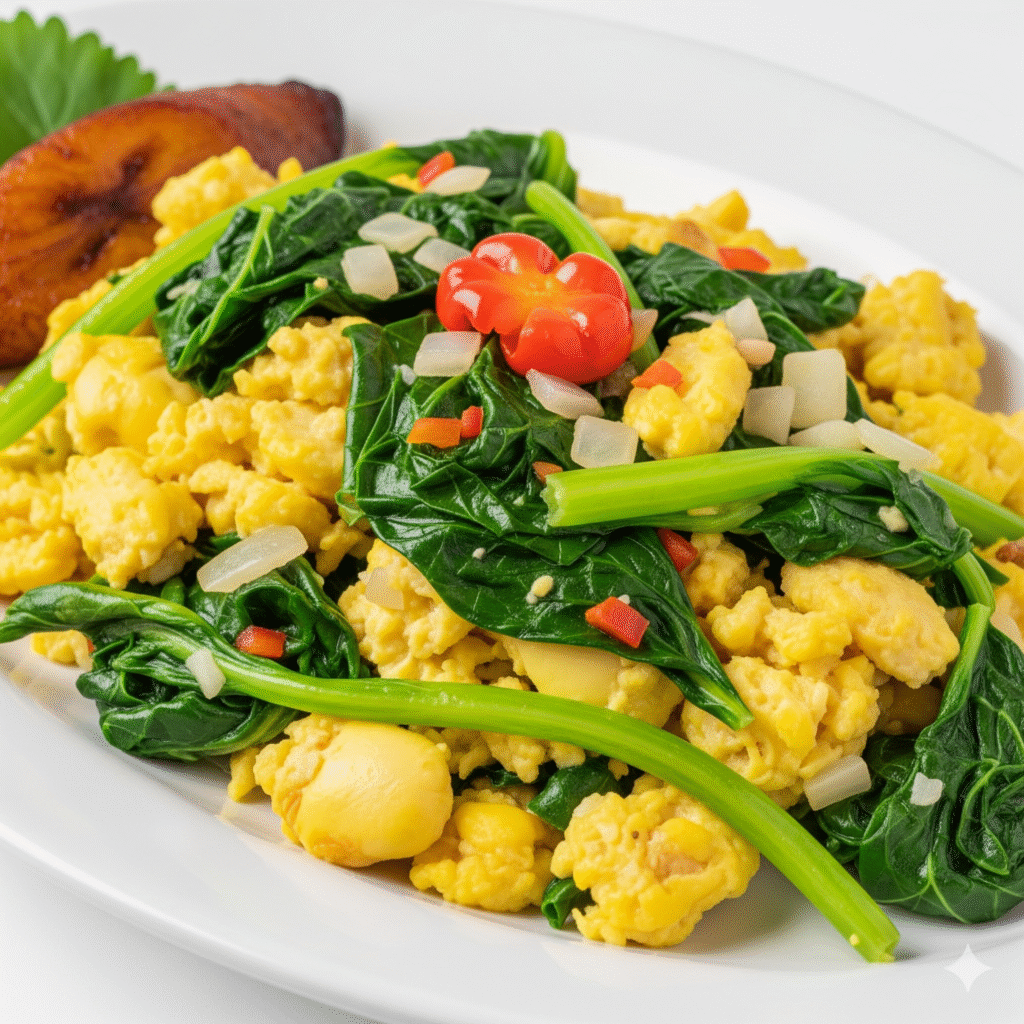
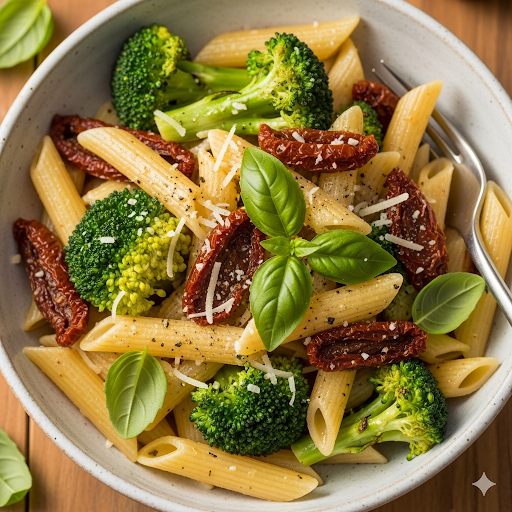
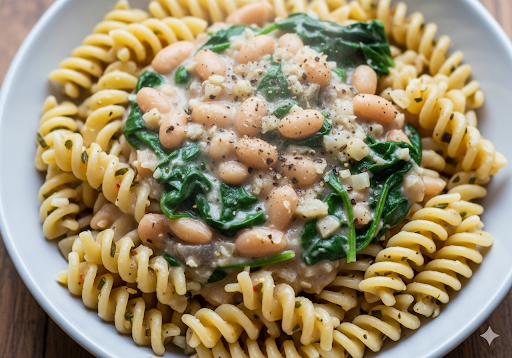
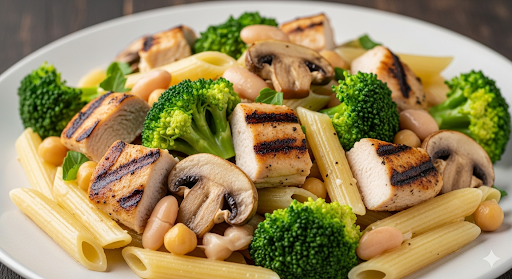
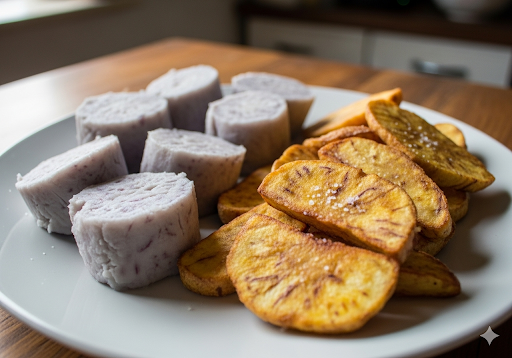
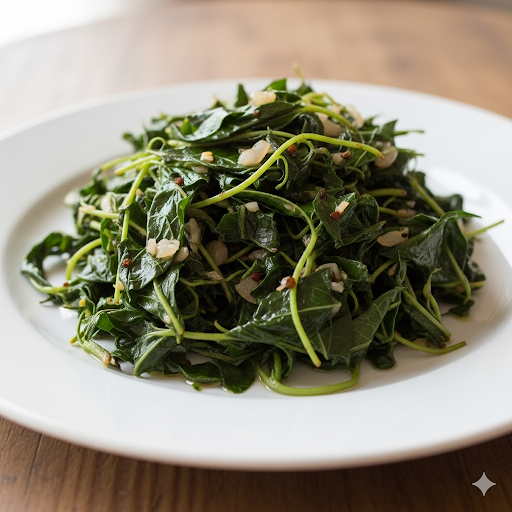
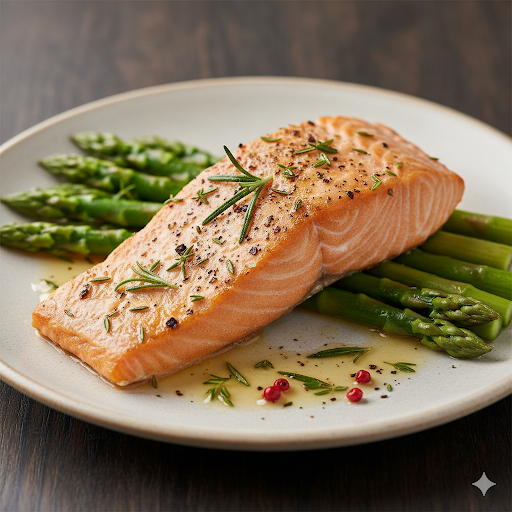
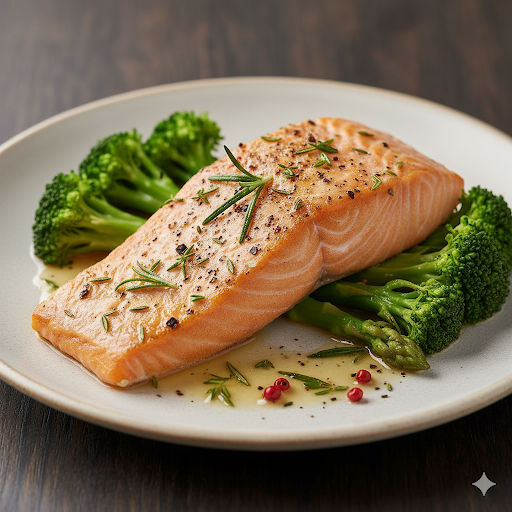
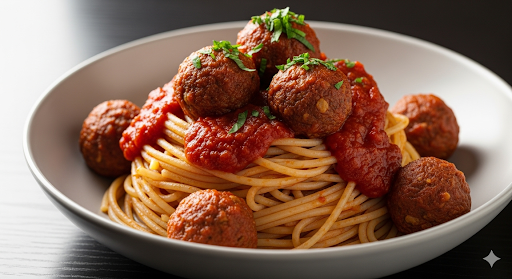
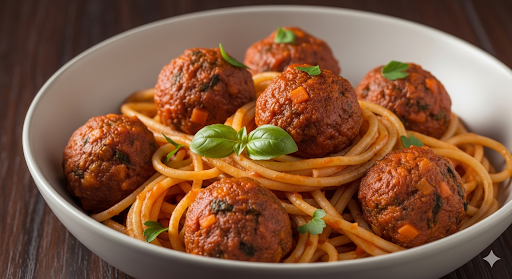
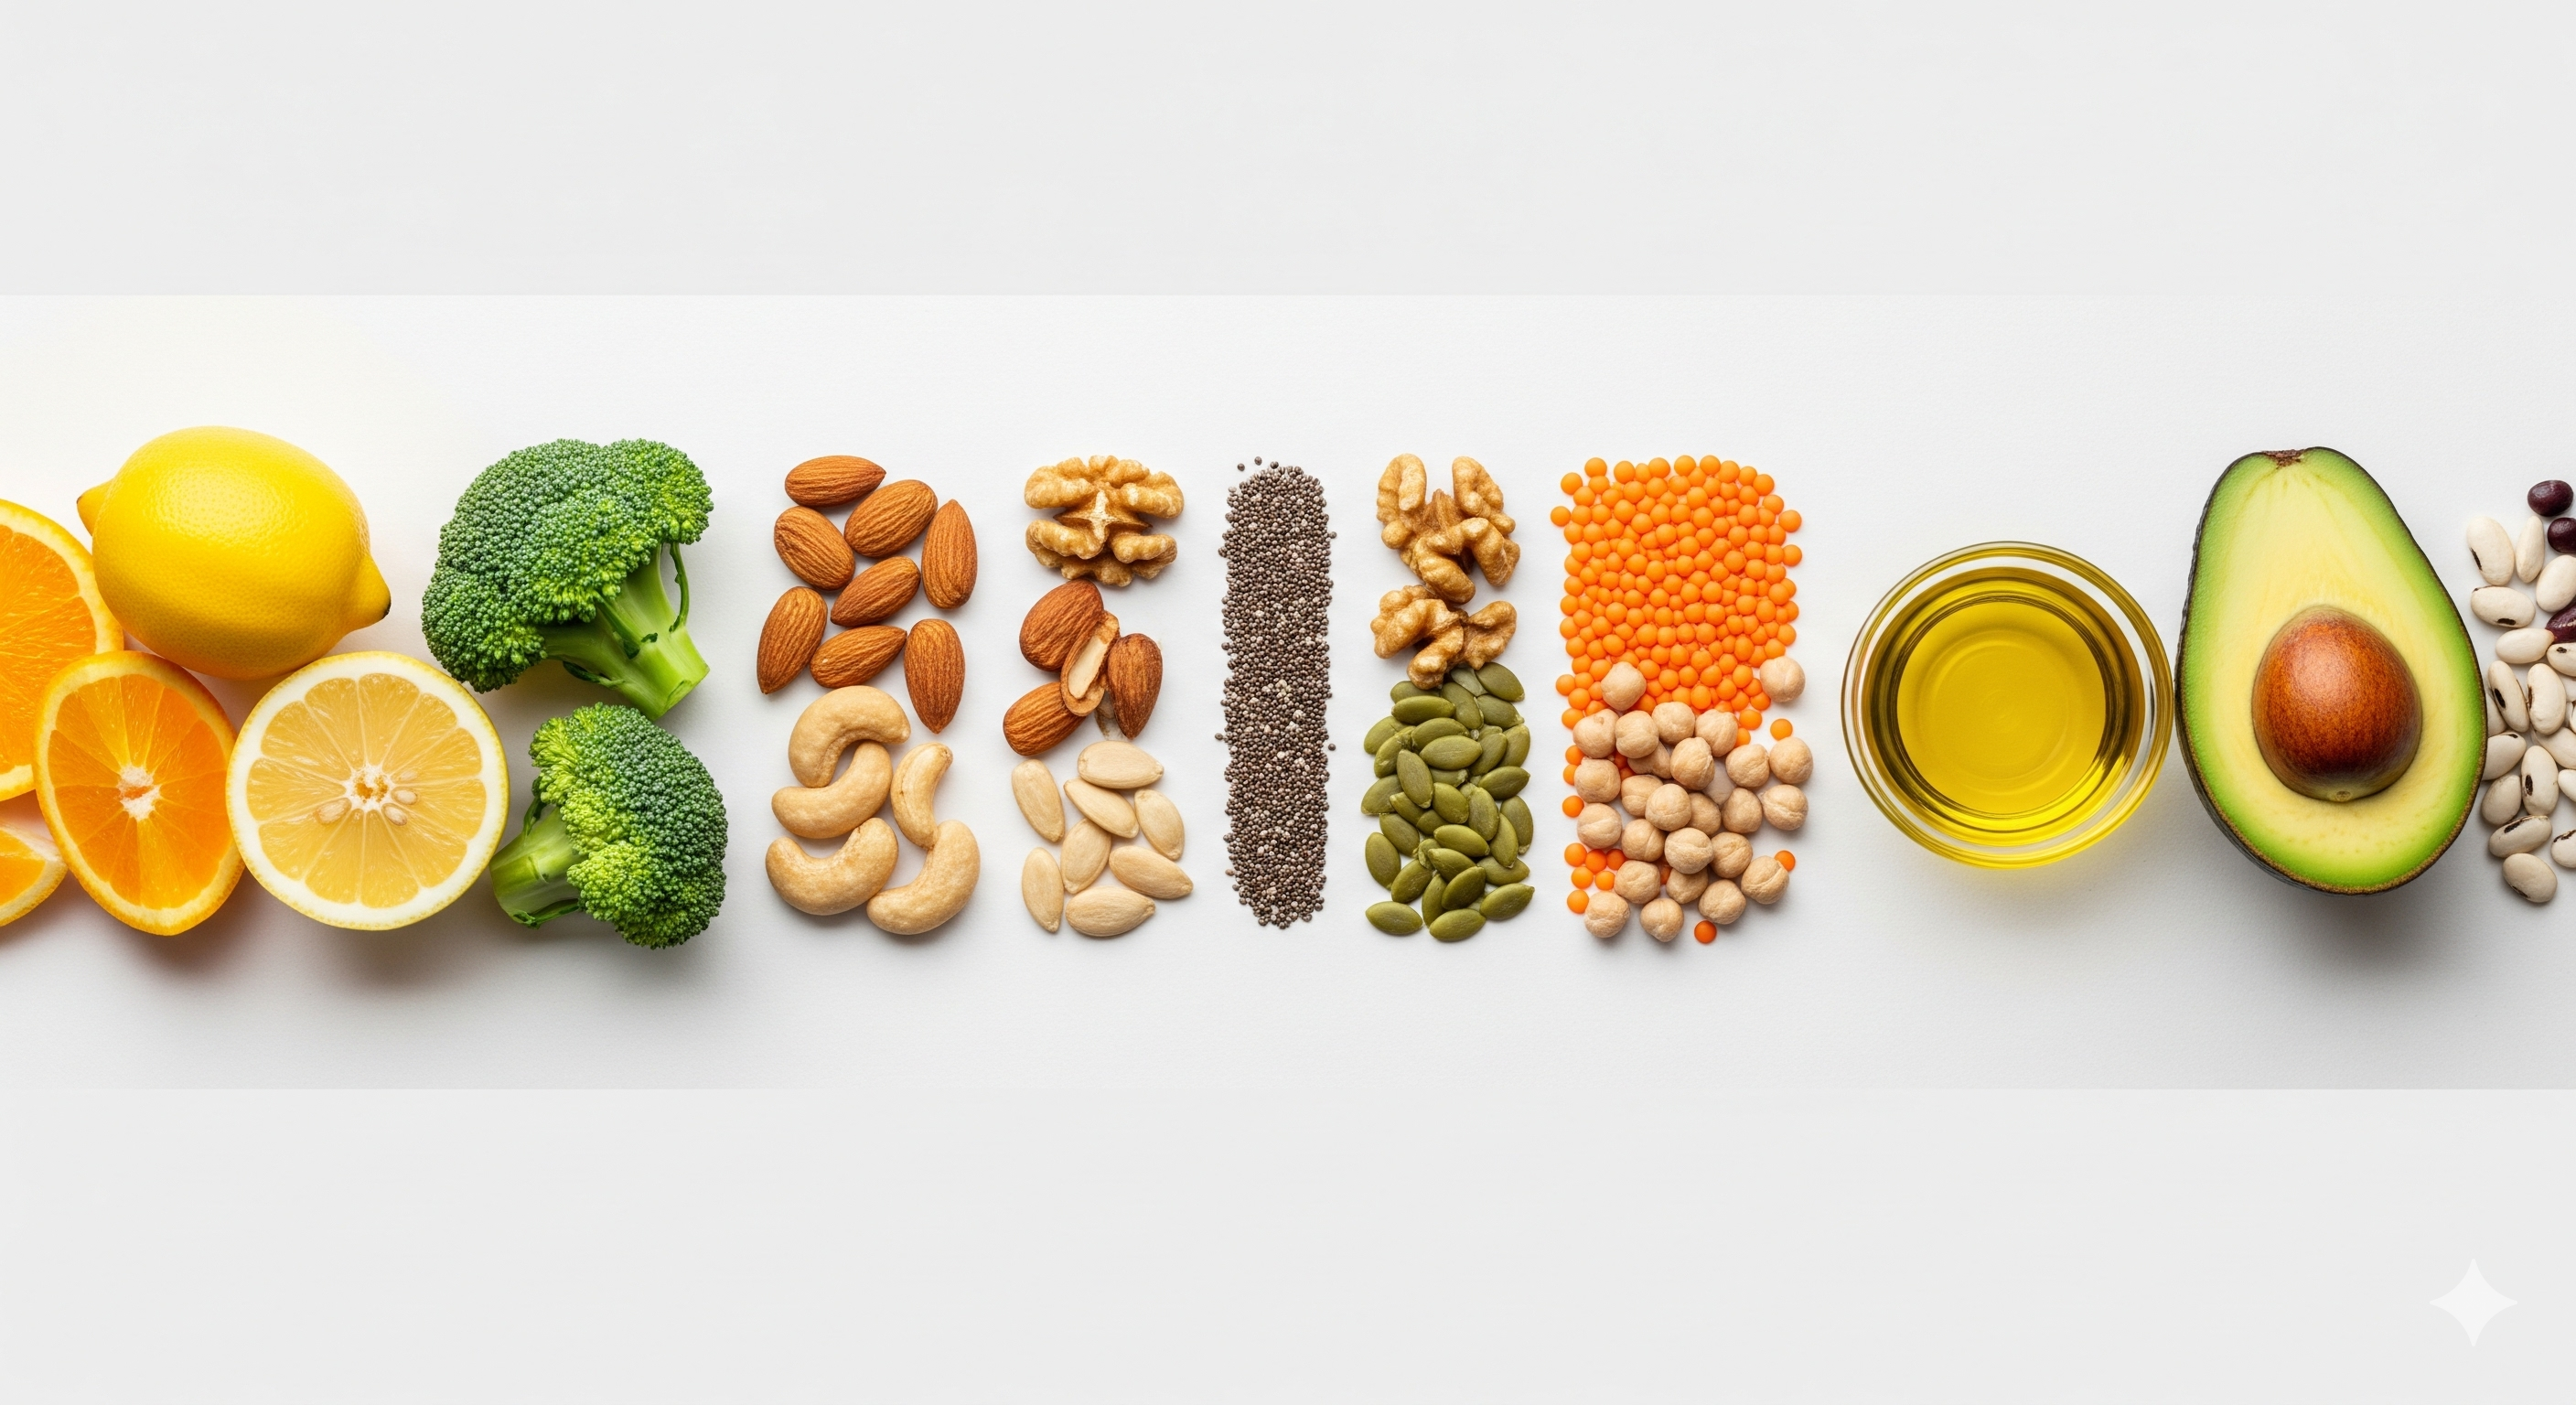
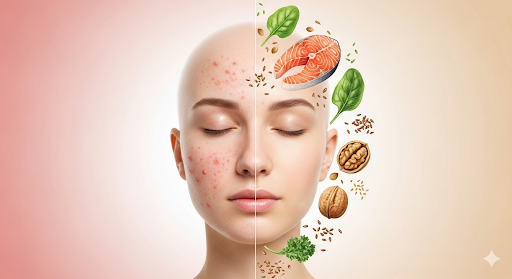
The gallery shows some foods to boost Collagen for Fewer Wrinkles and Enhanced Elasticity. The next image, shows some ingredient used to reduce Acne and Redness
Variations: Customize Your Beauty Smoothie
Tailor your smoothie to your specific tastes and needs with these easy variations.
| Ingredient Substitution | Benefit |
| For Extra Vitamin C | Add 1/4 cup chopped bell pepper (red or yellow) |
| For More Antioxidants | Add 1 tbsp acai powder or 1/2 tsp spirulina powder |
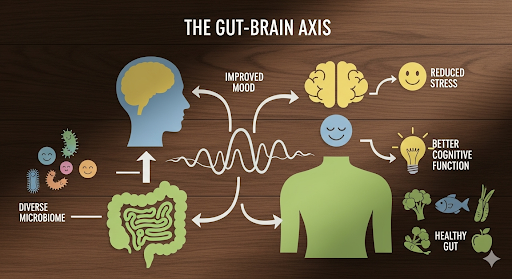
| For Gut Health & Digestion | Add 1/4 cup kefir or unsweetened yogurt |
| For Hair Growth Support | Add 1 tbsp pumpkin seeds or a few strands of saffron |
| For a Tropical Twist | Use mango or pineapple instead of banana |
| For a Creamier Texture | Add 1 tbsp almond butter or cashew butter |
| For a Protein Boost (Vegan) | Add 1 tbsp hemp seeds or extra plant-based protein |
| For Extra Hydration | Add 1/4 cup cucumber slices or coconut water |
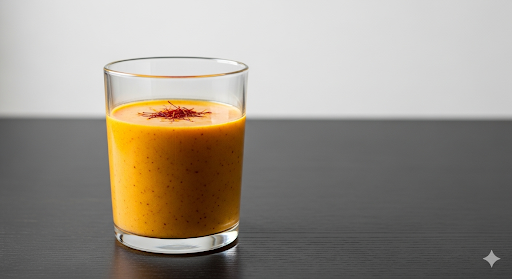
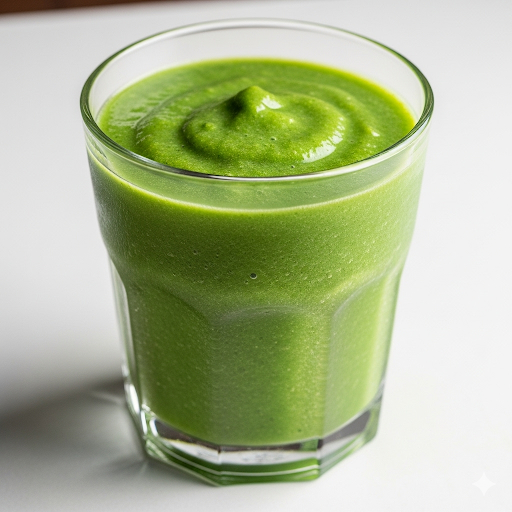
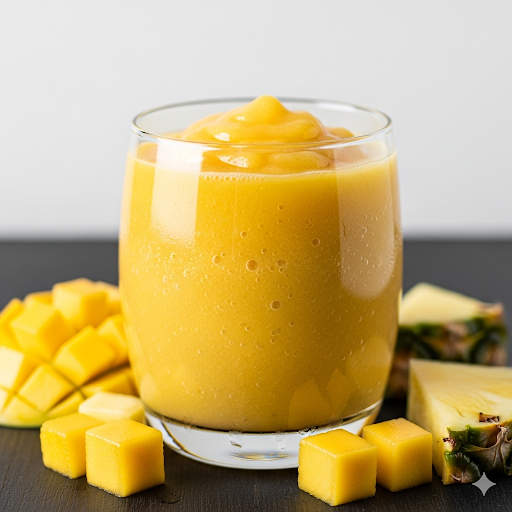
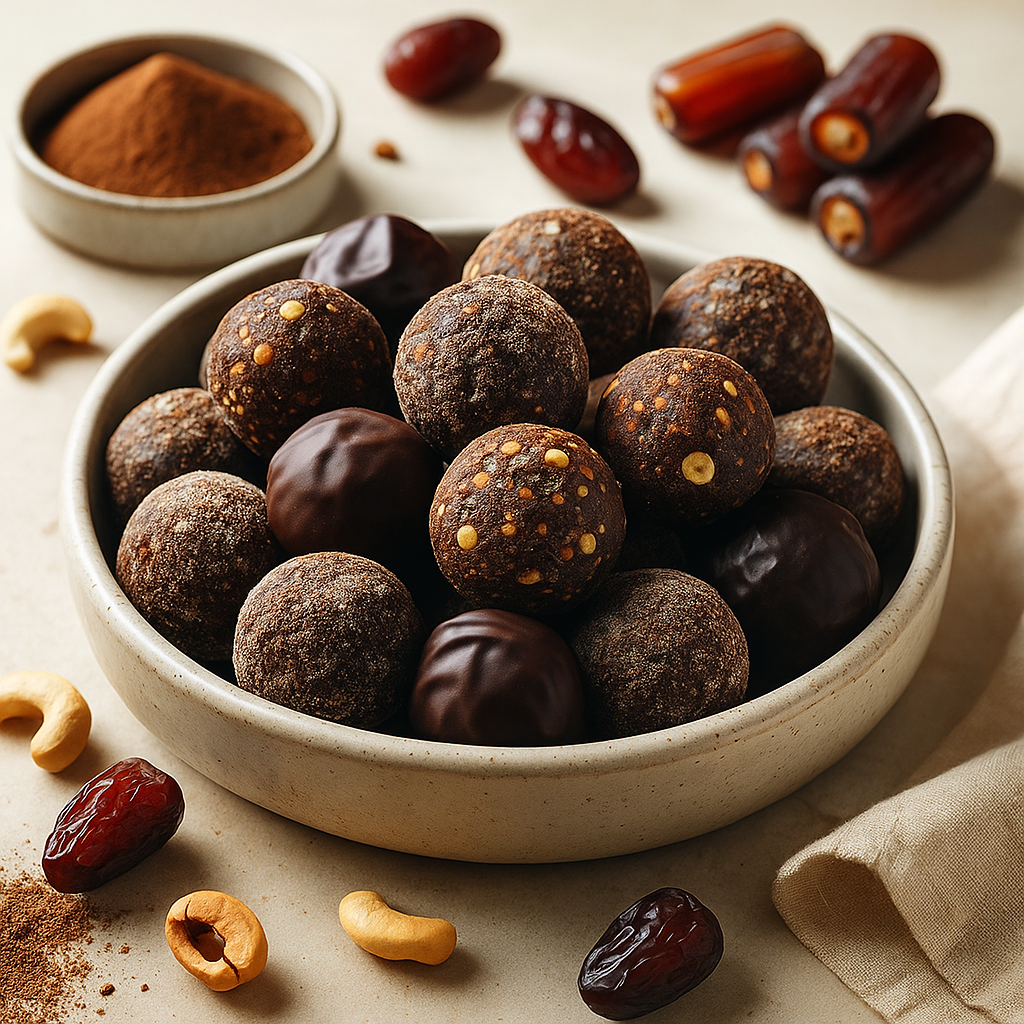
The gallery shows a pumpkin & saffron smoothie, green smoothie and the final image is a mango and pinapple smoothie.
Final Thoughts for Better Skin & Hair
Embracing the connection between what you eat and how you look is a powerful step towards a healthier, more vibrant you. This beauty-boosting smoothie is more than just a recipe; it’s a daily ritual that actively nourishes your skin, strengthens your hair, and invigorates your entire system. By consistently providing your body with the right nutrients, you’re not just aiming for temporary fixes, but cultivating a deep-seated radiance that truly glows from within.
Remember, consistency is key. Make this smoothie, or similar nutrient-rich meals, a regular part of your routine. Observe how your skin becomes clearer, your hair gains strength, and your overall vitality improves. Your journey to better skin & hair is a delicious one, full of vibrant foods that support your beauty goals naturally. So, blend up some goodness, sip, and watch your inner glow shine through!
Frequently Asked Questions (FAQs)
Q1: How quickly can I expect to see results from drinking this smoothie for better skin & hair?
A1: While individual results vary based on diet, lifestyle, and genetics, many people report noticing improvements in their skin’s hydration and glow within a few weeks of consistent consumption. More significant changes, like reduced acne or stronger hair, may take 1-3 months as skin and hair cells regenerate. Consistency is key!
Q2: Can I prepare this smoothie in advance?
A2: For optimal nutrient absorption and freshness, it’s best to consume the smoothie immediately after blending. However, you can prepare the dry ingredients (seeds, protein powder) in advance, and pre-chop and freeze the fruit and vegetables in individual portions. This makes morning blending quick and easy. If you must prepare it in advance, store it in an airtight container in the refrigerator for no more than 24 hours. Some nutrient loss may occur, and the texture might change slightly.
References
- Harvard T.H. Chan – Healthy Eating Plate
- Oregon State University – Micronutrient Information Center
- American Academy of Dermatology – Can the right diet get rid of acne?
Recent Posts