Get ready to elevate your appetizer game! This recipe for an Easy Chickpea Antipasto Log is not only a showstopper but also incredibly simple to make. It’s a fantastic, savory spread that’s perfect for parties, gatherings, or a delicious snack, proving that Chickpea Antipasto is a versatile and healthy choice.
Unveiling a New Party Favorite
Entertaining should be a joy, not a chore. We’ve all been there, scrambling for an appetizer that’s both impressive and easy to prepare. Often, we default to the same tired cheese board or dip, but what if there was a way to make something truly unique and delicious without spending hours in the kitchen? This recipe is the answer, transforming humble chickpeas into a stunning and savory centerpiece that’s guaranteed to be a hit.
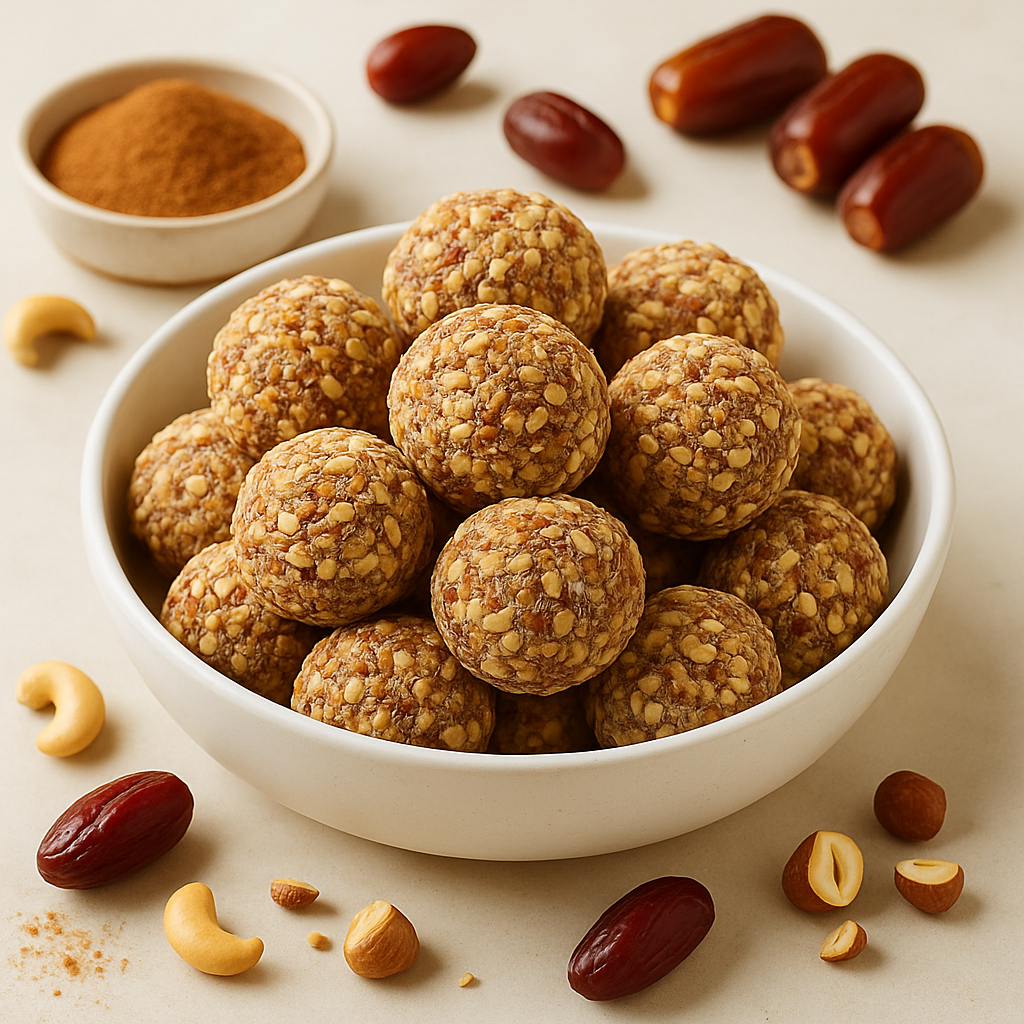
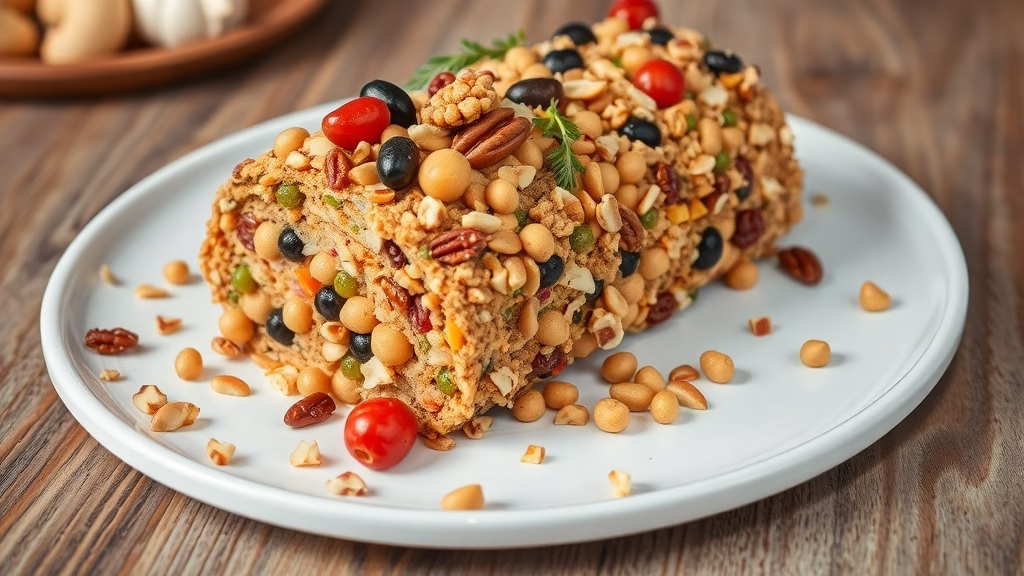
The magic of this chickpea antipasto log lies in its vibrant and contrasting textures. The outside is a delightful mix of crunchy nuts, briny olives, and sweet dates, while the inside is a smooth, savory, and firm chickpea base. It looks sophisticated and complex, but the process is surprisingly straightforward. This appetizer is proof that wholesome, plant-based food can be incredibly beautiful and satisfying. It’s perfect for a crowd, but you’ll also find yourself wanting to make it just for yourself.
Unpacking the Flavors of Chickpea Antipasto
Beyond its visual appeal, this log is a testament to the power of simple ingredients working in harmony. Each bite offers a different flavor profile—the earthiness of the chickpeas, the salty pop of olives, the sweetness of dates, and the satisfying crunch of nuts. It’s a culinary adventure on a single platter, a perfect blend of sweet, salty, and savory notes that dance on the palate.
What’s even better is that this recipe is incredibly adaptable. While we provide a specific list of ingredients that work together beautifully, you can easily swap in your favorite nuts, dried fruits, or savory additions. This flexibility makes it a great recipe to keep in your back pocket, ready to be customized for any occasion or to use up whatever ingredients you have on hand.
And if you’re a fan of plant-based recipes or simply looking for a healthy, guilt-free appetizer, this chickpea antipasto log is a perfect choice. It’s packed with protein and fiber from the chickpeas and healthy fats from the nuts, making it a nourishing option that will leave you feeling satisfied, not stuffed. It’s a delicious and wholesome alternative to traditional party dips and spreads.
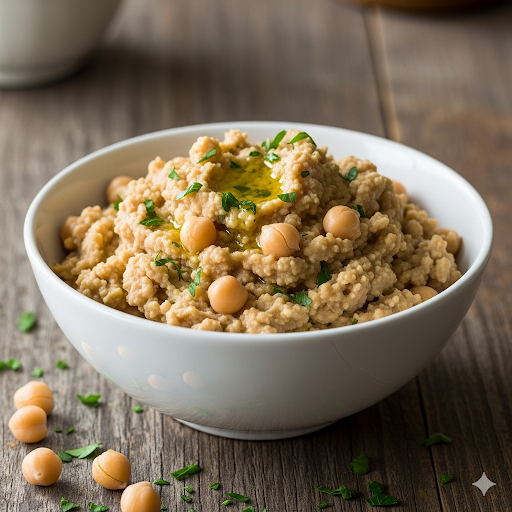
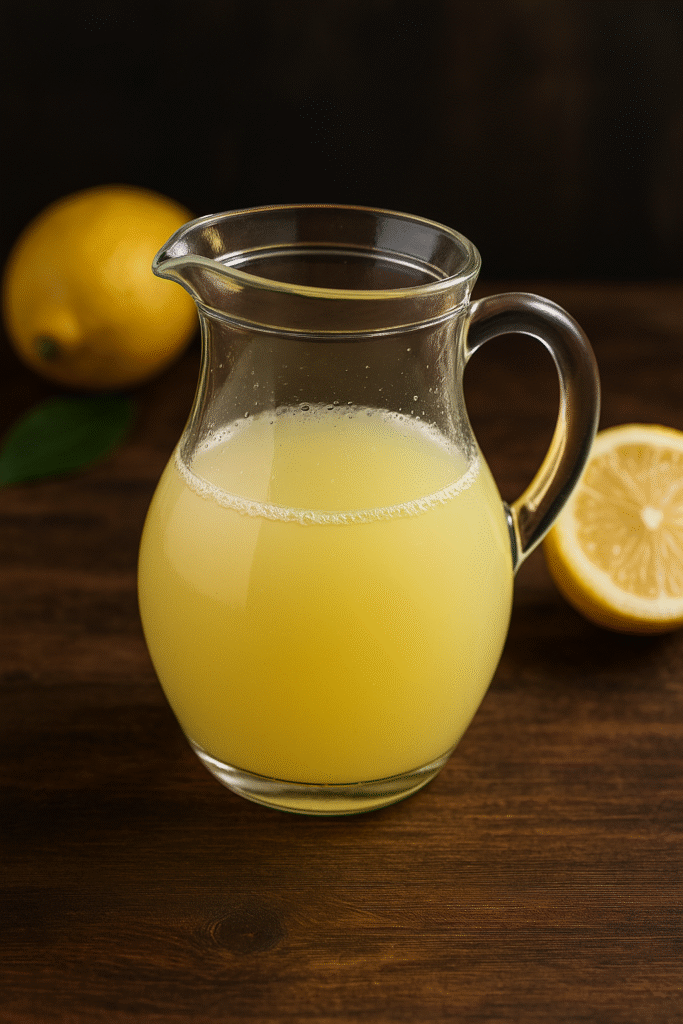
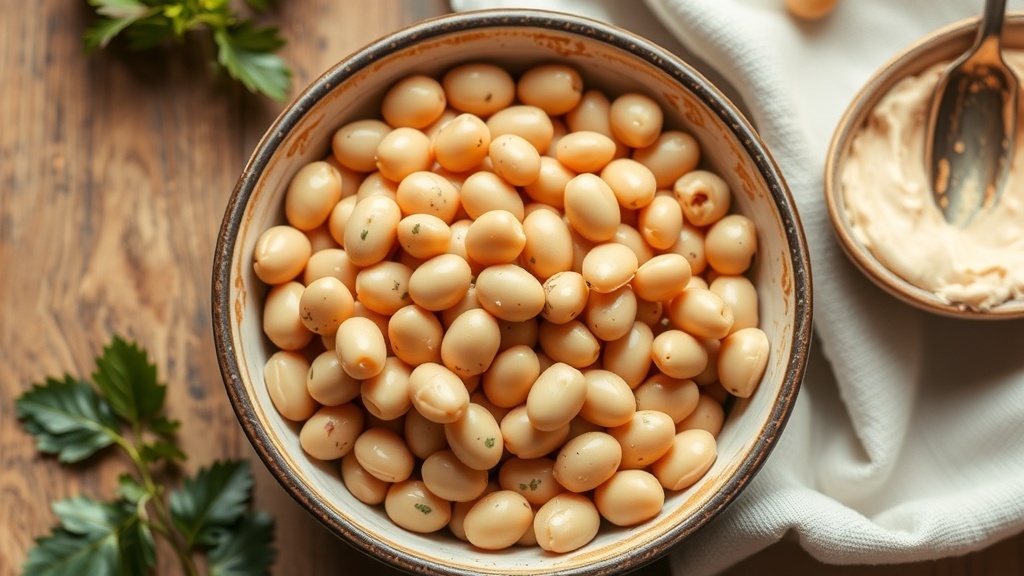
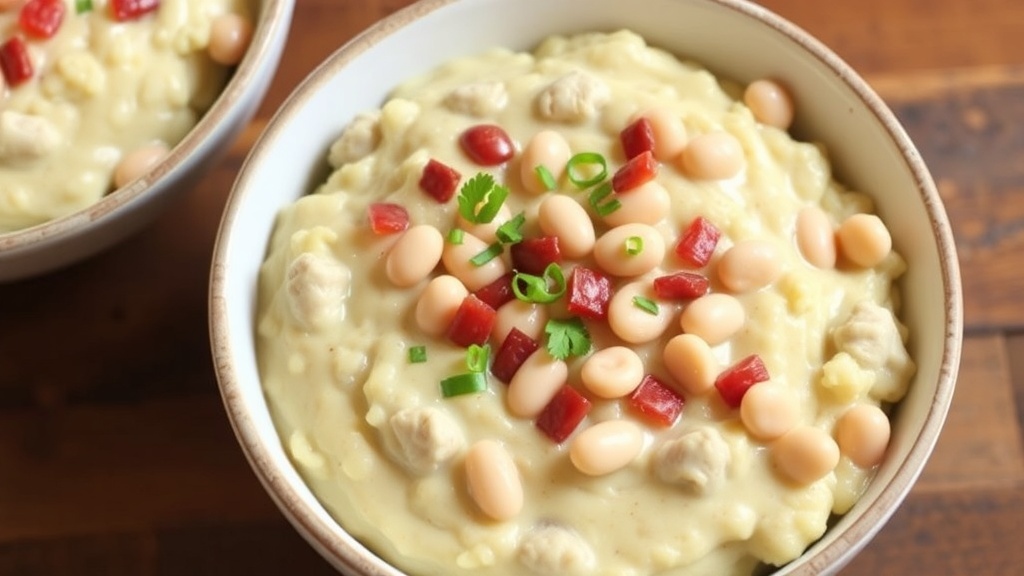
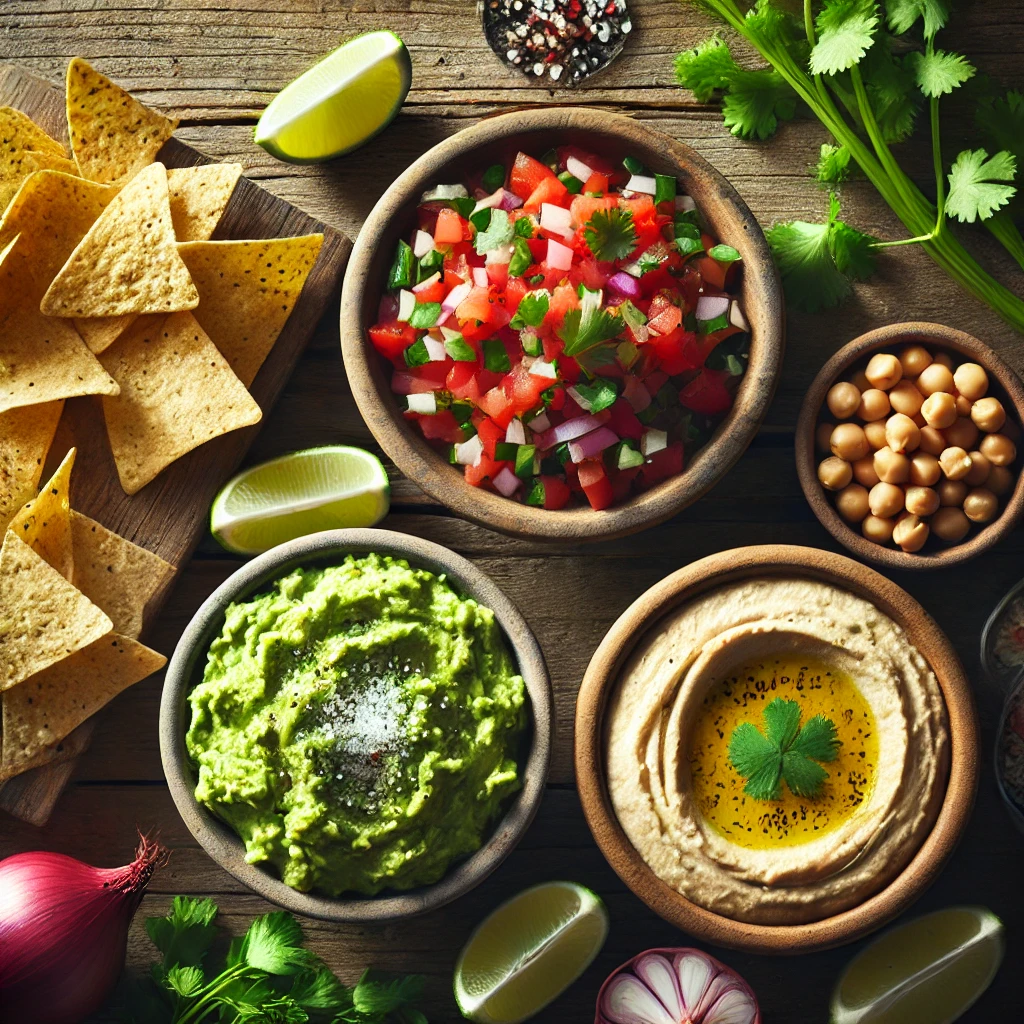
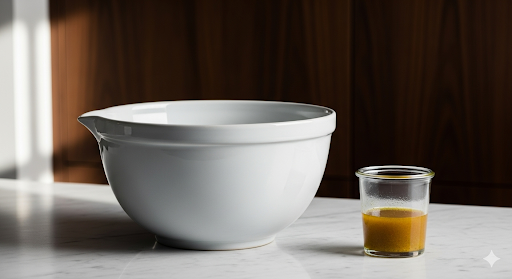
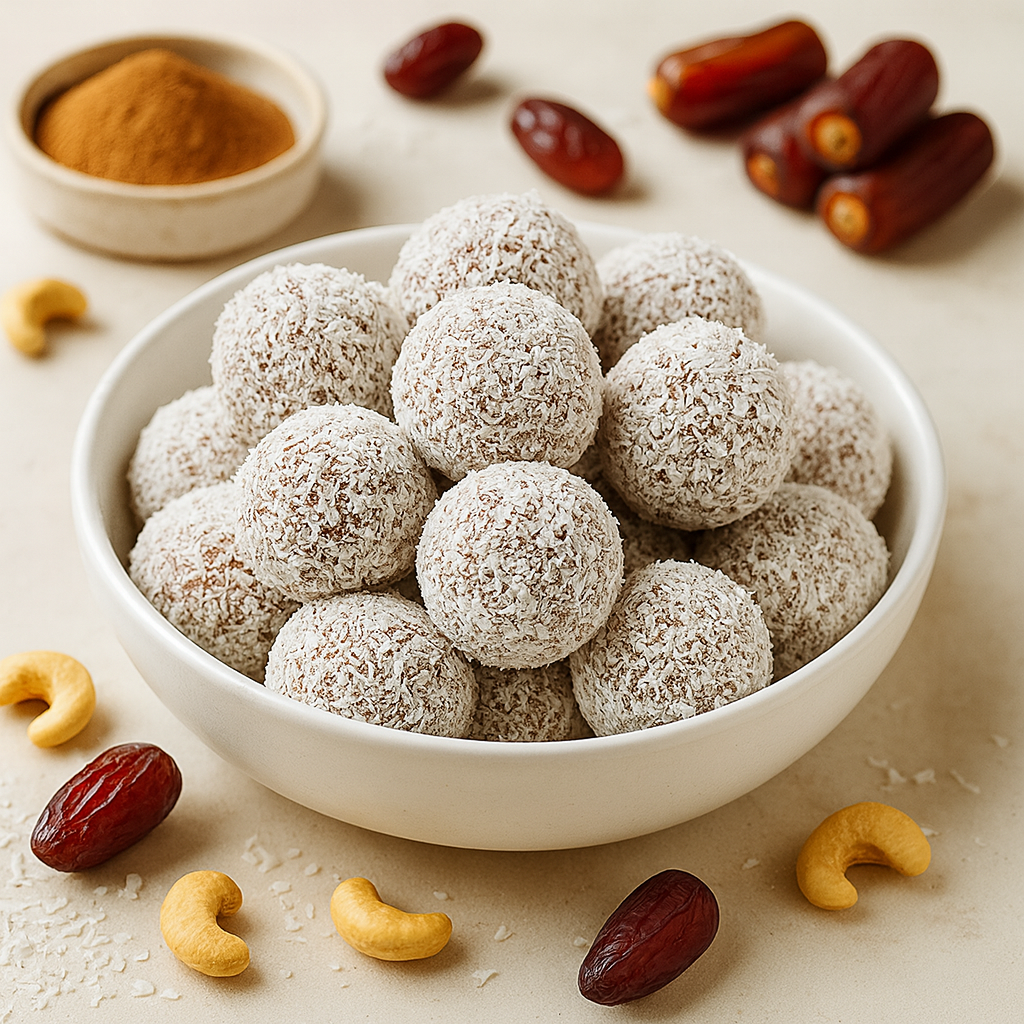
The gallery shows a bowl of mashed chickpeas, a half covered log, and lemon juice in a jug.
An Easy & Elegant Chickpea Antipasto
Servings: 8-10 people
Time to Prepare: 20 minutes
Time to Cook/Blend: 5 minutes
Nutritional Information (per serving)
Calories: 250
Protein: 10g
Fat: 15g
Carbohydrates: 20g
Fiber: 6g
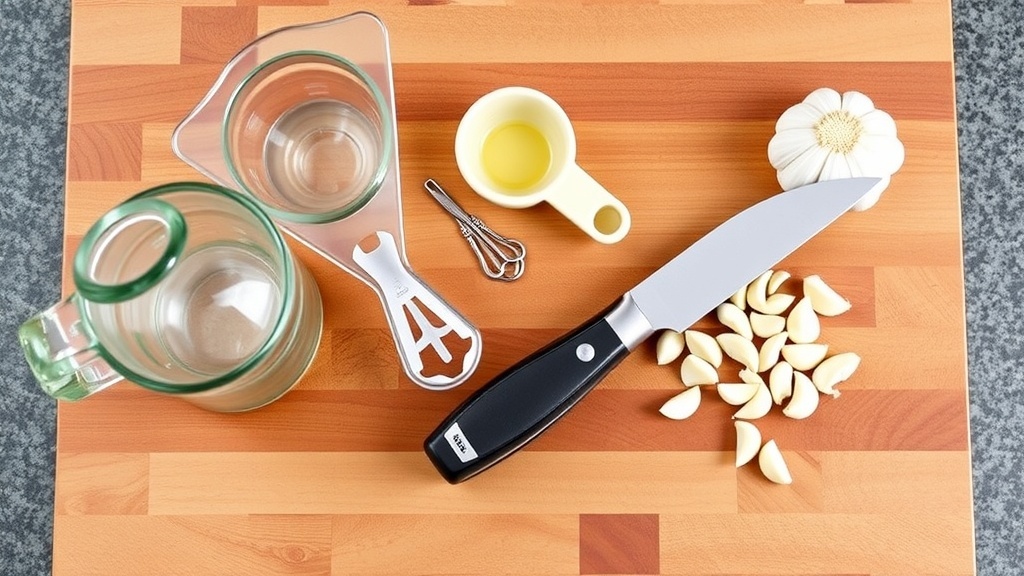
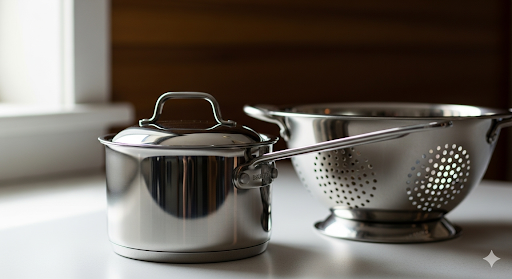
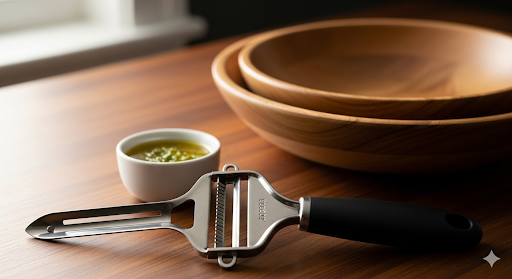
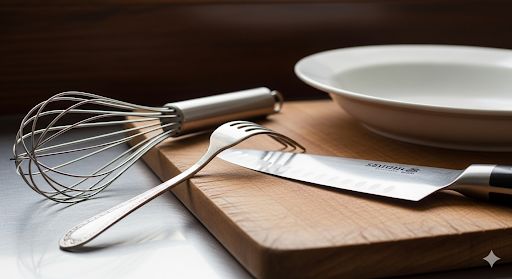
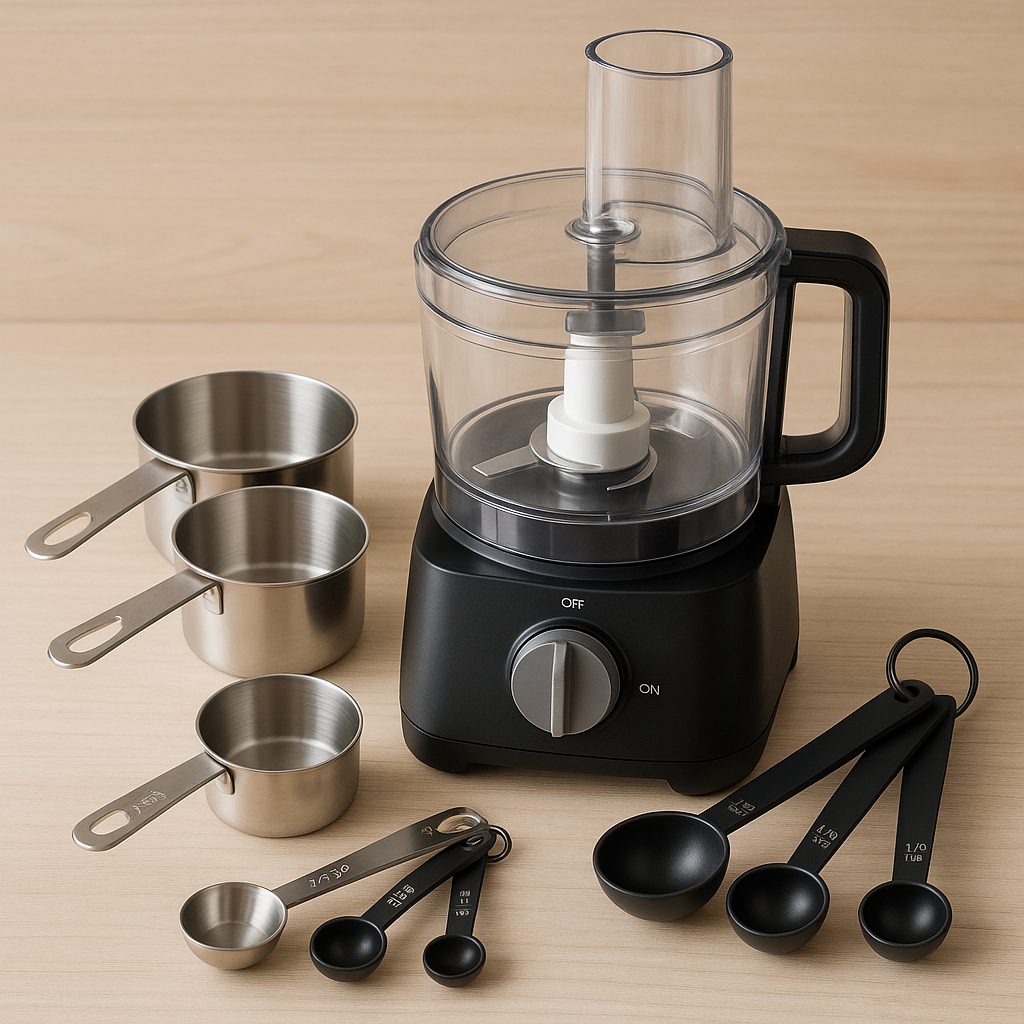
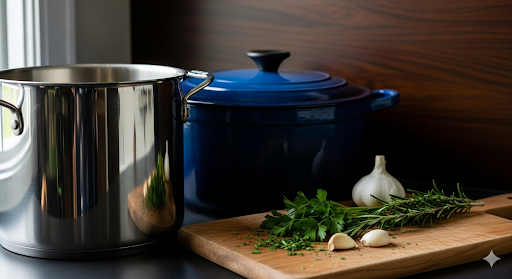
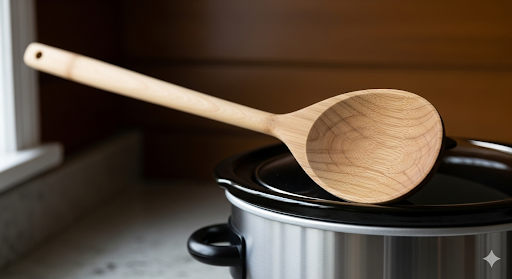
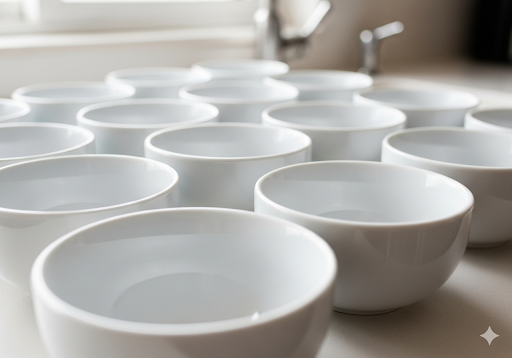
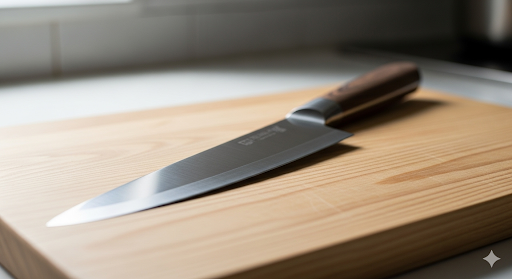
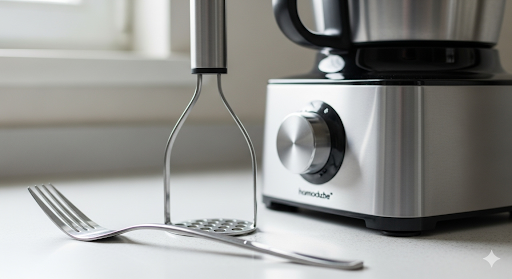
Essential Kitchen Equipment
- Can opener
- Large mixing bowl
- A fork or potato masher (This is a key tool for creating the correct texture)
- Small bowl (for the dressing)
- Whisk or small fork (to mix the dressing)
- Spatula or spoon (for mixing and shaping)
- Plastic wrap (or parchment paper)
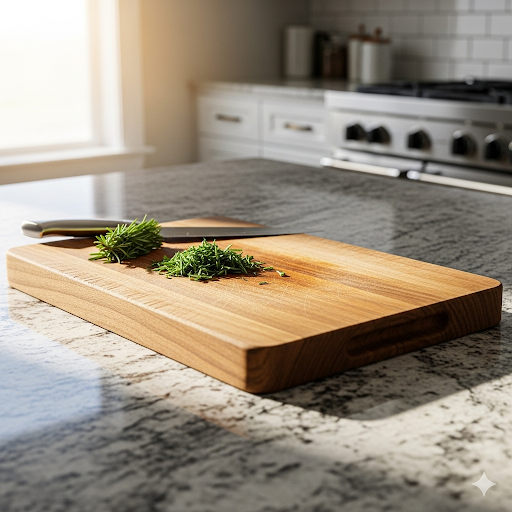
- Cutting board
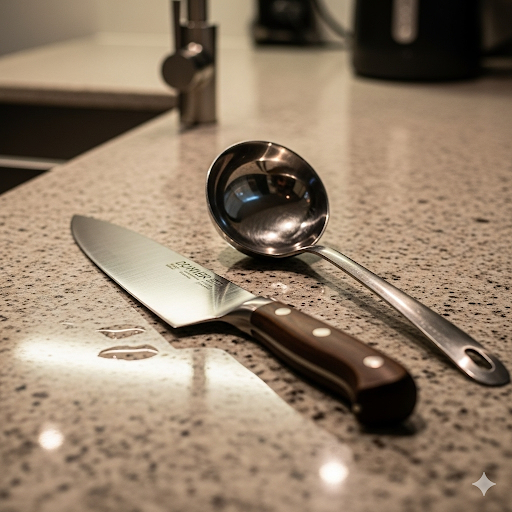
- Chef’s knife (or a smaller knife for chopping)
- Serving platter


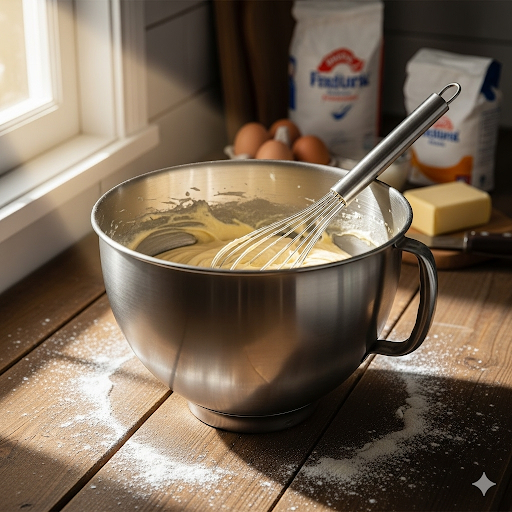
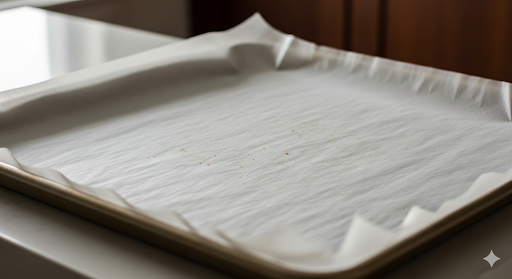
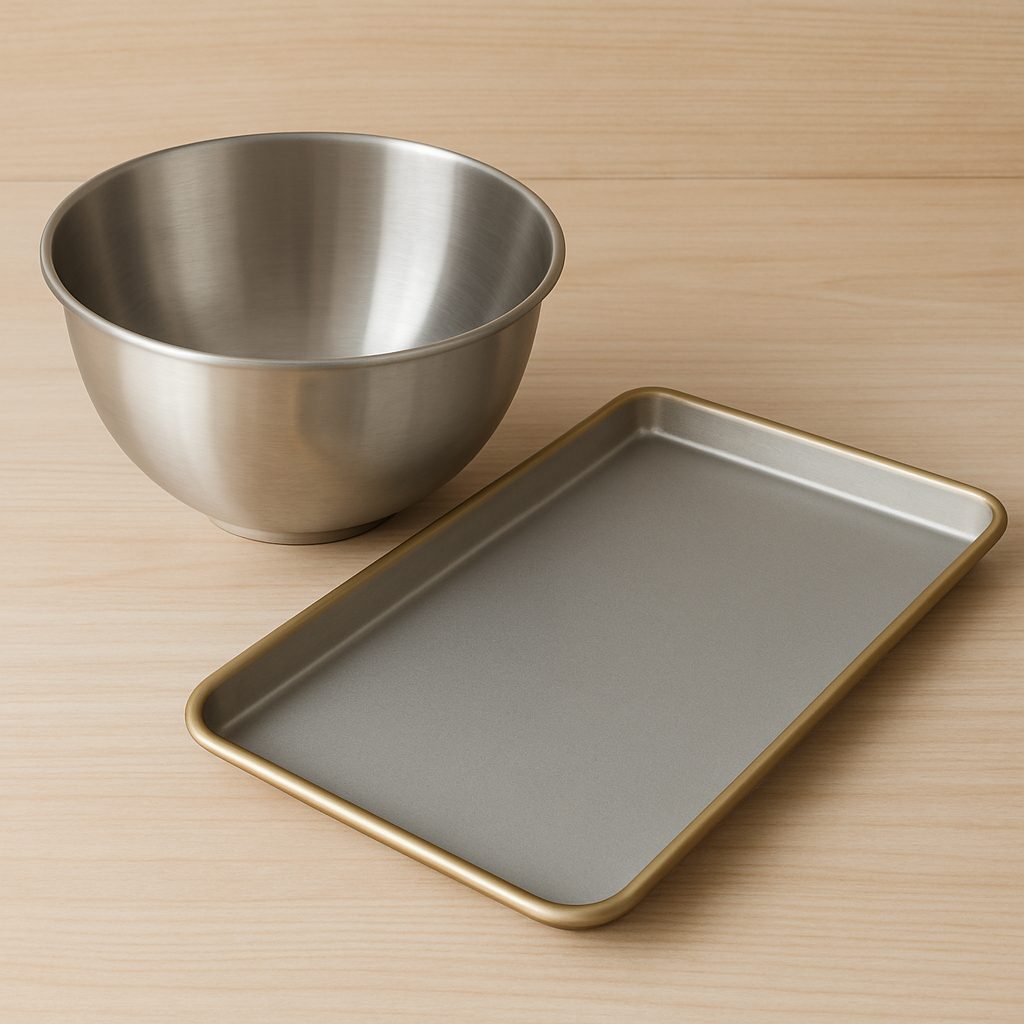
The gallery shows a potato masher, parchment paper and a mixing bowl. This is just some of the equipment used in this recipe.
Ingredients for Your Chickpea Antipasto Log
Ingredients
For the Chickpea Base:
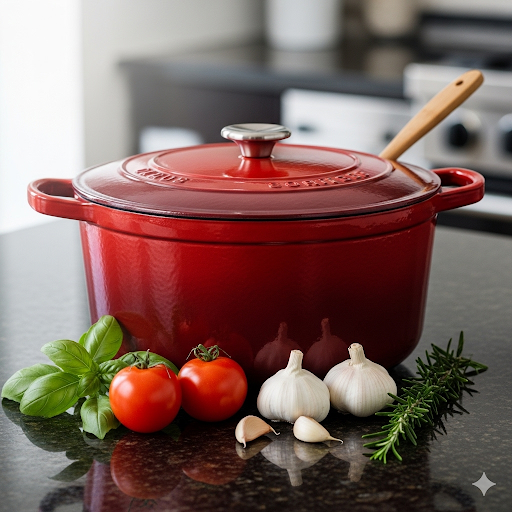
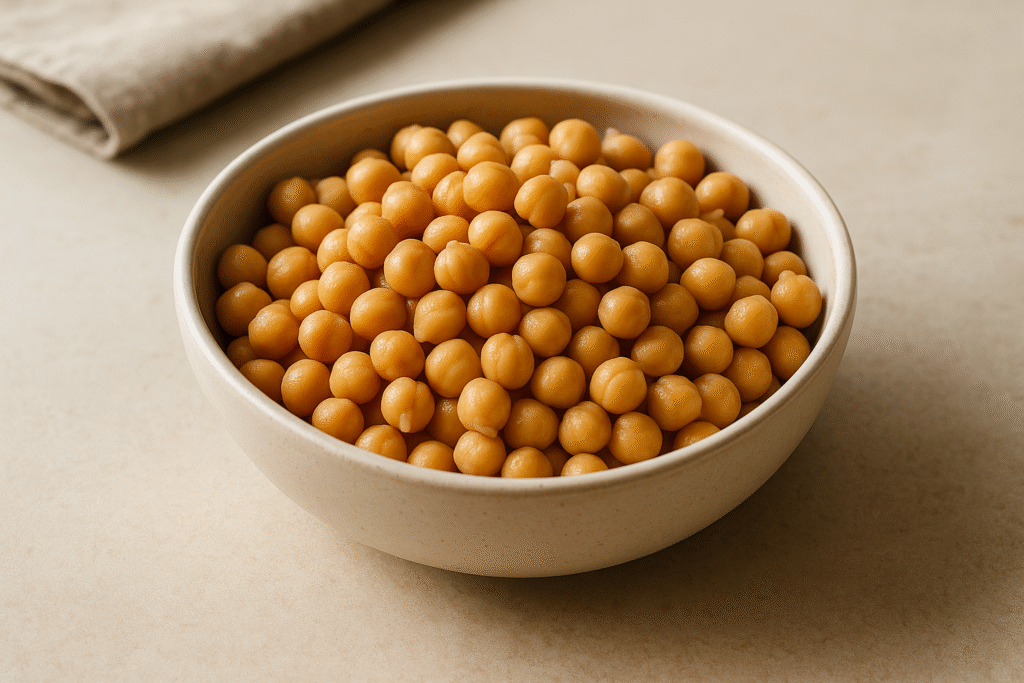
- 2 cans (15 oz each) of chickpeas, rinsed and drained
- 1/4 cup lemon juice
- 1/4 cup tahini
- 1 clove garlic, minced
- 1/2 teaspoon ground cumin
- 1/2 teaspoon salt
- 1/4 cup olive oil
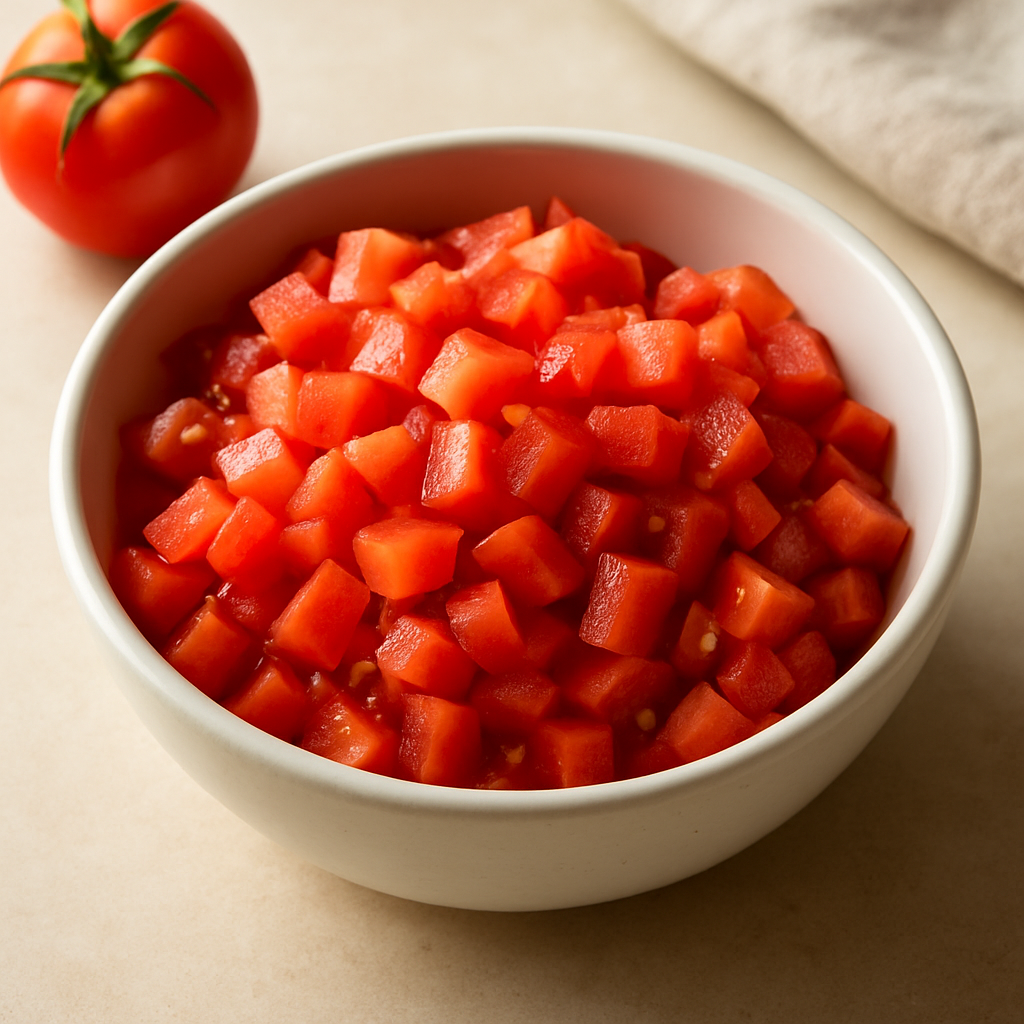
- 1/2 cup chopped sun-dried tomatoes (not in oil)
- 1/2 cup chopped fresh basil or parsley
For the Log and Coating:
- 1/2 cup mixed nuts, chopped (cashews, pecans, walnuts, almonds)
- 1/4 cup green olives, chopped
- 1/4 cup black olives, chopped
For Garnish (as seen in the image):
- Whole or halved nuts
- Cherry tomatoes, halved
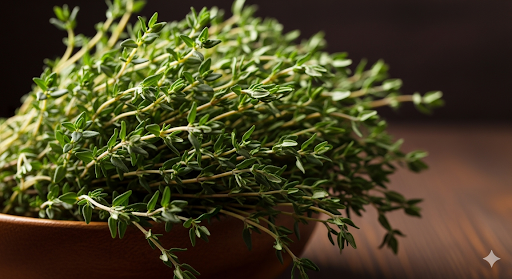
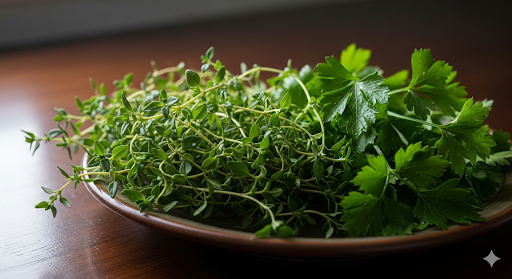
- Fresh thyme or rosemary sprigs
Simple, Step-by-Step Instructions
Prepare the Chickpea Base (The most important step for the final look!)
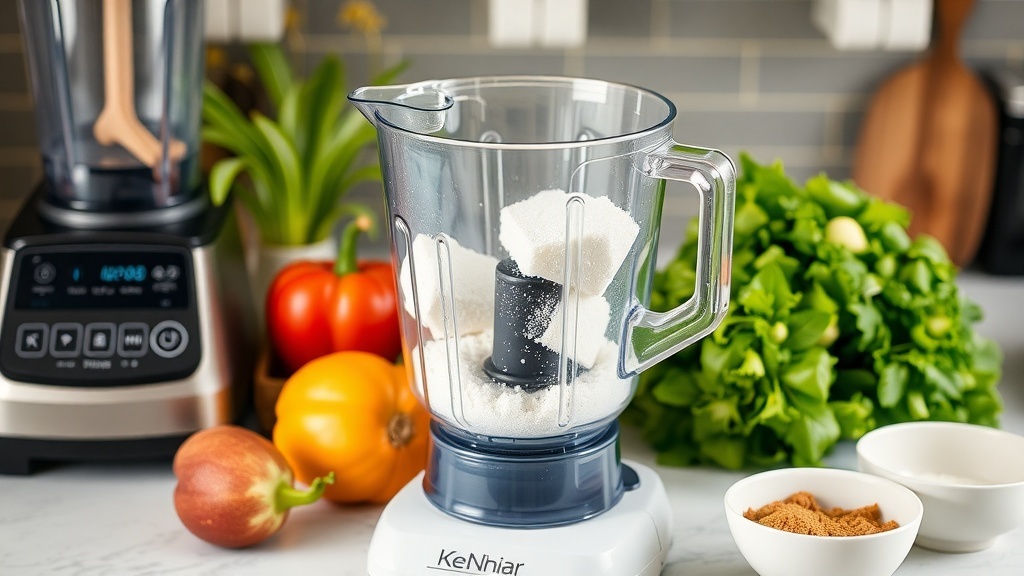
First, open your two cans of chickpeas. Pour them into a colander in the sink to drain away all the liquid. Rinse them thoroughly under cold running water to wash off any canned taste. Let them drain for a few minutes.
Place about half of the drained chickpeas into a large mixing bowl.
Using a fork or a potato masher, gently mash the chickpeas. You are not trying to create a smooth puree like hummus. The goal is to break up some of the chickpeas so they release a little starch and become creamy, but leave plenty of whole ones intact. Keep mashing until you have a lumpy, coarse mixture with lots of whole chickpeas still visible.
Now, add the remaining whole, unmashed chickpeas to the bowl. This gives the log its beautiful, rustic texture.
Make the Flavorful Dressing
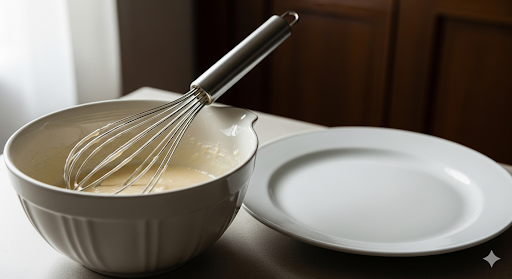
In a separate small bowl, combine the lemon juice, tahini, minced garlic, ground cumin, and salt.
Using a whisk or a small fork, stir these ingredients together vigorously. The tahini will thicken the dressing and act as a glue. Continue mixing until it becomes a smooth, creamy sauce.
Slowly drizzle in the olive oil as you continue to whisk. This will make the dressing even smoother and richer.
Combine and Add Ingredients
Pour the dressing you just made over the chickpeas in the large mixing bowl.
Next, add your chopped sun-dried tomatoes and chopped fresh basil or parsley to the bowl.
Using a spatula or a large spoon, gently fold all the ingredients together. Be careful not to mash the chickpeas any further. The goal is to evenly coat everything in the dressing and distribute the herbs and tomatoes throughout the mixture.
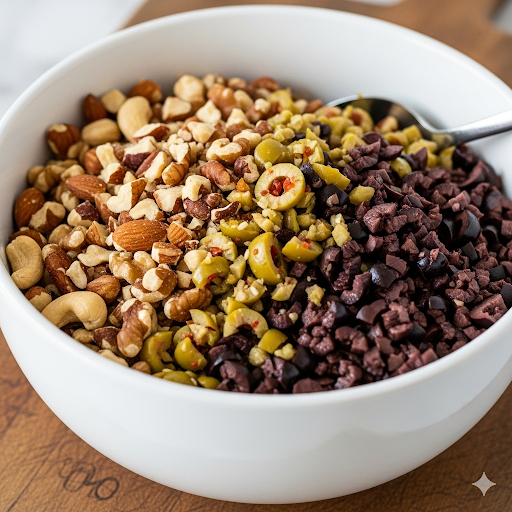
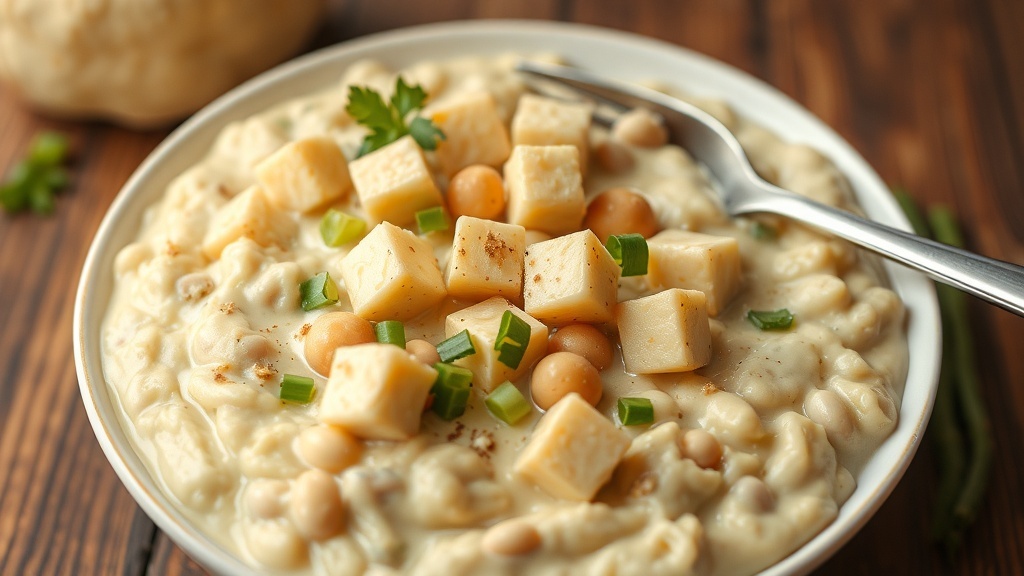
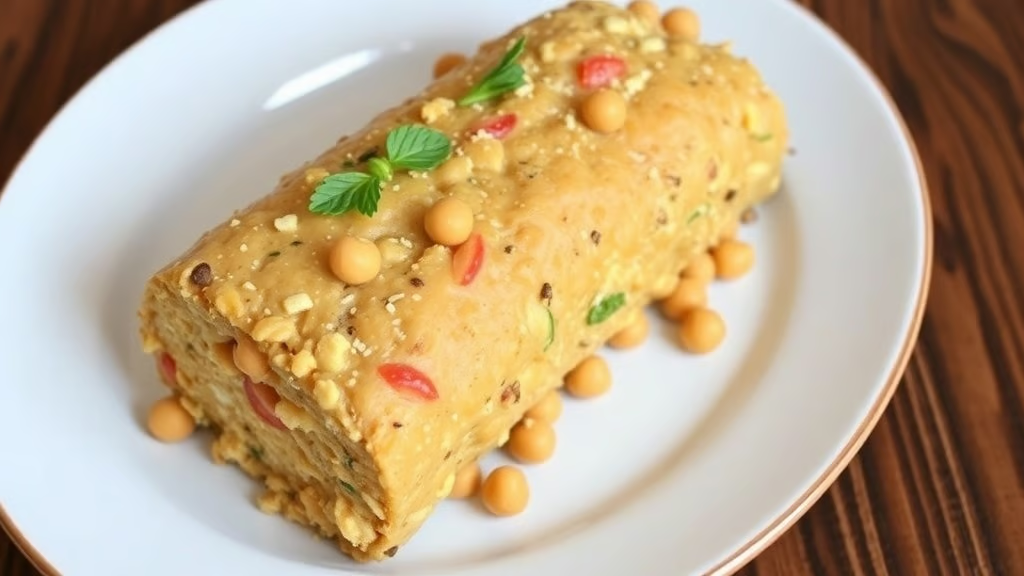
The gallery shows a bowl of mixed nuts and olive for the coating of the log, a half covered chickpea log and a bowl of mashed chickpeas.
Form the Log (The fun part!)
Tear off a large sheet of plastic wrap (about 18-24 inches long) and lay it flat on your counter or cutting board.
Spoon the entire chickpea mixture onto the center of the plastic wrap.
Using your hands or the spatula, begin shaping the mixture into a thick log. Aim for a log that is about 6 to 8 inches long. The plastic wrap is your guide—it helps you press the mixture together and keeps it from sticking to your hands.
Once you have a good log shape, pull the plastic wrap over the top and press down gently to compact it, squeezing out any air and making sure the log is firm.
Create the Nut and Olive Coating
On a clean, flat surface like a cutting board, spread out your chopped nuts and chopped olives. You can use your hands to mix them together slightly.
Carefully unwrap your chickpea log and gently place it in the center of the nut and olive mixture.
Gently roll the log, pressing the nuts and olives firmly onto the outside with your hands. You’ll need to use your fingers to press them on all sides to make sure the entire surface is covered. This is what gives the log its beautiful, varied texture.
Chill and Serve
Once your log is fully coated, re-wrap it tightly in a new piece of plastic wrap.
Place the wrapped log in the refrigerator for at least one hour. This step is essential! The chilling process allows the fats in the tahini and olive oil to solidify, making the log firm enough to hold its shape and be sliced without falling apart.
When you’re ready to serve, unwrap the log and carefully place it on your serving platter.
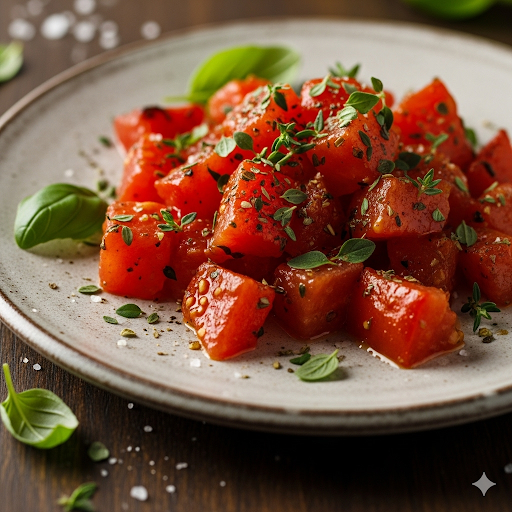
For a final touch, press the extra whole chickpeas, nuts, and cherry tomatoes onto the top of the log and platter, just like in the picture. This makes the dish look polished and professionally prepared. Enjoy!
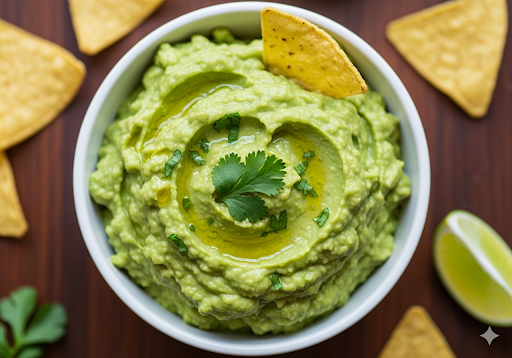
Alternative Method: The No-Fuss Dip
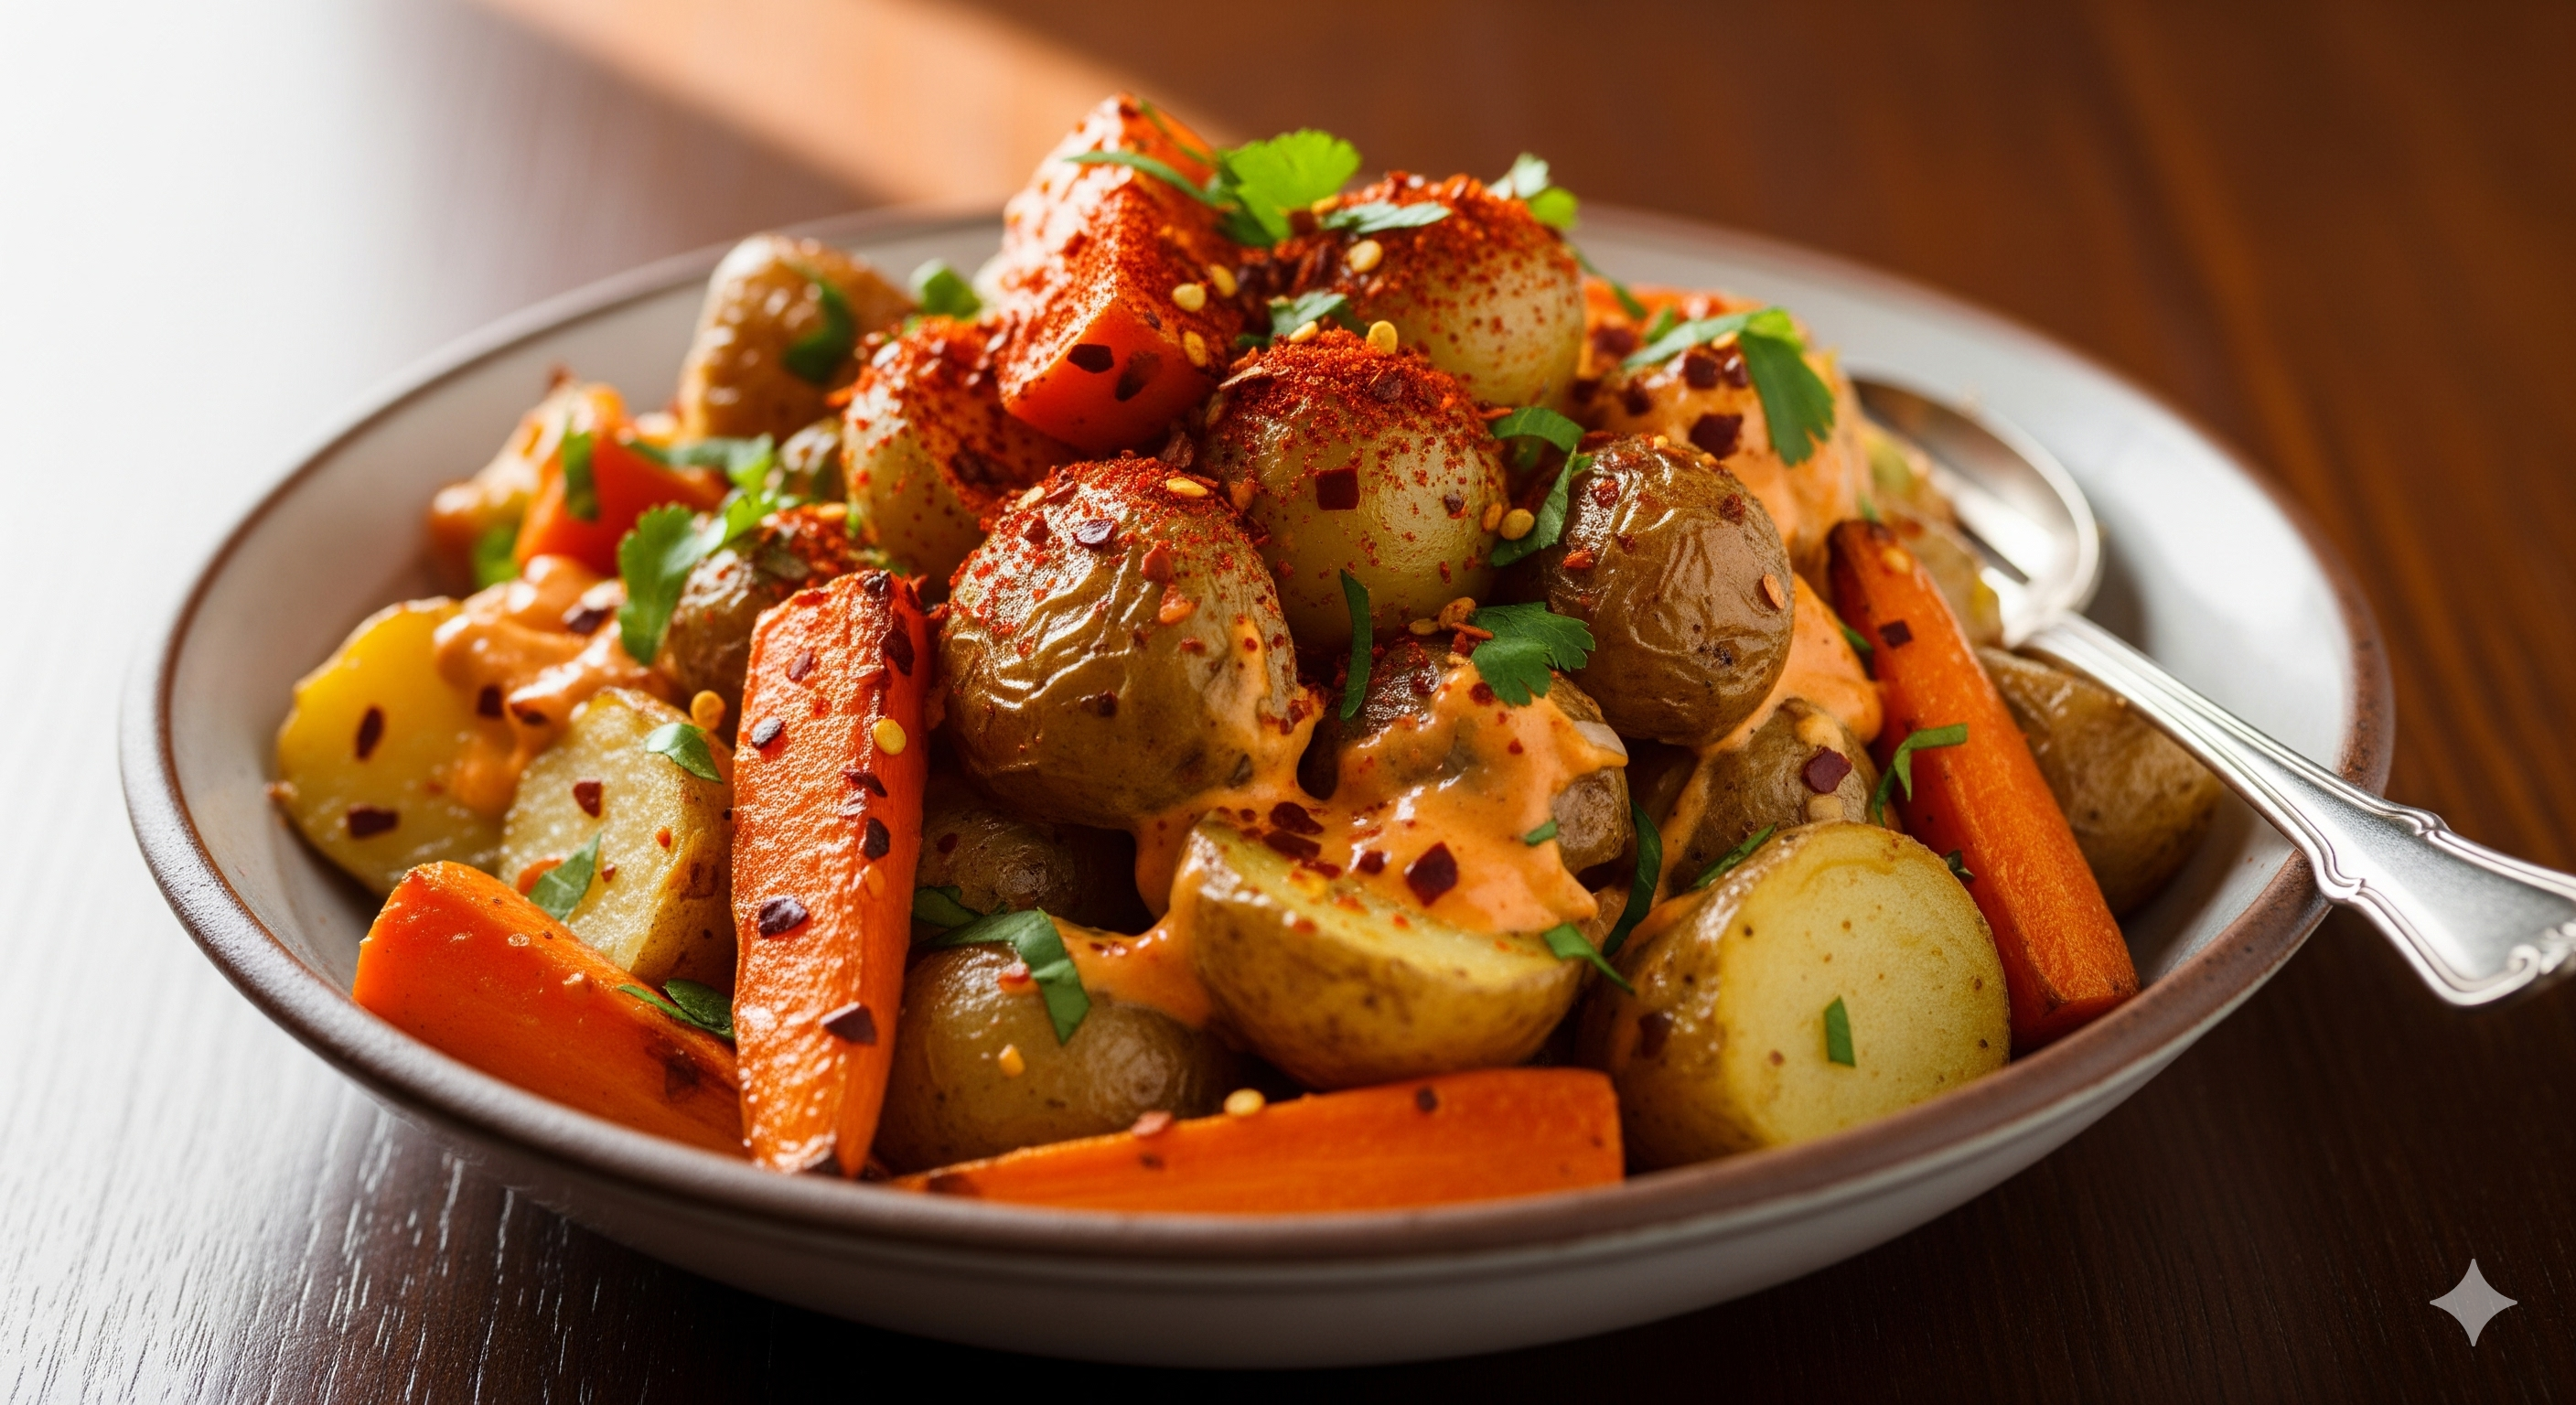
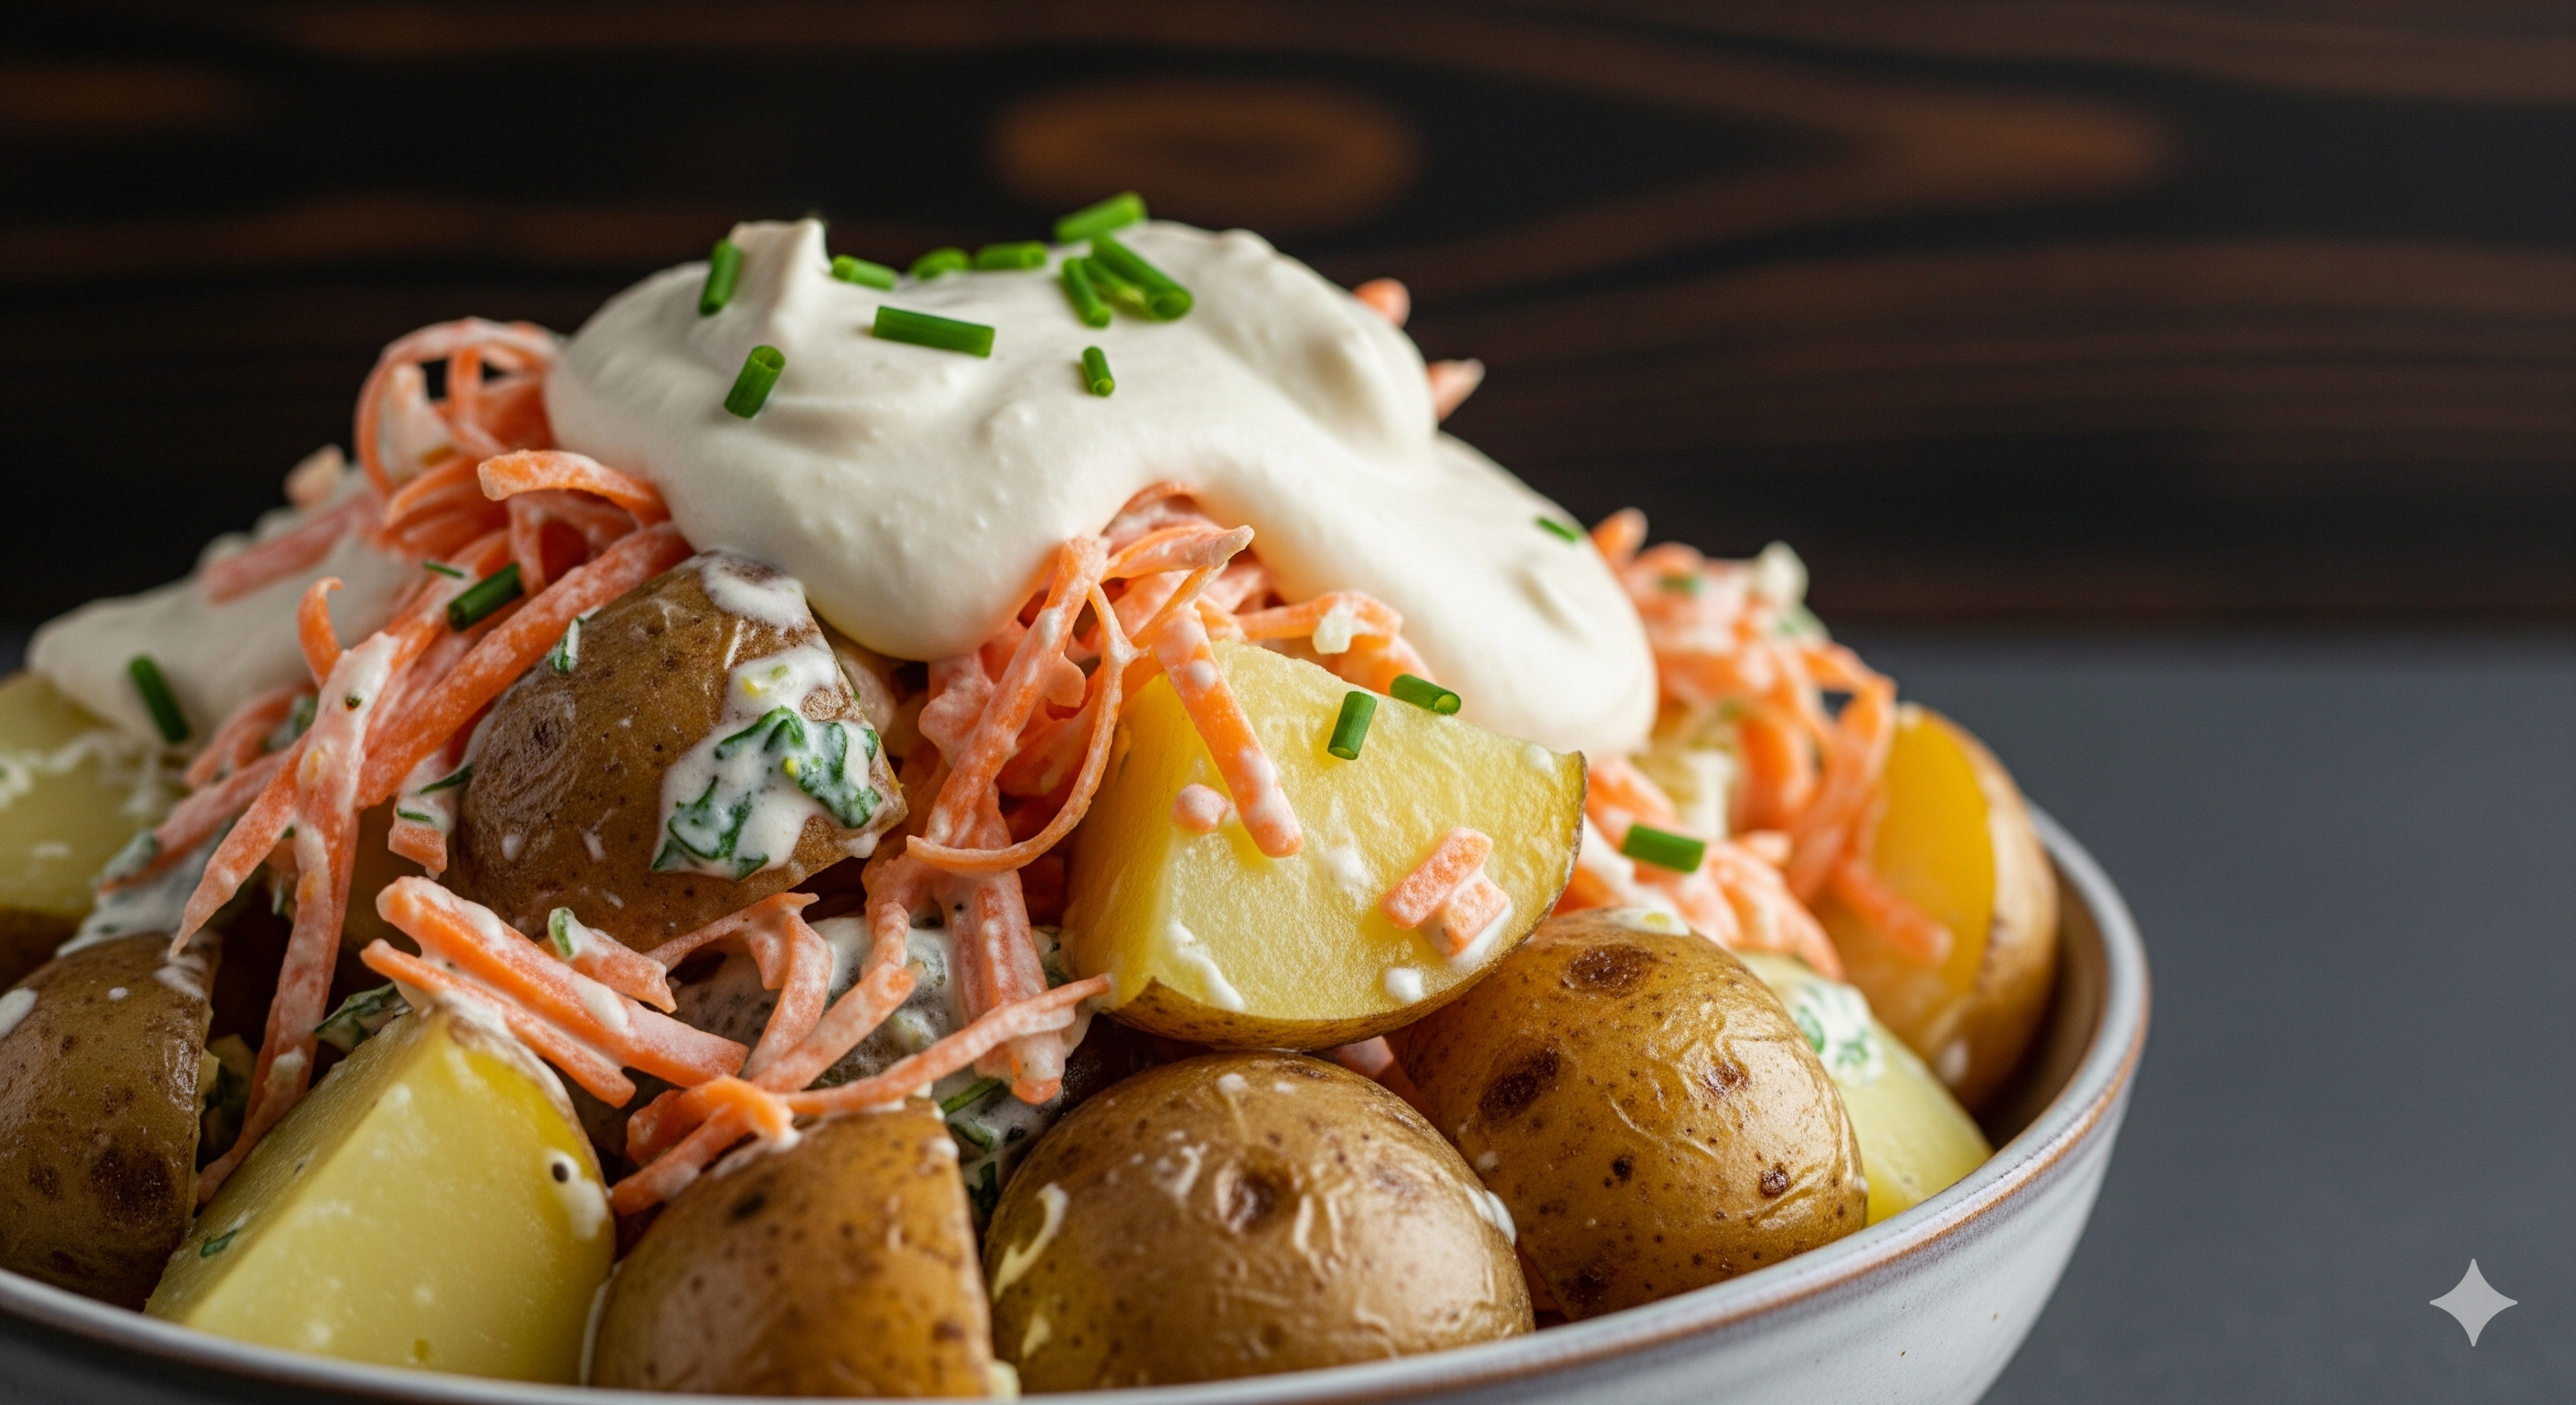
While the log shape is impressive, you can also serve this recipe as a simple, delicious dip. Instead of forming a log, simply transfer the finished chickpea mixture into a beautiful serving bowl. Drizzle with a little extra olive oil and a sprinkle of paprika before serving. This is a great option for a more casual gathering or when you’re short on time.
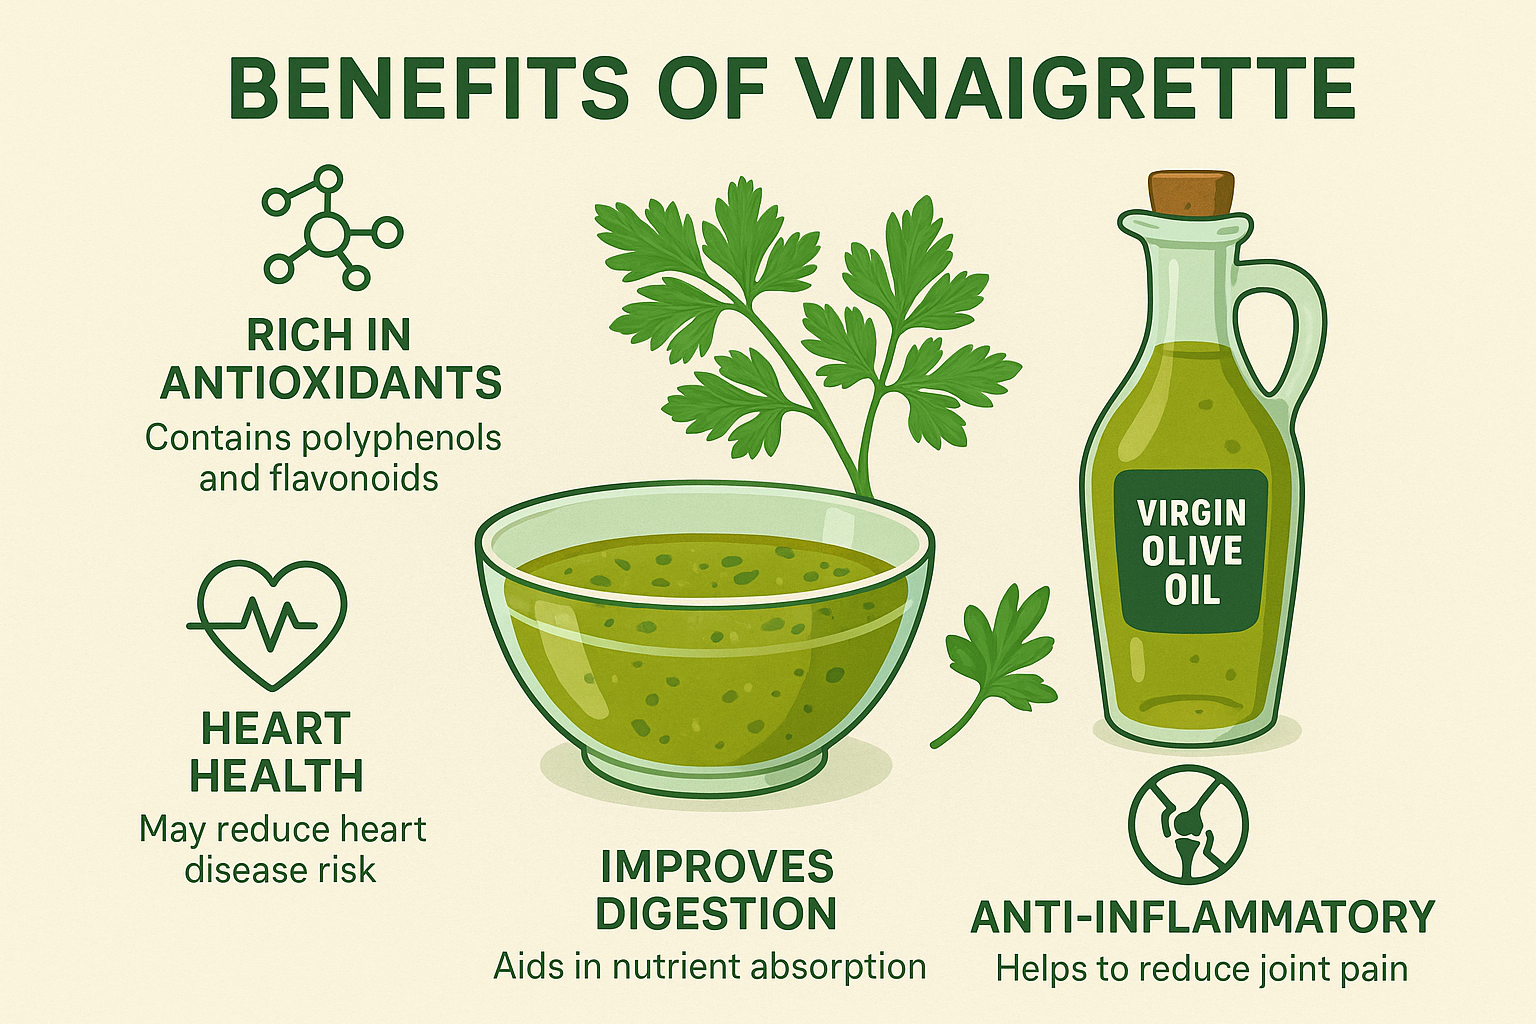
The Benefits of This Chickpea Antipasto Log
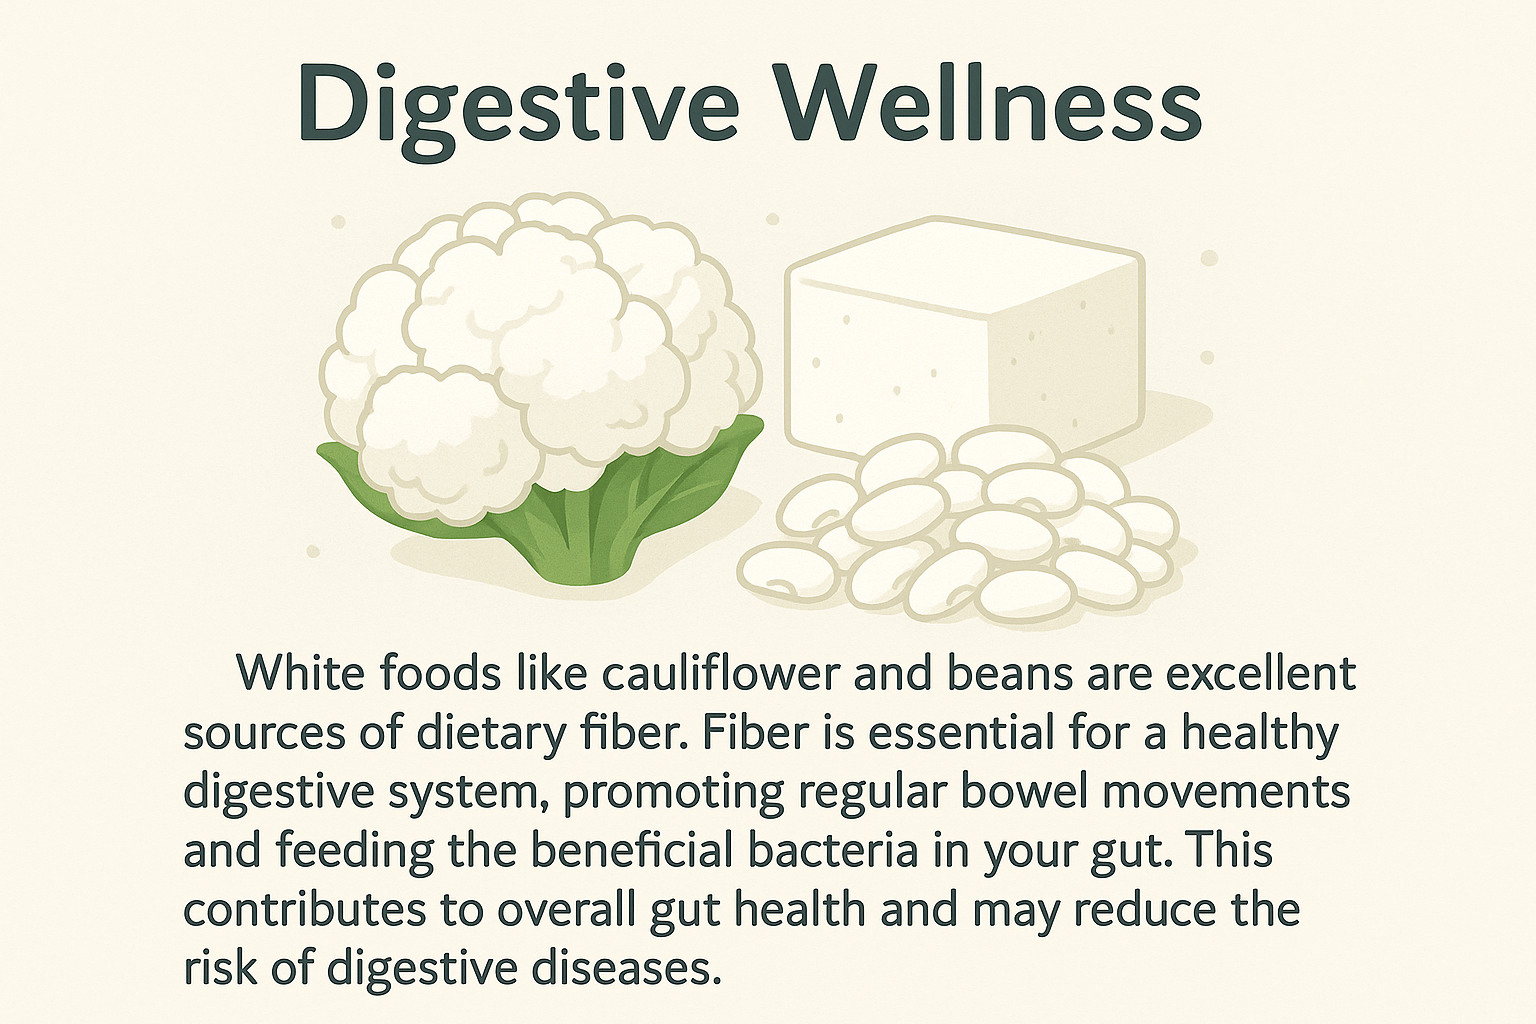
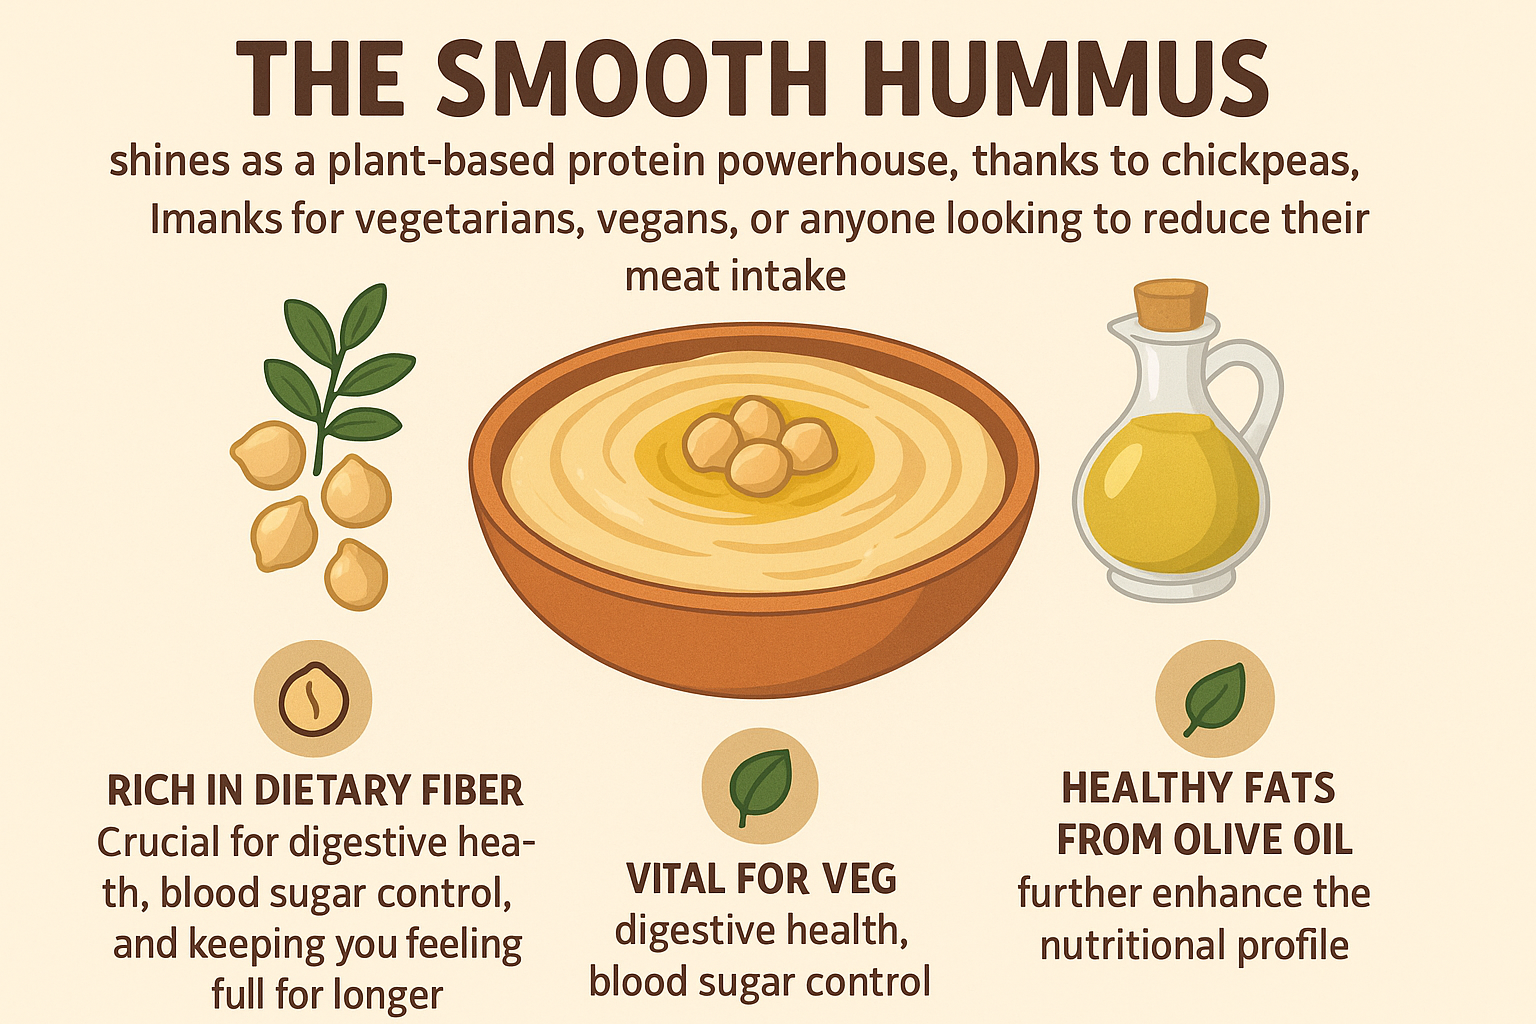
This appetizer isn’t just delicious; it’s also packed with nutritional benefits. Chickpeas, the star of the show, are an excellent source of plant-based protein and fiber, which helps promote a feeling of fullness and supports digestive health.
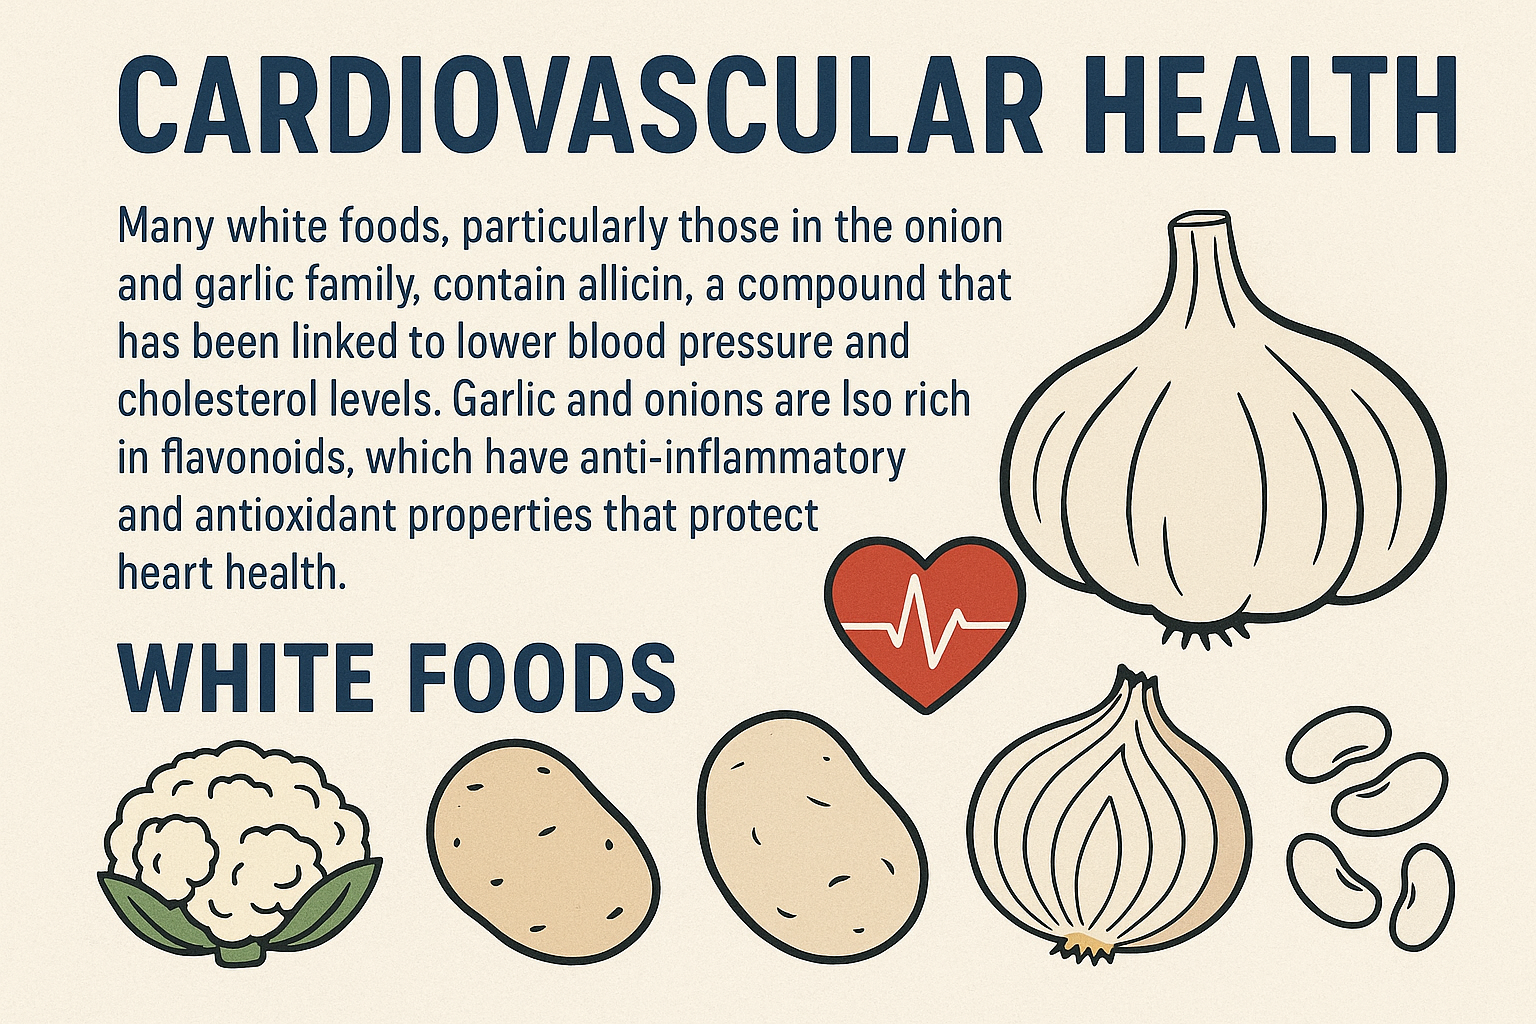
The healthy fats from the nuts and olive oil contribute to heart health and provide sustained energy.
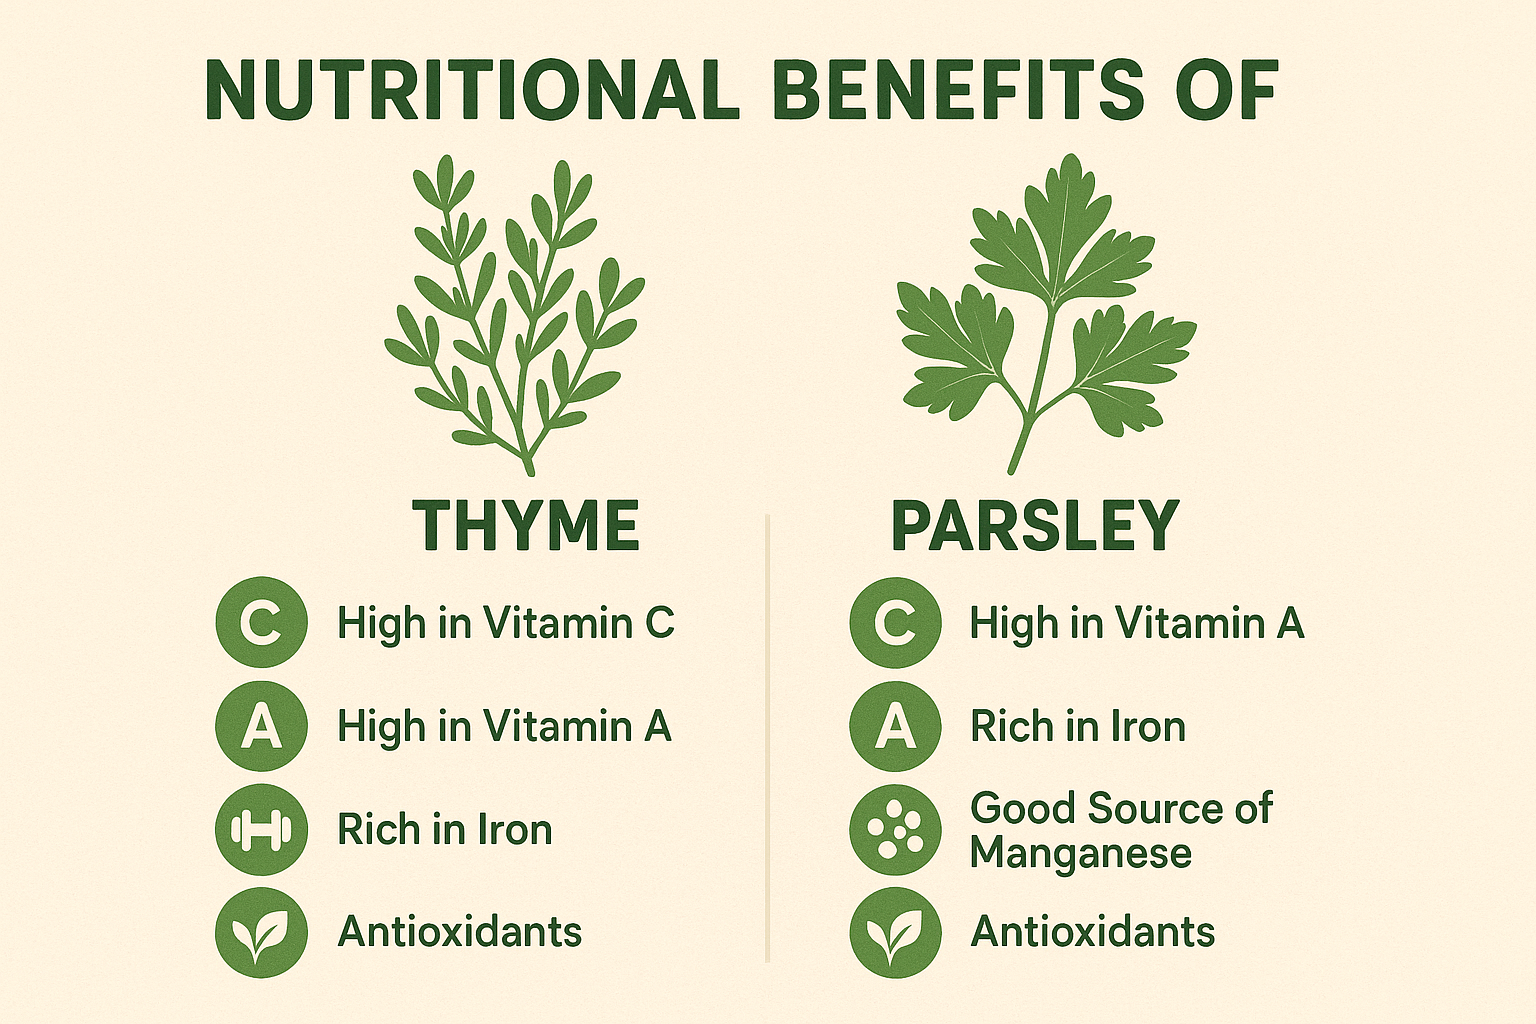
The olives and sun-dried tomatoes are rich in antioxidants, while the fresh herbs add a boost of vitamins. This recipe is naturally gluten-free and can be made vegan by omitting the feta cheese. It’s a smart and savory choice for any occasion.
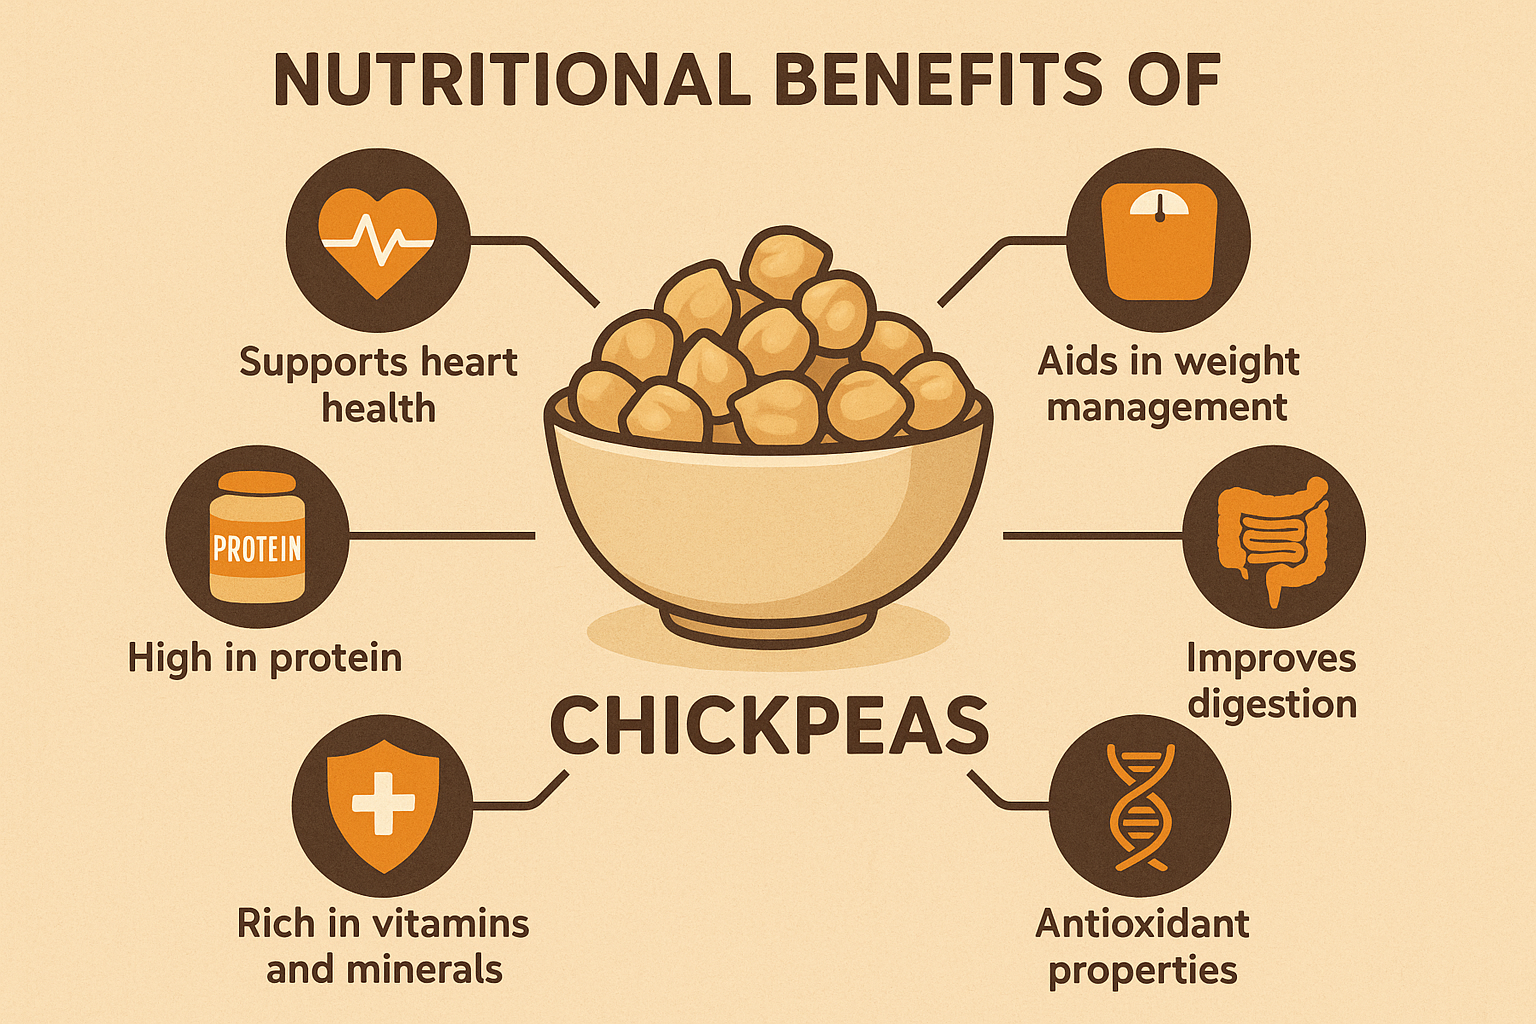
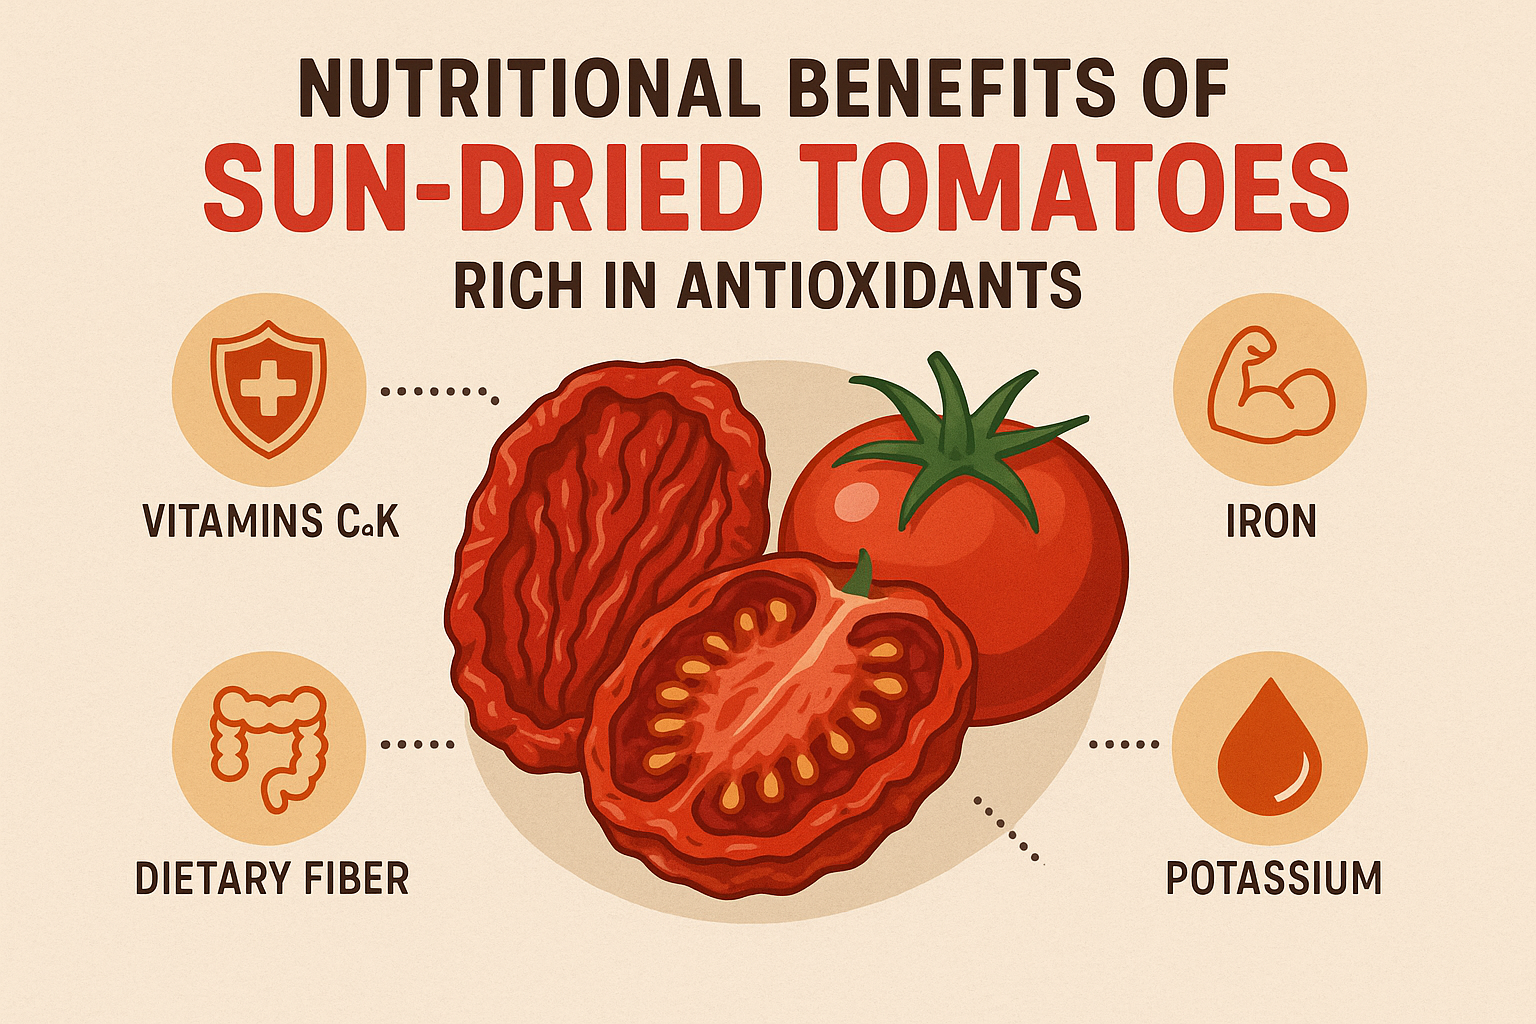
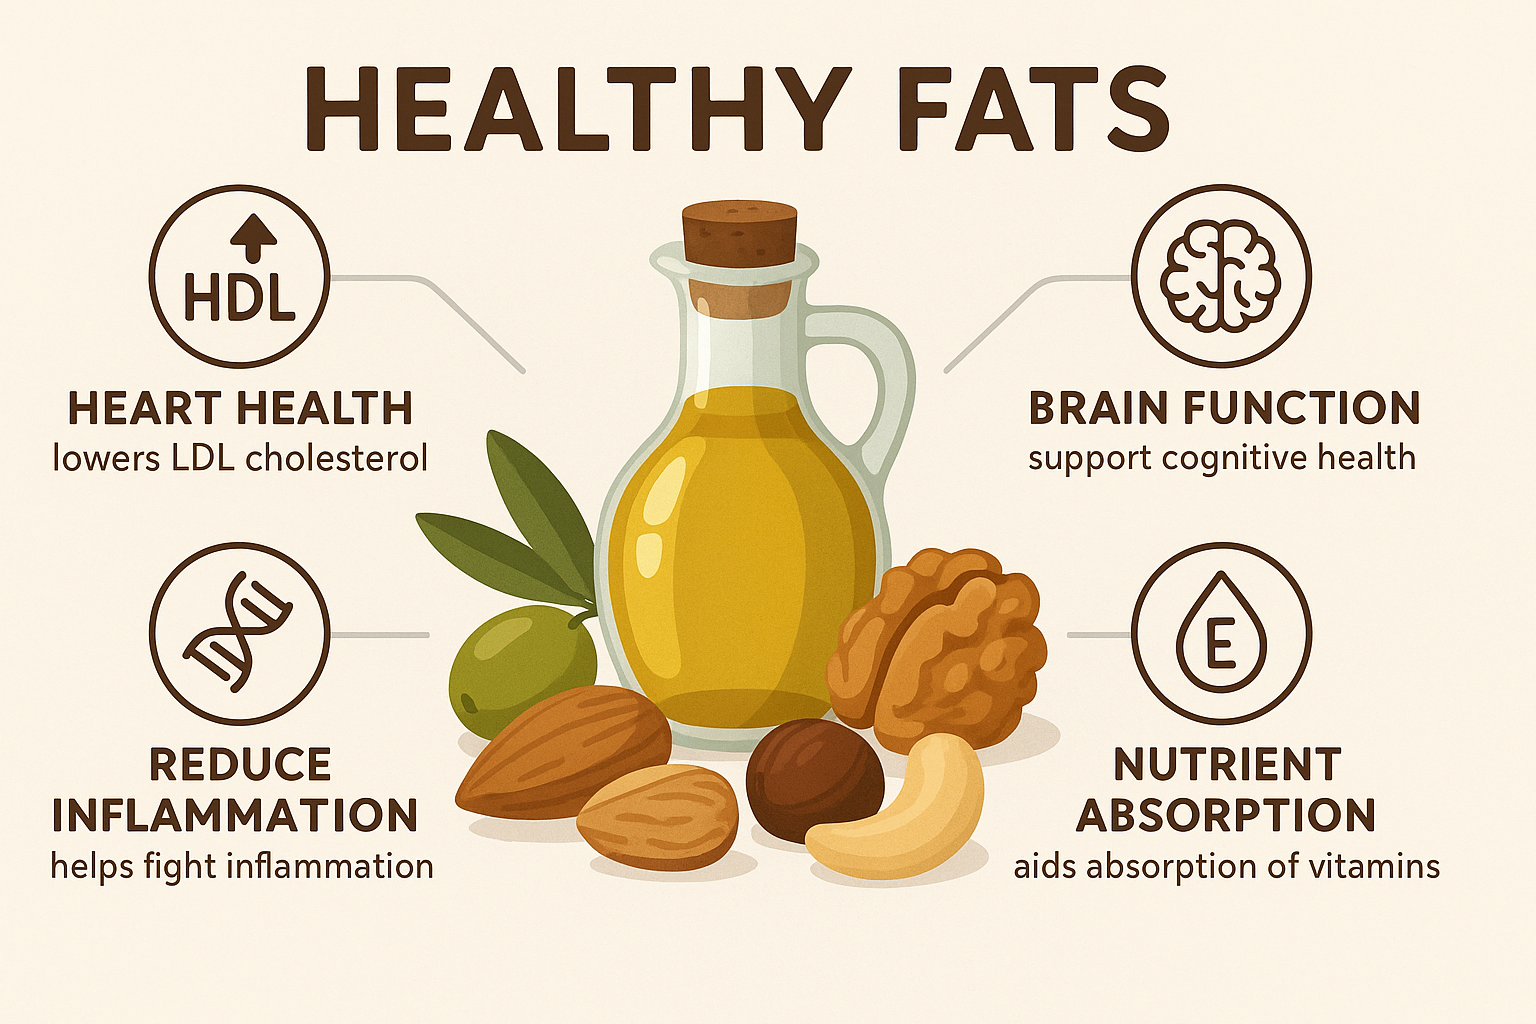
The gallery shows the nutritional benefits for chickpeas, sun – dried tomatoes and healthy fats.
A Look at Delicious Variations
This recipe is highly customizable! Here are some ideas to make it your own:
- Spice it up: Add a pinch of red pepper flakes to the chickpea mixture for a little heat.
- Different Veggies: Try adding finely chopped roasted red peppers or artichoke hearts to the inside mixture for a different flavor profile.
- Nut Alternatives: Swap the mixed nuts for pistachios or pine nuts.
- Cheese Please: For an extra tangy flavor, you could use a little goat cheese instead of feta.
- Herb Twist: Use fresh oregano or cilantro instead of basil or parsley for a different aromatic kick.
Final Thoughts on Your Easy Chickpea Antipasto
This Easy Chickpea Antipasto Log is more than just a recipe; it’s a way to bring people together with a beautiful and nourishing dish. It proves that healthy food can be the centerpiece of a celebration and that homemade appetizers can be both simple to make and stunning to look at. Whether you’re hosting a party or just looking for a new go-to snack, this recipe is a fantastic choice that you’ll return to again and again.
Frequently Asked Questions (FAQs)
Q: Can I make this a day ahead?
A: Yes! In fact, making it a day ahead allows the flavors to meld together even more. Follow the instructions up to the point of chilling the log. Keep it tightly wrapped in the refrigerator and add the garnish just before serving.
Q: What do I serve with the chickpea antipasto log?
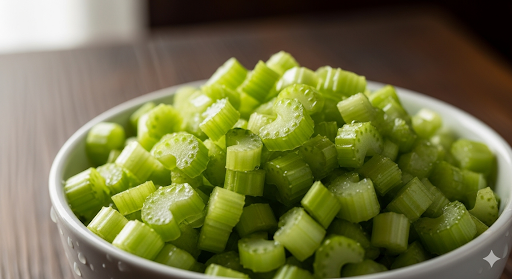
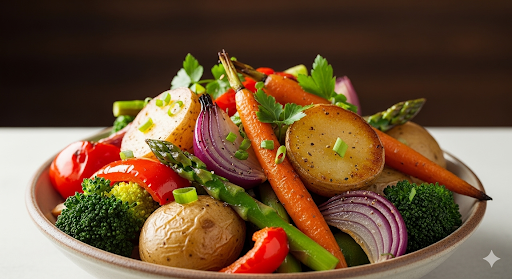
A: This log is incredibly versatile. It pairs perfectly with whole-grain crackers, toasted baguette slices, or fresh vegetable sticks like carrots, cucumbers, and bell peppers. You can also serve it as a side to a main dish or even crumble it on top of a salad.
References
- Whole Grains Council – Whole grains
- American Heart Association – Healthy Eating
- Vegetarian Society – Nutritional advice
Recent Posts