In a demanding world that constantly asks for peak performance, the idea of a Pajama Day offers a much-needed break. It represents an essential pause. This special pause is a moment to prioritize comfort, ease, and simple self-care. This article explores how to bring the relaxing spirit of effortless comfort and relaxation into your daily life. Discover practical, achievable strategies that use the soft, welcoming feeling of pajamas to lift your mood and boost your productivity. We prove that true well-being does not have to wait for the weekend or a holiday.
Introduction: The Simple Joy of the Pajama Day Paradigm
The phrase “Pajama Day” instantly makes us feel good. We think of comfort, deep relaxation, and freedom from tough schedules. Why should we save this feeling for days off or when we are sick? The core idea of a successful Pajama Day is powerful. It is about prioritizing comfort, reducing stress, and making an environment of ease. This philosophy is a strong tool for improving your daily life, your mental health, and even your work output.
This article is your complete guide. It will help you take apart the Pajama Day experience. Then, we will show you how to rebuild its best parts into a daily lifestyle that you can maintain. We will move past just wearing pajamas all day. We will look at changing your mindset, adjusting your home, and adding self-care rituals. These steps infuse your regular routine with the luxury and peace that a day off usually provides. By focusing on intentional comfort in your clothes, your home, and your thoughts, you can find a surprising increase in creativity and resilience.
1. The Clothes Change: From Stiff to Soft
The most immediate and clear part of a Pajama Day is the clothing. It is important to shift your focus. Move from stiff, tailored work clothes to relaxed sleepwear fashion or high-quality loungewear. This is more than just physical comfort. It is a psychological relief.
A. Choosing Better Loungewear
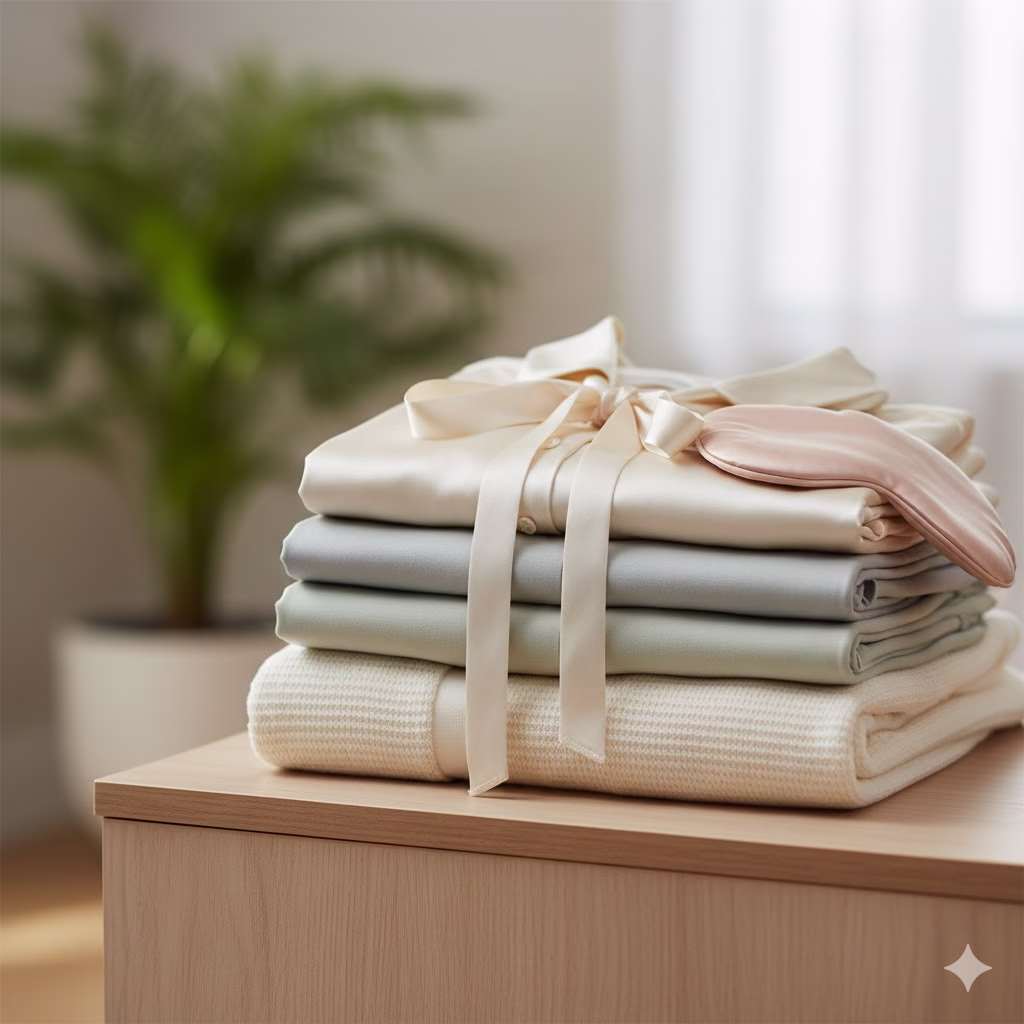
Today’s pajamas and loungewear are not just for the bedroom. The rise of comfortable, stylish pieces has blurred the line between what you wear during the day and at night. To bring this comfort into your daily life, look for fabrics and fits that feel soft on your skin but still look neat.
- Fabric Matters Most: Choose materials that breathe easily and feel soft. Think Tencel, organic cotton, bamboo, or high-quality knit fabrics. For an added touch of luxury, consider silk pajamas or a silk-blend robe. This can instantly make the start and end of your day feel special. It offers a sensory experience of pampering yourself.
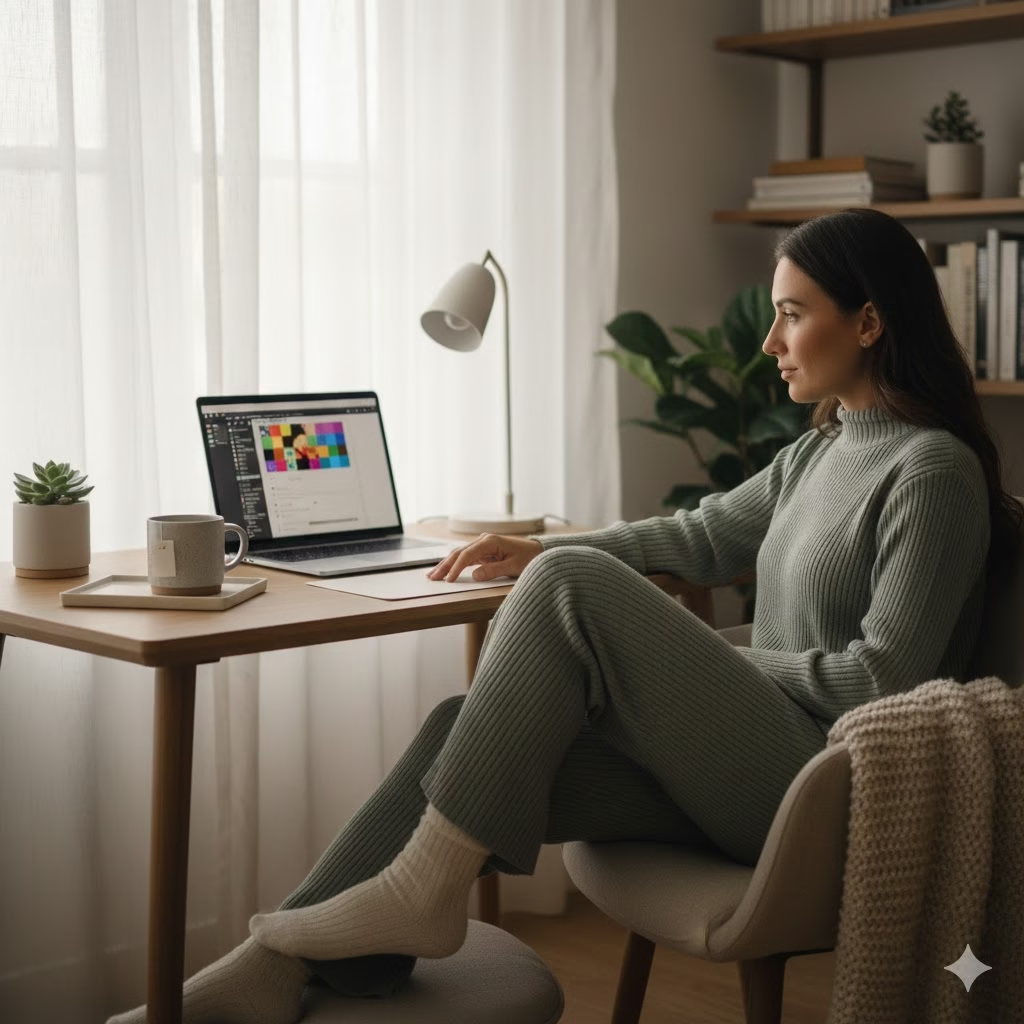
- Mix and Match Works: Pair comfortable, wide-leg knit pants (loungewear) with a soft, yet slightly tailored sweater or a simple linen button-down shirt. This lets you look presentable for quick errands or video calls without giving up comfort. Think of the outfit as “dressed-up PJs.”
- The Power of Layers: A luxurious robe or a soft cardigan can be your ultimate shield of comfort. You can easily add it for warmth or coziness. You can remove it when you need to focus. It acts as a transitional item that keeps the gentle Pajama Day feeling going.
B. How Comfort Affects Your Senses
The clothes we wear directly influence our nervous system. Tight waistbands or restrictive fabrics can cause low-level physical stress that never stops. When you choose loose-fitting, soft garments, you signal to your body that it is safe to relax. Reducing this small, ongoing physical stress frees up mental space. You can then use that energy for focusing and being creative.
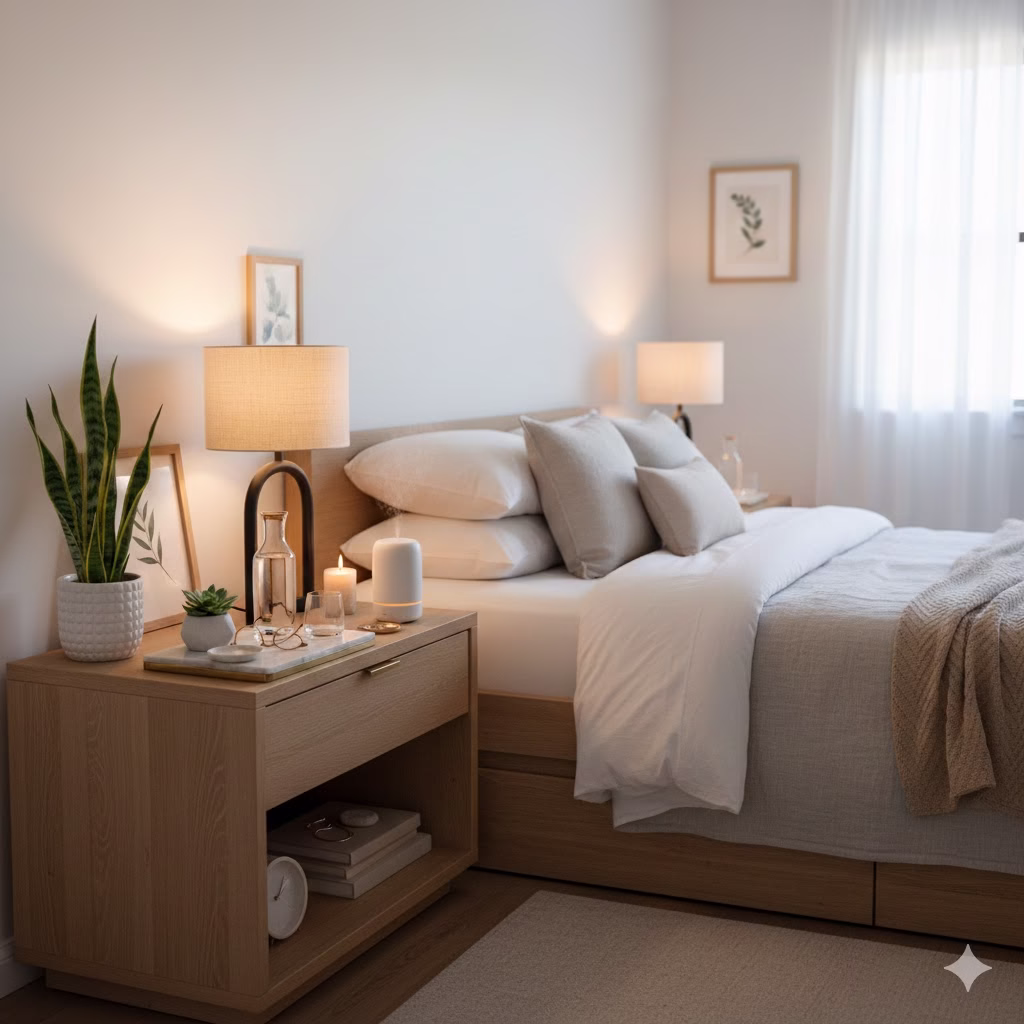
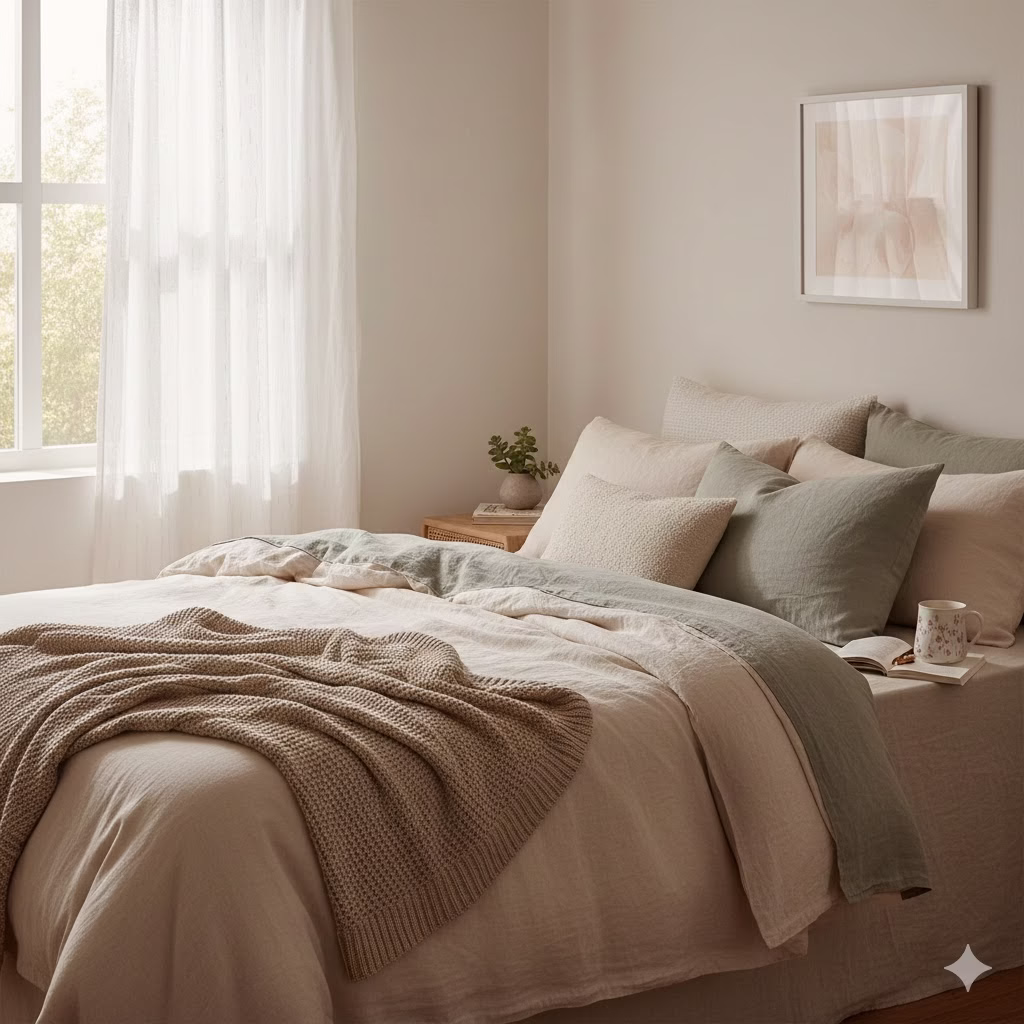
2. Building Your Cozy Spot: Comfort at Home
A real Pajama Day is defined by where you spend it. It is a comfortable, low-stimulus setting. Copying this peaceful environment in your daily workspace or home is key. It helps you keep that relaxed feeling all day long. This means shaping your physical space into a supporting sanctuary.
A. Controlling Heat and Light
The right atmosphere can lower your stress hormones a lot.
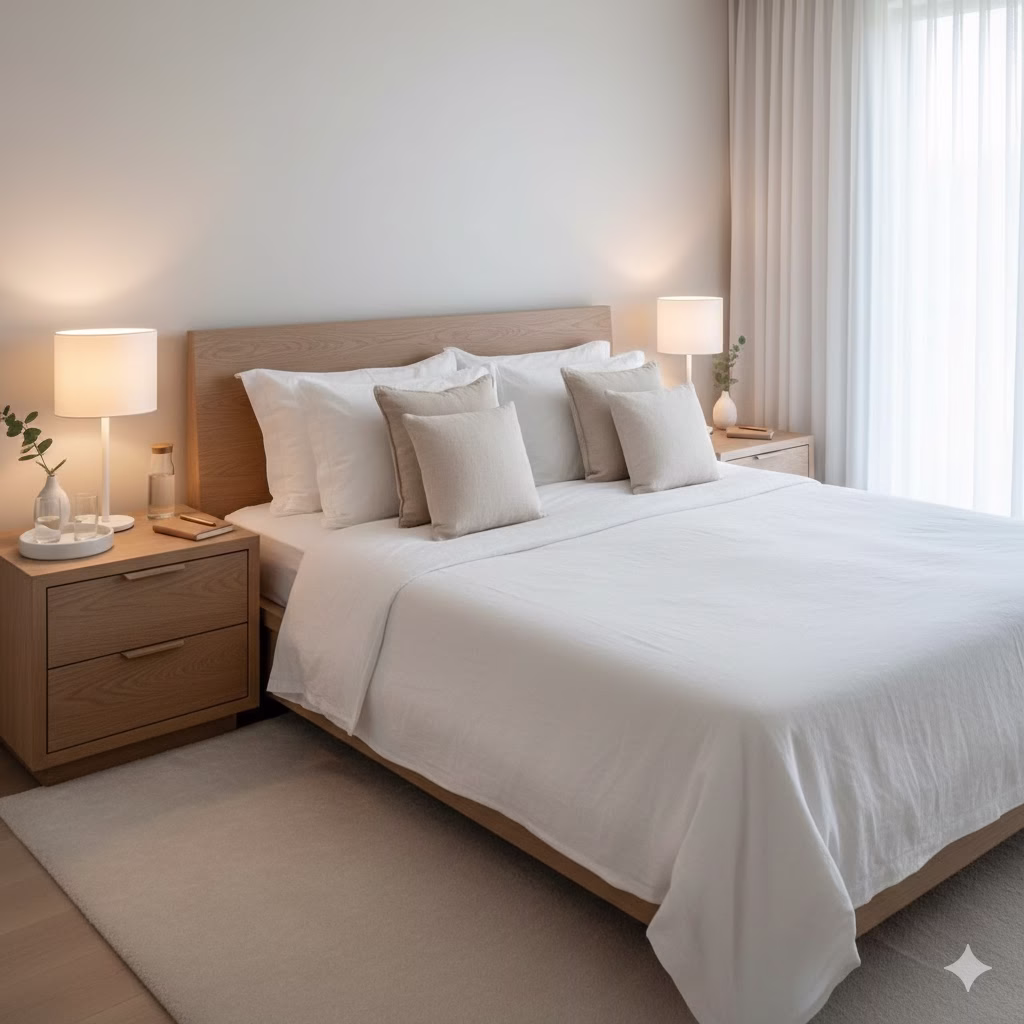
- Staying Warm: Make sure your working and living areas are at a temperature where you are easily comfortable. You should not have to try hard to stay warm or cool. For most people, this is a bit warmer than a typical office. Keep soft throws or blankets nearby. The simple act of wrapping yourself in a cozy blanket sends a clear signal to your body to relax.
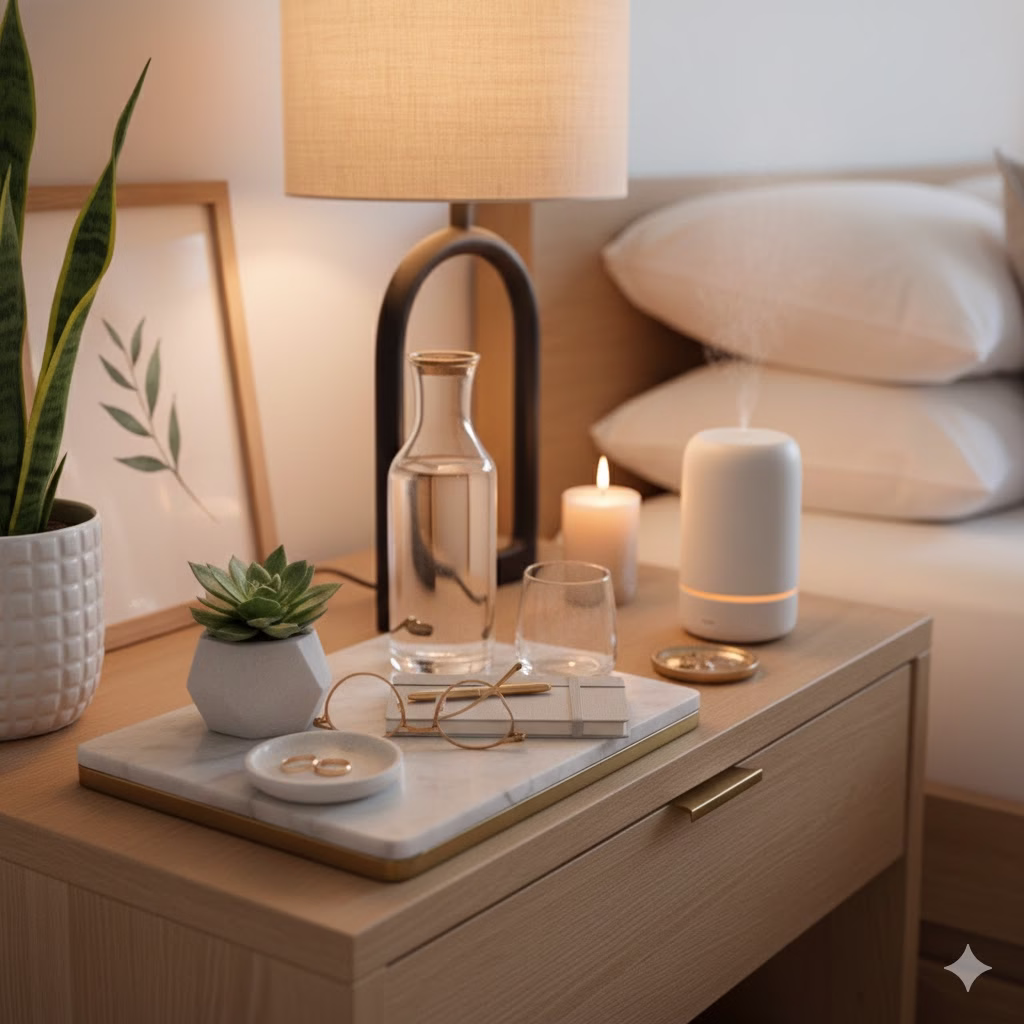
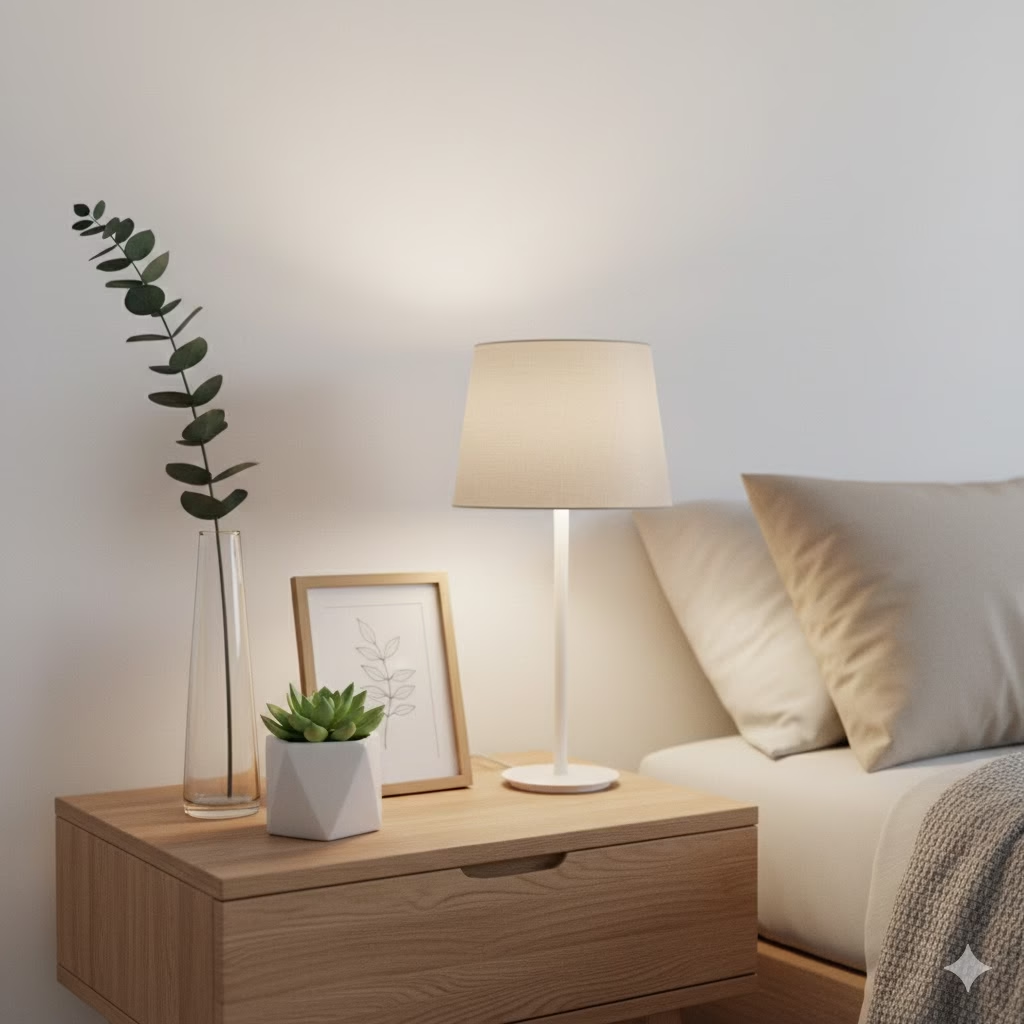
- Soft Lighting: Avoid harsh, bright overhead fluorescent lights. Use natural light as much as you can. In the evenings, use warm-toned lamps and place candles safely. Soft, indirect lighting feels gentle. It copies the relaxed feeling of a slow, easy morning.
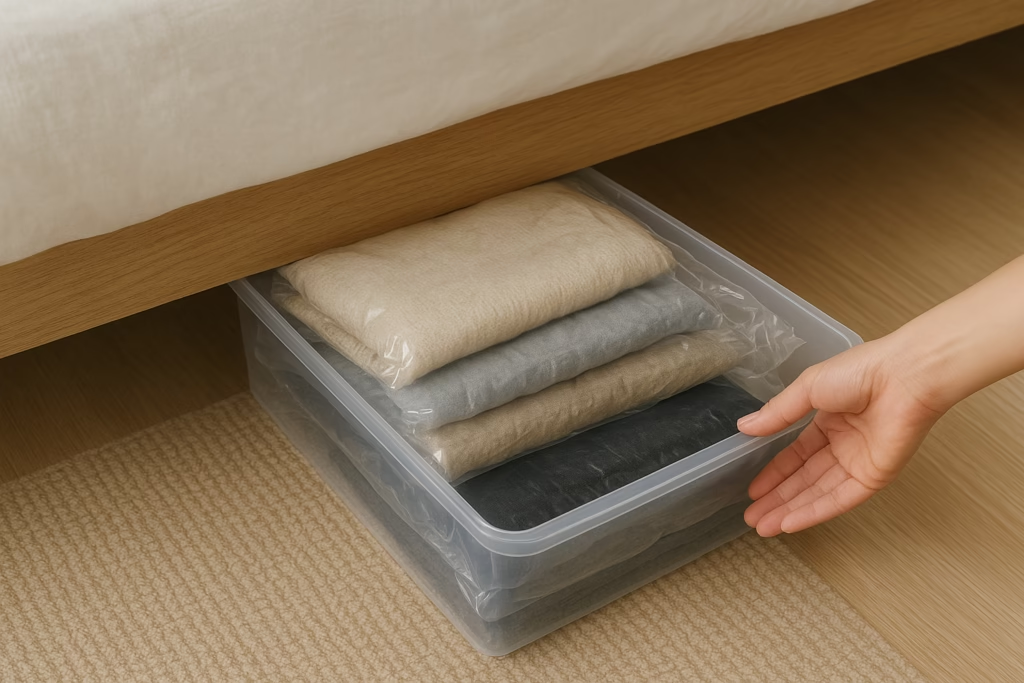
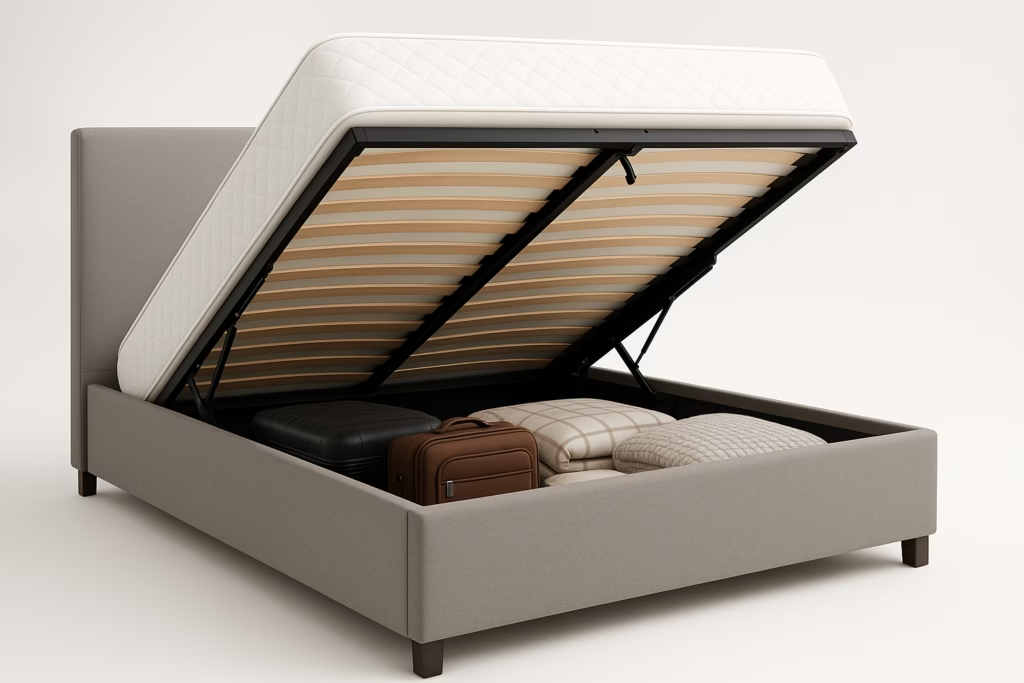
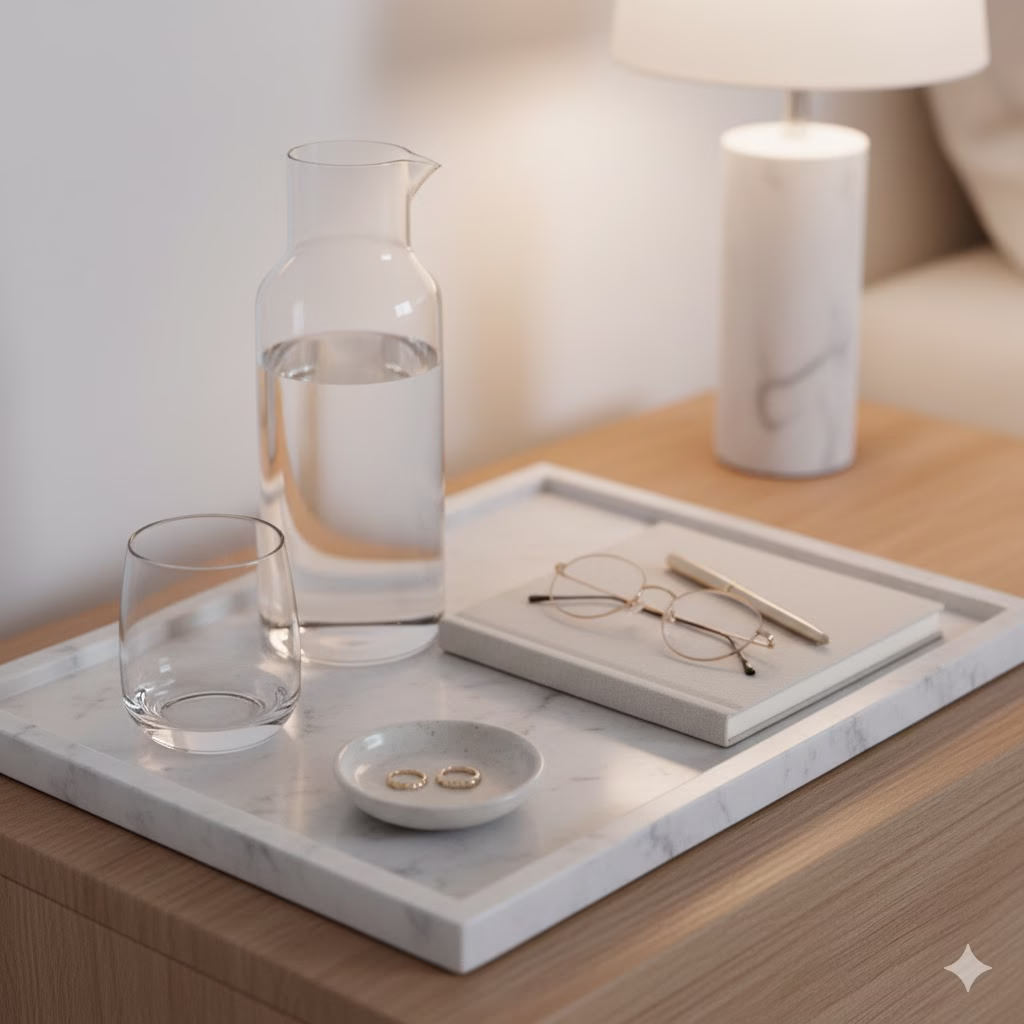
B. Simple Senses and Organization
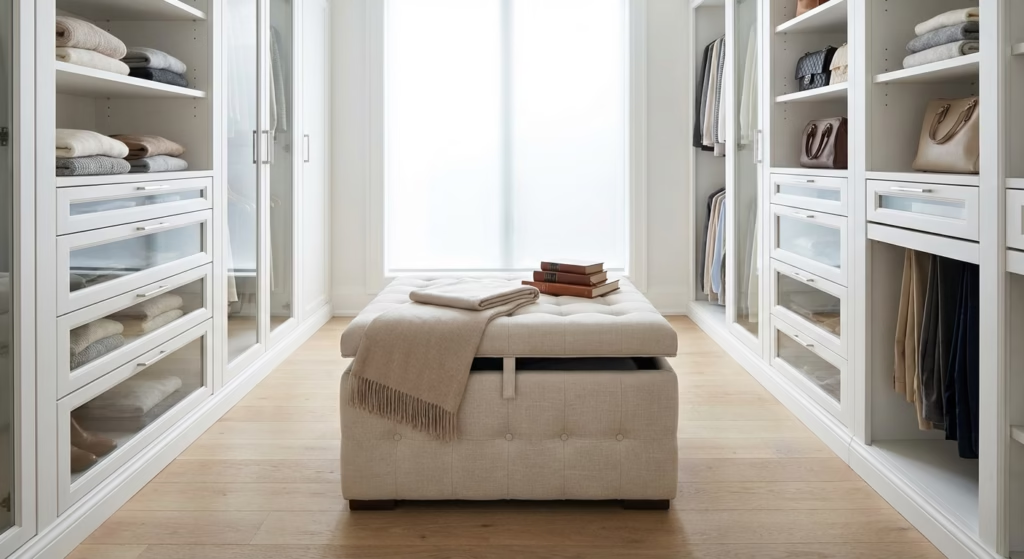
Pajama Day means a visually clear day. Clutter is a source of visual stress. It breaks your attention into small pieces.
- The Quick Tidy: Spend 20 minutes either before or after your workday. Use this time to put things back where they belong. A clean desk or workspace leads to a clear mind. This is vital for keeping the mental ease of a Pajama Day.
- Calming Scents: Use scents that encourage calm and comfort. Lavender, chamomile, cedarwood, or a familiar, pleasant baking smell can serve as a subtle cue. This gentle smell reminds you to slow down and relax.
3. The Power of the Pause: Thought and Habit

The biggest change to make every day feel like a Pajama Day is mental. It means intentionally building the philosophy of loungewear—unhurried, deliberate, and kind to yourself—into your daily schedule.
A. Starting Mornings Slowly
A frantic morning rush is the opposite of a Pajama Day. By making your morning easy, you set a calm mood for the rest of your day.
- The Extra 15 Minutes: Wake up 15 minutes earlier than you need to. This allows for an unhurried start. Use this time to truly enjoy a cup of tea, stretch your body, or simply sit quietly. Do this before the day’s demands begin.
- A Must-Do Ritual: Commit to a small, pleasurable ritual. Do it only for joy—no productive outcome is needed. This might mean reading a few pages of a book, listening to a favorite piece of music, or slowly applying a high-quality body cream. This simple act grounds your morning in self-care.
B. Planned, Low-Pressure Breaks
Regular work breaks often focus on being efficient. You might eat fast or run an errand. A Pajama Day break is about renewal.
- Micro-Restoration: Every hour and a half, take a break that lasts 5 to 10 minutes. The goal is a change of pace for your senses. Look out a window. Close your eyes and practice simple, mindful breathing. Or, do a gentle stretch for your neck and shoulders.
- The Midday Recharge: If you can, add a short period of lying down to your schedule. You do not have to sleep. Simply being horizontal for 15 minutes can restart your nervous system. This practice is often called “constructive rest.”
C. Setting Boundaries: Protecting Your Calm
The best way to live the Pajama Day mindset is by being able to say “no.” Say no to commitments that threaten your feeling of ease and well-being.
- Protect Your Calendar: Be sure to leave open spots in your schedule. Do not book meetings back-to-back. These buffers give you needed time to transition. They prevent the feeling of always rushing, which causes high stress.
- Digital Break: Create technology-free zones (like the kitchen table) and technology-free hours. Do this especially in the evening. This minimizes outside demands. It allows you to fully sink into the comfort of your home and your favorite pajamas.
4. More Than Just Fabric: Comfort as Productivity
Some people might worry that living by the Pajama Day idea could make them less motivated. In truth, the opposite happens. When we feel physically and mentally at ease, our brain works at its best. The state of comfort actually helps us perform better.
A. Easy Thinking and Creativity
The brain’s default mode network (DMN) is active when we are relaxed and not focusing on a hard task. This network is linked to daydreaming and creative ideas. You can let the DMN activate more freely by minimizing stress. You do this through soft loungewear, comforting spaces, and slower routines. This often leads to sudden “Aha!” moments and new ways to solve problems. A relaxed mind is an inventive mind.
B. The Comfort Cycle
When you choose to wear comfortable pajamas or loungewear, you are respecting yourself. This choice starts a cycle of positive feelings:
- Action: You choose comfort. For example, you change into silk pajamas after a shower.
- Feeling: You feel physically calm and cared for.
- Mindset: This physical ease helps you feel more patient and mentally relaxed.
- Result: You face challenges with less tension. This leads to better results.
This cycle replaces the stressful habit of constantly ‘pushing through.’ Instead, it encourages a feeling of ‘flowing with ease,’ which is much easier to maintain over time.
Conclusion: Your Daily Choice for Comfort
Making every day feel like a Pajama Day is not about hiding from the world. It is about actively designing your world. You make it a source of support, not a source of stress. It is a philosophy that sees comfort as a vital part of well-being and top performance.
You can make simple, powerful changes. By upgrading your sleepwear fashion. You can set clear boundaries. You can foster comfort in your home. By doing this, you honor your need for rest and ease. This integration of the Pajama Day way of life changes your daily routine into a gentle, restorative journey. The result is a life that is more resilient, creative, and peaceful. It proves that you do not need to wait for the weekend to truly feel good. Start today. Make one small change that puts your comfort first. Then, watch the luxurious ease of the Pajama Day spirit flow into every part of your life.
External References
- zigpoll – The Psychology of Fabric Texture and Color in Designing
- Kanlux – The effect of light on human well-being
- Plush – How to Choose Sustainable Pyjamas That Last
Recent Posts