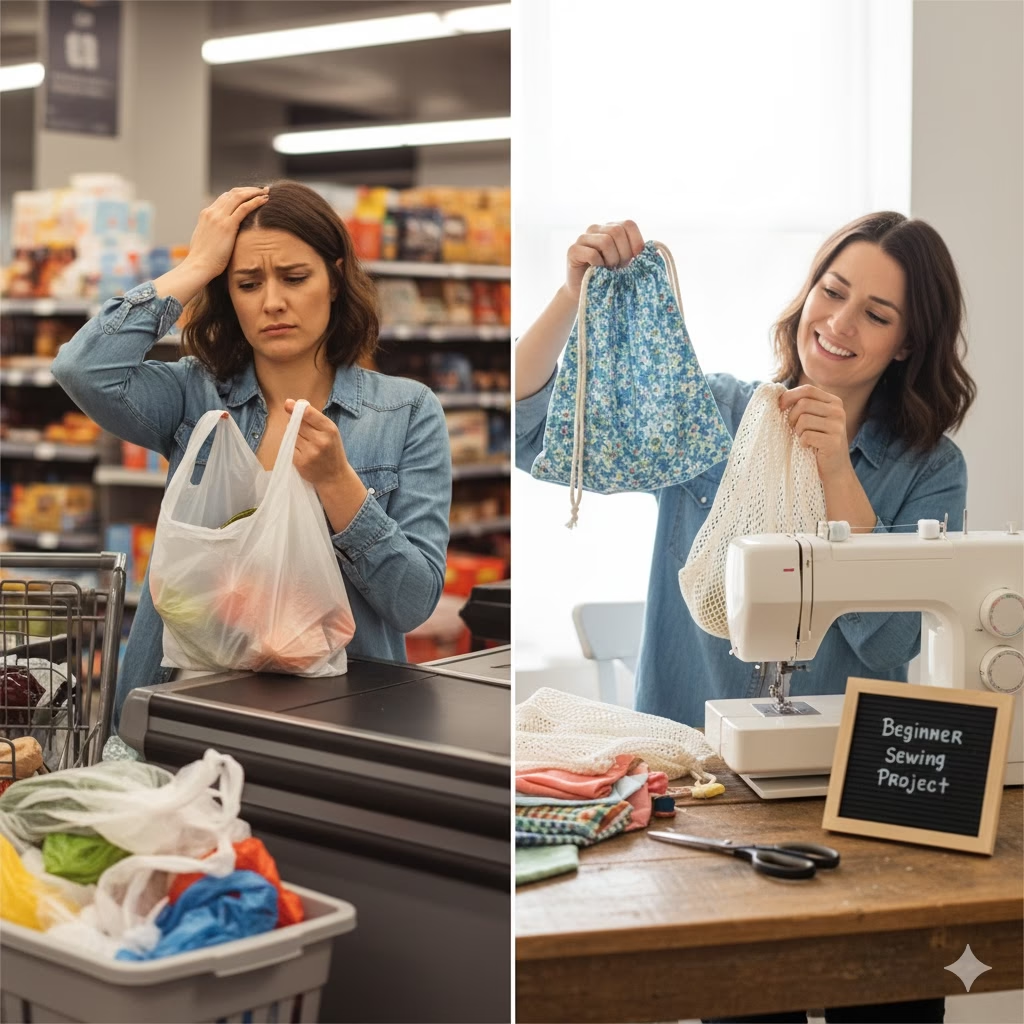
Ever felt that tug of eco-guilt at the checkout, adding yet another plastic bag to your overflowing bin? You’re not alone! I used to dread grocery shopping, knowing I was contributing to a problem I desperately wanted to solve. But what if I told you there’s a super simple, incredibly rewarding way to make a real difference, even if your sewing machine mostly collects dust? This Beginner Sewing Project changed my shopping habits and my outlook, and it’s about to change yours too.
Stitching Towards a Greener Future with this Beginner Sewing Project
In a world increasingly aware of its environmental footprint, many of us are searching for tangible ways to reduce our impact. One of the most pervasive sources of waste in our daily lives comes from single-use plastics, particularly in the realm of grocery shopping. From flimsy produce bags that tear before you get home to the endless stream of plastic bread bags, it can feel overwhelming to navigate the supermarket aisle without accumulating a mountain of non-recyclable waste.
But what if the solution was not only simple but also incredibly satisfying? Enter the humble, yet mighty, DIY zero-waste bag. This isn’t just a craft project; it’s a statement, a step towards a more sustainable lifestyle, and arguably the BEST beginner sewing project for a sustainable life. If you’ve ever wanted to learn to sew, or even if your sewing machine has been gathering dust in a closet, this guide is your invitation to create something truly meaningful.
We’re going to walk through how to make two types of essential zero-waste bags: a simple cotton produce bag and a versatile mesh bag. Both are perfect for carrying everything from apples and leafy greens to bulk grains and nuts, eliminating the need for countless plastic alternatives. Not only will you save money in the long run, but you’ll also gain a sense of accomplishment and contribute directly to a healthier planet. So, dust off that sewing machine, grab your fabric scraps, and let’s stitch our way to a greener future!
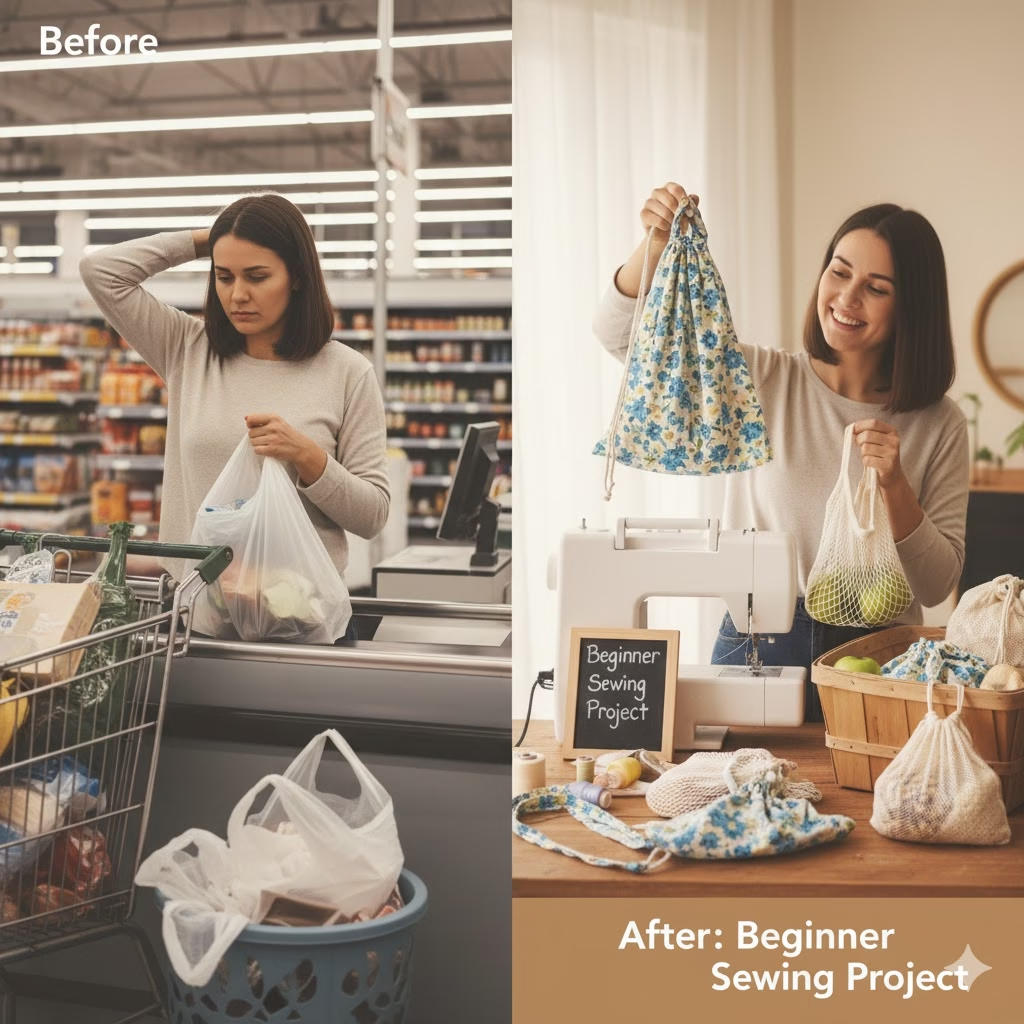
Why Zero Waste Bags Are Your New Best Friend
Before we dive into the nitty-gritty of sewing, let’s talk about why these bags are such a game-changer:
- Environmental Impact: This is the big one. Every reusable bag you make and use means one less plastic bag ending up in landfills, polluting our oceans, or harming wildlife. Plastic takes hundreds of years to decompose, if at all, breaking down into microplastics that infiltrate our food and water systems.
- Cost Savings: While there’s an initial investment in fabric (often you can use scraps!), you’ll save money in the long run by not having to purchase reusable bags repeatedly or paying for plastic bags in some areas.
- Durability & Longevity: Handmade bags, especially those made from sturdy cotton or repurposed materials, are often far more durable than their store-bought counterparts. They can withstand countless washes and heavy loads, serving you for years.
- Customization & Style: Express yourself! Choose fabrics that match your personal style, create bags in different sizes for different purposes, and even add fun embellishments. Who said sustainability couldn’t be chic?
- Empowerment: There’s immense satisfaction in making something with your own hands. This beginner sewing project gives you a tangible way to take control of your consumption and contribute positively to your community and the planet.
- Healthier Produce: Mesh bags allow your produce to breathe, extending its freshness compared to being suffocated in plastic bags.
What You’ll Need for This Beginner Sewing Project (The Essentials)

Don’t be intimidated! You likely have many of these items already.
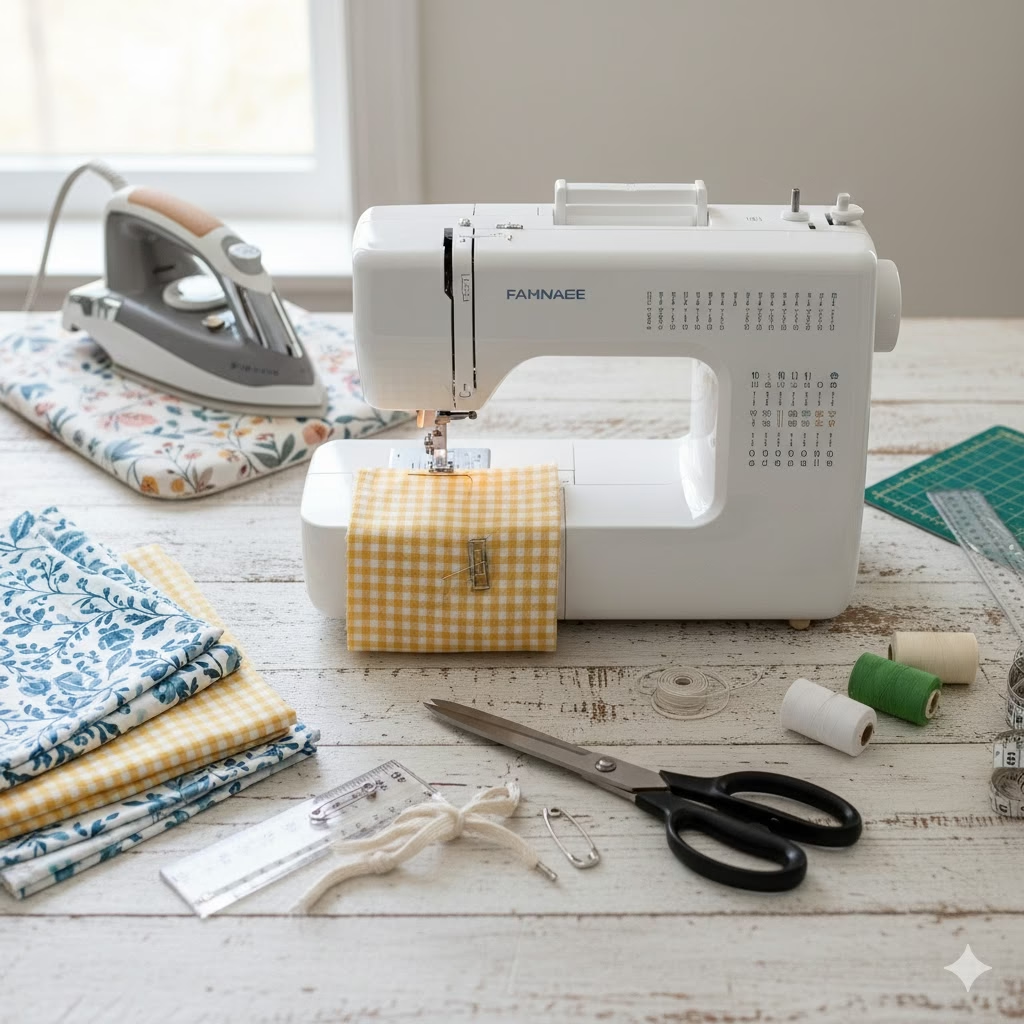
- Sewing Machine: Any basic functional machine will do.
- Fabric:
- For Cotton Produce Bags: Lightweight, tightly woven cotton fabric. Old cotton sheets, pillowcases, duvet covers, or even men’s button-down shirts are perfect for upcycling! Muslin, calico, or quilting cotton also work beautifully. You’ll need about 1/2 to 3/4 yard per bag, depending on desired size.
- For Mesh Produce Bags: Lightweight mesh fabric. This can be tricky to find in small quantities, but look for old sheer curtains, laundry bags, or specialty “eco-mesh” fabrics online. Alternatively, you can repurpose old tulle or netting. A standard size might need about 1/2 yard.
- Matching Thread: Polyester all-purpose thread is generally suitable for both cotton and mesh.
- Fabric Scissors: Sharp scissors are crucial for clean cuts.
- Ruler or Measuring Tape: For accurate measurements.
- Pins or Fabric Clips: To hold fabric pieces together.
- Iron and Ironing Board: For pressing seams (makes a huge difference!).
- Safety Pin: For threading drawstrings.
- Drawstring Material:
- Cotton cord, ribbon, or even a strip of fabric you make yourself (about 1/2 inch wide).
- For mesh bags, you can use a thinner cord or even elastic if you prefer.
- You’ll need about 25-30 inches per bag.
Part 1: How to Make a Simple Cotton Drawstring Produce Bag (The Ultimate Beginner Sewing Project!)
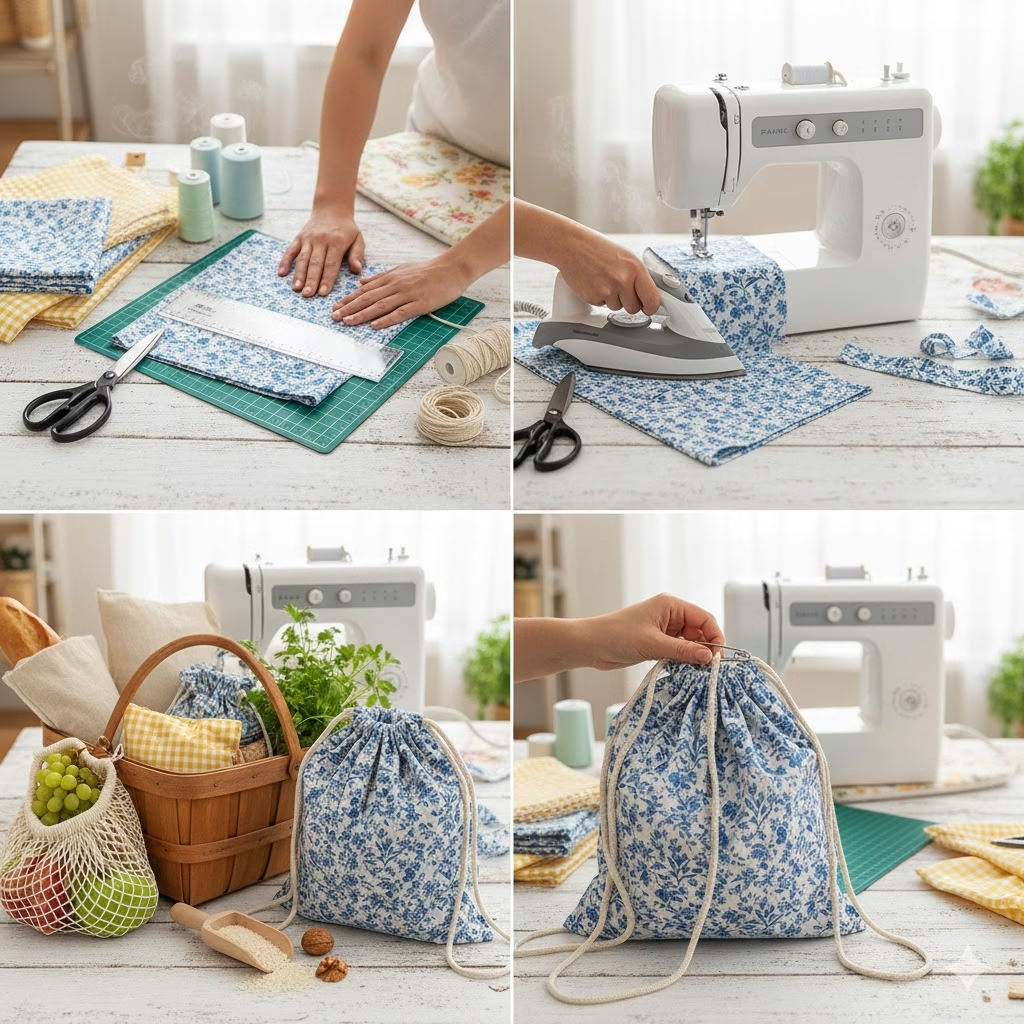
This is truly a fantastic beginner sewing project because it involves mostly straight seams and introduces basic techniques like hemming and creating a casing.
Step 1: Prepare Your Fabric
Decide on your desired bag size. A good starting point for a medium produce bag is a rectangle of fabric approximately 15 inches wide by 30 inches long. This will give you a bag roughly 14×14 inches when finished (allowing for seam allowances and the drawstring casing).
- Wash and press your fabric. This pre-shrinks it and makes it easier to cut and sew.
- Cut your fabric to the desired dimensions. Remember, your length will be folded in half.
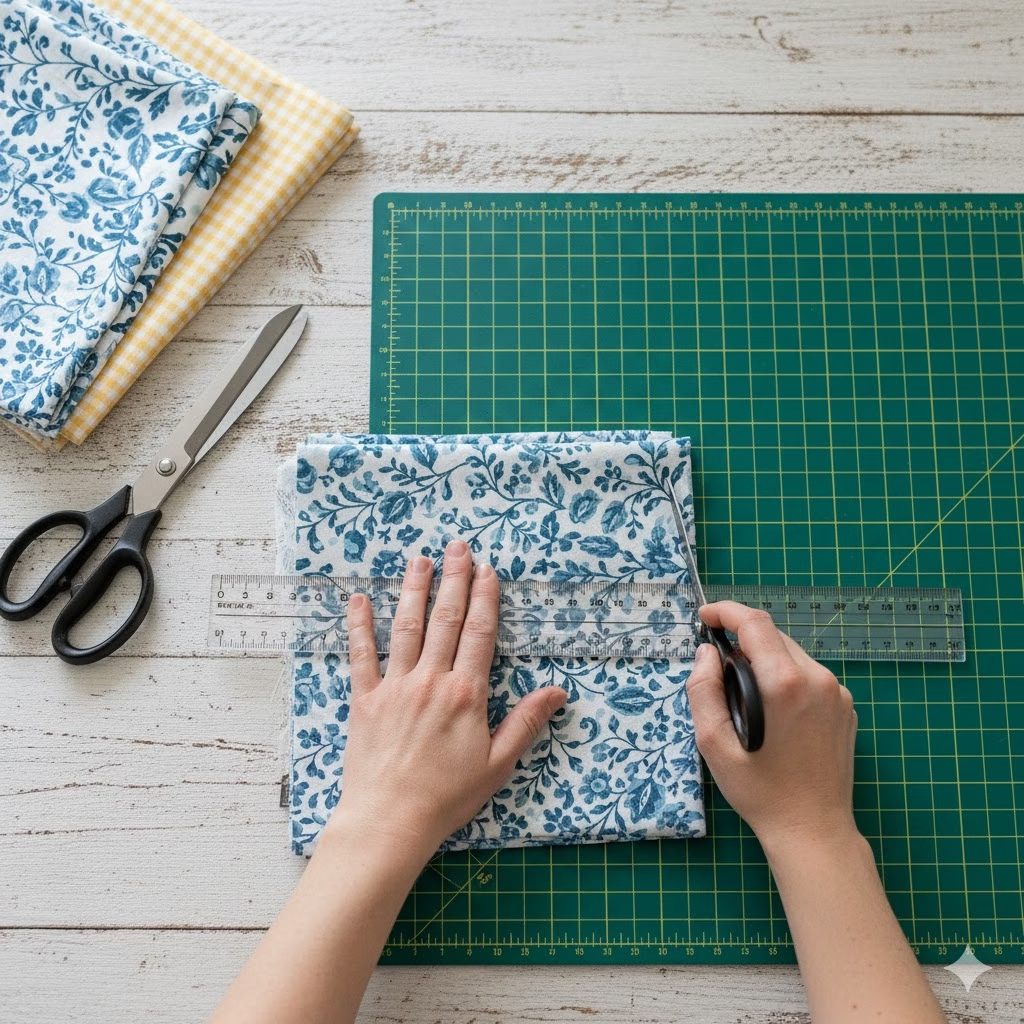
Step 2: Hem the Top Edge
This will be the top opening of your bag.
- Along one of the 15-inch edges (the top of your future bag), fold the raw edge over by 1/4 inch towards the wrong side of the fabric and press.
- Fold it over again by 1/2 inch and press firmly. This creates a neat double-fold hem.
- Stitch this hem in place, close to the inner folded edge. Backstitch at the beginning and end. Repeat for the other 15-inch edge if you’re making a bag that opens at both ends, but for a simple produce bag, you only need to hem one of the short edges that will become the bag’s opening.
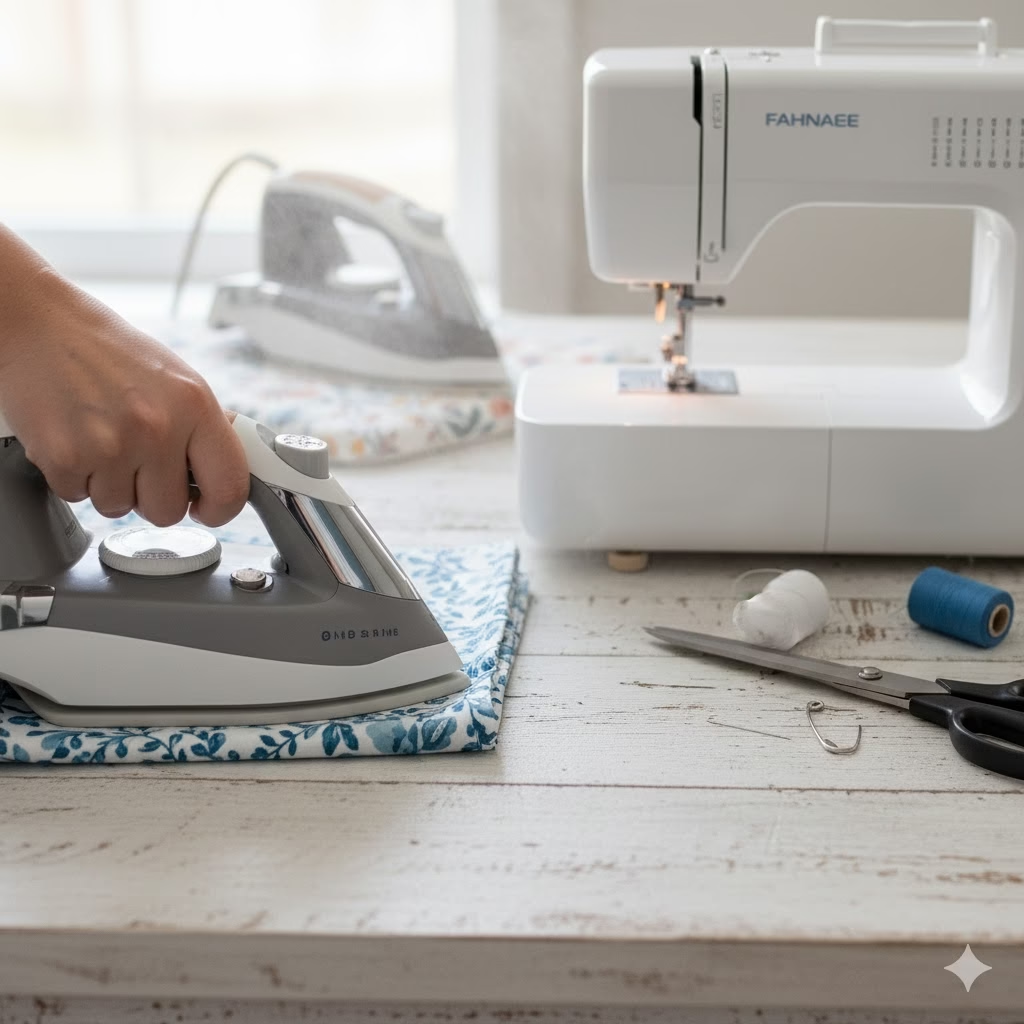
Step 3: Fold and Sew the Side Seams
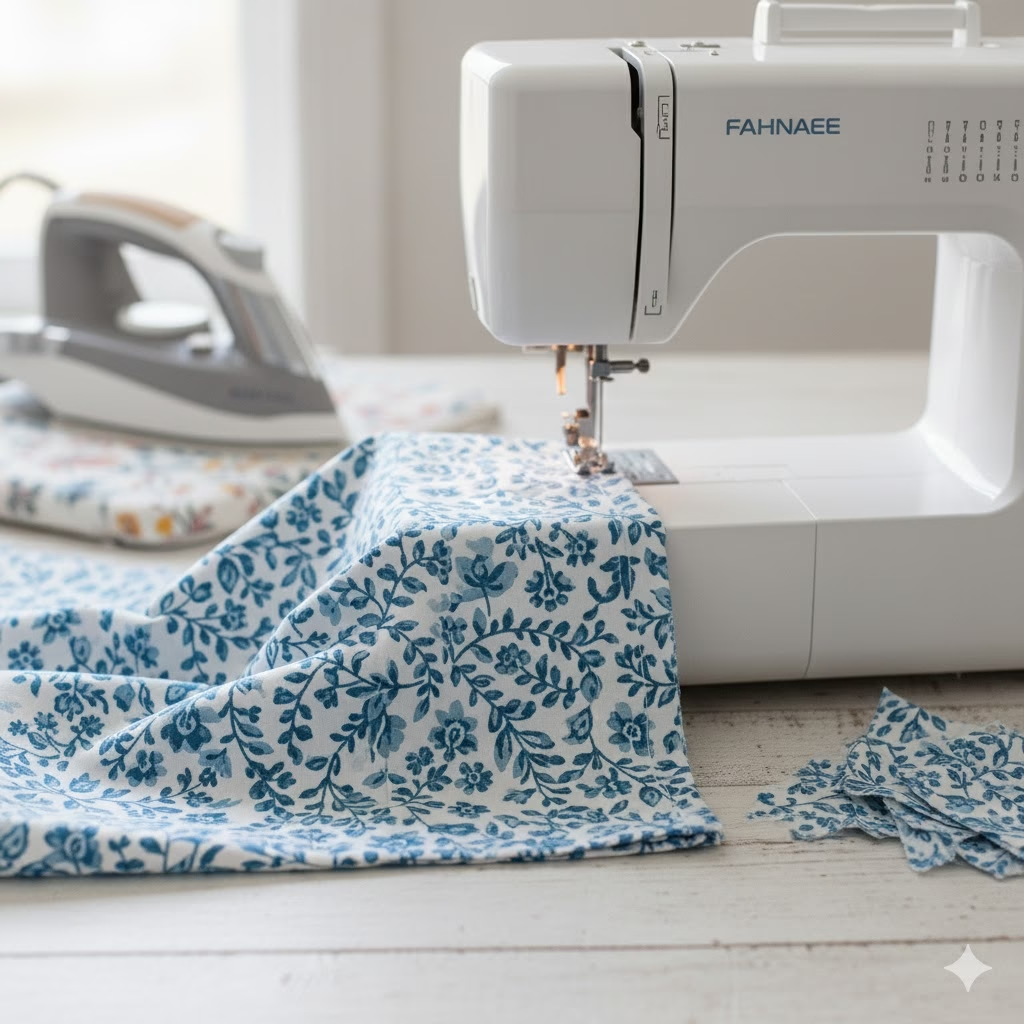
- Lay your fabric piece flat, right side up.
- Fold the fabric in half width-wise, bringing the two 15-inch (hemmed) edges together. The right sides of the fabric should be facing each other. The raw edges of the long sides should align perfectly. Pin along the two raw side edges and the bottom raw edge.
- Starting from one top corner of the bag, sew down the side seam, across the bottom, and up the other side seam, using a 1/2-inch seam allowance. Remember to backstitch at the beginning and end of each seam to secure it. If your fabric is prone to fraying, you can do a second line of stitching or finish the raw edges with a zigzag stitch or serger.
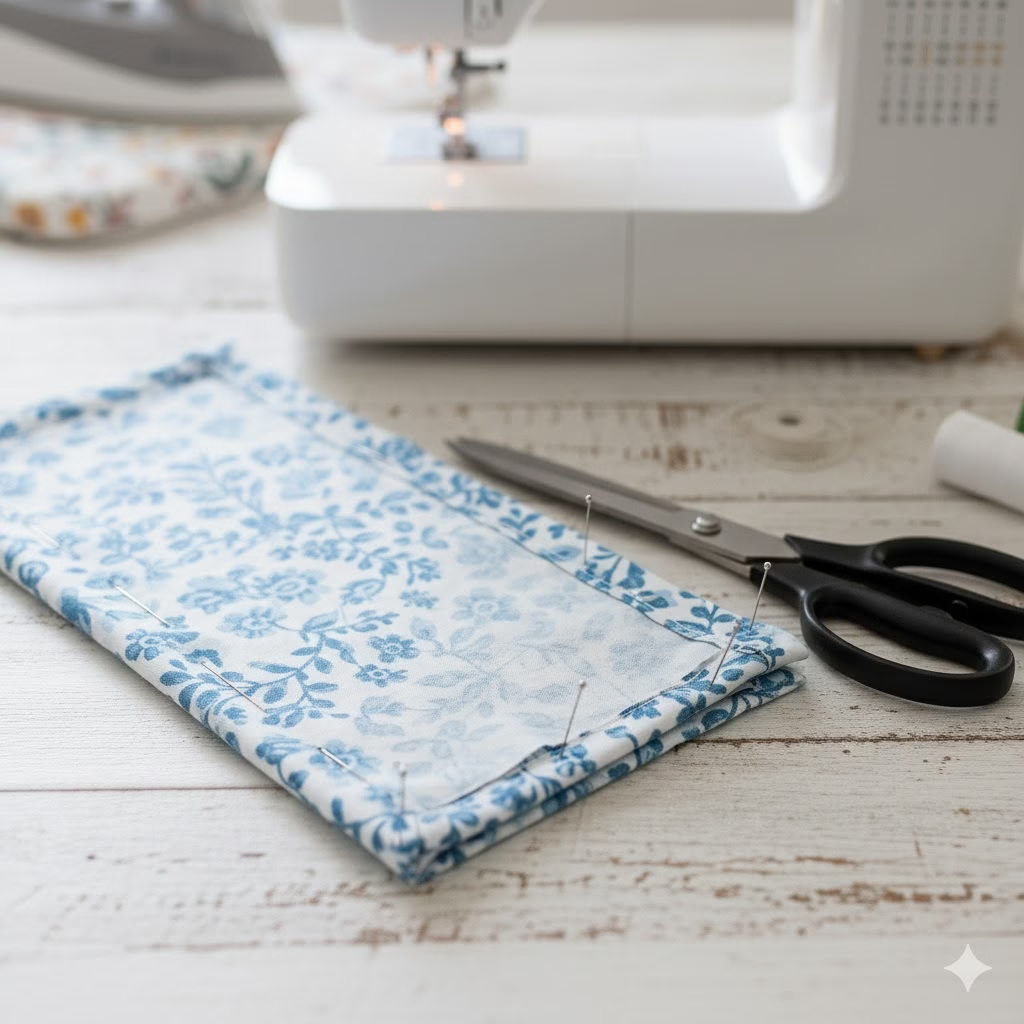
Step 4: Create the Drawstring Casing
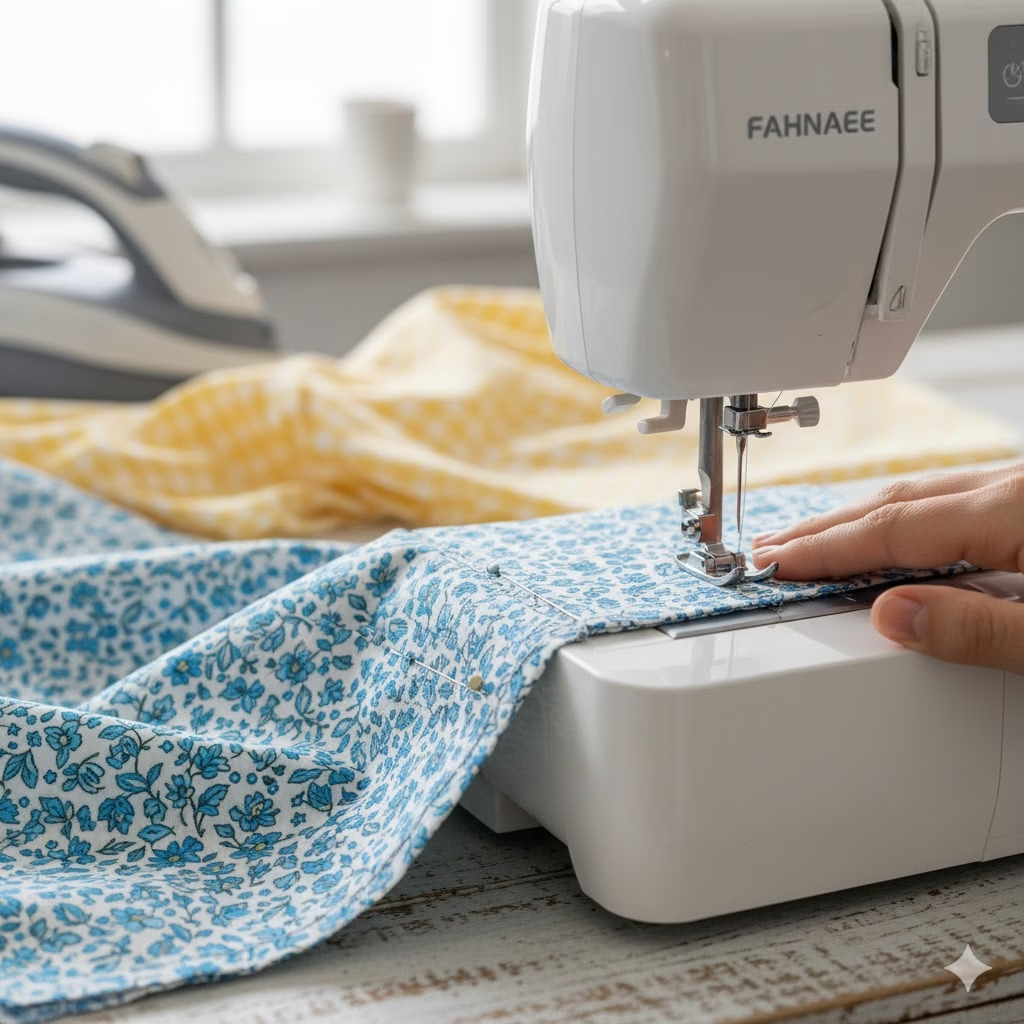
- Turn your bag right side out.
- At the top opening of your bag, fold the hemmed edge down towards the inside of the bag by about 1 inch (or enough to accommodate your drawstring material, plus a little extra for the seam). Press firmly.
- Stitch this casing down, about 1/8 inch from the bottom folded edge. Make sure not to stitch the casing closed at the top where the drawstring will exit! You want a channel for the drawstring to go through. Leave a small opening (about 1/2 inch) in the side seam of the casing for the drawstring to enter and exit. This is usually created by backstitching, leaving a gap, and then starting to stitch again.

Step 5: Thread the Drawstring
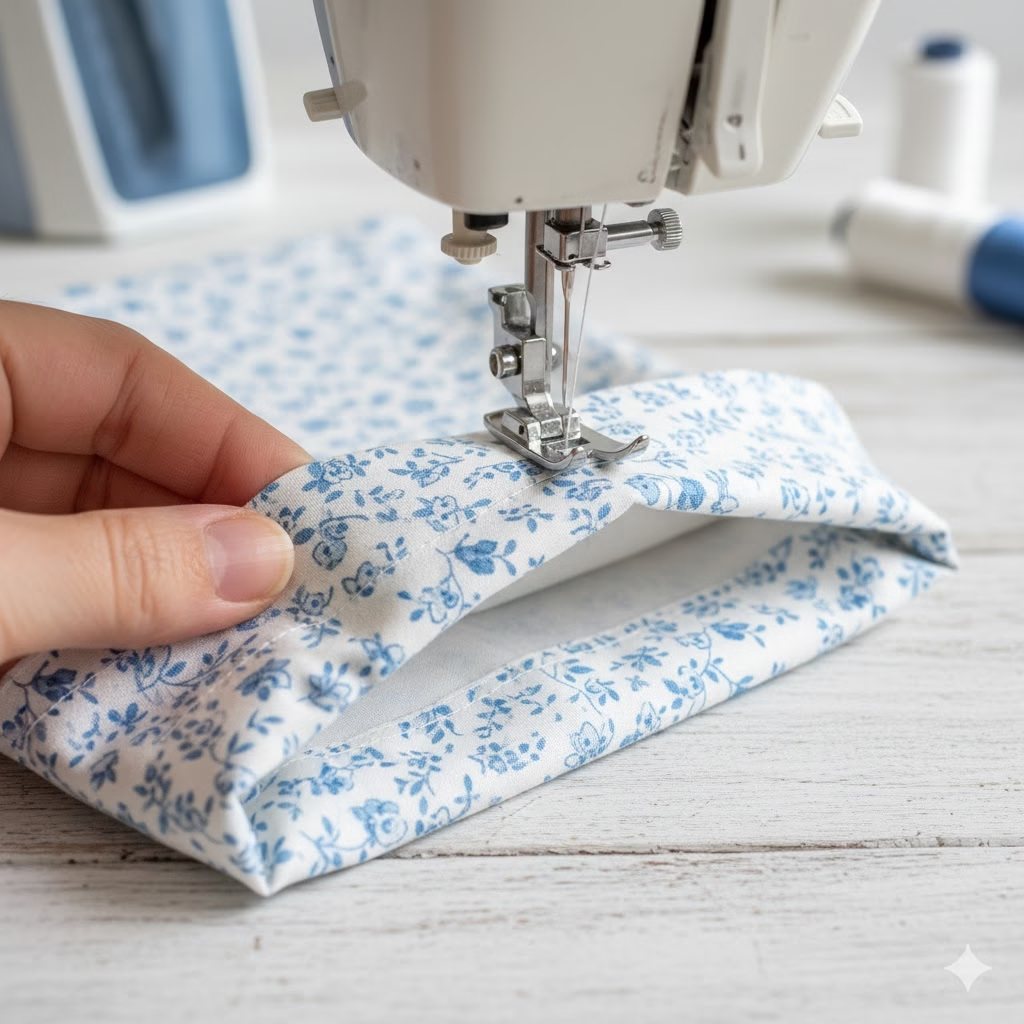
- Cut a piece of drawstring material about 25-30 inches long (this allows for a bow).
- Attach a safety pin to one end of your drawstring.
- Thread the safety pin, with the drawstring following, through the opening you left in your casing. Work it all the way around the top opening of the bag until it emerges from the same opening.
- Tie the two ends of the drawstring together in a knot. Now you have a functional drawstring!
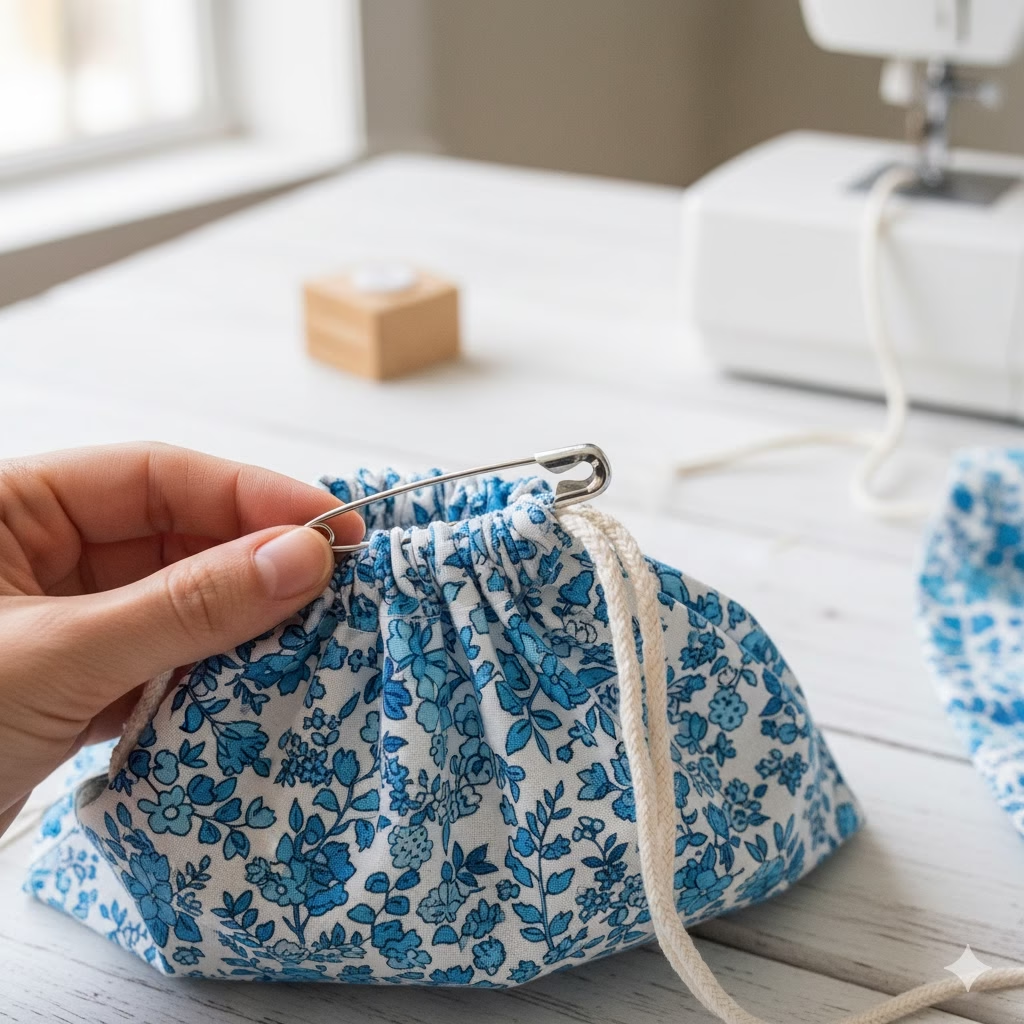
Congratulations! You’ve made your first zero-waste produce bag!
Part 2: How to Make a Simple Mesh Produce Bag (For Breathability!)
Mesh bags are fantastic for fruits and vegetables that need to breathe. The process is very similar to the cotton bag, with a few key differences due to the nature of the fabric.
Step 1: Prepare Your Mesh Fabric
- Cut a rectangle of mesh fabric, again around 15 inches wide by 30 inches long for a medium bag.
- Mesh can be slippery! Take your time and use lots of pins or fabric clips.
Step 2: Fold and Sew the Side Seams
- Fold the fabric in half width-wise, right sides together.
- Pin along the two raw side edges and the bottom raw edge.
- Sew down the side, across the bottom, and up the other side, using a 1/2-inch seam allowance.
- Important for Mesh: Mesh often doesn’t fray, but if your mesh is delicate, consider using a French seam for cleaner, stronger edges. A French seam involves sewing the seam twice: first with wrong sides together (1/4 inch seam), then trimming, turning right sides together, and sewing again (1/4 inch seam) to encase the raw edges. For a beginner sewing project, a simple straight stitch with a small zigzag over the raw edge after the main seam is usually sufficient to prevent unraveling.
Step 3: Create the Drawstring Casing
- At the top opening of your bag, fold the raw edge down towards the inside of the bag by about 1/4 inch and press (mesh might not hold a press well, so pin well).
- Fold it down again by about 3/4 inch to create the casing. Pin liberally.
- Stitch this casing down, about 1/8 inch from the bottom folded edge. Leave an opening for your drawstring.
- Since mesh can be tricky, a zigzag stitch might work better than a straight stitch for the casing to allow for stretch and reduce puckering.
Step 4: Thread the Drawstring
- As with the cotton bag, cut your drawstring (cotton cord or ribbon works well here) about 25-30 inches long.
- Use a safety pin to thread it through the casing, emerging from the same opening.
- Tie the ends together.
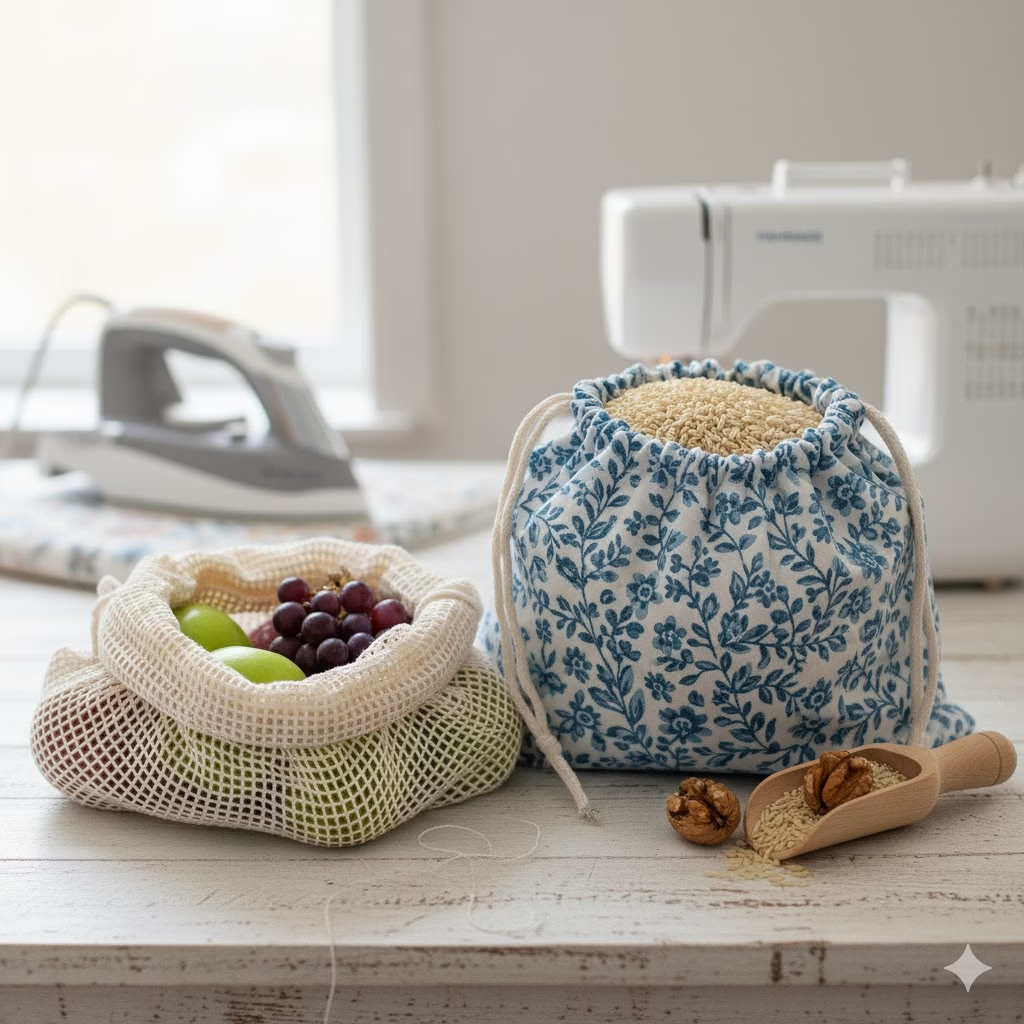
Tips for Success (Especially for Beginners!)
- Practice Makes Perfect: Don’t expect your first bag to be flawless. Each one you make will get better.
- Press Your Seams: This is a golden rule in sewing. Pressing seams open or to one side creates a much neater and more professional-looking finish.
- Use the Right Needle: A universal needle is fine for most cottons. For mesh, a finer needle (like a sharp or microtex) might glide through better without snagging.
- Don’t Rush: Take your time with measuring, cutting, and pinning. Precision here saves headaches later.
- Backstitch! Always backstitch at the beginning and end of each seam to lock your stitches in place.
- Don’t Be Afraid of Imperfection: Handmade items have character. Embrace it!
Beyond Produce Bags: Other Zero Waste Bag Ideas
Once you master this beginner sewing project, a world of zero-waste possibilities opens up!
- Bread Bags: Larger, sturdier cotton bags for loaves of bread.
- Bulk Bin Bags: Larger, perhaps with a flat bottom, for heavier items like rice, flour, or pasta. You can even add a small patch to write the tare weight (weight of the empty bag) on.
- Sandwich Wraps/Snack Bags: Lined with food-safe material (like PUL or beeswax-coated fabric) for reusable alternatives to plastic baggies.
- Gift Bags: Fabric gift bags are beautiful, reusable, and eliminate wrapping paper waste.
- Everyday Tote Bags: Use heavier canvas or denim for a sturdy reusable shopping bag.
Conclusion: Your Sustainable Journey Starts Now
Congratulations, eco-warrior! You’ve not only learned a new skill but you’ve also taken a significant step towards a more sustainable lifestyle. Making your own zero-waste bags is incredibly rewarding, practical, and a fantastic beginner sewing project that builds confidence and creativity.
Every time you pull out one of your handmade bags at the grocery store, you’re doing more than just carrying groceries. You’re making a statement, inspiring others, and actively reducing your environmental footprint. So, keep sewing, keep creating, and keep making a positive impact, one stitch at a time. The planet thanks you, and so do future generations!
FAQ Section
Q1: What kind of fabric is best for beginner sewing projects like these?
A1: For cotton produce bags, quilting cotton, muslin, old cotton sheets, or even repurposed cotton shirts are ideal. They are easy to cut, don’t stretch, and hold a press well. For mesh bags, look for lightweight, soft mesh, old sheer curtains, or even laundry bags.
Q2: I don’t have a sewing machine. Can I hand sew these bags?
A2: Absolutely! It will take longer, but a simple backstitch (which mimics a machine stitch) is strong enough. Just ensure your stitches are even and relatively small for durability.
Q3: How do I wash my zero-waste bags?
A3: Most cotton and mesh bags can be machine washed in cold water with similar colors and then air-dried or tumble-dried on low. For items that held very dirty produce, a pre-soak might be helpful. Avoid fabric softeners as they can reduce absorbency and breathability over time.
Q4: Can I make these bags in different sizes?
A4: Yes, definitely! The beauty of DIY is customization. Simply adjust your initial fabric rectangle dimensions. For small bags, try 10×20 inches; for large, 20×40 inches. Remember the length is twice the height you want your finished bag to be.
Q5: What if my fabric frays a lot?
A5: If your fabric is prone to fraying, you have a few options:
- French Seams: This is a very neat finish that encases all raw edges.
- Zigzag Stitch: After sewing your main straight seam, trim the seam allowance and then zigzag over the raw edge.
- Pinking Shears: These scissors create a zigzag edge that helps reduce fraying.
- Serger/Overlocker: If you have one, this is the most professional finish.
Q6: What else can I use for the drawstring?
A6: Besides cotton cord, you can use thin ribbon, bias tape, old shoelaces, or even create a narrow fabric tube from the same fabric as your bag. Elastic can also be used, but you’ll want to stitch it into a loop before threading.
References
Recent Posts


