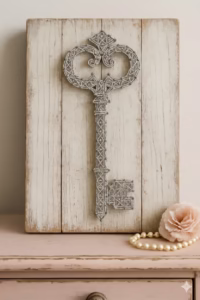
Are you looking for that perfect centerpiece? The one piece that instantly adds texture, drama, and a touch of expensive elegance to your dining table or mantle, but without the high price tag? You have found it! This cardboard craft project takes the simple, often thrown-away cardboard yarn cone and turns it into a stunning, quality mosaic candle pedestal.
This DIY is inspired by high-end decorator items that feature shimmering mother-of-pearl or elegant glass tiling. You can easily get that beautiful, opulent look using materials that are surprisingly affordable and simple to find.
This guide will show you how to transform what looks like trash into pure treasure. We will cover every step, from preparing your cardboard base to carefully placing each shining mosaic tile. The result will be a stable, beautiful piece that you will be proud to show off for many years.
The Design: Creating an Expensive Look
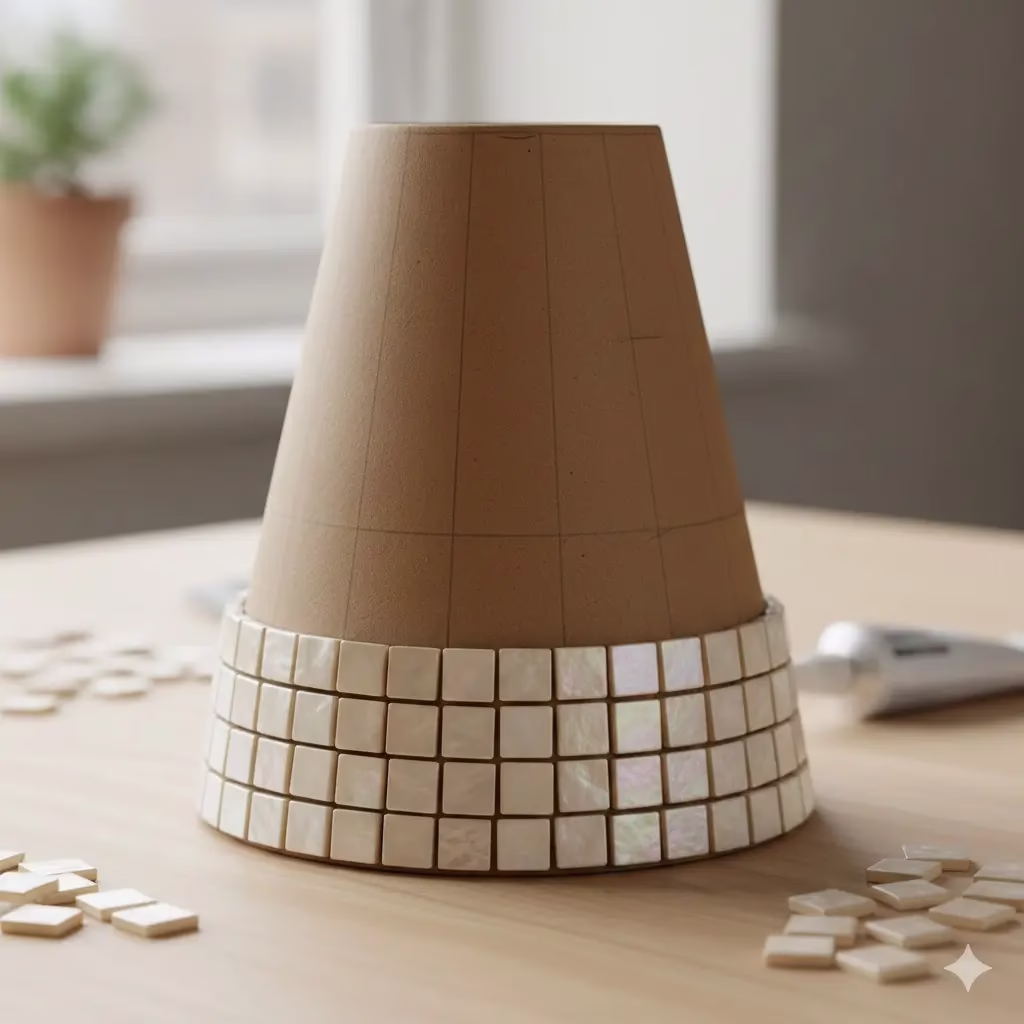
The appeal of this cardboard crafts pedestal comes from its classic inverted cone shape, which is very stable, and its sparkling, tiled surface. The main secret to making this piece look expensive is the tiles you choose. Using small, square, off-white, or pearlescent tiles mimics the soft glow of natural mother-of-pearl. This gives the finished piece a luxurious, heavy feel. Once complete, the mosaic pedestal catches the light beautifully, making the candle flame look even warmer.
Gathering Your Supplies
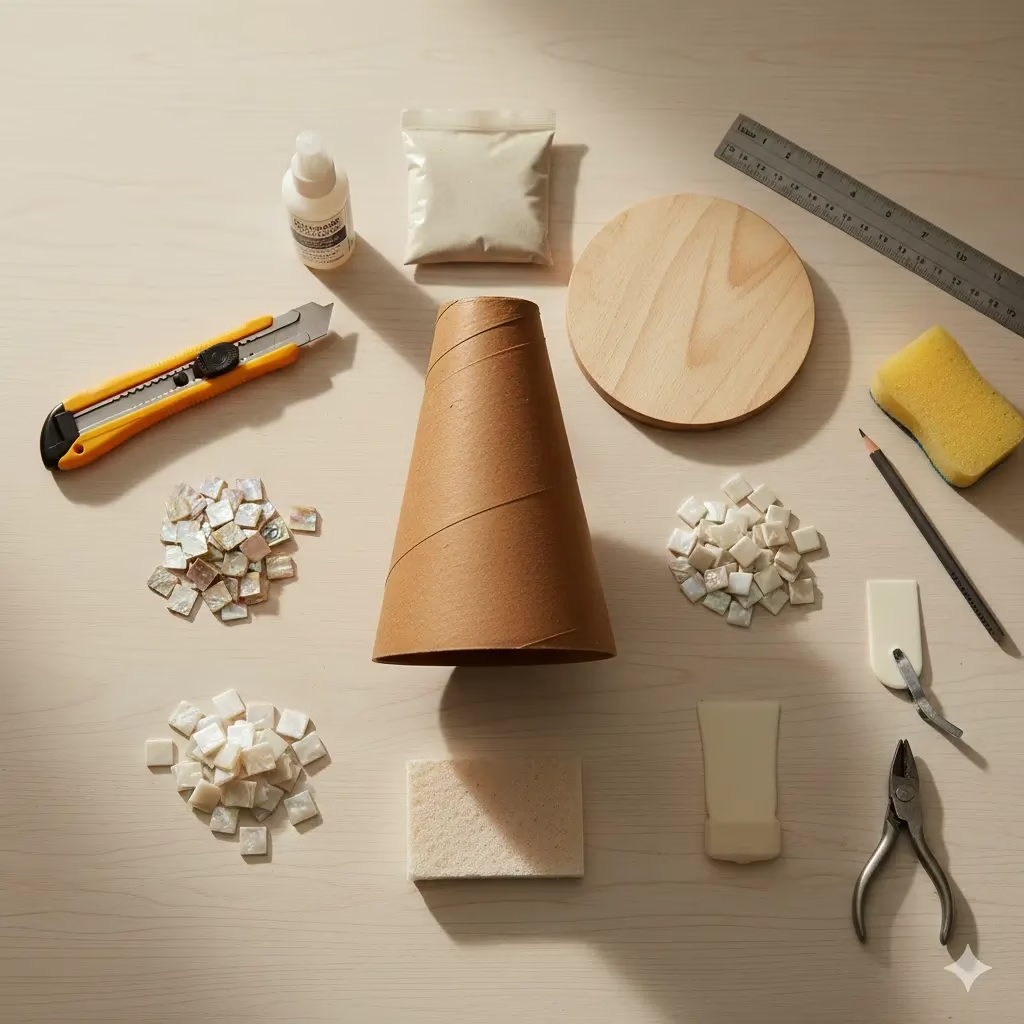
Before you start this detailed cardboard craft piece, make sure you have all your materials ready. The quality of your materials, especially the glue and the base, will affect how long your finished piece lasts and how good it looks.
Essential Materials List
- The Base Structure: You need a sturdy inverted cone shape. The easiest option is a heavy-duty cardboard yarn cone (the kind industrial thread is wrapped around). If you cannot find one, a pre-cut foam or wood cone base, adjusted to the right height and angle, will also work well. If you use cardboard, check that it is clean, dry, and strong.
- The Tiling Material: You need small square mosaic tiles. For the look in the picture, choose tiles that are very small (about one-quarter inch or less) and have a shimmering, iridescent, cream, or light gold finish. You can use glass, thin mother-of-pearl pieces cut into squares, or even high-quality plastic resin tiles. The number of tiles you need depends on the size of your cone.
- The Top Platform: This is a flat, circular piece of strong material to hold the candle. It should be made of thick cardboard, wood, or dense plastic. The size must be wide enough to safely hold the pillar candle you plan to use, with a small border around the edge for extra safety.
- Adhesive: Use a high-strength, waterproof glue or mosaic cement. It must be able to stick your chosen tiles firmly to your cone material (cardboard or wood). Make sure the glue grabs quickly to stop the tiles from sliding down the cone’s slope.
- Grout (Recommended): Use a pre-mixed or mixable grout in a very light, neutral color, such as white, bone, or pale grey. Grout fills the spaces between the tiles. It also makes the piece stronger and gives it a professional look. If you place your tiles right next to each other with no gaps, you can skip this.
- Sealer: If you use grout, a grout sealer is important to stop stains. If you plan to use a real wax candle, applying a clear coat sealer over the entire tiled surface can make cleanup easier later.
- Candle: Use a pillar candle or a battery-operated LED candle. A Note on Safety: If you use a real flame candle, ensure your top platform is completely non-flammable (like wood or thick, fully cured composite) and wide enough to catch any dripping wax.
Tools You Will Need
- Utility Knife or Box Cutter: Use this for shaping the cardboard cone and cutting out the top disc.
- Ruler and Pencil: For measuring and marking the cone and the top disc accurately.
- Sandpaper: Use fine-grit sandpaper to smooth the edges of the top platform.
- Grouting Tools: You will need a small rubber spatula or trowel to spread the grout, and a damp sponge to wipe away the extra grout.
- Paper Towels and Rubbing Alcohol: Keep these handy for cleaning up any stray glue or preparing the surface.
- Tile Nippers (Optional): If you need to cut tiny pieces of tile near the top for a perfect fit, a small pair of nippers made for mosaic tiles will be very helpful.
Sourcing the Perfect Pearlescent Tiles
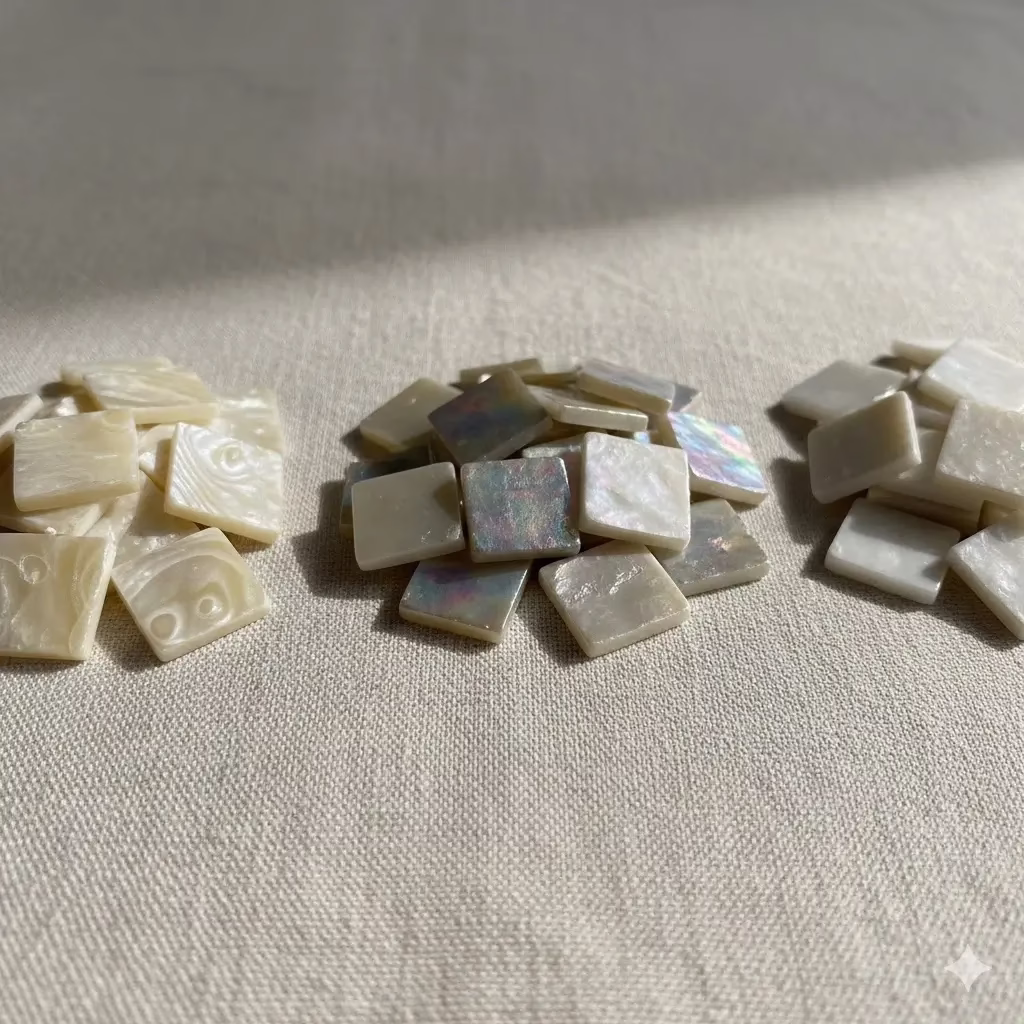
The entire “high-end” feel of this project relies on choosing tiles that have that soft, shimmering finish, just like real mother-of-pearl. Here are the best material choices and where you can find them:
Genuine Mother-of-Pearl Tiles
For the most authentic and luxurious look, real shell tiles are the top choice. These tiles are made from the inside layer of a shell, called nacre. They have a natural, swirling shine that is impossible to fully copy.
- Where to Find Them: Look online at stores that sell mosaic craft supplies. They often sell small bags of loose tiles in sizes like ten millimeter squares, which are ideal for small, curved projects like this cone. You can also check specialty tile stores that sell large sheets of mother-of-pearl backsplash tile. Even though a full sheet is expensive, you can cut it into strips or individual squares for your project. This might actually be cheaper per tile than buying small craft bags. Look for colors called “White,” “Natural,” or “Iridescent White.”
Iridescent Glass Mosaic Tiles
This option is great and often costs less. Iridescent glass tiles create a similar effect using a metallic coating baked onto the glass surface.
- Where to Find Them: Check large craft stores and online mosaic sellers. They carry small glass tiles, sometimes clear or opaque, that come in iridescent finishes. You can often buy these tiles in loose packages or in small sheets attached to a mesh backing. Look for tiles described as “Iridescent,” “Pearl Lustre,” or “Metallic Mix” in light colors like cream, white, or pale beige. Glass tiles often catch the light strongly, giving your piece a bright, glamorous sparkle.
Flexible Shell Veneer Sheets
For a project that is fast and simple, think about using mother-of-pearl veneer sheets. These are super-thin sheets of real shell, sometimes with an adhesive backing or attached to mesh.
- Where to Find Them: You might find these at stores that sell supplies for detailed woodworking or inlay crafts. They usually come in flat sheets that you can cut with sharp scissors or a utility knife. The best thing about these is that you can cut long strips to wrap continuously around the cone. This reduces the number of visible seams between individual pieces. If you use these, make sure your glue is strong enough to hold the thin veneer firmly to the curved cardboard.
Iridescent Paint on Simple Tiles
If you need to keep costs low, another trick is to use simple, flat white craft tiles. You can paint them with an iridescent medium or a pearl-finish paint before you glue them down. This adds an extra step but gives you total control over the final shine. Just make sure the paint is sealed with a clear, glossy coat to protect the finish before you start grouting.
Step One: Preparing and Stabilizing the Base
The finished piece will only be stable if you prepare the cone base well and attach the candle platform securely.
Shaping the Cone
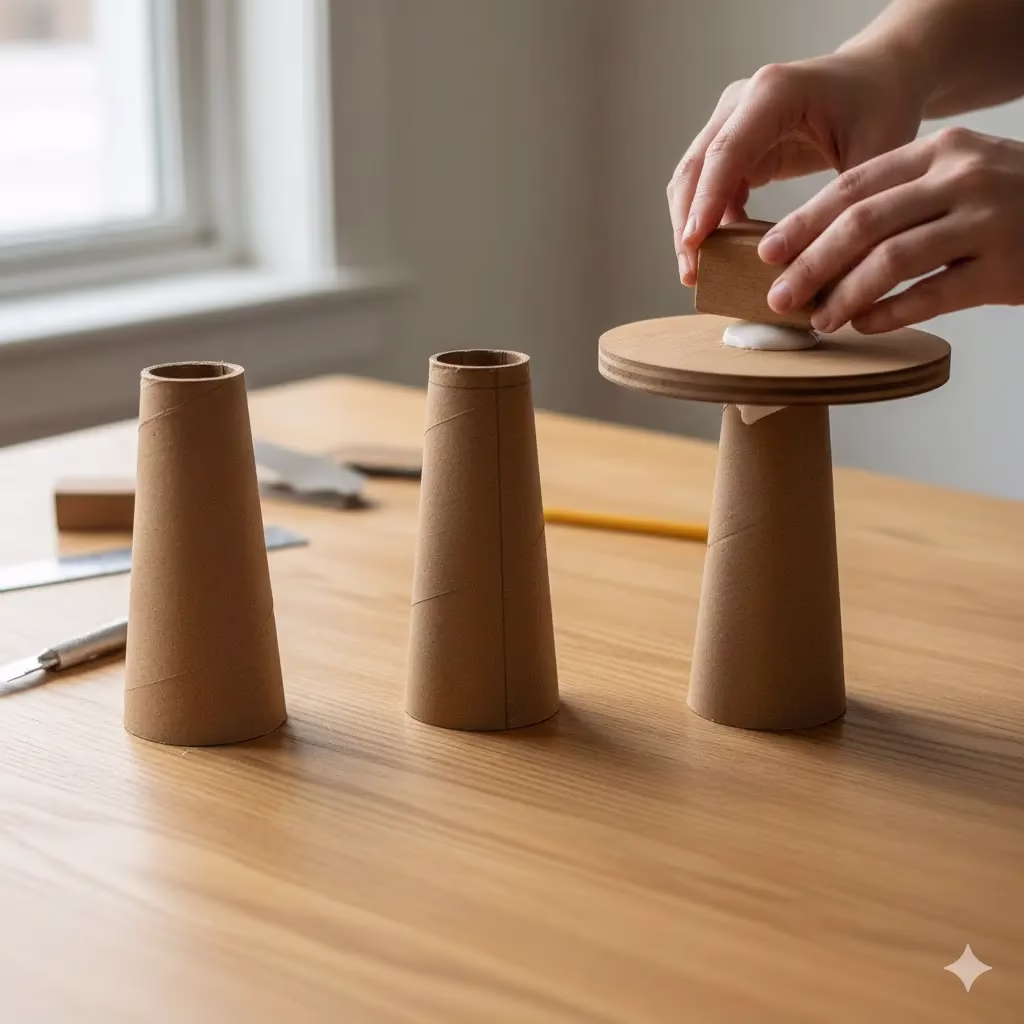
Start with your inverted cone. Most industrial yarn cones are narrow at the top and wide at the bottom.
First, decide how tall you want your finished pedestal to be. Use a ruler and pencil to mark the spot where you need to cut the cone if the current shape is too tall or too skinny. Use a sharp utility knife to carefully cut the cardboard. Make sure the top and bottom cuts are perfectly flat and straight across the cone. This is vital so the final piece sits straight and level. Use fine sandpaper to smooth any rough edges on the cardboard. Wipe off any dust or grit, as it can stop the glue from sticking well.
Making and Attaching the Top Platform
The top platform needs to be strong enough to hold the candle without wobbling.
Measure the narrow diameter of the cone’s top opening. You need a circle of material that is slightly wider than this opening, and also wider than the candle you plan to use. A good size for a standard pillar candle is between four and six inches across.
Draw the desired size onto your wood, thick plastic, or dense cardboard. Carefully cut out the circle using a utility knife or a saw. Use sandpaper to smooth all the edges of the circle until they are perfectly round and flat.
Apply a thick, even layer of your strong adhesive to the top opening of the cone. Carefully center the newly cut platform disc on the glue and press it down hard. Place something heavy (like a large book) on the top disc and let the glue dry completely. This curing time is extremely important—do not rush this step, because the stability of the whole project relies on this strong bond. We recommend letting structural glue dry for a full twenty-four hours.
Step Two: The Art of Mosaic Tiling
Tiling is the stage where being patient and accurate pays off, turning the simple cone into a shimmering masterpiece. This is the longest part of the project. You will work from the bottom up, making sure each row is perfectly straight.
Starting the First Row
Start at the widest part of the cone—the bottom edge. This first row sets the standard for all the rows that follow.
Apply a thin, even layer of adhesive to a small section of the cone near the bottom edge. Work on about a quarter of the cone’s circle at a time. Do not try to glue the entire cone at once, as the glue will dry before you can place all the tiles.
Start placing your first row of tiles. Line up the bottom edge of the tiles with the bottom edge of the cone. Press each tile firmly into the glue. The tiles should either touch each other lightly or have a very small, even space between them. If you leave a space for grout, make sure that space is exactly the same size all the way around the cone. Continue placing tiles until the entire bottom edge is covered with the first row. Use a ruler often to check that the top edge of this first row is level all the way around the piece.
Adding More Rows
Once the first row is secure and has started to set (this helps stop the tiles from sliding down the slope), begin the second row directly above the first.
Because the cone slopes and gets smaller at the top, you will notice that the space available for the tiles slightly shrinks with each row. This is the biggest challenge when tiling a cone. You have two choices: you can keep the space between the tiles the same and end up with a wider gap at the end of the row, or you can slightly reduce the space between tiles as you move up the cone. For a smooth, beautiful finish, slightly reducing the space between tiles as you move up is usually the better choice.
Apply glue for each row separately. Work slowly and focus on keeping the horizontal lines straight as you wrap the tiles around the cone. Because of the cone’s angle, the top rows will naturally have fewer tiles than the bottom rows. This means you must be careful with alignment in each new row so that the vertical lines of the tile columns look as straight as possible, even with the cone’s curve.
Finishing the Tiling
Keep adding rows until the tiled surface meets the edge of the top platform disc. You might need to use your tile nippers to carefully cut the tiles in the top row. This ensures you get a perfectly clean, straight line right next to the circular platform. You can use a file or sandpaper to smooth the rough edges of any tiles you cut before you glue them down.
Allow the entire tiled surface to dry for at least twenty-four to forty-eight hours. The tiles must be completely solid and impossible to move before you go to the next step.
Step Three: Grouting and Finishing the Mosaic
Grouting is the step that makes the mosaic look professional, smooth, and complete. It blends the individual tiles into one solid surface. It also protects the cardboard base and holds all the tiles securely in place.
Applying the Grout
Once the glue is totally dry, mix your grout according to the instructions on the package. If you chose a sanded grout, check that the gaps between your tiles are wide enough for the sand particles. If the gaps are very small, or if there are no gaps, you need to use an unsanded grout.
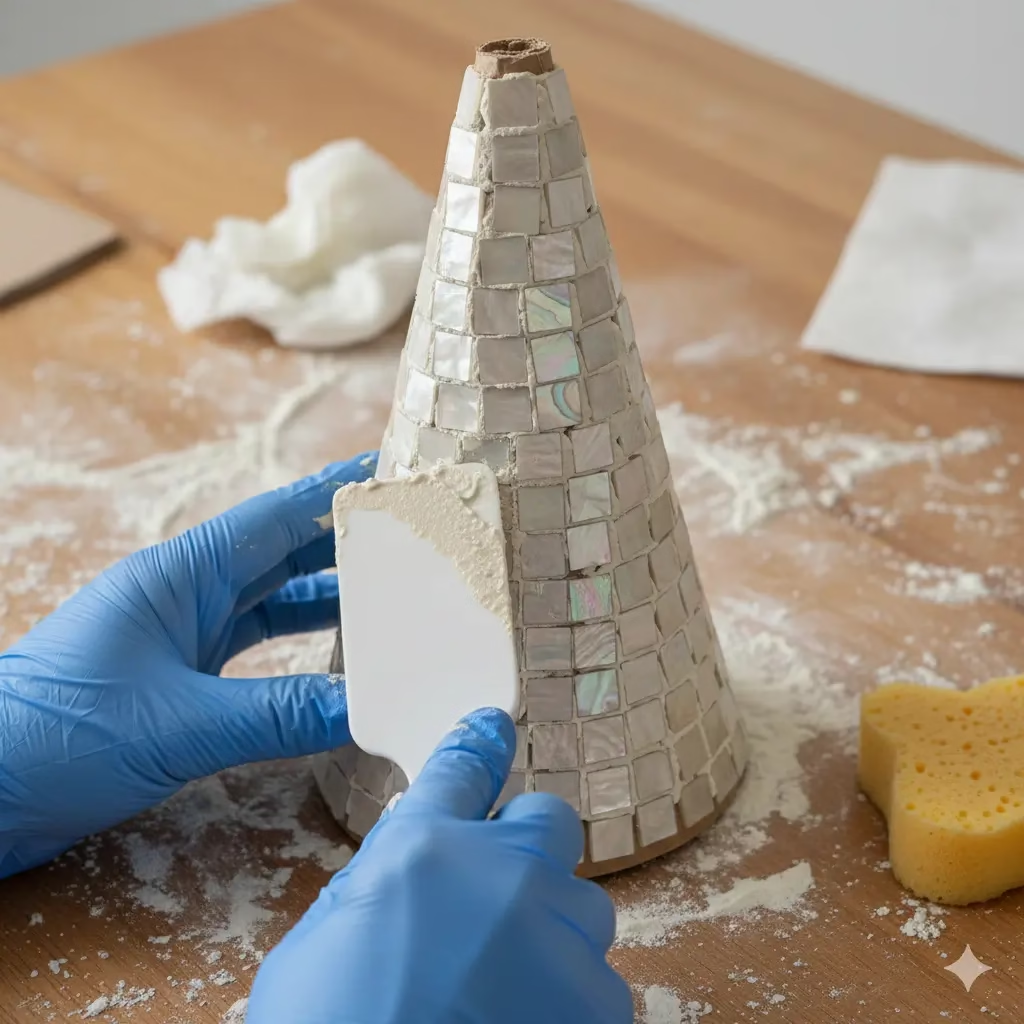
Use a small rubber spatula or trowel to scoop up some grout. Press it firmly into all the gaps between the tiles. Work in small areas, making sure the grout fills every empty space. The goal is to make the grout level with the surface of the tiles, creating a smooth line.
Cleaning and Polishing
As soon as you finish grouting a section, start the cleanup process right away.
Take a damp (not soaking wet) sponge and wipe the surface of the tiles diagonally across the grout lines. This action cleans the tile surface without pulling the wet grout out of the gaps. Wash the sponge often in a separate bucket of water. Repeat this until the tile surfaces are mostly clean.
After the entire cone is grouted and cleaned with the damp sponge, let the grout sit for about an hour. A cloudy film, called “grout haze,” will form on the tiles.
Use a piece of dry cheesecloth or a soft, dry rag to gently rub the tiles. This removes the haze and polishes the tile surfaces until they shine. This polishing step is key to making the pearlescent finish truly stand out. Be careful not to accidentally remove any grout during this final buffing.
Curing and Sealing
Allow the grout to cure completely as directed by the manufacturer. This can take up to seventy-two hours. Try not to touch or move the pedestal much during this time.
After the full curing time, apply the grout sealer. This is strongly recommended because it protects the light-colored grout from dirt, dust, and any candle wax that might drip. Follow the instructions for the sealer product. You will usually brush it over the grout lines and wipe away any excess from the tile surface. A good quality sealer will make your candle pedestal last longer and keep it beautiful.
Step Four: The Final Assembly and Display
Your beautiful mosaic cone pedestal is now finished. The last steps are setting up your display.
Place your chosen pillar candle or battery-operated LED candle securely on the top platform. The wide, flat disc should make it very stable.
To copy the elegant table setting shown in the inspiration picture, arrange several simple brass or golden candlestick holders around the base of your new pedestal. You can use holders of different heights. This arrangement adds visual interest and blends the metallic texture with the shine of your mosaic.
Place your creation on a dark wood table or against a richly textured fabric to make the colors pop. This will emphasize the warm glow of the candle, immediately upgrading your space with a centerpiece that looks like it came from an expensive boutique. This simple cardboard craft has truly become a statement piece of luxury and personal style.
References
- NIH – The effects of crafts‐based interventions on mental health
- Healthline – Crafts for older adults: Benefits and ideas
Recent Posts