We all have that pile—the collection of formerly beloved sweaters relegated to the back of the closet because of a missing button, a small hole, or simply because they feel a bit dated. I know the feeling; my own closet has housed retired knits for years, waiting for a second chance. It’s surprisingly cathartic to take something old and transform it into something you genuinely love and use again. This guide to Sweater Refashion is for anyone ready to give their favorite fabrics a new life, proving that true style is sustainable and creative.
Introduction: The Power of Sweater Refashion
In an era increasingly focused on sustainability and mindful consumption, the concept of sweater refashion moves beyond a simple trend; it’s a practical commitment to reducing textile waste. Old sweaters, whether wool, cashmere, acrylic, or a cotton blend, are treasure troves of high-quality fabric. They offer texture, warmth, and often unique colors or patterns that are hard to find in new yardage.
The beauty of upcycling knitwear lies in its versatility. A sweater’s inherent stretch and soft texture make it ideal for a wide range of projects, from practical home goods to fashionable accessories and wearable art. This guide delves into ten distinct, must-try DIY projects that will breathe new life into your retired garments. We will cover everything from simple, no-sew fixes to more involved transformations, ensuring there’s a project for every skill level.
10 Must-Try Sweater Refashion DIY Projects
The following projects utilize different parts of the sweater—sleeves, body, cuffs, and neckline—to create something entirely new. Remember, before starting any project involving wool or cashmere, felting the garment by washing it in hot water and drying it on high heat can make cutting and sewing much easier by preventing fraying.
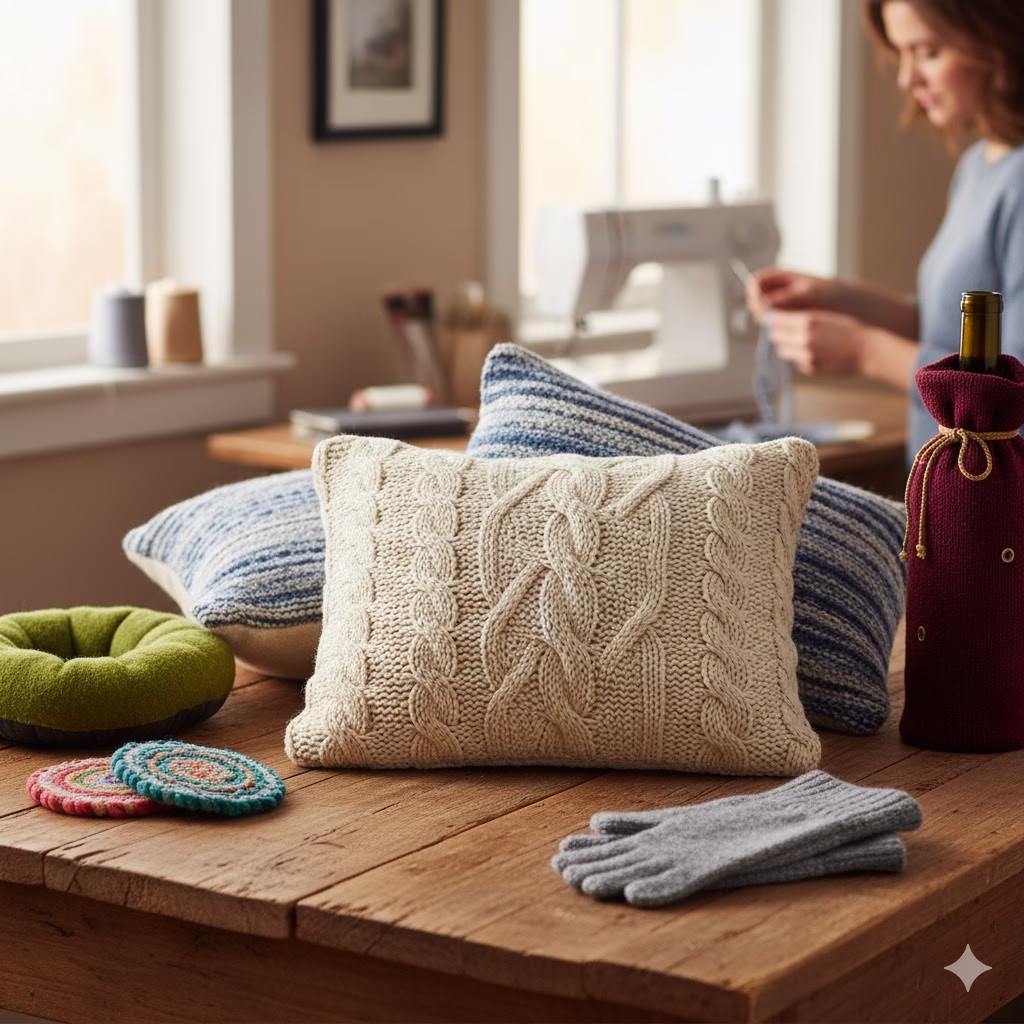
Project 1: Cozy No-Sew Throw Pillow Covers
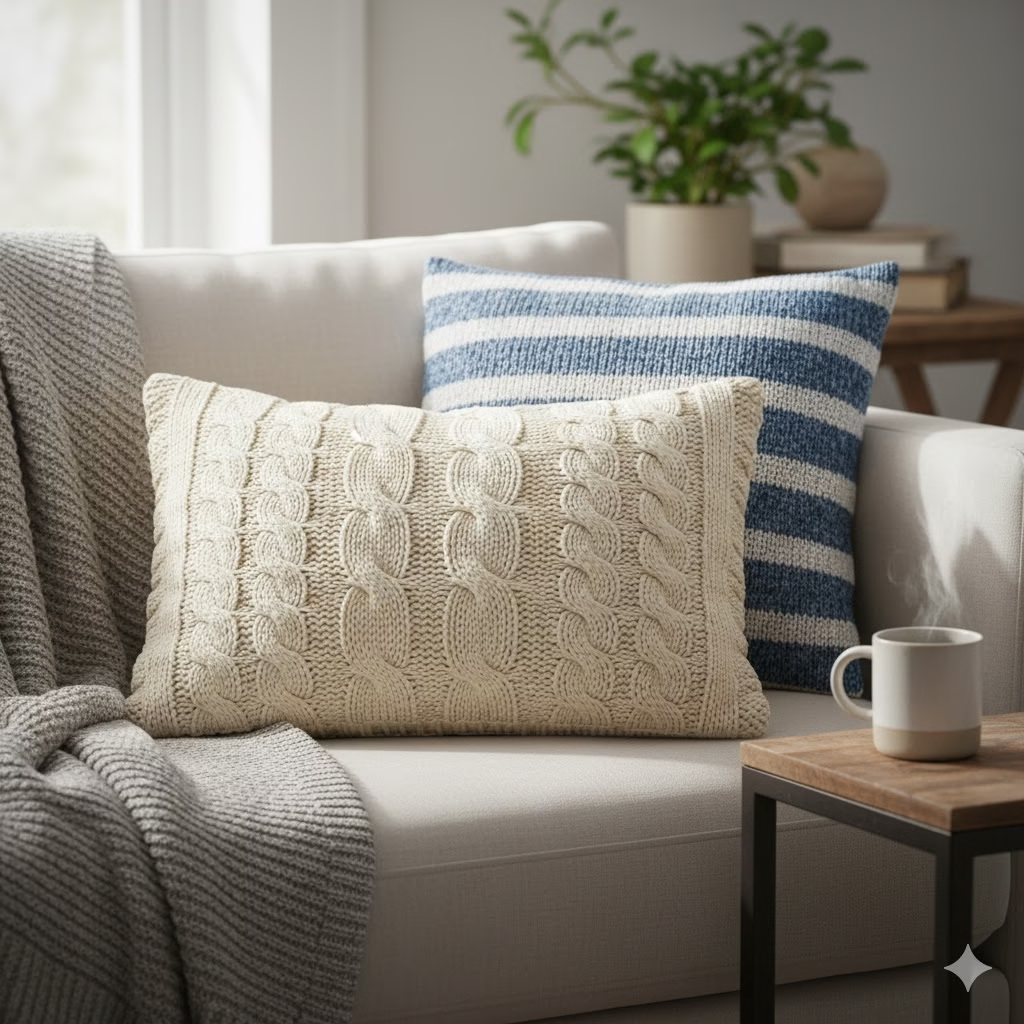
Pillows add instant warmth to any room, and a sweater cover offers that perfect, hygge texture. This is one of the easiest entry points into sweater refashion.
Materials Needed:
- One large sweater (the body section is ideal)
- Pillow form insert
- Sharp fabric scissors
- Hot glue gun (optional, for sealing edges if preferred over sewing)
How to Do It:
- Lay the sweater flat. Decide how large your pillow form is. You will be using the main body of the sweater.
- Cut across the sweater horizontally, just below the armpits. You should have a top section (with the neck/shoulders) and a bottom section. We will use the bottom section for this tutorial.
- Turn the sweater body inside out.
- Insert the pillow form. You want the sweater fabric to be taut but not overly stretched around the pillow.
- Pin the raw bottom edge shut, overlapping the two sides of the raw cut slightly.
- If you are sewing, stitch a straight line across the pinned edge. If you are using hot glue, apply a thick, continuous line of glue along the pinned seam and press firmly until dry.
- Turn the cover right side out, fluff the pillow, and insert it. The existing bottom hem of the sweater often serves as a neat, finished edge!
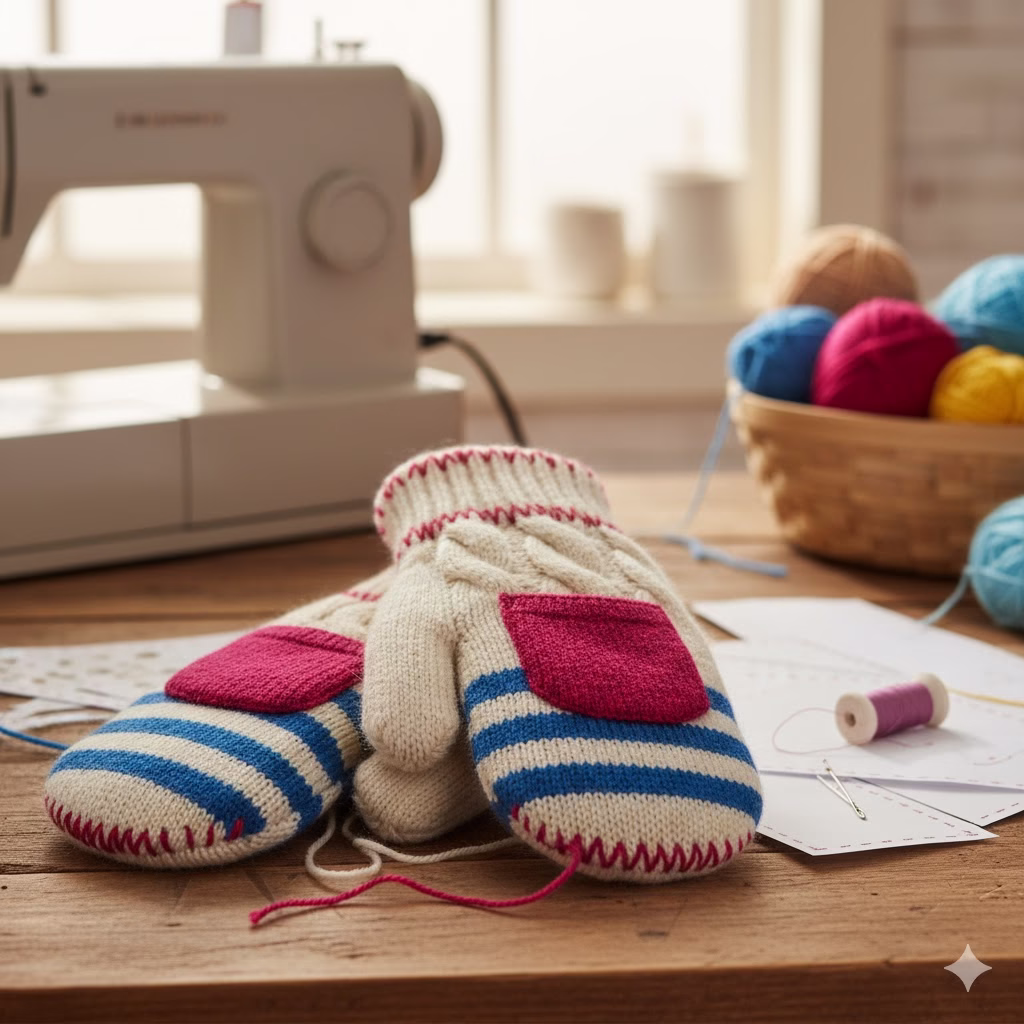
Project 2: Fingerless Gloves or Mittens
Utilizing the sleeves of a sweater is a classic sweater refashion technique. Fingerless gloves are perfect for keeping hands warm while allowing typing or dexterity.
Materials Needed:
- One long-sleeved sweater
- Scissors
- Needle and matching yarn (if desired for finishing)
How to Do It:
- Lay the sweater flat and cut off one sleeve near the armpit seam. Repeat for the other sleeve.
- Take one sleeve. Decide where you want the bottom edge (near your wrist) to fall. Usually, the original cuff makes a great wristband.
- Measure where your thumb will emerge. This is the trickiest part. Lay the sleeve on your forearm with the natural curve of the elbow pointing down. Mark a point about 1 to 2 inches below the thumb joint when your hand is relaxed.
- Carefully cut a small vertical slit, about 1 inch long, at this marked point.
- To prevent unraveling, use a small running stitch with matching yarn around the edge of this thumb-hole opening. This gives it a clean, professional finish.
- Repeat for the second sleeve. The existing sleeve opening becomes the hand hole.
Project 3: Adorable Pet Bed Liner
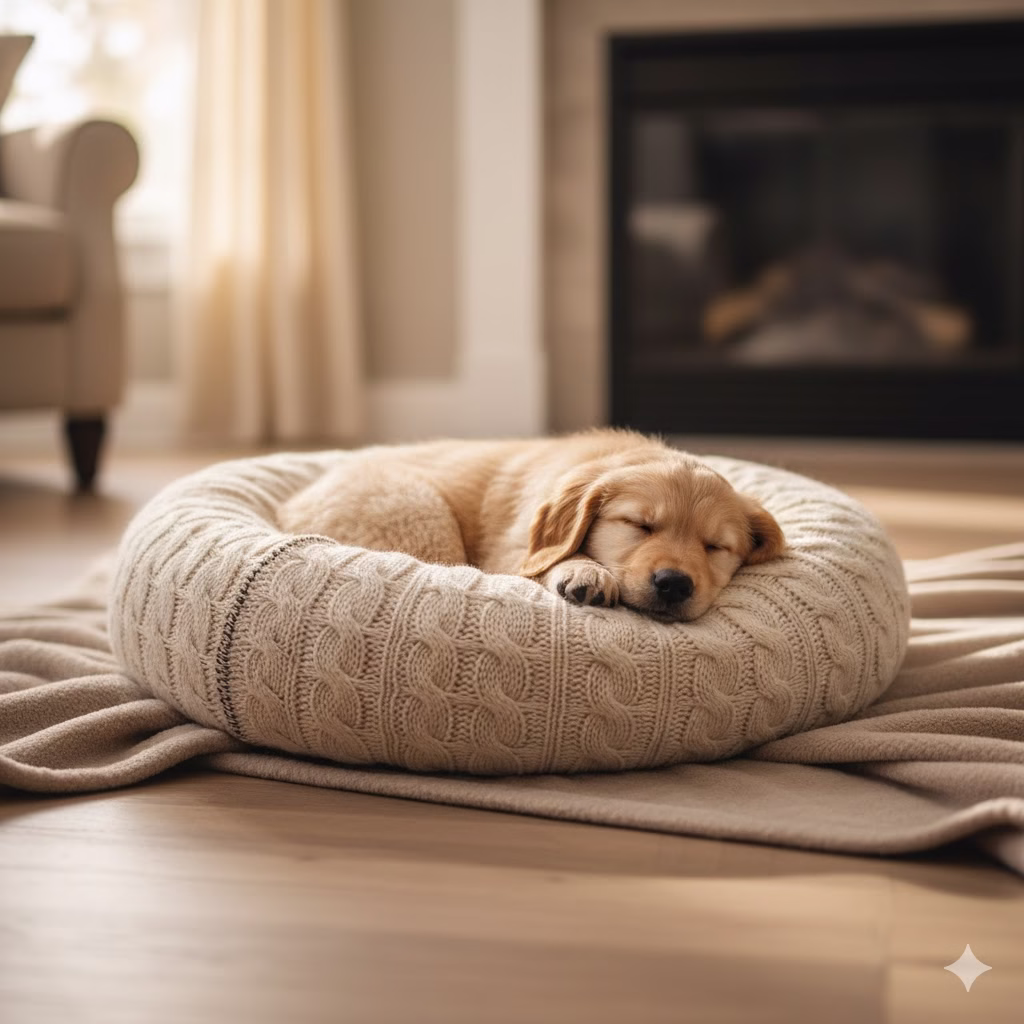
For pet lovers, this is a fast way to provide a soft, washable sleeping surface for small dogs or cats.
Materials Needed:
- One very large, thick sweater or two medium sweaters
- Stuffing (old pillow stuffing, fabric scraps, or poly-fill)
- Needle and strong thread
How to Do It:
- Cut the bottom section of the sweater off, just below the armpits, keeping the bottom hem intact.
- Fold the cut edge over to create a finished border, or leave it raw if you plan to tuck it under.
- Stuff the sweater body firmly with your chosen material until it resembles a soft doughnut shape.
- Use a sturdy whipstitch to close the open, cut edge securely. Pay extra attention to making this seam strong, as pets can be rough on their beds!
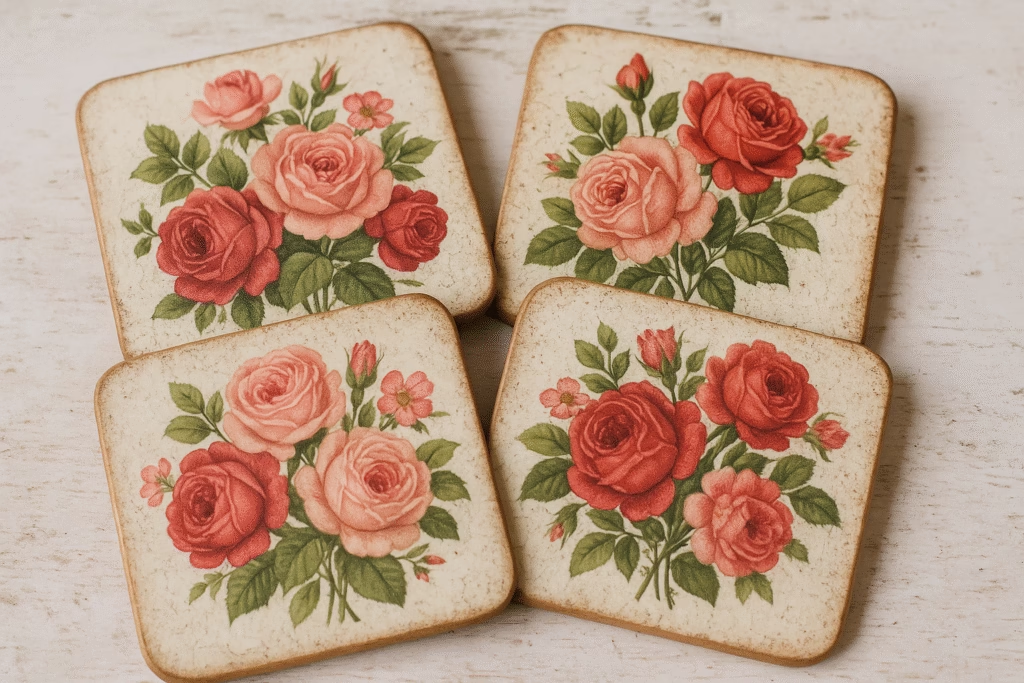
Project 4: Felted Wool Coasters or Trivets
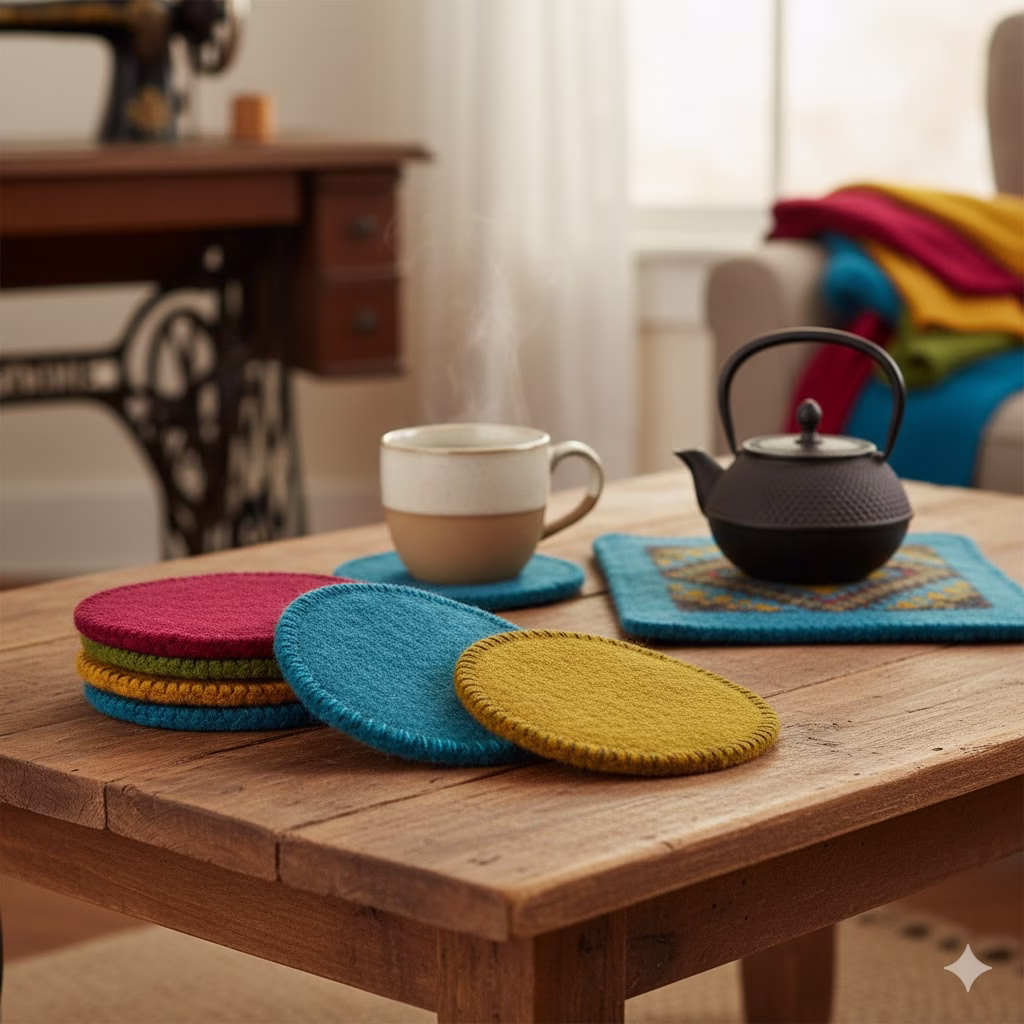
This method requires 100% wool sweaters that can be successfully felted (shrunken and tightened). This process makes the fabric dense and water-resistant.
Materials Needed:
- 100% wool sweater
- Sharp scissors
- Cookie cutters or a large circle template
- Washing machine and dryer
How to Do It:
- Felting: Wash the sweater in the hottest water cycle possible and dry it on high heat. Repeat until the fibers are locked tightly together and the fabric doesn’t stretch much.
- Trace your desired shape (circle, square, etc.) onto the felted wool.
- Cut out the shapes. Since they are felted, they will not fray. You can stack two layers for extra thickness if needed.
- For a decorative edge, you can sew a contrasting blanket stitch around the perimeter of each coaster/trivet.
Project 5: Cozy Leg Warmers or Boot Cuffs

Another simple use for the sleeves, perfect for layering over tights or tucking into boots for an extra pop of texture.
Materials Needed:
- Sweater sleeves
- Scissors
- Optional: Elastic band
How to Do It:
- Cut the sleeves off as described in Project 2.
- If you want them to stay up better, fold the raw, cut edge over by about half an inch and stitch a casing. Slide a piece of elastic inside this casing and stitch the ends of the elastic together before closing the casing seam.
- Alternatively, simply cut the sleeve to the desired length, leaving the original cuff at one end. The natural stretch should hold them up well enough for casual wear.
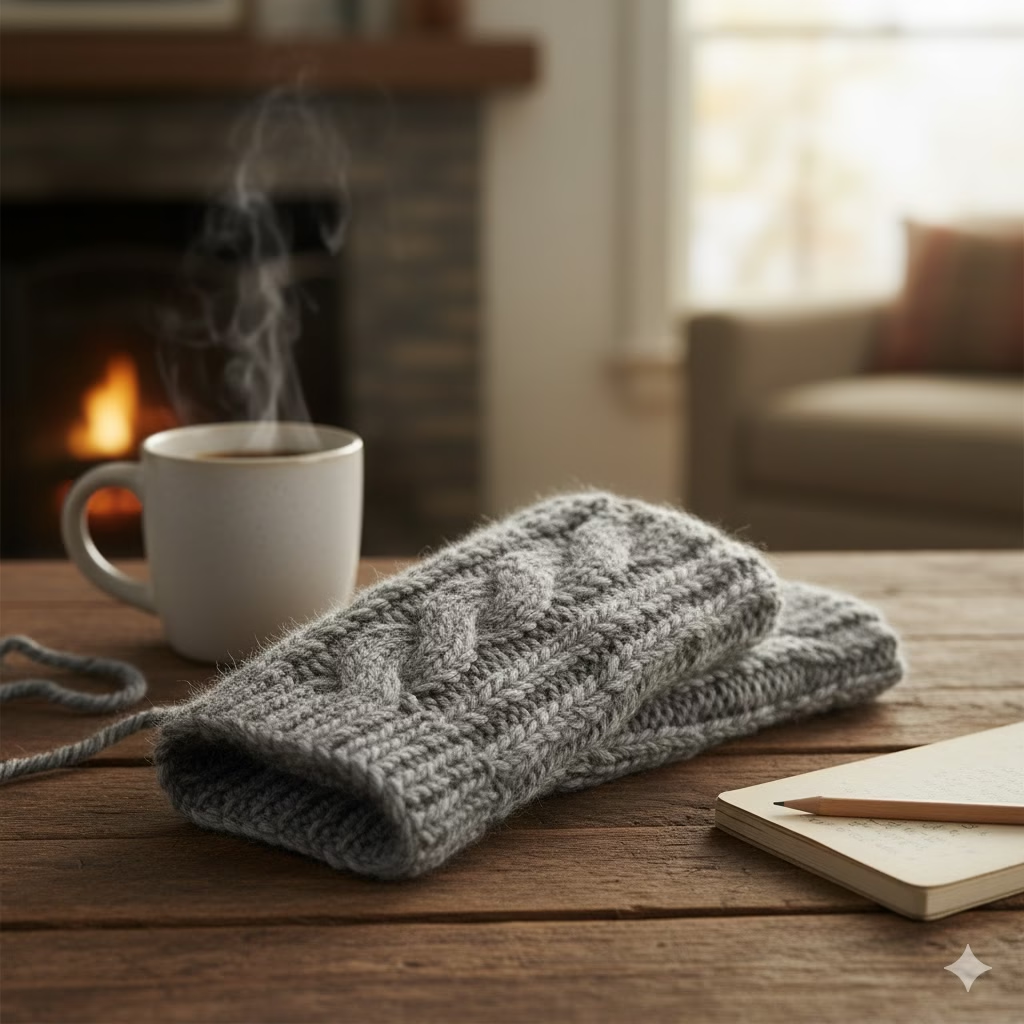
Project 6: Sweater Sleeve Hand Warmers (Rice Filled)

These are excellent for microwaving to provide soothing, reusable heat.
Materials Needed:
- Sweater sleeves
- Needle and thread
- Uncooked rice or flaxseed
- Ribbon or yarn for decoration
How to Do It:
- Cut a sleeve to a length appropriate for wrapping around your hands (usually 8 to 10 inches).
- Sew or securely hot glue one end closed.
- Using a funnel or a carefully opened seam, fill the sleeve about three-quarters full with rice or flaxseed. Do not overfill; it needs room to bend.
- Sew or glue the second open end closed securely.
- Tie a ribbon around the middle to define the two hand pockets. Microwave for 30-60 seconds for instant heat.
Project 7: Sweater Mitts (The Sewing Intensive Option)
This involves more detailed cutting and sewing but results in a complete, warm pair of gloves.
Materials Needed:
- One large, non-felted sweater (for stretch)
- Glove pattern (print one online or trace your own hand)
- Sewing machine or strong hand-sewing skills
- Pins and fabric chalk
How to Do It:
- Cut out the entire front and back torso section of the sweater.
- Using your pattern, cut out the four main pieces (two palms, two backs of hands) from the sweater fabric, adding a small seam allowance ($1/4$ inch) around all edges. If you want distinct fingers, you must also cut five finger sections per mitt.
- Pin the corresponding pieces right sides together (inside out).
- Carefully sew the seams, using a stretch stitch (like a zig-zag or a narrow triple stitch) on a machine, or a tight zig-zag hand stitch.
- Turn right side out. If the opening is too large, you can add elastic at the wrist or use the original sweater cuff attached to the bottom edge of the palm piece.
Project 8: Decorative Wine Bottle Gift Bags
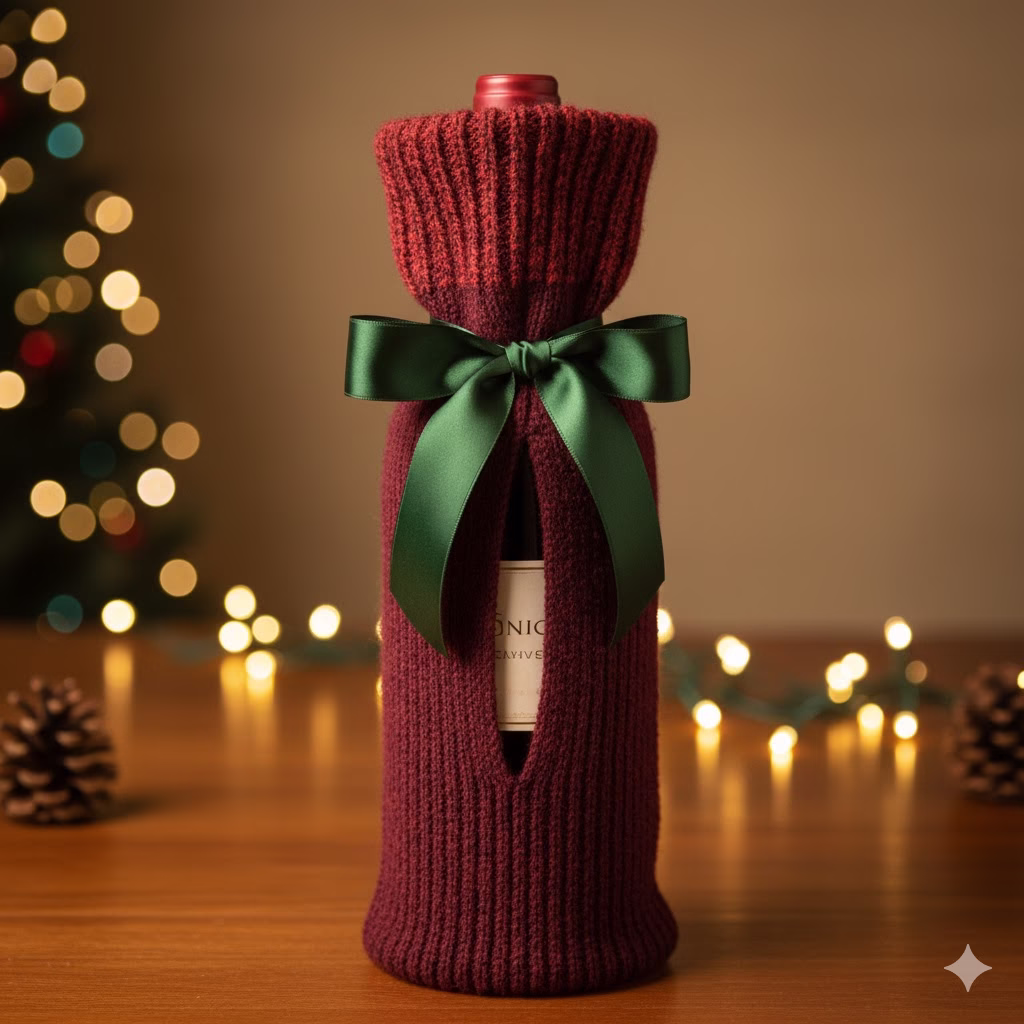
A quick, elegant presentation for a hostess gift or holiday bottle.
Materials Needed:
- Sleeve section of a contrasting or richly textured sweater
- Scissors
- Ribbon
How to Do It:
- Cut the sleeve to be slightly longer than the wine bottle you plan to use.
- Fold the raw cut end up about 1 inch and stitch a simple hem for a neat bottom edge.
- Slide the bottle in from the top (the original cuff end). The cuff now acts as a decorative collar around the neck of the bottle.
- Tie a festive bow around the neck of the bottle, just above the cuff, to secure the bag.
Project 9: Cozy Draft Stopper (Door Snake)
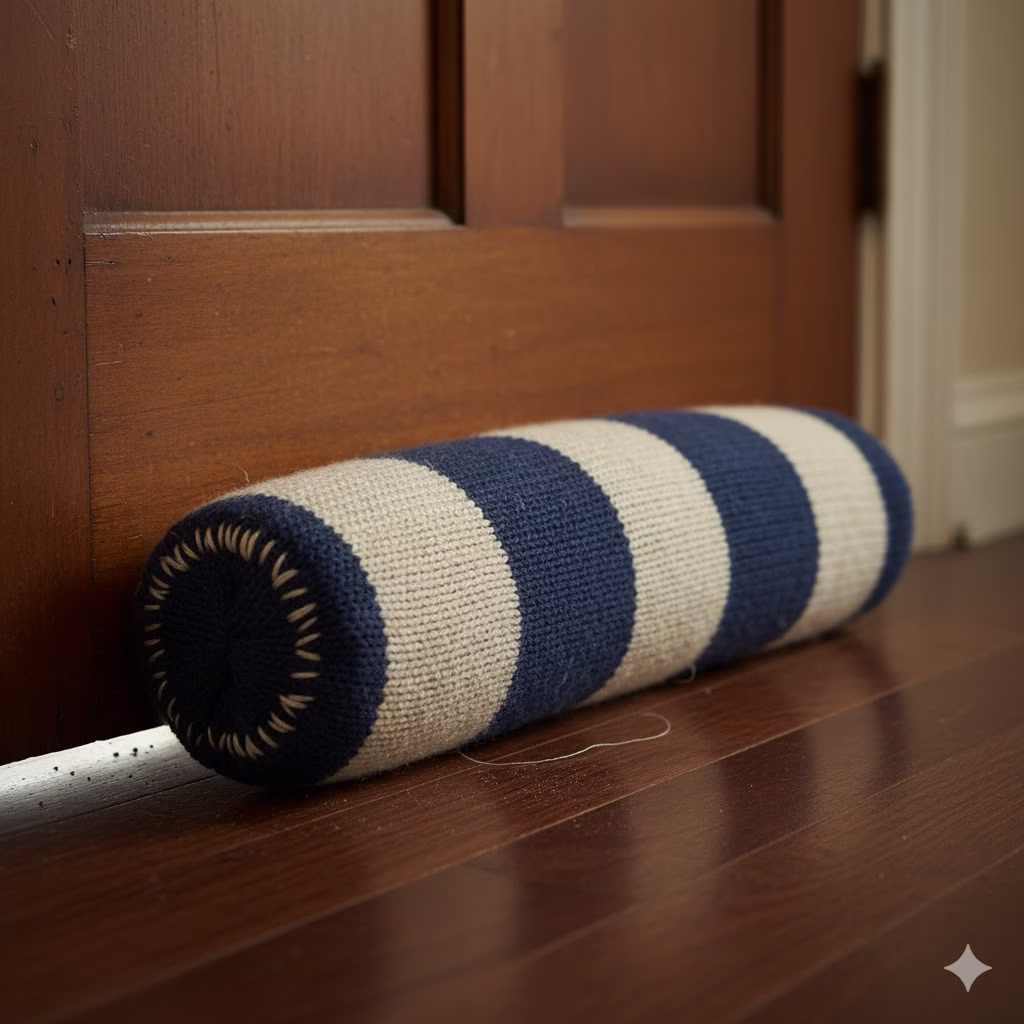
Combat cold air under doors with a long, stuffed tube made from the body of a sweater.
Materials Needed:
- The remaining body section of a sweater (or two sewn together for extra length)
- Stuffing material (scraps, rice, or dried beans for weight)
- Needle and thread
How to Do It:
- Cut a long, rectangular piece from the sweater body. You are essentially creating a long, flat tube.
- Sew or glue the long side seam together, turning the resulting tube inside out so the seam is hidden.
- Sew one of the short ends closed securely.
- Turn the tube right side out. Fill it densely with your stuffing material.
- Sew the final open end closed tightly. Place it firmly against the base of a drafty door.
Project 10: Felted Wool Brooches or Appliqués
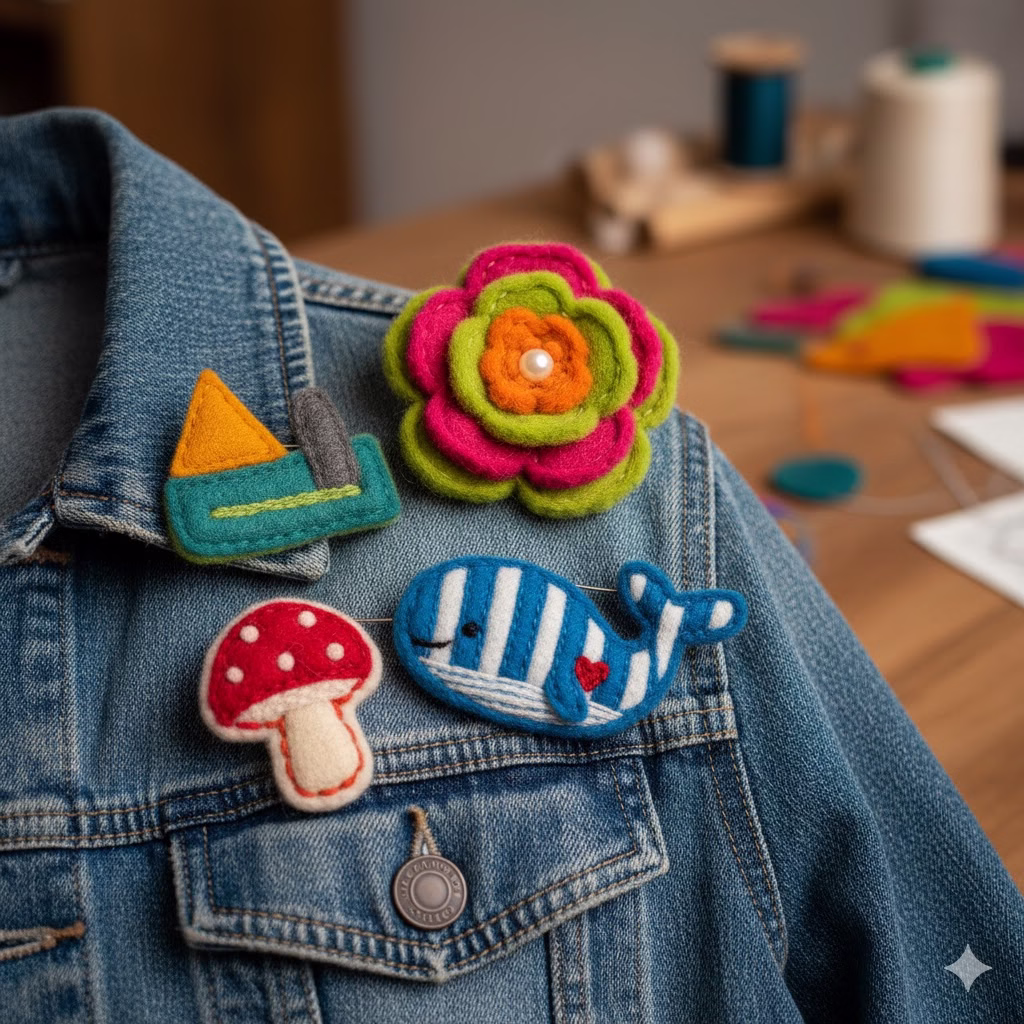
A fantastic way to use up small, colorful swatches from felting projects (Project 4).
Materials Needed:
- Scraps of felted wool
- Brooch pins (available at craft stores)
- Fabric glue or strong thread
How to Do It:
- Cut your felted wool into simple shapes (circles, flowers, abstract shapes).
- Layer two or three shapes together for dimension, slightly offsetting the layers if desired.
- Secure the layers together by stitching a few small stitches through all layers or using a dot of strong fabric glue on the back of each layer, ensuring the glue doesn’t seep through.
- Attach the brooch pin to the back center of the final piece using strong thread and a secure stitch pattern (like a figure-eight) or strong jewelry glue.
Conclusion: Embracing Sustainable Style
These ten projects only scratch the surface of what is possible through sweater refashion. By taking a small amount of time to deconstruct and reimagine an old garment, you divert textile waste from landfills while gaining unique, handmade items. Whether you are a beginner looking for a no-sew solution or an experienced crafter ready for pattern work, repurposing knitwear is a rewarding way to keep your wardrobe, and your home, cozy and creative. Start small, enjoy the process, and watch your collection of unwanted knits transform into cherished pieces.
Frequently Asked Questions (FAQ)
Q: What is the best type of sweater to use for upcycling projects?
A: The best type depends on the project. For items that need to hold shape (like coasters or structured bags), 100% wool is ideal because it can be felted. For items that need stretch and drape (like gloves or pillow covers), cotton blends or acrylic/wool mixes work well, as you don’t need to worry about felting.
Q: Will my sweater unravel if I cut it without sewing first?
A: Yes, most natural fibers (like wool or cotton) will unravel quickly if cut without stabilization, especially if they are not felted. Acrylic or synthetic blends may unravel less but can still look messy. Always use a stretch stitch when sewing knits, or pre-felt the material if using 100% wool.
Q: How do I wash finished upcycled sweater items?
A: Always use cold water and a gentle cycle for all finished items, unless you specifically want them to felt further (as with the coasters). Laying them flat to dry is the safest way to maintain their shape and size.
Q: Can I combine different colored sweaters into one project?
A: Absolutely! Combining colors and textures is a hallmark of creative sweater refashion. For instance, using the colorful sleeves from one sweater with the solid body of another can create a vibrant, unique garment. Just ensure the fabrics have similar weights and stretch for the best results when sewing them together.
References
- DIYncrafts – 50 Amazingly Creative Upcycling Projects For Old Sweaters
- Shoprepurpose – 5 Environmental Benefits of Repurposing Old Clothes
- Faircado – Benefits of Upcycling Old Clothes
Recent Posts